16 Proven Tips For Growing Lavender And Salvia Side By Side Without Issues

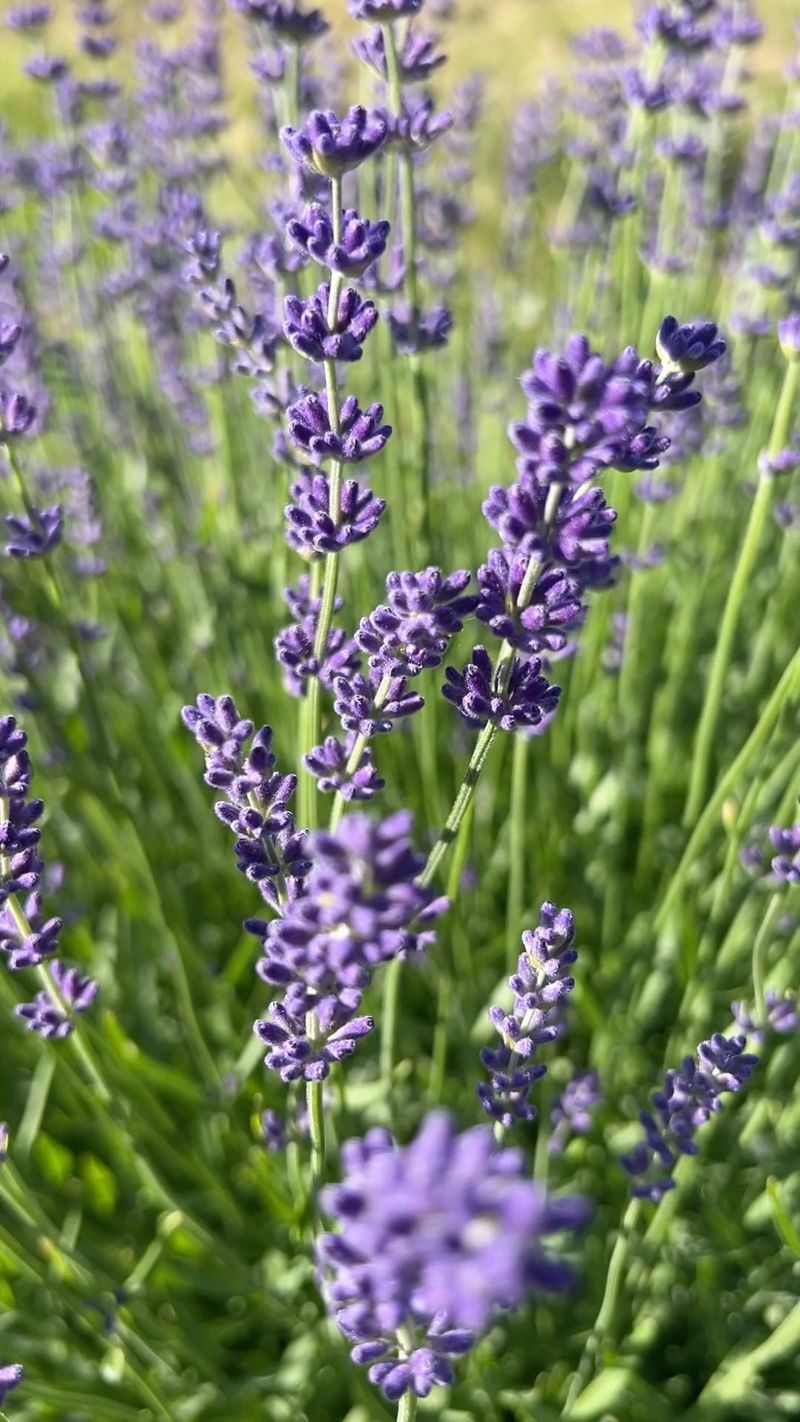
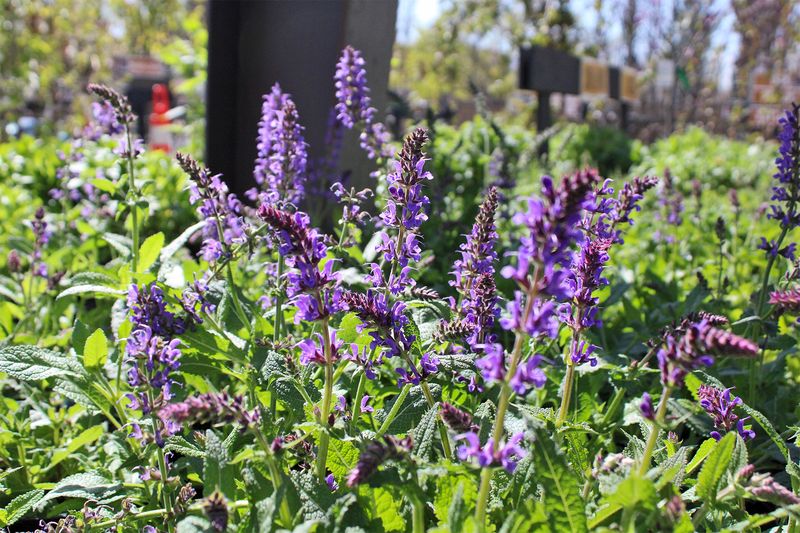
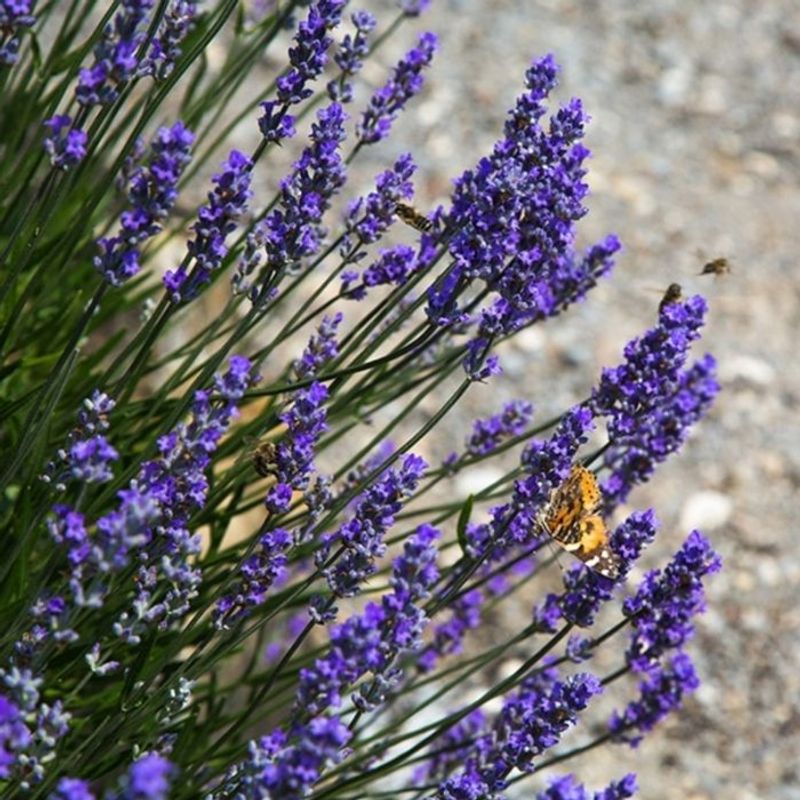
Growing lavender and salvia together has become one of my favorite garden pairings. Their colors blend beautifully—soft purples and vibrant blues—and the bees seem to love them just as much as I do. Plus, they fill the air with that unmistakable herbal scent that instantly makes the whole space feel calm and intentional.
That said, they’re not totally fuss-free, especially if your soil stays too wet or shady. I found out the hard way that drainage is everything—one soggy season nearly wiped out all my lavender. Now I plant them in raised beds with lots of sun and sandy soil, and they’ve never looked better.
The beauty of this duo is that once you get the setup right, they basically take care of themselves. A light pruning, a deep watering now and then, and they’re off blooming and buzzing. If you’ve got a sunny patch and want a low-effort, high-reward combo, this is the one I always recommend.
1. Select Well-Draining Soil
Both plants absolutely hate wet feet. I mixed equal parts garden soil, coarse sand, and perlite to create the perfect growing medium that drains quickly after watering.
Adding crushed granite or small pebbles to the bottom of your planting hole helps prevent water from pooling around roots. My first attempt failed because I used regular garden soil that stayed soggy too long.
A soil pH between 6.0 and 7.5 works wonderfully for this pairing. Testing your soil before planting saves headaches later, as adjusting afterward becomes much more difficult.
2. Space Plants Properly
Proper spacing prevents competition and disease issues between neighboring plants. My rule of thumb is 24-30 inches between mature specimens, allowing each to reach full size without crowding.
Crowded conditions lead to poor air circulation and fungal problems that can spread quickly. When I planted too closely in my first garden, powdery mildew became a recurring nightmare that was difficult to control.
Marking spots with stakes before planting helps visualize the final layout. This simple step saved me from the heartbreak of having to remove established plants that were too crowded.
3. Create Dedicated Beds
Raised beds provide excellent drainage and prevent these Mediterranean natives from competing with lawn grasses. My 12-inch high beds filled with custom soil mix transformed my struggling herbs into thriving specimens.
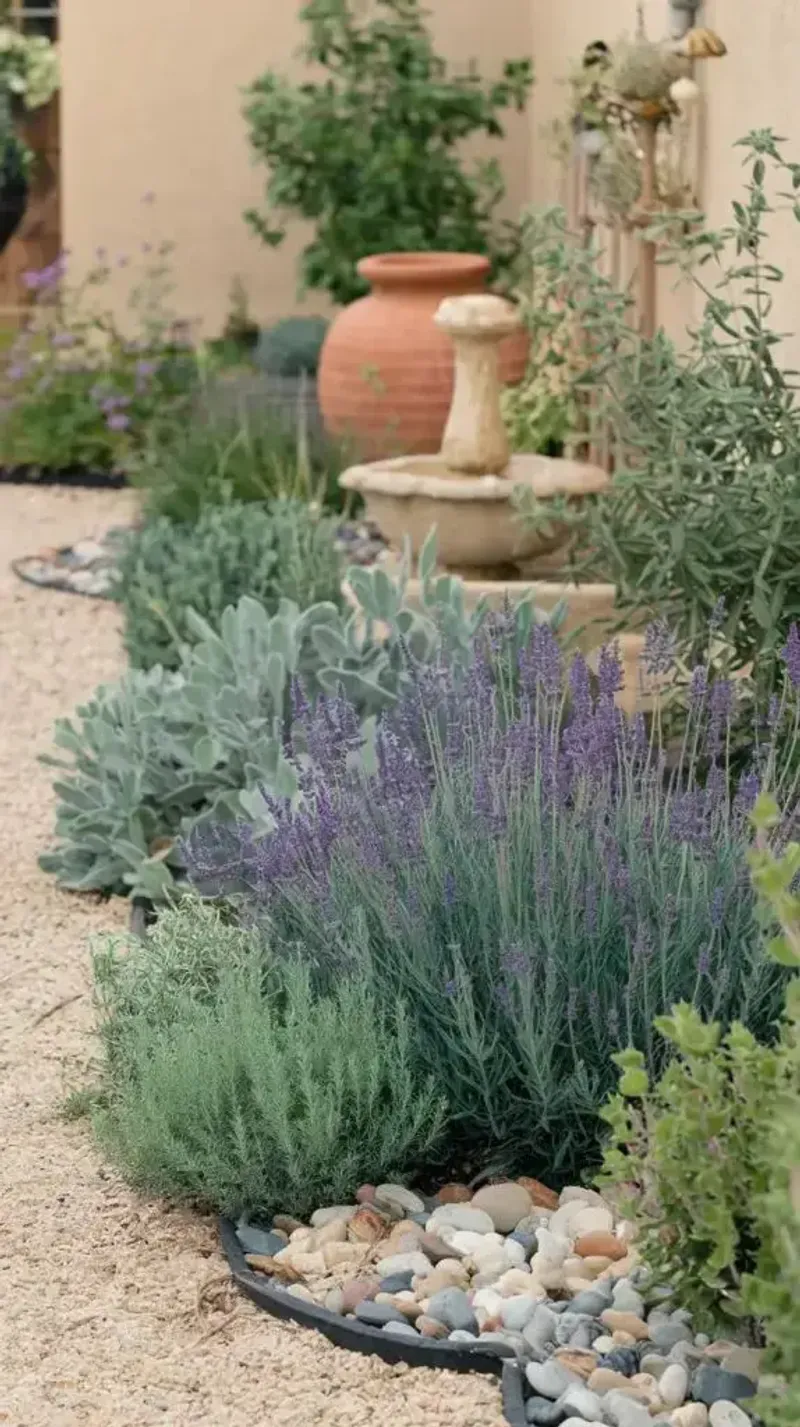
The defined edges of dedicated beds also help contain these sometimes sprawling plants. Last year, I edged my herb bed with small stones, which not only looks attractive but prevents the plants from spreading where they’re not wanted.
Dedicated beds make it easier to control soil conditions specifically for these plants. The investment in building raised beds paid off within one season through healthier plants and less maintenance.
4. Water Deeply But Infrequently
Establishing a proper watering routine makes all the difference. After trying different schedules, I found that deep watering once weekly during establishment, then every 10-14 days once mature, works perfectly.
Morning watering allows foliage to dry completely before evening, preventing fungal issues. A soaker hose placed at soil level delivers water directly to roots without wetting leaves—a game-changer for my garden’s health.
Checking soil moisture before watering prevents overwatering mistakes. Simply insert your finger two inches into the soil; if it feels dry, it’s time to water, but if it feels damp, wait another day or two.
5. Mulch With Gravel Or Stone
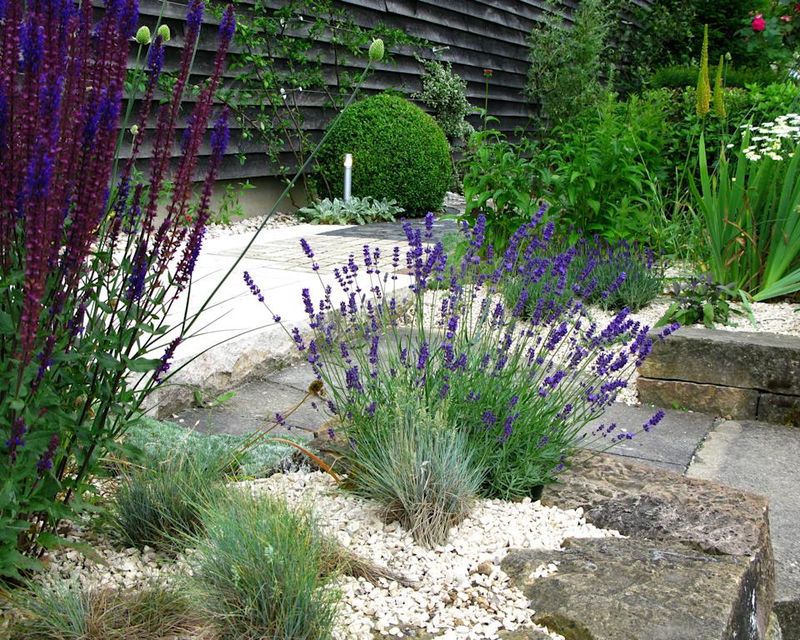
Organic mulches like bark or compost retain too much moisture for these drought-lovers. Switching to white pea gravel transformed my struggling plants into robust specimens by reflecting heat and light while improving drainage.
Stone mulch prevents soil splashing onto foliage during rain, reducing disease problems. The light color also creates beautiful contrast against the purple and blue blooms, enhancing the visual appeal of my garden.
A 2-inch layer works perfectly, keeping weeds down without smothering the crown of the plants. Pulling the mulch back slightly from the stems prevents rot issues that plagued my early attempts.
6. Prune For Air Circulation

Regular pruning keeps plants healthy by allowing air to move freely between them. Thinning the interior branches each spring eliminated the powdery mildew that once plagued my garden.
Removing crossing branches prevents rubbing damage that creates entry points for disease. Sharp, clean pruners make clean cuts that heal quickly—I learned this the hard way after using dull tools that crushed stems instead of cutting them.
Maintaining an open, vase-like shape for both plants improves flowering and reduces maintenance. This pruning style takes just minutes per plant but makes a dramatic difference in plant health and appearance.
7. Position In Full Sun
Mediterranean natives need at least 6-8 hours of direct sunlight daily to thrive. Moving my struggling plants from partial shade to my sunniest garden spot resulted in twice the flowers and much stronger stems.
Southern or western exposures typically provide ideal light conditions in most gardens. Tracking sun patterns throughout the day before planting helps identify the perfect spot—something I wish I’d done before my first failed attempt.
Insufficient sunlight leads to leggy growth and fewer blooms. Even an hour or two less than the recommended amount can make a noticeable difference in plant performance and disease resistance.
8. Avoid High-Nitrogen Fertilizers
Rich fertilizers produce lush foliage at the expense of flowers and fragrance. My plants flourished once I stopped using general-purpose fertilizer and switched to a low-nitrogen, phosphorus-rich blend applied just once in early spring.
Excess nitrogen makes plants susceptible to pests and diseases. The softer growth attracts aphids and whiteflies that never bothered my plants once I adjusted my fertilizing approach.
A light application of bone meal in fall provides phosphorus for strong root development. This simple addition helped my plants survive harsh winter conditions that previously damaged them, proving that sometimes less intervention is better.
9. Consider Container Planting

Terra cotta pots provide excellent drainage and prevent these plants from spreading where they shouldn’t. My deck garden thrives in 16-inch containers that allow roots to develop properly while keeping plants contained.
Container growing makes it easier to control soil conditions precisely. Mixing my own potting medium with extra perlite created the perfect environment that previously eluded me in ground plantings.
Moving containers to maximize sunlight exposure throughout the seasons extends the growing period. During cold snaps, I simply relocate pots to sheltered areas, protecting plants that would otherwise suffer in ground plantings—a flexibility that saved my collection during an unexpected late frost.
10. Plant In Fall Or Early Spring

Timing makes a tremendous difference in establishment success. Fall planting gives roots time to develop before summer heat arrives, resulting in stronger plants that needed half the water of my spring-planted specimens.
Cool temperatures and natural rainfall reduce transplant shock during establishment. My fall-planted garden sailed through the following summer with minimal care, while spring plantings required constant attention during their first season.
Avoiding summer planting prevents unnecessary stress on young plants. The one time I tried June planting, I lost half my investment to heat stress despite diligent care—a costly lesson in working with nature’s rhythms rather than against them.
11. Protect From Winter Wet
Winter moisture often causes more damage than cold temperatures for these Mediterranean plants. Creating a simple clear plastic shelter over my garden during rainy winter months dramatically improved survival rates.
Good drainage becomes even more critical during dormant periods. Adding extra gravel to planting holes below root level gives excess water somewhere to go during winter downpours, preventing the root rot that once claimed my prized specimens.
Reducing water completely during winter dormancy helps prevent problems. The year I continued light winter watering, I lost several plants to crown rot that could have been avoided by simply letting nature handle the moisture levels.
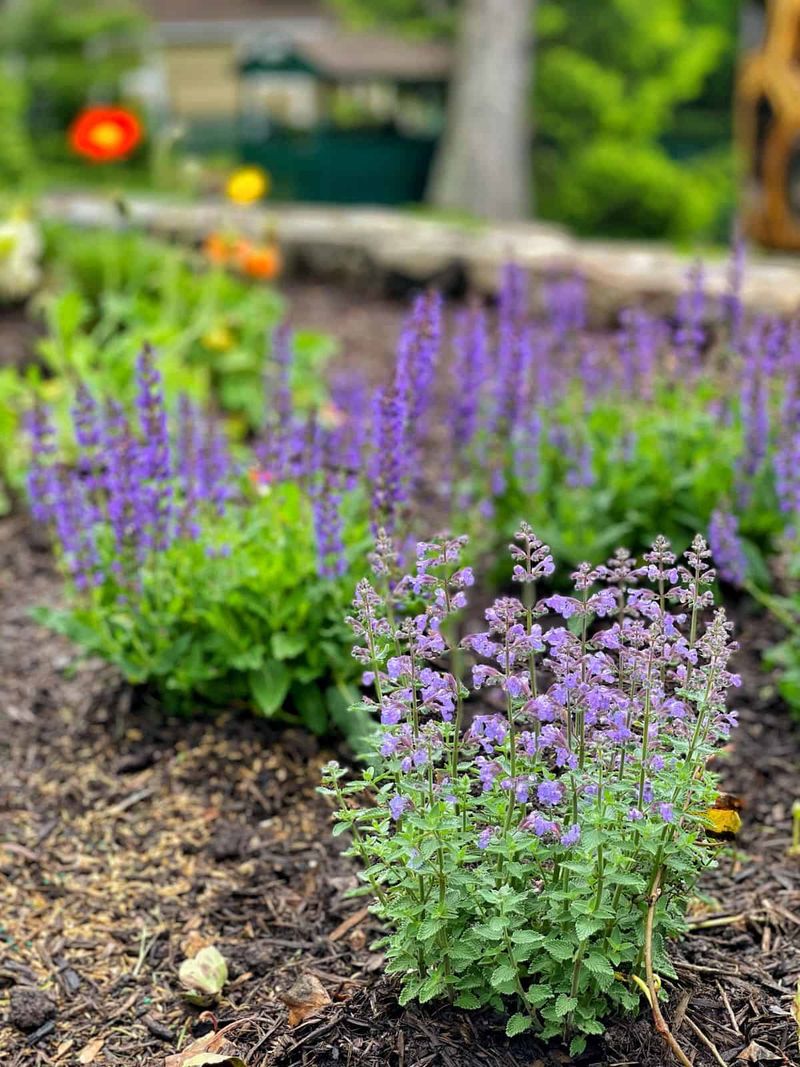
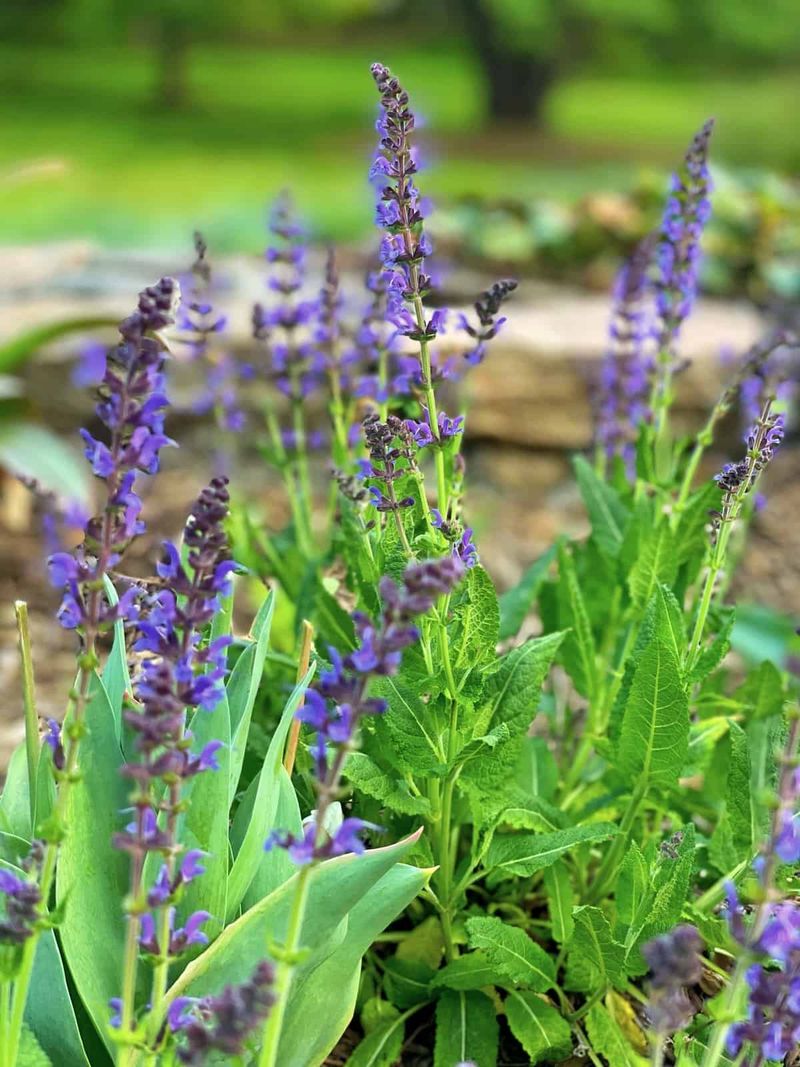
12. Match Varieties By Height
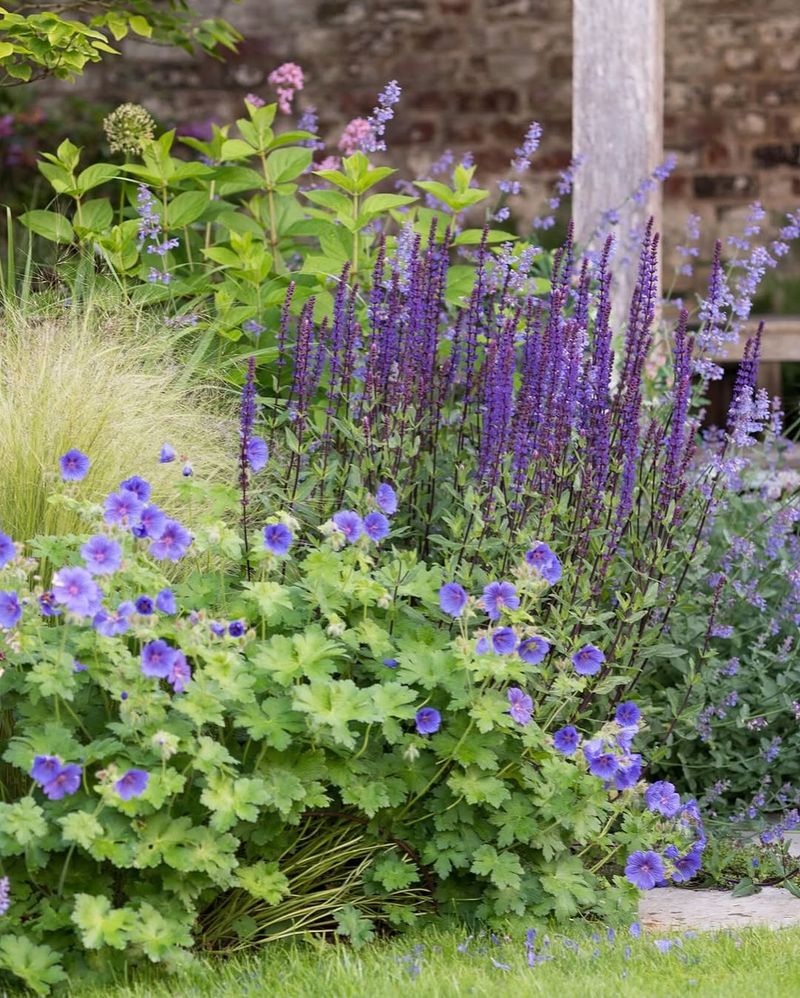
Pairing plants with similar mature heights prevents shading issues and creates a harmonious display. Russian sage and English lavender grow to comparable heights, creating the balanced look that makes my garden appear professionally designed.
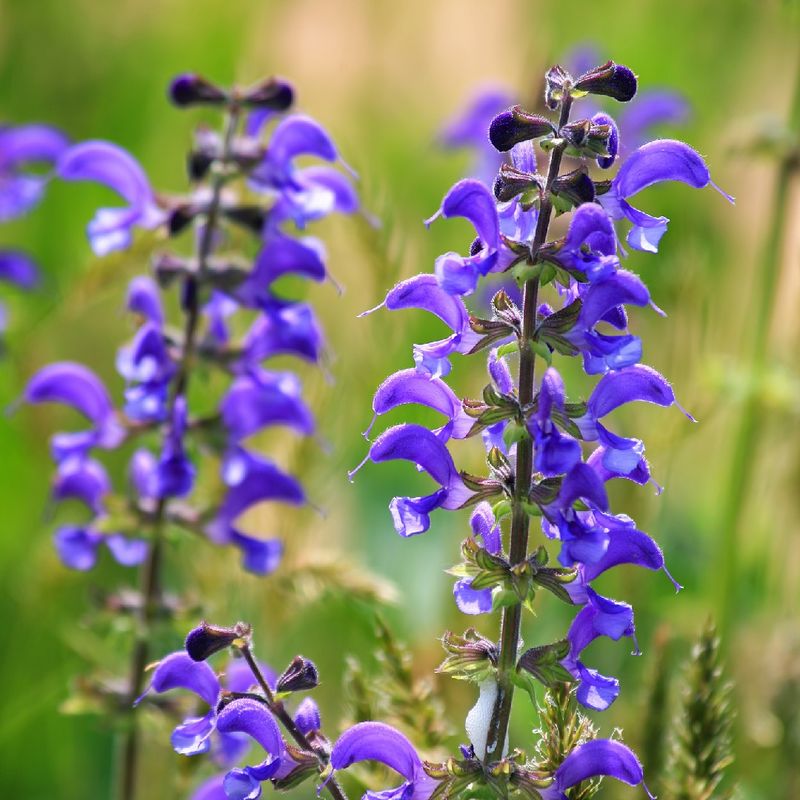
Taller varieties like Salvia guaranitica work beautifully behind shorter lavender types. This intentional layering creates depth and interest while ensuring each plant receives adequate sunlight.
Mismatched heights can create maintenance headaches and uneven growth. My early attempts mixing dwarf lavender with tall meadow sage resulted in the shorter plants becoming stretched and weak as they reached for light—a problem easily avoided with proper planning.
13. Divide And Rejuvenate Regularly
Woody, unproductive centers signal the need for division or replacement. Dividing salvia every 3-4 years and replacing lavender every 5-6 years maintains garden vigor and appearance better than trying to rejuvenate ancient plants.
Spring division gives plants maximum recovery time before heat arrives. The divisions I created last April grew into full-sized specimens by September, while previous summer divisions struggled to establish before winter.
Fresh plantings often outperform old specimens with minimal effort. Rather than fighting to revive declining plants, I’ve learned to propagate new ones from cuttings each year, ensuring I always have replacements ready when needed.
14. Group By Water Needs
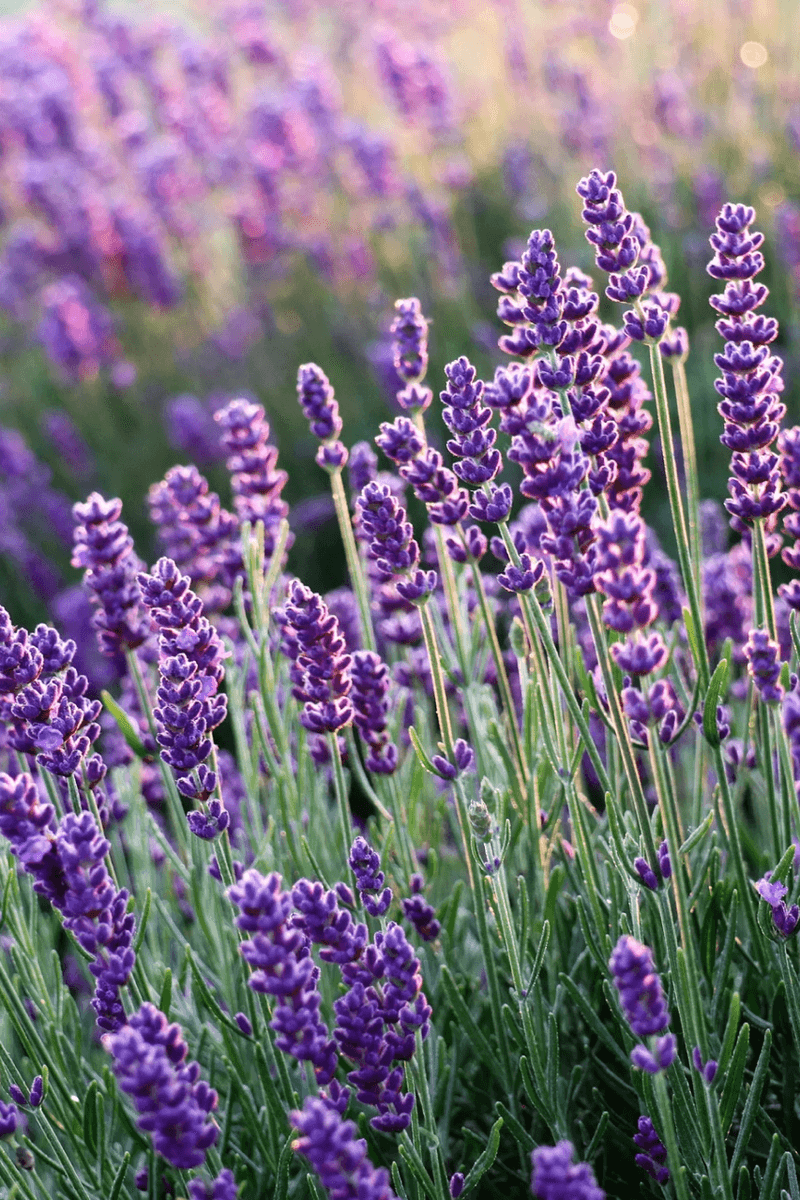
Different varieties have slightly different moisture requirements that affect companion placement. English lavender (Lavandula angustifolia) pairs perfectly with most Salvia nemorosa varieties because they share nearly identical water needs.
French lavender (L. dentata) needs slightly more moisture than some salvias. When I grouped plants by water requirements rather than just appearance, overall garden health improved dramatically with less effort on my part.
Creating irrigation zones based on water needs prevents both over and under-watering. My current garden has three distinct zones, allowing me to water each section appropriately without compromising plant health—a system that saves water and reduces maintenance time.
15. Maintain Alkaline Conditions

Adding crushed limestone or garden lime maintains the slightly alkaline conditions these plants prefer. A handful worked into the soil around each plant each spring keeps my garden thriving in naturally acidic soil that would otherwise cause yellowing foliage.
Avoiding acidic amendments like pine bark prevents pH problems. The year I mistakenly used acidic mulch, my plants developed yellow leaves and poor flowering—a situation quickly reversed once I removed it and restored proper pH.
Rainwater collection provides ideal irrigation free from chlorine and other chemicals. The plants watered with my rain barrel system consistently outperform those receiving tap water, producing more blooms and stronger growth with identical care otherwise.
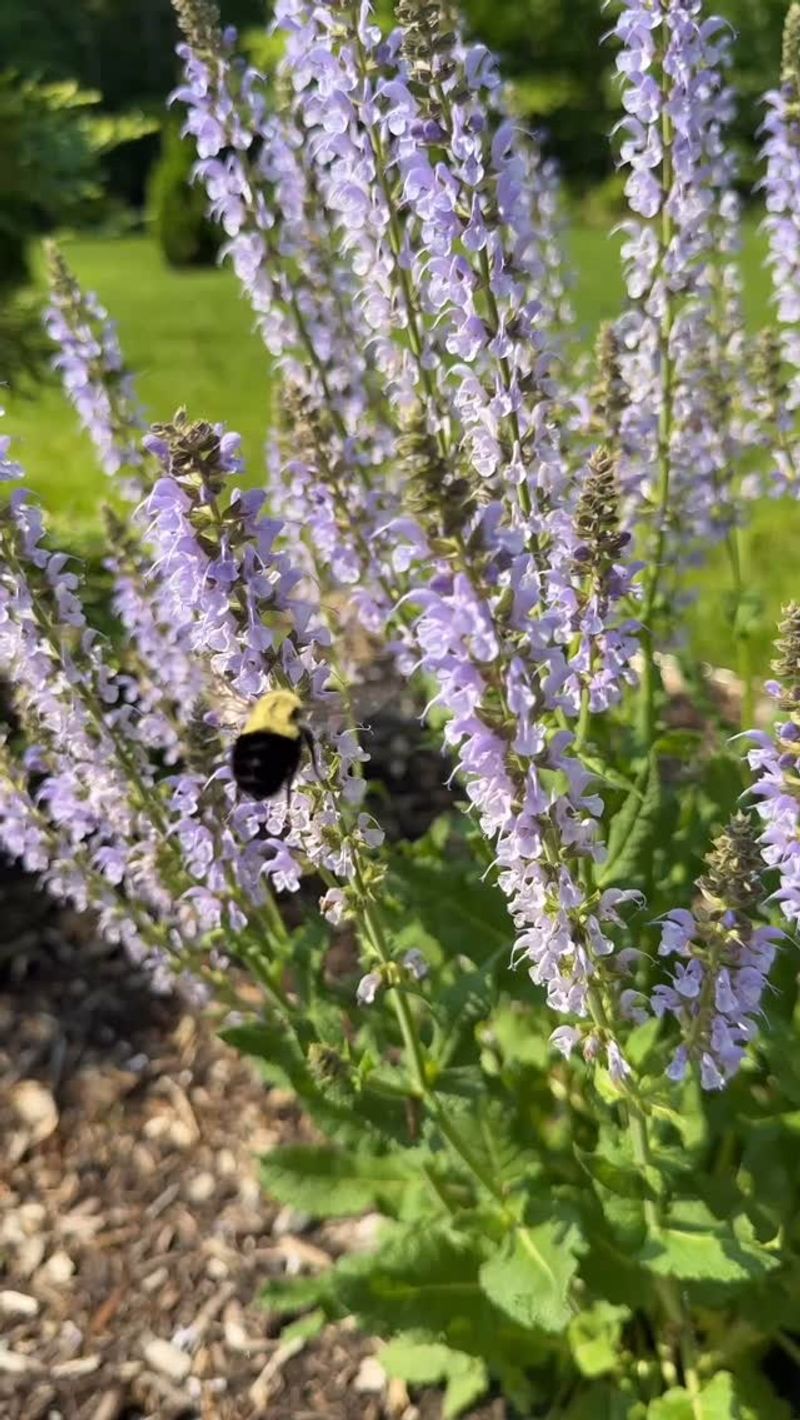
16. Prevent Reseeding Issues
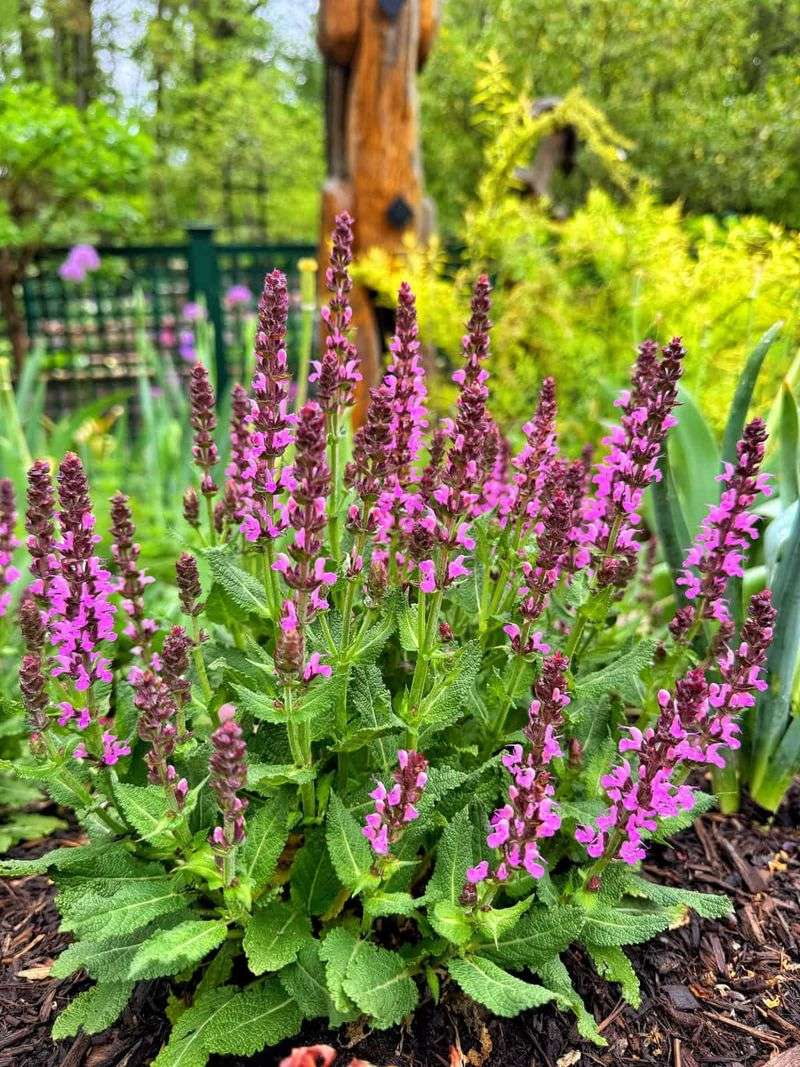
Some salvia varieties reseed enthusiastically, potentially overwhelming nearby plants. Removing spent flower stalks before seed formation keeps volunteers in check—a fifteen-minute weekly task that prevents future headaches.
Seedling identification skills help maintain garden balance and composition. Learning to recognize the distinctive leaf shapes of volunteer seedlings allows me to remove unwanted plants while they’re small, preserving my garden’s designed layout.
Strategic deadheading extends blooming periods while preventing unwanted spread. Cutting back just one-third of flower stalks at a time maintains continuous bloom while gradually reducing seed production—a technique that gives me months of flowers instead of just weeks.