16 Easy Steps To Grow Willow From Cuttings (And Where To Plant Them)
Growing willow trees from cuttings is honestly one of the easiest and most satisfying gardening projects I’ve ever tried. With just a few snips from an existing tree, you can start a whole row of willows without spending a dime.
It feels almost like plant magic when those sticks suddenly sprout roots. These trees grow fast—really fast—so they’re great if you’re looking to add shade, privacy, or a bit of drama to your yard in a hurry. I planted mine near a soggy patch of ground, and they helped soak it up while looking gorgeous in the process.
Even if you’re new to propagation, willows are super forgiving. All you need is some water, a sunny spot, and a little patience. Before you know it, you’ll have a mini forest growing from what was basically just a handful of twigs.
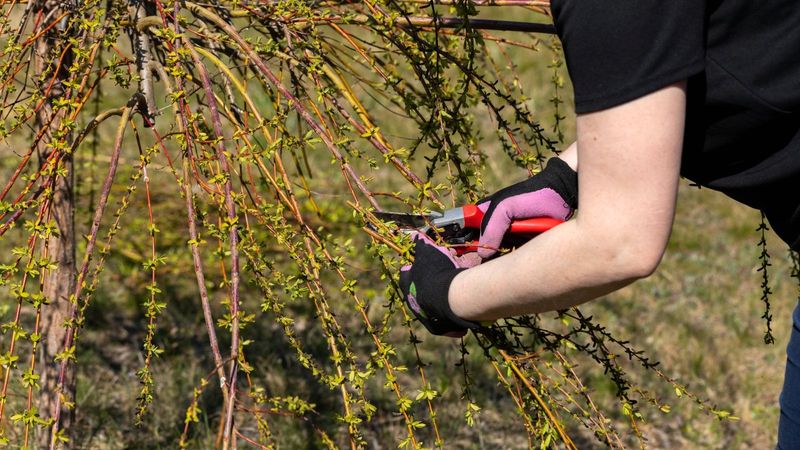
1. Select A Healthy Parent Willow

Look for a mature willow tree with vibrant growth and no signs of disease or pest infestation. Young branches that are 1-2 years old make the best donors for your cuttings.
I’ve found that willows growing in naturally moist areas tend to produce cuttings that root more reliably. The parent tree’s health directly influences your success rate, so choose wisely.
Avoid taking cuttings from trees showing yellowing leaves, unusual spots, or brittle branches. These could indicate underlying problems that might transfer to your new trees.
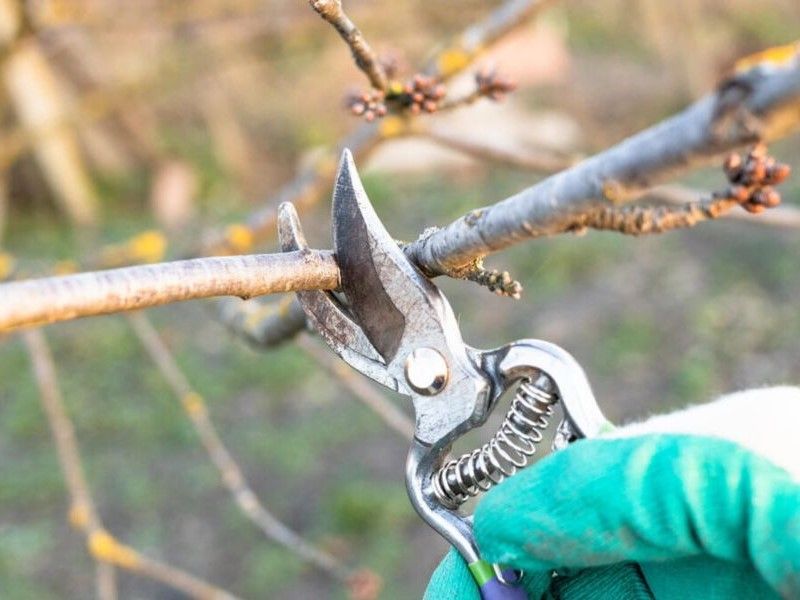
2. Gather Your Tools
Sharp pruning shears or a knife will make clean cuts that heal quickly and root better. You’ll also need a container for water, rooting hormone (optional), and pots or prepared ground space.
When I first propagated willows, I used dull scissors and wondered why my success rate was so low. Clean cuts minimize damage to both the parent tree and your cuttings.
Consider having a bucket of water ready to place your cuttings in immediately after cutting. This prevents them from drying out while you continue collecting.
3. Choose The Right Season
Late winter to early spring works beautifully for taking willow cuttings. During this dormant period, the tree’s energy is concentrated in its stems rather than its leaves or flowers.
My first successful batch came from February cuttings, when the buds were just beginning to swell but hadn’t opened yet.
The timing gives your cuttings plenty of growing season ahead to establish themselves. Fall cuttings can also work in milder climates, but they’ll need more protection through winter. Avoid taking cuttings during summer when the tree is actively growing.
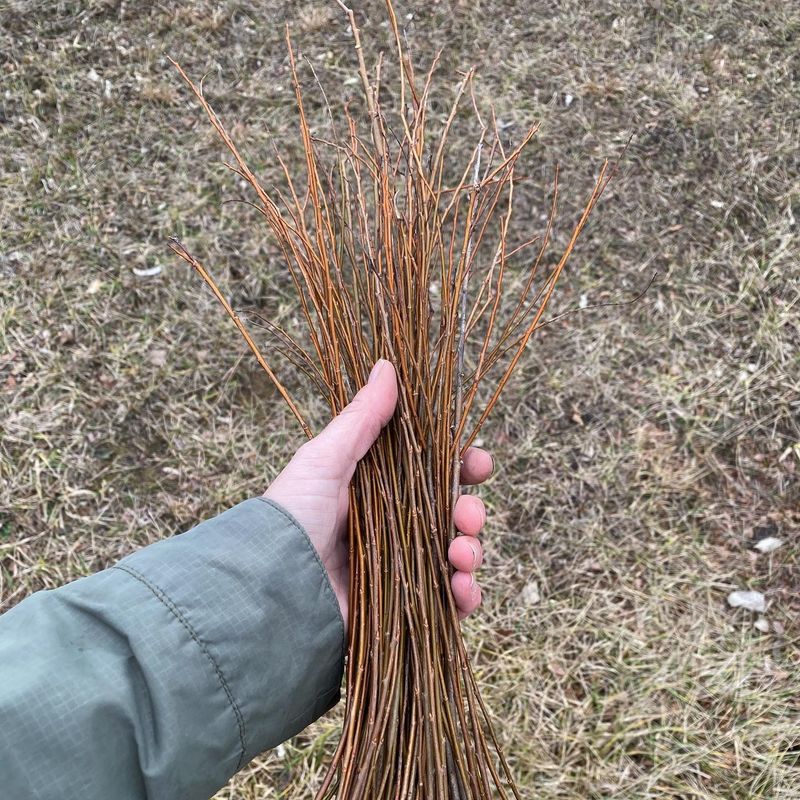
4. Cut At The Right Angle
Make your cuts at a 45-degree angle rather than straight across. This increases the surface area available for root development and helps you identify which end should go into the soil.
The angled cut should be clean and smooth, with no crushing or splintering. I once rushed this step and ended up with jagged cuts that struggled to root properly.
For the top cut, make it flat (90 degrees) about half an inch above a bud. This different cutting style helps you remember which end goes up and which goes down.
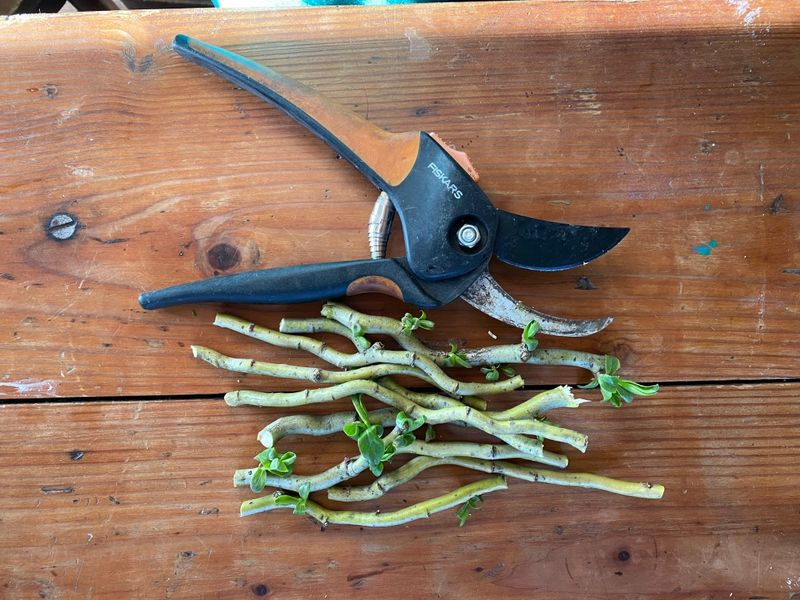
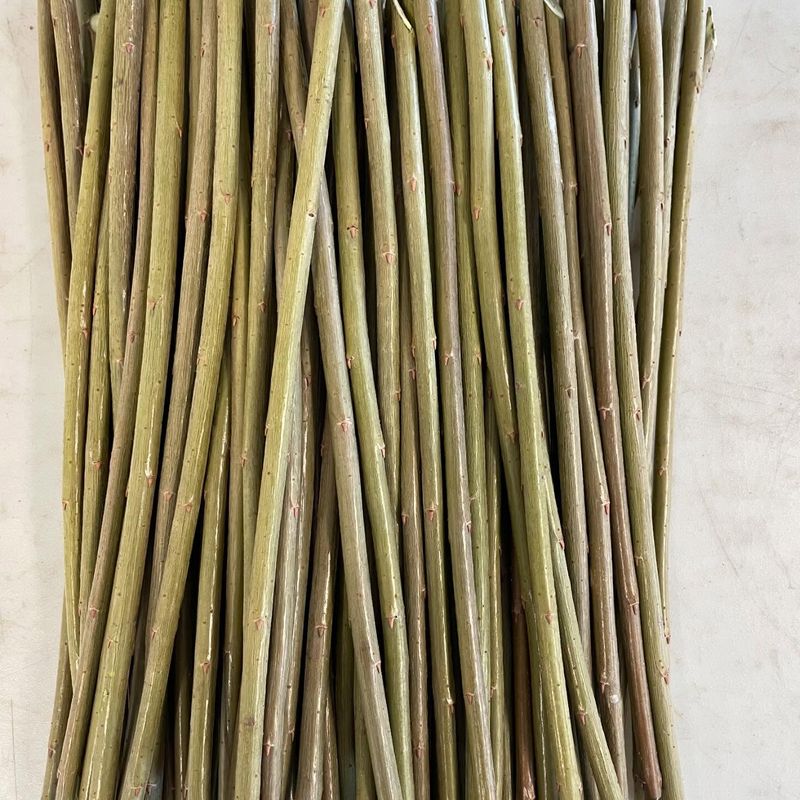
5. Size Your Cuttings Properly
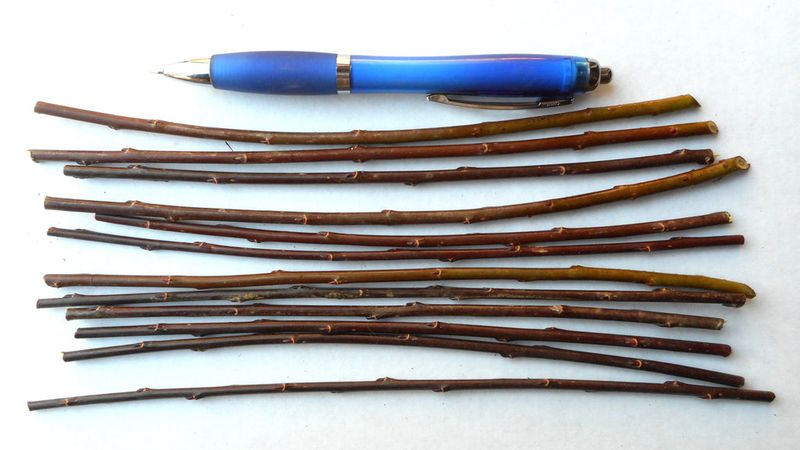
Aim for cuttings between 8-12 inches long and about pencil thickness (¼ to ½ inch diameter). This size provides enough stored energy to support root development while remaining manageable.
Each cutting should have at least 3-4 healthy buds along its length. These buds will eventually develop into branches once your cutting establishes roots.
Too thin, and your cutting might not have enough stored resources to survive. Too thick, and it may put more energy into growing leaves before establishing adequate roots.
6. Remove Lower Leaves And Branches
Strip away any leaves or small side branches from the lower two-thirds of each cutting. This reduces water loss through transpiration and focuses the plant’s energy on root development instead of maintaining foliage.
You can leave a few leaves at the very top if they’re present. The first time I tried propagating willows, I left too many leaves on and lost several cuttings to dehydration.
Use your thumbnail or pruning shears to carefully remove buds from the portion that will be underground. This prevents underground branches from forming.
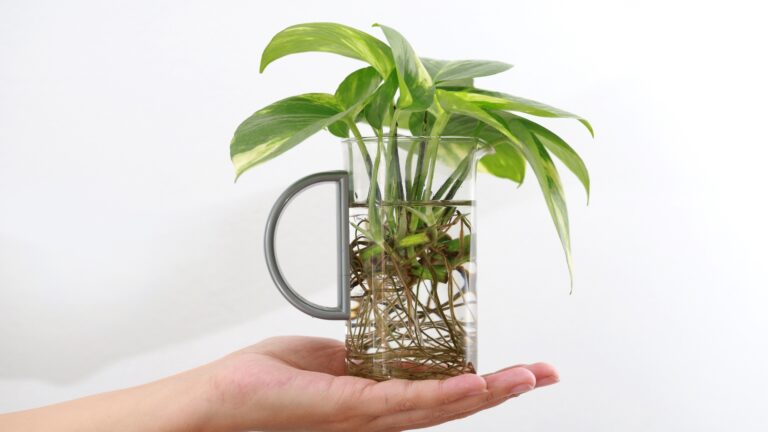
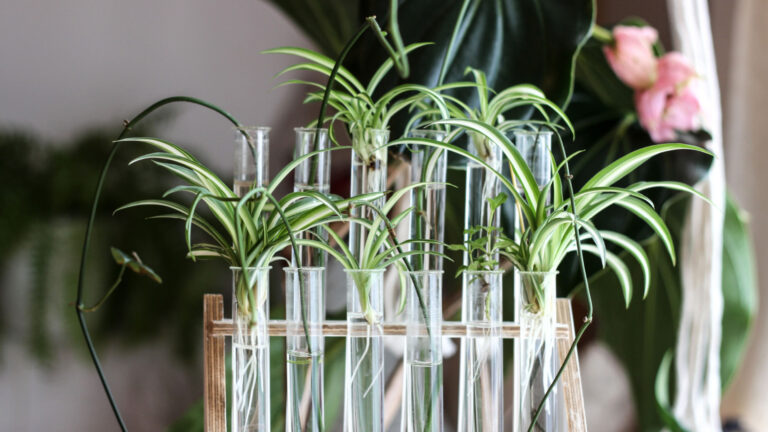
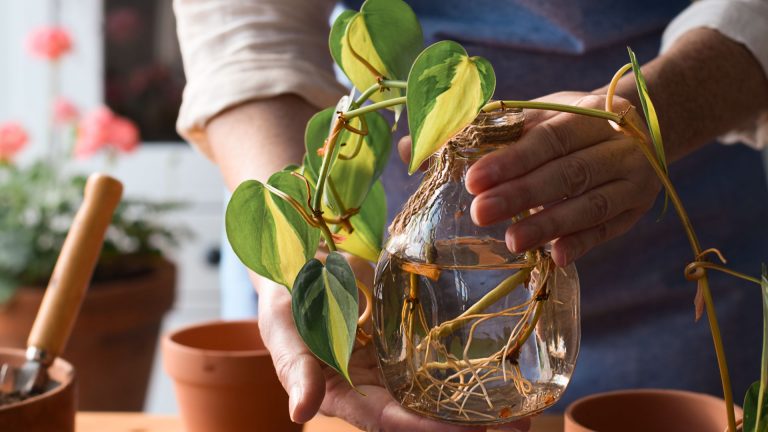
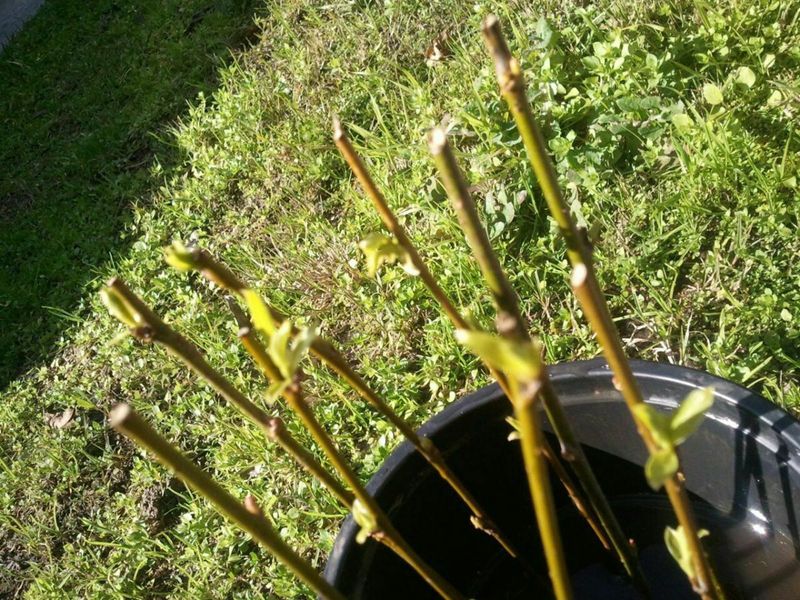
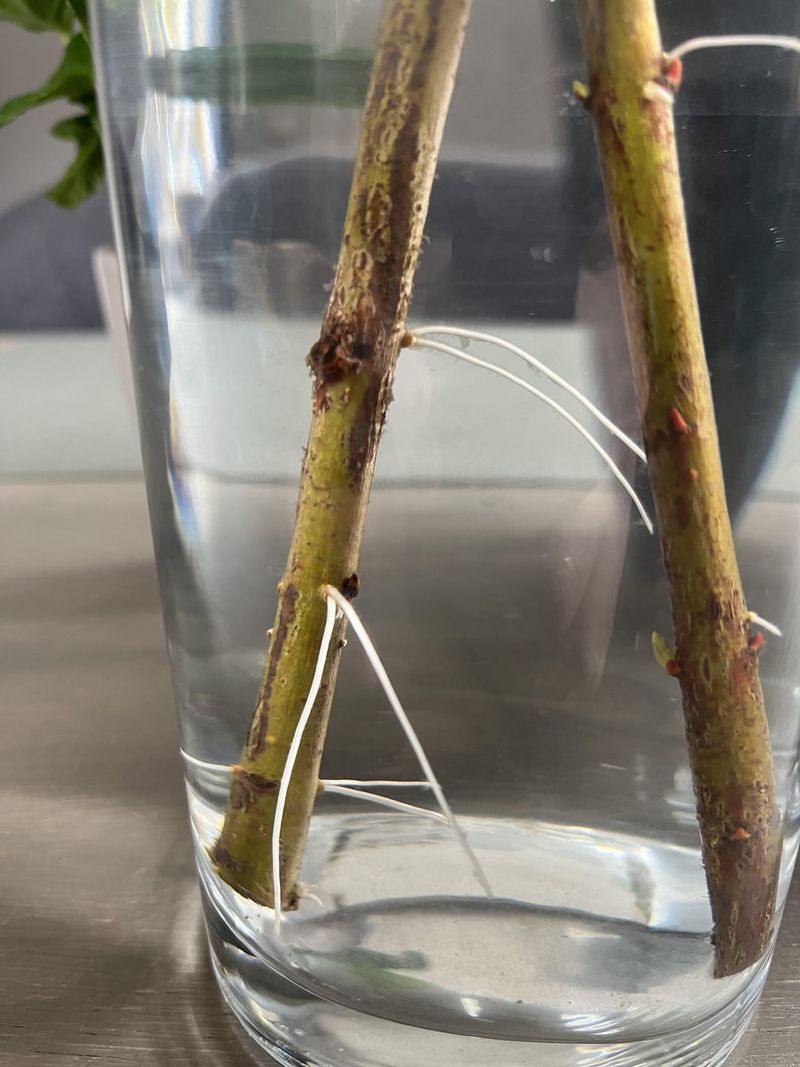
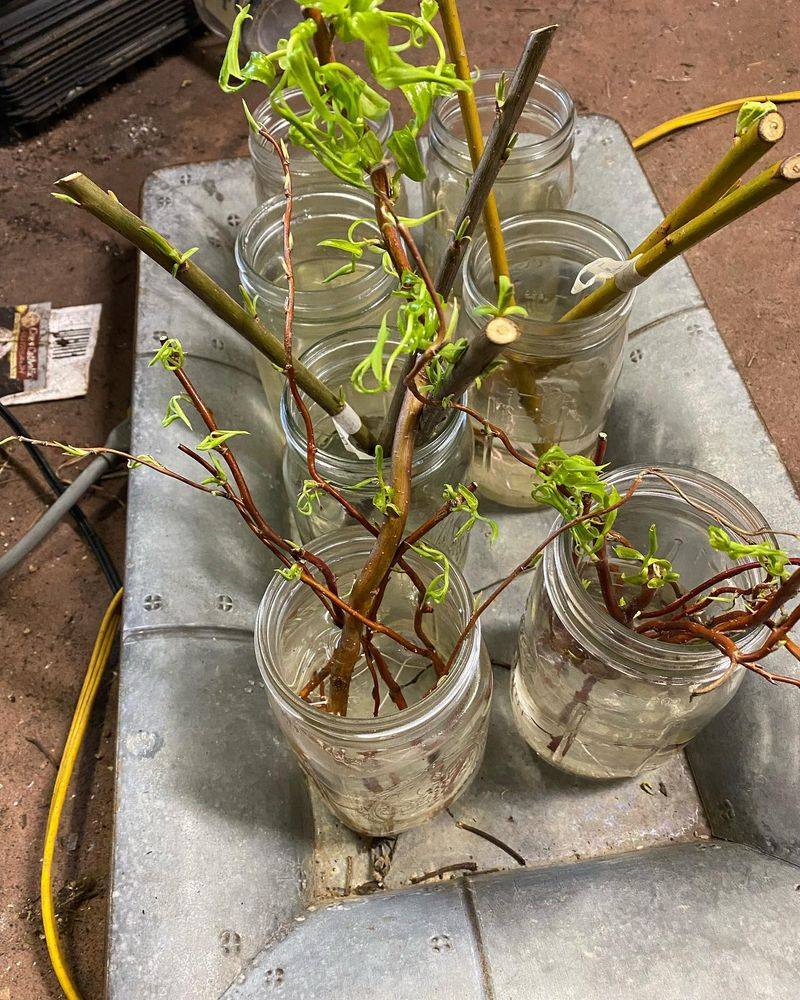
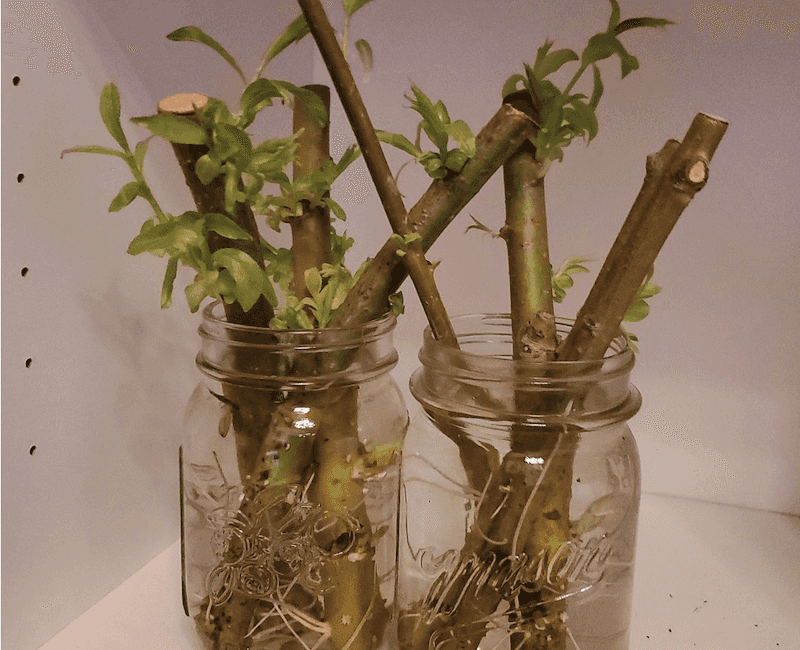
7. Pre-Soak Your Cuttings
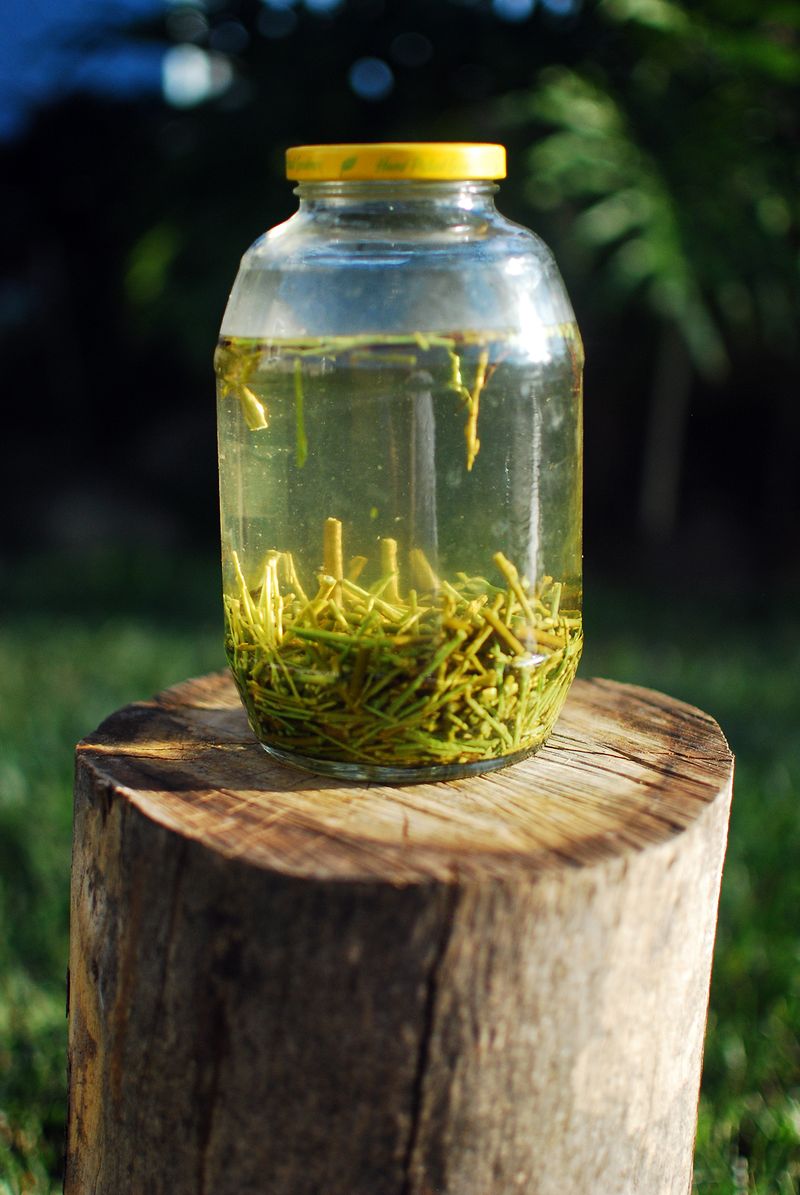
Place your freshly cut willow stems in a container of room-temperature water for 24-48 hours before planting. This initiates the rooting process and improves your success rate dramatically.
Willows naturally contain high levels of rooting hormones, and soaking releases these compounds into the water. I’ve even used this willow-infused water to help root other plants!
Change the water if it becomes cloudy, and keep the container in a cool, bright place out of direct sunlight. You might even see tiny root bumps forming during this soaking period.
8. Apply Rooting Hormone (Optional)
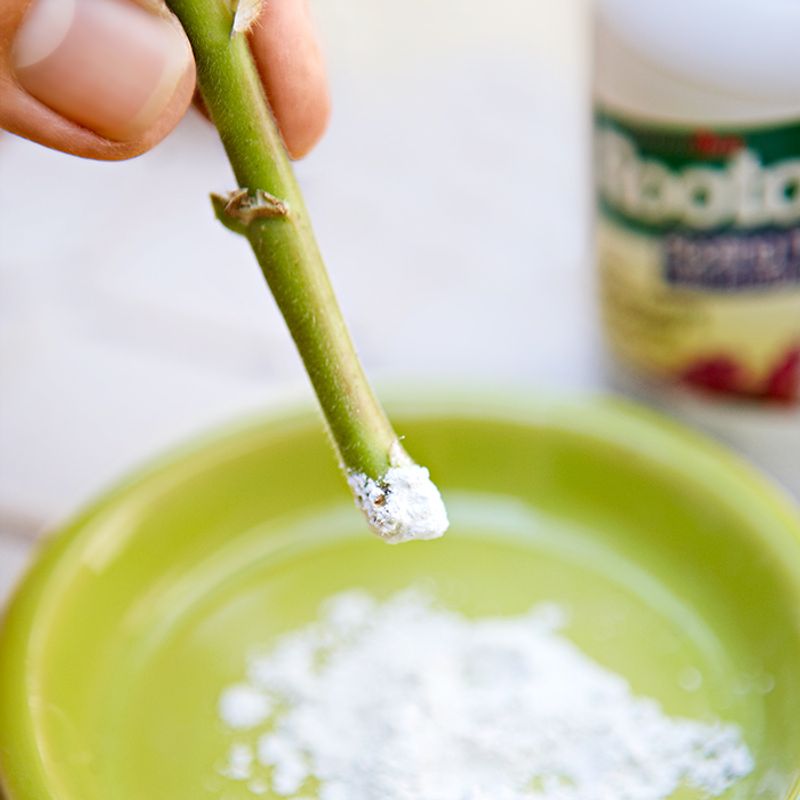
Dip the bottom inch of each cutting into rooting hormone powder or gel right before planting. While willows root easily without it, this extra step can increase your success rate and speed up root development.
Tap off any excess powder – a light coating is all you need. My neighbor swears by this method and consistently gets nearly 100% success with her willow cuttings.
If you prefer natural methods, you can skip this step entirely or make your own rooting hormone by steeping willow cuttings in water for several days and using that liquid.
9. Prepare Your Planting Medium
Fill containers with a light, well-draining mix of equal parts perlite and potting soil if starting in pots. This combination provides good aeration while retaining enough moisture for root development.
For direct ground planting, loosen the soil about 6-8 inches deep and mix in some compost. My first batch of willows struggled in heavy clay soil until I amended it properly.
Avoid using garden soil in containers as it compacts too easily and may contain pathogens. Either way, moisten your medium thoroughly before inserting cuttings.
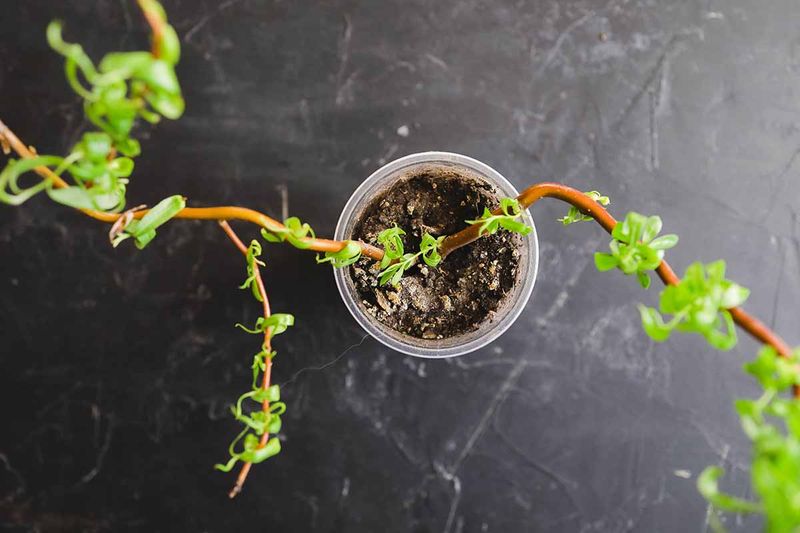
10. Plant At The Proper Depth
Insert each cutting into your prepared medium with about one-third to one-half of its length below the surface. The deeper planting helps prevent the cutting from drying out while it develops roots.
Make sure at least 2-3 buds remain above the soil line. These will develop into new branches once rooting occurs. Firm the soil gently around each cutting to eliminate air pockets.
I learned through trial and error that cuttings planted too shallowly often dry out before they can establish roots.
11. Space Multiple Cuttings Correctly
Allow 6-12 inches between cuttings if you’re planting several in the same container or bed. This spacing gives each new plant room to develop its root system without excessive competition.
For landscape plantings that will grow into full trees, you’ll eventually want 15-20 feet between mature willows. I once planted cuttings too close together and had to transplant them later, which stressed the young trees.
Consider your end goal – closer spacing works for living fences or hedges, while specimen trees need much more room to reach their full potential.
12. Water Thoroughly After Planting
Give your newly planted cuttings a deep, thorough watering until water runs from the drainage holes or soaks well into the ground. This initial soaking helps settle the soil around the cuttings and provides needed moisture.
Avoid harsh water pressure that might dislodge the cuttings. A gentle shower from a watering can works perfectly. After this first watering, the soil should be consistently moist but never soggy.
The most common mistake I made as a beginner was overwatering, which can cause rot before roots develop.
13. Create A Humidity Environment
Cover potted cuttings with a clear plastic bag or dome to create a mini-greenhouse effect. This maintains higher humidity around the cuttings, reducing water loss while they lack roots.
For outdoor plantings, you can place clear plastic bottles with the bottoms cut off over individual cuttings. I’ve found this method particularly useful in drier climates.
Remove these covers occasionally to allow fresh air circulation, preventing mold growth. Once you see new growth emerging, gradually remove the covers to harden off your new willows.
14. Maintain Proper Moisture Levels
Keep the soil consistently moist during the first few weeks after planting. Check daily by pressing your finger about an inch into the soil – it should feel like a wrung-out sponge.
Reduce watering frequency as roots develop, but never let the soil dry out completely. My most successful batch received morning misting rather than heavy watering.
After about 3-4 weeks, you can transition to a regular watering schedule based on your climate and soil conditions. Well-established willows are quite drought-tolerant, but young cuttings need reliable moisture.
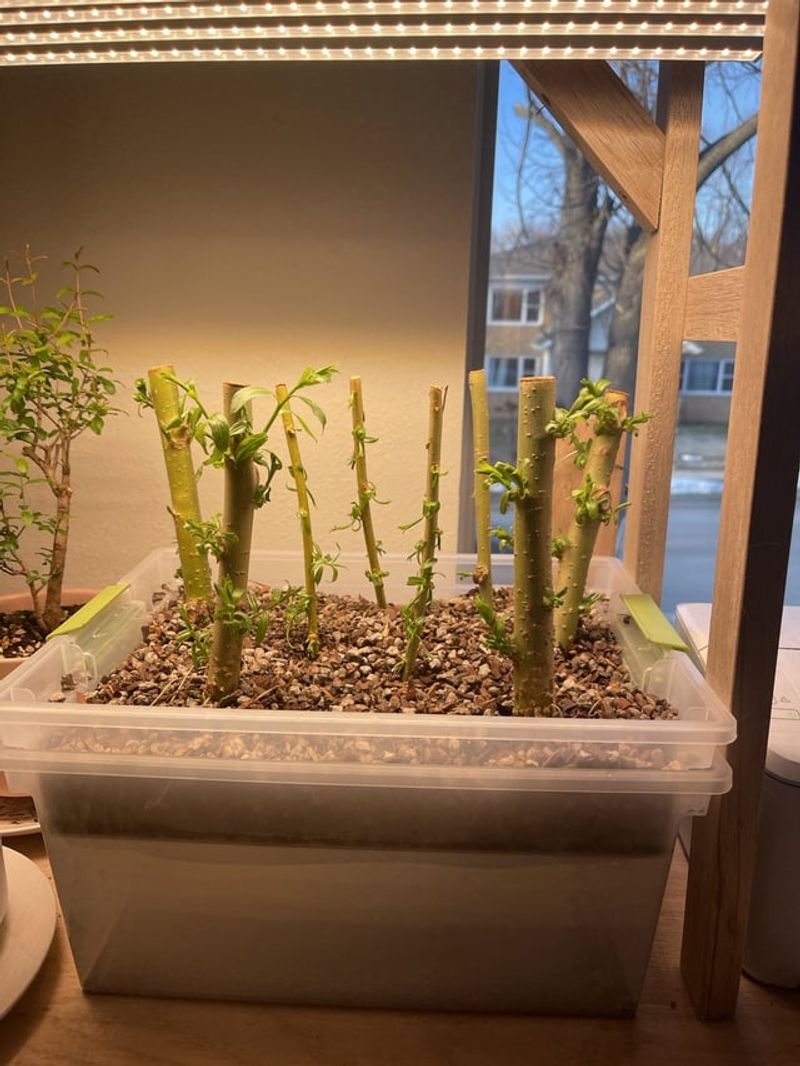
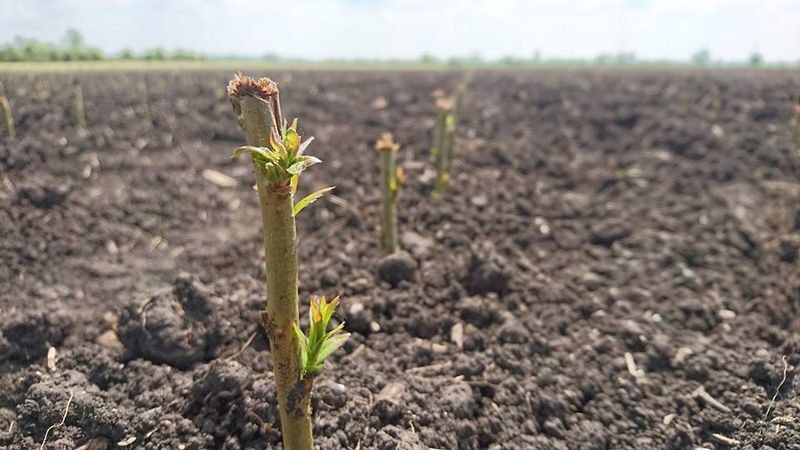
15. Watch For Signs Of Growth
Look for swelling buds and new leaf growth within 2-4 weeks of planting. This above-ground activity indicates that your cutting has begun developing roots below the surface.
Resist the temptation to tug on the cuttings to check for roots. The first time I did this, I damaged the delicate new root system that was just forming.
Yellowing leaves might indicate overwatering, while wilting despite moist soil could mean the cutting hasn’t rooted yet. Most cuttings that successfully root will show obvious new growth within the first month.
16. Transplant When Ready
Wait until your willow cuttings have developed a good root system before transplanting to their permanent location. This usually takes about 8-12 weeks from initial planting.
Gently remove a cutting from its container to check root development – look for white, healthy roots at least 2-3 inches long. My first willows were ready for transplanting when new shoots had grown about 4 inches.
Choose an overcast day for transplanting to reduce transplant shock. Water thoroughly after moving to help the roots establish in their new location.