15 Smart Ways To Use Time-Release Fertilizer Effectively (And Get The Most Out Of Each Dose)
Time-release fertilizer is like a slow-cooking feast for your plants—and using it right makes all the difference.
I’ve had my share of overfeeding mishaps and patchy growth, but these 15 tips helped turn things around. It’s all about timing, placement, and a little patience. With the right approach, every dose stretches further and works harder for your garden.
Let’s make each little pellet count!
1. Calculate Your Garden’s Exact Needs
Never guess when it comes to fertilizer amounts. Measure your garden beds precisely and follow package instructions to determine the correct dosage for your square footage.
Using too little wastes your time, while too much can damage plants and pollute waterways. Keep a garden journal noting which application rates gave the best results, allowing you to fine-tune your approach each season.
2. Apply Before The Growing Season
Timing makes all the difference with time-release fertilizer. Apply it 2-3 weeks before your plants’ active growing period begins to ensure nutrients are available when needed most.
For spring gardens, this might mean late winter application while the ground is workable. Your plants will have access to a steady nutrient supply right when their growth accelerates, giving them a powerful head start.
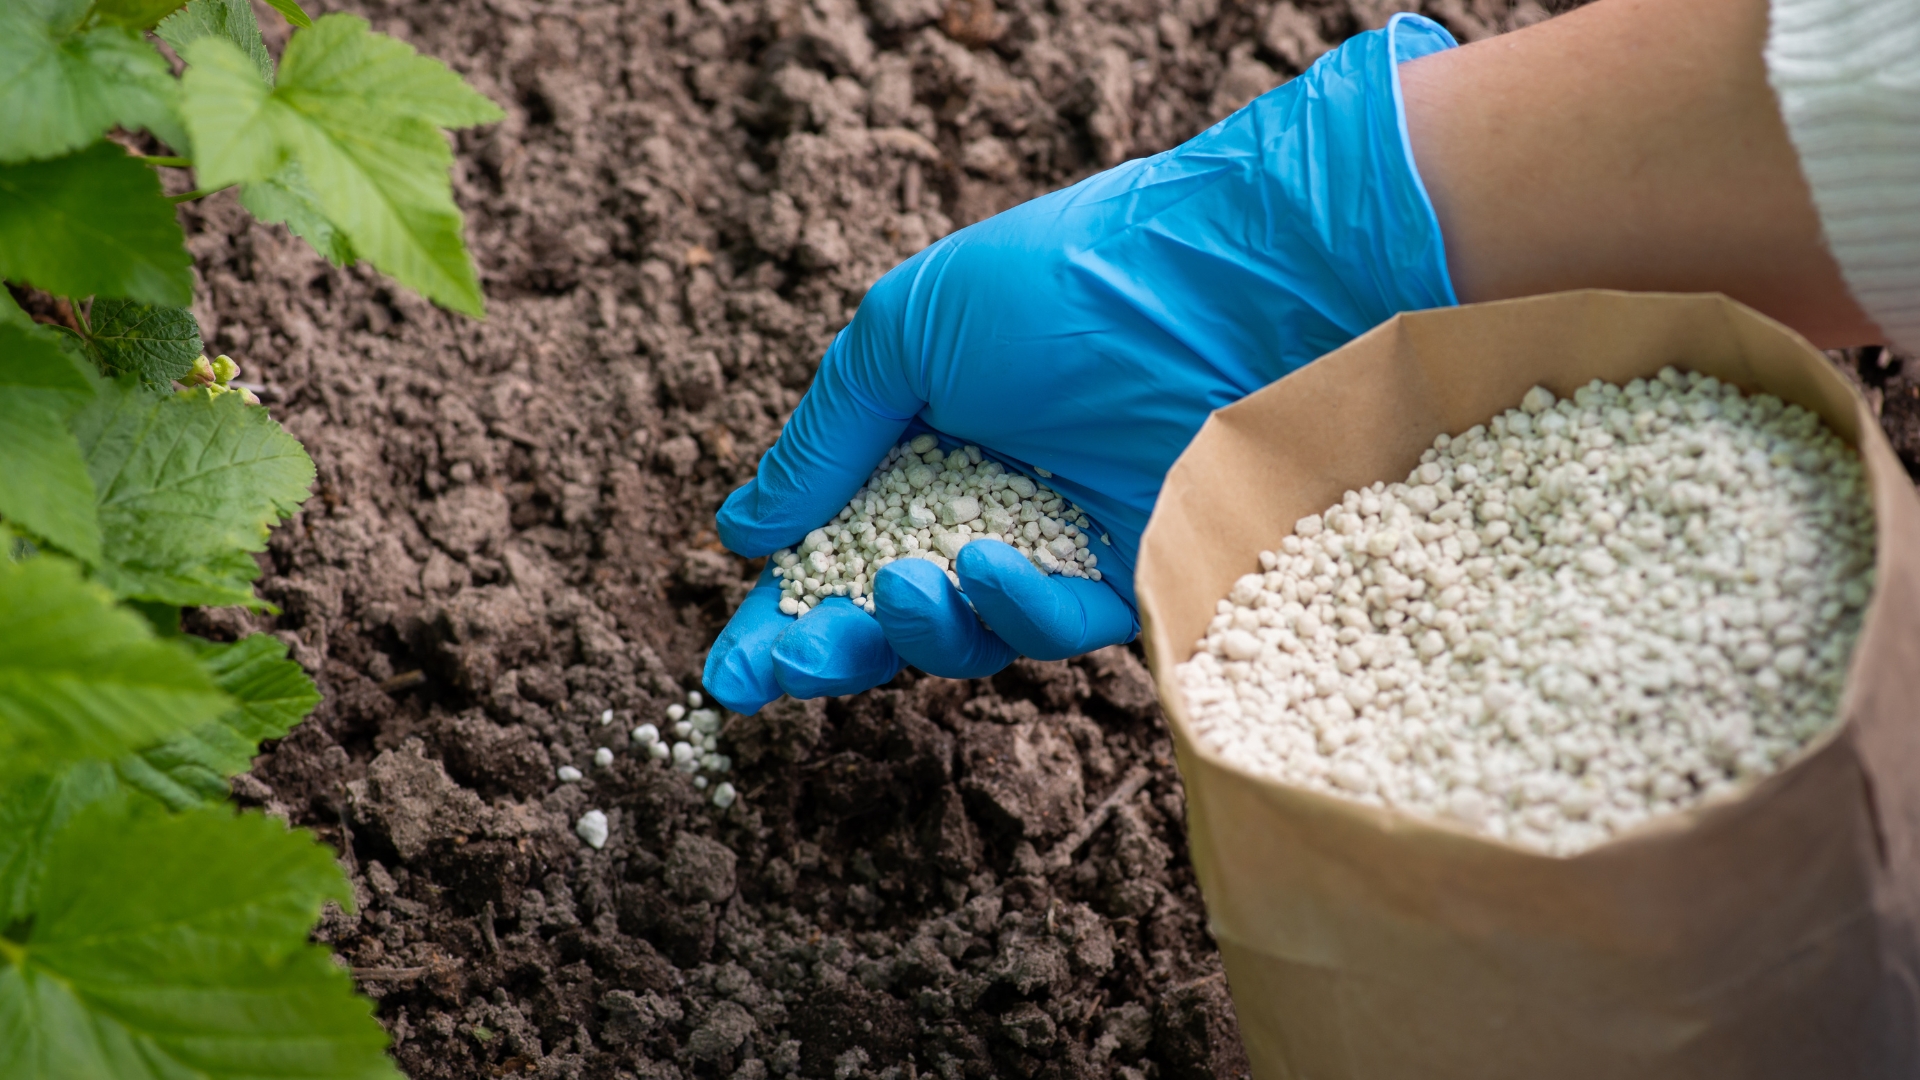
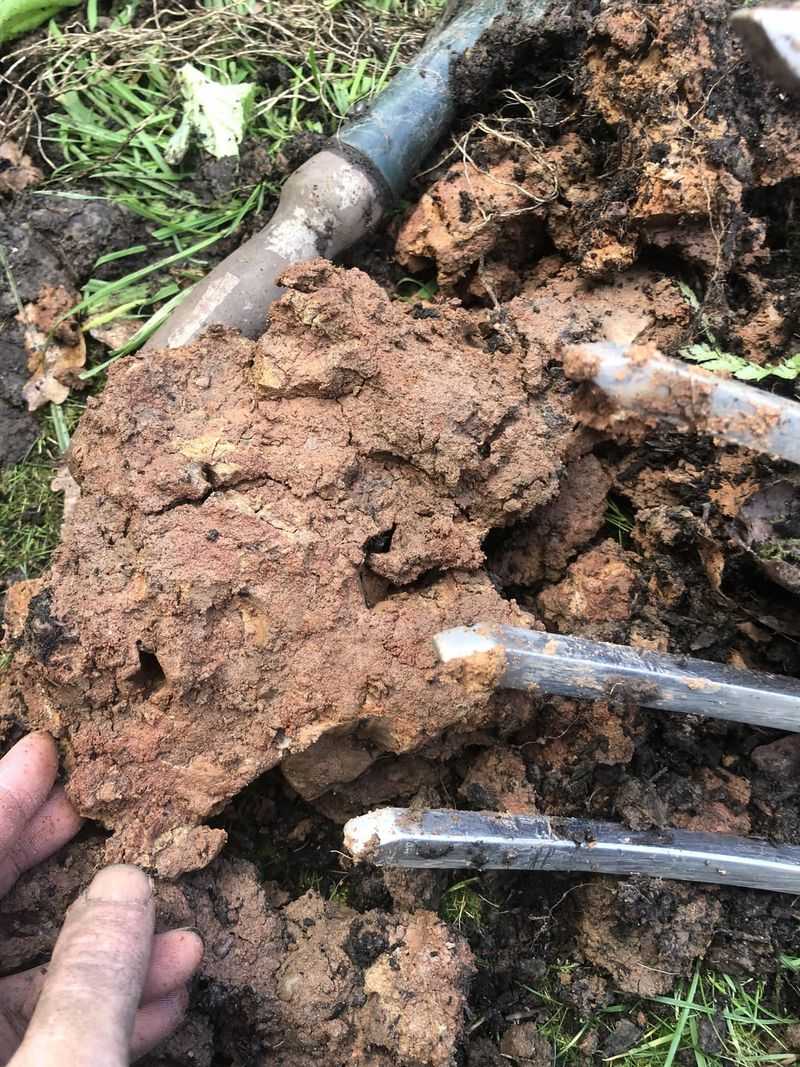
3. Incorporate Into The Soil Properly
Simply scattering fertilizer on top of soil limits its effectiveness. Work time-release granules into the top 3-4 inches of soil where most feeding roots grow, using a garden fork or small tiller.
This positioning helps the nutrients release directly into the root zone rather than washing away. For potted plants, mix the granules throughout the top half of the container for best results.
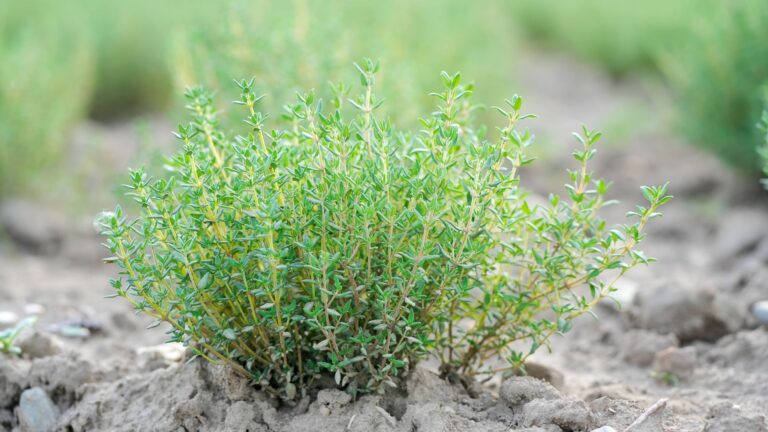
4. Match Fertilizer To Plant Needs

Not all plants have the same nutritional requirements. Choose specific formulations for acid-loving plants like azaleas, or high-nitrogen versions for leafy vegetables.
Flowering plants benefit from higher phosphorus content, while trees and shrubs often need balanced formulas. Reading plant tags or researching specific needs ensures you’re not wasting specialized nutrients on plants that won’t benefit from them.
5. Create A Release Calendar
Most time-release products specify how long they last—typically 3, 6, or 9 months. Create a simple calendar marking when each garden area will need reapplication.
Weather affects release rates; hotter conditions speed up nutrient delivery. In warm climates, expect faster depletion than the package suggests. Setting phone reminders ensures you’ll reapply before plants start showing deficiency symptoms.
6. Use Mulch As A Partner
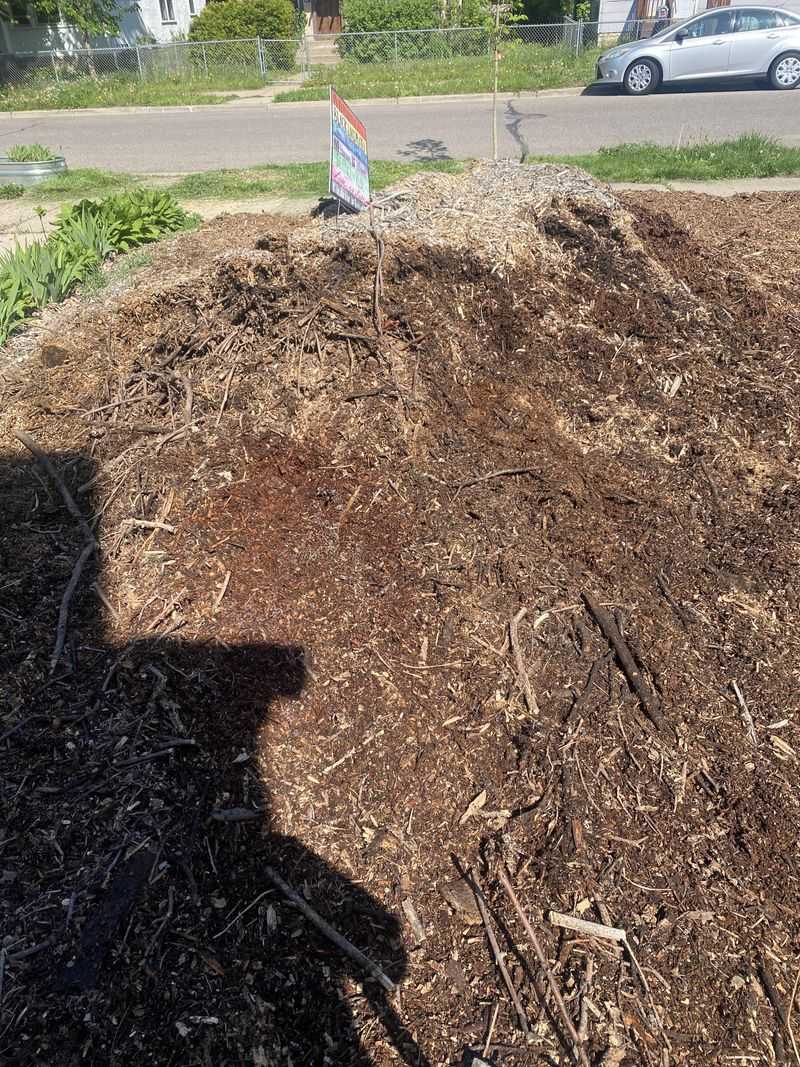
A 2-3 inch layer of mulch over fertilized soil creates the perfect environment for time-release products. The mulch moderates soil temperature and moisture, preventing the fertilizer from releasing too quickly during hot or rainy spells.
This protective layer also stops granules from washing away during heavy rain. Choose organic mulches that will eventually break down, adding even more nutrients to your soil.
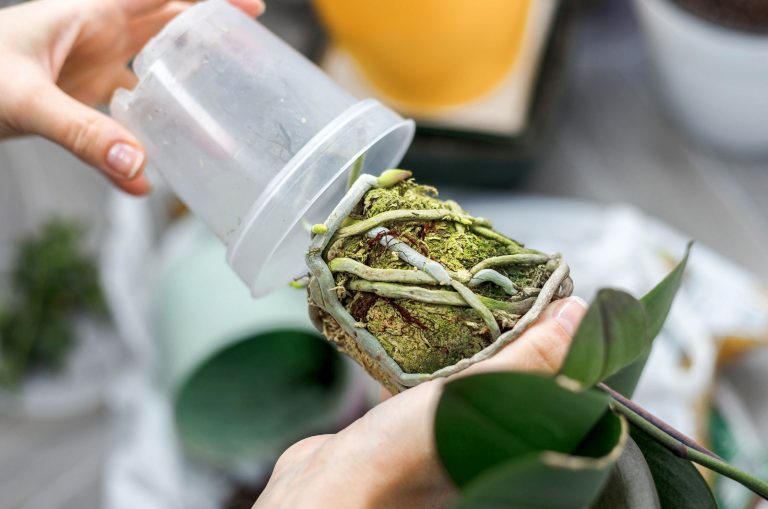
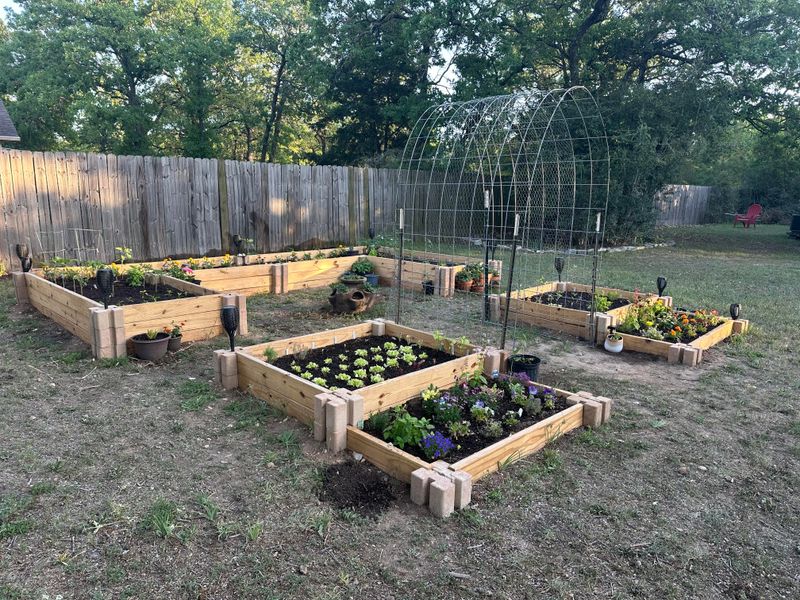
7. Adjust For Container Plants
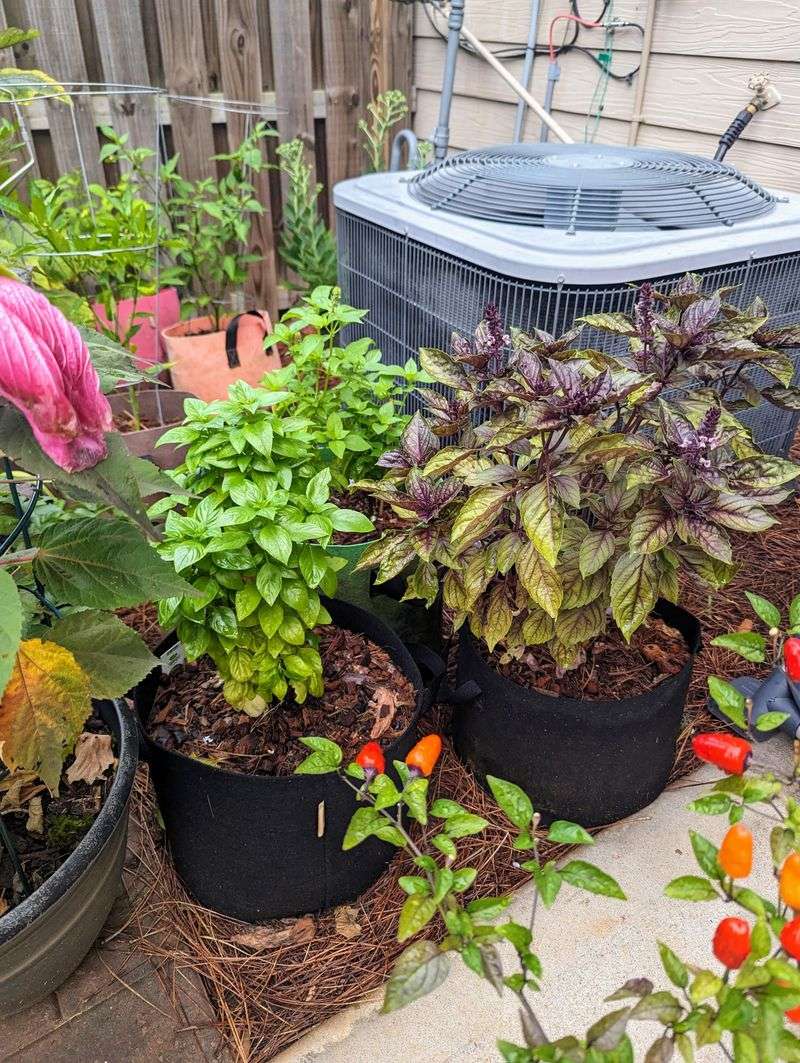
Container plants need special consideration with time-release fertilizer. Reduce the recommended dose by about 25% since nutrients have nowhere to spread and can build up in the limited soil volume.
Potted plants also experience more temperature fluctuations, which affects release rates. Position containers away from heat-reflecting surfaces like walls or pavement to prevent fertilizer from releasing too quickly in summer heat.
8. Monitor Moisture Levels
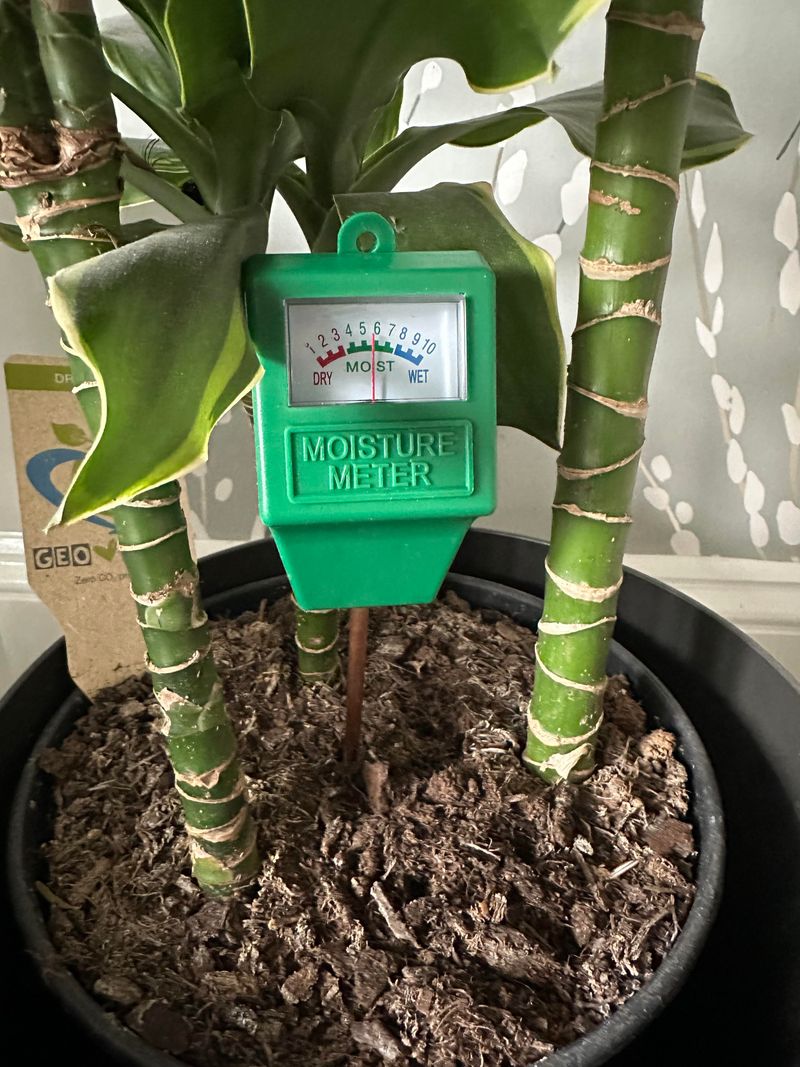
Time-release fertilizers need consistent moisture to function properly. The nutrients dissolve gradually when in contact with water, then release into the soil.
During dry spells, these fertilizers essentially pause their activity. Maintain even soil moisture with regular watering or irrigation systems. A simple moisture meter can help you track conditions and ensure your fertilizer keeps working as intended.
9. Combine With Compost
Supercharge your time-release fertilizer by applying it alongside compost. The organic matter in compost improves soil structure, allowing fertilizer nutrients to distribute more evenly throughout the root zone.
Beneficial microbes in compost also help break down and transport nutrients to plant roots. This powerful combination creates ideal growing conditions where synthetic fertilizers work more efficiently alongside natural soil biology.
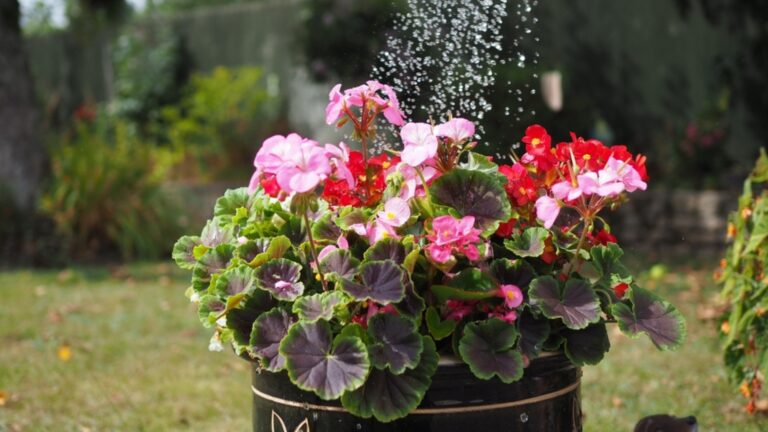
10. Protect From Heavy Rain
Heavy downpours can wash away fertilizer before it has a chance to work. Apply time-release products during dry weather forecasts, giving granules time to settle into the soil.
For sloped gardens, create small soil berms or edges to prevent runoff during storms. This simple step not only maximizes your fertilizer investment but also protects local waterways from nutrient pollution that can cause harmful algae blooms.
11. Supplement With Liquid Feeds
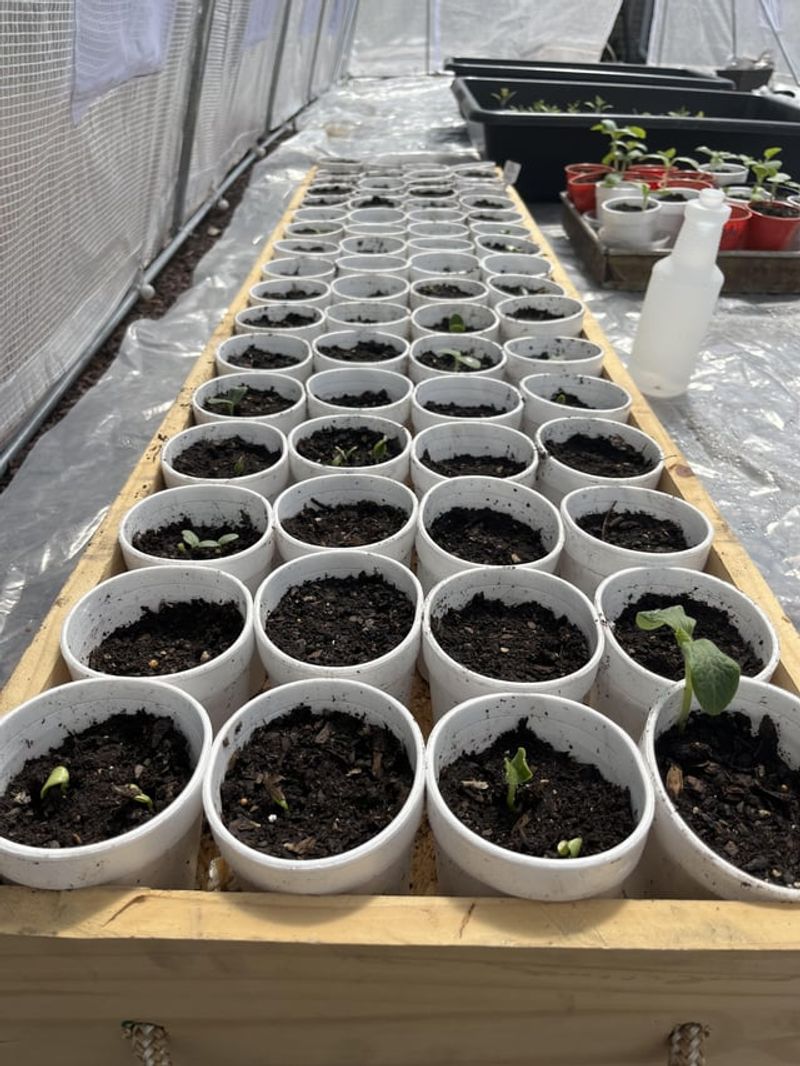
Time-release fertilizers excel at providing steady nutrition, but sometimes plants need an extra boost. Keep liquid fertilizers on hand for supplemental feeding during critical growth phases or when plants show deficiency signs.
Young seedlings, flowering plants at budding stage, or vegetables setting fruit can benefit from these quick-acting nutrients. This two-pronged approach ensures plants have both consistent baseline nutrition and targeted boosts when needed most.
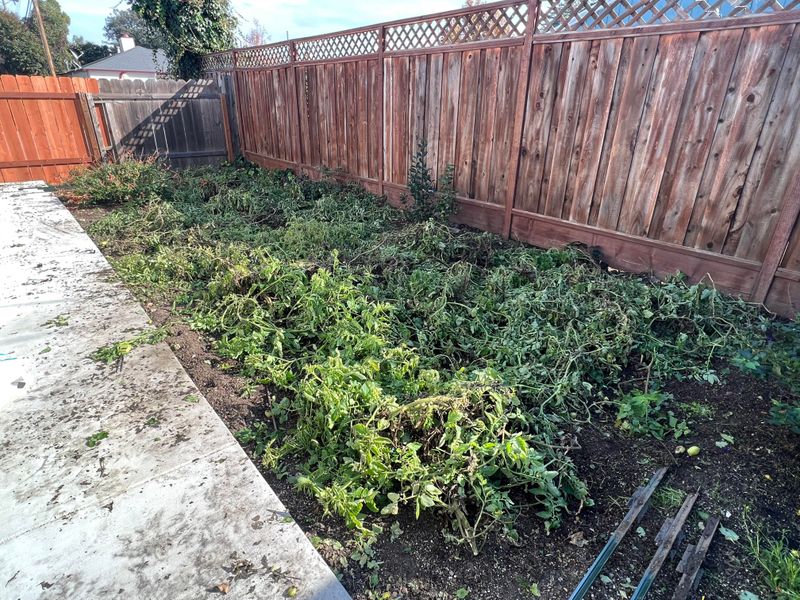
12. Test Soil Before Reapplication
Don’t automatically reapply when your time-release fertilizer period ends. First, test your soil to see what nutrients are actually needed. Home test kits or professional lab tests reveal if you have excesses or deficiencies.
You might discover that only certain nutrients need replenishing, allowing you to choose a more targeted product. This precision approach prevents nutrient imbalances that can actually harm plant growth despite your best intentions.
13. Adjust For Seasonal Changes
Release rates change with the seasons, requiring thoughtful adjustments. In hot summer months, nutrients release faster, potentially depleting sooner than expected. During cool seasons, the process slows considerably.
Reduce application rates by about 20% in summer and expect to wait longer for results in winter. Some gardeners switch to shorter-duration products in summer and longer-lasting ones in fall, maximizing efficiency across changing conditions.
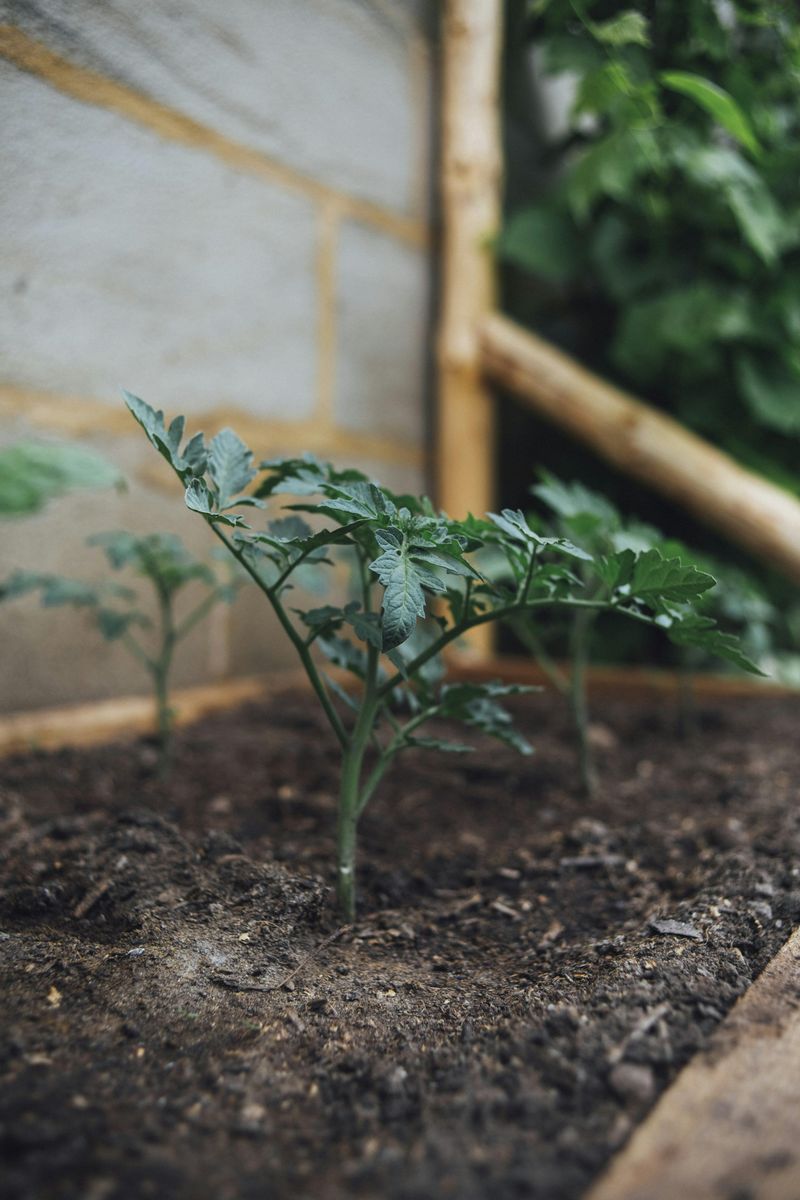
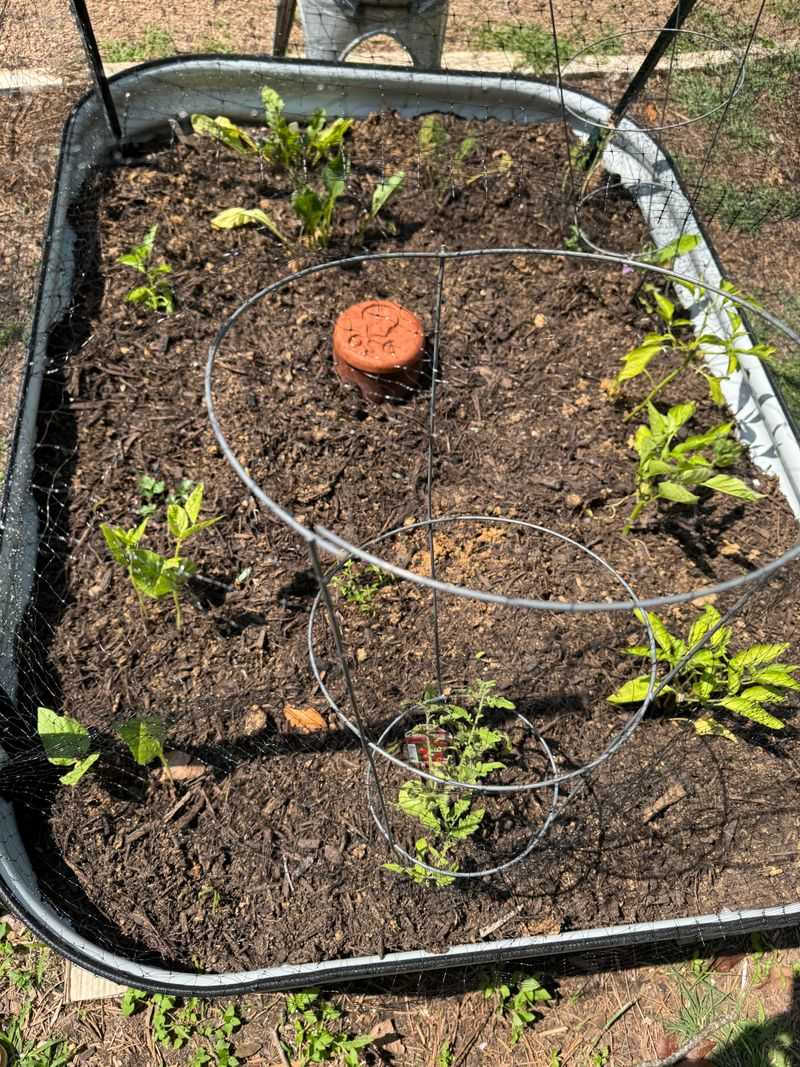
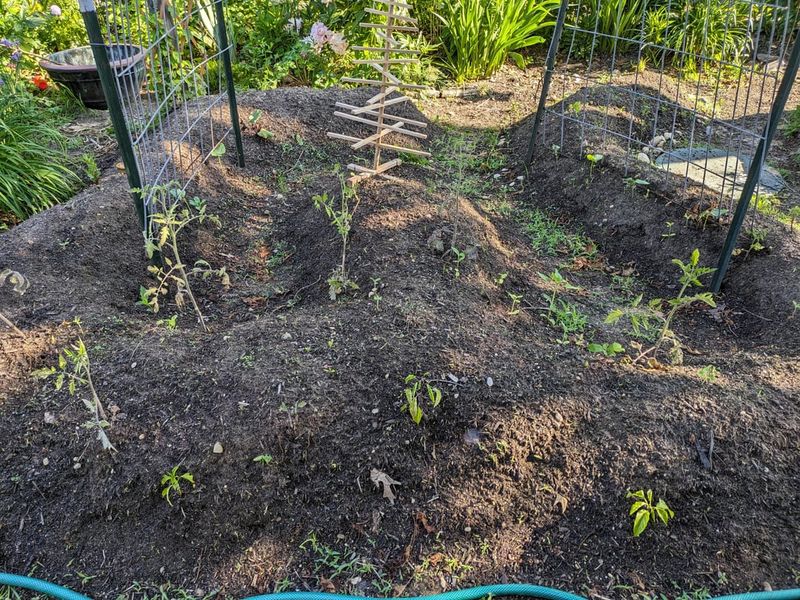
14. Create Planting Hole Boosts

When installing new plants, create a fertilizer zone that encourages root expansion. Mix a small amount of time-release granules into the backfill soil that goes around the new plant’s root ball.
Avoid placing fertilizer directly in the bottom of the hole, which can cause root burn. This strategic placement encourages roots to grow outward into the nutrient-rich soil, establishing a stronger foundation while minimizing transplant shock.
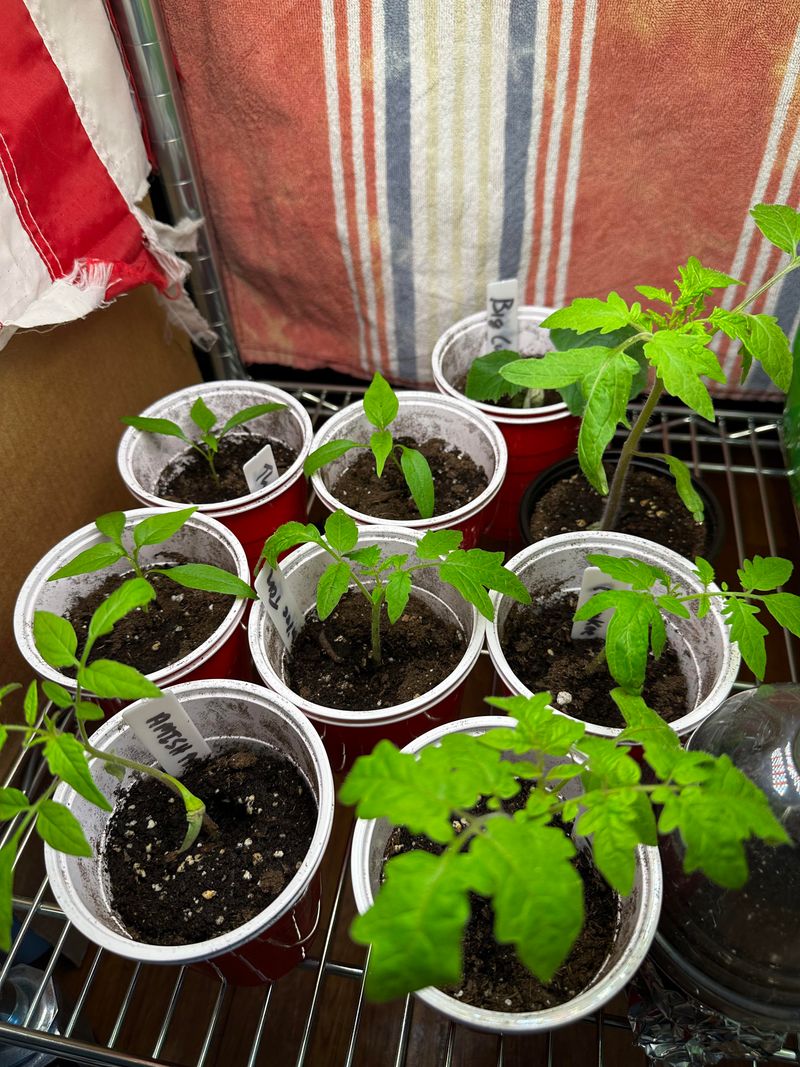
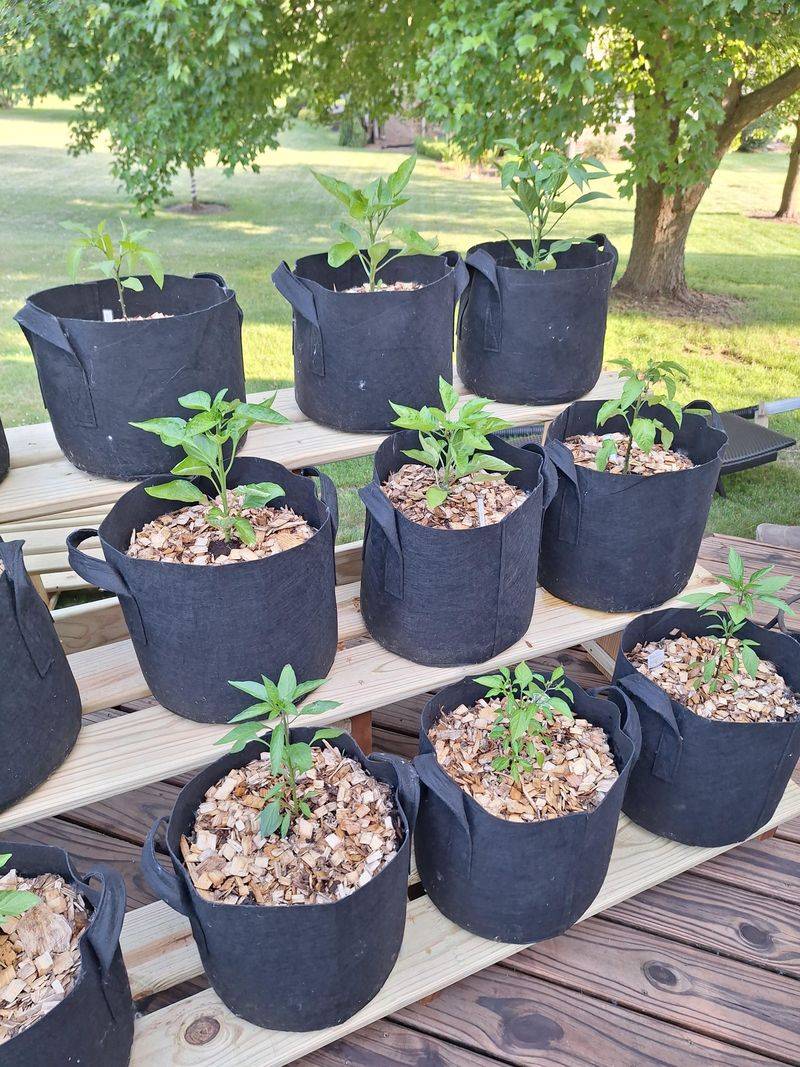
15. Track Results With Photos
Turn your garden into a scientific experiment by documenting fertilizer performance. Take regular photos of plants from the same angle and distance throughout the growing season.
This visual record helps identify which plants respond best to your time-release regimen and which might need adjustments. Dating your photos and noting fertilizer types and rates creates valuable reference material that improves your garden results year after year.