18 Tips On How To Dry Your Own Herbs For Tea The Right Way
Drying your own herbs for tea is such a satisfying way to enjoy fresh flavors all year long. When done right, it locks in those lovely essential oils that give each herb its unique taste and health benefits.
Plus, homemade dried herbs taste fresher than anything you’ll find on store shelves. I’ve learned that the key to success is using simple drying methods that keep the herbs’ aroma and color intact. It’s a bit like preserving a little piece of your garden to savor whenever you want. Not only does this save money, but it also cuts down on waste.
With a little practice, you’ll be blending your own aromatic teas that feel personal and nourishing. It’s a small ritual that brings a lot of joy—and a delicious cup every time.
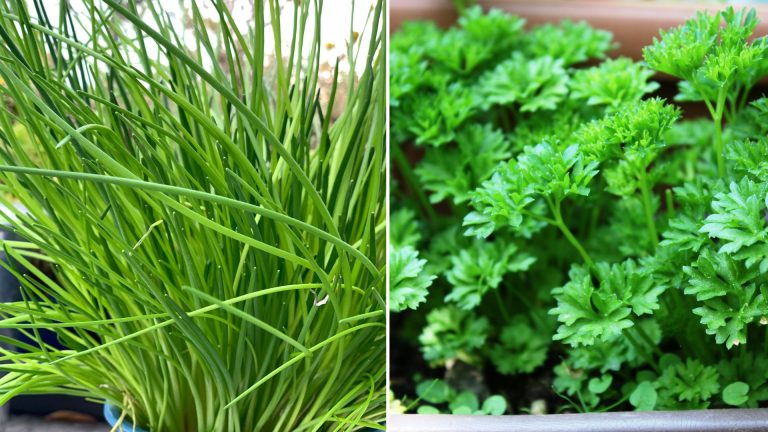
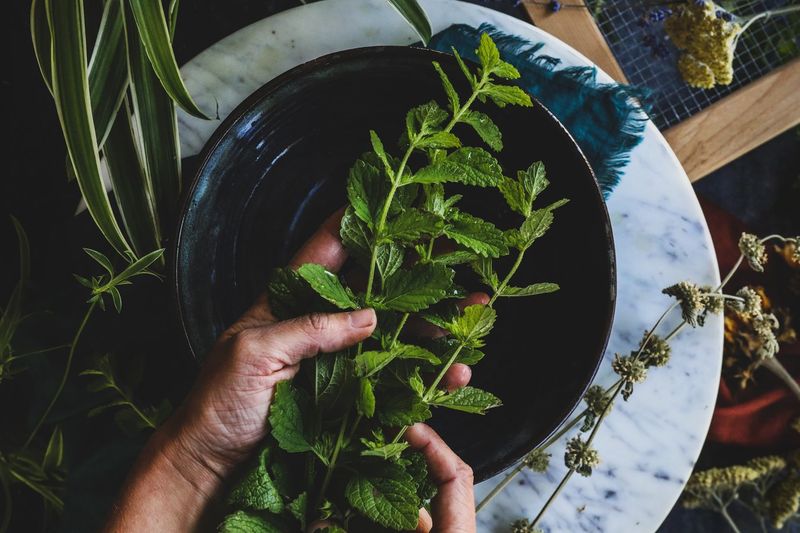
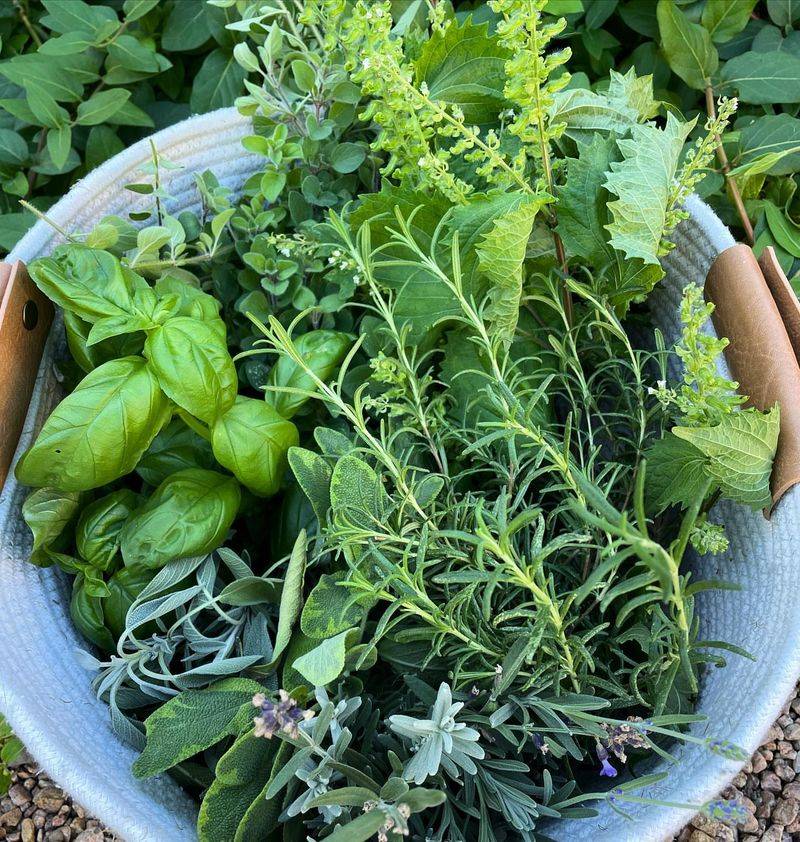
1. Harvest At The Right Moment
Morning harvesting yields the best results for herb drying. Once the dew has evaporated but before the sun gets too hot, herbs contain their highest concentration of essential oils. This timing—typically between 9-10 AM—ensures your dried herbs will have maximum flavor.
Different herbs have optimal harvesting points in their growth cycle. Leafy herbs like mint and lemon balm should be picked before flowering, while lavender and chamomile are best harvested when flowers have just opened. Timing truly affects the final taste of your tea.
I’ve found that herbs harvested during a dry spell taste more concentrated than those collected after rainy days. The plant’s natural oils are less diluted, resulting in more flavorful dried herbs for your tea blends.
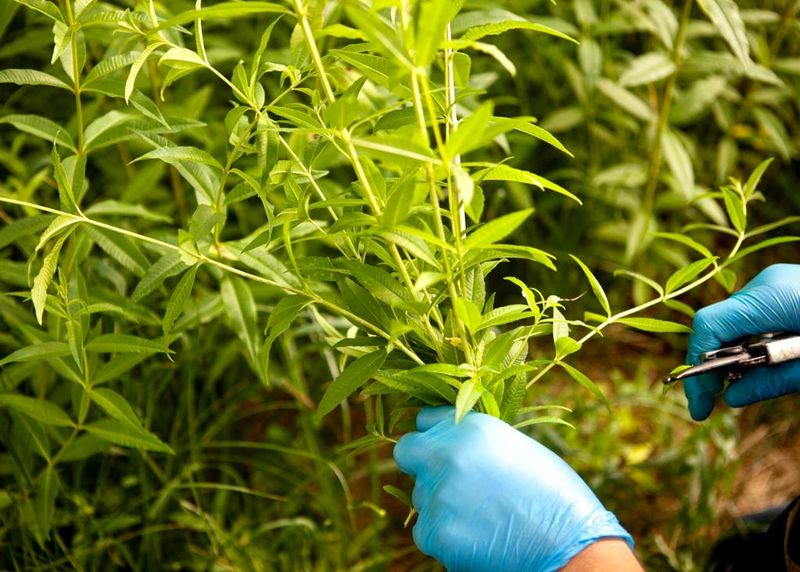
2. Inspect Before You Dry
Always examine your herbs closely before starting the drying process. Damaged or discolored leaves won’t improve during drying—they’ll only get worse. Removing these imperfections now saves time and improves quality later.
Bugs love to hide in herb bundles, especially in leafy varieties like mint or basil. Give your harvested herbs a gentle shake outdoors and look carefully between leaves. Small insects can spoil entire batches if they remain trapped during drying.
Garden debris like soil particles or tiny twigs should be removed before drying begins. Last summer, I neglected this step with my lemon balm and ended up with gritty tea that required straining twice. A quick rinse followed by thorough patting dry is sometimes necessary for particularly dirty harvests.
3. Wash Wisely (Or Not at All)
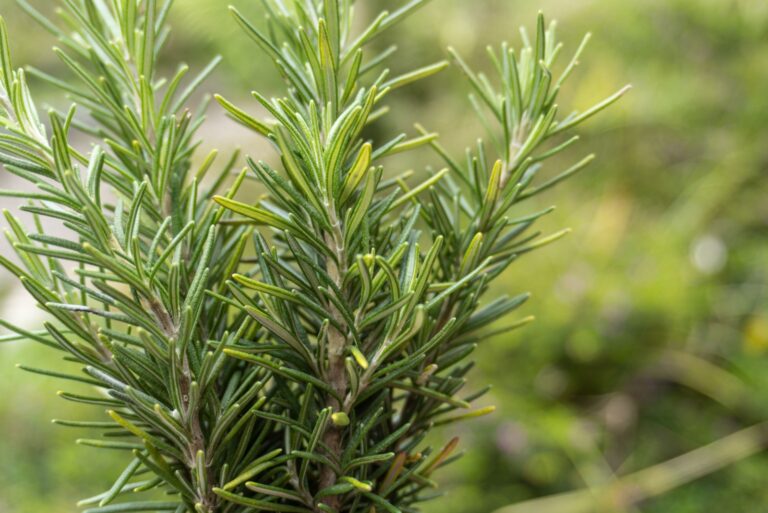
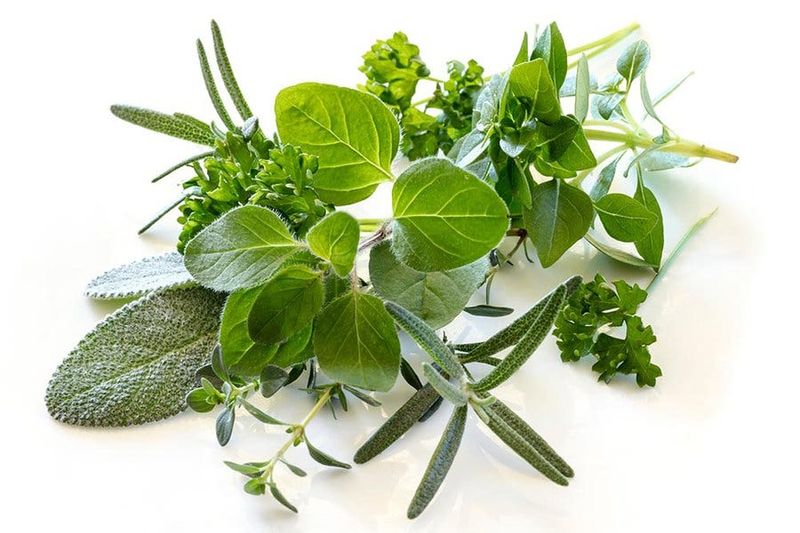
Many herbs don’t actually need washing if they’re grown organically and look clean. Washing adds moisture that extends drying time and can potentially reduce essential oil content. For herbs like thyme, rosemary, and sage, a gentle shake to remove dust is often sufficient.
When washing is necessary for muddy or dusty herbs, use cold water quickly and gently. Swish them briefly rather than soaking, which can leach out flavors. Pat them thoroughly dry with clean kitchen towels afterward—any remaining moisture invites mold growth.
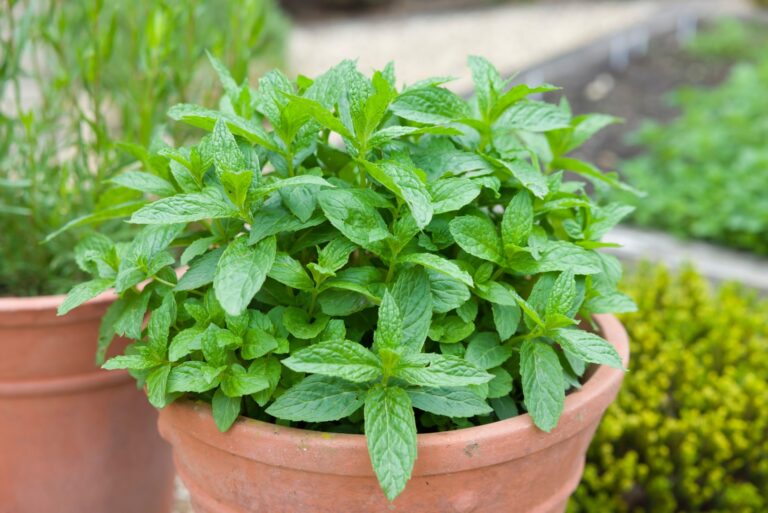
Delicate herbs like mint and basil bruise easily during washing. Instead of running them under a tap, try misting them lightly with a spray bottle and then patting dry. This method preserves their appearance and flavor while still removing surface dirt.
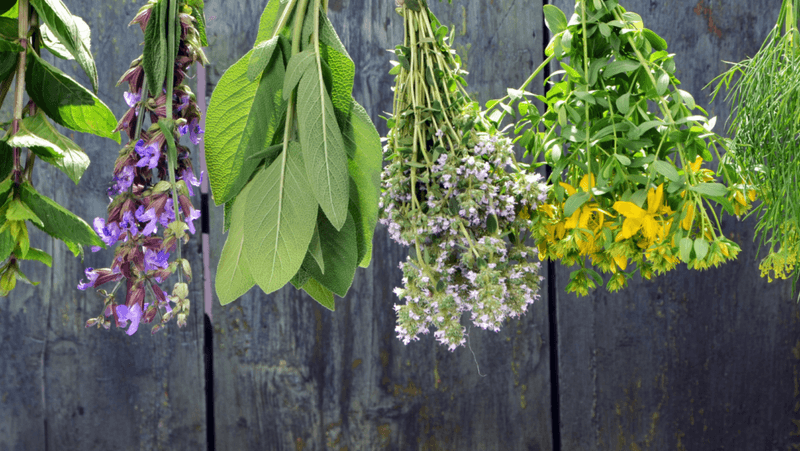
4. Bundle With Breathing Room
Creating herb bundles that are too dense is a common mistake when air-drying. Thick bunches trap moisture in the center, leading to mold or uneven drying. Keep bundles small—about an inch in diameter at the stems—to allow air circulation throughout.
Secure your bundles with natural twine or cotton string rather than rubber bands. As herbs dry and shrink, rubber bands can cut into stems and damage them. The string should be tight enough to hold herbs together but not so tight that it crushes the stems.
My neighbor once tried drying a massive bundle of mint all at once. The outer leaves dried perfectly while the inner ones developed black spots from trapped moisture. When I suggested smaller bundles hung with space between them, her next batch turned out beautifully with consistent quality throughout.
5. Choose The Perfect Location
The ideal drying spot combines good air circulation, indirect light, and consistent temperature. Avoid kitchens with high humidity from cooking or bathrooms where shower steam can slow the drying process. A spare room, hallway, or dedicated drying cabinet works wonderfully.
Direct sunlight fades color and diminishes essential oils in most herbs. My mint leaves once turned a disappointing brown after drying on a sunny windowsill. Moving my drying operation to a north-facing room with bright indirect light preserved the vibrant green color and peppy flavor.
Temperature stability matters tremendously when drying herbs for tea. Warm air between 70-80°F accelerates moisture evaporation without cooking the herbs. Cool nights followed by warm days can create condensation on partially dried herbs, extending drying time and potentially causing quality issues.
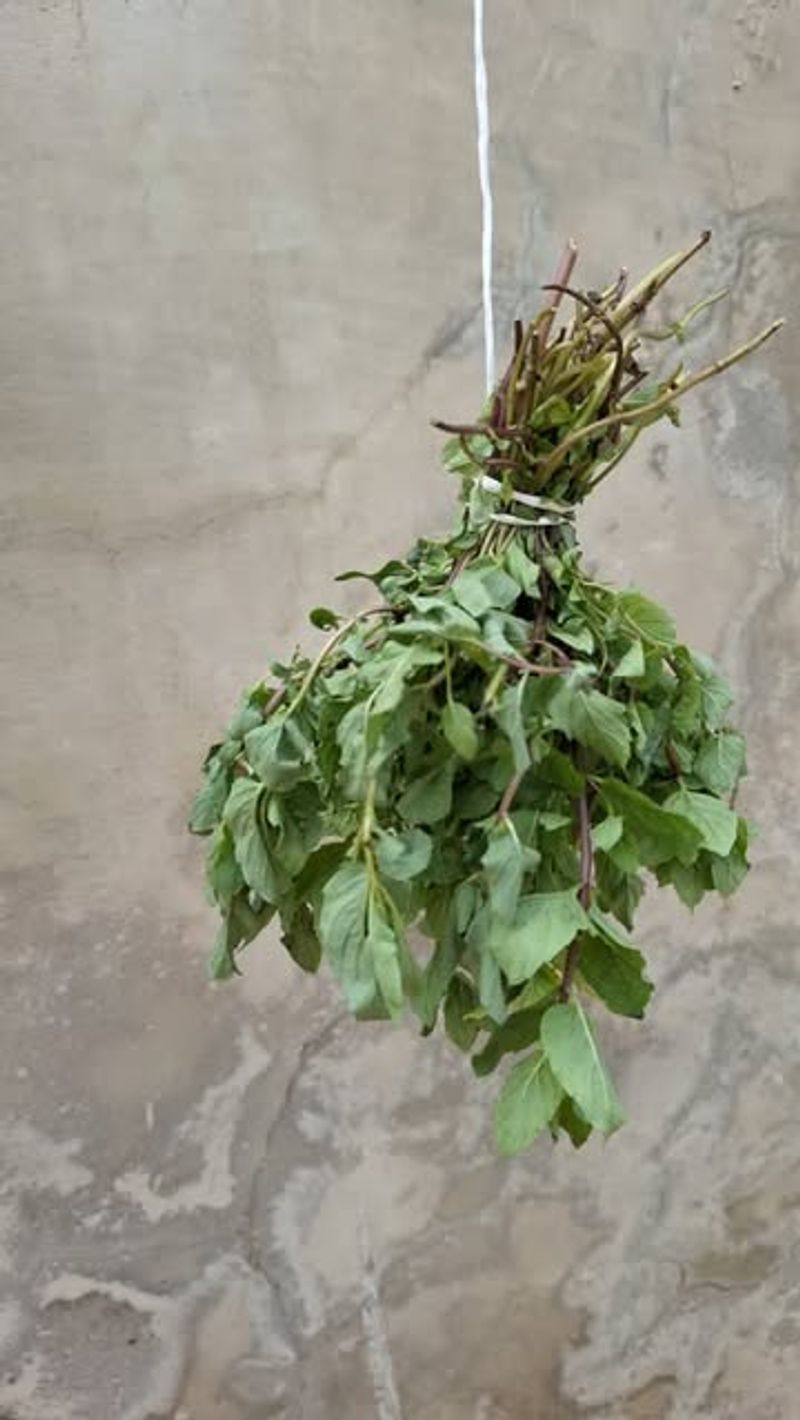
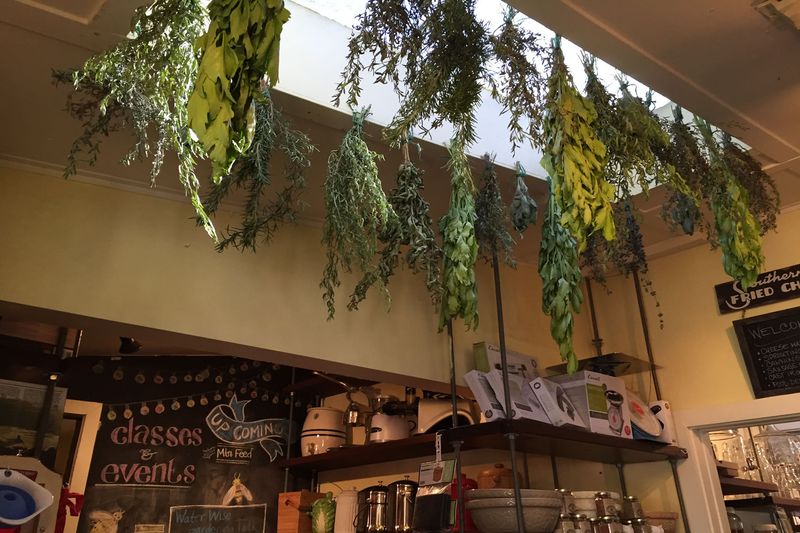
6. Hang Herbs Upside Down
Hanging herbs stems-up encourages essential oils to flow from stems into leaves and flowers—exactly where you want them for flavorful tea. This traditional method has stood the test of time for good reason, maximizing both flavor preservation and proper air circulation.
Use breathable covers for dusty environments while still allowing airflow. Paper bags with small ventilation holes punched in them work perfectly—simply place the bag over hanging herbs and secure loosely around the stems. This protects herbs without trapping moisture.
Smaller-leaved herbs like thyme dry beautifully when hung in bunches, but leafy herbs such as sage benefit from individual stem hanging. Last season, I separated my large sage leaves onto individual stems before hanging, and the drying time decreased by nearly half compared to my previous bundled approach.
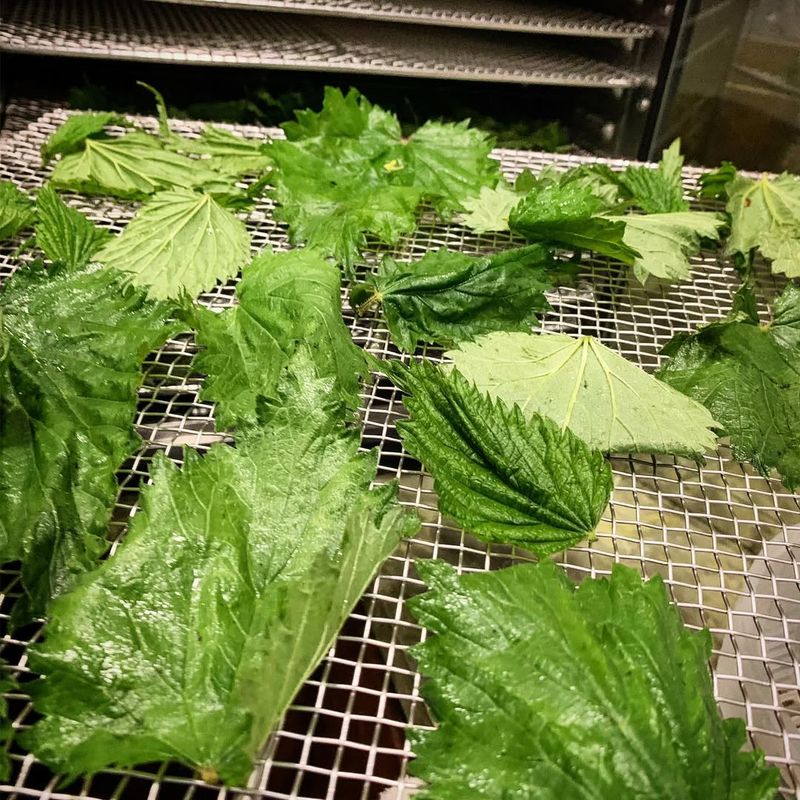
7. Try Screen Drying For Delicate Herbs
Screen drying works exceptionally well for herbs with high moisture content like basil or delicate flowers such as chamomile. The flat arrangement prevents bruising while allowing air to circulate above and below. Old window screens or food dehydrator trays make perfect drying surfaces.
Single-layer arrangement is crucial when using the screen method. Overlapping herbs create pockets where moisture gets trapped, leading to uneven drying or even mold growth. Taking time to arrange herbs properly at the beginning saves disappointment later.
Rotation matters with screen drying. Unlike hanging methods, herbs on screens benefit from gentle turning every 12 hours or so. During my first attempt at screen drying lemon verbena, I neglected this step and ended up with leaves that were crisp on top but still flexible underneath. A simple daily flip solved the problem completely.
8. Monitor Humidity Levels
Humidity directly affects drying time and quality. Ideally, maintain 40-50% relative humidity in your drying area—much higher and herbs dry too slowly, risking mold; much lower and they may dry too quickly, losing essential oils along the way.
Inexpensive hygrometers from garden centers or home improvement stores let you track humidity levels accurately. Mine cost under $10 and has prevented countless drying disasters, especially during rainy weeks when indoor humidity climbs unexpectedly.
Dehumidifiers can transform an otherwise unsuitable space into a perfect herb drying room. Last summer during a particularly muggy August, my basement dehumidifier reduced humidity from nearly 70% to an ideal 45%, saving my entire chamomile harvest that would have otherwise spoiled before drying properly.
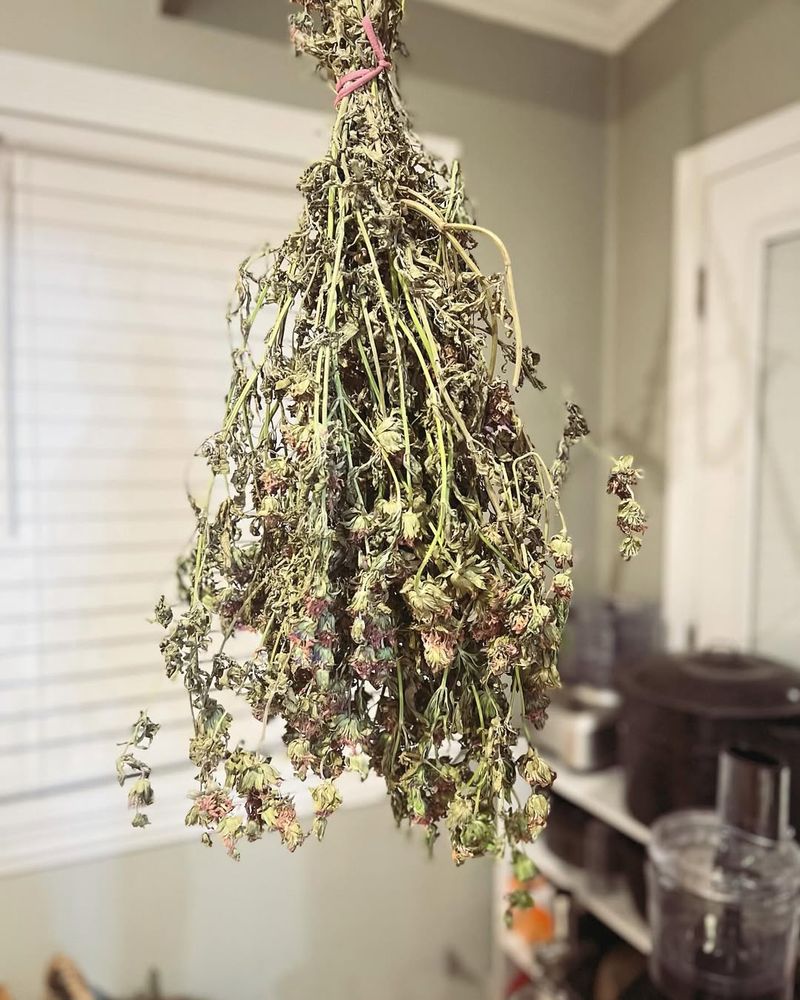
9. Know When They’re Done
Properly dried herbs for tea should be completely crisp and crumble easily between your fingers. The stems should snap cleanly rather than bend, indicating all moisture has evaporated. Any flexibility suggests moisture remains, which can lead to mold during storage.
Different herbs have varying drying times based on their moisture content and leaf thickness. Thin-leaved herbs like thyme might dry in just 4-5 days, while thicker herbs like rosemary could take up to two weeks under identical conditions. Patience yields better results than rushing.
Color change offers clues about drying status. Most herbs darken slightly during drying but should retain reasonable color. Extreme darkening or browning often indicates either too much heat or prolonged drying time. My perfectly dried mint stays green with just a slight darkening, while over-dried batches turn noticeably brown.
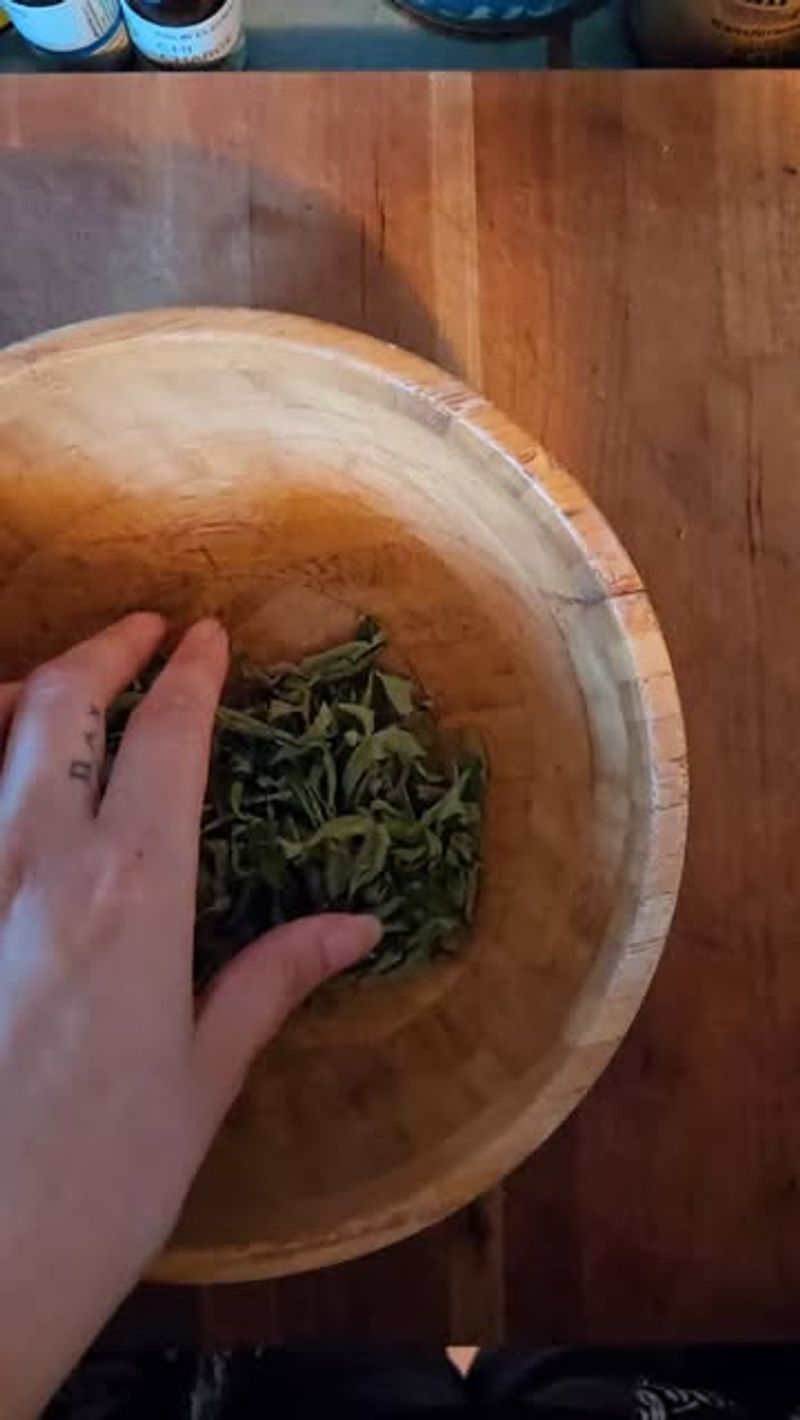
10. Crumble With Care
Wait until herbs are completely dry before crumbling them for storage. Premature crumbling of partially dried herbs compacts the material and traps remaining moisture, potentially causing mold. The extra patience required is always rewarded with better quality tea.
Hand-crumbling preserves more essential oils than mechanical methods. When I switched from using a food processor to gentle hand-crumbling for my lemon balm, the aroma difference was remarkable. The hand-processed herbs released a much stronger citrus scent when steeped.
Some herbs benefit from different crumbling approaches. Leafy herbs like mint can be stripped from stems and stored whole, while others like thyme might be stored on the stem. For chamomile tea, I separate the flower heads from stems but keep them whole until brewing—this preserves delicate flavors that might otherwise dissipate.
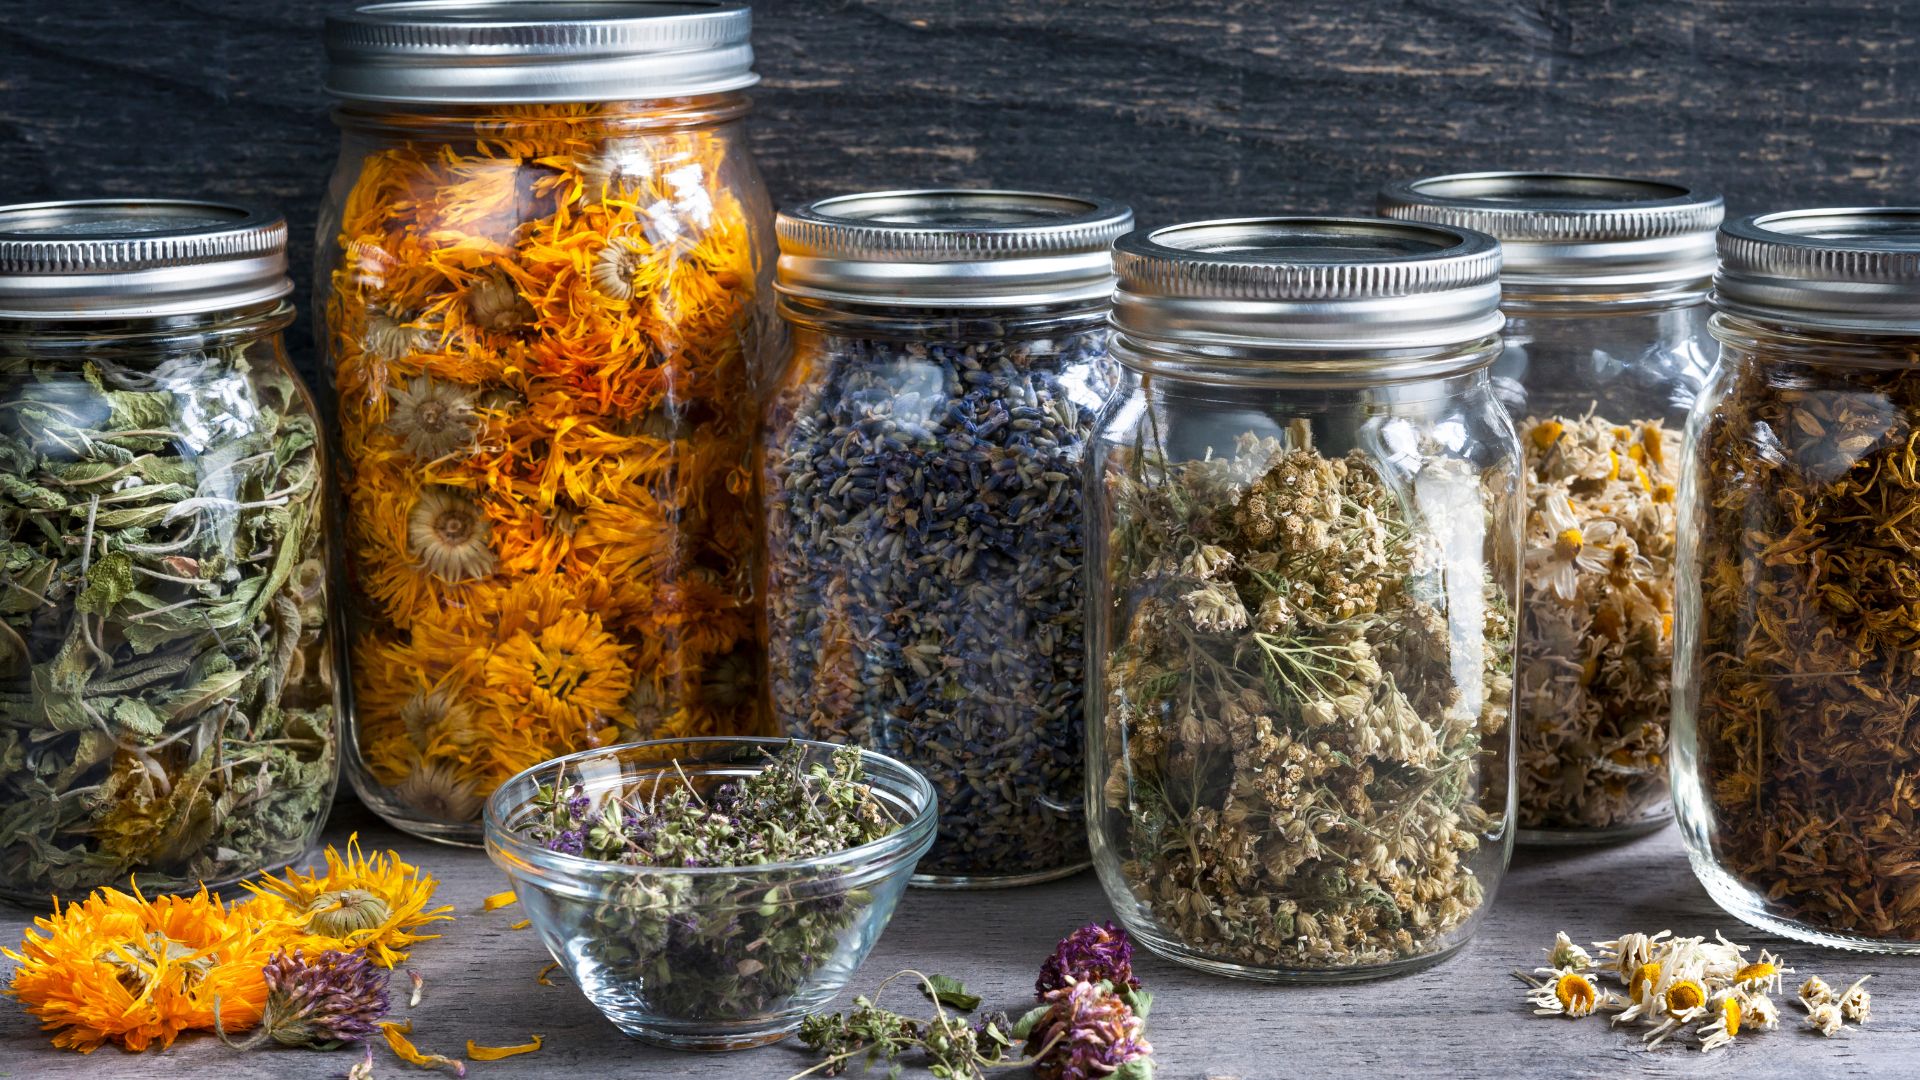
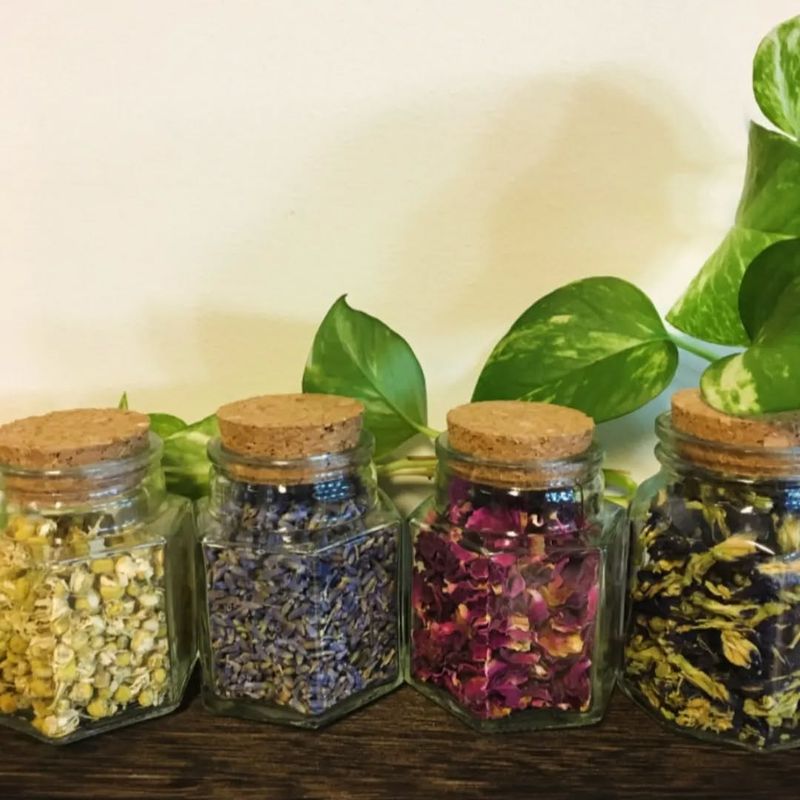
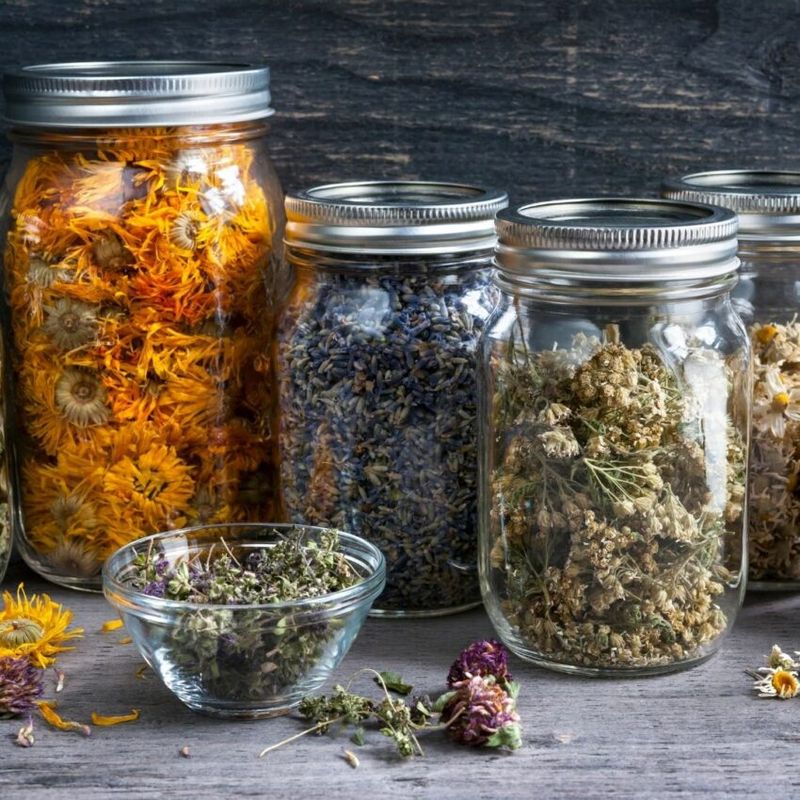
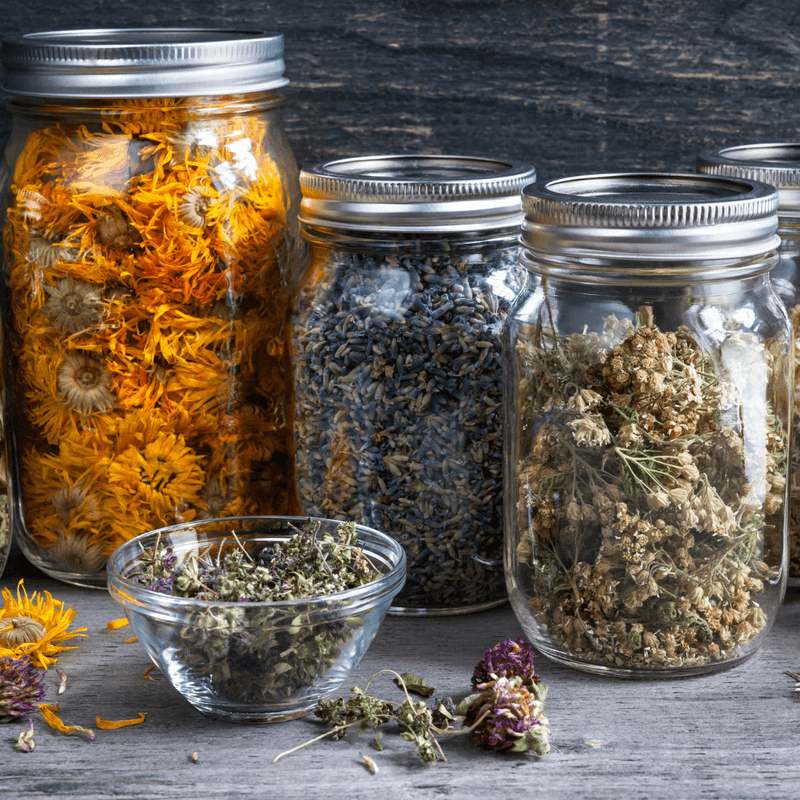
11. Use The Right Containers
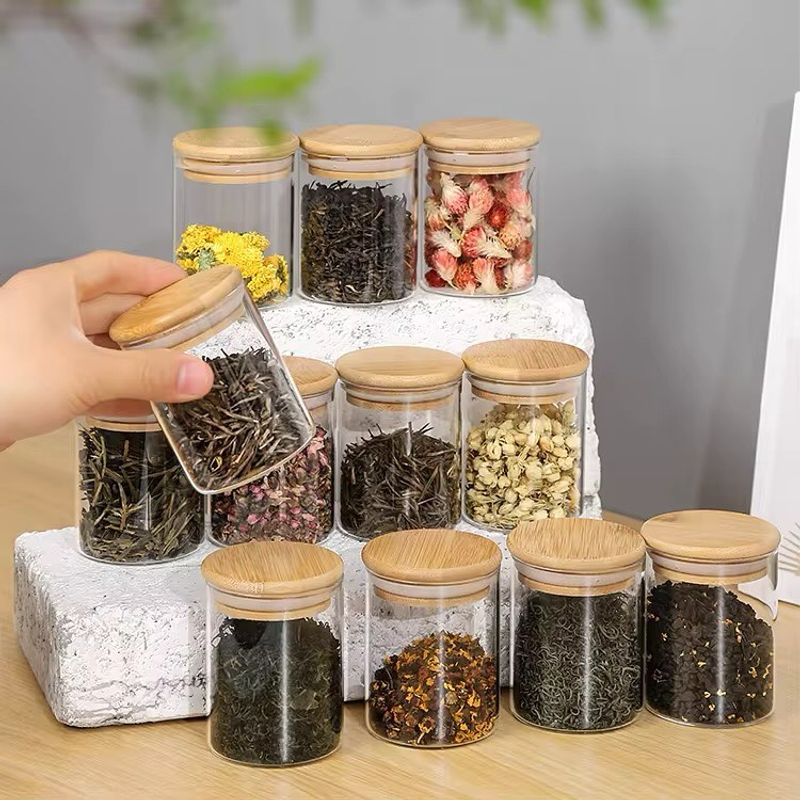
Glass jars with tight-fitting lids provide ideal storage for dried herbs. Unlike plastic, glass doesn’t absorb essential oils or transfer unwanted odors to your precious herbs. Amber or cobalt blue glass offers the added benefit of UV protection, which helps preserve color and potency longer.
Metal containers can react with herb oils, potentially altering flavors. The exception is stainless steel, which works well for short-term storage. My grandmother stored dried mint in an old tin for years, not realizing it was gradually developing a metallic taste that transferred to her tea.
Size matters when choosing storage containers. Partially filled large jars contain too much air, which accelerates flavor deterioration. Select containers that will be at least three-quarters full when filled with your dried herbs. I keep a variety of small to medium jars specifically for storing smaller herb harvests.
12. Label Everything Immediately
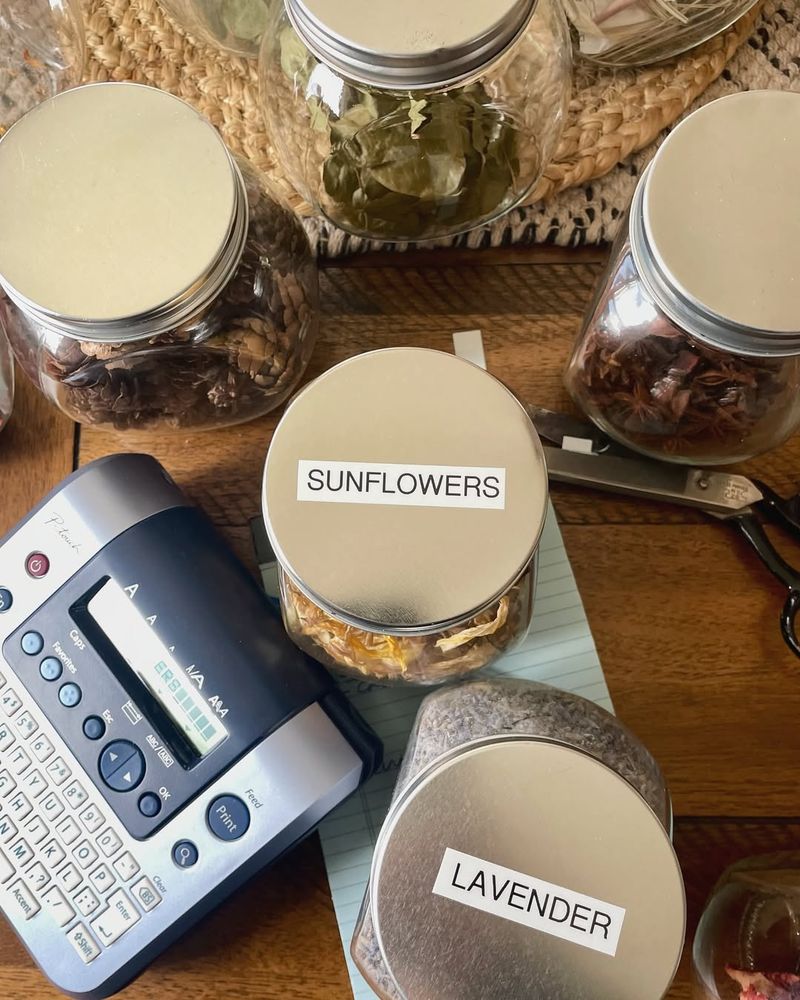
Freshly dried herbs look remarkably similar once stored. Without proper labeling, distinguishing between lemon balm and mint becomes nearly impossible months later. Create detailed labels including the herb name, harvest date, and drying completion date.
Masking tape and permanent markers offer a simple, effective labeling system. For a more elegant solution, printable adhesive labels or small hanging tags work beautifully. My sister once brewed a surprising tea blend after confusing unlabeled jars of dried oregano and peppermint—a mistake she never repeated!
Location information on labels proves invaluable for gardeners. Noting which part of your garden produced particularly flavorful herbs helps with future planting decisions. Last year, I discovered that lemon verbena grown in my partially shaded east bed produced more aromatic leaves than plants in full sun.
13. Store In Cool, Dark Places
Heat, light, and humidity are the three enemies of stored dried herbs. A kitchen cabinet away from the stove provides good conditions, while a shelf above or near cooking areas exposes herbs to temperature fluctuations and cooking steam that degrade quality rapidly.
Basement storage works well only if humidity is controlled. My first attempt at basement herb storage ended with slightly rehydrated, musty-smelling chamomile. After adding a dehumidifier to maintain 40% humidity, the space became perfect for long-term herb storage.
Temperature consistency matters almost as much as the temperature itself. A cool environment with minimal fluctuation preserves herbs better than a space that alternates between 50°F and 70°F. My herb cabinet maintains steady conditions year-round, resulting in well-preserved flavors even after months of storage.
14. Check Periodically For Quality
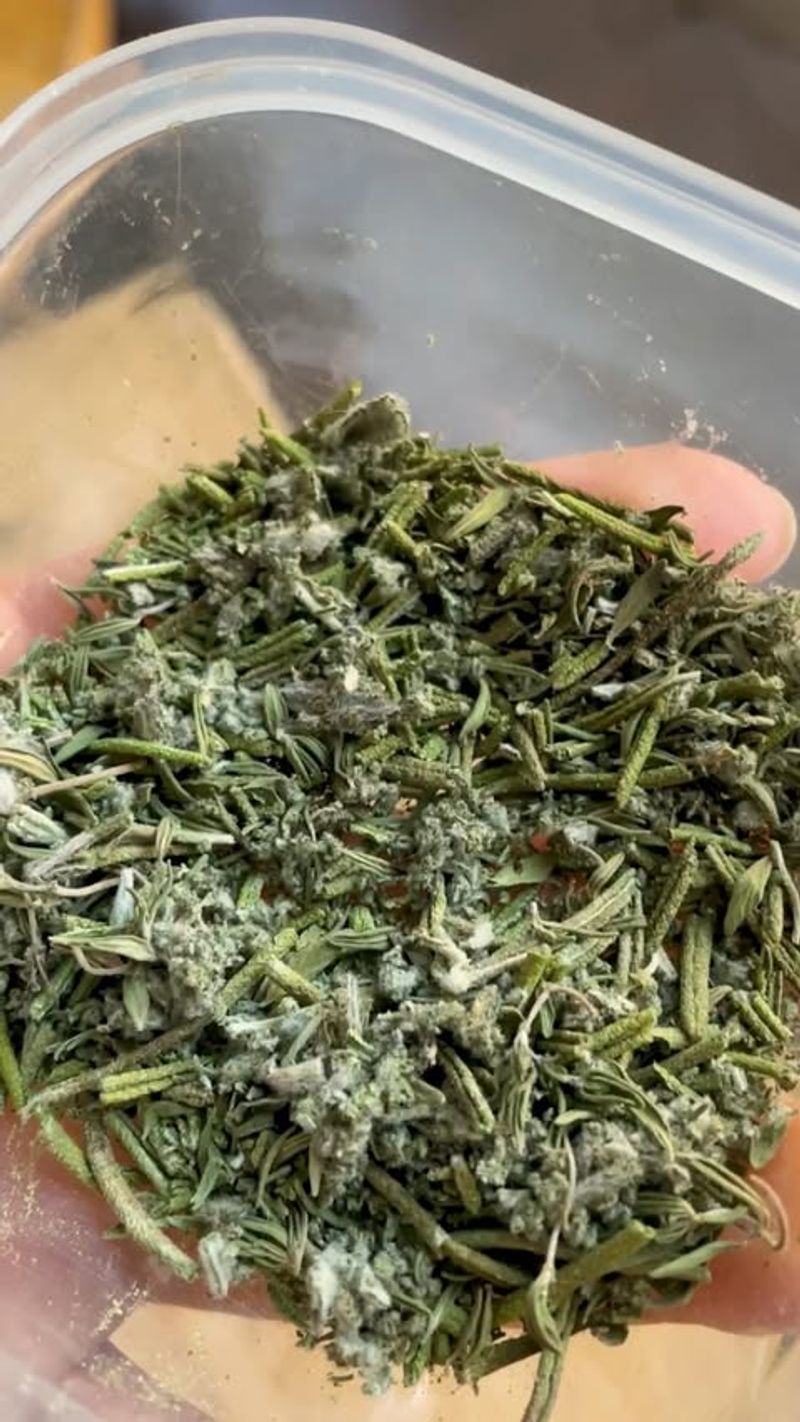
Regular quality checks prevent disappointment when brewing tea. Monthly inspections allow you to catch any developing issues before they ruin your entire herb supply. Look for color changes, unusual odors, or any signs of moisture or mold.
The crush test reveals much about stored herbs. Take a small amount and crush it between your fingers—it should release a clear, recognizable aroma. Faded scents indicate aging herbs that should be used soon, while musty or off smells suggest improper storage conditions or contamination.
Last winter, I discovered my dried mint had lost significant aroma after just three months. Investigating further, I realized the cabinet where I’d stored it shared a wall with our shower, exposing the herbs to humidity fluctuations. Moving my herb storage to an interior wall solved the problem completely for future batches.
15. Consider A Dehydrator For Speed
Electric dehydrators offer precision and speed that traditional methods can’t match. With temperature controls typically between 95-115°F, they create ideal conditions for herb drying. During humid summer months, a dehydrator can save herbs that might otherwise spoil.
Layer placement within dehydrators affects drying time significantly. Herbs placed on lower trays near the heating element dry faster than those on upper trays. Rotating trays midway through the process ensures even drying—something I learned after ruining a batch of partially dried lemon verbena.
Despite their convenience, dehydrators sometimes produce herbs with slightly less vibrant flavor than air-dried alternatives. The gentle warmth can cause some volatile oils to evaporate. I reserve my dehydrator for emergency situations or large harvests where space limitations make air-drying impractical.
16. Try Oven Drying As A Last Resort
Oven drying works in emergencies but requires careful attention to prevent cooking instead of drying your herbs. Use the lowest possible setting—ideally below 180°F—with the door propped slightly open to allow moisture to escape. Check herbs every 20 minutes to prevent over-drying.
Parchment paper on baking sheets prevents herbs from contacting metal directly, which can cause darkening and flavor changes. Avoid using waxed paper, which might melt at even low oven temperatures. My first attempt using aluminum foil resulted in herbs with a slightly metallic taste.
Oven-dried herbs typically have less vibrant color and aroma than those dried using gentler methods. When I had to oven-dry chamomile during a particularly rainy harvest week, the resulting tea was noticeably less fragrant than my air-dried batches. Reserve this method for when weather or time constraints leave no alternatives.
17. Maximize Flavor With Proper Crushing
The way you process dried herbs affects their flavor release during brewing. Whole dried leaves and flowers retain essential oils longer during storage but release flavor more slowly when steeped. Crushing or crumbling just before brewing offers the perfect balance between storage stability and flavor extraction.
Different herbs benefit from different crushing methods. Mortar and pestle works beautifully for seeds and woody herbs like rosemary, while gentle finger-crushing suffices for delicate leaves like mint. Over-processing can release bitter compounds from stems and leaf veins, affecting your tea’s flavor profile.
Crushing herbs releases aromatic compounds into the air immediately. I’ve developed the habit of crushing herbs directly over my teapot or infuser, capturing these volatile oils that would otherwise be lost. This small adjustment made a remarkable difference in the flavor intensity of my homemade chamomile and lavender teas.
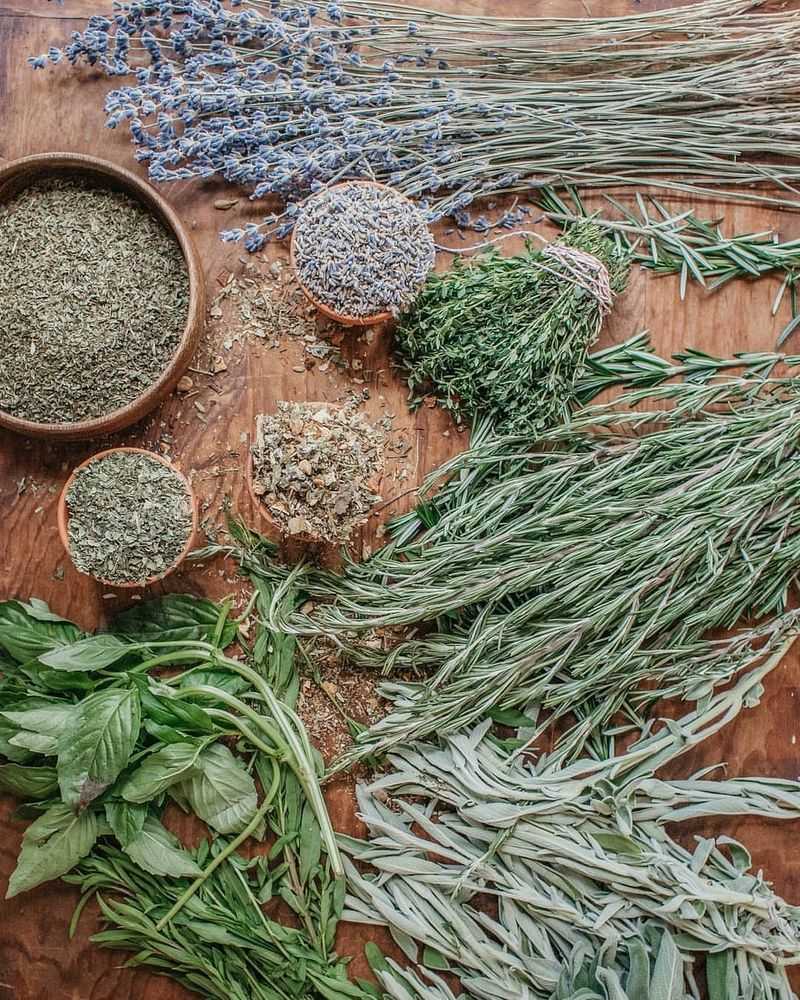
18. Blend With Purpose
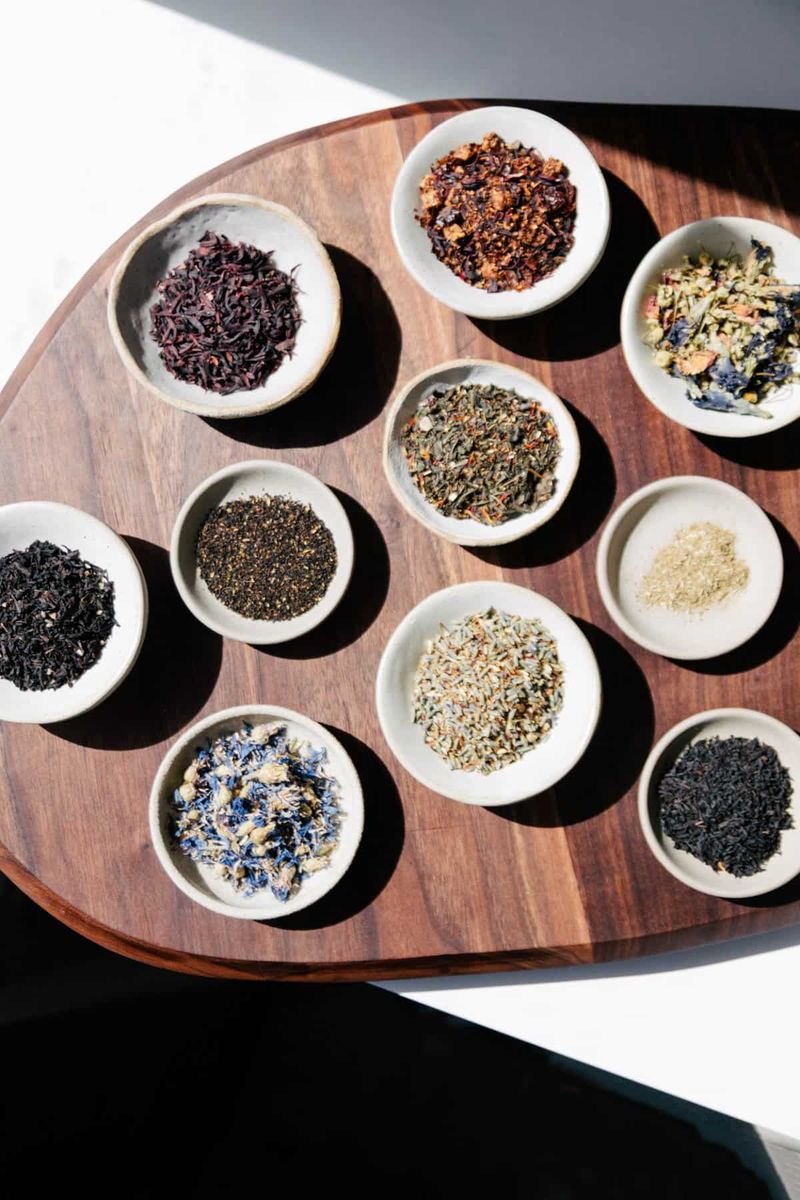
Creating herb blends requires understanding flavor profiles and how herbs interact. Start with complementary pairings—mint with lemon verbena or chamomile with lavender—before attempting complex blends. Keep notes on successful combinations to recreate your favorites consistently.
Storage timing affects blended herbs differently than single varieties. While individual dried herbs might last a year or more, blended herbs begin to exchange and alter flavors upon mixing. My practice of small-batch blending—mixing only what I’ll use within a month—preserves the distinct character of each herb in the blend.
The proportions in herb blends dramatically influence the final tea flavor. Rather than equal parts, try using a primary herb (70%) supported by secondary (20%) and accent herbs (10%). This approach creates balanced blends where flavors complement rather than compete with each other, resulting in more sophisticated homemade teas.