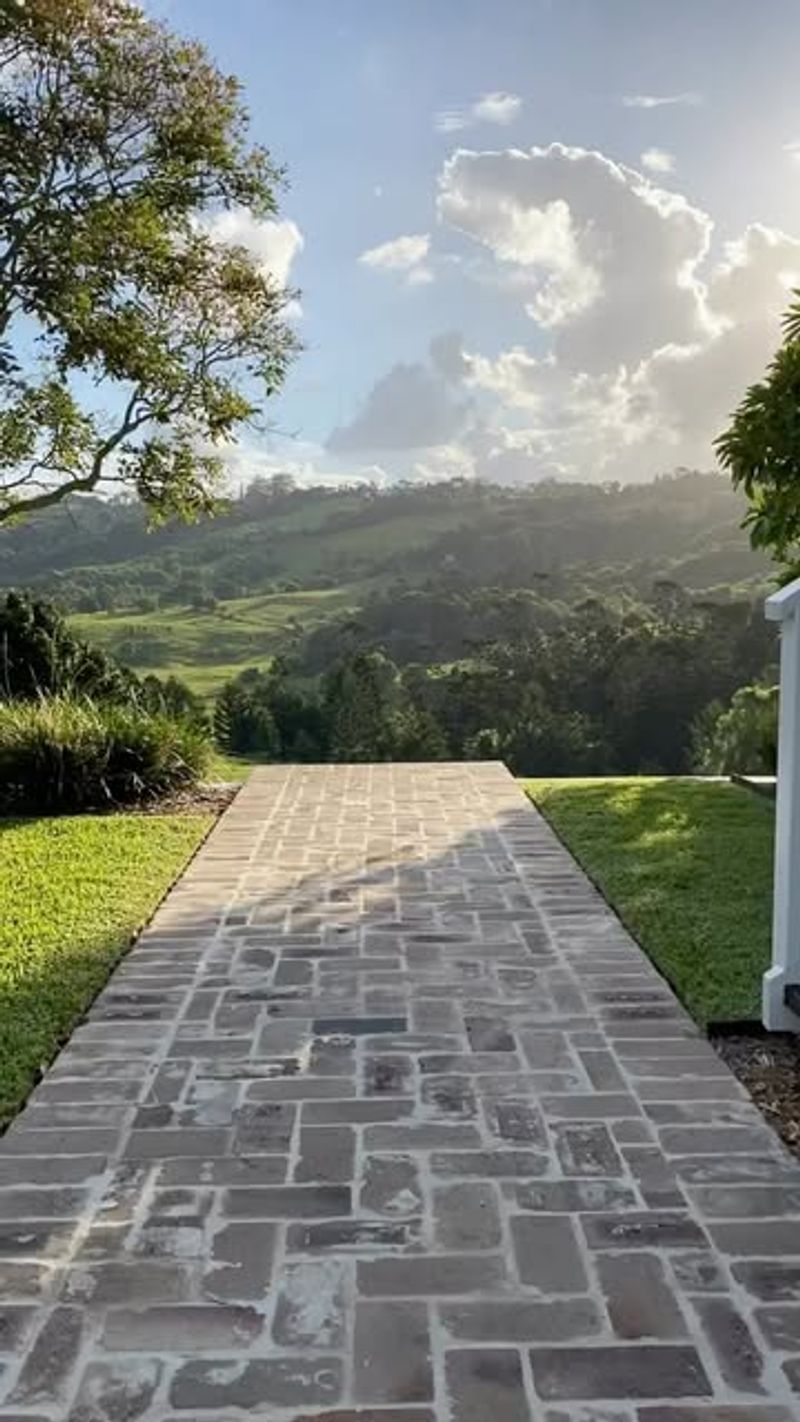
15 Steps To Build A Brick Walkway In Your Garden (And Make It Last For Years)
A brick walkway can turn any garden into a cozy, inviting space that feels like a little slice of paradise. I remember the first time I laid bricks in my own yard—it was a bit messy but so rewarding to see it come together.
These 15 simple steps will help you create a path that lasts and makes your garden pop with character. You don’t need to be a pro to get great results, just a bit of patience and love for your outdoor space.
Let’s get your garden stepping in style with a walkway you’ll be proud of for years to come!
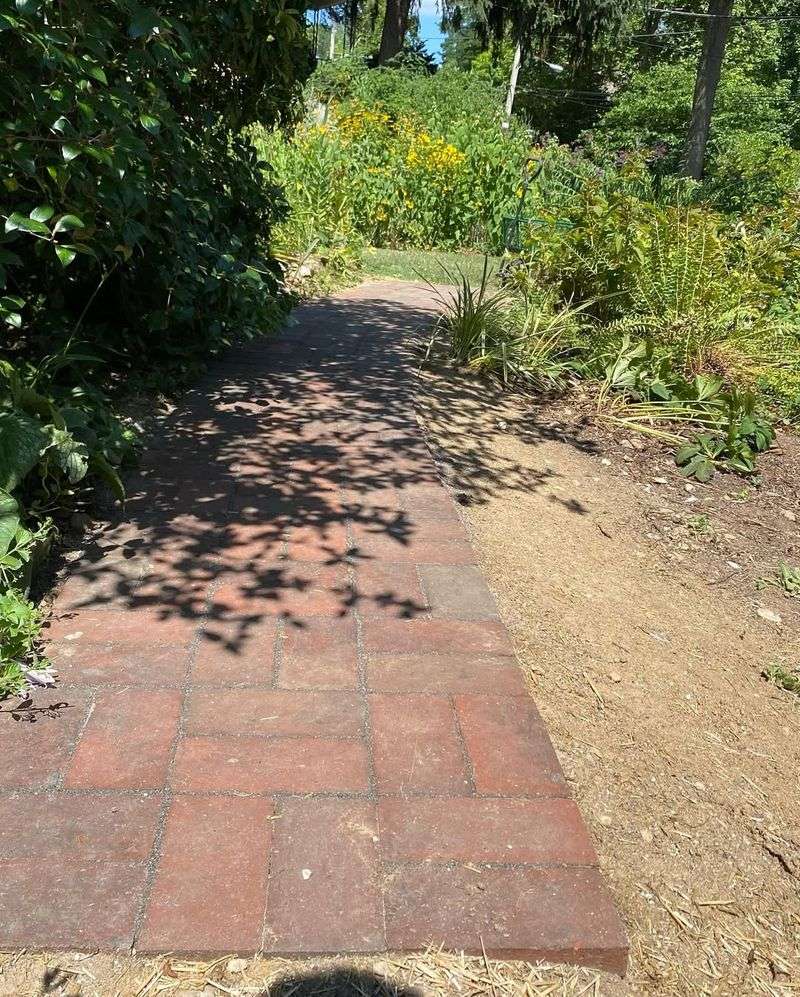
1. Plan Your Path Design
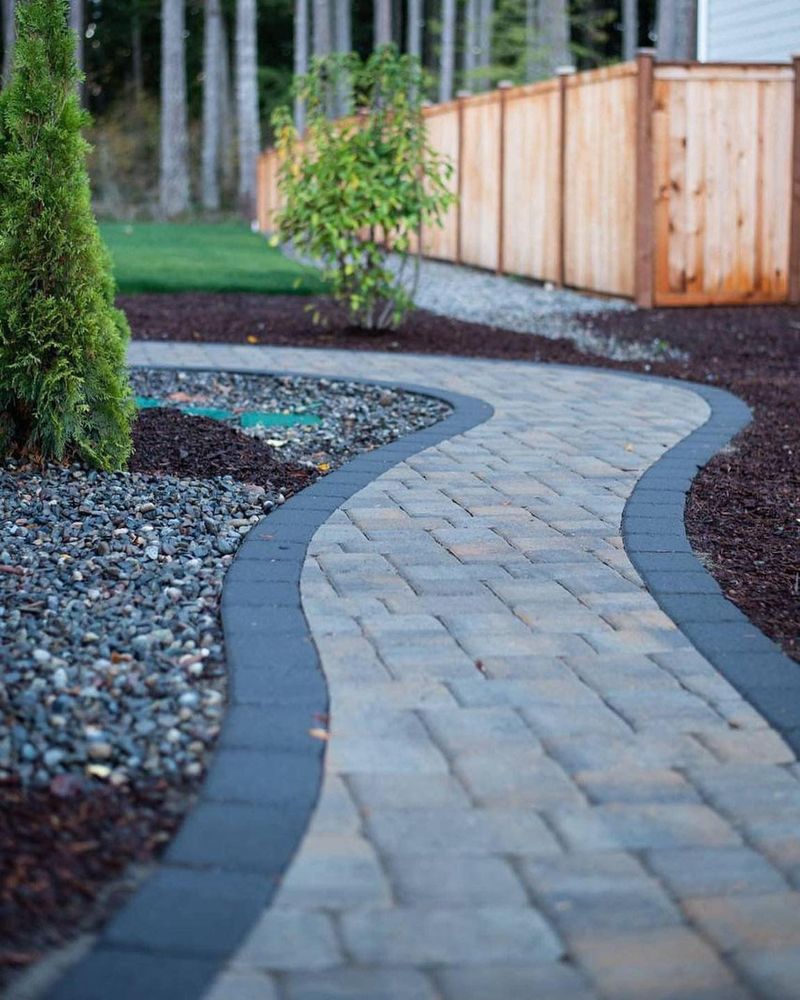
Grab some graph paper and sketch out your walkway’s shape, width, and location. Curved paths create a relaxed feel while straight ones offer formality and efficiency.
Consider how people naturally walk through your garden and make your path at least 3 feet wide for comfortable passage. Take photos of your yard from different angles to help visualize the finished project.
2. Gather Your Materials
You’ll need bricks (calculate quantity based on path size), coarse sand, crushed stone, landscape fabric, and edging materials. Don’t forget tools: shovel, rake, tamper, level, measuring tape, and safety gear.
For a standard 3-foot-wide, 20-foot-long path, expect to use about 200 standard-sized bricks. Buy 10% extra to account for breaks and cuts. A wheelbarrow will save countless trips hauling materials.
3. Mark Your Path Boundaries
Use garden hoses or rope to outline your walkway design on the ground. This flexible approach lets you adjust the shape until it looks just right in your landscape.
Once satisfied, mark the boundaries with spray paint or flour. Step back and view the outline from different angles and distances. Make sure the width remains consistent and the curves flow naturally throughout the entire path.
4. Excavate the Path Area
Dig out the soil along your marked path to a depth of 6-8 inches. The excavation needs to accommodate layers of base material plus the brick thickness.
Remove all roots, rocks, and debris as you dig. Keep the bottom of your trench relatively flat but with a slight slope away from your house (about 1 inch drop per 4 feet) to ensure proper drainage during rainstorms.
5. Install Landscape Fabric
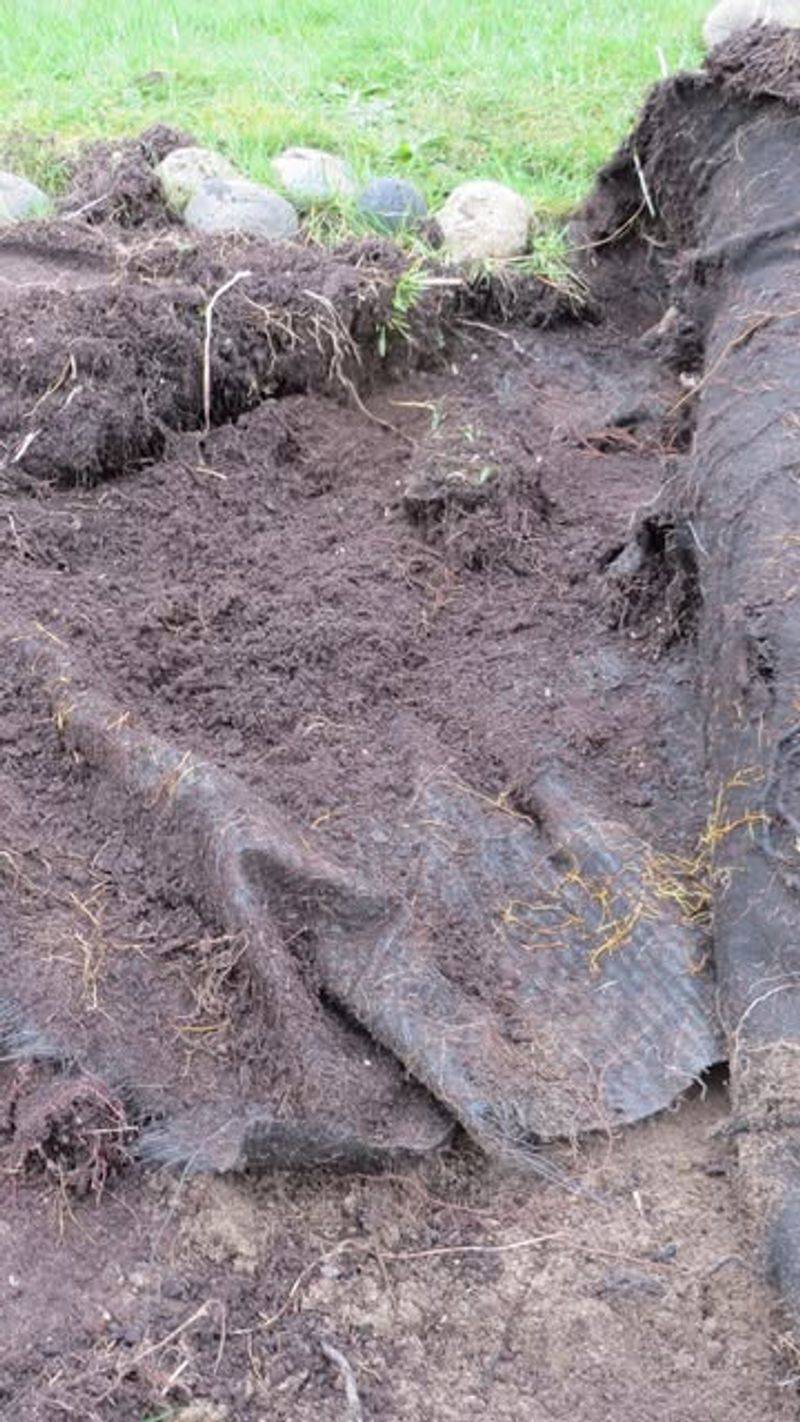
Line the excavated area with landscape fabric, extending it slightly up the sides. This crucial barrier prevents weeds from growing through your walkway and keeps the base materials separate from the soil.
Overlap fabric sections by at least 6 inches where they meet. Secure the fabric with landscape pins to prevent shifting during the next steps. This simple layer will save you countless hours of future maintenance.
6. Add Crushed Stone Base
Pour 3-4 inches of crushed stone or gravel into your fabric-lined trench. This foundation layer provides essential drainage and stability for your brick surface.
Spread the stone evenly with a rake. Water it lightly, then compact it thoroughly using a plate compactor or hand tamper. The stone should feel firm and level when you walk on it, with no soft spots.
7. Compact the Stone Layer
Rent a plate compactor from your local hardware store for this crucial step. Run it over the stone base multiple times until the surface is uniformly firm and stable.
If you don’t have access to a compactor, use a hand tamper, though it requires more effort. Test the firmness by walking across the surface – there should be minimal give. Proper compaction prevents future settling that could make your path uneven.
8. Create Sand Bedding
Spread a 1-inch layer of coarse sand over your compacted stone base. This sand layer creates a smooth surface for laying bricks and allows for minor adjustments during placement.
Use a long, straight board to screed (level) the sand by pulling it across the surface. Don’t compact the sand – it should remain loose enough to accept the bricks. Fill any low spots and remove excess from high areas.
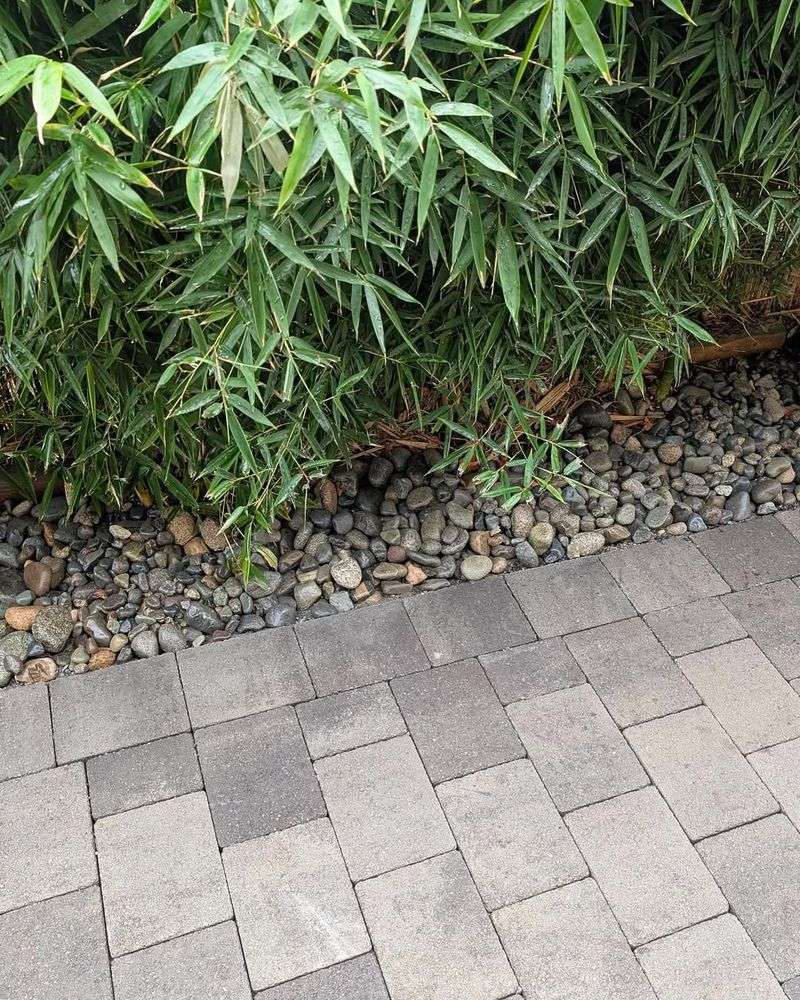
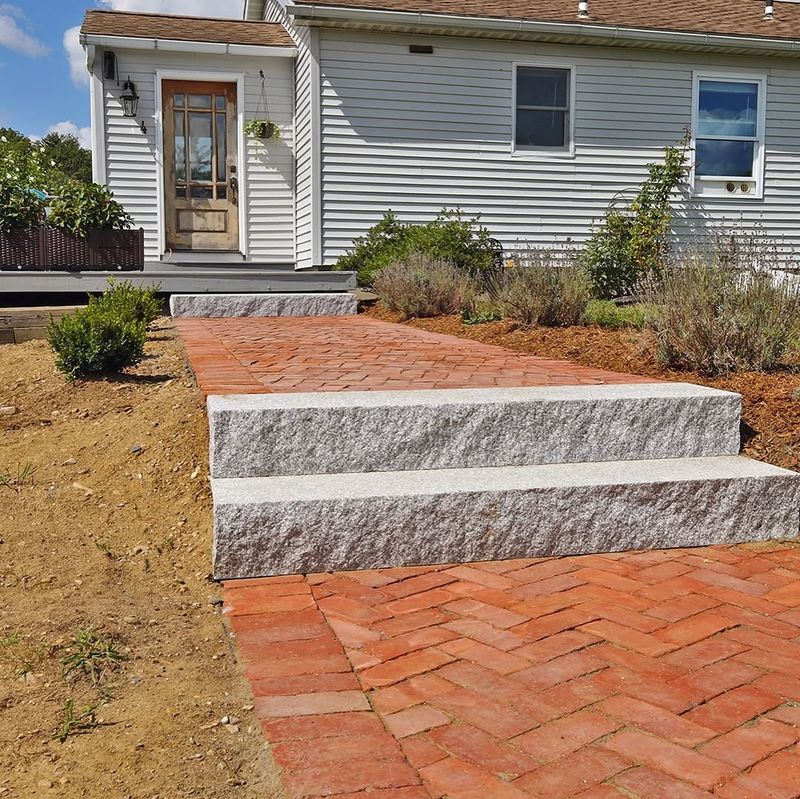
9. Establish Edge Restraints
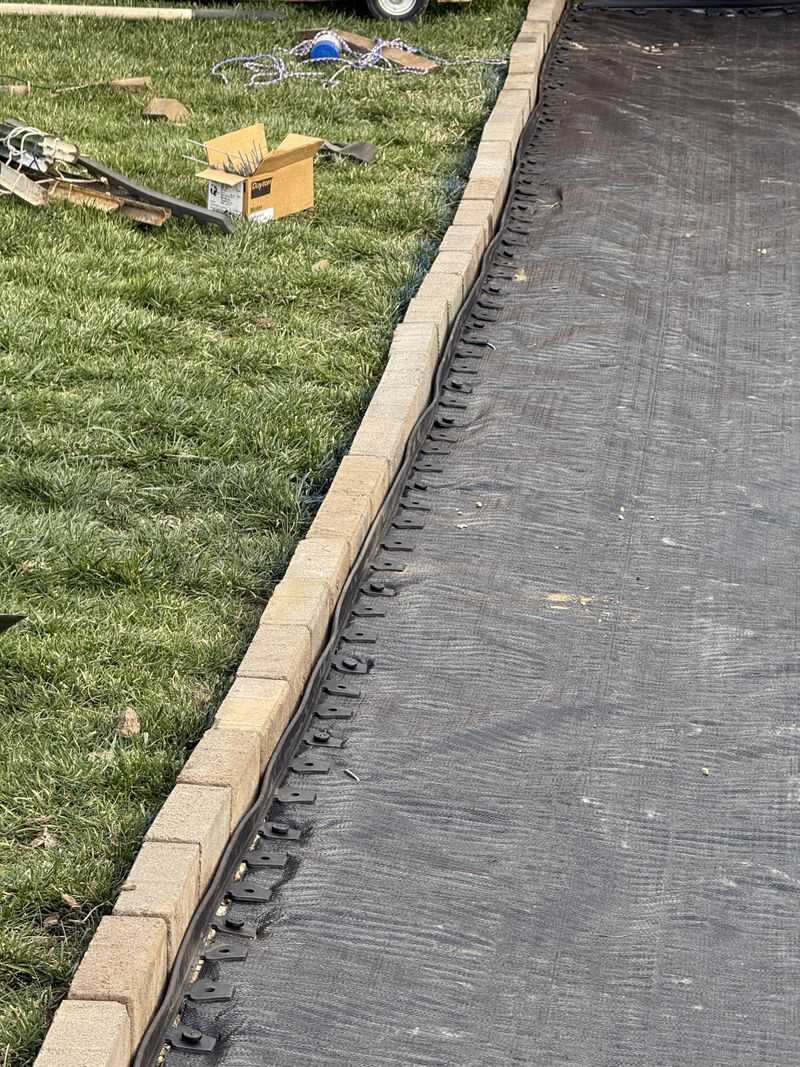
Install plastic, metal, or stone edging along both sides of your path. These restraints prevent the bricks from shifting outward over time, maintaining your walkway’s clean lines and structural integrity.
Secure the edging with long spikes driven through the provided holes. For curved paths, use flexible plastic edging that can bend to your desired shape. The top of your edging should sit level with your planned brick surface.
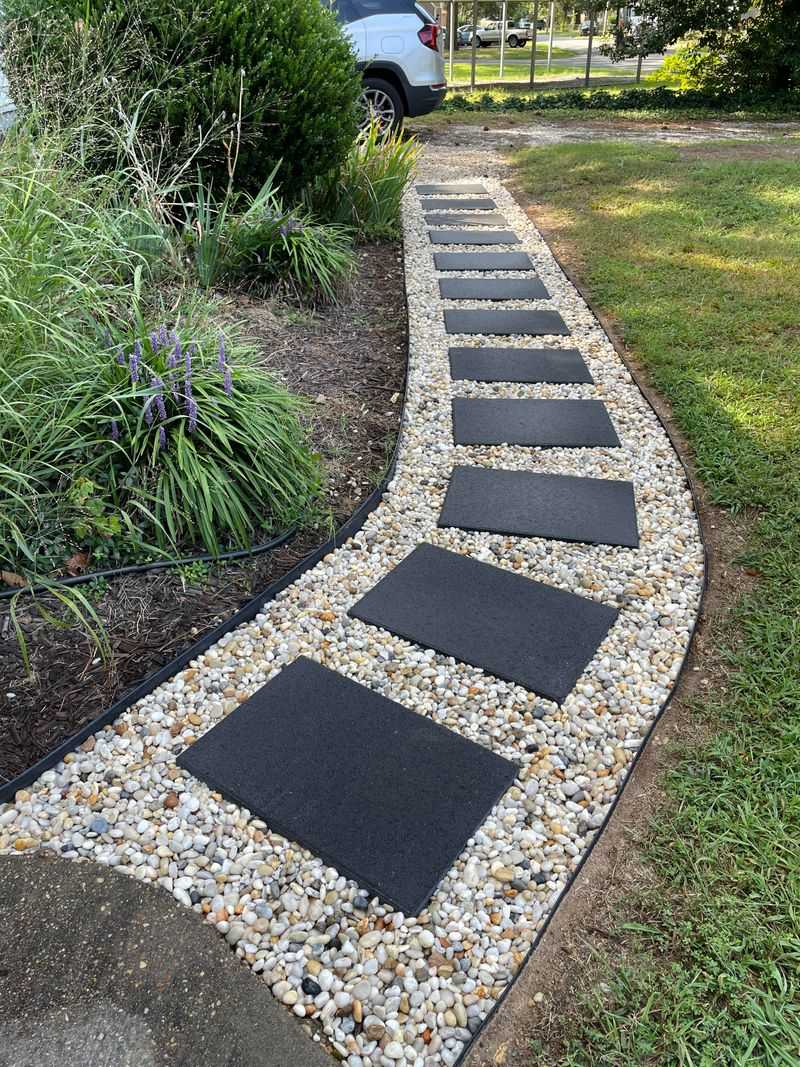
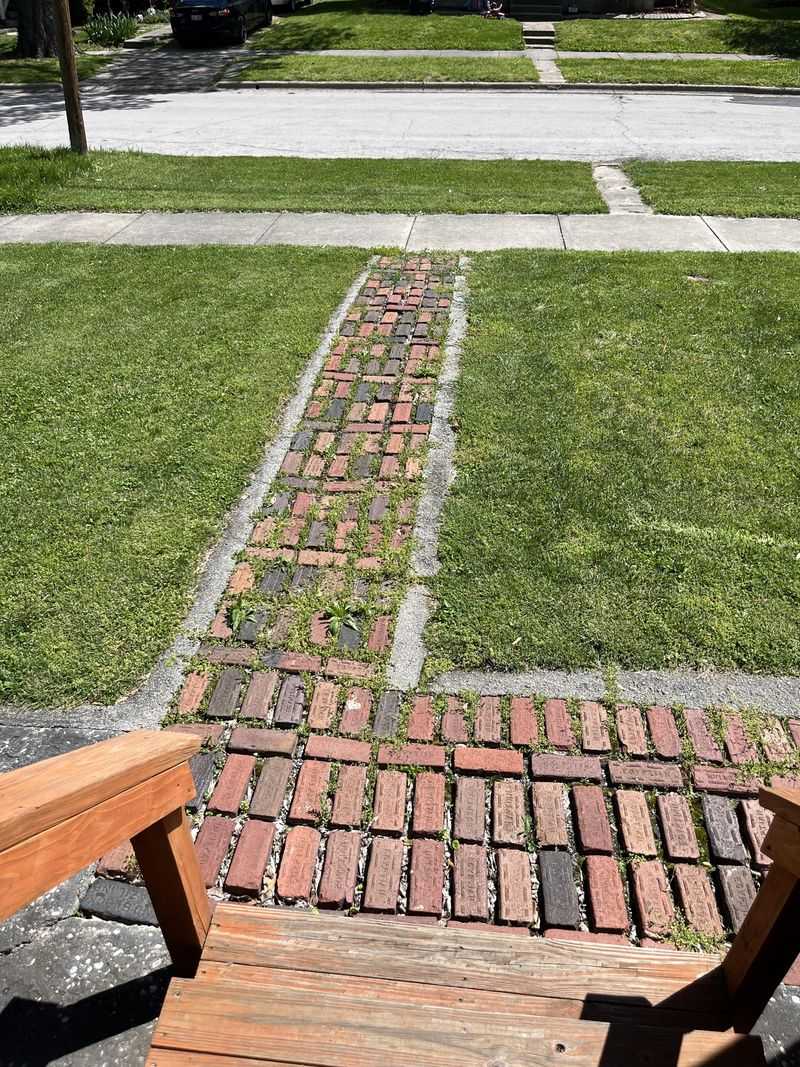
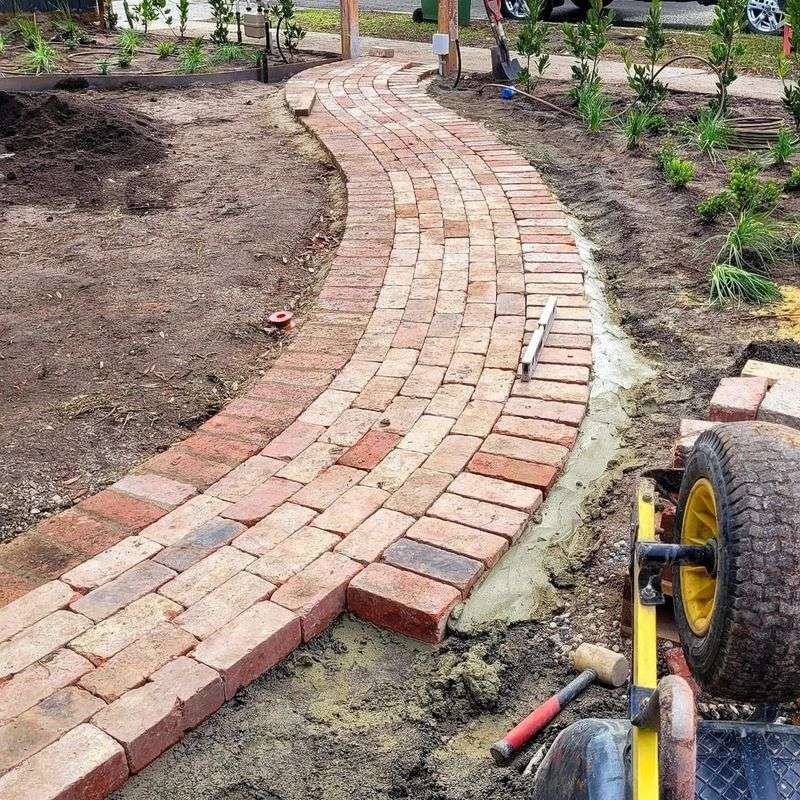
10. Lay Your Bricks
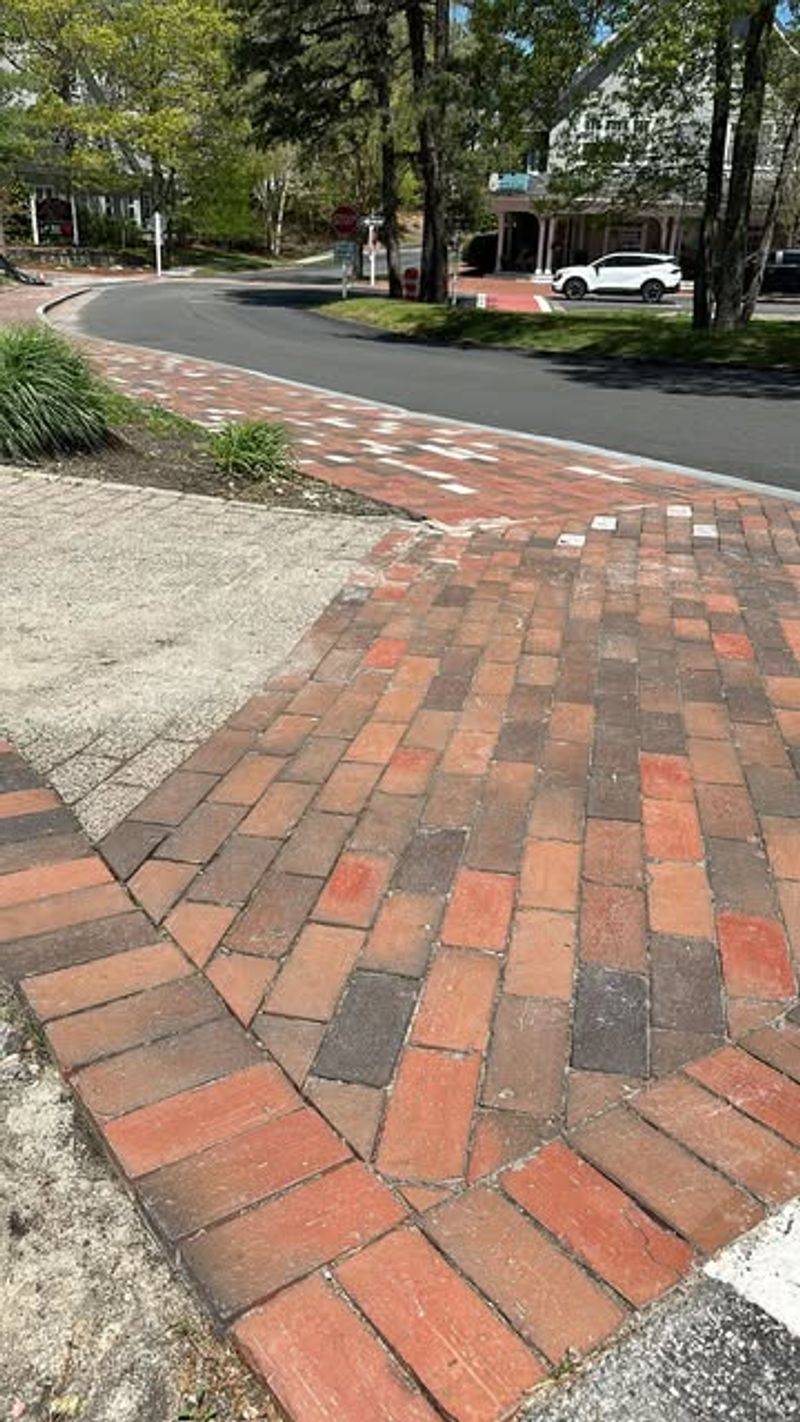
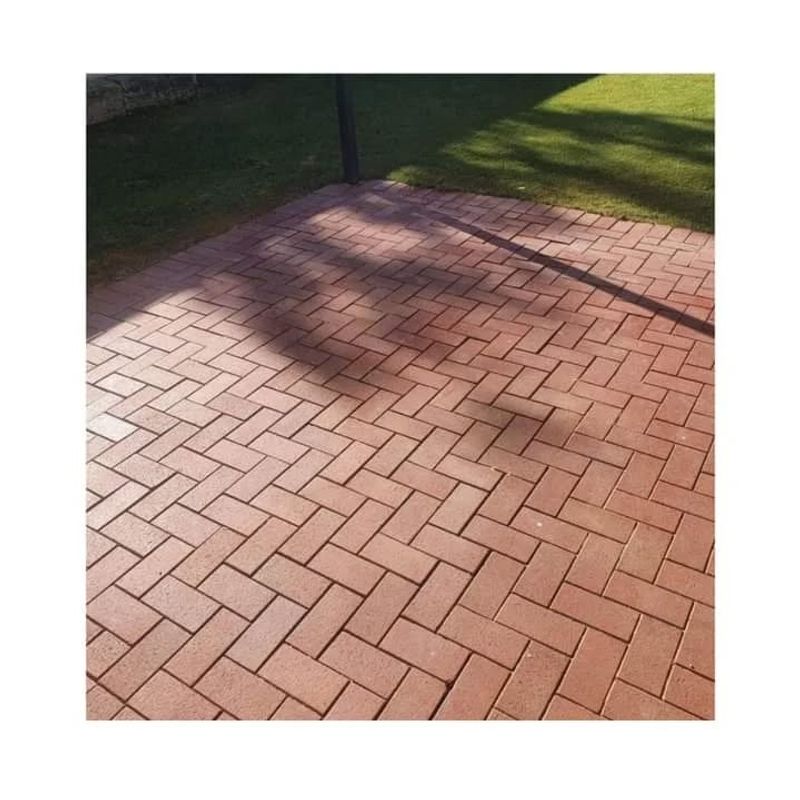
Place bricks in your chosen pattern (herringbone, basket weave, running bond, etc.), starting from one end. Work from a completed section rather than stepping on the prepared sand bed.
Leave 1/8 to 1/4 inch gaps between bricks for sand joints. Use a rubber mallet to tap each brick into place, checking frequently with a level. Cut bricks for edges using a masonry saw or brick splitter for clean, precise fits.
11. Check for Level Surface
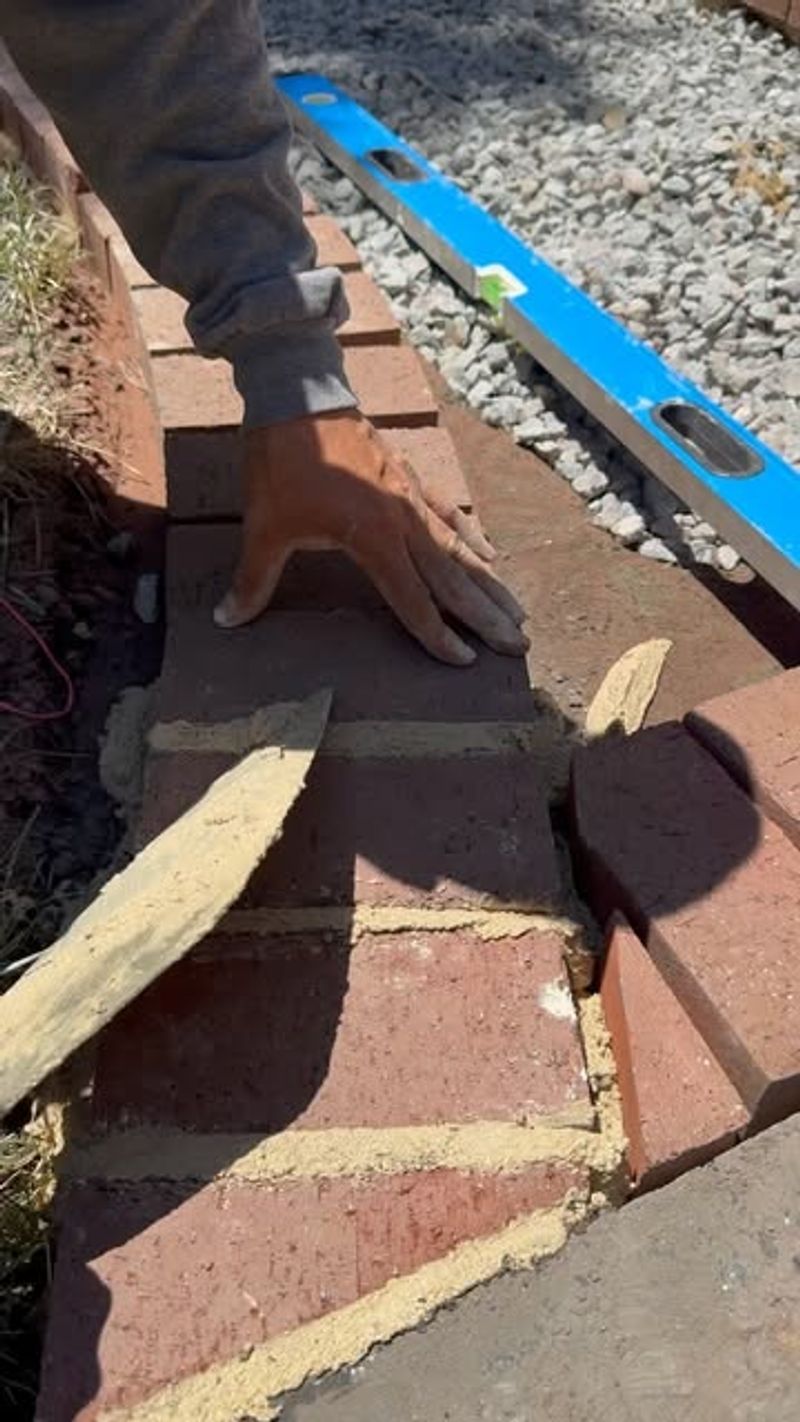
Use a long straight board and carpenter’s level to check that your brick surface is even across its width and length. The path should have a slight crown or slope for drainage.
Adjust individual bricks by adding or removing sand beneath them. Tap high bricks down with a rubber mallet and lift low ones to add more sand. This meticulous leveling prevents puddles and tripping hazards on your finished walkway.
12. Add Joint Sand
Spread fine sand over your completed brick layout, sweeping it into the joints between bricks. This sand locks the bricks together, creating a solid, stable surface.
Use polymeric sand for superior results – it hardens when wet, preventing wash-out and weed growth. Sweep thoroughly to fill all joints completely while removing excess sand from brick surfaces. The sand should fill joints to just below the brick tops.
13. Compact the Finished Surface
Cover your brick path with a thin layer of sand, then run a plate compactor with a rubber mat attachment over the entire surface. This vibration settles the bricks firmly into the sand bed.
Make multiple passes in different directions for thorough compaction. Listen for the change in sound as the bricks lock together. After compacting, add more joint sand as needed since the vibration will have settled the initial sand deeper into the joints.
14. Seal Your Walkway
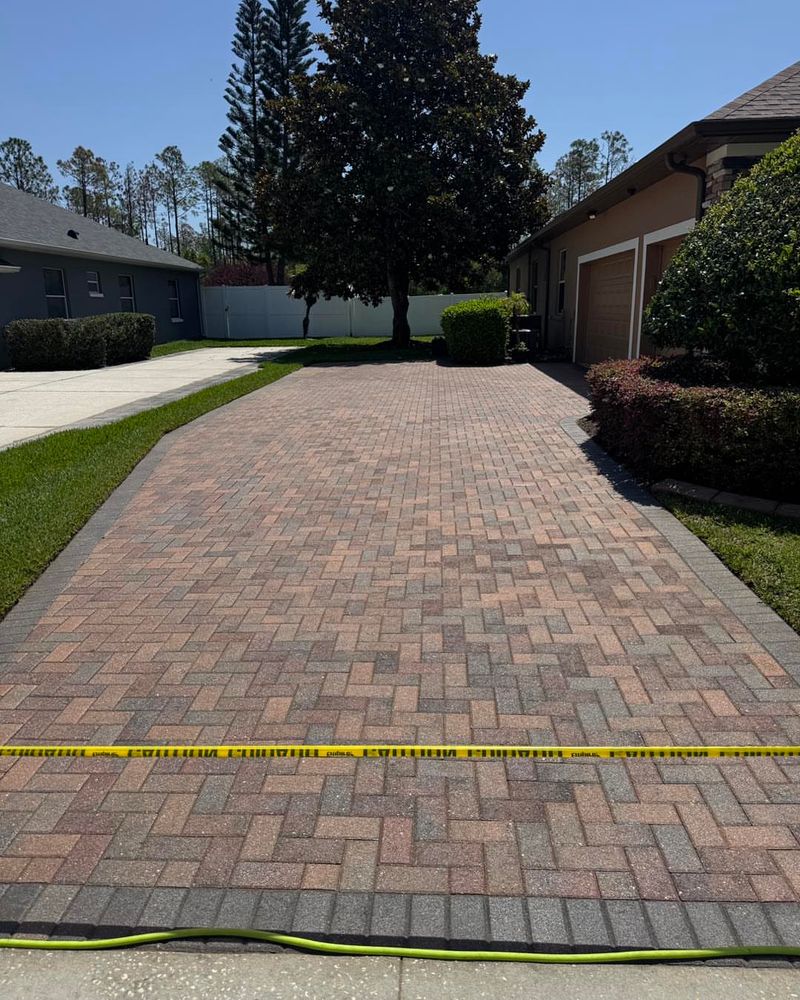
Wait at least a week for your path to settle, then apply a quality brick sealer with a roller or sprayer. Sealing enhances brick colors while protecting against stains, moss, and frost damage.
Choose a breathable sealer that won’t trap moisture beneath the surface. Apply on a dry day when no rain is forecast for 24 hours. Most walkways benefit from resealing every 3-5 years to maintain protection and appearance.
15. Maintain Regularly
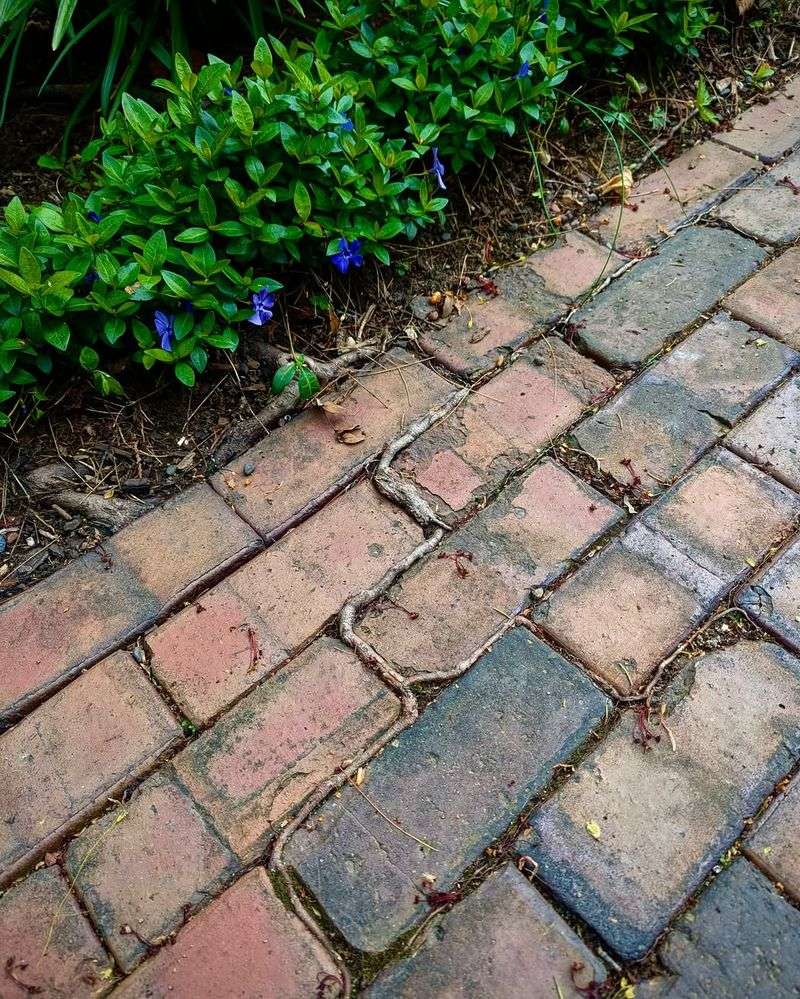
Sweep your walkway weekly to prevent debris buildup that can lead to staining and moss growth. Rinse occasionally with a garden hose to remove dirt that sweeping misses.
Address weeds immediately by pulling or spot-treating them. Replenish joint sand yearly and check for shifted bricks each spring. Power washing every few years removes deep stains and brightens the surface, keeping your walkway looking fresh and inviting.