15 Must-Know Tips Before You Dethatch Your Lawn (Plus What Tools Work Best)

Dethatching sounds simple—until you’re knee-deep in dead grass wondering what went wrong. I’ve made a few rookie mistakes, but also picked up some game-changing tips along the way.
Knowing what to do (and what not to do) can save your lawn and your weekend. The right tools make a big difference too—trust me, not all rakes are created equal.
Here’s what I wish I knew before I tackled it the first time.
1. Know When It’s Time
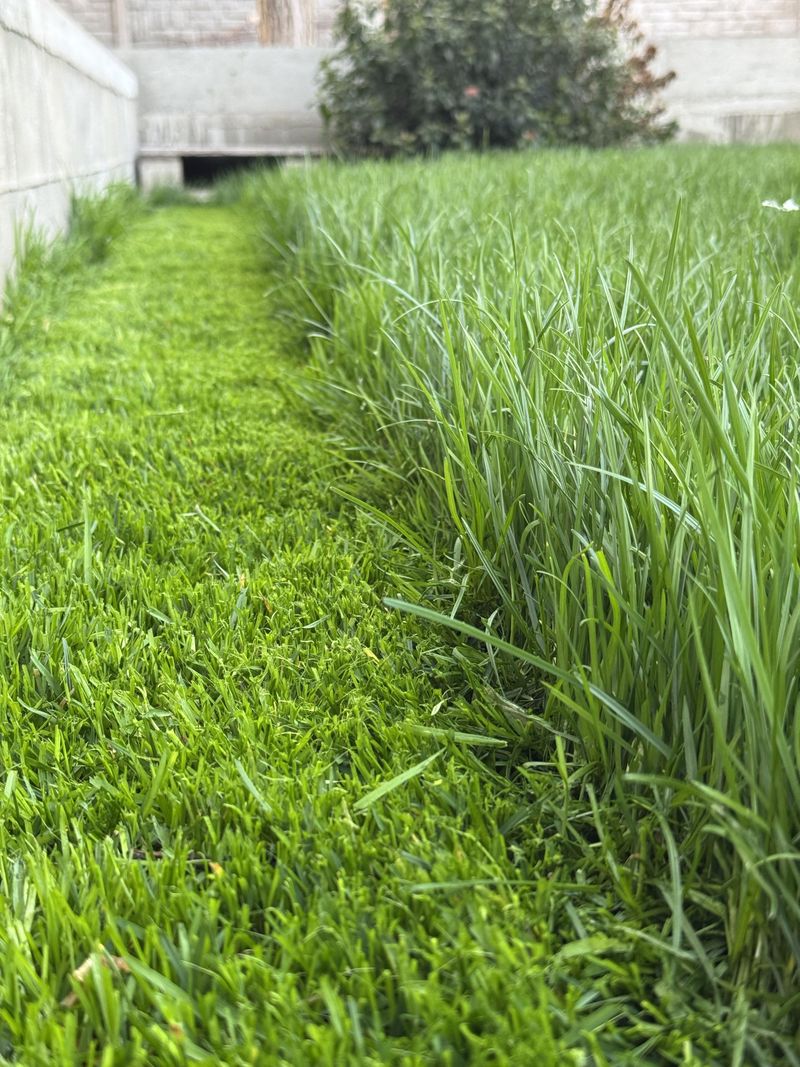
Your lawn will tell you when it needs dethatching if you know what signs to look for. Bounce a golf ball on your lawn – if it barely bounces, your thatch is likely too thick. Check the thatch layer directly by cutting a small wedge from your lawn.
If the thatch is more than half an inch thick, it’s time to dethatch. Other warning signs include water runoff, increased pest problems, and grass that feels spongy when walked on.
2. Time It Right
Timing makes all the difference when dethatching your lawn. Cool-season grasses (like Kentucky bluegrass) respond best when dethatched in early fall or spring. For warm-season varieties such as Bermuda or Zoysia, late spring through early summer works better.
Never dethatch during drought conditions or when your lawn is dormant. The grass needs to be actively growing to recover properly from the stress of dethatching. Aim for a day when soil is slightly moist but not soggy.
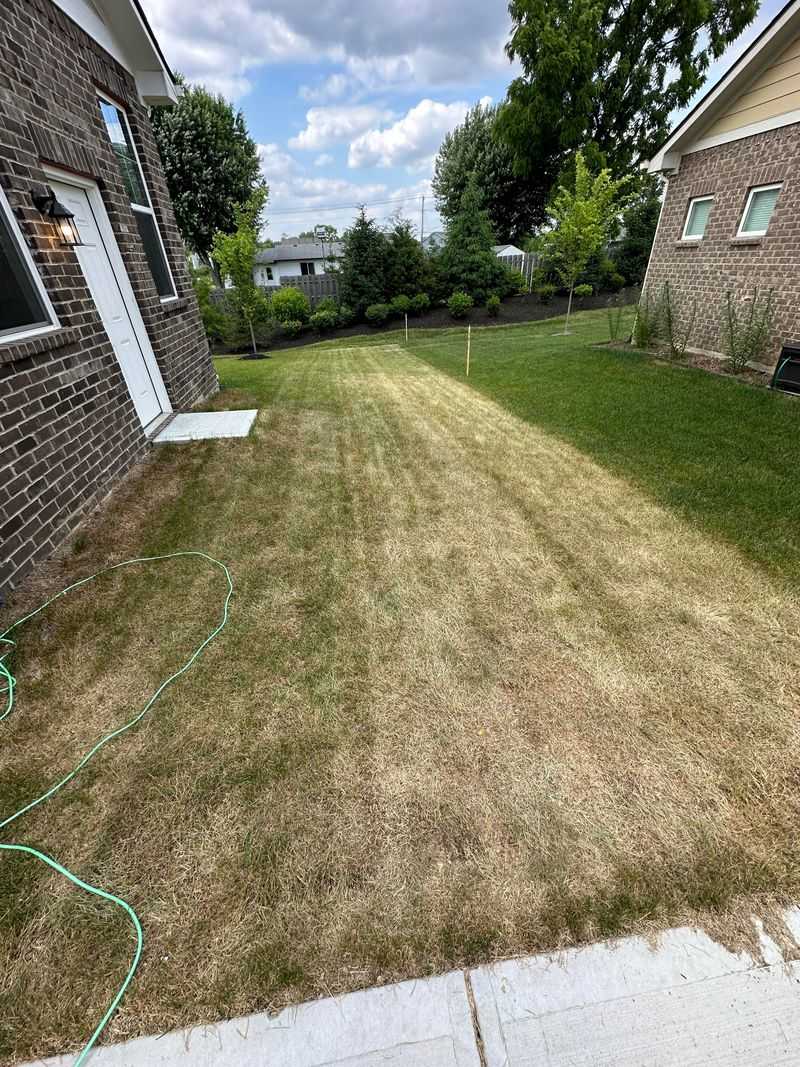
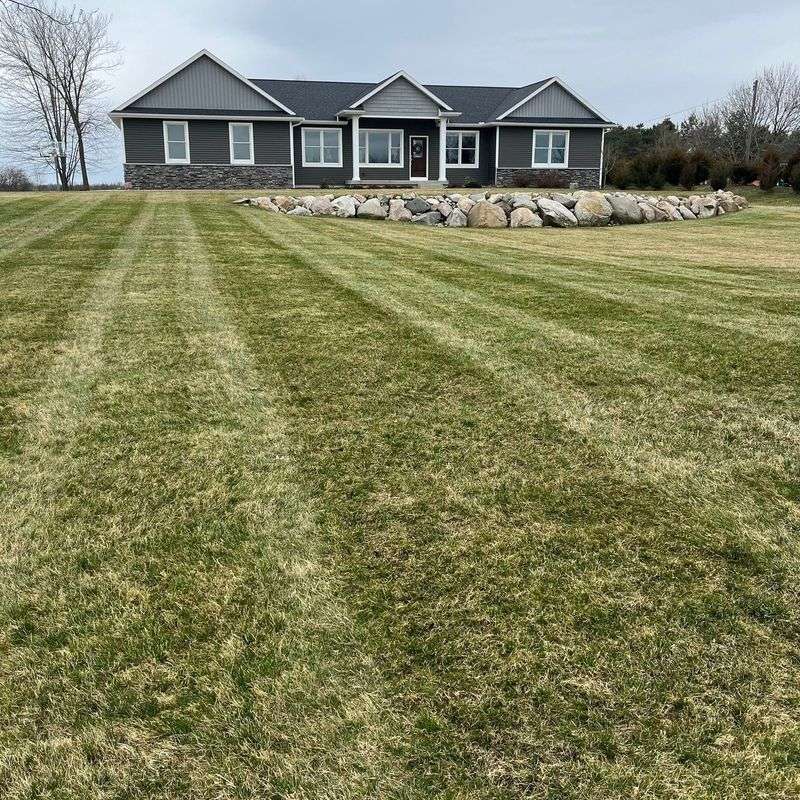
3. Mow Low First
Before bringing out any dethatching equipment, give your lawn a lower-than-usual mowing. Cut the grass about one-third shorter than your normal mowing height. This shorter cut makes the dethatching process more effective by allowing tools to reach the thatch layer more easily.
Make sure your mower blades are sharp to prevent tearing the grass. Remove clippings rather than leaving them on the lawn. The goal is to create the clearest path possible to the thatch layer without stressing your grass excessively.
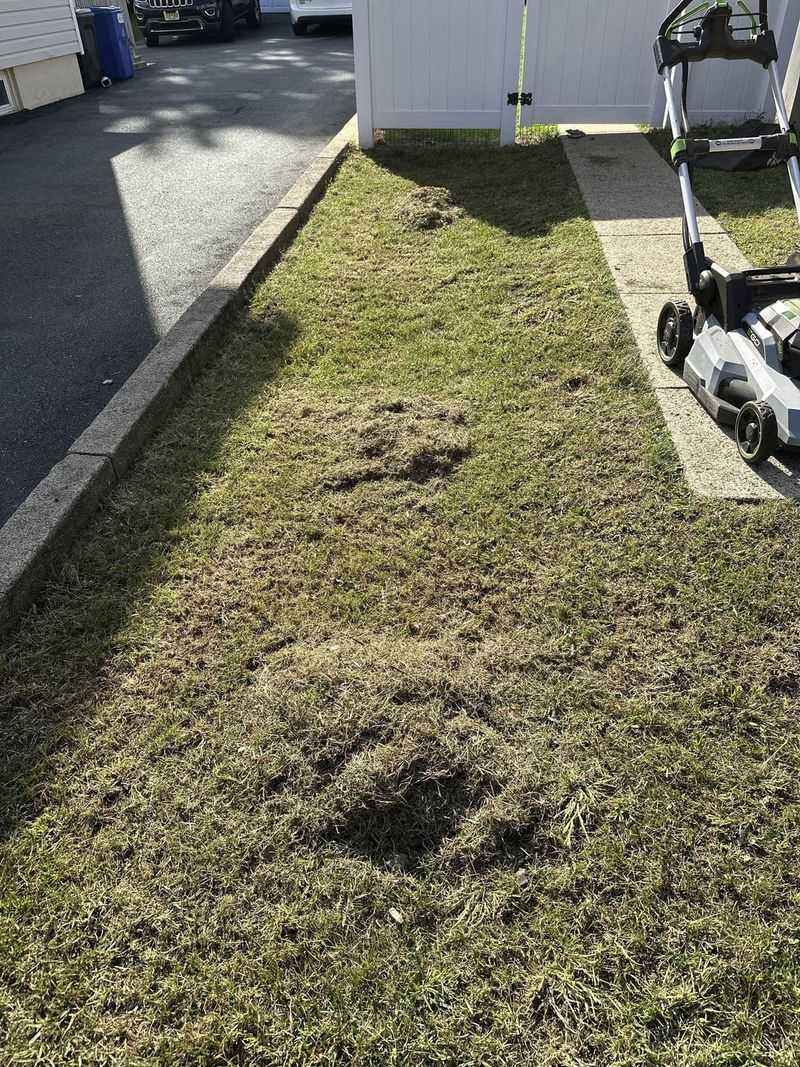
4. Mark Obstacles
Take a walk around your yard and mark anything that could be damaged during dethatching. Use bright flags or stakes to identify sprinkler heads, shallow pipes, cable lines, and any other hidden obstacles that might be lurking beneath the surface.
This simple step prevents costly damage to your irrigation system and underground utilities. Also identify areas with exposed tree roots or unusual terrain that might require special attention or should be avoided altogether during the dethatching process.
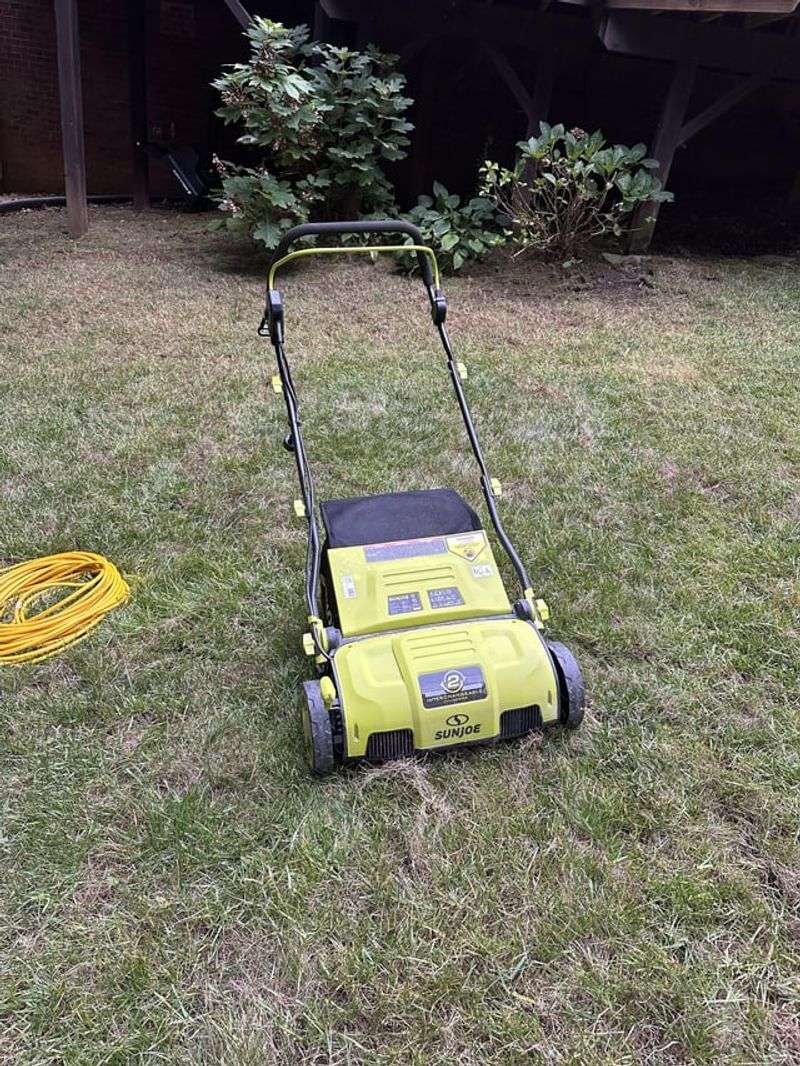
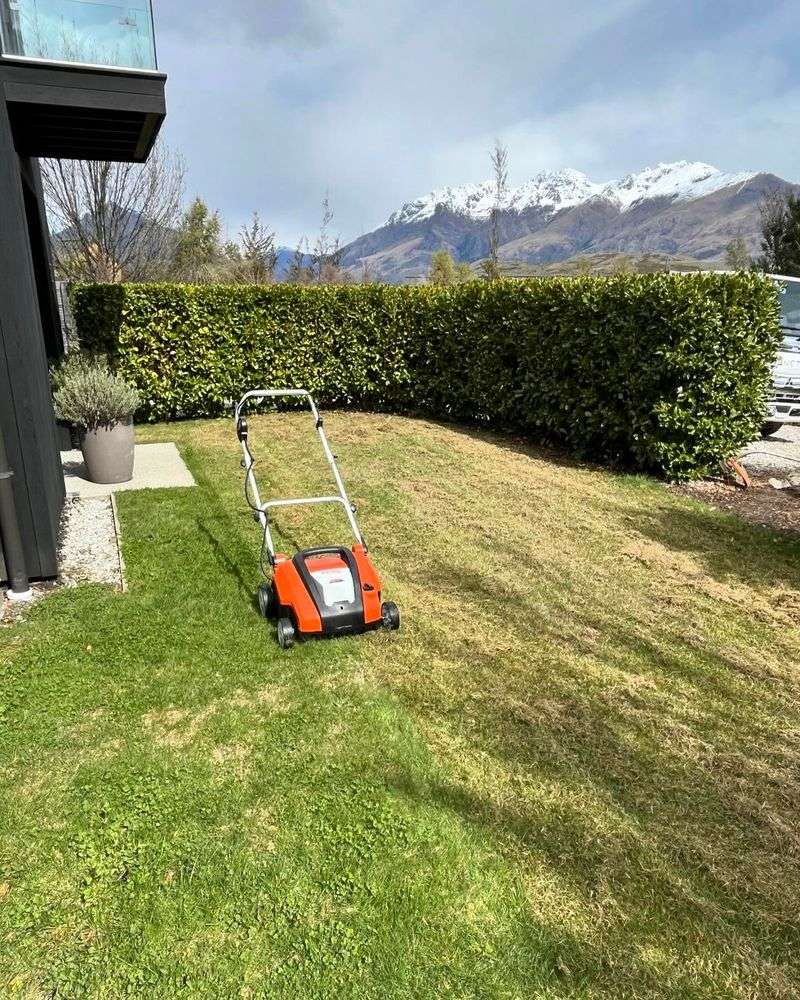
5. Choose The Right Tool
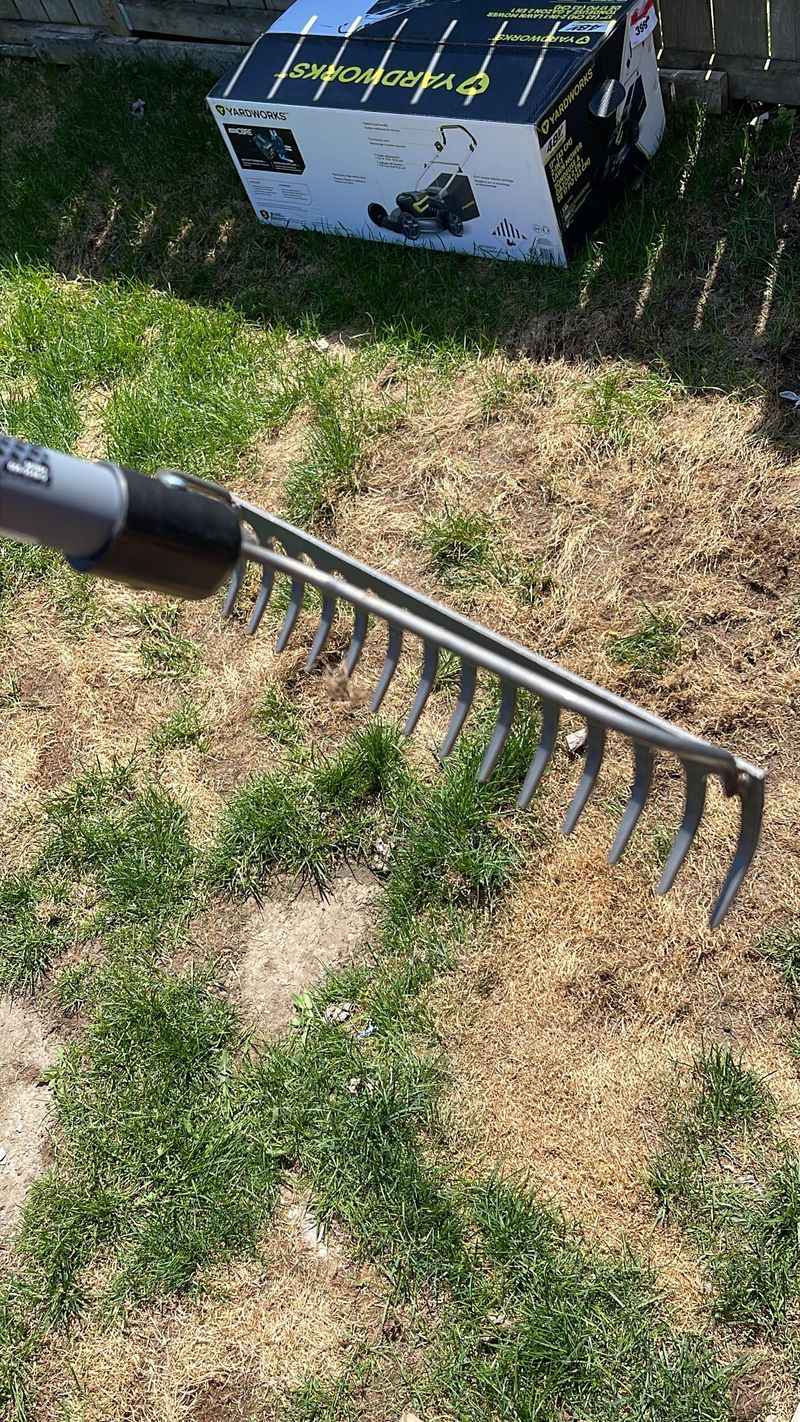
The size of your lawn determines which dethatching tool makes the most sense. For small areas under 1,000 square feet, a manual dethatching rake with rigid tines works perfectly. Medium-sized lawns benefit from a power rake, which uses spring-loaded tines to pull thatch up.
Large properties call for a vertical mower (or verticutter), which cuts into the thatch layer with vertical blades. Rental options are available for these larger machines, making them more affordable for occasional use. The right tool prevents both insufficient and excessive dethatching.
6. Adjust Your Equipment Properly
Getting the depth setting right on your dethatching equipment is crucial. Set the tines or blades to just barely penetrate the soil surface – about 1/8 inch deep for most lawns. This reaches the thatch without damaging healthy roots underneath.
Test your settings on a small, inconspicuous section of lawn first. You should see thatch being pulled up without seeing soil being disturbed excessively. Many beginners set their equipment too deep, which can seriously damage a lawn and extend recovery time significantly.
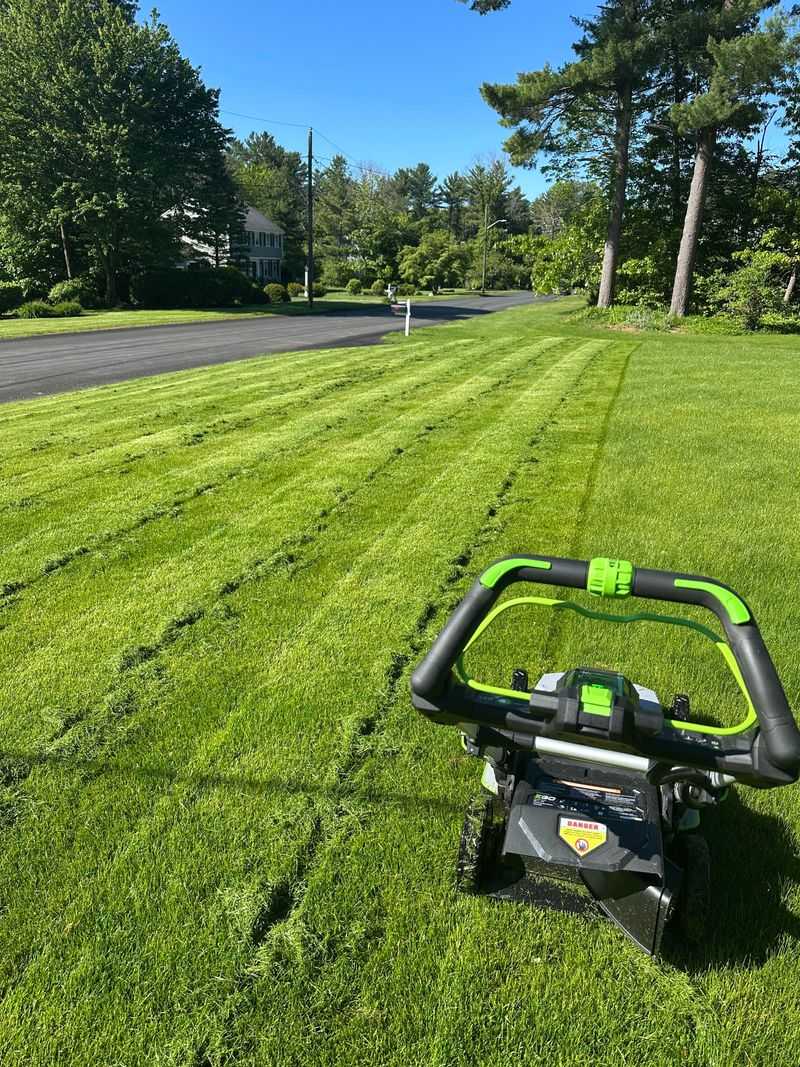
7. Work In Patterns
Approach dethatching methodically by working in a specific pattern. Make your first pass in one direction, then make a second pass perpendicular to the first – creating a crisscross pattern. This ensures you don’t miss areas and removes thatch more uniformly.
For severely thatched lawns, you might need additional passes. Always overlap slightly with each pass to avoid striping. Working systematically also helps distribute the physical effort more evenly if you’re using a manual tool and prevents overworking certain sections.
8. Stay Hydrated (Your Lawn, Not Just You)
Water your lawn lightly a day or two before dethatching. Slightly moist soil makes the process easier and less stressful on grass roots. Avoid dethatching when soil is completely dry or soaking wet – both conditions can damage your lawn.
After dethatching, your lawn will need extra moisture to recover. Water deeply but infrequently in the weeks following to encourage deeper root growth. This recovery period is crucial, so don’t skip on proper irrigation even if rainfall seems adequate.
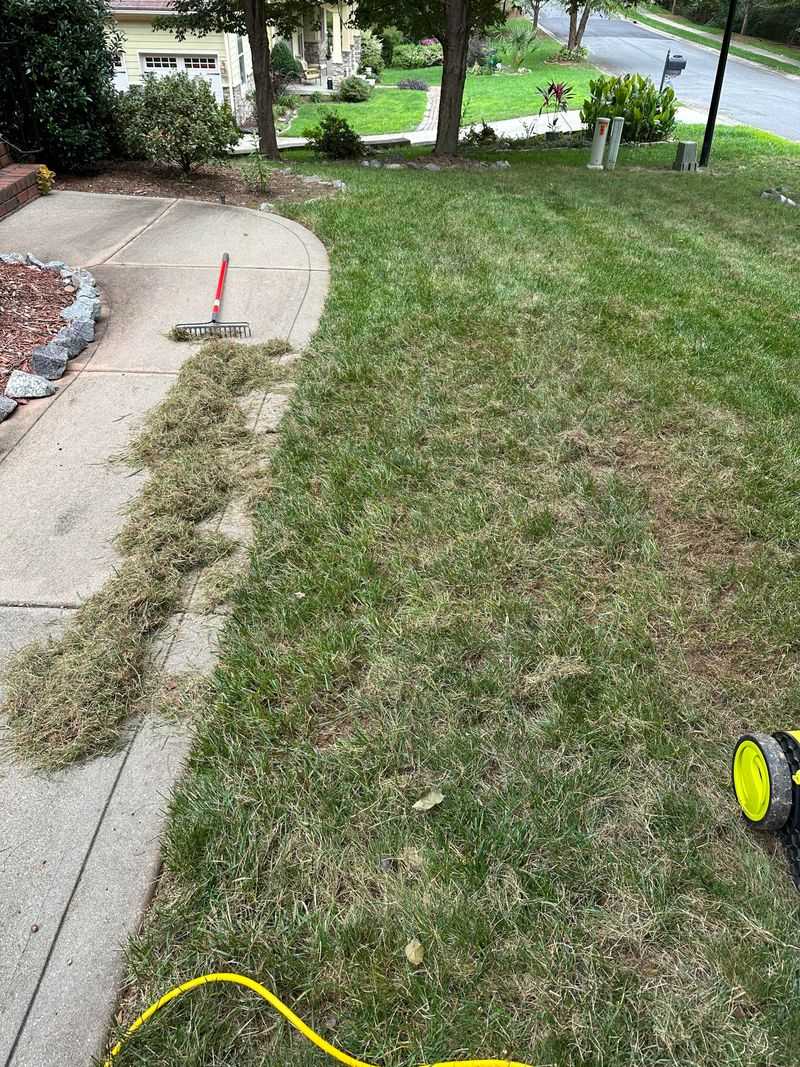
9. Clean Up Thoroughly
Don’t leave removed thatch sitting on your lawn. Rake it up promptly using a leaf rake or lawn sweeper. Leaving thatch behind defeats the purpose of the whole process and can actually contribute to new thatch formation.
The removed thatch makes excellent material for your compost pile, where it will break down properly. For extremely heavy thatch removal, you might need to use a bag attachment on your equipment or plan for multiple cleanup passes to get all the material off your lawn.
10. Consider Aerating Too
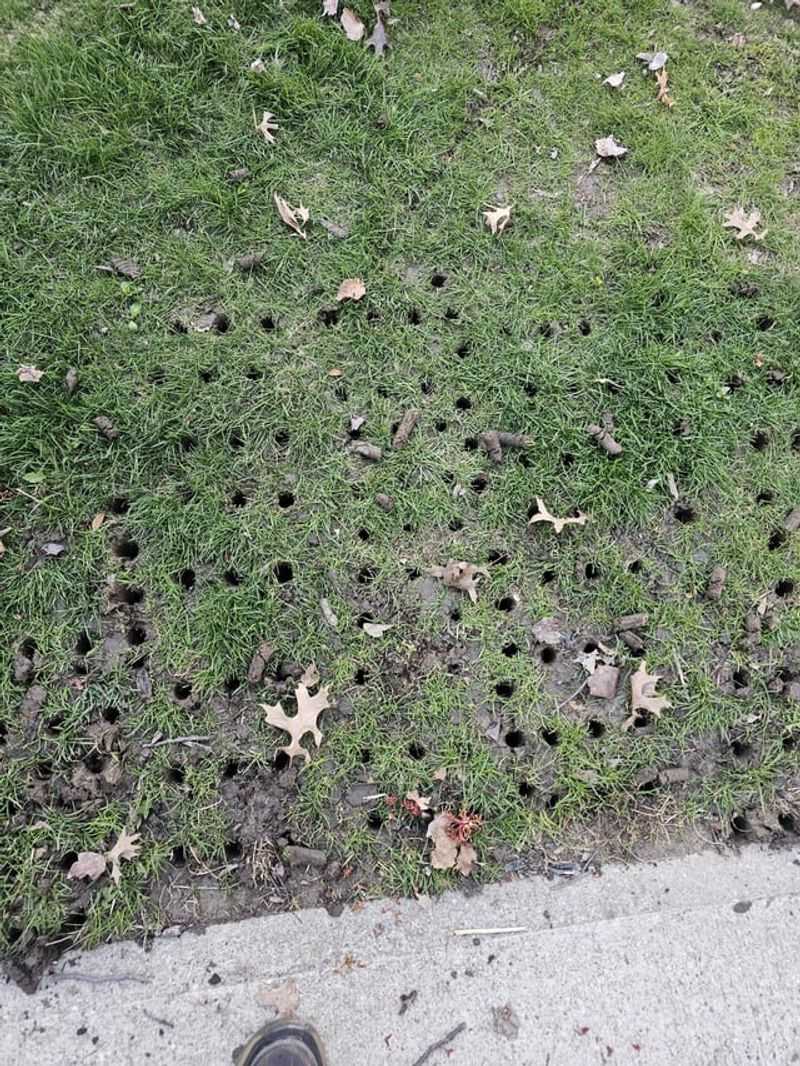
Dethatching and aerating make a powerful combination for lawn restoration. While dethatching removes the layer of debris above the soil, aerating creates holes in the soil itself, allowing better penetration of water, nutrients, and oxygen to the roots.
If your soil is compacted (common in high-traffic areas), consider aerating immediately after dethatching. The two processes complement each other perfectly. Many lawn care professionals recommend this one-two punch approach for maximum lawn health improvement, especially for lawns that have been neglected.
11. Overseed After Dethatching
The period right after dethatching presents a golden opportunity for overseeding. With thatch removed, seed can make direct contact with soil, dramatically improving germination rates. Choose a grass seed blend that matches your existing lawn type.
Spread the seed evenly using a broadcast spreader, then lightly rake to ensure good seed-to-soil contact. Keep the seeded area consistently moist until new grass establishes. This strategic timing helps thicken your lawn and fill in any bare spots created during the dethatching process.
12. Feed Your Lawn

Apply fertilizer after dethatching to support recovery and encourage healthy growth. Choose a balanced fertilizer with equal or near-equal NPK numbers for general lawn health, or a slightly higher middle number to promote root development.
Wait until after you’ve cleaned up all the thatch before fertilizing. Water thoroughly after application to help nutrients reach the root zone. This post-dethatching feeding is especially important because the process is stressful on your lawn, and the nutrients help it bounce back more quickly.
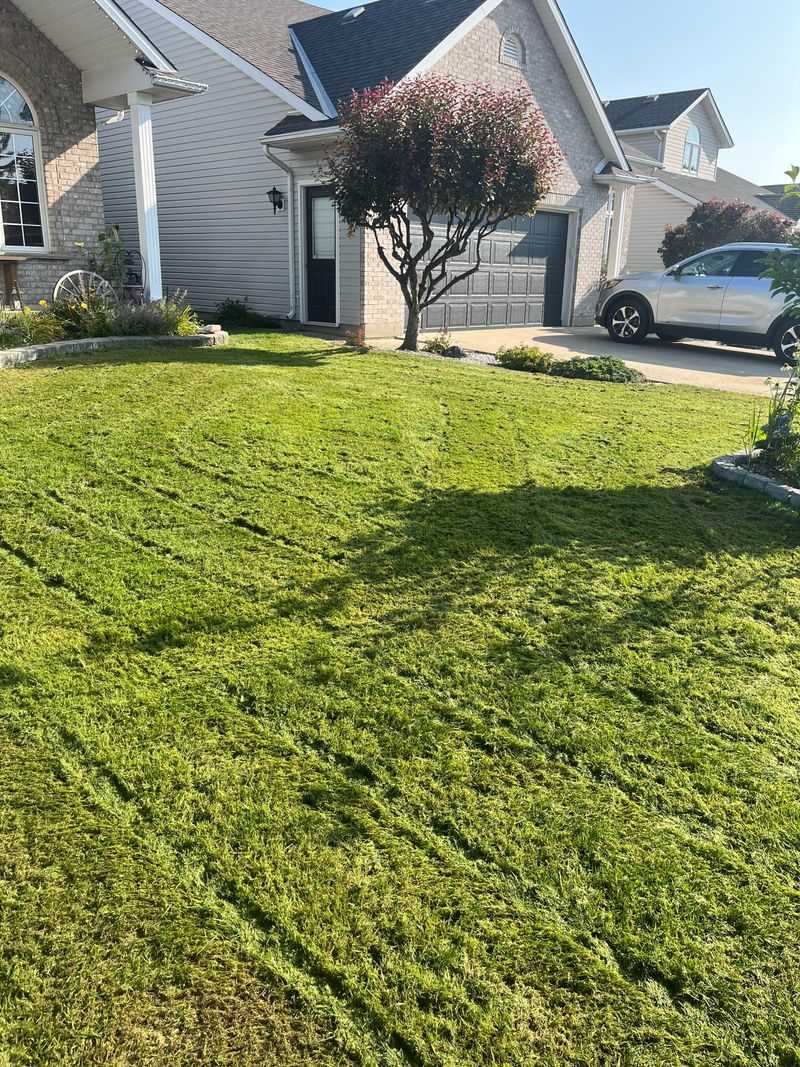
13. Practice Patience
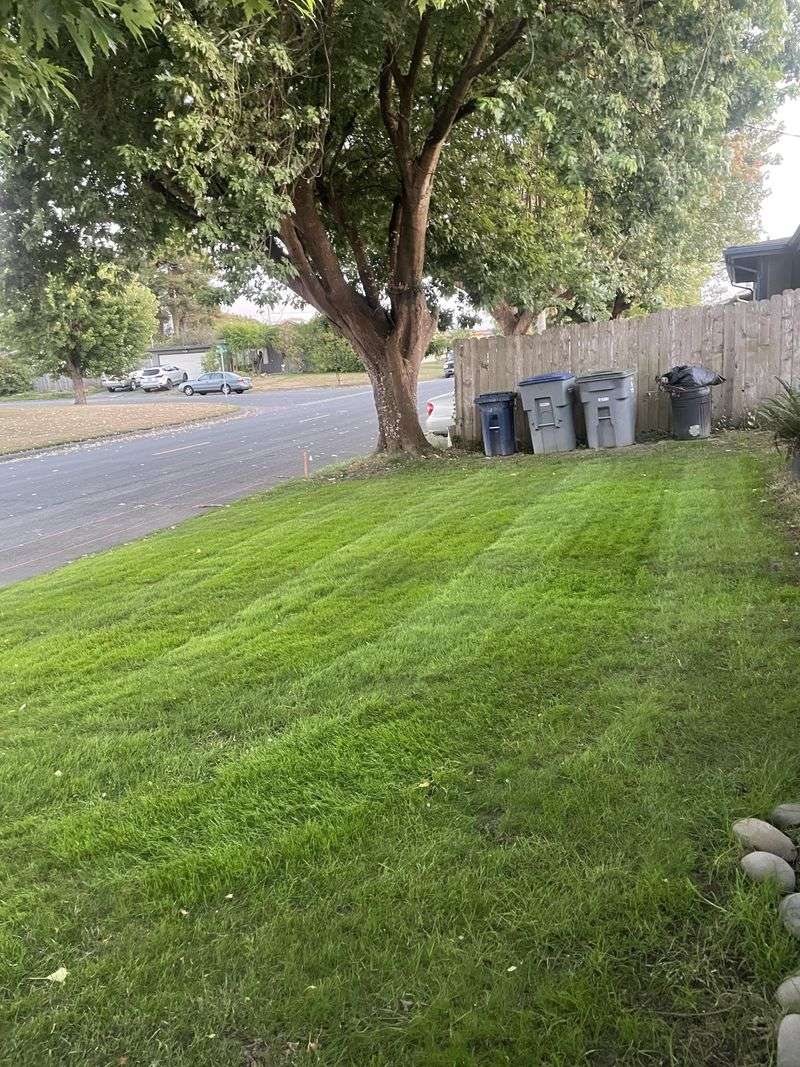
Your lawn won’t look its best immediately after dethatching. In fact, it might look worse temporarily! The process is disruptive and your grass needs time to recover. Expect to wait 3-4 weeks before seeing significant improvement in appearance and health.
During this recovery period, minimize foot traffic on the lawn. Avoid mowing for at least a week after dethatching. Remember that the temporary disruption leads to long-term benefits – healthier, more vigorous grass that’s more resistant to disease, drought, and pests.
14. Prevent Future Thatch Buildup
After going through the work of dethatching, take steps to prevent excessive thatch from returning. Avoid over-fertilizing with high-nitrogen products, which can cause rapid growth that contributes to thatch. Don’t overwater your lawn, as constantly wet conditions slow natural thatch decomposition.
Regular mowing at the proper height for your grass type helps too. Consider using a mulching mower that finely chops clippings, allowing them to decompose quickly. Some lawn care experts also recommend annual applications of soil conditioners containing beneficial microbes that help break down thatch naturally.
15. Know When To Call Pros
Sometimes, dethatching is better left to professionals. If your thatch layer exceeds one inch in thickness, professional equipment will be more effective. Specialists have commercial-grade machines that can handle severe cases without damaging the lawn.
Professional lawn care services also have the expertise to combine dethatching with other treatments like aeration, overseeding, and proper fertilization for maximum benefit. For large properties or if you have physical limitations, the investment in professional service can save time, prevent mistakes, and yield better results.