18 Pruning Tricks For Squash Plants That Lead To A Bigger, Healthier Harvest
Growing squash is one of those garden joys that starts off great—until the vines take over like they own the place. I learned the hard way that without some pruning, things get out of hand fast. What looked like a promising patch turned into a leafy jungle with barely any fruit.
With just a few snips here and there, though, you can totally change the game. Pruning helps direct all that growing energy into the squash themselves, instead of just more leaves. It’s a simple trick that leads to way healthier plants and better harvests.
So if your squash vines are starting to run wild, it might be time to grab the pruners. A little maintenance goes a long way toward turning a messy patch into a productive, well-behaved part of the garden.
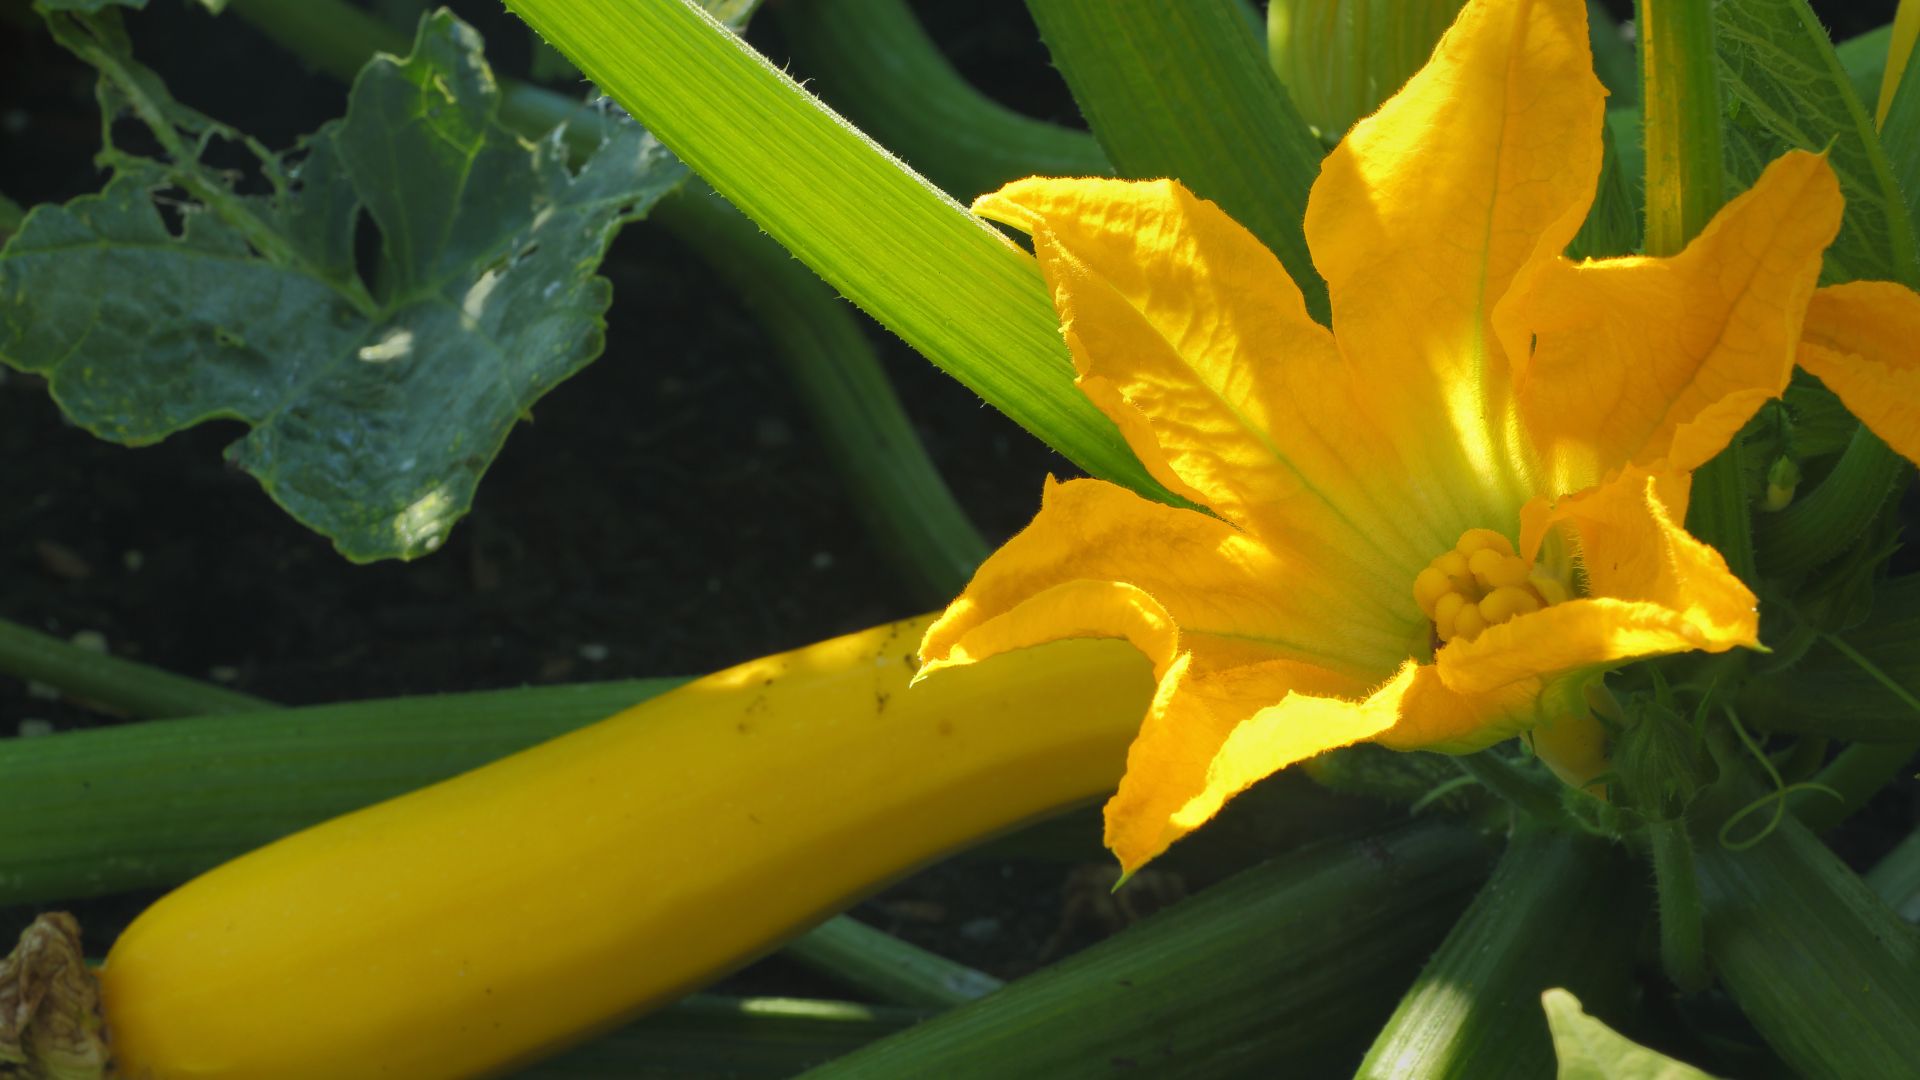
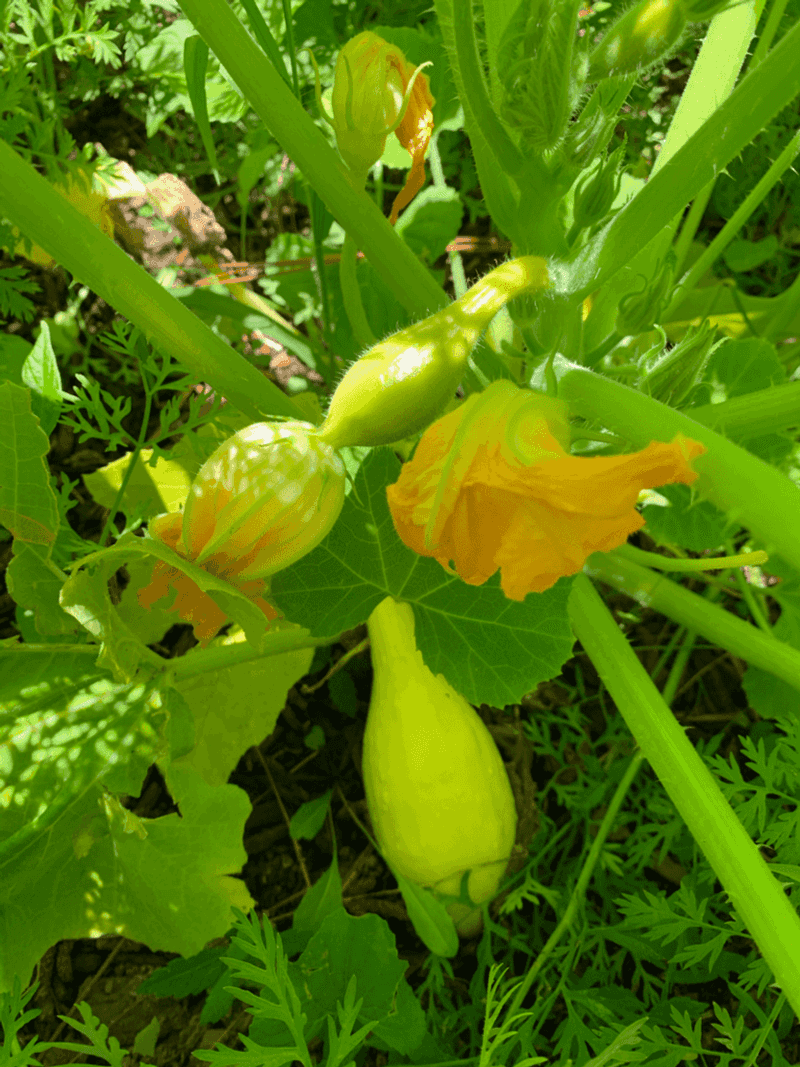
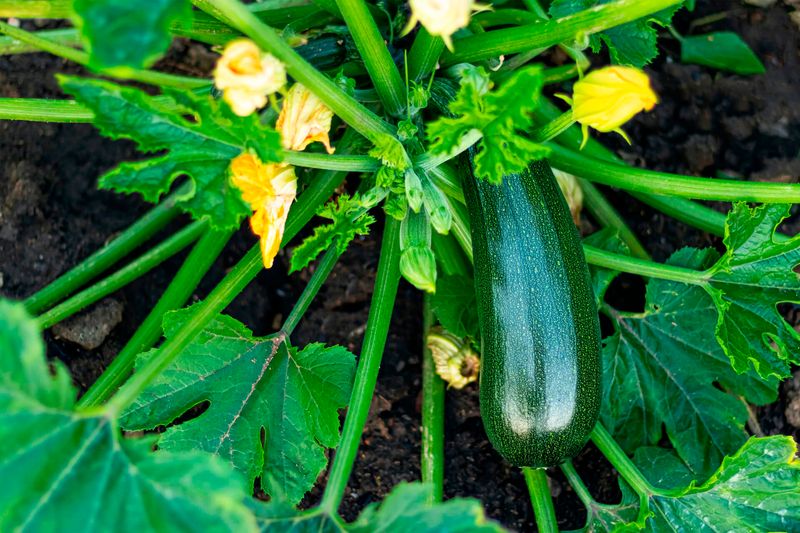
1. Remove The First Male Flowers
Those early yellow blooms might look promising, but they’re typically male flowers that won’t produce fruit. Snipping off the first flush of male flowers redirects energy back into vine growth and root development.
Your plant needs to establish a strong foundation before supporting fruits. This early-season pruning trick gives plants a chance to build vigor before fruiting begins.
I’ve found this especially helpful with zucchini plants in cooler climates where getting a strong start makes all the difference between mediocre and magnificent harvests.
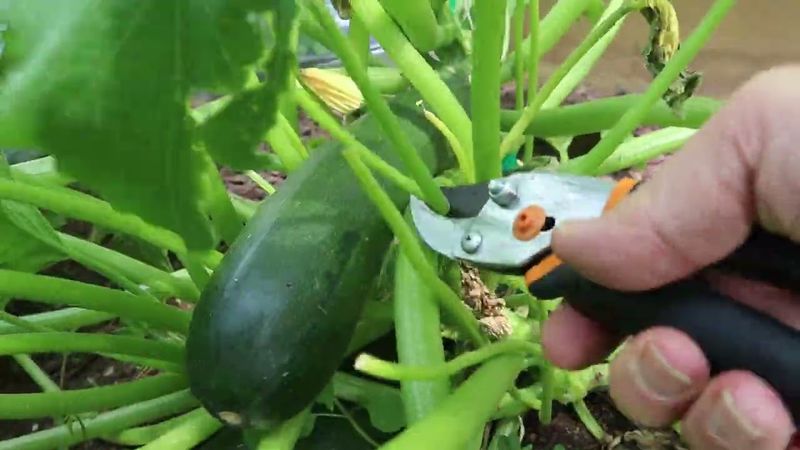
2. Limit To Two Main Vines
Most squash varieties naturally produce multiple vines, but that doesn’t mean you should keep them all. Select the two strongest, healthiest vines and remove the others at soil level using clean pruning shears.
Having fewer vines means each remaining one receives more nutrients and energy. The plant focuses its resources rather than spreading them thinly across too many growth points.
My winter squash doubled in size after implementing this method compared to my previous unrestrained approach.
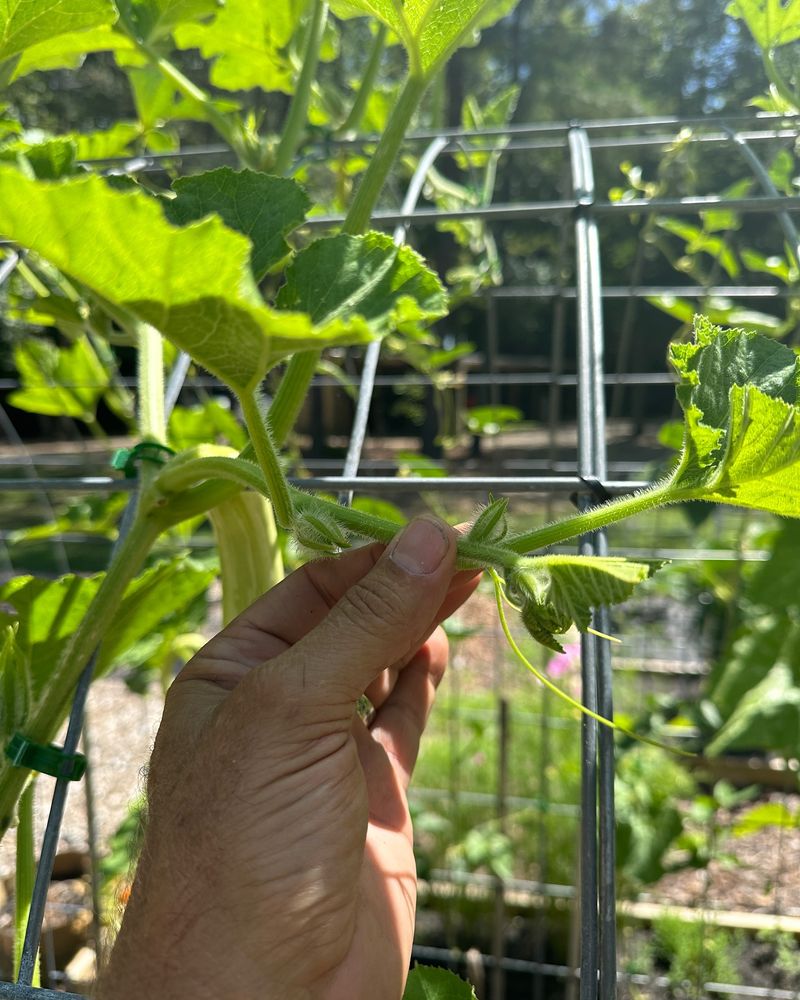
3. Pinch Growing Tips After Fruit Set
Once you’ve got several developing fruits on your vine, it’s time for a strategic pinch. Using your thumbnail and forefinger, gently pinch off the growing tip of the vine about two leaves past the last fruit.
This simple action tells the plant to stop expanding outward and instead funnel energy into developing existing fruits. The fruits you already have will grow larger and mature faster.
Even commercial growers use this technique to increase marketable yields and fruit uniformity in their squash crops.
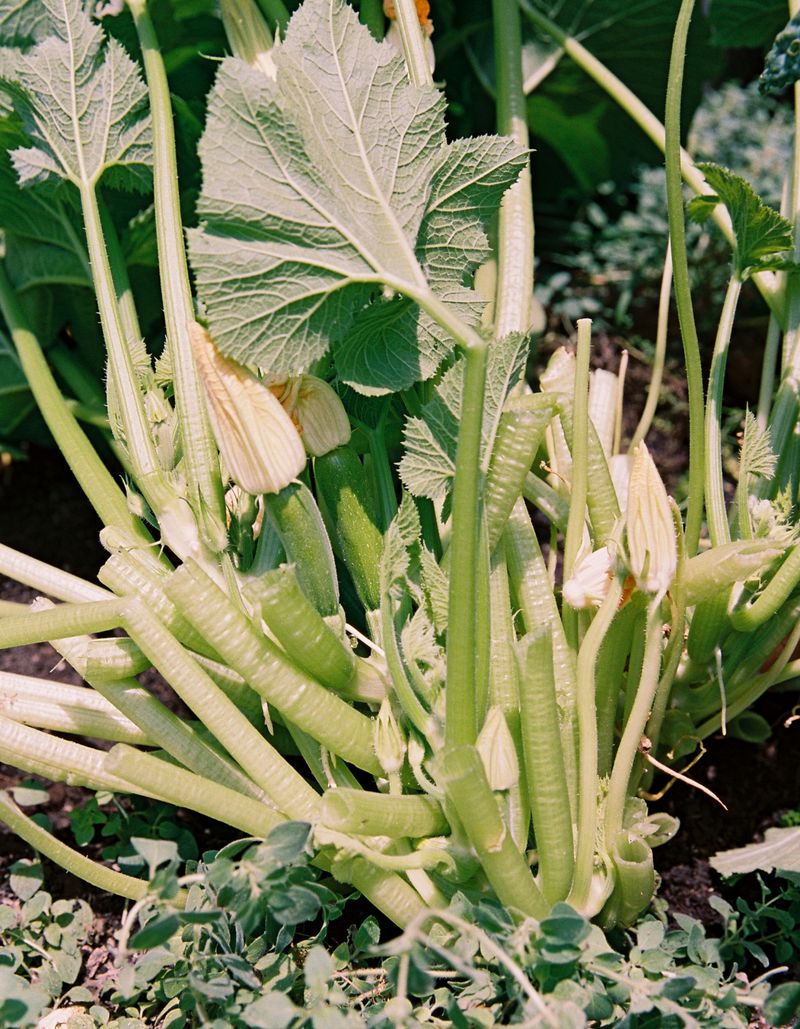
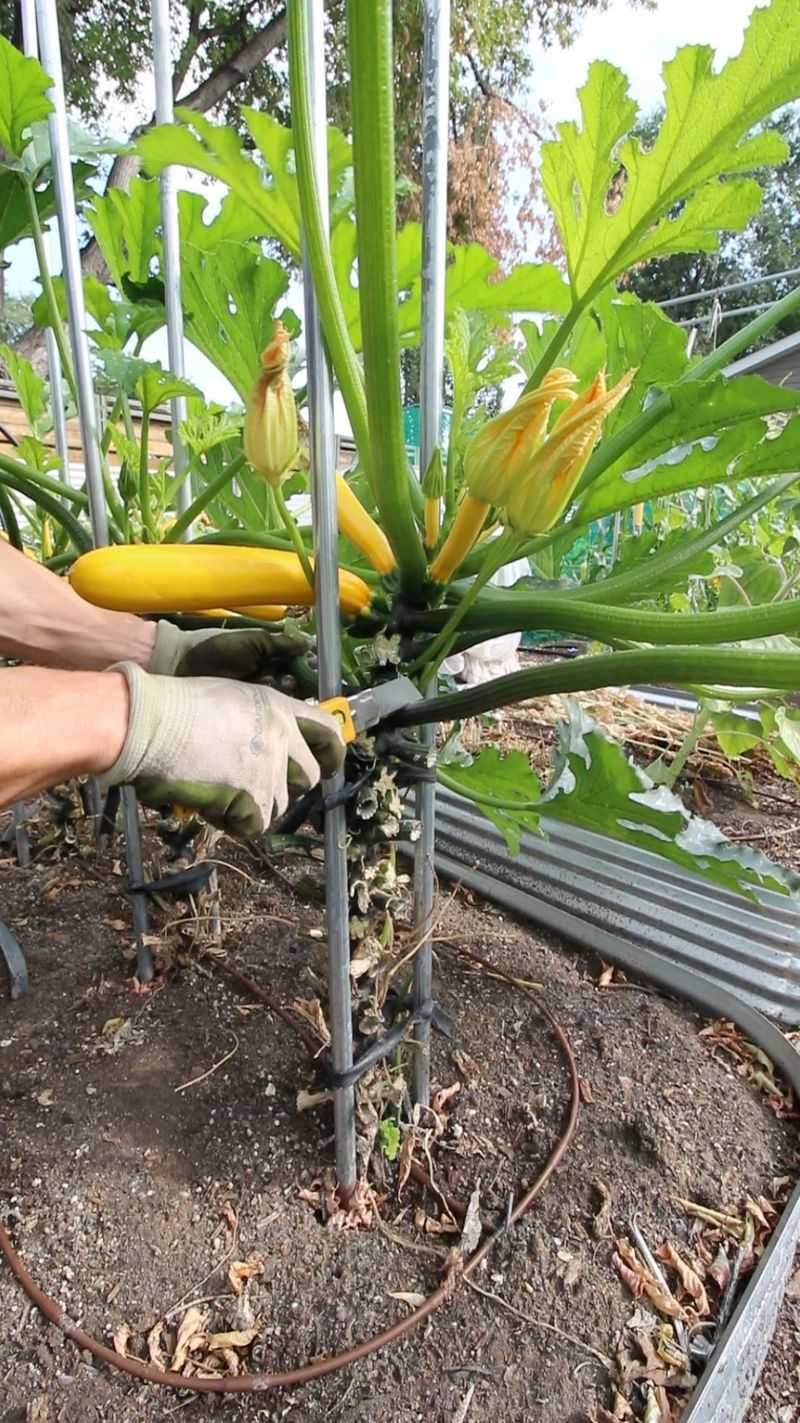
4. Clear The Crown Zone

The crown zone is the central hub where all vines emerge from the main stem. Keeping this area clear prevents disease and improves air circulation where it matters most.
Remove any leaves that touch the soil around the crown, especially older yellowing ones. This creates a 6-8 inch breathing zone that discourages fungal problems and makes it harder for pests to access the plant’s core.
During a particularly humid summer, this technique saved my yellow squash from powdery mildew when my neighbor’s unpruned plants succumbed completely.
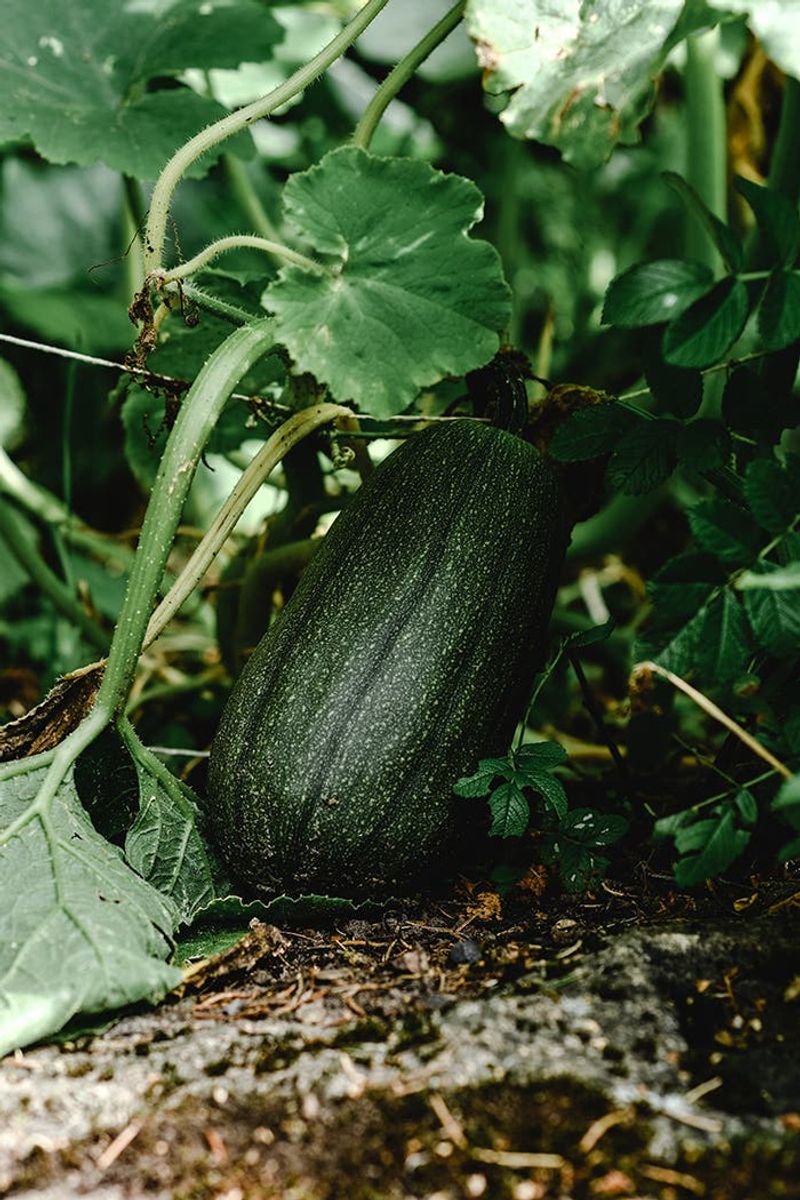
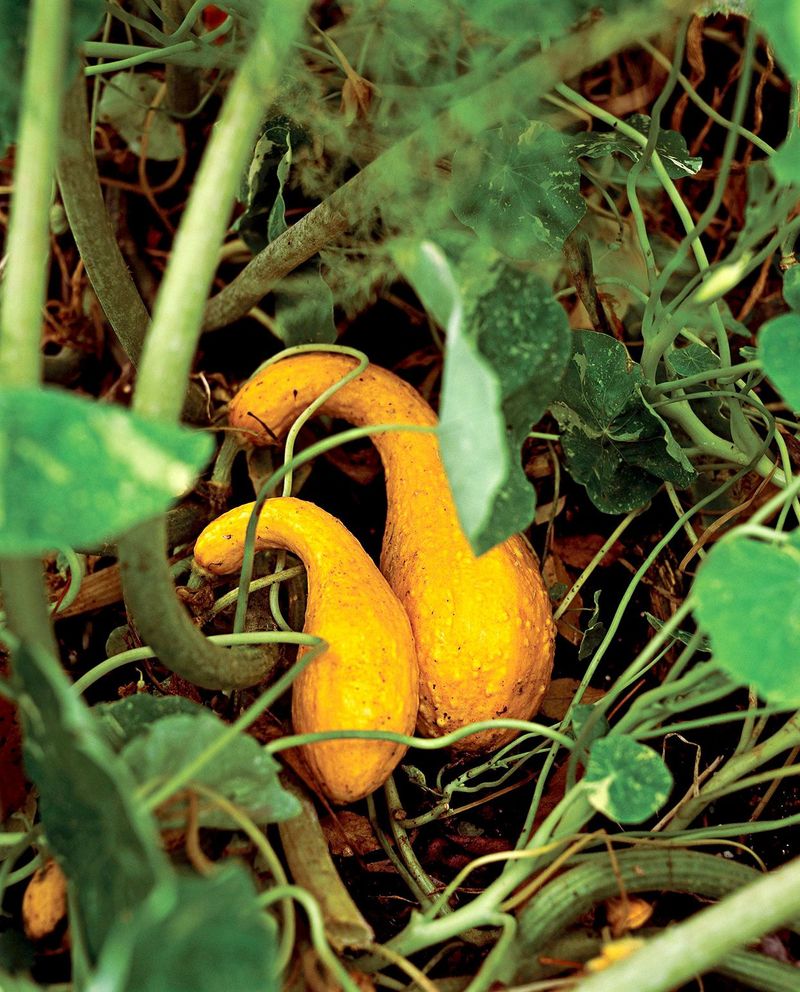
5. Elevate Fruits Off The Ground
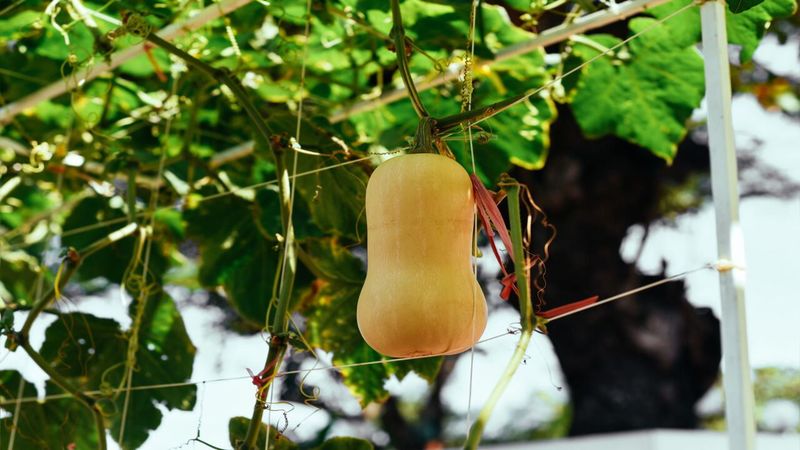
Growing squash directly on soil invites rot and pest damage. After fruit sets, prune any leaves directly beneath developing fruits to create clearance between the fruit and the ground.
For larger winter squash varieties, this pruning strategy allows you to place a small board or mulch under each fruit. The improved airflow prevents the bottom of fruits from rotting during wet periods.
Last season, every butternut squash I elevated this way developed perfectly, while the ones left on bare soil had flat spots and skin damage.
6. Trim Overlapping Leaves
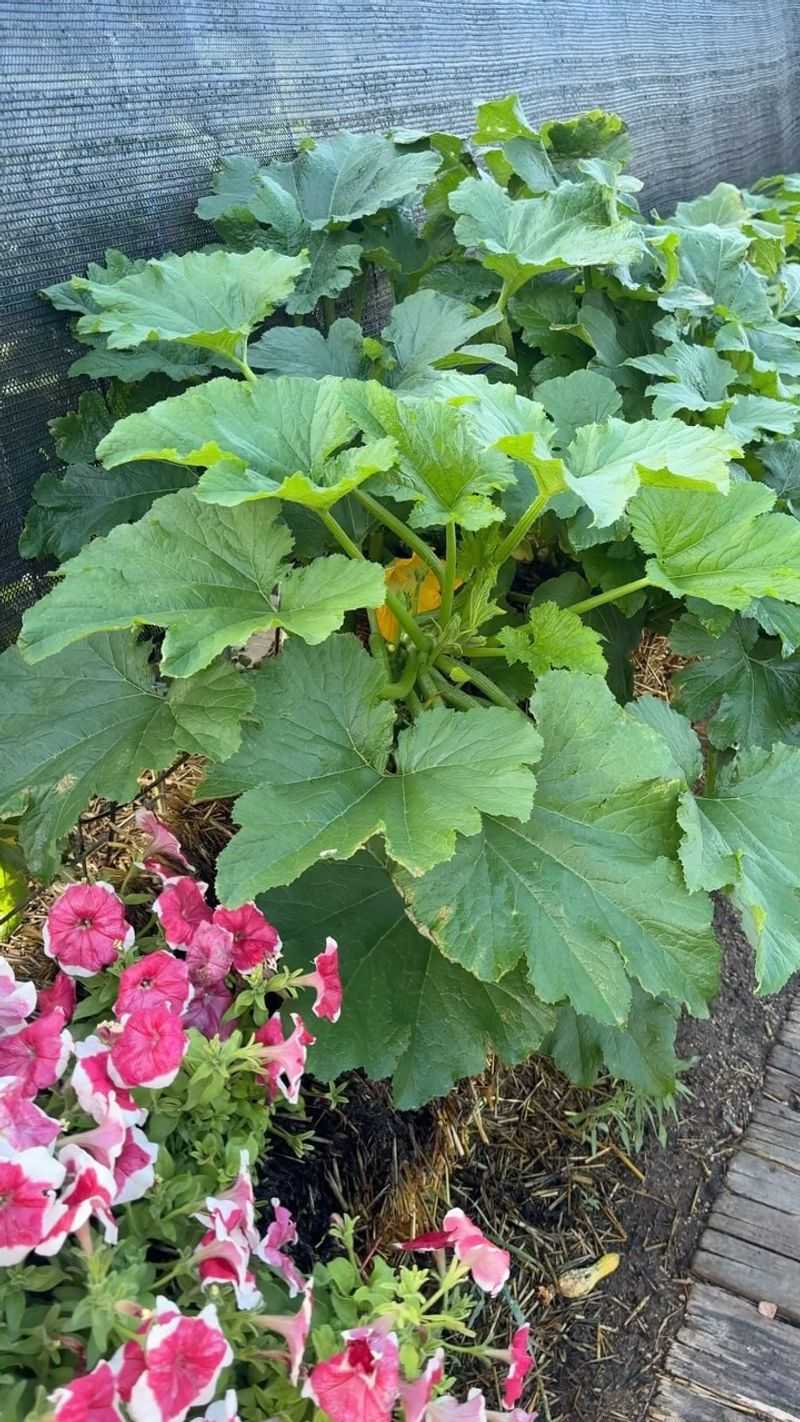
Squash plants produce massive leaves that often overlap and create humid pockets – perfect breeding grounds for disease. Identify areas where leaves completely cover each other and selectively remove about 20% of the foliage.
Focus on cutting older, lower leaves first, especially those showing any signs of yellowing or disease. This strategic thinning maintains plenty of photosynthesis power while dramatically improving airflow.
The remaining leaves actually perform better with reduced competition for light and less disease pressure.
7. Prune Secondary Vines On Bush Varieties
Even so-called bush varieties of squash try to send out secondary vines that drain energy from the main plant. These smaller side shoots emerge from leaf axils and can quickly become unruly if left unchecked.
Identify these secondary vines when they’re just 3-4 inches long and remove them completely. The plant will redirect that growth energy into fruit production and strengthening the main stem.
My container-grown pattypan squash produced nearly twice as many fruits after I implemented this focused pruning approach.
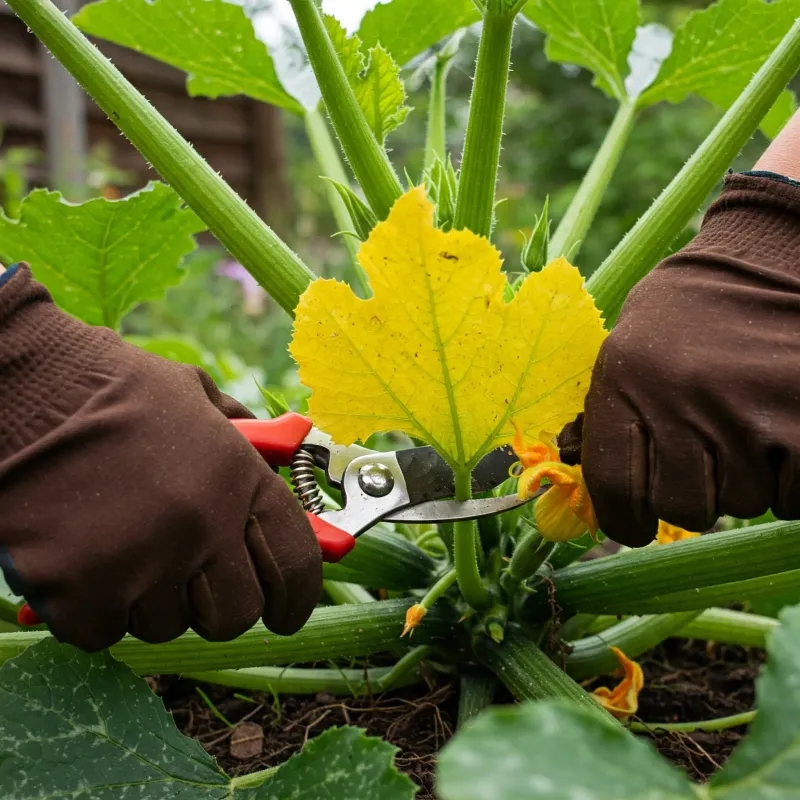
8. Remove Diseased Leaves Immediately
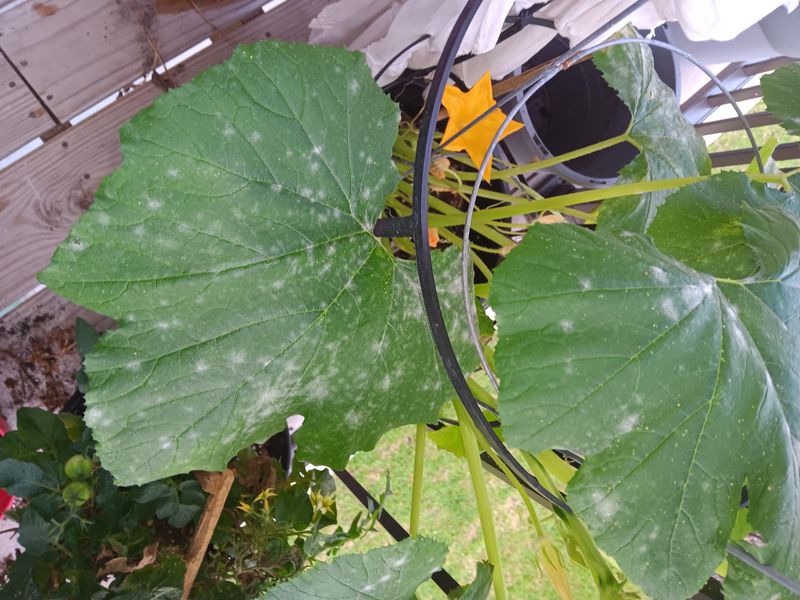
Squash plants are susceptible to powdery mildew and other fungal issues. The moment you spot white powdery patches or any discoloration on leaves, remove them entirely – don’t wait or the problem will spread.
Make cuts at the base of the leaf stem using sanitized pruners, then dispose of infected material away from your garden. Never compost diseased plant parts as this can spread problems to future crops.
Regular inspection and prompt removal of problematic leaves has kept my squash productive even during challenging wet seasons when others lost their plants.
9. Train Vines Along Trellises
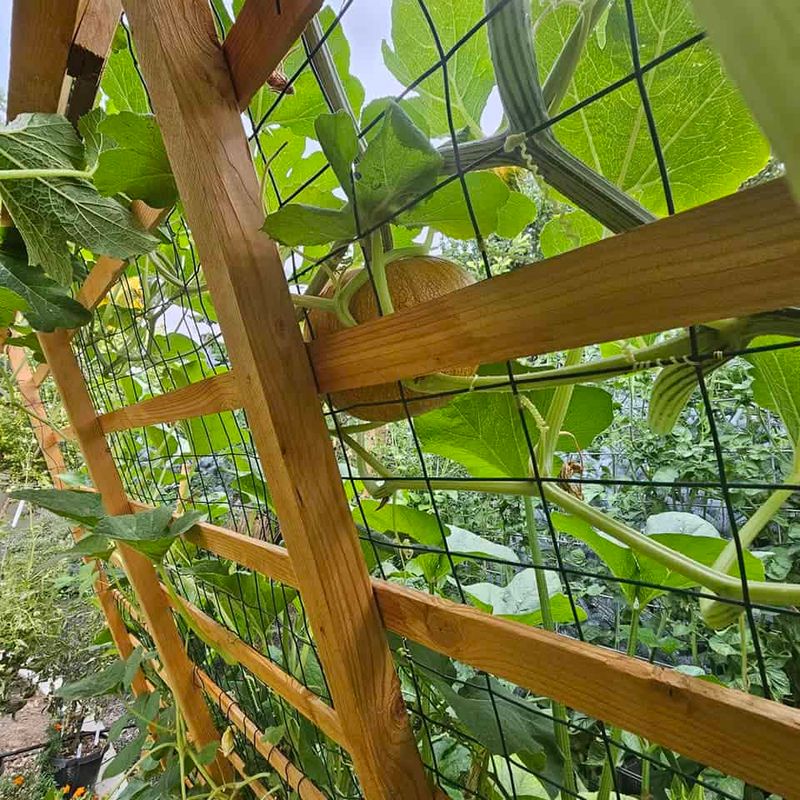
Sprawling squash vines can be directed upward with strategic pruning and training. Remove any vines growing in unwanted directions and preserve those that can be guided onto vertical supports.
As vines grow, gently weave them through trellis openings and prune any portions that resist training. For heavier winter squash varieties, add fabric sling supports under developing fruits.
The vertical growth pattern dramatically reduces disease by improving air circulation while making harvesting easier – no more hunting through a tangled mess of vines!
10. Limit Fruit Numbers For Larger Size
Quality often trumps quantity when growing squash. After fruit has set, count developing squash and make the tough decision to remove some of the smallest ones, leaving just 3-5 fruits per vine for winter squash or 5-7 for summer varieties.
This deliberate reduction focuses the plant’s energy into fewer fruits. The remaining squash will grow significantly larger and develop better flavor than if the plant were supporting too many fruits.
My prize-winning butternut came from a plant where I ruthlessly limited fruit numbers early in the season.
11. Create Air Tunnels In Dense Patches
Dense squash plantings need strategic pruning to create air corridors that prevent disease. Identify areas where foliage is most congested and create deliberate “tunnels” by removing leaves and small vines in a pathway pattern.
These air channels allow breezes to penetrate deep into the plant canopy. Morning dew dries faster, significantly reducing fungal disease pressure that thrives in damp, still conditions.
The difference becomes obvious during humid weather – pruned plants with air tunnels remain healthy while unpruned patches develop mildew problems.
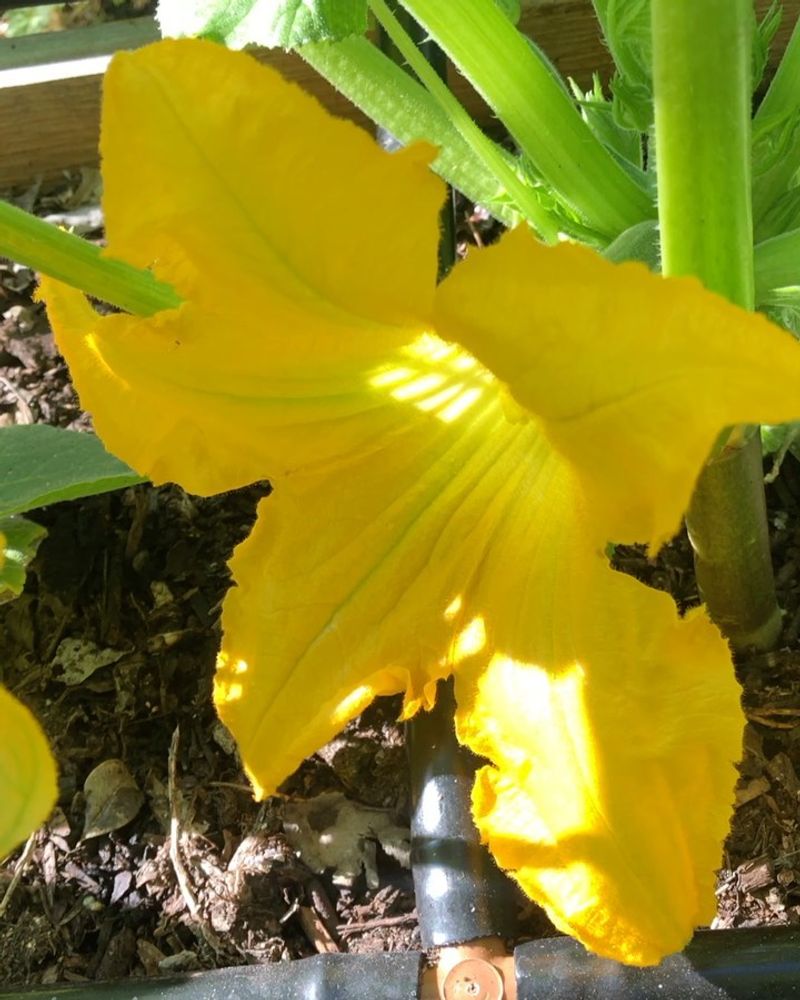
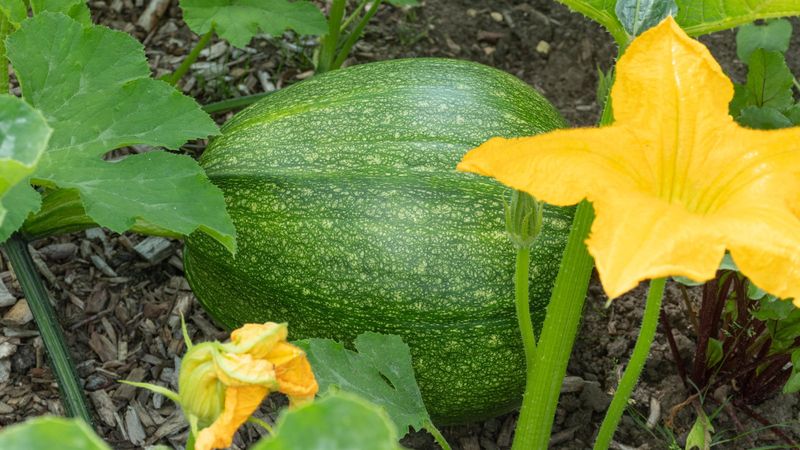
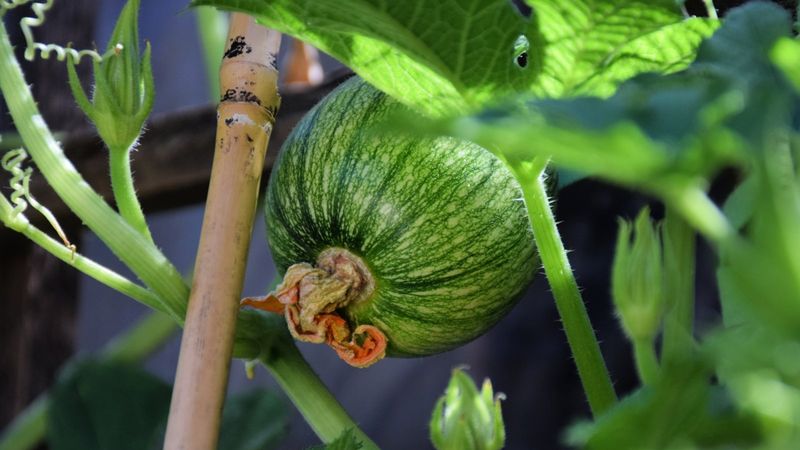
12. Prune For Pollinator Access
Female squash flowers need good pollinator visits to develop into fruits. Sometimes dense foliage can hide flowers or block bee access, resulting in poor pollination and dropped fruits.
Identify female flowers (they have a tiny squash shape at the base) and selectively remove leaves that shade or obstruct them. This targeted pruning exposes flowers to pollinators and increases successful fruit set rates.
Since implementing this technique, I’ve had far fewer problems with fruits that start developing but then shrivel up due to incomplete pollination.
13. Remove Crossing Vines

Vines that cross over each other create problem points where disease can develop and fruits get malformed. When you spot vines crossing or tangling, don’t hesitate to remove the less productive one entirely.
Make clean cuts near the base of the less promising vine. This prevents the plant from wasting energy on vines that compete with each other and creates cleaner growth patterns.
The remaining vines will grow more vigorously without competition, and fruits won’t get squeezed between crossing stems.
14. Prune After Harvesting First Fruits
After harvesting your first squash fruits, give the plant a rejuvenating pruning session. Remove any yellowing leaves and the stems of harvested fruits back to the main vine.
This mid-season refresh stimulates new growth and flowering for a second wave of production. The plant responds to this pruning by directing energy to developing new fruit rather than maintaining old stems.
Many gardeners miss out on late-season harvests by neglecting this simple maintenance pruning that can extend production by several weeks.
15. Selective Leaf Shading For Summer Squash
During intense summer heat, developing fruits can get sunscald. Rather than removing all leaves, selectively prune to create dappled shade patterns that protect fruits while maintaining airflow.
Remove leaves from the bottom and interior of the plant while preserving some upper leaves that cast partial shade. This balanced approach prevents both sunburn and the fungal issues that come with too much humidity.
My zucchini production actually increased during a heatwave after implementing this technique, while my neighbor’s completely exposed plants suffered burned fruits.
16. Maintain A Clean Perimeter
Squash plants benefit from a clear zone around their outer edges. Prune any leaves or vines that touch neighboring plants, garden edges, or structures like fences and walls.
This perimeter pruning creates a buffer zone that reduces pest movement between plants and improves air circulation. It also makes it easier to spot and address problems before they affect the entire plant.
The clean boundary makes maintenance tasks like weeding and fertilizing much simpler without sacrificing productive plant parts.
17. Root Zone Pruning For Container Plants
Container-grown squash plants need a different pruning approach focused on the hidden root zone. When you notice roots circling at drainage holes, it’s time for action.
Carefully tip the container and prune away about 20% of the outer root mass using clean shears. Then repot with fresh soil. This root pruning prevents the plant from becoming root-bound and stimulates new feeder root development.
Container squash plants often hit a productivity wall mid-season, but this technique gives them a second wind of vigorous growth.
18. End-Of-Season Terminal Pruning
As the growing season winds down, make one final strategic pruning cut. About 30 days before your first expected frost, remove all growing tips and flowers that won’t have time to develop into mature fruits.
This end-of-season pruning forces the plant to direct all remaining energy into ripening existing fruits rather than producing new ones that won’t mature. The result is better-developed, sweeter winter squash with improved storage quality.
After implementing this technique, my butternut squash cured better and lasted months longer in storage.