14 Genius Hacks To Turn Plain Terra Cotta Pots Into A Charming Rustic Fountain
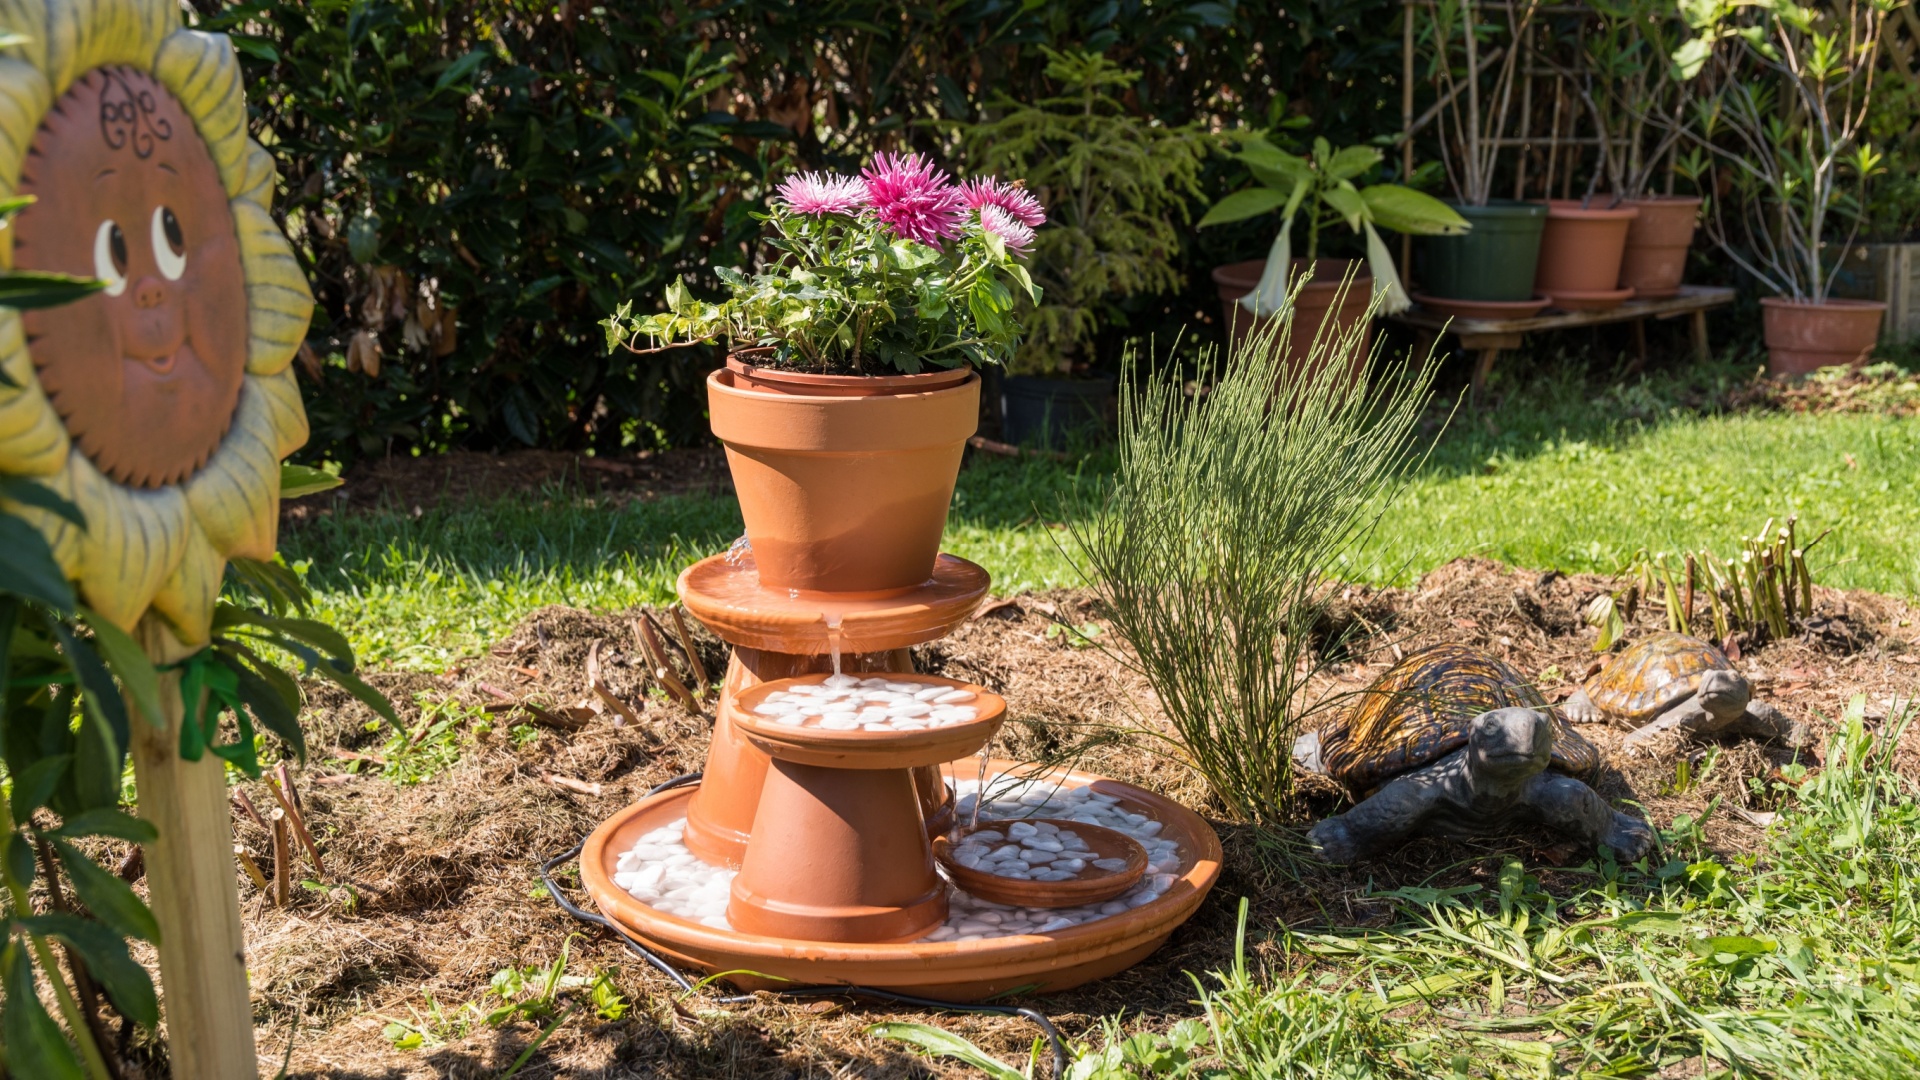
I had a stack of plain terra cotta pots and a backyard begging for charm. With a few genius hacks (and zero plumbing skills), I turned those humble planters into a rustic fountain that stops people in their tracks.
If you’re dreaming of peaceful trickles and farmhouse flair, these 14 clever tips are all you need to bring that vision to life—on a budget, no less.
1. Choose the Right Planters
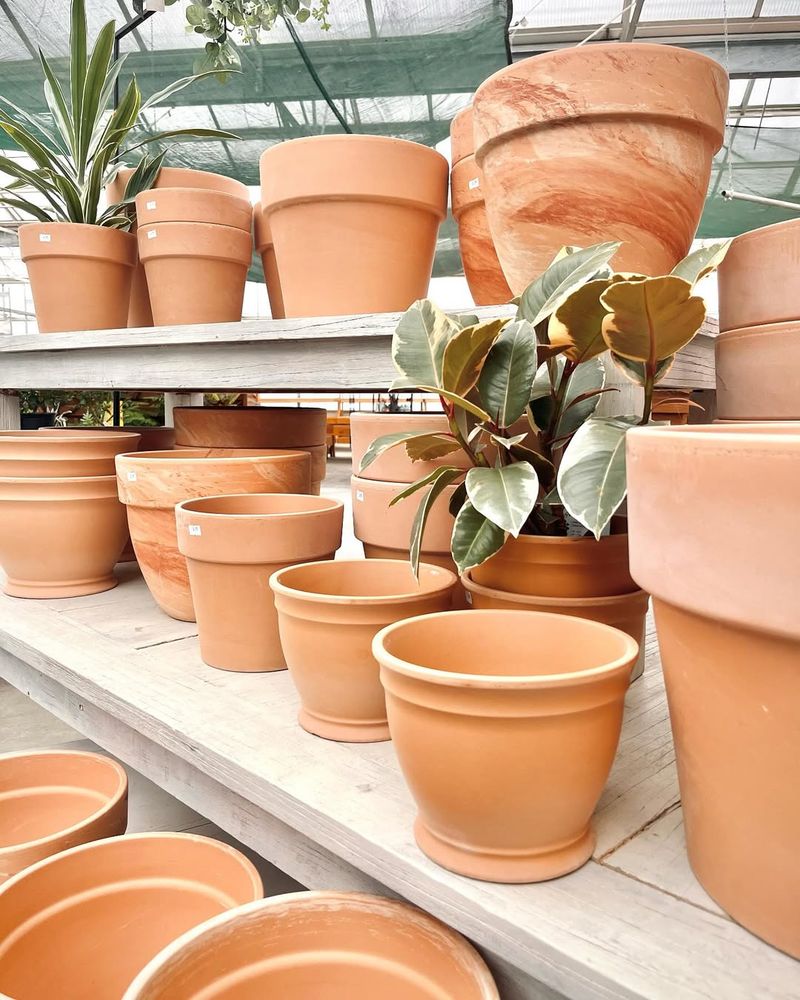
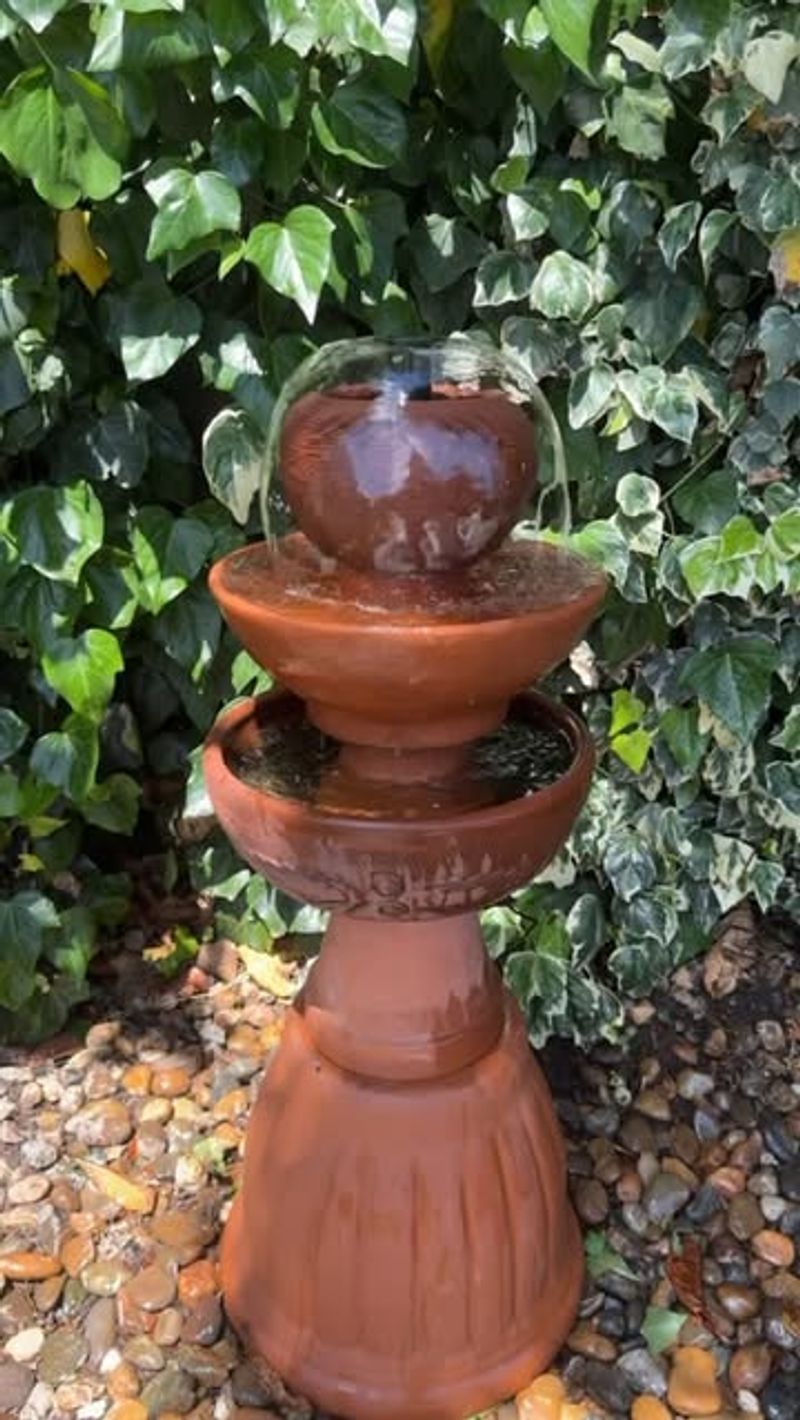
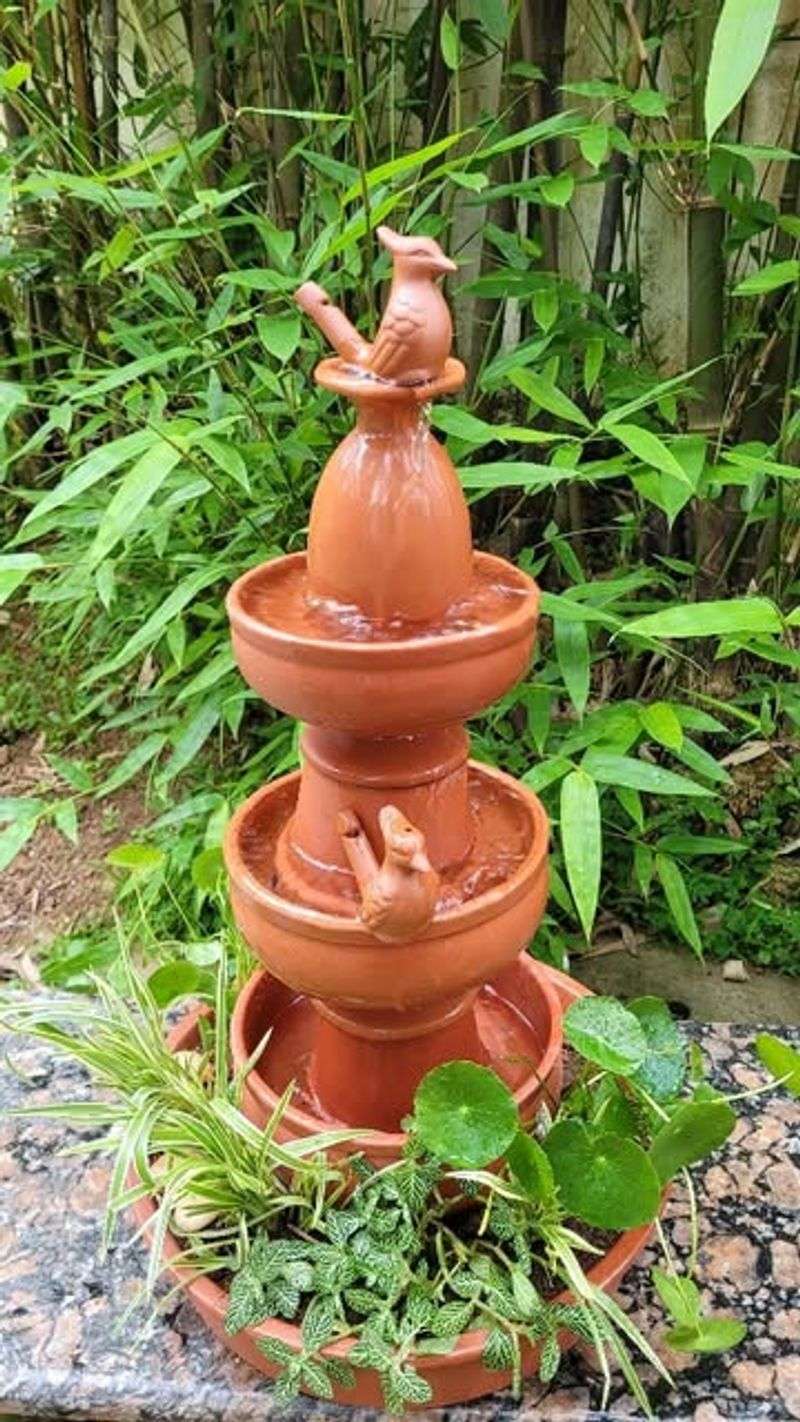
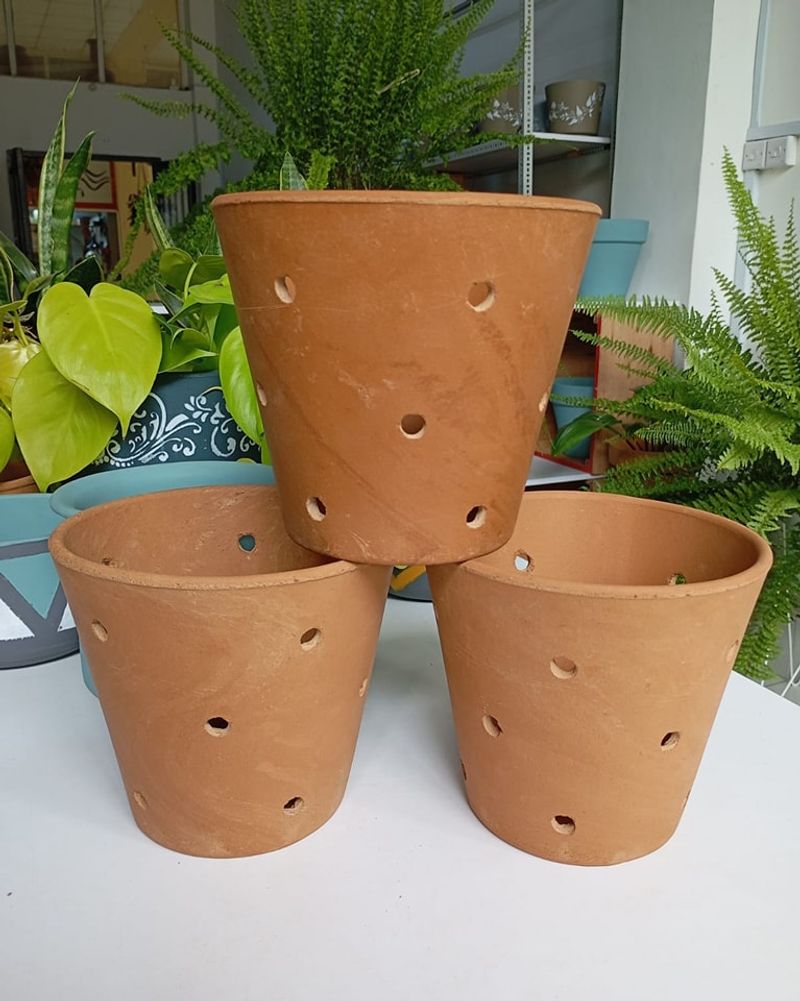
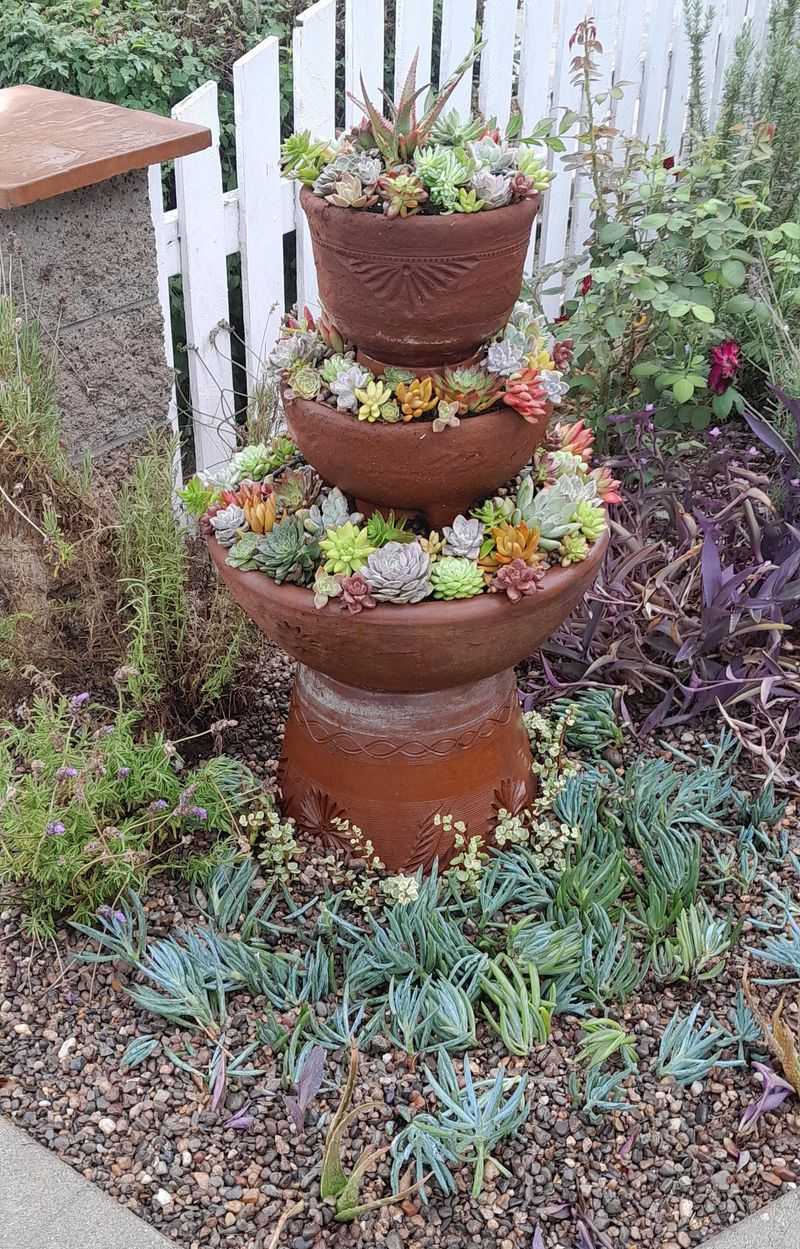
Selecting terra cotta planters in varying sizes creates visual interest for your fountain. Look for at least three different diameters – perhaps 8, 12, and 16 inches – with compatible shapes that will stack nicely.
The largest pot forms your base while smaller ones create tiers above. Make sure they’re unglazed terra cotta, which has a natural, rustic appearance and ages beautifully outdoors. Check that each pot has a drainage hole, as you’ll need these for running tubing.
2. Gather Essential Tools
Before diving into your project, collect all necessary tools and materials. You’ll need a submersible fountain pump, waterproof silicone sealant, plastic tubing, a drill with masonry bits, and outdoor electrical cord.
Don’t forget river rocks, decorative stones, and water plants if desired. Having everything ready prevents frustrating interruptions mid-project. Safety equipment like gloves and eye protection is also important when drilling through terra cotta, which can chip or crack unexpectedly.
3. Create a Stable Foundation
Your fountain needs solid ground to prevent tipping or sinking. Clear a level area in your yard and lay down landscape fabric to block weeds. Place a few inches of gravel on top for drainage and stability.
For extra support, consider pouring a simple concrete pad slightly larger than your bottom planter. If building on a deck or patio, use a heavy plant saucer underneath the entire structure. Level foundations prevent water from splashing unevenly and ensure your fountain remains stable for years.
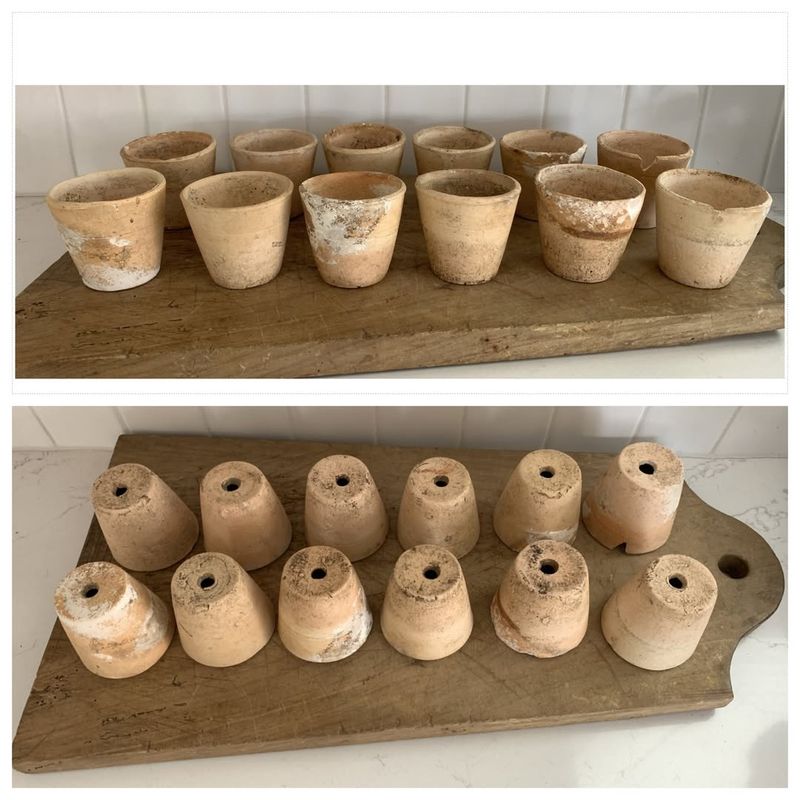
4. Drill Perfect Holes
Drilling through terra cotta requires patience and the right technique. Soak your planters in water for 30 minutes first – this softens the clay and reduces cracking risk. Use a masonry bit and drill slowly on low speed.
Start with a small pilot hole, then gradually increase to your desired diameter. Place tape on the drill bit to mark your depth. Work on a soft surface like sand or towels to cushion the pot while drilling. Remember to wear safety glasses to protect from clay chips.
5. Install the Pump System
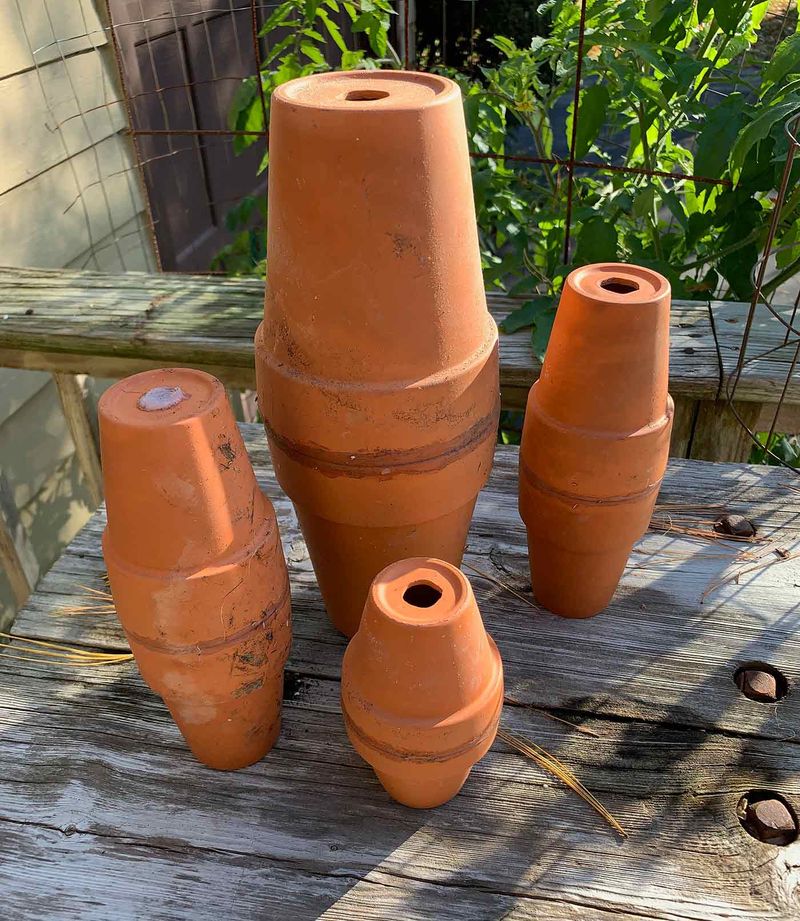
The pump is the heart of your fountain, so proper installation is crucial. Place it in the center of your largest pot, which will serve as the water reservoir. Run plastic tubing from the pump up through the drainage holes of each stacked pot.
Secure the tubing with waterproof sealant at each connection point. Choose a pump with adjustable flow control so you can fine-tune the water pressure. Make sure the electrical cord can reach your outlet without stretching, and use an outdoor-rated extension cord if needed.
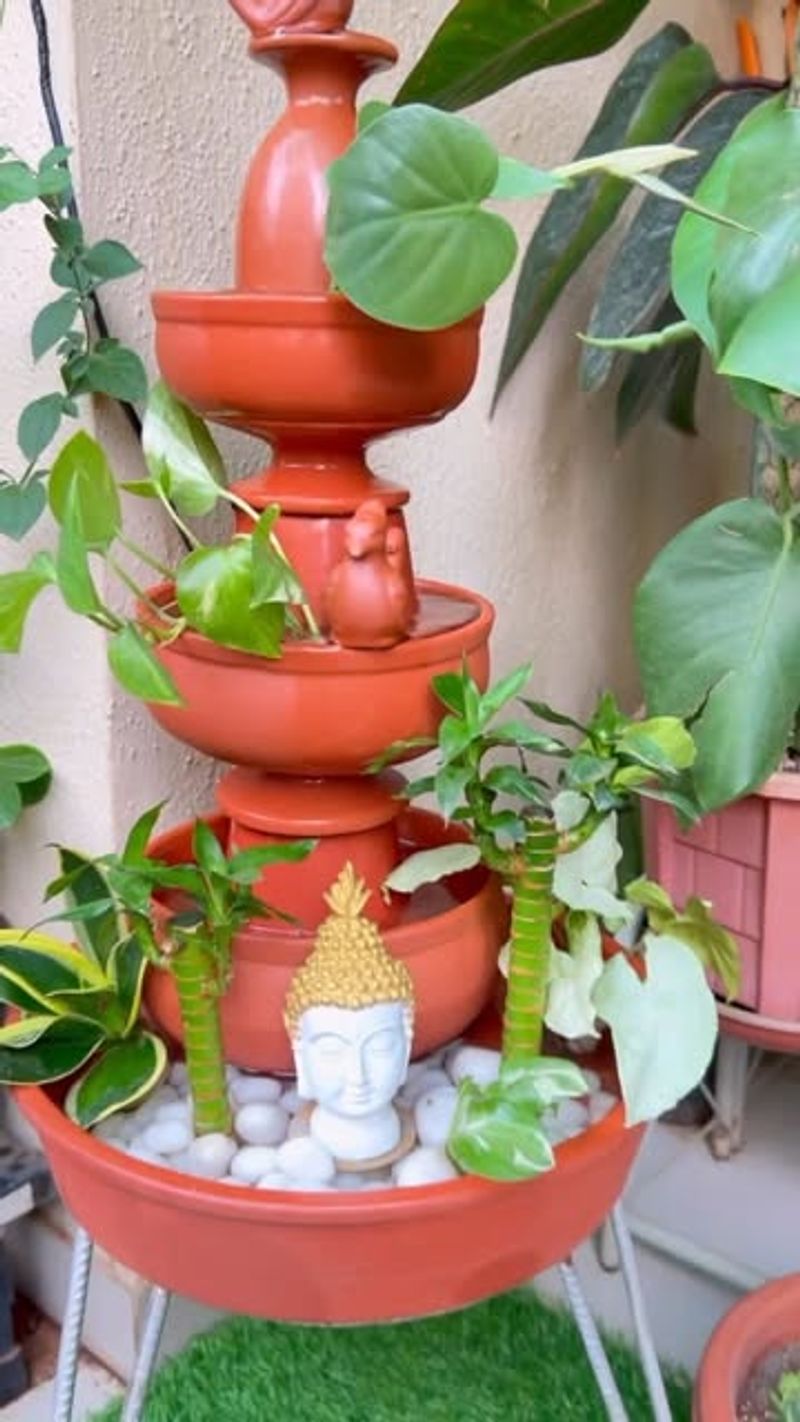
6. Stack Pots Creatively
Arranging your pots isn’t just about function – it’s about creating an eye-catching design. Try offsetting each pot slightly rather than centering them perfectly. This creates a more natural, cascading effect for water flow.
Alternate between upright pots and some turned upside-down for variety. You might even incorporate broken pot pieces as small platforms or decorative elements. Test the stability of your arrangement before adding water, gently pushing from different angles to ensure nothing shifts or wobbles.
7. Seal and Waterproof
Terra cotta naturally absorbs water, which can lead to leaks, algae growth, and even cracking in freezing temperatures. Apply several coats of clear waterproof sealant to the inside of each pot, especially the reservoir base. Allow proper drying time between coats.
For the exterior, consider a penetrating sealer that won’t change the natural appearance. Pay special attention to sealing around drilled holes and connection points with silicone caulk. This step takes time but prevents frustrating leaks and extends your fountain’s lifespan considerably.
8. Add Decorative Stones
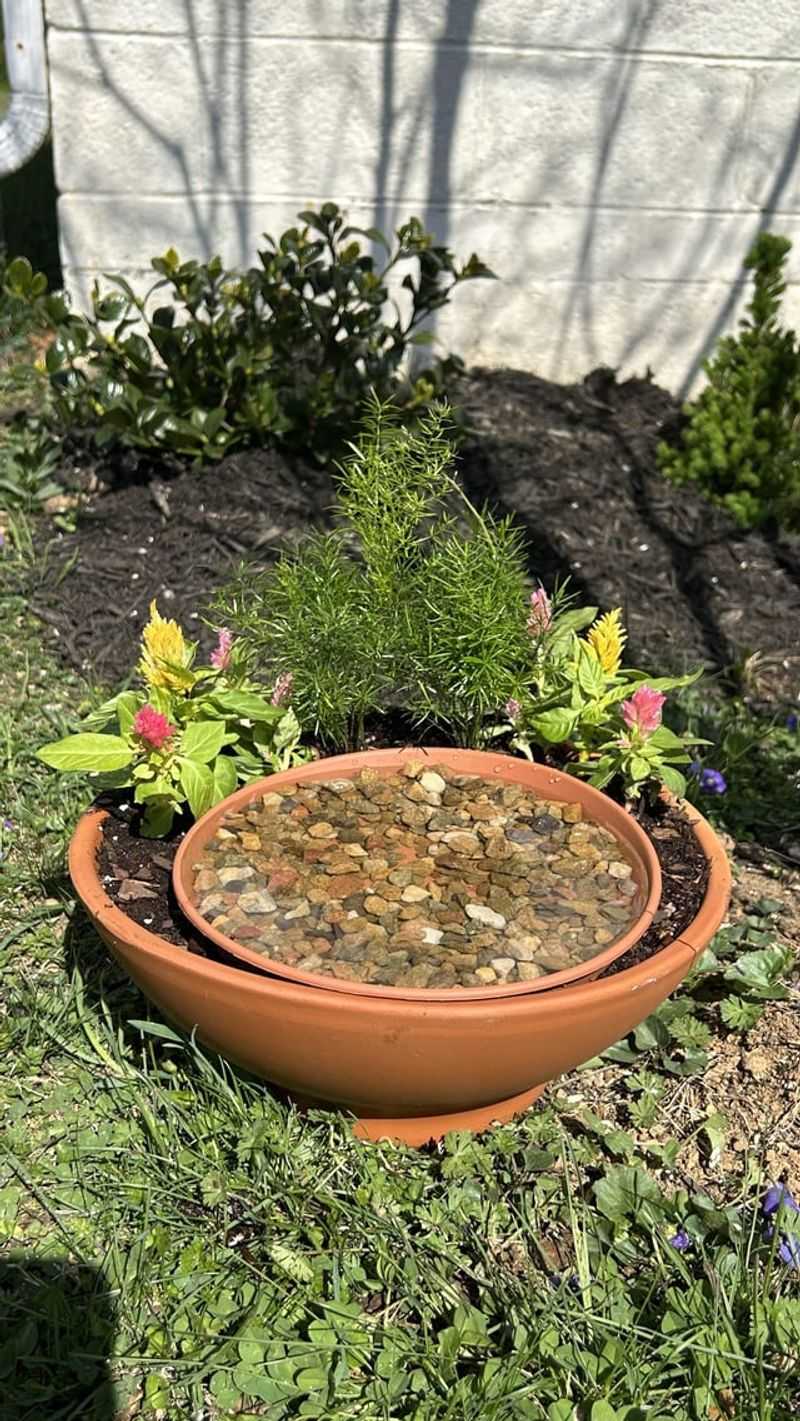
Stones serve both functional and aesthetic purposes in your fountain. Fill the base pot with larger river rocks to stabilize the pump and prevent splashing. Use smaller pebbles in upper tiers to create gentle water sounds as liquid flows over them.
Mix stone colors and sizes for visual interest – perhaps white quartz with natural river rock or polished glass beads. Flat stones can create small ledges for water to cascade over. Arrange larger decorative stones around the fountain’s exterior base to hide cords and create a finished look.
9. Create Water Flow Patterns
The way water moves through your fountain determines both its sound and visual appeal. Experiment with different spout positions – water can bubble up from the center, trickle down one side, or cascade evenly around the edges.
Small copper pipes can direct flow precisely where you want it. Try placing flat stones at strategic points to create mini-waterfalls. Remember that faster flows make more noise while gentler flows create subtle, soothing sounds. Adjust your pump’s flow rate until you find the perfect balance for your garden atmosphere.
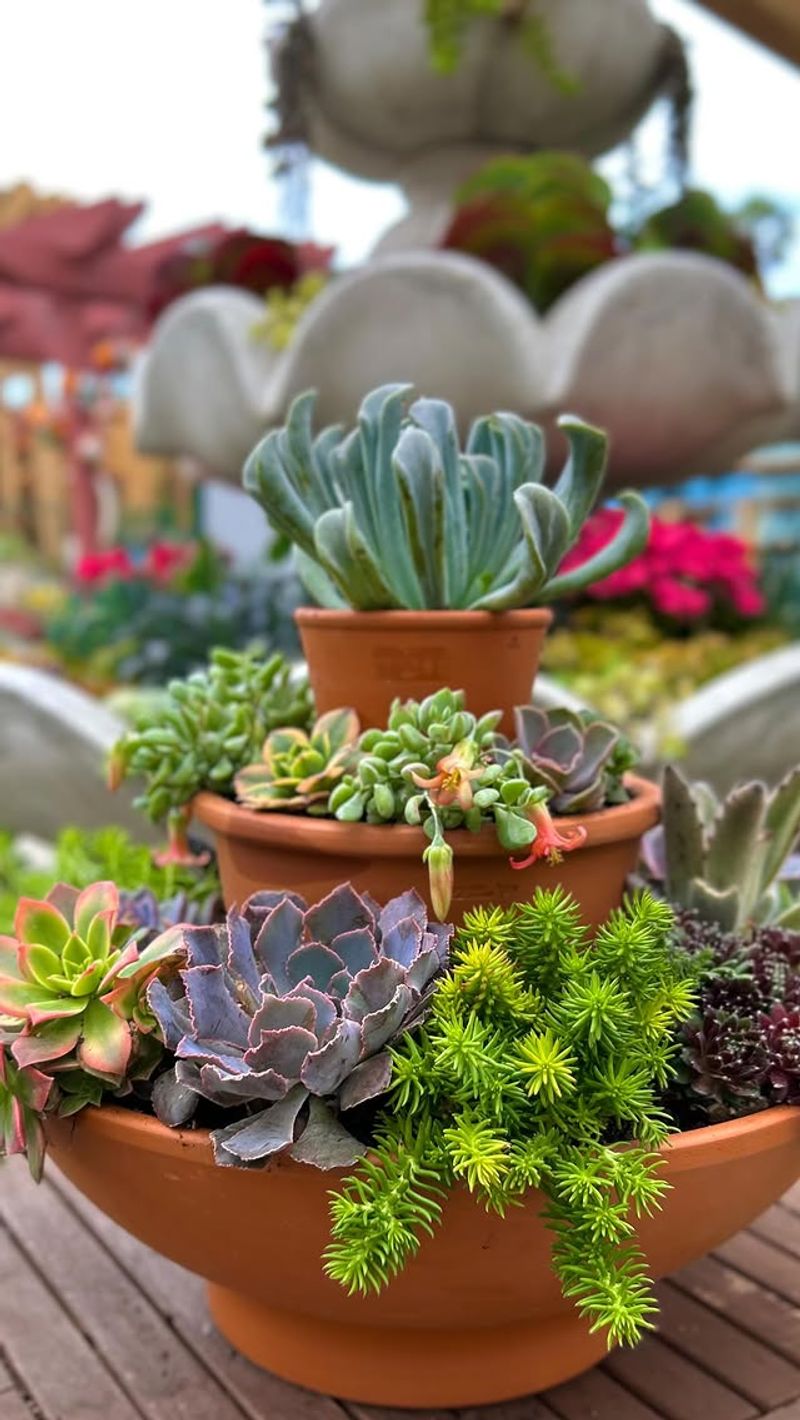
10. Incorporate Plants
Living plants transform your fountain into a thriving ecosystem. Choose moisture-loving varieties like ferns, ivy, or sweet potato vine to cascade down the sides. Small water plants can float in the reservoir, while succulents work well in drier spots near the top.
Create planting pockets by adding soil in certain areas, being careful not to block water flow. Consider seasonal changes – some plants may need to be replaced or protected during winter months. Live plants attract beneficial insects and birds, enhancing your garden’s biodiversity while softening the fountain’s appearance.
11. Install Proper Lighting
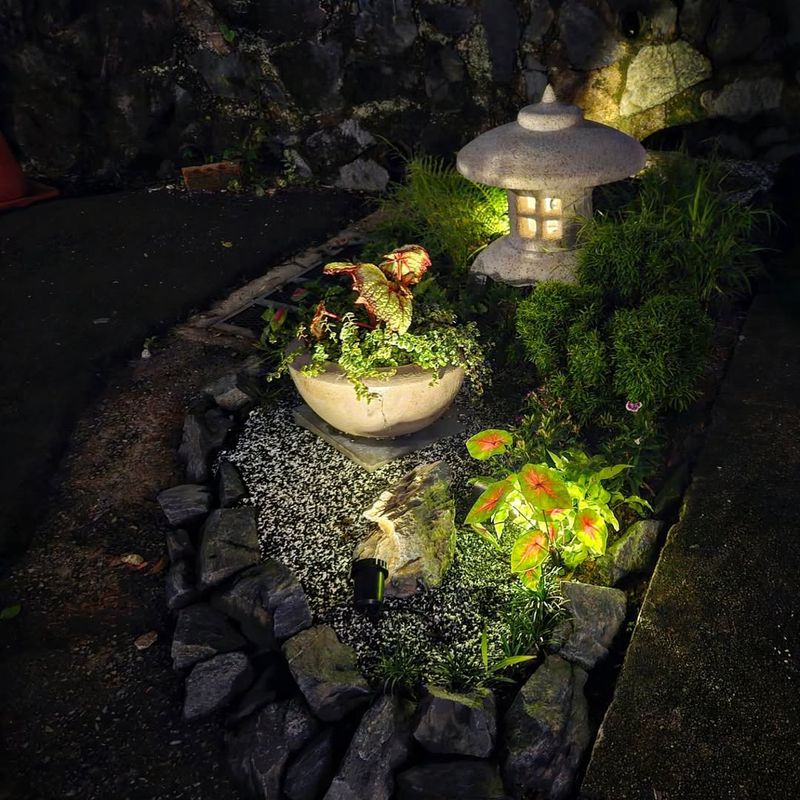
Strategic lighting extends your fountain’s beauty into evening hours. Waterproof LED lights can be submerged in the water basin, creating magical reflections and highlighting water movement. Solar-powered accent lights around the base eliminate the need for additional wiring.
Consider color-changing options for special occasions or stick with warm white for a natural glow. Position lights to eliminate harsh shadows and emphasize your fountain’s best features. Low-voltage systems are safest around water and most energy-efficient for features you’ll likely keep illuminated for many hours.
12. Manage Water Maintenance
Keeping your fountain’s water clean prevents algae and mosquitoes. Add a small amount of fountain cleaner weekly, following product instructions carefully. During hot months, you’ll need to top up water levels every few days due to evaporation.
Install a small mesh screen over the pump to prevent debris clogging. Drain and clean the entire fountain monthly, scrubbing with a soft brush and mild vinegar solution to remove mineral deposits. In freezing climates, either winterize by emptying completely or add a small heater to prevent ice damage.
13. Add Personal Touches
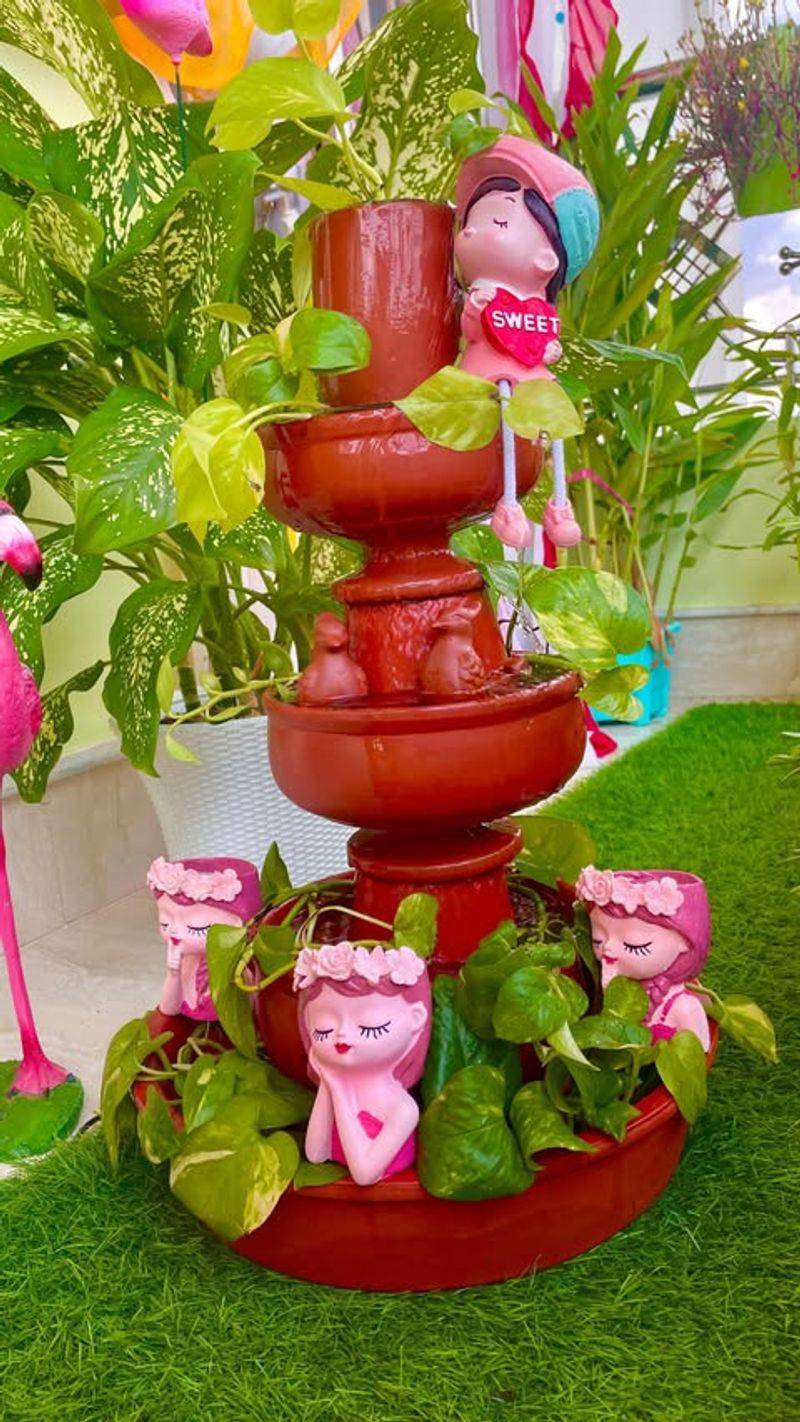
Make your fountain uniquely yours with creative embellishments. Copper wire wrapped around pot rims adds a metallic accent, while small ceramic figures create whimsical scenes. Consider pressing glass beads or mosaic tiles into wet concrete around the base.
Wind chimes hung nearby combine auditory elements, while small mirrored pieces catch sunlight. You might paint pot rims with outdoor acrylic paint in colors that complement your garden. Remember that less is often more – a few carefully chosen accents create more impact than cluttered decorations.
14. Troubleshoot Common Problems
Even well-built fountains sometimes develop issues. If water flow weakens, check for pump clogs or calcium buildup on the impeller. Unusual noises often indicate the pump is running dry or debris is stuck in the mechanism.
Leaks typically occur at connection points – reinforce these areas with additional silicone sealant. Green water means algae growth – try adding a few drops of fountain algaecide. For pumps that stop working, check electrical connections first before replacing components. Regular maintenance prevents most problems before they become serious.