How To Care For A Rhaphidophora + Solve Its Common Issues
At first, my plant collection was full of common houseplants, such as Monsteras, Philodendrons, and pothos. I added a few succulents and some smaller plants, but it wasn’t complete until I added a stunning Rhaphidophora!
My first Rhaphidophora was a tetrasperma species, but now I am a proud plant parent of a few amazing varieties.
In this article, I’ll tell you more about Rhaphidophora plants, including their features, care requirements, and the best specimens for indoor cultivation.
I’ll also mention some issues you may have to deal with, such as pests and diseases, and how to fix them.
Let’s get started!
Rhaphidophora Features
Why Rhaphidophora? The term actually comes from Greek, and the first part of the word, rhaphis, stands for a needle, whereas the term “phoreus” stands for the word “bearer”.
Needle bearer?! Well, it makes perfect sense; the tissue of these plant species contains needle-like calcium oxalate crystals, which are actually a toxic substance. To put it simply; Rhaphidophoras are poisonous plants because they ‘bear’ these compounds.
Why grow these plants then? If you keep them out of reach, you won’t risk poisoning small children or pets, and you’ll be able to enjoy the breathtaking appearance of Rhaphidophoras.
Contrary to popular belief, the Rhaphidophora isn’t just one plant; it’s a genus from the Araceae family (aroids).
The genus encompasses over 100 species that come in different shapes and sizes.
Interestingly, some species from this genus retain their juvenile appearance. Other species develop massive fenestrated leaves. You’ll also come across species with split or entire foliage.
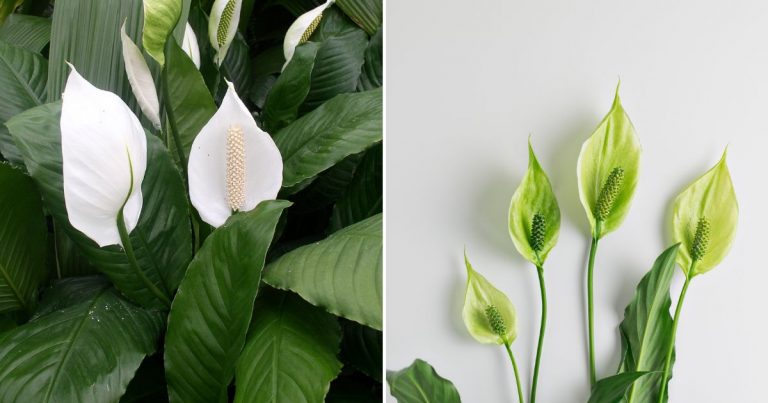
Rhaphidophoras resemble Monstera plants, so growers often confuse the Rhaphidophora tetrasperma for Monstera deliciosa.
As you can see, this genus has a lot to offer, so no matter which species you select, you won’t go wrong.
Keep reading to find out which Rhaphidophora species are the best to grow as houseplants.
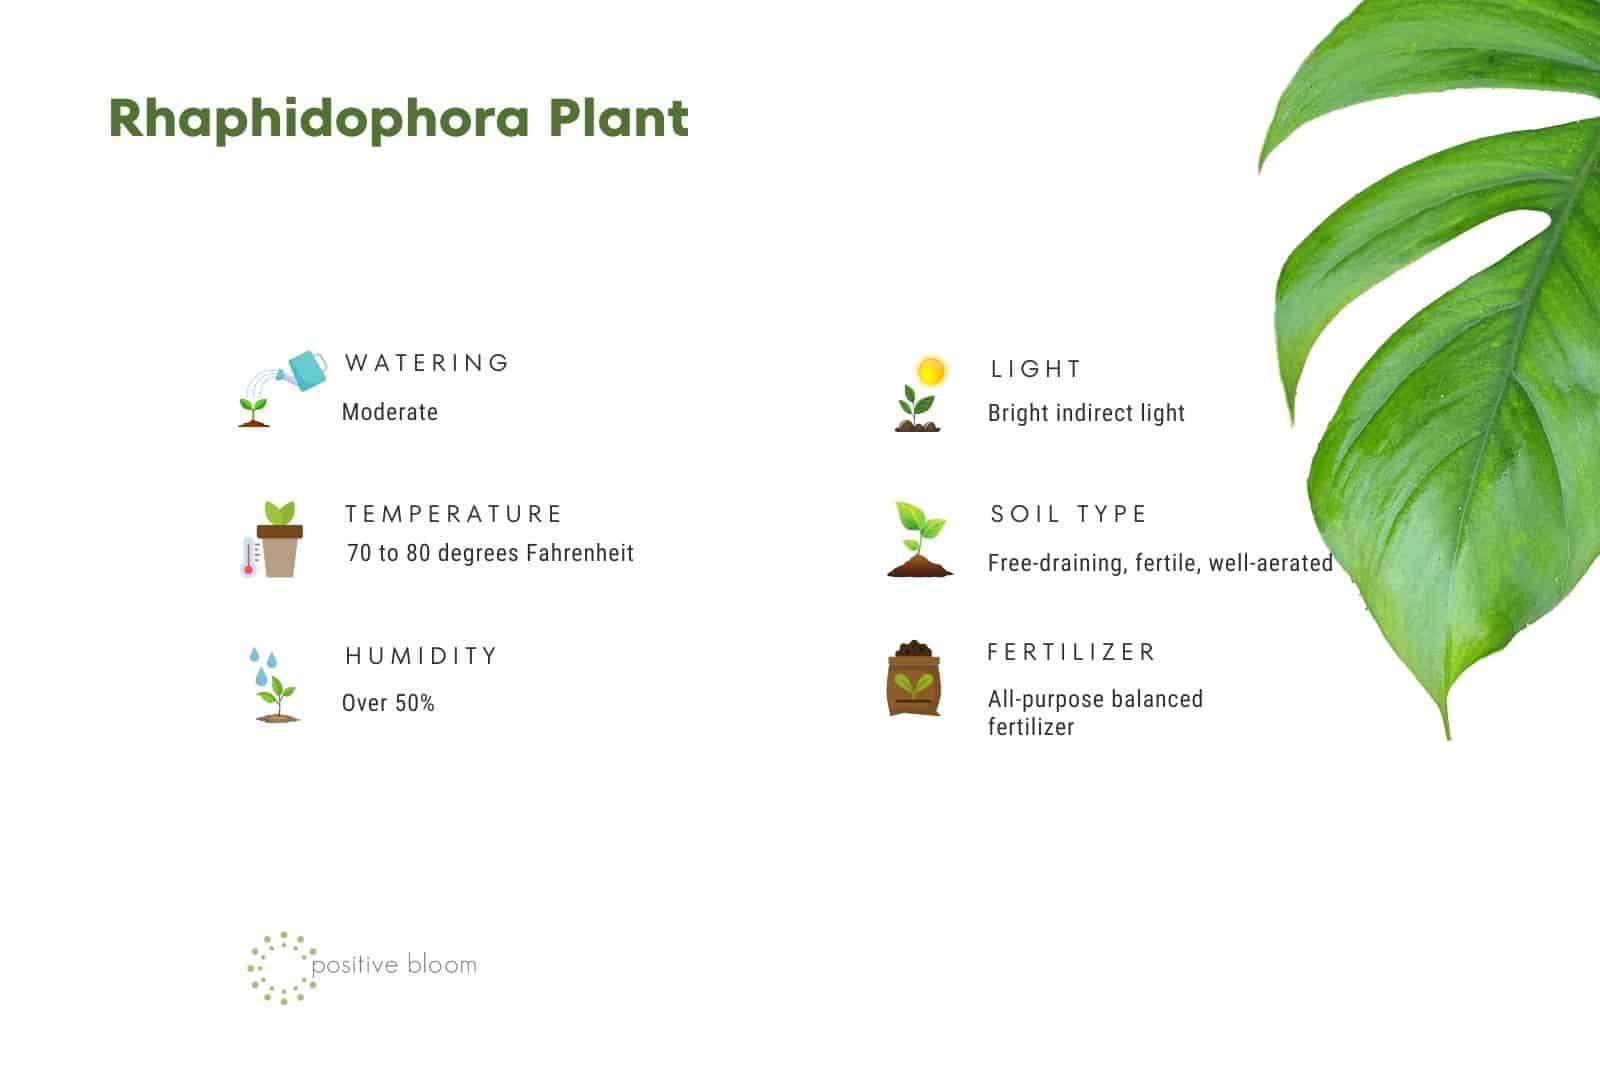
Rhaphidophora Plant Care Requirements
These are tropical plants, so if you grow any other plant native to tropical regions, you’ll know that the conditions indoors should mimic the natural environment.
Let’s get into details!
Light Requirements
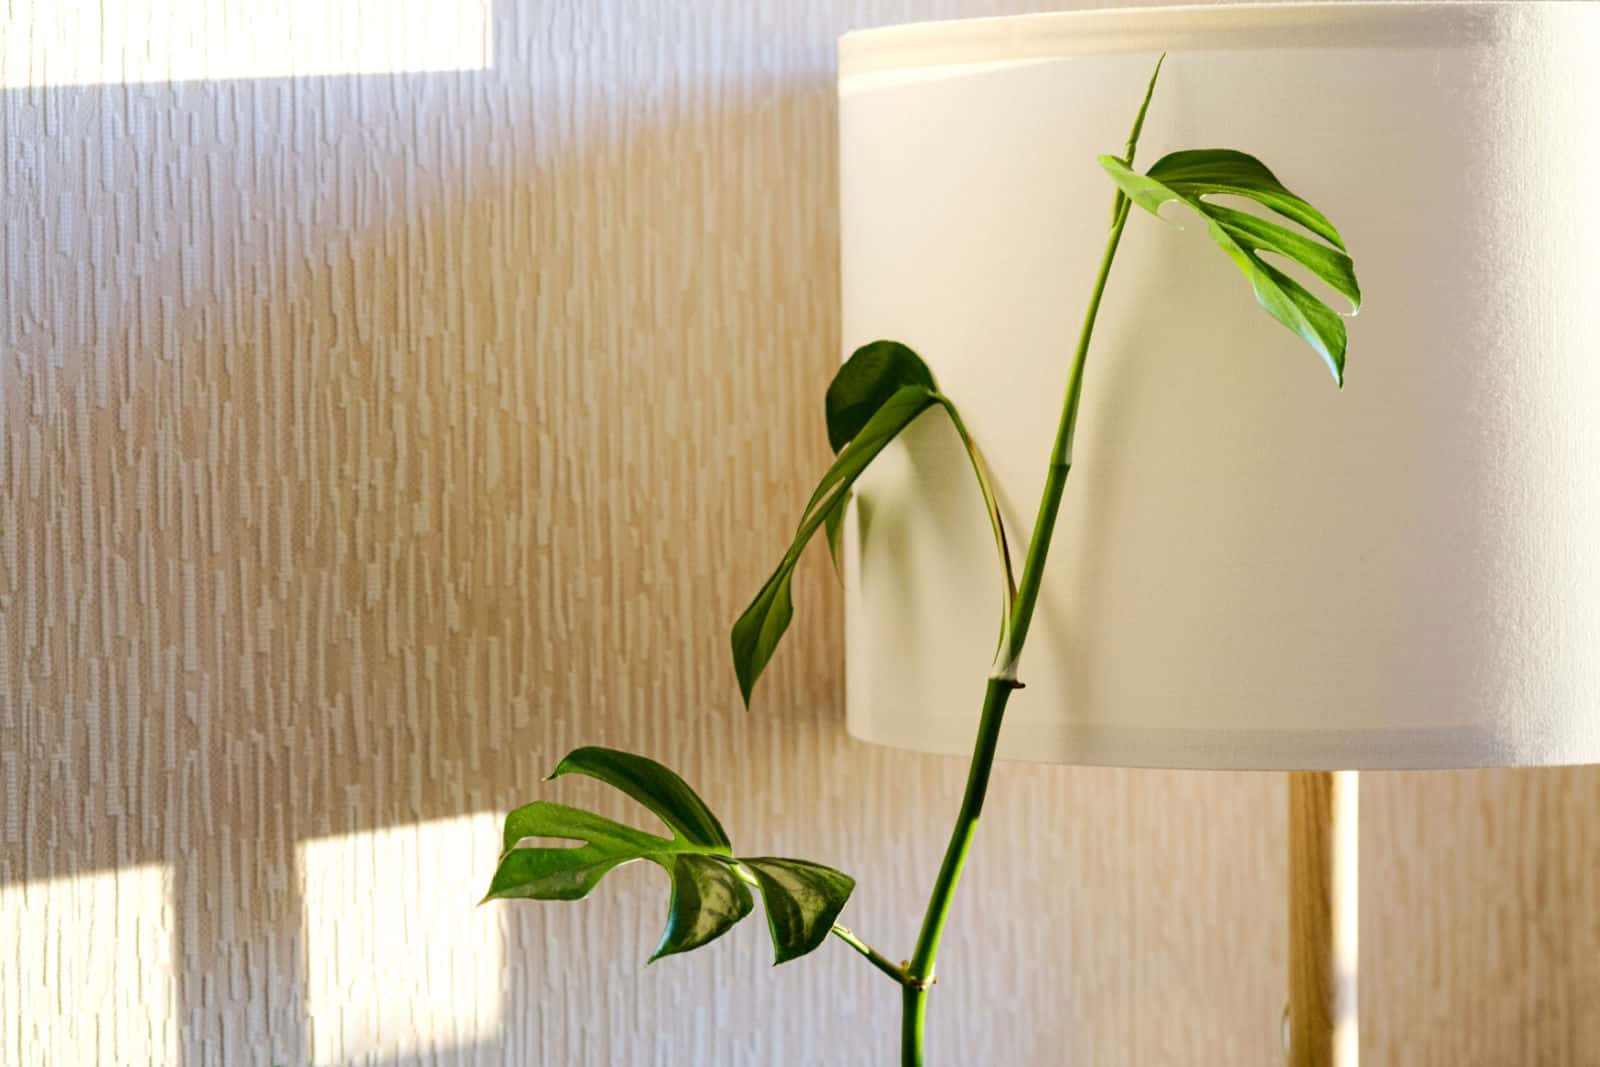
These plants love bright indirect light, and there’s a perfect reason for it; Rhaphidophora plants climb onto tall trees in their natural environment and use them as host plants.
The leaves of the Rhaphidophora are shielded by the dense foliage of bigger trees, preventing direct sunlight from reaching them.
When grown as a houseplant, a Rhaphidophora can’t withstand exposure to direct sunlight. Even if the plant receives a few hours of direct sunlight daily, it can suffer from severe sunburns and leaf discoloration.
Exposure to bright indirect light is the best light condition for Rhaphidophora species.
I have to mention that the Rhaphidophora adjusts to various growing conditions, but you need to be extra careful when it comes to light.
These plants shouldn’t be exposed to low light either. One of the features of these fantastic plants is their fast growth rate. If not given enough light, the Rhaphidophora will develop slowly or even stop growing altogether.
If you grow variegated specimens, low light isn’t an option. These species lack a green hue, which results in a different type of photosynthesis. You’ll need to supply them with more bright light than with non-variegated species.
Investing in grow lights is an excellent solution for low-light rooms. A sheer curtain over windows will shield your Rhaphi from direct sunlight.
Watering Schedule
Rhaphidophora species need constantly moist soil, so their watering needs may be slightly higher than those of other common houseplants.
But don’t overwater your Rhaphi, since it is particularly vulnerable to root rot.
It may sound complicated, but if you check soil moisture before you add more water, you will avoid waterlogging while also ensuring adequate soil moisture.
So, there’s no perfect watering schedule for the Rhaphidophora because it depends on conditions such as light, temperature, and humidity.
This means you’ll need to water more frequently during the warm summer months; it’s not only because of the temperatures, but also because it’s the period when your Rhaphidophora is growing actively.
The period of hibernation is during the colder winter months; temperatures are lower and the plant receives less light, which results in low watering needs.
Let’s look at some more tips on watering the Rhaphidophora.
Tips For Watering Rhaphidophora Plants
Checking soil moisture content, using the correct type of water, and an appropriate watering technique will help you avoid all the issues related to the irrigation part of plant care.
The most common method for checking moisture in the growing substrate is sticking a finger in the soil. It’s pretty simple; just put your finger approximately two inches into the soil, and if it feels dry, irrigate your Rhaphidophora well.
If the soil is light brown, your Rhaphi most likely needs water. If you think these methods won’t help you determine the moisture content accurately enough, purchase a moisture meter.
When it comes to the water type to use for a Rhaphidophora, rainwater is the best choice by far. This is the best way to avoid chemical buildup in the soil; fluoride and chlorine present in tap water can damage Rhaphidophora plant roots.
If you can’t water your Rhaphi with rainwater, then filtered water will do the job.
Let’s now discuss the perfect watering technique for Rhaphidophora plants. If the water accumulates on the foliage, it can result in rotting, so water the soil only. Irrigate until you see water coming out of the potholes, and let your Rhaphi drain well.
Temperature
Although the Rhaphi plant appears to require very high temperatures because of its native environment, this is not the real truth.
A range of 70 to 80 degrees Fahrenheit meets all the temperature requirements of the Rhaphidophora. Don’t worry if temperatures are slightly lower or higher because it won’t affect growth.
If you live in USDA zones 11 and 12, you can successfully cultivate your Rhaphi outdoors. For other zones, your Rhaphidophora should be kept outdoors until the temperatures drop below 50 degrees Fahrenheit.
Avoid placing your Rhaphidophora near heat-emitting devices in your home such as radiators, heating vents, or similar systems, since these will destroy your treasured plant.
Another enemy of the Rhaphidophora is cold drafts, so avoid spots near drafty windows.
Humidity
If you opt to grow this plant as a houseplant, you must maintain humidity levels of at least 50%. Households typically don’t have high humidity, so you should raise it to provide your Rhaphi with the right environment.
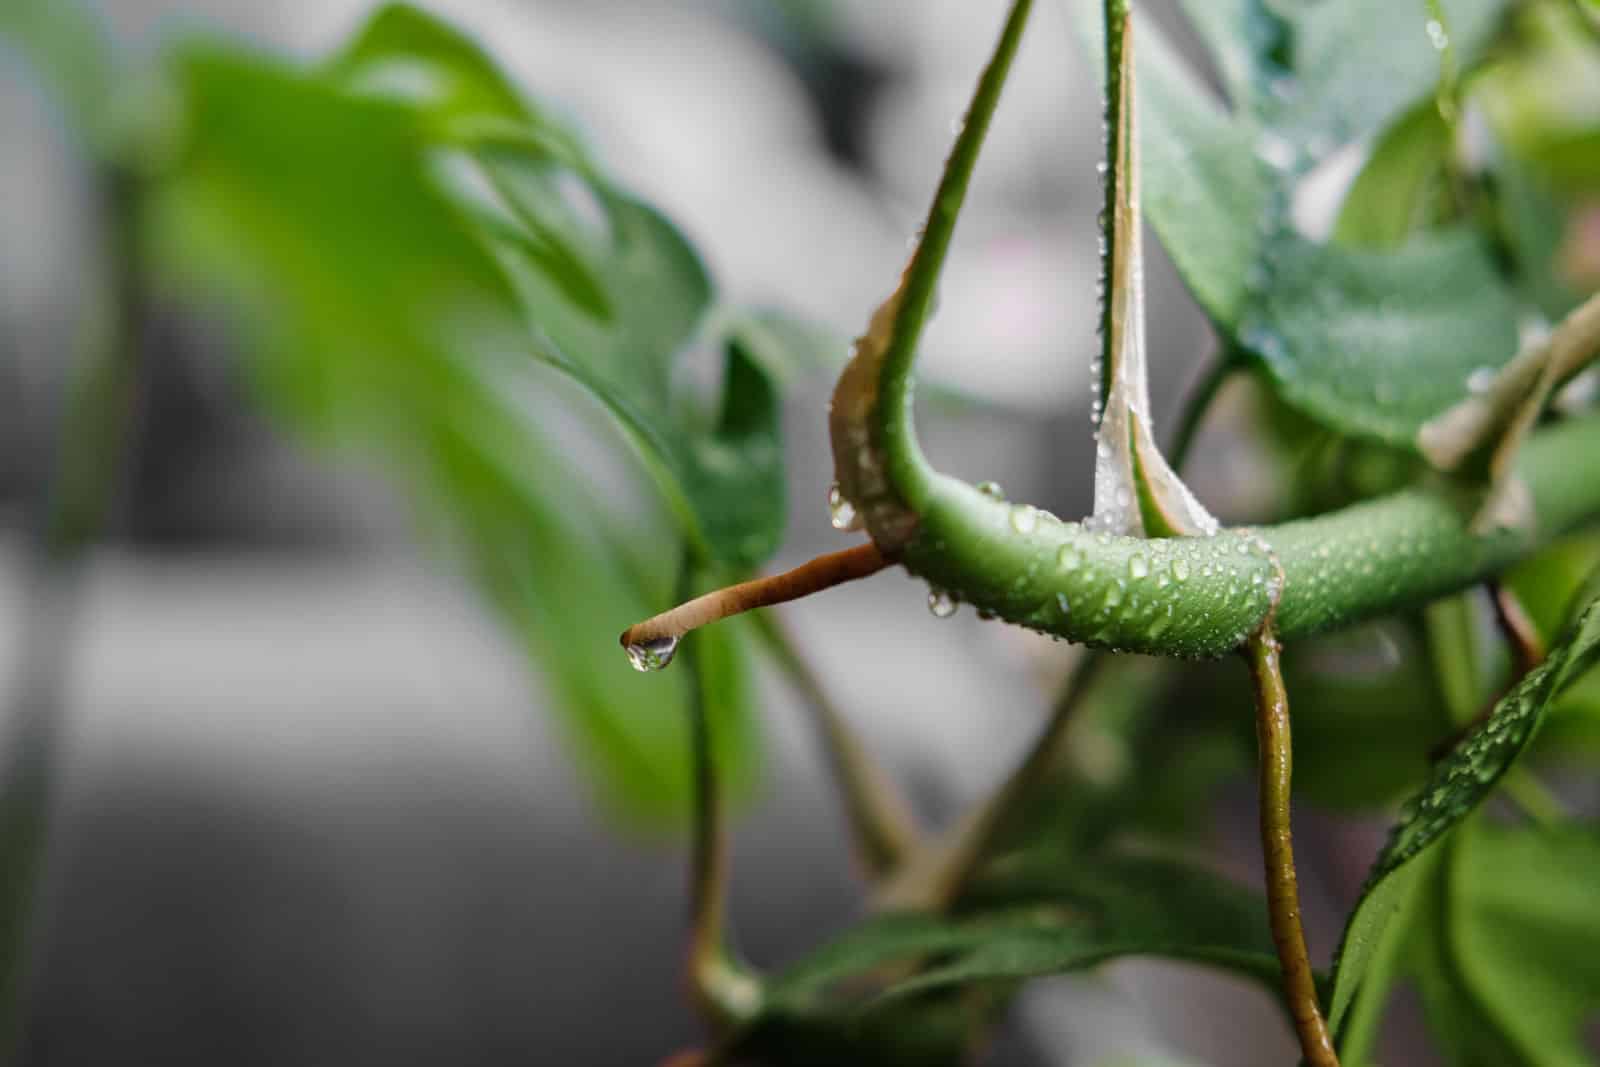
A tried-and-true method for increasing humidity is misting your Rhaphidophora. If you use this method on a regular basis, it will be quite helpful. If you don’t have a lot of spare time, I recommend combining this strategy with some others I’ll discuss below.
If your Rhaphidophora struggles with growing in a living room, simply relocate it to a more humid room such as a kitchen or bathroom.
Some plant parents keep all of their houseplants in the same room. Surprisingly, this is generally unrelated to aesthetics, but it’s advantageous to plants in terms of humidity.
You can create a microclimate and enhance humidity levels by growing your Rhaphi alongside other indoor plants like Monsteras, Philodendrons, or any other plant species.
Putting a pebble tray beneath the planter is a traditional approach to boosting humidity.
Many gardeners, particularly beginners, are afraid to experiment with humidity, which is reasonable. Instead, they choose the 100% accurate method: a humidifier.
Soil
Consider three variables when selecting a growing substrate for your Rhaphidophora plant: drainage, soil fertility, and air circulation.
There are some high-quality soil mixes designed for aroid plants on the market, or you can make one yourself.
You’ll need a few ingredients if you want to prepare potting soil for your Rhaphi. Purchase a standard potting soil and amend it with perlite (to enhance drainage), peat moss (to enhance water retention), coco coir (to promote aeration), and compost (for fertility).
When it comes to pH, you can choose between neutral and somewhat acidic (6.1 to 6.5).
Fertilizer
These plants aren’t fussy when it comes to fertilizing. You can feed your Rhaphidophora monthly with balanced, all-purpose, liquid plant food. Remember that the plant needs feeding only during its active growth period (spring and summer).
Reduce feeding completely once fall approaches.
To minimize fertilizer burns on the roots of your Rhaphidophora, I advise diluting fertilizers to half-strength.
Pruning
Pruning isn’t something you should think about much when it comes to Rhaphi houseplants. If your plant has a weird shape, feel free to remove any undesired branches.
Always prune your Rhaphi with sanitized shears to avoid infection.
You can trim the foliage if it has changed hue (yellow, brown) or become malformed (crispy, wavy).
When And How To Repot Rhaphidophora Plants
Since the Rhaphidophora grows rapidly, you’ll have to repot it more frequently than other typical indoor plants.
Many growers repot their Rhaphi plants annually, but there’s no need to repot these plants if they aren’t rootbound.
As soon as the spring arrives, check the potholes, and if some roots are poking out you can proceed with repotting. If the growth rate hasn’t changed, the roots are within the pot, and your Rhaphidophora looks healthy, wait until next year.
When repotting, take your Rhaphi out of its pot carefully and remove the growing substrate surrounding the roots.
Examine the roots for any problems, and if they appear mushy, black, or brown, you should eliminate them since your Rhaphidophora is possibly suffering from root rot.
Always clean your shears or scissors before cutting; dilute bleach and dip your tools in it.
When the root system is healthy, proceed with repotting.
Use a new container with a wider diameter (2 inches) and new potting soil. Transfer your Rhaphi into the container, pack the soil, and irrigate well.
How To Propagate The Rhaphidophora
There’s one simple way to get new a Rhaphidophora; propagation through stem cuttings. You can root the cutting in two ways: either put it in a jar with water or plant it in a growing substrate.
Let’s get into details!
Taking The Cuttings
Before I tell you what to prepare for the propagation of your Rhaphi, I have to mention the most important thing related to this procedure; your plant must be completely healthy if you want propagation to end successfully.
When examining your Rhaphi, don’t skip the undersides of the leaves, as some naughty pests may be hiding there!
You’ll need a pair of sharp scissors, some sanitizing solution, a rooting hormone, and a jar or nursery pot, depending on the way how you root the cuttings.
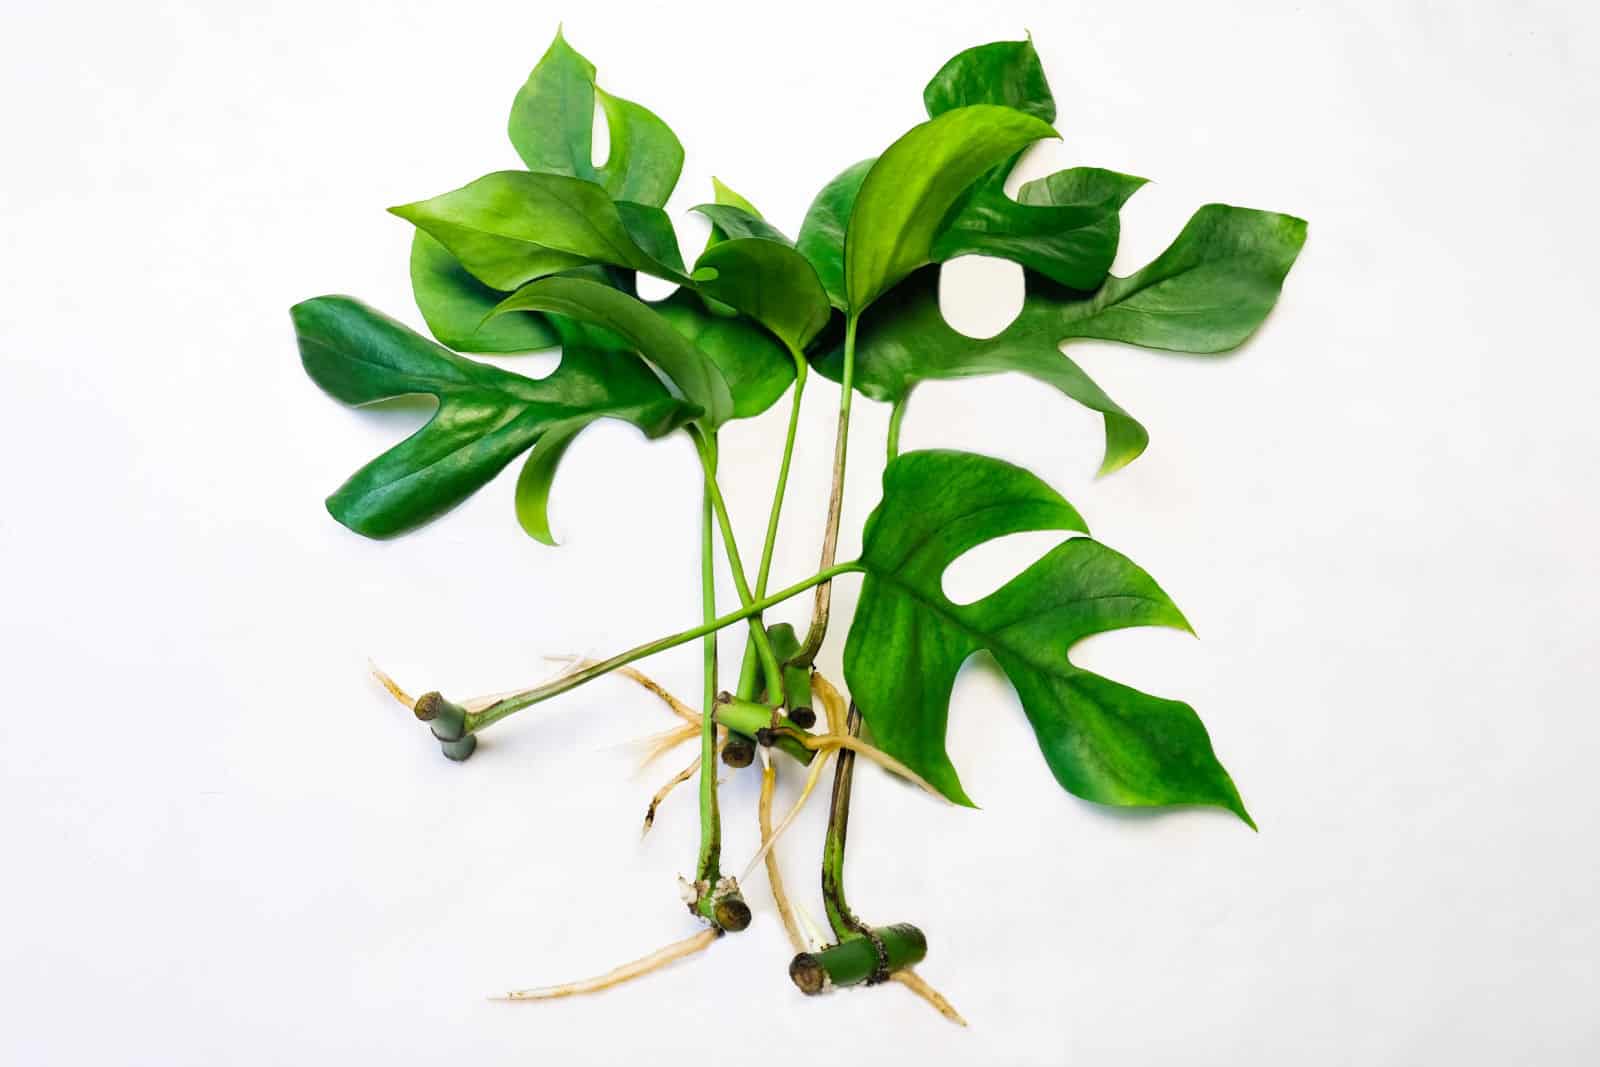
Follow these 3 steps to take Rhaphidophora stem cuttings:
1. Choose a stem on your Rhaphi that has at least two nodes.
2. Cut off the stem just below the node, and remove foliage from the lower portion of the stem. This is essential as the leaves are susceptible to rotting if immersed in water or planted in the soil.
3. Dip the cut end of the Rhaphi cutting in a rooting hormone to stimulate root development.
Rooting
The cutting will generate roots if immersed in water (water propagation) or if planted in potting soil (soil propagation).
Rooting in water
Experienced plant growers often skip water propagation, but it’s very beneficial for beginners since root development is visible in a transparent container.
I prefer jars for rooting, but a clear vase will also do the job.
Follow these 4 steps to root Rhaphi stem cuttings in water:
1. Fill the container with fresh and clean water; room-temperature water will help you avoid heat/cold stress.
2. Immerse the Rhaphi cutting in water. Check if the foliage is in contact with the water; if so, remove it to avoid rotting.
3. Put your cutting in a warm spot and make sure it’s exposed to bright indirect light.
4. Remember to change the water every 3 days to avoid contamination.
Monitor the cutting, and expect root development in about 4 weeks.
Rooting in soil
Soil propagation is also simple; the only drawback is that you can’t observe how the root development is going. But, if you propagate Rhaphi cuttings in this way, they’ll form stronger roots before transplantation.
Prepare a planter and a growing substrate suitable for Rhaphidophora plants.
Follow these 5 steps to root Rhaphi stem cuttings in soil:
1. Fill the planter with a fresh and suitable growing medium; free draining and fertile soil mix will enhance root development.
2. Make a tiny hole in the center of the substrate.
3. Put the Rhaphi cutting in the hole along with the lower node.
4. The cutting needs high humidity to generate roots, so you can put a plastic bag over it. Don’t forget to make some holes in the bag to promote air circulation.
5. Place the planter in a warm and well-lit area.
Transplanting
Once your Rhaphi cutting develops 2-inch long roots, it’s time for transplantation.
You must exercise extreme caution when dealing with new roots, particularly if using water as a rooting medium.
Take a planter, fill it with potting mix for Rhaphi plant species, and transfer the cutting with roots into it.
That’s it! Follow the instructions for Rhaphidophora plant care described above, and your plant will be thriving in no time.
Common Issues And How To Fix Them
Even though many growers refer to these plants as trouble-free, they do encounter certain difficulties.
The most prevalent include pests, infections, and difficulties caused by inadequate care.
Pests & Diseases
Keep in mind that if one of your indoor plants has a pest infestation, it can easily spread to all the other plants in your lovely collection.
Pests that infest Rhaphi plants include spider mites, scales, aphids, fungus gnats, and mealybugs.
Always have neem oil or insecticidal soap at hand because they are the best treatment for all types of insects.
If you are dealing with annoying fungus gnats, purchase fly traps to eliminate these creatures once and for all.
Diseases
Fungal and bacterial infections can arise, although they are uncommon.
But there’s one disease you should watch out for; root rot! This deadly disease may result in death, so react quickly if you notice any of the symptoms below:
1. Yellow leaves
2. Brown leaves
3. Mushy soil
4. Foul odor
5. Root discoloration
If you are sure your Rhaphi is suffering from root rot, repot it using the tips above.
Leaf Discoloration
If the foliage of your Rhaphi plant turns yellow, you should check to see whether it is getting too much or not enough light, if it is overwatered, or if it lacks essential nutrients.
If the tips and margins of the foliage turn brown, check the light exposure and soil moisture content, and think if you’ve added too much fertilizer.
Brown spots on Rhaphi leaves are the common symptoms of overwatering and pest infestation.
Leaf Deformation
Rhaphi leaves may start curling or drooping if the plant is dehydrated. The leaves will start wilting, and may even fall off if you don’t do something about it.
I mentioned the plant is dehydrated, so the logical solution would be to irrigate your Rhaphidophora, but the problem won’t disappear if you only water your plant.
High humidity, high temperatures, and too much exposure to the direct sun all cause the water to evaporate faster from Rhaphi soil.
If you don’t fix these issues, your Rhaphidophora will often display wilting, curling, and drooping.
Best Rhaphidophora Plants For Indoor Cultivation
I saved the best for last! Let me introduce you to a few amazing Rhaphidophora plants that will make excellent additions to your plant collection.
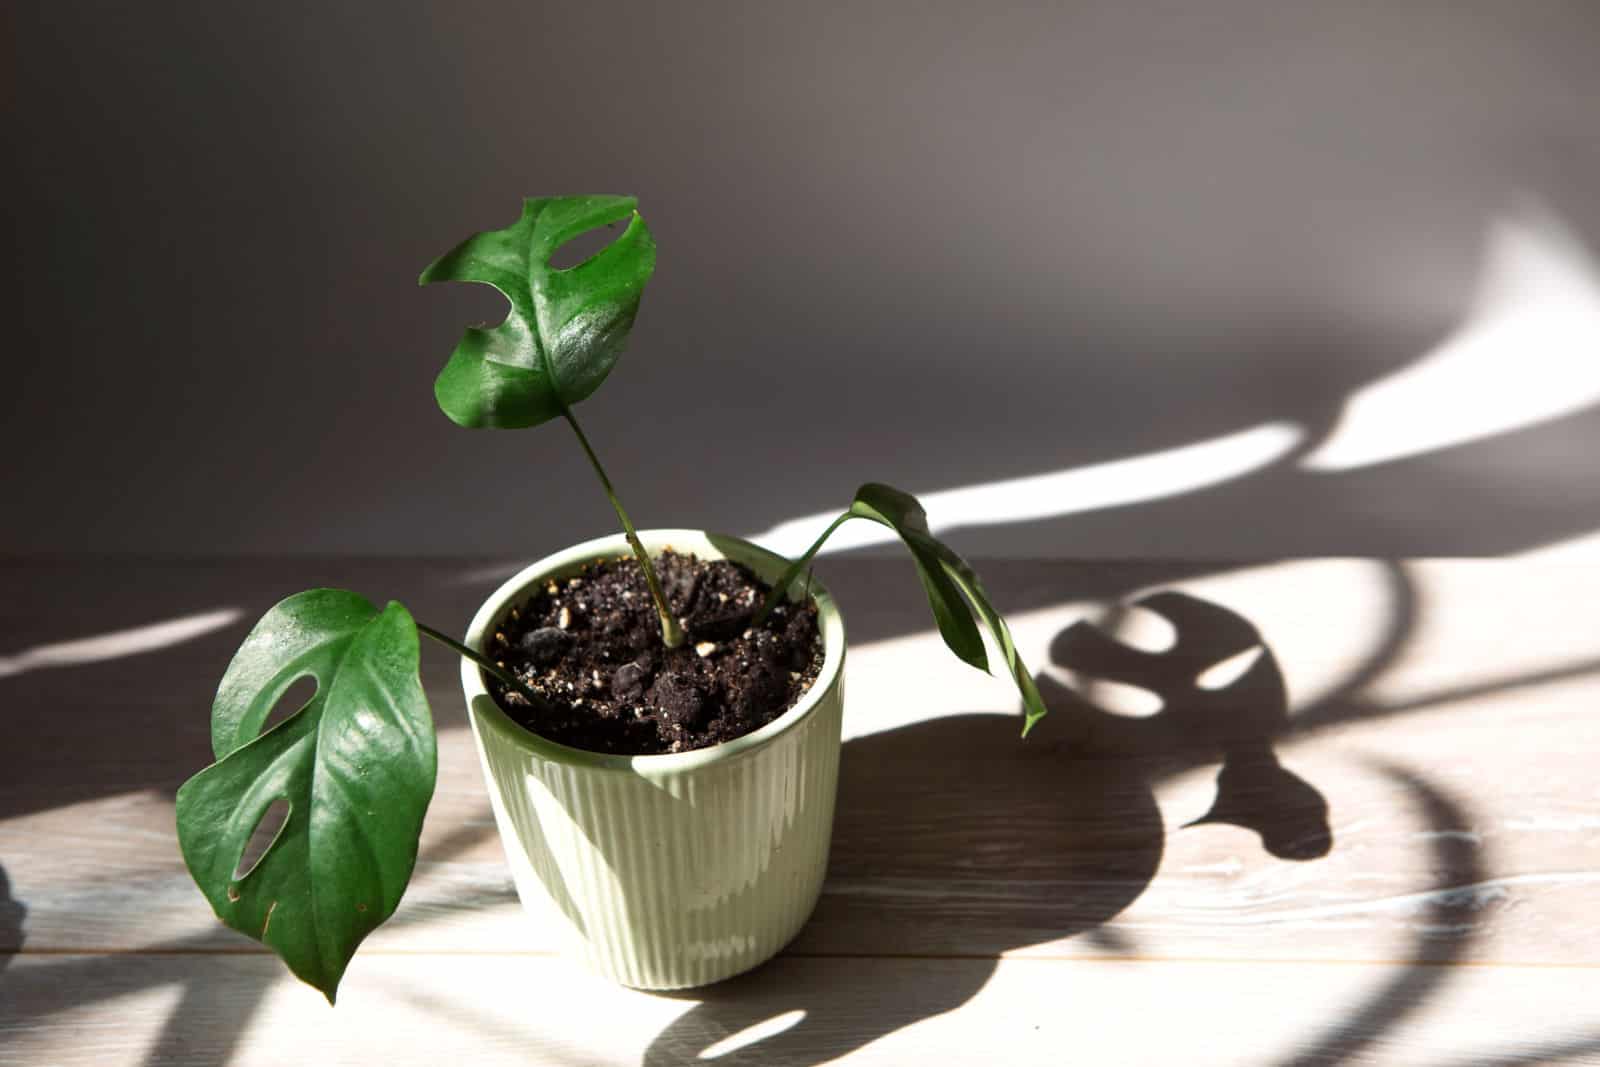
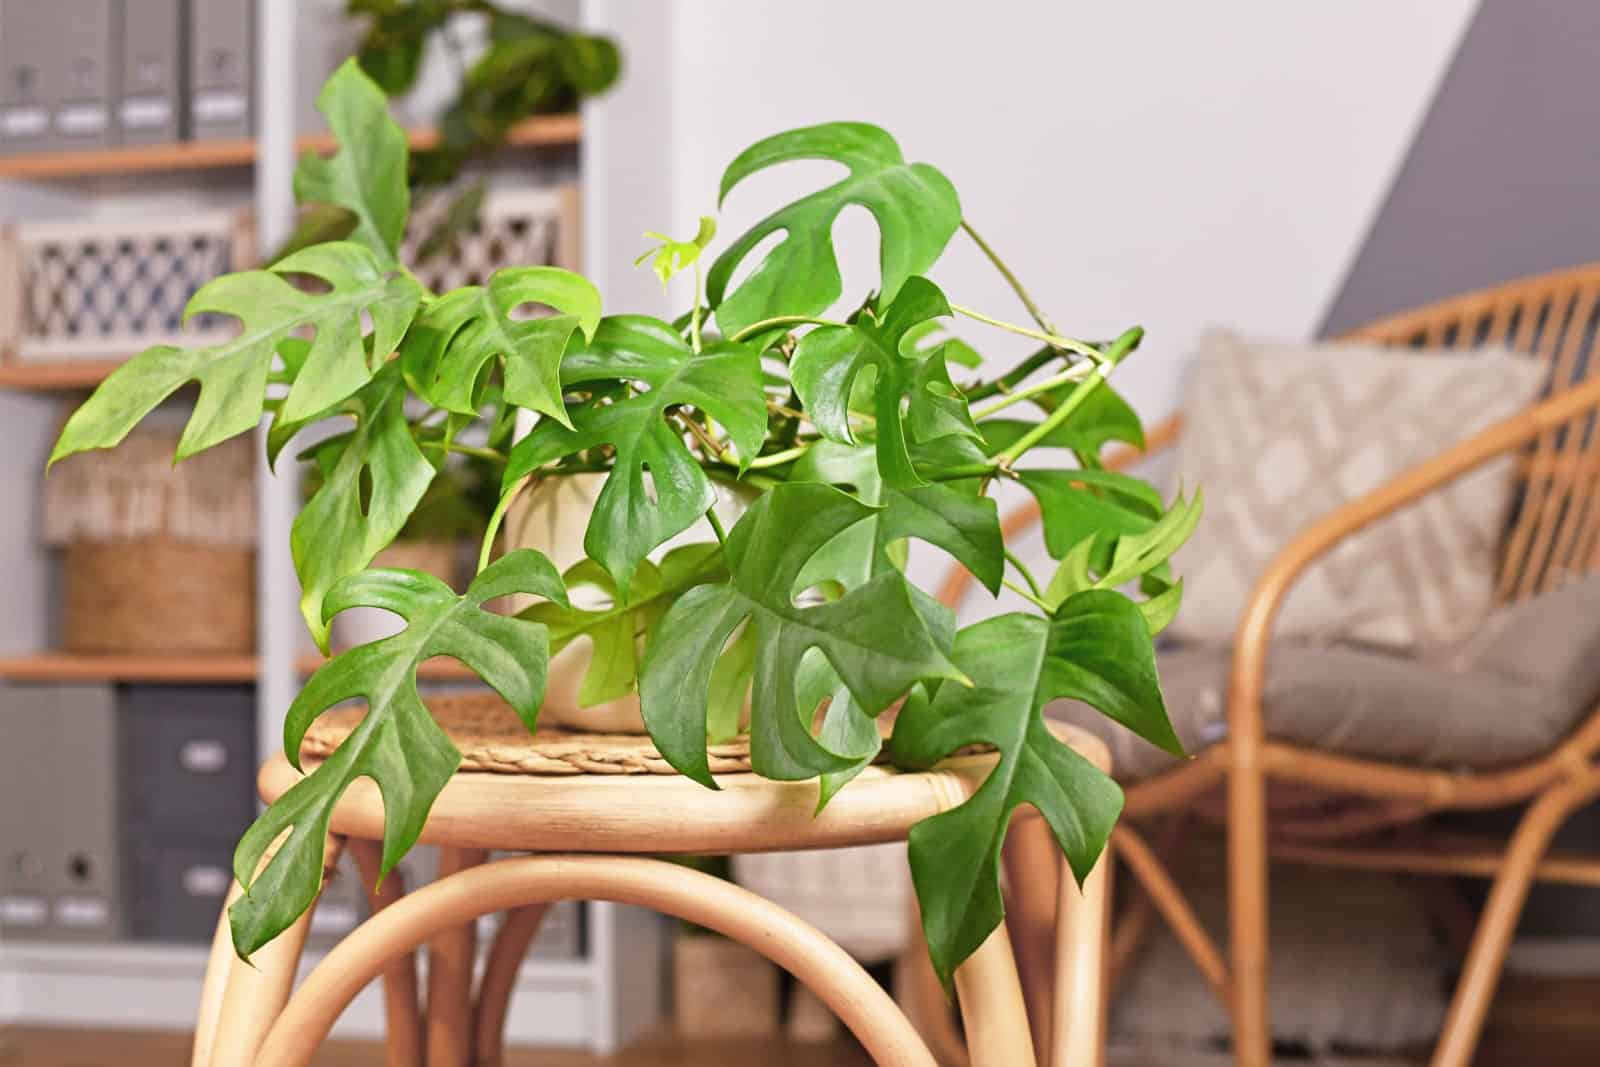
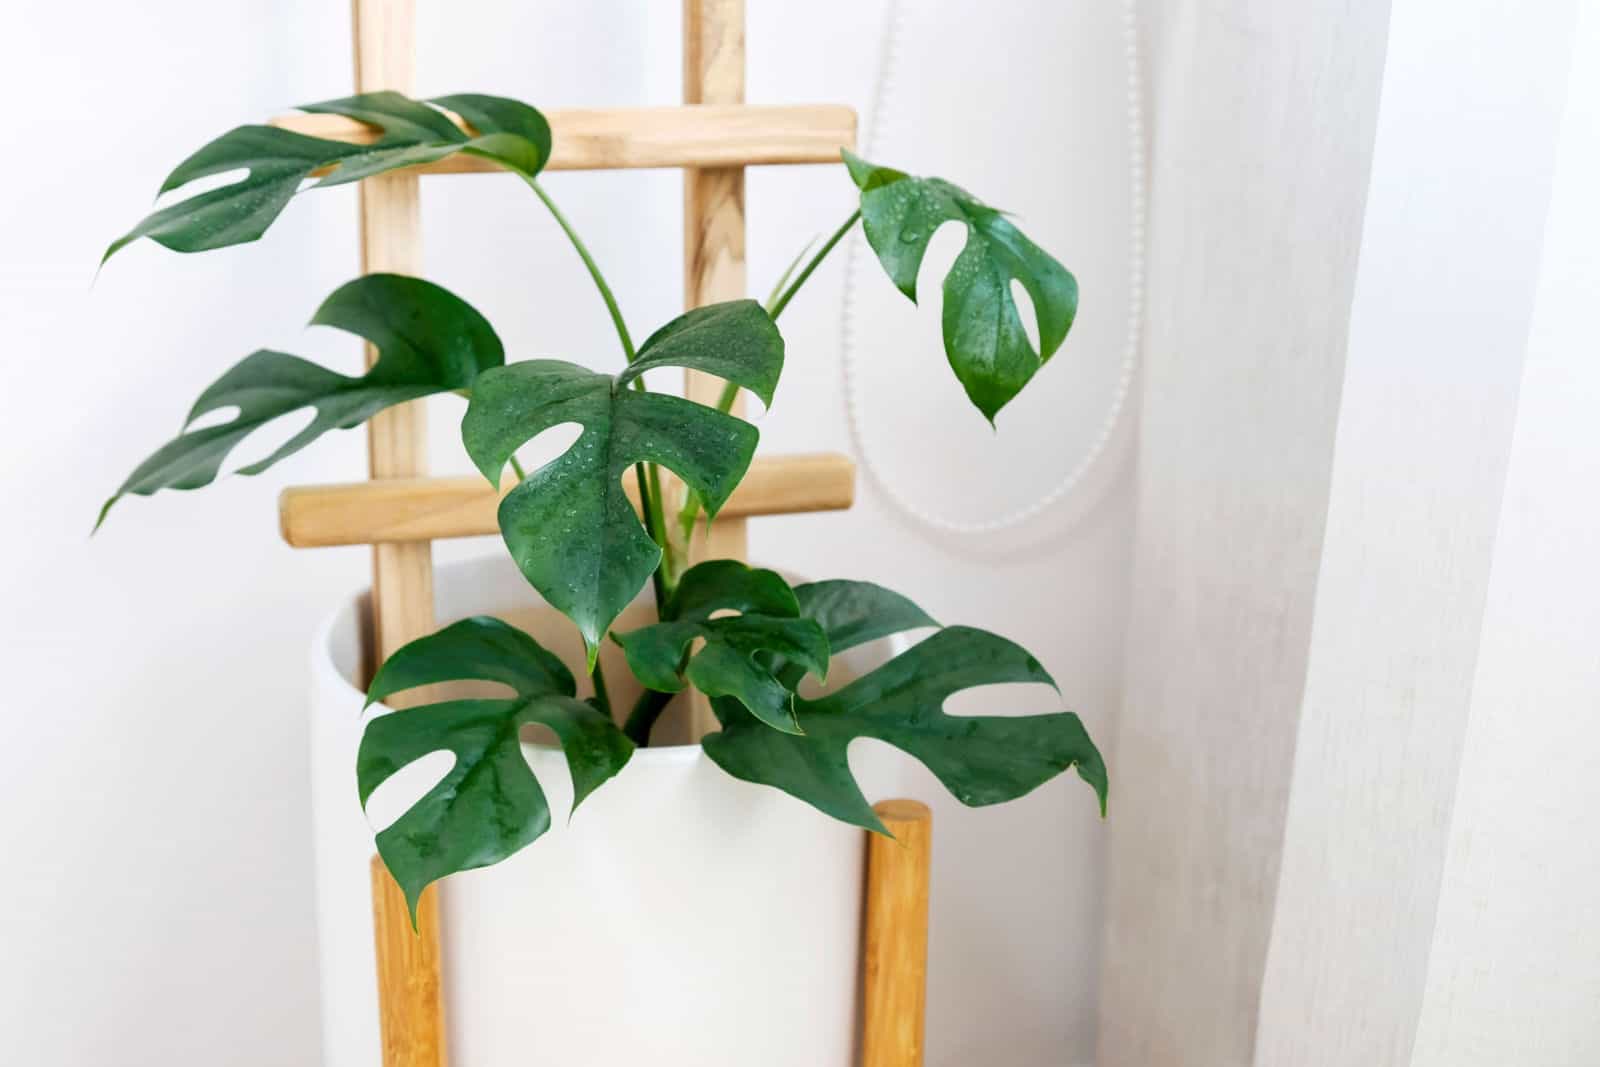
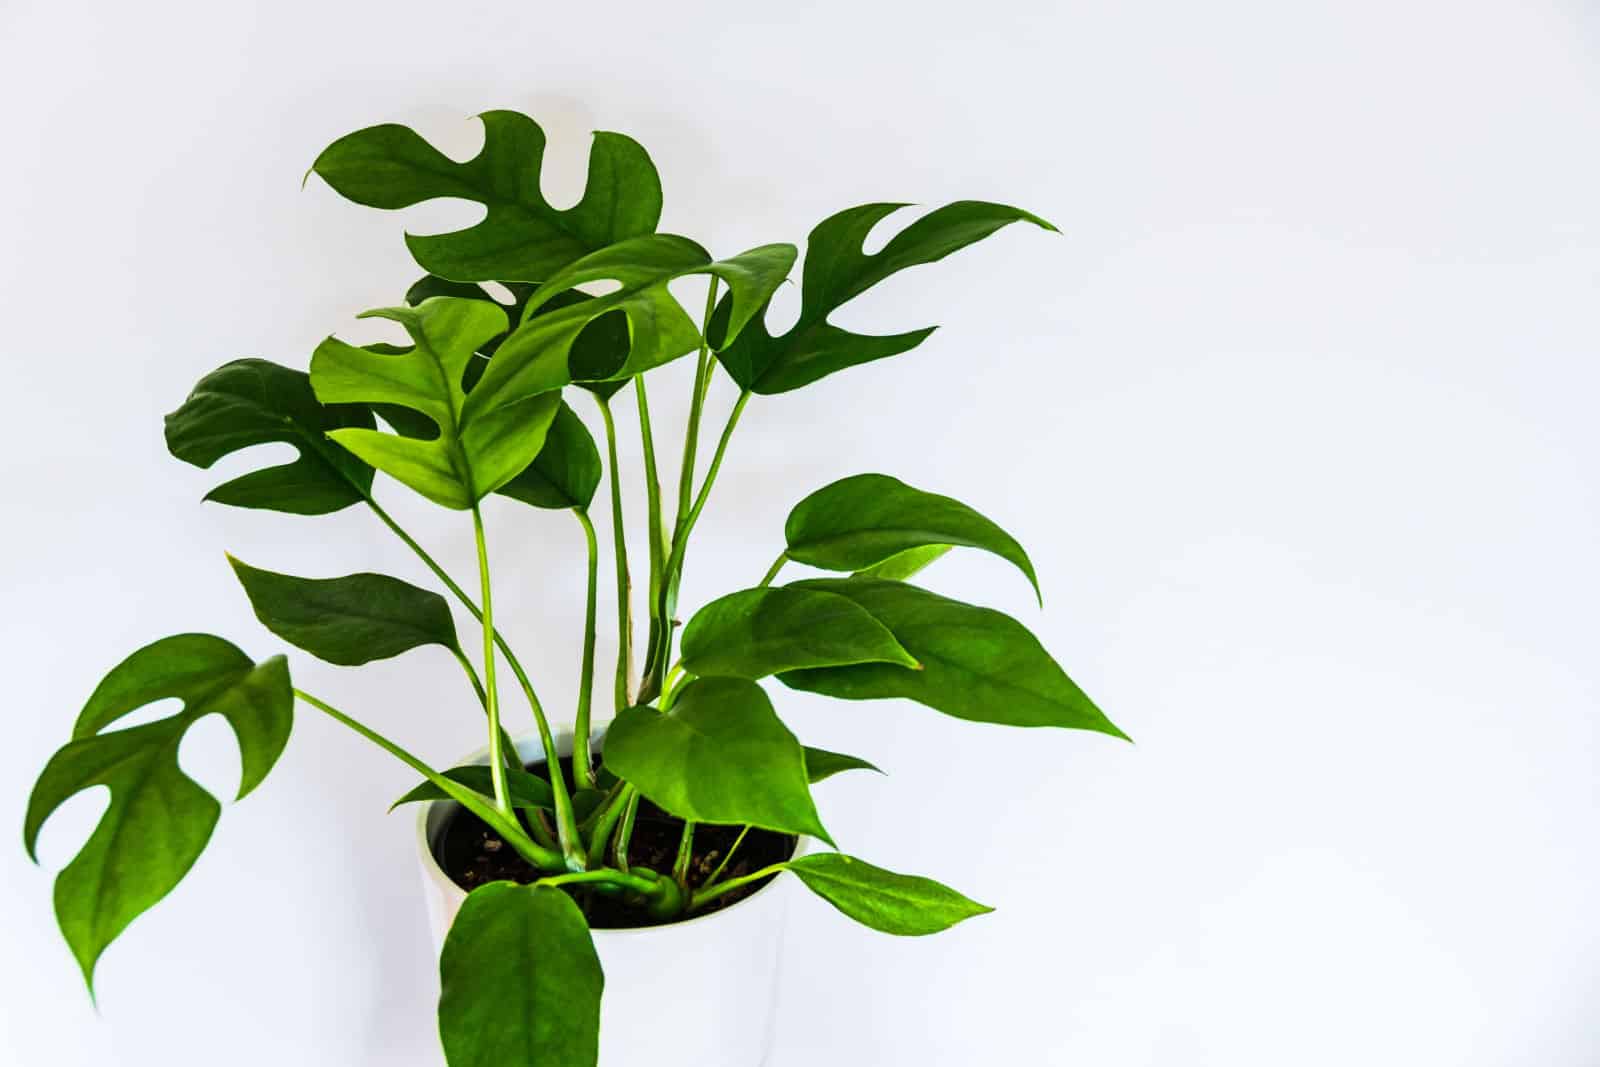
Rhaphidophora Tetrasperma
I will start with the most common Rhaphidophora species, the magnificent tetrasperma plant, commonly referred to as the Mini Monstera.
This Rhaphi develops fenestrations on its lovely, bright green leaves, which is one of the distinctive features of Monstera plants.
When compared to the Monstera deliciosa, the tetrasperma species develop smaller leaves that don’t reach even one foot in most cases.
Interestingly, many people think that the Rhaphidphora tetrasperma and Mini Monstera are two separate species, when Mini monstera is just the nickname.
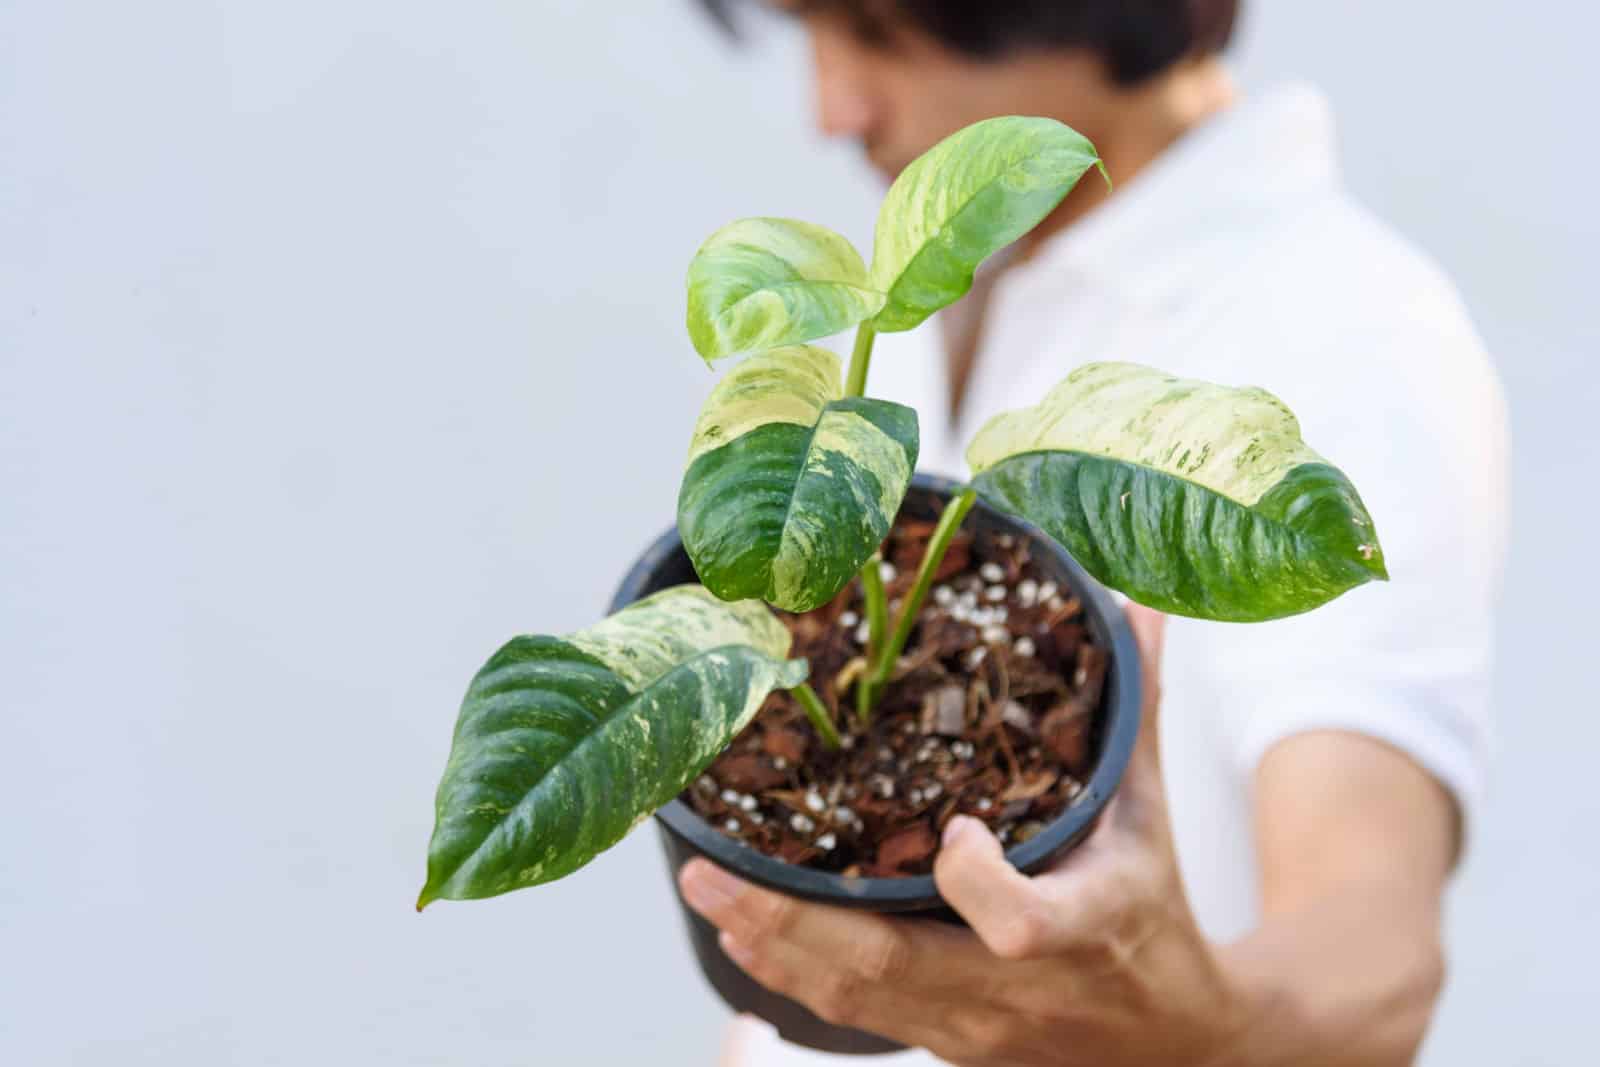
Rhaphidophora Foraminifera
The exquisite foliage of the Foraminifera Rhaphidophora give the plant a special place in the plant world. The long green leaves develop rhombic/circular fenestrations grouped along the rib.
Believe it or not, variegated foraminifera cultivars cost a fortune. The price of the albo cultivar may be as high as $600, whereas the mint variegata cultivar could cost you $1500!
Rhaphidophora Korthalsii
This genus also has a shingle plant. Meet the Rhaphidophora korthalsii, also known as the Shingle plant.
Many other plants come under the name “shingle plant”, so if you want to get yourself a plant from the korthalsii species, be extra careful.
When the plant is still young, the leaves aren’t split and are lance-shaped. As the korthalsii plant matures, some leaves remain entire and some become split.
Due to its growth habit, you’ll need to ensure support for your korthalsii.
Rhaphidophora Decursiva
I would like to tell you more about a giant from the Rhaphidophora genus. The R. decursiva produces massive, split green leaves.
Incredibly, each leaf of the decursiva species can reach lengths of 40 inches and widths of 20 inches!
The size of the mature decursiva in the natural environment is 66 feet.
Many confuse this Rhaphi plant with the Epipremnum pinnatum, aka the Dragon tail plant.
Rhaphidophora Hayi
The next now-famous variety is the Rhaphidophora hayi. Why now-famous? No one literally even knew about the plant until it was added to the Trending Tropicals collection by Costa Farms!
When cultivated indoors, the hayi species rarely grow taller than 5 feet. What’s special about this Rhaphi plant is that the foliage will lie flat against any support.
The leaves of the hayi plant are leathery and come in vibrant green.
Rhaphidophora Cryptantha
The last variety I’ll show you is the Cryptantha Rhaphidophora. When the plant is young, the foliage is flat and green with bright green veins on the surface.
The leaves of the adult cryptantha are overlapped, and some may develop silverish variegations.
Many people confuse the cryptantha for the Monstera dubia, but these two plants belong to different genera and have distinct features.
Wrapping Up
All Rhaphidophora plant parents agree that this plant is worth every second you spend caring for it, and I do too!
Bright indirect sunlight, high air moisture, warm temperature, moist soil, and monthly feeding will get you a happy and healthy Rhaphi plant.
I guess the most complicated thing about the Rhaphidophora is not how to care for it, but rather how to pronounce the name.
All jokes aside, these species make perfect houseplants, just keep them away from toddlers and pets because all Rhaphi plants are poisonous.
Good luck and until next time!