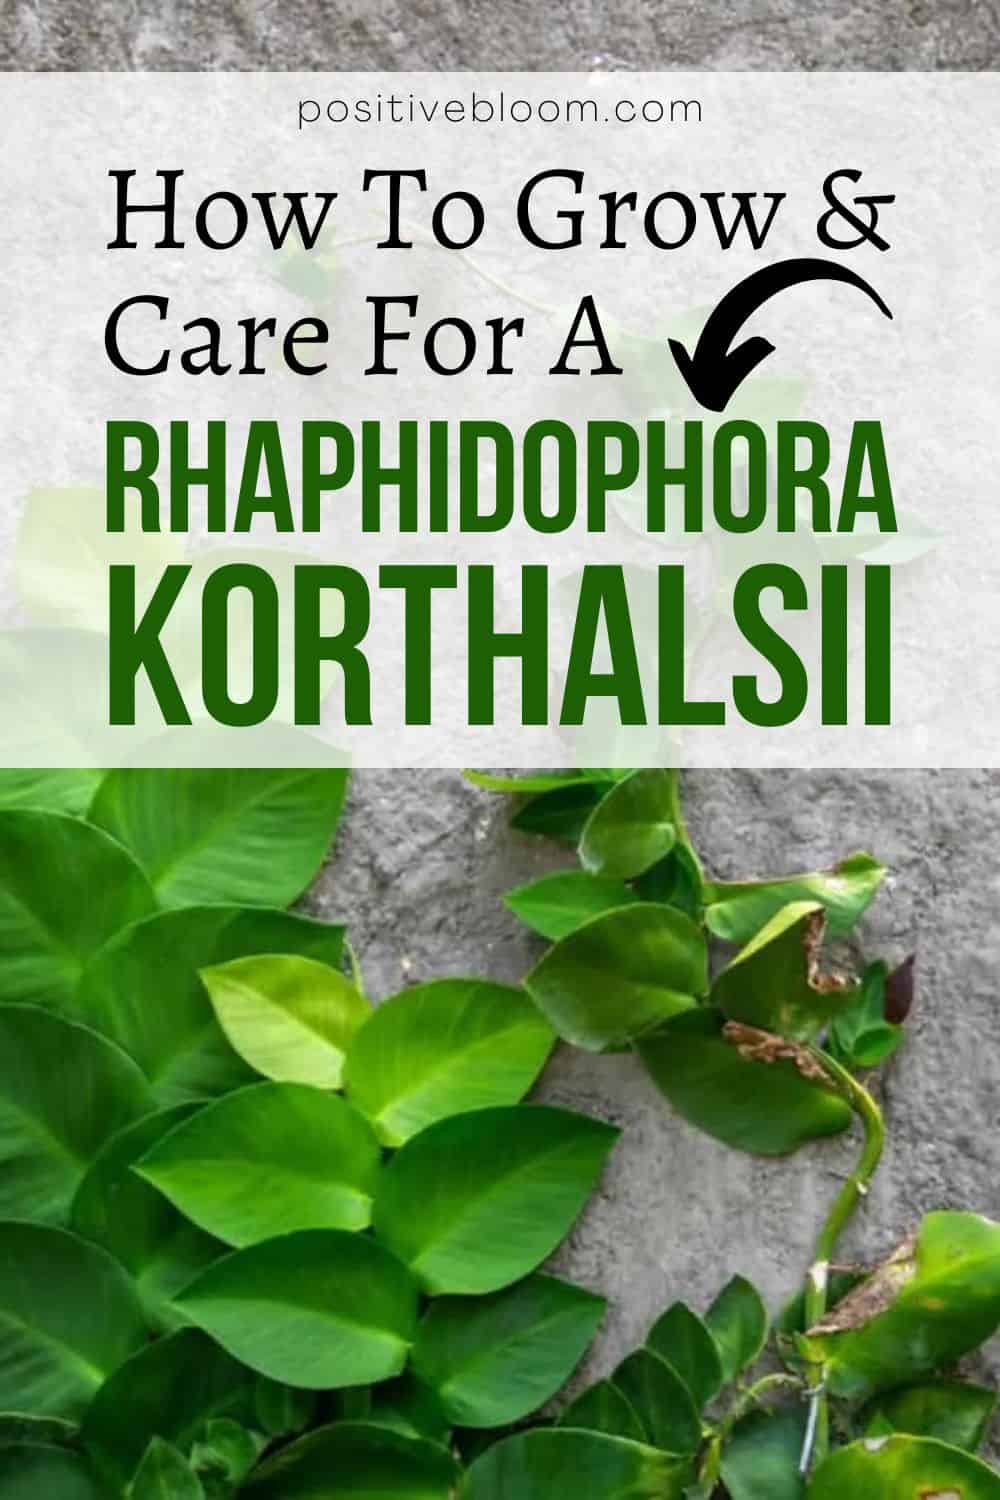
How To Grow And Care For A Rhaphidophora Korthalsii (Pro Tips)
The Araceae family is full of fascinating plants, most of which are grown indoors. Of course, some are more common than others, but each makes a great addition to any plant collection.
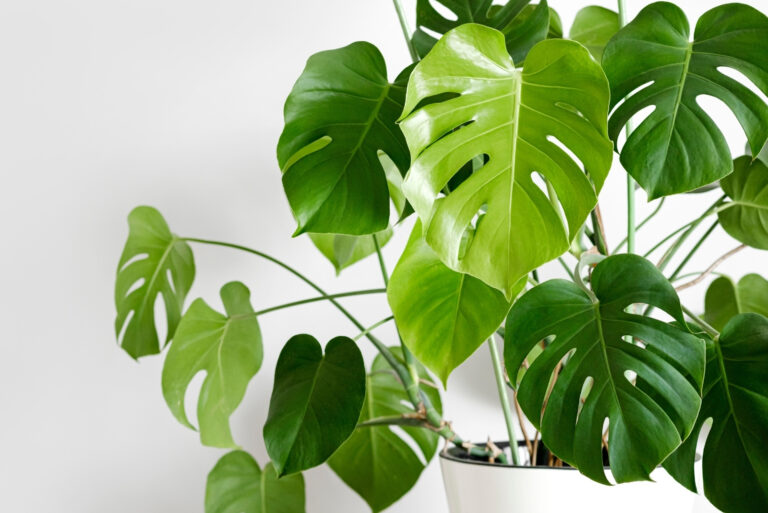
Although Monsteras and Philodendrons are the most popular genera in this family, the Rhaphidophora genus isn’t far behind them.
Each plant from this genus has a lot to offer: they are all low-maintenance and look breathtaking.
Today, I’ll tell you all about an uncommon Rhaphidophora species, the captivating Rhaphidophora korthalsii.
You might not have heard of this plant, but that’s only because of its complicated name. We all love nicknames, right?
Let’s first cover some basic info about the R.korthalsii, and then discuss its appearance, care requirements, propagation, and some common issues that affect it.
[table id=405 /]
Let’s get started!
What Is A Rhaphidophora Korthalsii?
Even experienced growers sometimes mix up plants from the Rhaphidophora genus. The plants are indeed similar, but what causes the real confusion is how these plants resemble others from the Monstera genus.
In order to understand the differences, we’ll cover all the features of the R.korthalsii plant and how to distinguish it from other plants.
Let’s start with the appearance.
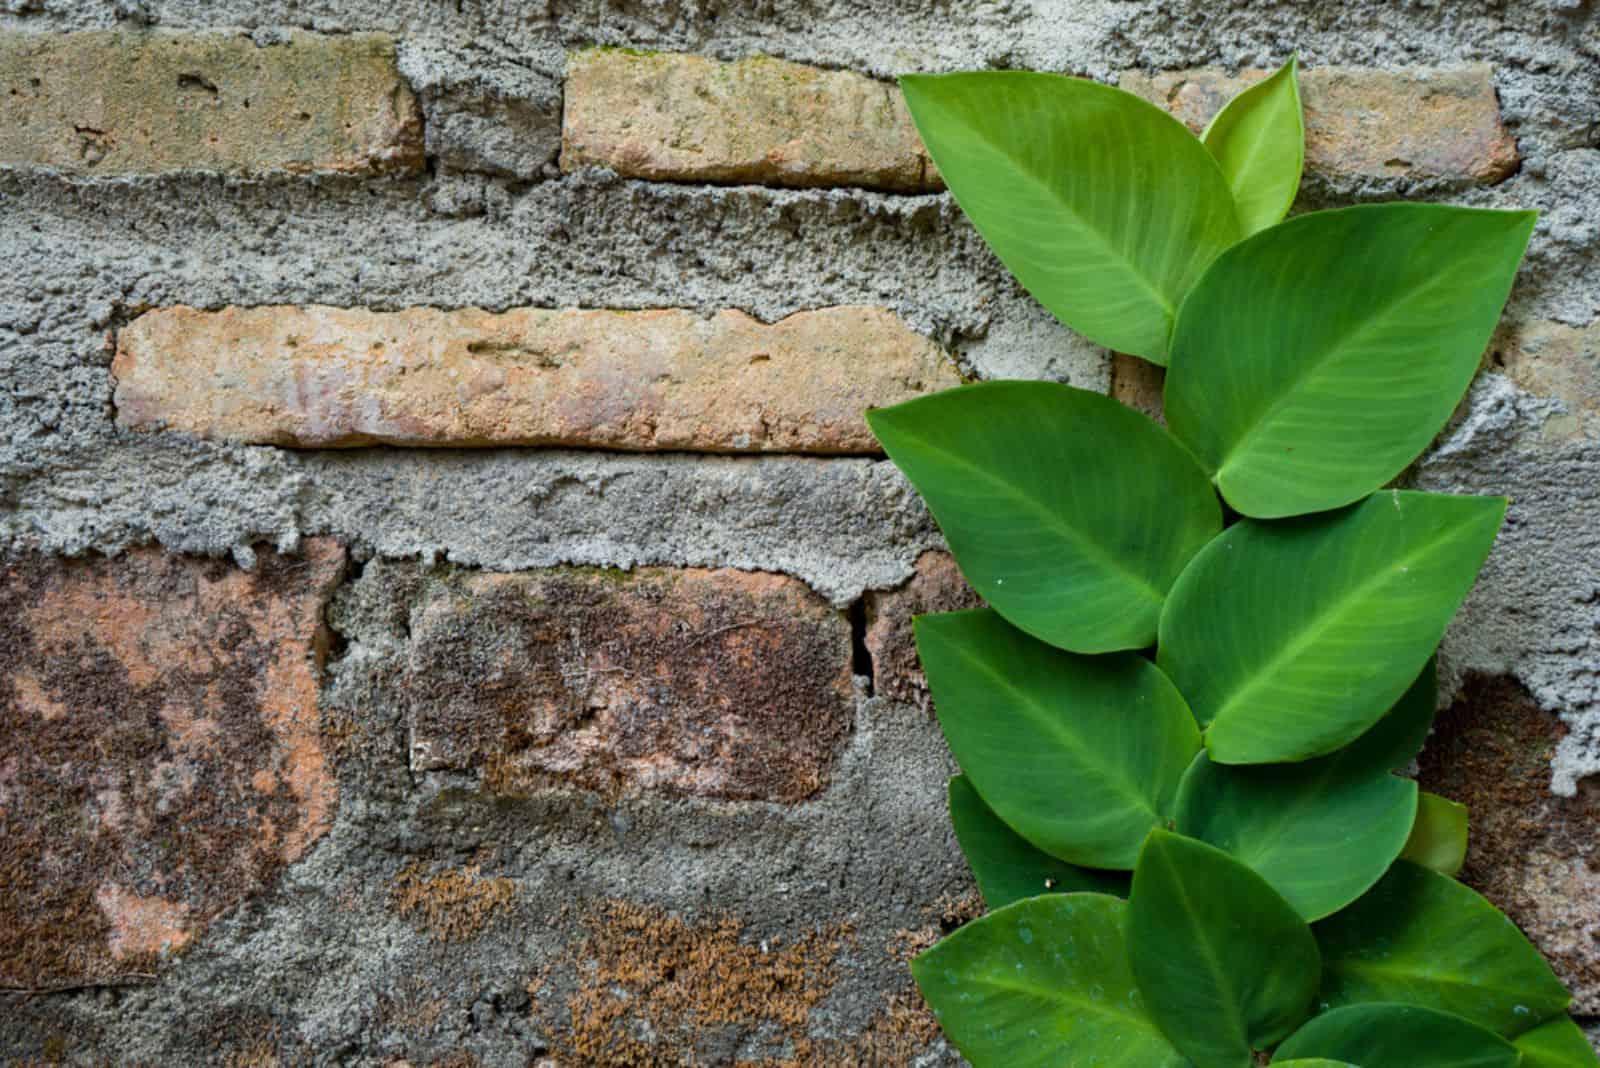
What Does The Rhaphidophora Celatocaulis Look Like?
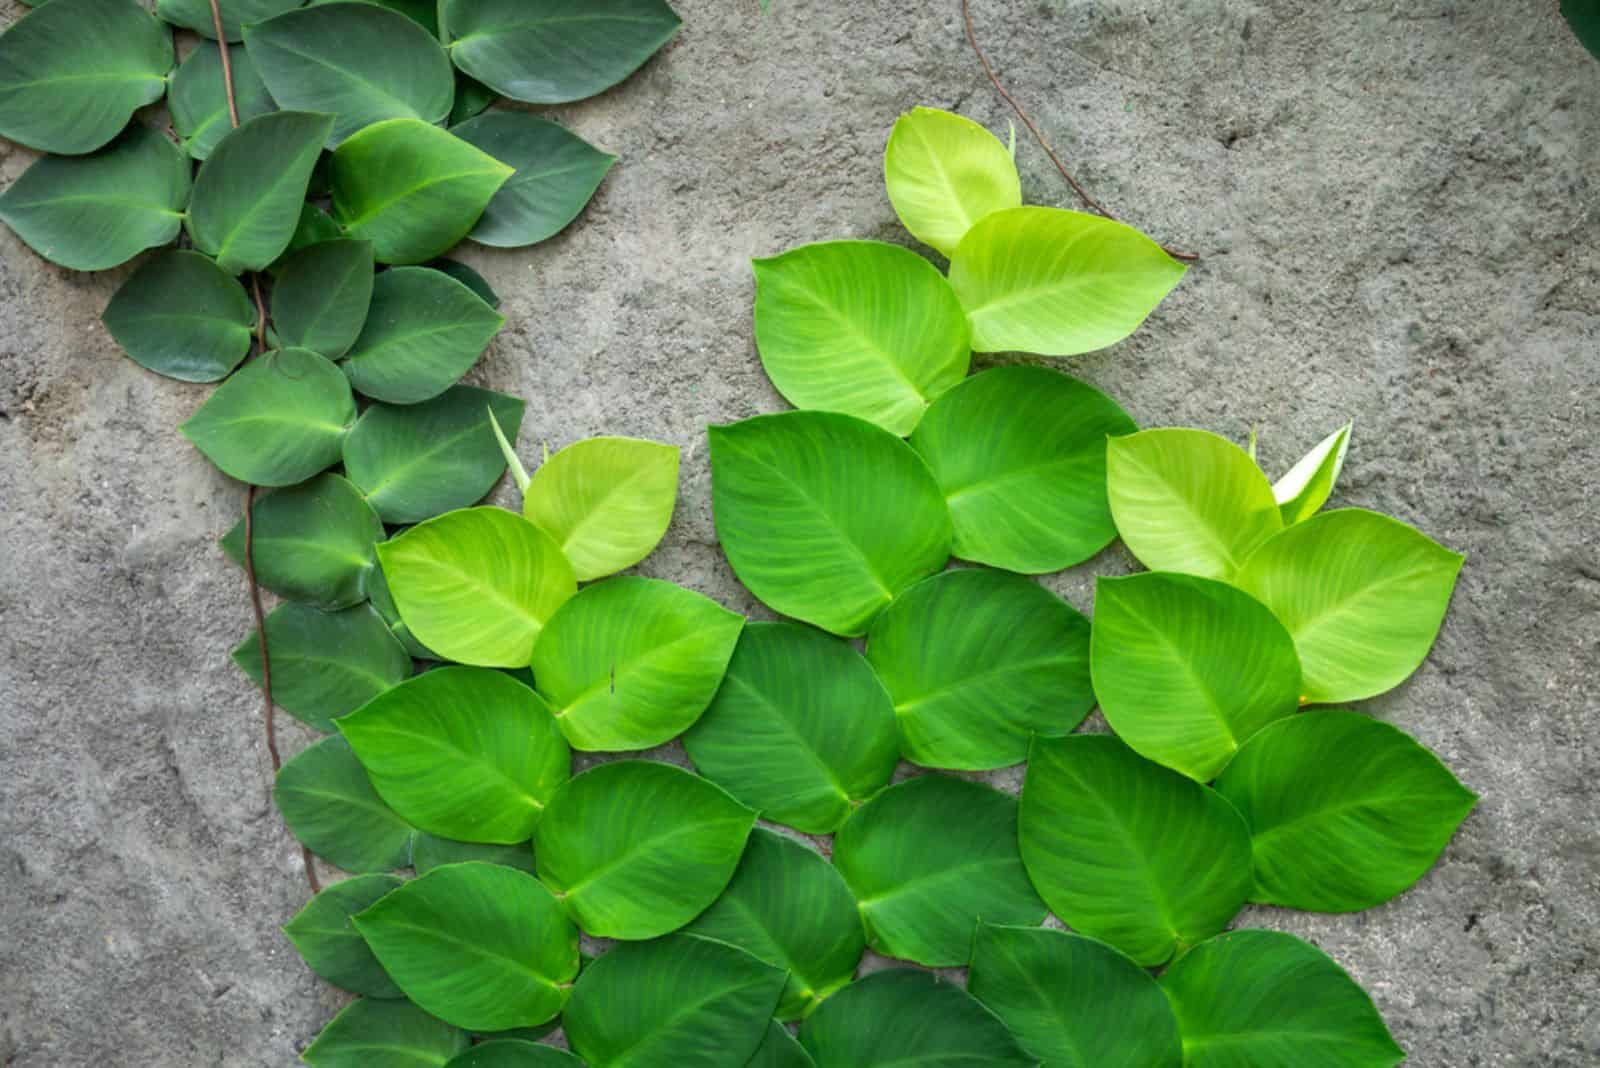
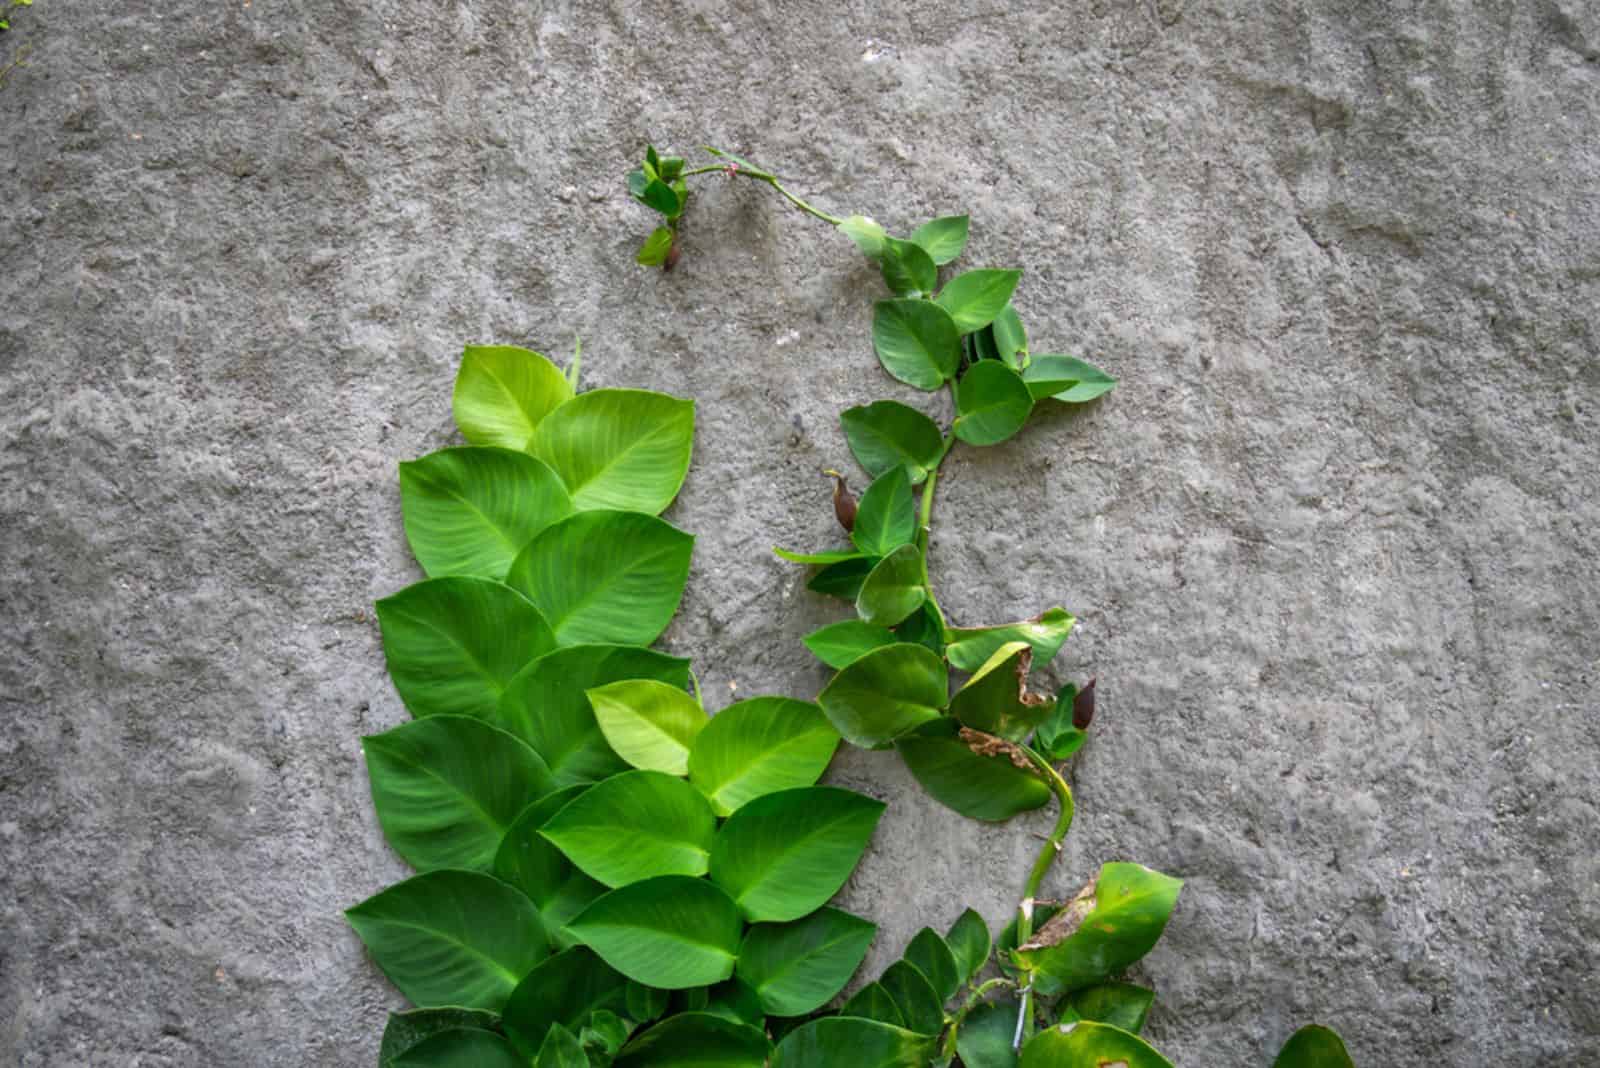
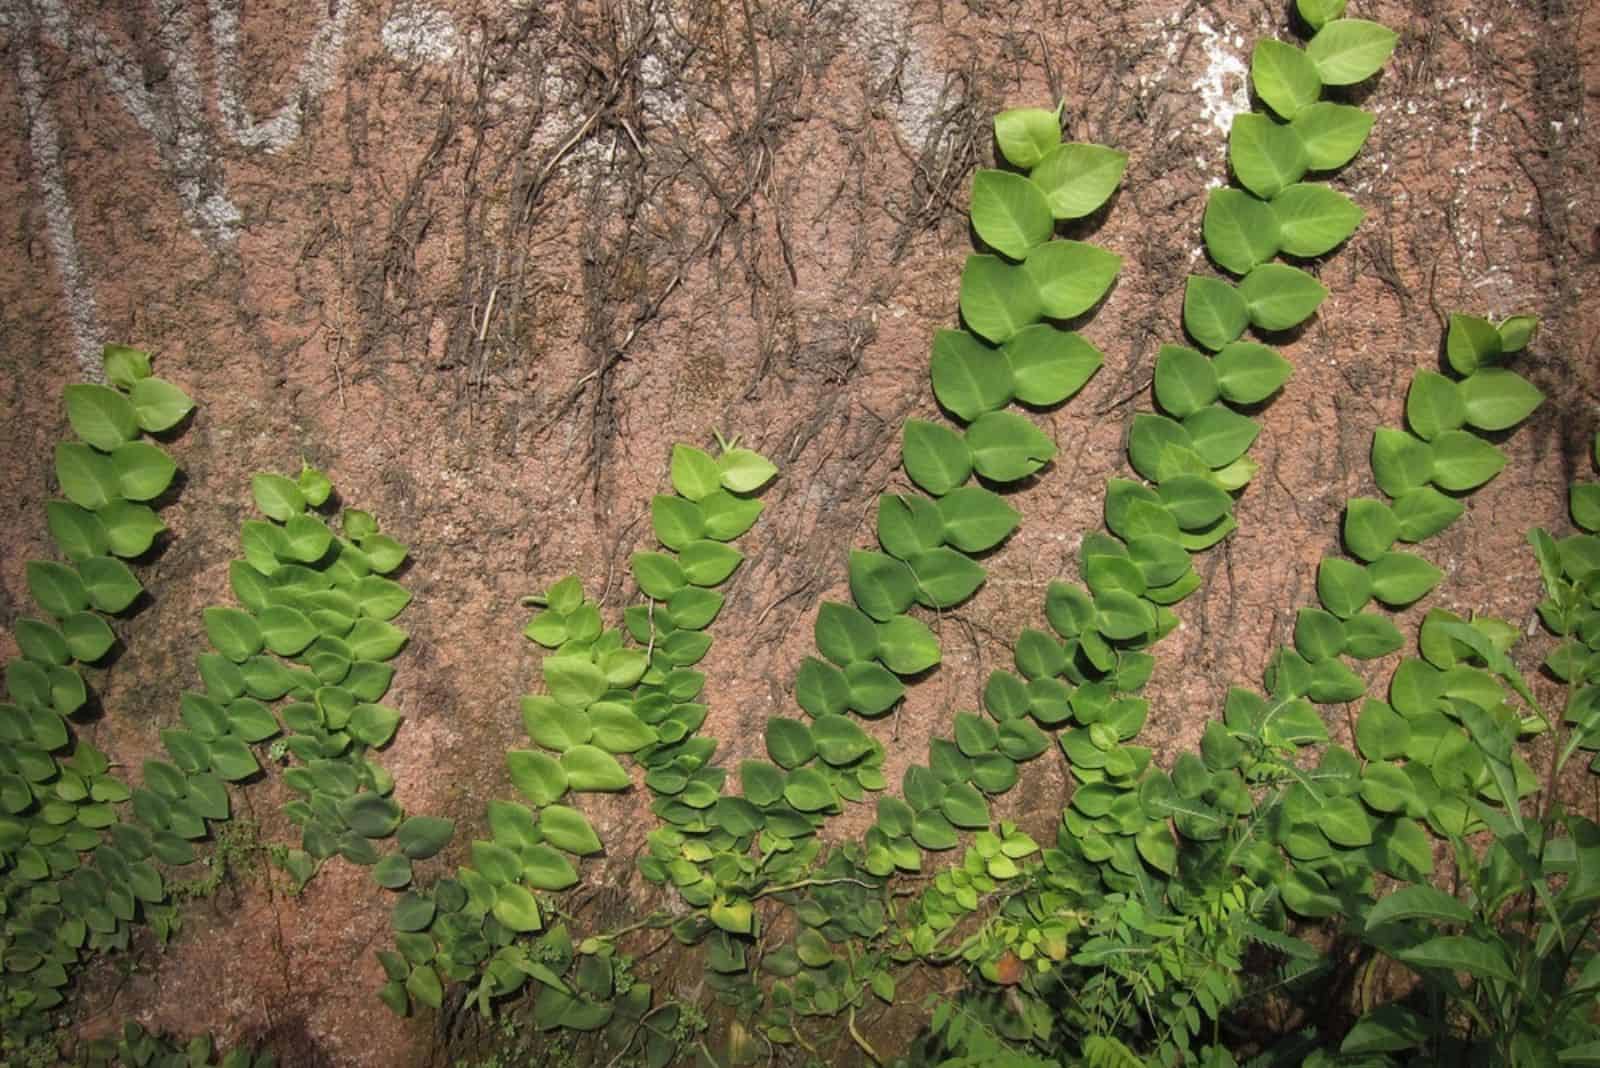
What makes R. korthalsii special is the difference of leaf shapes in the juvenile and mature growth stages.
Young korthalsii plants have narrow and elongated leaves, while mature ones will be massive, split, and often perforated.
Let’s find out more!
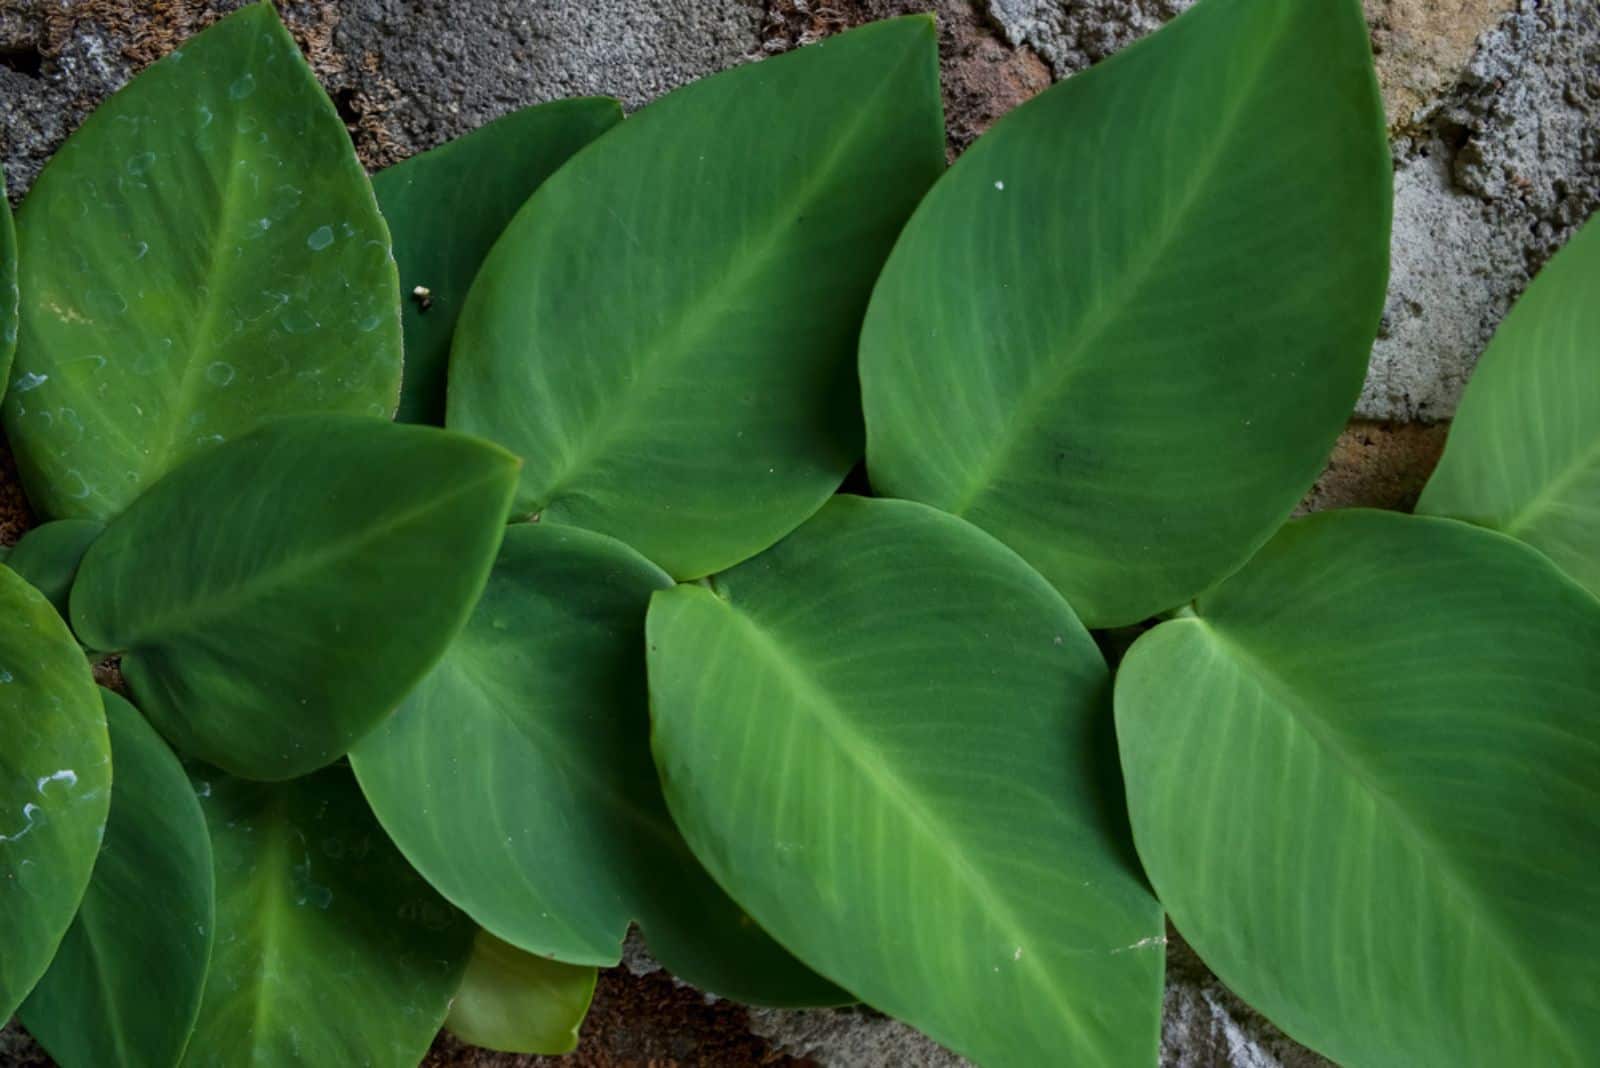
Leaves
When the shingle plant is young, the leaves resemble hearts. I have to remind you to be careful about the nickname ‘shingle plant’ as many other plants are also called the same.
Juvenile leaves also feature short petioles, and can reach 4 inches in length and 2.5 inches in width.
When an R.korthalsii reaches maturity, the leaves grow up to around 35 inches in length and 17 inches in width.
Stem
The glossy, light green stems age to appear almost woody. While the stems are in the early stages of development their internodes will be small, but as the plant matures, the internodes can reach up to 6 inches.
Flowers
This aroid plant may develop either single or numerous flowers, and they might have a single inflorescence or several. The first flower to appear is subtended by a prophyll that resembles a membrane.
The adult korthalsii plant produces grayish-white blooms on an elongated, symmetrical spathe. The spathe will fall off fast, leaving a broad, linear scar at the bottom of the spadix.
Growth Rate & Habit
The Rhaphidophora celatocaulis is a massive plant that can reach 65 feet in its natural environment.
This plant also has a fast growth rate, though it will only reach about 8 feet when grown as a houseplant. It will also need a supporting structure, such as a moss pole or totem when grown indoors.
Rhaphidophora Korthalsii vs Rhaphidophora Tetrasperma
It may be difficult to differentiate between plants from the Rhaphidophora genus. For example, many growers ask about the differences between Monstera minima vs Rhaphidophora tetrasperma.
After resolving that confusion, here comes another one!
R.korthalsii and Rhaphidophora tetrasperma, aka mini monstera, are often mixed up due to their massive, split leaves.
You can only really tell them apart by looking at the shape of the leaves.
The adult leaves of Rhaphidophora tetrasperma are wider and smaller than those of the shingle plant. Additionally, unlike celatocaulis, their pinnae do not contain holes (perforations) around the midrib that give the appearance that they are stilted.
Rhaphidophora Korthalsii vs Rhaphidophora Hayi
Korthalsii and hayi are separate species that belong to the same genus, and they are strikingly similar.
The main difference is in the leaf color; R.hayi features dark green foliage, whereas korthalsii has blue-green foliage.
The Rhaphidophora hayi plant doesn’t change shape through its growth stages, i.e., it looks the same in both the juvenile and mature stages.
The korthalsii’s mature leaves have a distinct morphology; they enlarge and develop perforations.
When these plants are side by side, you’ll notice that the leaves of the hayi don’t overlap, which is the case with the korthalsii’s leaves.
Rhaphidophora Korthalsii Schott: Care Guide
Now you know what the korthalsii plant looks like and how to differentiate it from other similar Rhaphidophora plants.
The question is, what conditions must you ensure for the shingle plant so that it grows healthy and thrives?
Luckily, this Rhaphidophora isn’t very demanding, and if you mimic its natural habitat it will grow perfectly.
Here is a table for a quick overview of korthalsii’s care requirements:
[table id=406 /]
Let’s get into more detail!
Light Requirements
Inadequate light conditions will significantly impact your korthalsii plant, and I mean that in a bad way. The best light you can provide for this Rhaphidophora is bright indirect light.
This is because too much direct sunlight will wreak havoc on the plant’s fascinating leaves. If they keep receiving too much direct light, they’ll scorch, curl, and start drooping or wilting. Unfortunately, if your korthalsii is exposed to direct sun for too long, it may die.
On the other hand, you don’t want to keep it in low light either. The leaves need light to develop healthily and maintain their color.
So, if you keep this Rhaphidophora in poor light conditions, the leaves will start yellowing and the plant’s growth will be stunted.
The best idea would be to place this Rhaphidophora near an east or west-facing window so that it can receive enough direct light in the mornings.
For the rest of the day, the light will be indirect; in other words, perfect for healthy growth!
I avoid placing my tropical houseplants near south-facing windows because of the intense sun rays. However, if you can’t find any other place, just put some protection over the window, such as sheer curtains.
Finally, if all you have is a north-facing window, I recommend buying grow lights.
Humidity Requirements
I often use the equation: tropical plants=high humidity. It’s pretty simple to explain; Rhaphidophora plants grow in high humidity conditions in their natural habitat.
This means that average household humidity won’t fulfill the needs of your shingle plant.
I always keep humidity over 60%, and I must say that it works perfectly.
Many beginner growers have trouble ensuring high humidity levels, but experienced ones know what to do!
I’ll show you 5 great methods for raising the humidity levels to help your Rhaphidophora grow well.
Let’s begin!
Mist Your Rhaphidophora
The classic method for increasing humidity levels is misting. If you have a lot of free time, this method will work great.
Your Rhaphidophora will need misting a few times a day, which makes misting a poor method for growers who don’t have much time.
This is because the moisture you provide the plants with by misting will quickly evaporate, decreasing the humidity levels.
If you only have time to mist your Rhaphidophora once a day, I recommend combining this method with one of the DIY methods below.
Place A Humidity Tray Below The Pot
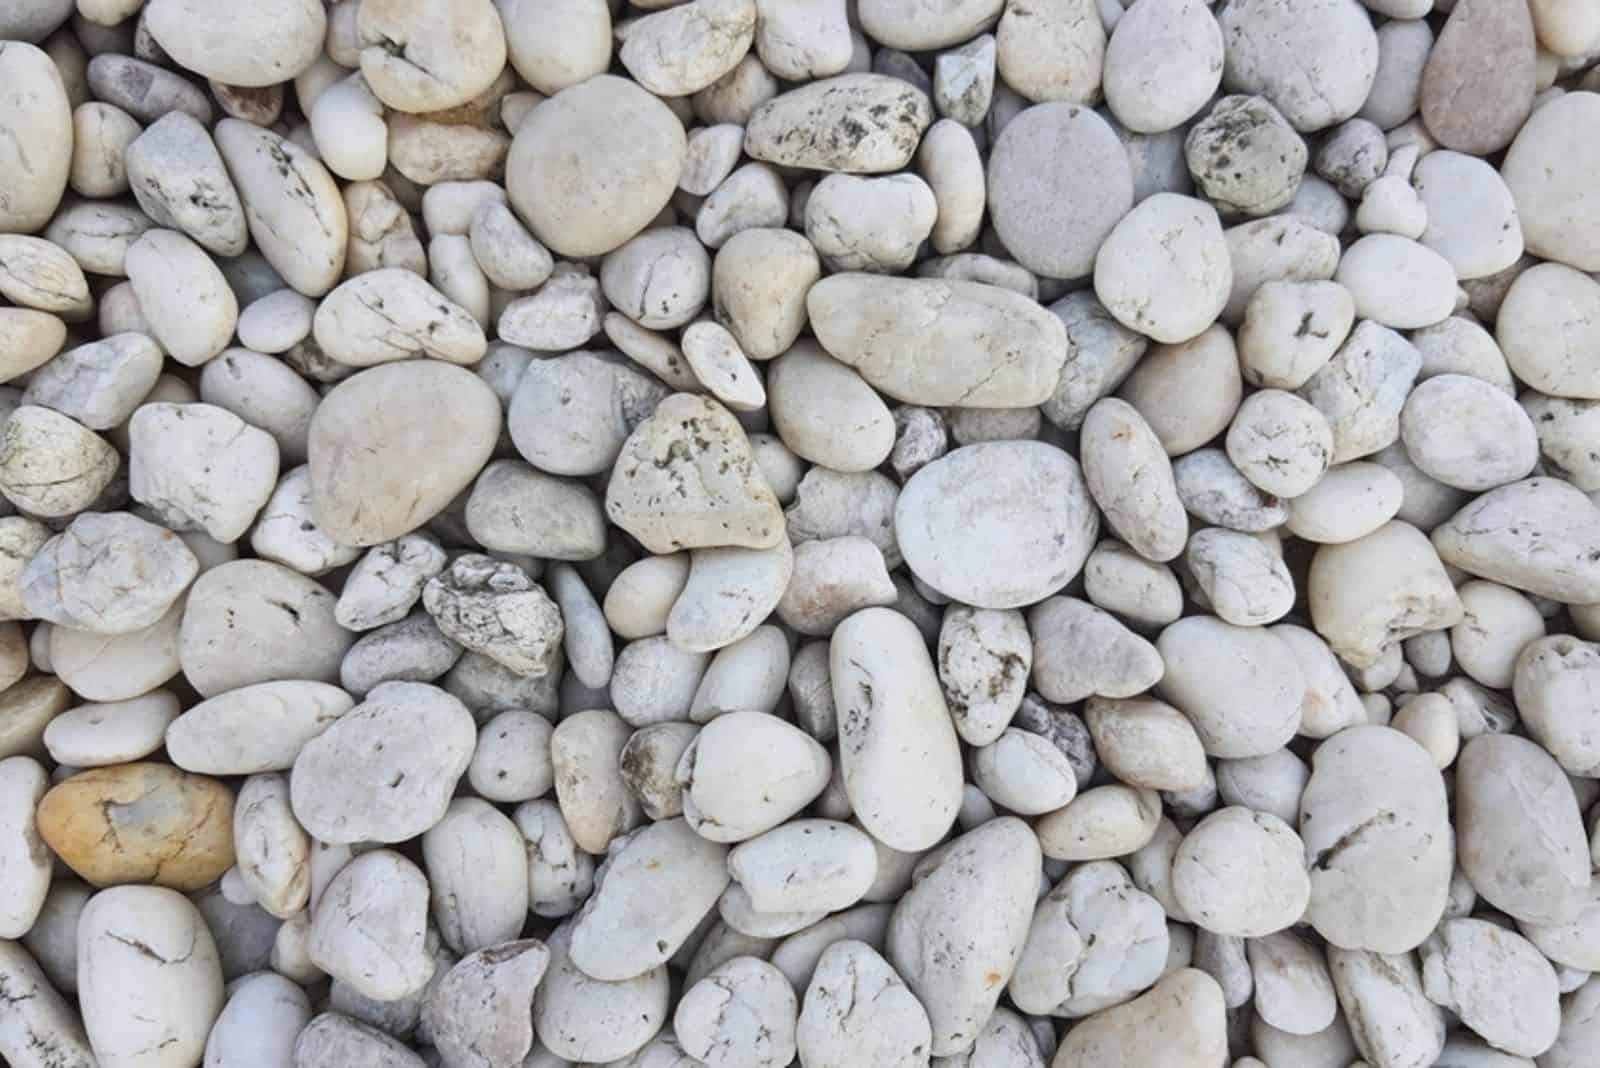
If you don’t know what a humidity tray is, maybe the term “pebble tray” rings a bell.
This is a simple and relatively cheap way to increase humidity for your korthalsii plant a bit.
You’ll need a shallow dish and a few pebbles; pebbles look great, so your shingle plant will look even more beautiful with this method, if that’s even possible!
Many beginner growers ask if pebble trays actually work for humidity. Just like with the misting method, I recommend combining a humidity tray with other methods.
Group Your Houseplants
And the award for the easiest way to raise humidity goes to: creating a microclimate!
I was kind of put off by this idea at first because I thought it referred to some special biological and chemical process.
It actually just means putting all your houseplants together. If you grow other plants from the Rhaphidophora genus, such as Rhaphidophora cryptantha or Rhaphidophora decursiva, place them next to your korthalsii and they’ll share moisture through a process called transpiration.
Also, if you grow plants from the Scindapsus, Hoya, or Epipremnum genus, putting them next to your korthalsii will benefit them too.
Use A Terrarium
You can grow your korthalsii in either a terrarium or vivarium.
Although terrariums are mainly used for smaller plants, larger plants such as Monsteras, and in this case, Rhaphidophoras, grow well in these containers.
These plants are very large, but you can trim them down to maintain the desired size.
Click here to find out how to create a perfect terrarium for succulents.
Purchase A Humidifier
Some growers aren’t into DIY, and prefer the easier way. As you know, ‘the easy way’ often costs more!
A humidifier isn’t really a cheap option. Still, if you want to raise humidity without worrying, it’s the best choice.
I highly recommend getting one if you grow a lot of plants indoors, especially if they are native to tropical regions.
Temperature Requirements
Korthalsii plants originate from tropical regions, but temperatures don’t need to be that high when growing these plants indoors.
Simply try to maintain a temperature of at least 65 degrees Fahrenheit. Also bear in mind that temperatures higher than 80 degrees Fahrenheit can harm your korthalsii plant.
I’d stick to 75 degrees Fahrenheit, just to be sure.
This Rhaphidophora plant can grow well in slightly lower or higher temperatures than recommended, but it can’t withstand temperature fluctuations or drafts.
The best advice I can give you is to keep your korthalsii away from vents, fireplaces, radiators, and air conditioners.
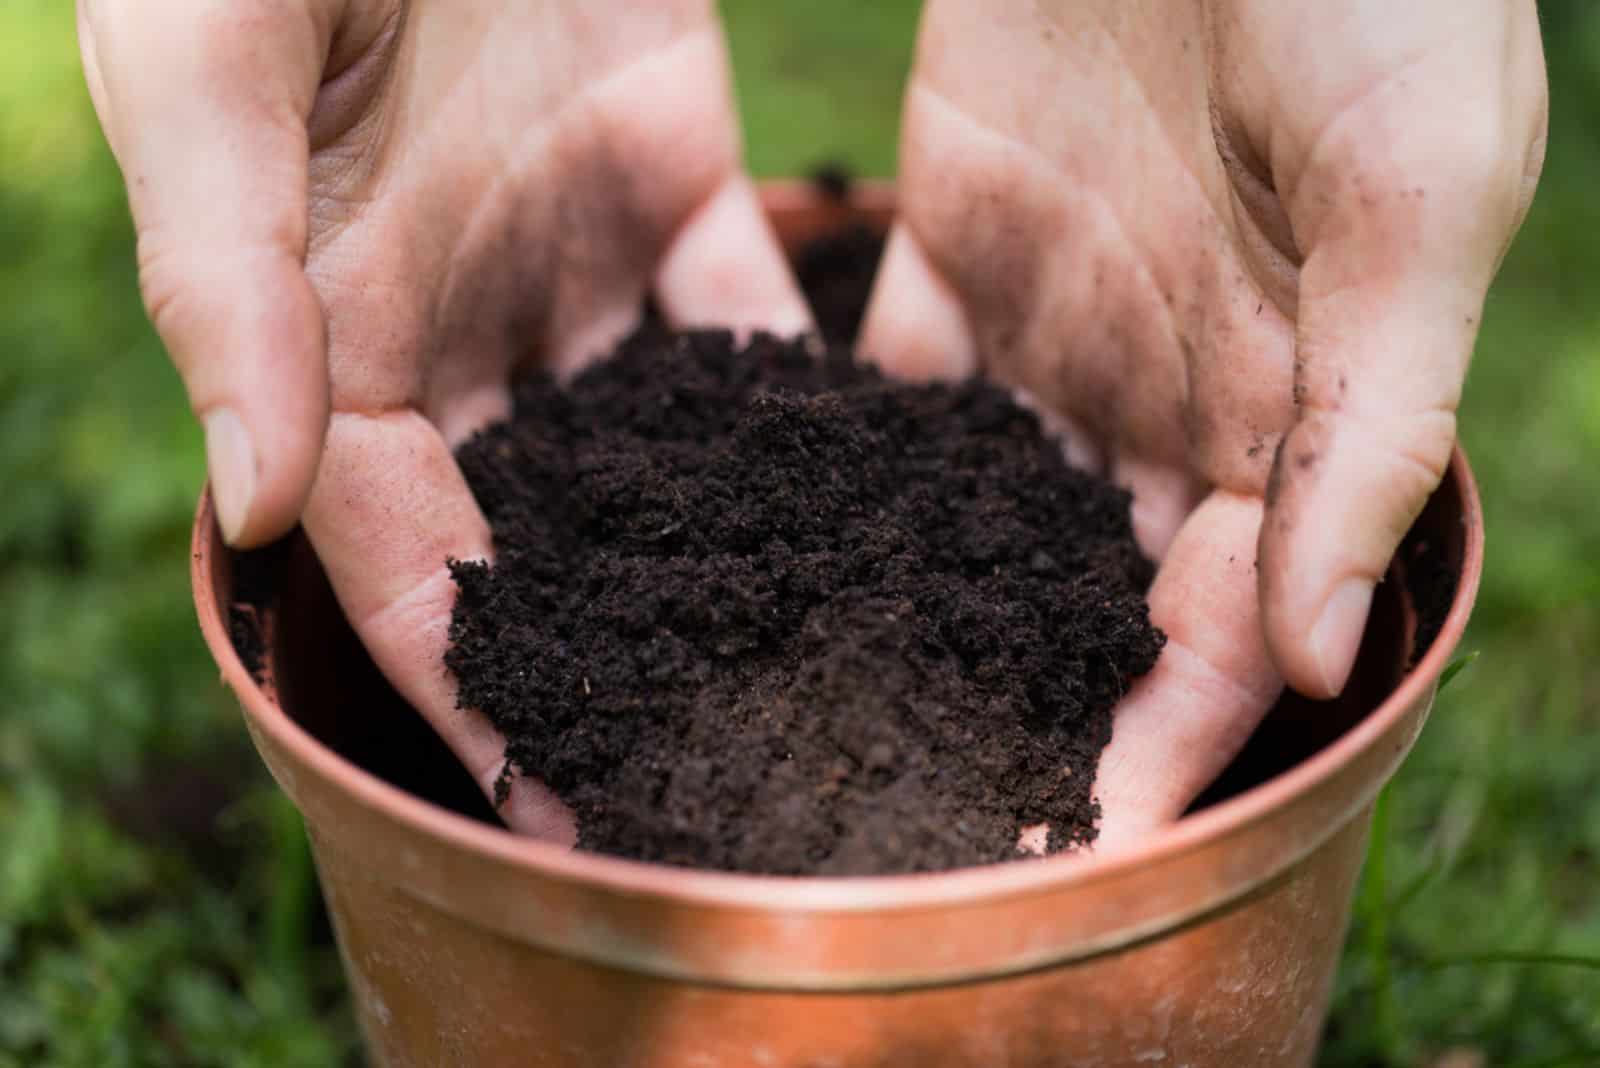
Soil
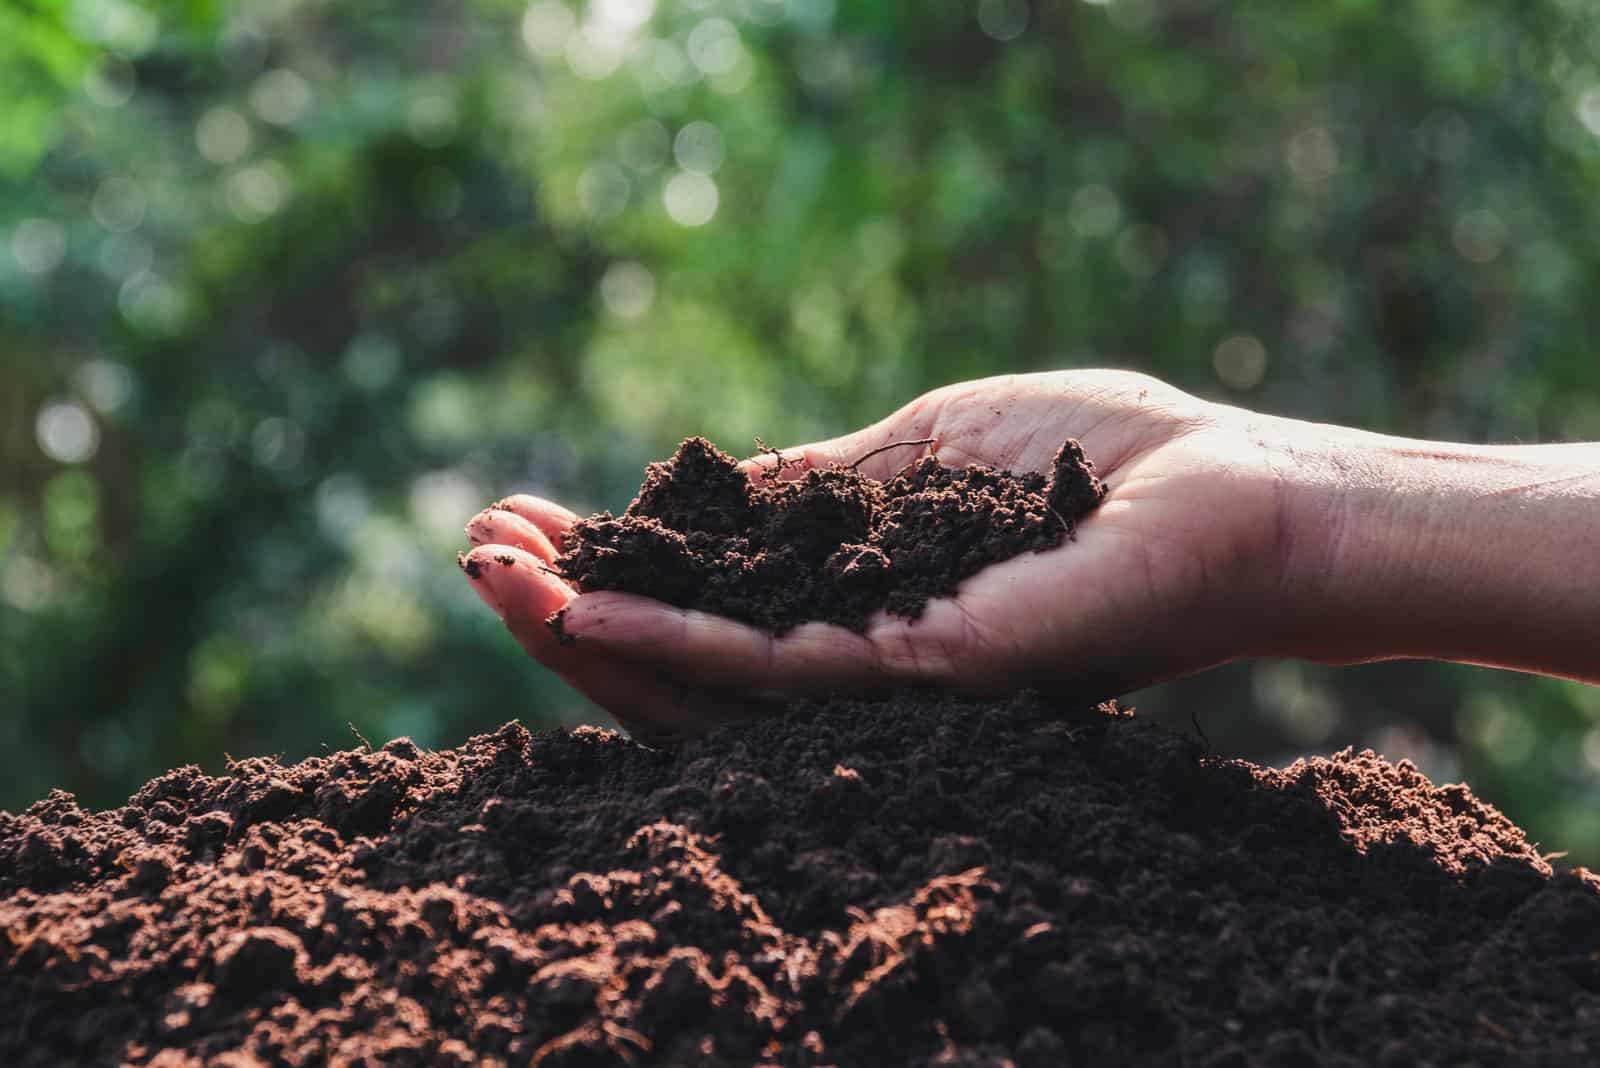
Most plants native to tropical regions demand porous and well-draining soil. This is to avoid waterlogging and obtain the optimal oxygen level for the roots.
Here is a list of the best materials for korthalsii soil:
• Coco coir
• Sphagnum moss
• Perlite or pumice
• Orchid bark
For me, perlite must be included in every soil type as it enhances drainage and helps you avoid overwatering.
Drainage holes also aid in the removal of extra moisture that would normally remain in the soil and attract different insects and fungi.
The ideal soil pH for a Rhaphidophora korthalsii ranges from 6.0 to 6.5. If you’re unsure about the pH, just purchase a soil test.
Watering
One of the most challenging factors of korthalsii plant care is watering. It’s a tropical plant, so it would be logical that its watering needs are high.
However, it’s actually quite the opposite. Plant requirements change when grown indoors, and watering is the best example.
The watering frequency actually depends on many factors. For example, high temperatures, high humidity, and a lot of light significantly increase a korthalsii’s watering needs.
Therefore, you’ll need to water your Rhaphidophora more often during summer. The watering needs will decrease once the fall arrives as the growing season ends and the korthalsii enters the dormancy stage.
You are the only water supplier for your plants, so creating a perfect watering schedule is your main task.
I recommend watering your Rhaphidophora plant when the top two inches of the soil dry out.
Insert your finger, observe the soil color, or use a moisture meter to detect the moisture content in the soil.
That’s the best way to avoid both overwatering and underwatering. Remember, each of these conditions can lead to death, which is why figuring out the watering needs in time is essential.
Fertilizing
Your korthalsii plant will need a boost during the growing season, so I recommend feeding it at least once a month during the growing season.
A perfect fertilizer for your korthalsii would be:
• Balanced
• All-purpose
• Liquid.
No matter the fertilizer brand or NPK ratio, I advise diluting it to half strength in order to avoid fertilizer burn.
Staking
The korthalsii is a climber, so you’ll need to provide it with the right support.
The best idea would be to attach this Rhaphidophora to a moss pole or similar structure, such as totems, trellises, climbing walls, or coco coir poles.
Repotting
You will undoubtedly need to repot the korthalsii more often than other common houseplants due to its fast growth rate.
You should check to see if the Rhaphidophora roots have begun protruding through the drainage holes. If they have, you should repot your plant.
I recommend repotting your korthalsii plant at the beginning of the growing season.
Before you start repotting your Rhaphidophora, you’ll need to prepare a new pot (about 2 inches larger in diameter) and a new potting mix.
The next step is to take your korthalsii out of the pot. Don’t pull on the plant or you’ll likely damage it.
Lean the pot to one side and let it slide out.
Fill one-third of the new pot with fresh soil and put your korthalsii in it. Add the rest of the soil and lightly water the plant.
That’s it! Your korthalsii is now ready for new growth!
How To Propagate The Shingle Plant
Rhaphidophora korthalsii propagation isn’t a hard task. If you prepare all the necessary equipment and follow each of the steps below, you’ll have no trouble.
The easiest way to propagate this Rhaphidophora plant is by using stem cuttings.
I’ll show you how to take stem cuttings, root them, and transplant them.
Let’s get started!
How To Take Stem Cuttings
You’ll need to prepare some indoor gardening tools before you start propagating. The essential thing is to make sure your korthalsii plant is completely healthy.
If it’s not, read the common issues section below to learn how to fix them. Once you have determined that your korthalsii is healthy, proceed with the process.
Prepare sharp and sanitized gardening shears or scissors.
You’ll also need to prepare a jar or clear vase (for water propagation), potting mix, a rooting hormone, and a plastic bag.
Here are 4 easy steps on how to take stem cuttings:
1. Select a healthy stem on your korthalsii that has at least two nodes (the more, the better).
2. Take your shears and snip the stem below the lower node.
3. Remove the lower leaves if your cutting has any, as they shouldn’t be in the rooting medium.
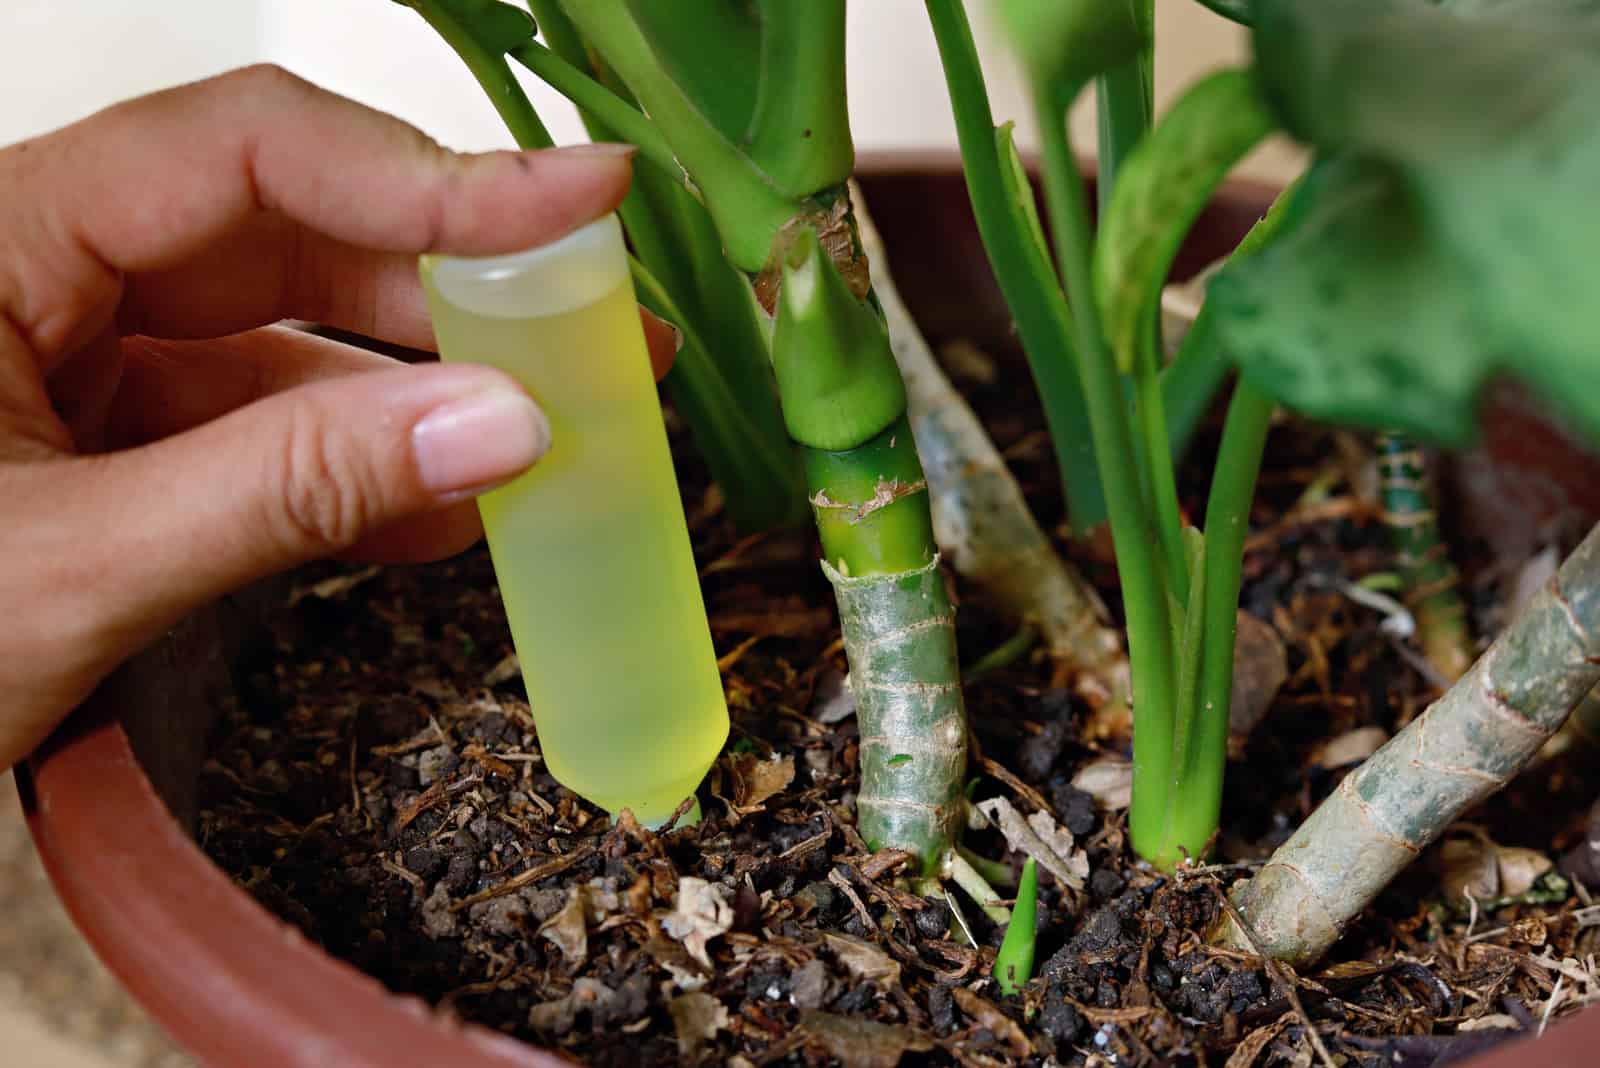
4. Dip the cut end in a rooting hormone, and make sure you don’t skip applying the hormone to any node that will go below the soil/water line.
Now it’s time to root the cuttings!
How To Root The Cuttings In Water
After taking the cuttings, you can root them in water. You don’t need to use water as the rooting medium. Still, if you are a beginner grower, I recommend using this method.
Here are the steps for rooting korthalsii stem cuttings in water:
1. Fill the desired container with fresh, lukewarm water.
2. Insert the cut end in water. Make sure the node is below the water line, and all the leaves are above.
3. Place the container with the korthalsii cutting in bright indirect light.
4. Refresh the water every 2 days.
5. When the cutting develops roots approximately 2-3 inches long, you can transplant it into the soil mix.
How To Root Cuttings In Soil
If you decide to root your korthalsii cuttings directly in the soil, here are the steps on how to do so correctly:
1. Fill a nursery pot with the right potting mix.
2. Make a hole in the soil mix deep and wide enough to fit the cutting.
3. Put the cutting in the soil, making sure a node remains below the soil line.
4. Press down the soil around the cutting base above the soil line.
5. Put the plastic bag over the cutting and make a small hole in it so the air can circulate. Remember that the leaves should stay intact, so support the bag with sticks or something similar.
6. Put the nursery pot in a warm spot with a lot of bright indirect light.
7. Mist the soil regularly and remove the plastic bag every four days. Keep the korthalsii cutting uncovered for a few hours so that it can breathe.
8. Once the cutting develops 2-3 inch long roots, it’s time for transplantation.
How To Transplant The Cuttings
Now you need to be extra careful, especially if you rooted the cuttings in water. Water roots are delicate and are easily damaged if handled with force.
Add soil mix to the new container and poke a hole that’s deep and wide enough for the rooted cutting to fit in.
Lightly water the plant and continue using our plant care tips.
Common Issues & How To Fix Them
Rhaphidophora plants aren’t prone to many issues, and you could say they suffer from standard houseplant problems.
Most of these problems are related to inadequate care, so let’s see what can go wrong and how to fix it!
Pests And Diseases
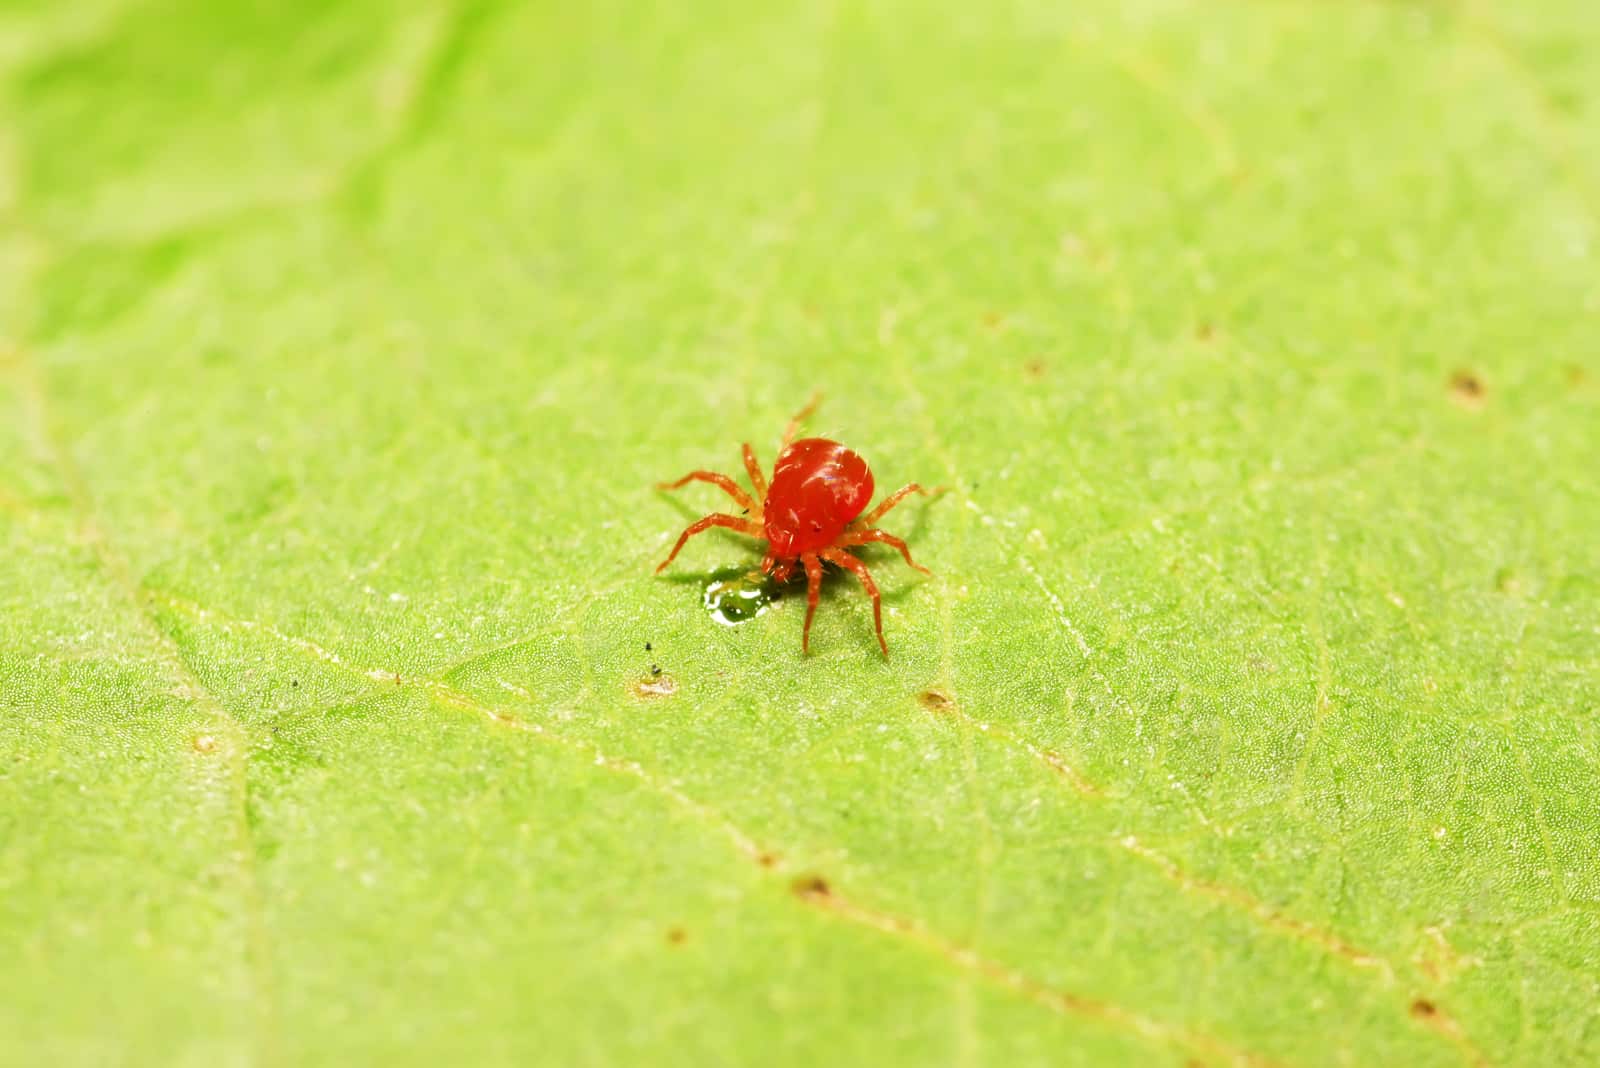
I doubt there has ever been a grower who hasn’t had problems with annoying pests. Although rare, pests such as mealybugs, spider mites, scale, and aphids can all be found on these plants.
There are great methods for controlling pests during flowering, such as using neem oil, insecticidal soap, or rubbing alcohol.
Just like pests, diseases rarely affect korthalsii plants. The most common one is root rot, but this can easily be avoided if the best conditions for our shingle plant are provided.
It’s essential to spot signs of root rot in time so that you can start with treatment and prevent further damage.
I’ll mention the most common sign of diseased roots below, so keep reading.
Leaf Deformation And Discoloration
If your korthalsii leaves are turning yellow, you’ll need to check a couple of things.
Check the moisture content first because overwatering often causes leaf discoloration and deformation due to root rot.
If the leaves of your Rhaphidophora develop brown tips and edges, you also need to check the soil moisture, but this time for underwatering issues.
Also check the light level and the temperature if your korthalsii shows any browning.
Sometimes the leaves may develop spots, and the most common reasons for this are excess water and pests.
Leaf Curl, Drooping, & Wilting
If the Rhaphidphora’s soil lacks water, the roots will stop supplying parts of the plant. The leaves will most likely curl and start wilting in this case.
Your Rhaphidophora may also display stunted growth if it lacks water.
Other causes of wilting, drooping, and curling, are low humidity, low temperatures, and poor light conditions.
FAQs
Is The Rhaphidophora Korthalsii Toxic?
Yes, the Rhaphidophora korthalsii is toxic to humans and pets. If your child or pet ingests any part of the plant, they may experience oral irritation, mouth swelling, and loss of appetite.
Keep your Rhaphidophora plant out of their reach.
Is the Rhaphidophora Korthalsii rare?
Yes, the Rhaphidophora korthalsii is a rare plant, and the chances of finding it in plant stores are pretty low. If you do find one, take good care of it and make sure you propagate it.
What is the life expectancy of a Rhaphidophora Korthalsii?
Rhaphidophora korthalsii and all other plants from this genus are perennials. These plants live for 3 years or more if you provide them with perfect conditions.
The closer you replicate their natural environment, the longer these plants will live.
Wrapping Up
If you want to expand your plant collection, then the Rhaphidophora korthalsii is a perfect plant for you.
It’s a rare plant, so you shouldn’t miss the chance to buy one if you manage to find it. Don’t forget to propagate it!
It’s low-maintenance, looks breathtaking, and is amazing when combined with other indoor plants.
You can train it to climb or grow it in hanging baskets; it looks incredible both ways.
Just pay attention to toxicity; if you have small children and pets, keep your korthalsii plant out of their reach.
Until next time!
Like this post? Share or pin it for later!