16 Common Mistakes Gardeners Make When Fighting Bindweed (And What Works Better)
Dealing with bindweed? You’re not alone—it’s one of those weeds that refuses to back down, no matter how many times you pull it. I’ve wrestled with its stubborn vines more summers than I care to admit.
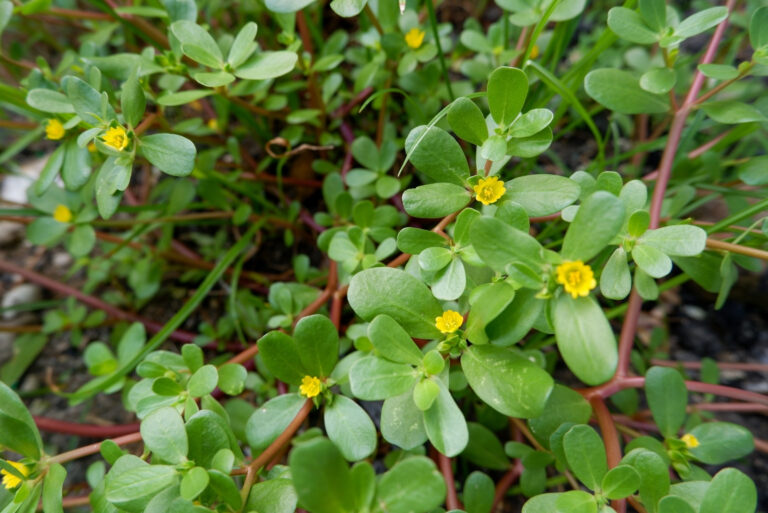
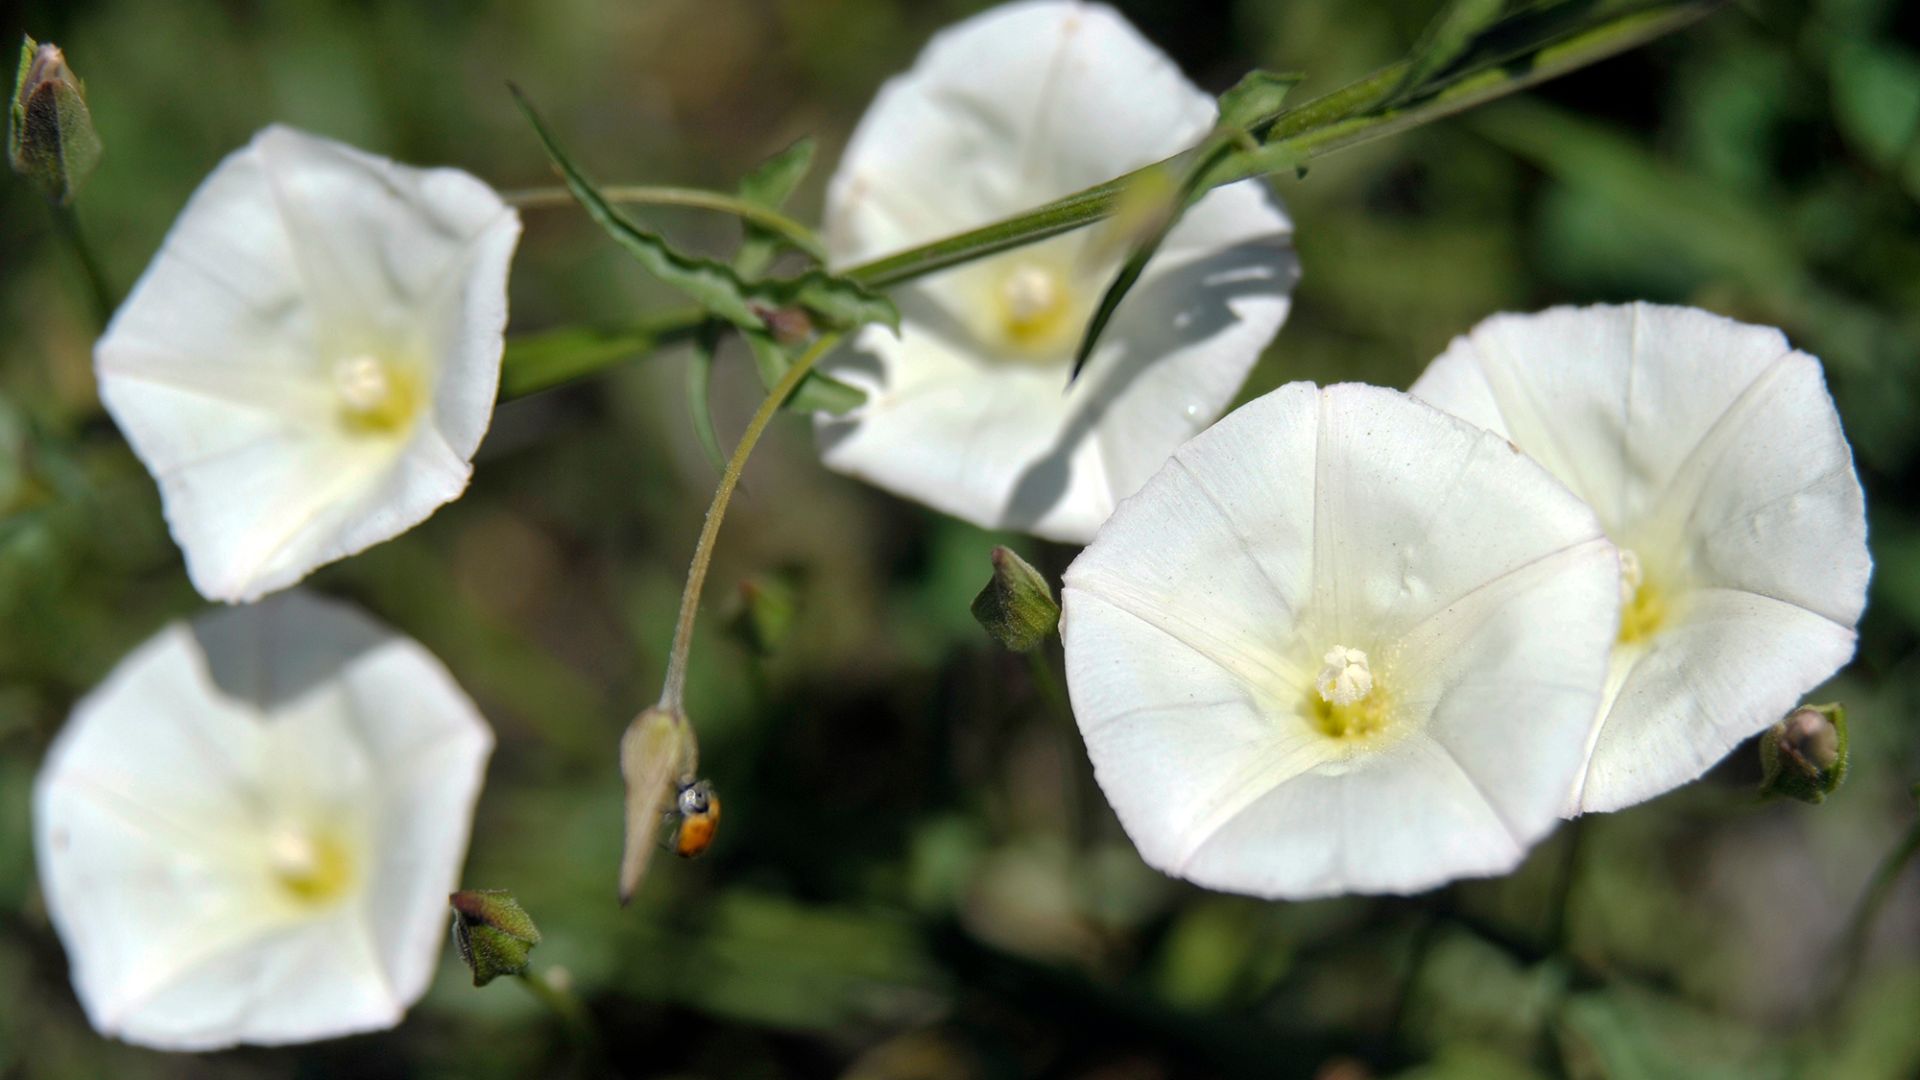
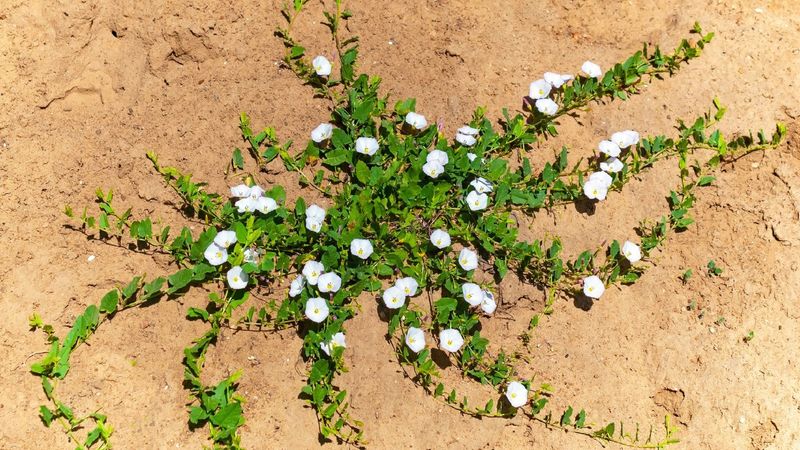
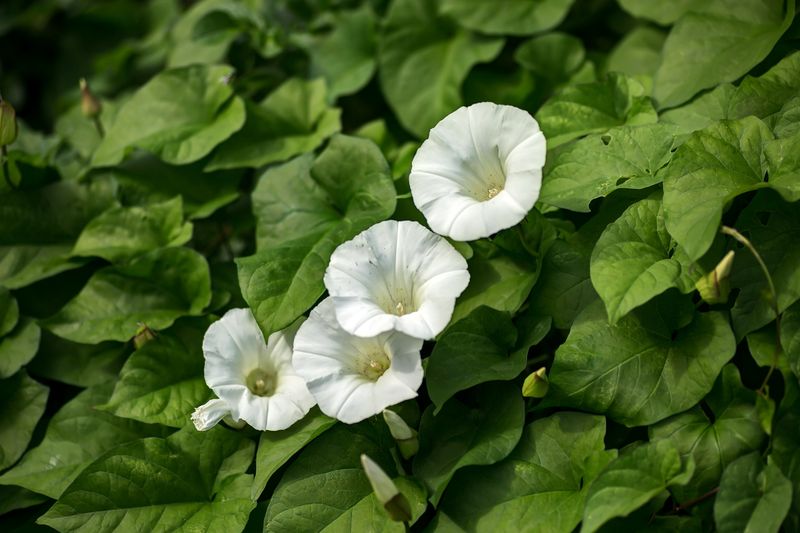
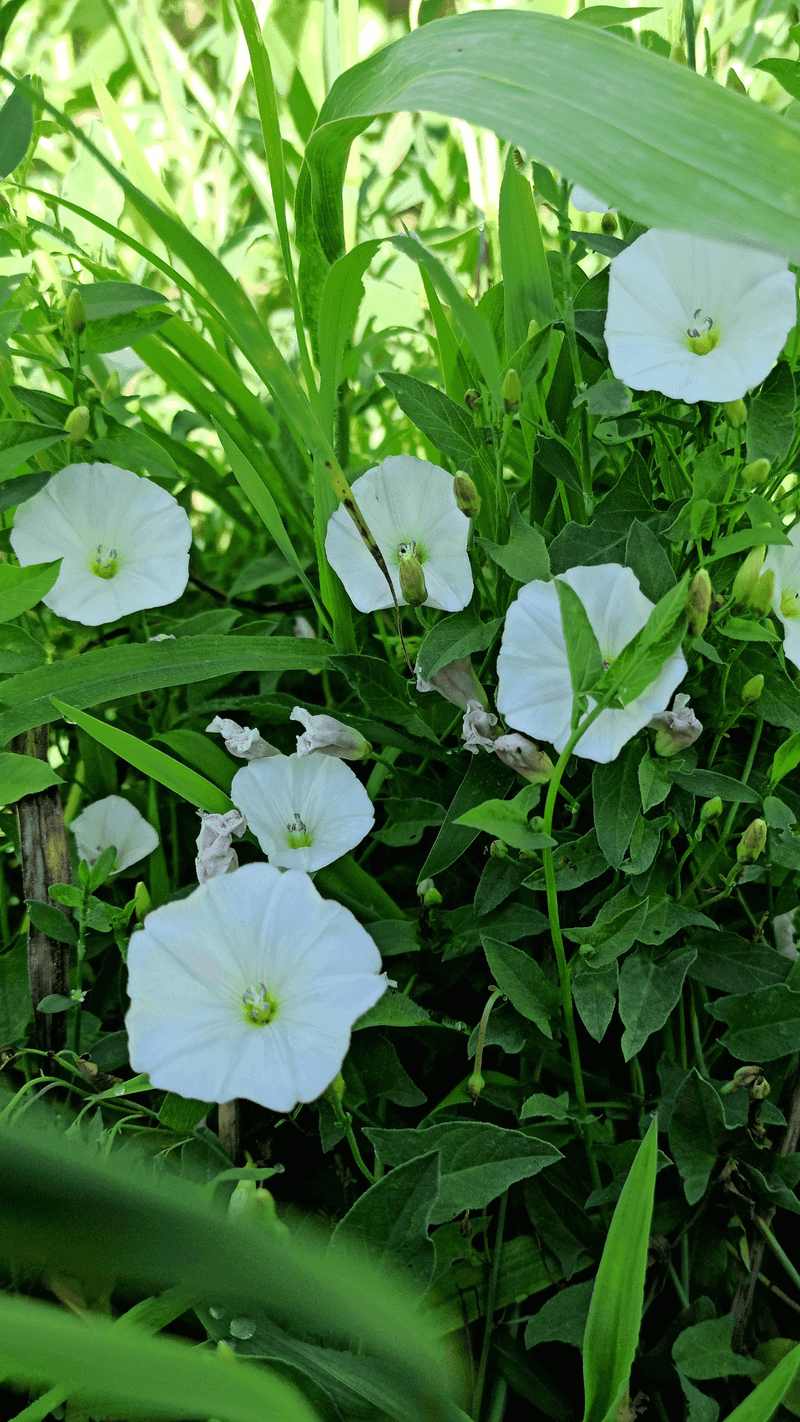
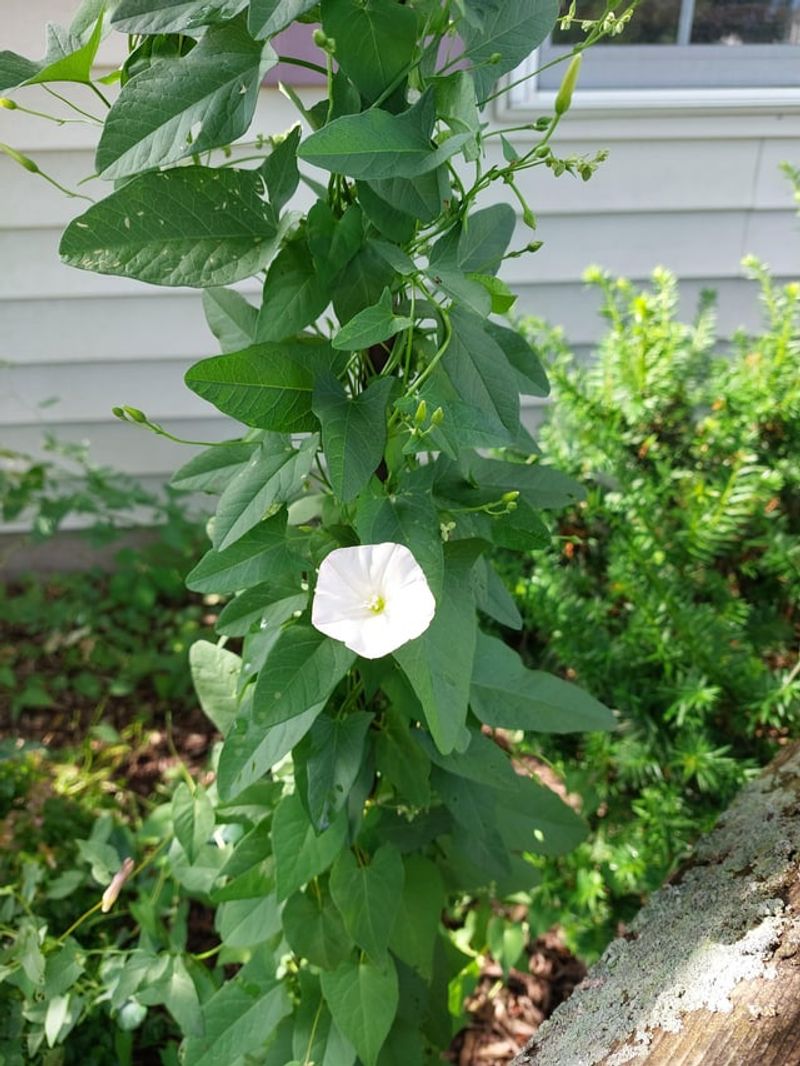
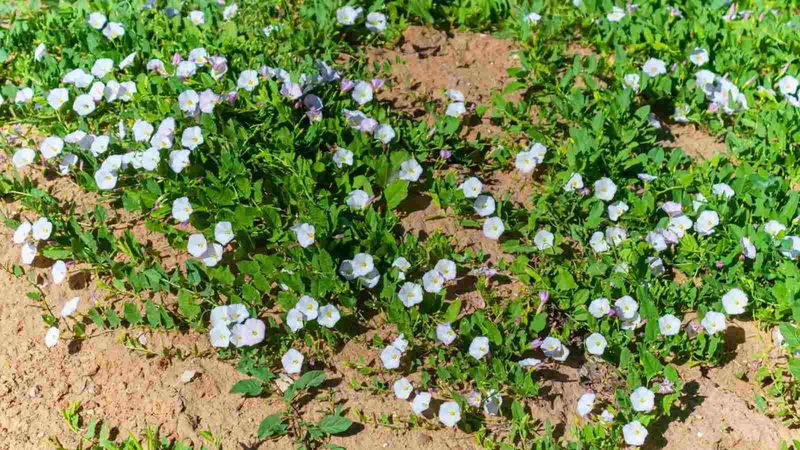
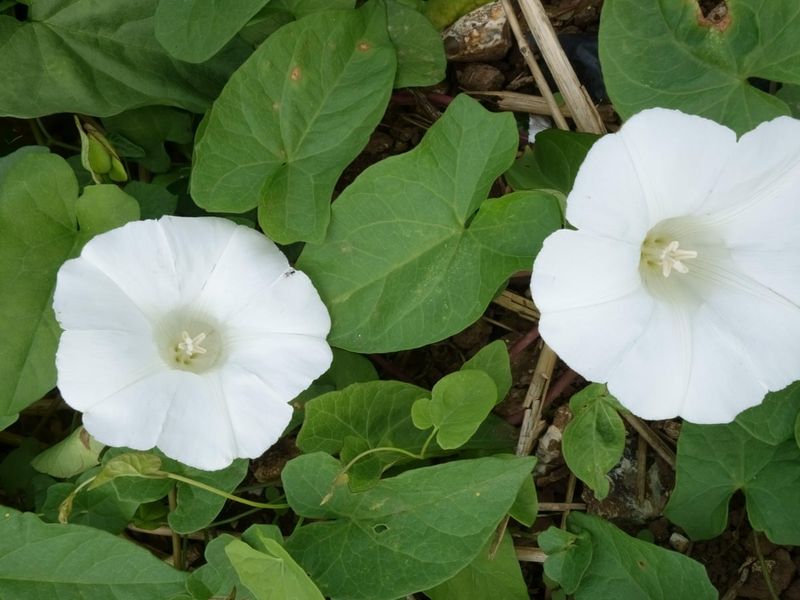
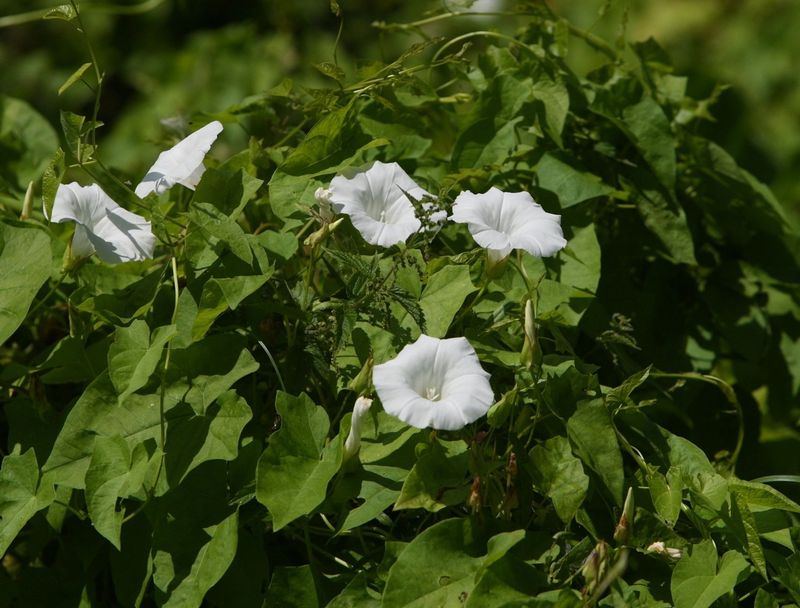
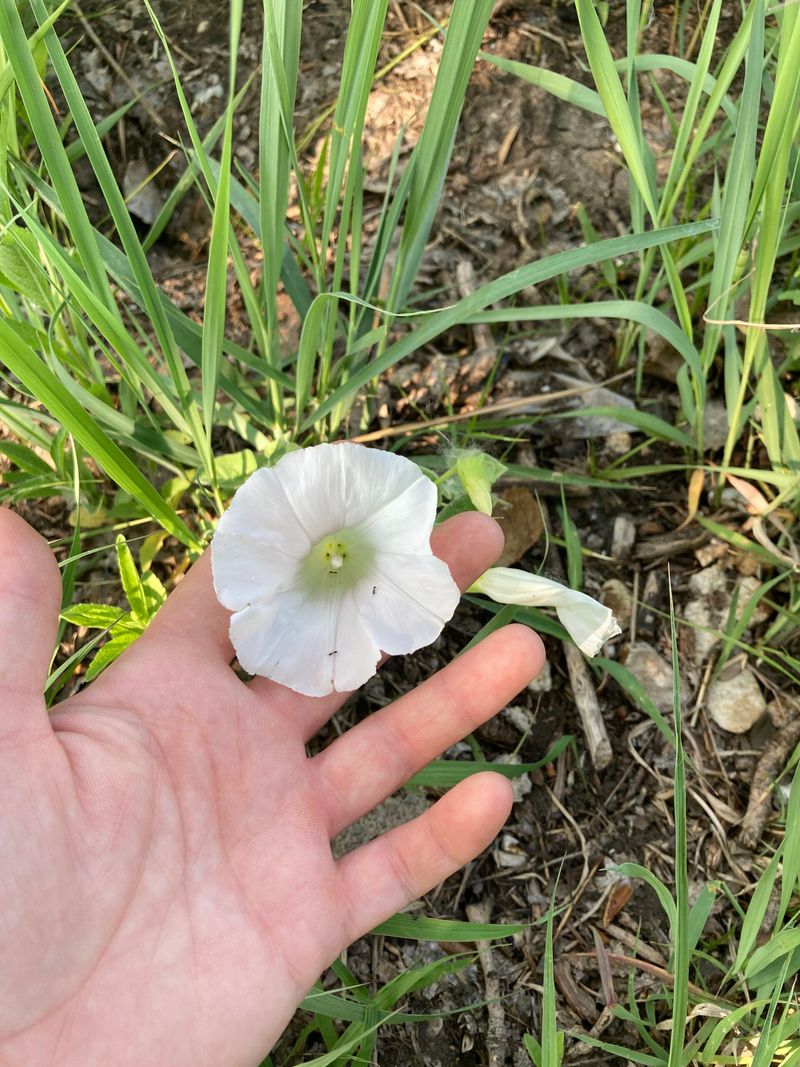
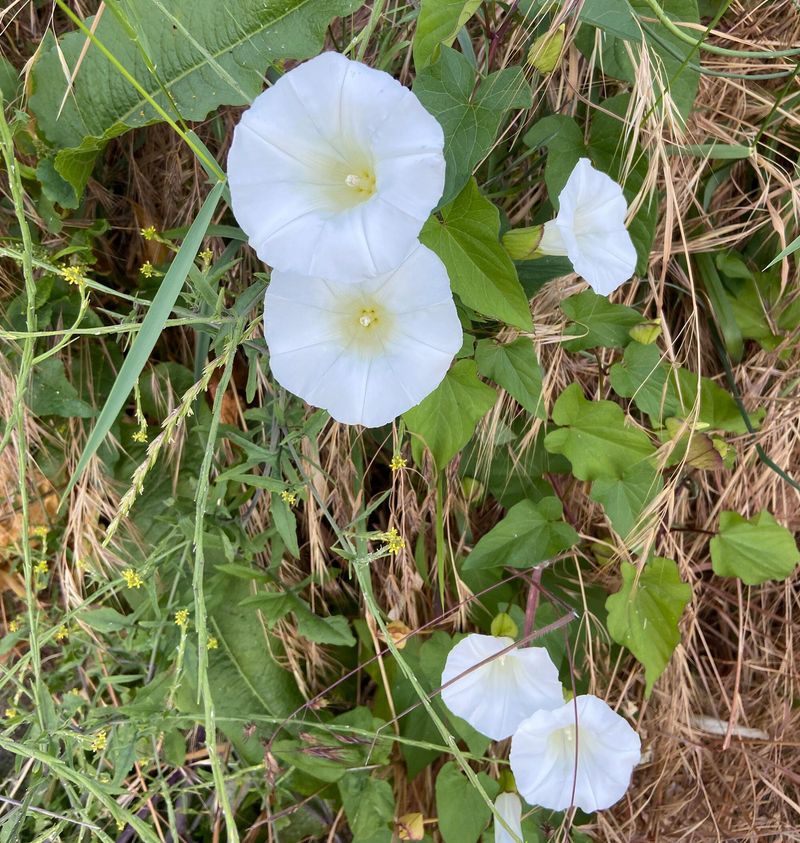
Sure, those little white flowers might look innocent enough, but don’t be fooled. This plant sends roots deep underground and spreads like wildfire, wrapping itself around anything in its path.
The key is persistence—and a smart strategy. Whether you’re digging, smothering, or spot-treating, staying consistent is what keeps bindweed from turning your garden into its personal jungle.
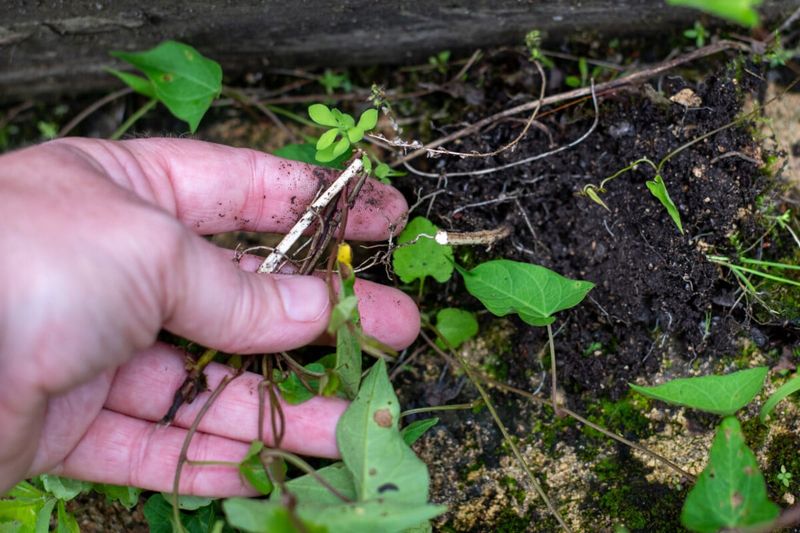
1. Pulling Without Getting The Roots
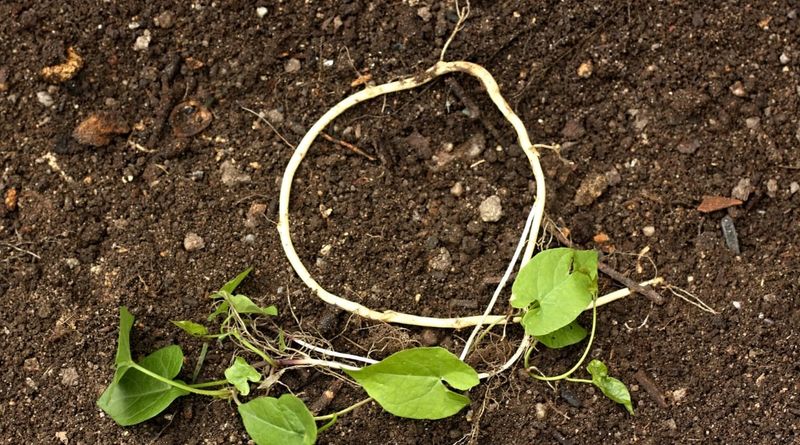
Yanking bindweed stems might feel satisfying, but leaves the real problem hiding underground. The extensive root system can reach 20 feet deep and regrow from tiny fragments left behind.
I learned this lesson after spending hours pulling vines only to find them returning stronger within days. Proper removal requires careful digging to extract as much of the root as possible.
For better results, use a garden fork to gently loosen soil around the plant, then slowly extract the roots while keeping them intact.
2. Ignoring New Seedlings
Those tiny bindweed sprouts might seem harmless, but they establish quickly. Each plant can produce up to 500 seeds that remain viable in soil for up to 50 years!
My garden was overrun because I ignored what looked like innocent morning glory seedlings. By the time I realized what they were, the root system was established.
Check your garden regularly for heart-shaped cotyledons (first leaves) of bindweed seedlings. Remove them immediately while they’re shallow-rooted and easier to control.
3. Composting Bindweed Plants
Tossing pulled bindweed into your compost pile creates a new infestation waiting to happen. Home compost rarely reaches temperatures high enough to kill seeds or root fragments.
Years ago, I made this mistake and unknowingly spread bindweed throughout my vegetable garden when applying what I thought was finished compost.
Always dispose of bindweed in the trash or by drying it completely on concrete before burning (where permitted). Never add it to your compost, no matter how tempting.
4. Relying On Shallow Cultivation

Light hoeing or tilling actually multiplies your bindweed problem. Each tiny root piece can generate a new plant, turning one weed into dozens through fragmentation.
The summer I rototilled my garden border became a cautionary tale. What was once a manageable problem exploded into hundreds of new shoots within weeks.
If you must cultivate, dig deeply and remove all visible roots. Better yet, switch to methods that don’t disturb soil like mulching or targeted herbicide application on mature plants.
5. Mowing Too Infrequently
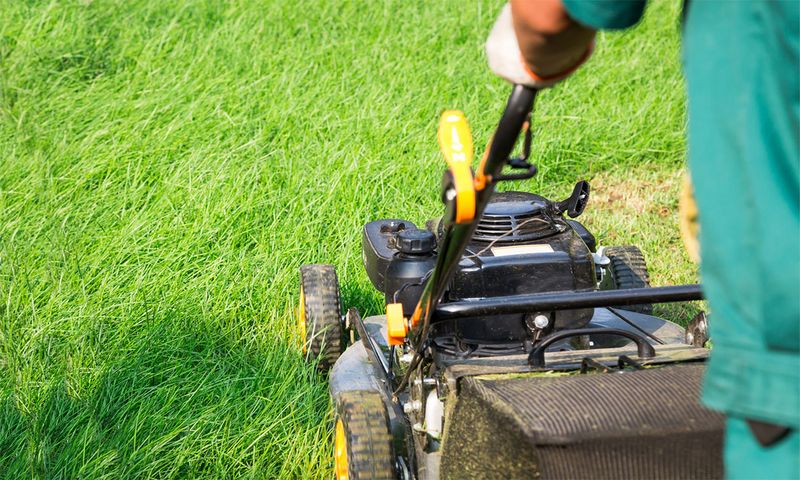
Waiting until bindweed vines are flowering before mowing gives them time to photosynthesize and strengthen their root system. Regular mowing weakens the plant by depleting root reserves.
When I let my lawn edge go too long between cuts, bindweed quickly established and spread into my flower beds from the perimeter.
Mow affected areas every 2-3 weeks throughout the growing season. This constant defoliation prevents the plant from gaining energy and gradually weakens the root system.
6. Using The Wrong Herbicide Timing
Spraying herbicides during the wrong growth stage wastes both product and effort. Young bindweed plants haven’t developed enough leaf surface to absorb sufficient herbicide.
The most effective application window is when vines are actively growing but before flowering. During this stage, the plant transports nutrients (and herbicides) to its roots most efficiently.
Wait until vines reach at least 6-8 inches long with several leaves before applying herbicides. The increased leaf surface area improves absorption and translocation to the root system.
7. Giving Up Too Soon
Expecting quick results leads to disappointment when fighting bindweed. This persistent perennial requires a long-term strategy spanning multiple growing seasons.
My neighbor abandoned her control efforts after a month, allowing bindweed to recover and spread to adjacent properties. Successful management requires consistent effort over 2-3 years minimum.
Create a calendar reminder to check problem areas weekly during growing season. Document your progress with photos to stay motivated as you gradually reduce the infestation.
8. Neglecting Barriers
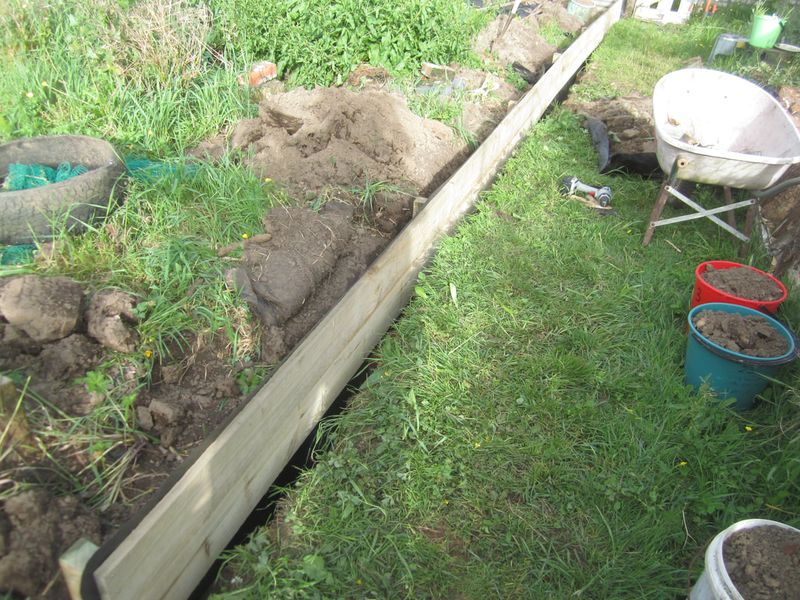
Underestimating bindweed’s ability to spread underground leads to reinfestation from neighboring areas. Without physical barriers, roots easily cross property lines or garden sections.
After clearing my vegetable garden, bindweed returned within weeks, sneaking under the fence from my neighbor’s untreated yard.
Install vertical barriers like metal or plastic edging at least 12 inches deep around valuable planting areas. While not foolproof (roots can go deeper), barriers significantly slow lateral spread and create manageable containment zones.
9. Applying Insufficient Mulch
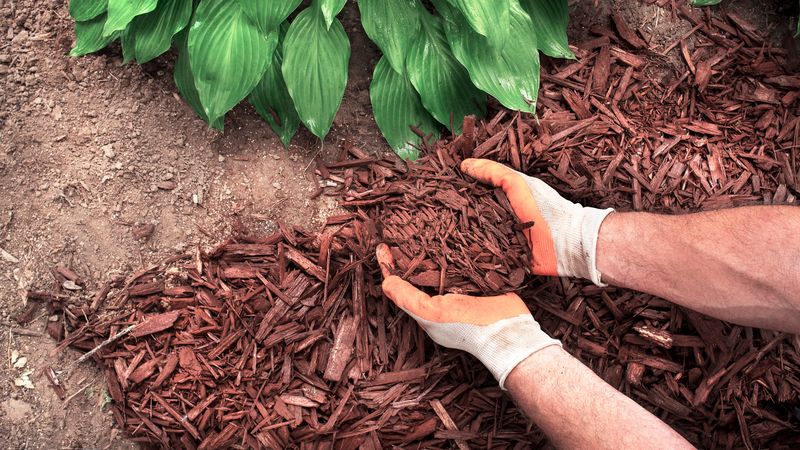
Thin mulch layers do little to suppress bindweed. A mere inch or two of mulch creates an ineffective barrier that vines easily penetrate.
The first time I tried mulching against bindweed, I used just 2 inches of bark. Within weeks, the vines pushed through as if nothing was there.
Apply mulch at least 4-6 inches thick, preferably over a layer of cardboard or several sheets of newspaper. Regularly check for breakthrough points and reinforce thin spots before vines establish.
10. Using Ineffective Ground Covers
Planting weak or sparse ground covers fails to outcompete bindweed. Many traditional ground covers lack the density and vigor needed to suppress this aggressive vine.
After trying sweet alyssum as a living mulch, I watched helplessly as bindweed easily pushed through and used the delicate plants as climbing supports.
Choose aggressive, dense ground covers like creeping thyme, sedum, or lamium that create thick mats. Plant them closely together and maintain them well until they form a solid carpet that reduces light penetration.
11. Improper Sheet Mulching Technique
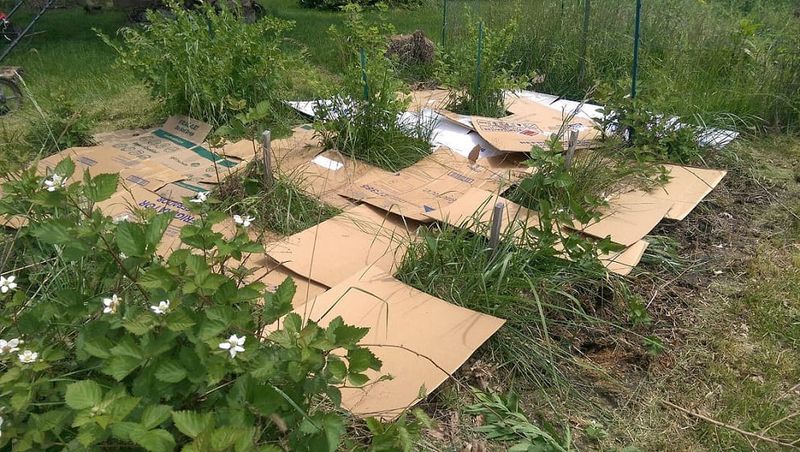
Laying landscape fabric or plastic without proper preparation allows bindweed to find gaps and edges. Many gardeners underestimate how meticulously barriers must be installed.
The summer I installed landscape fabric in my rose bed became frustrating when bindweed emerged from every seam and edge, making removal even more difficult.
Overlap sheets by at least 6 inches, secure edges completely with landscape pins, and check regularly for breakthrough points. Consider using solid barriers like cardboard under organic mulch instead of porous landscape fabric.
12. Inconsistent Follow-Up
Sporadic control efforts give bindweed recovery periods, undoing previous progress. The plant quickly rebuilds energy reserves during these breaks.
During a busy month when I neglected my garden, bindweed reclaimed territory I’d spent all spring clearing. Consistent pressure is key to depleting root reserves.
Set a regular schedule for bindweed control – weekly during peak growing season. Even 10-15 minutes of focused effort consistently applied will yield better results than occasional marathon sessions.
13. Ignoring Property Boundaries
Focusing only on your garden while ignoring adjacent areas creates a constant source of reinfestation. Bindweed doesn’t respect property lines!
For years, I battled bindweed in my vegetable garden while ignoring the fence line shared with an empty lot. That untreated border became a reservoir reinfesting my garden repeatedly.
Coordinate with neighbors when possible for simultaneous control efforts. If that’s not an option, create buffer zones with deep barriers or focus extra attention on boundary areas.
14. Disturbing Dormant Seeds
Bringing deeply buried bindweed seeds to the surface through major soil disturbance activates their germination. Seeds can remain viable for decades underground.
After regrading part of my yard, I inadvertently created perfect conditions for dormant bindweed seeds. The following spring brought a carpet of seedlings in soil that previously showed no signs of infestation.
When major soil work is necessary, be prepared with a management plan for emerging seedlings. Consider solarizing newly disturbed soil before planting to reduce the seedbank.
15. Skipping Pre-Planting Preparation
Rushing to plant without thoroughly addressing existing bindweed creates ongoing competition for your garden plants. New plantings rarely outcompete established bindweed.
The year I hastily installed a new perennial bed without proper site preparation became a lesson in patience. I spent more time extracting bindweed from among my plants than enjoying the garden.
Take time to clear areas completely before planting. Consider growing cover crops or solarizing for a full season in heavily infested areas before installing valuable landscape plants.
16. Relying On Single-Method Approaches
Depending solely on one control method rarely succeeds against bindweed. This adaptable weed requires a comprehensive management strategy.
After multiple failures using herbicides alone, I finally gained ground when I combined chemical treatment with mulching, regular monitoring, and strategic barriers around my garden.
Implement an integrated approach using multiple control methods simultaneously. Combining mechanical removal, smothering, competition from desirable plants, and targeted herbicide use creates a more effective strategy than any single method.