16 Clever Ways To Turn Plastic Bottles Into Mini Greenhouses (And 2 You Should Skip)
If you’re like me and hate wasting plastic bottles, turning them into mini greenhouses is such a clever way to reuse them. It’s amazing how something so simple can give your plants a little extra warmth and protection, especially when they’re just getting started.
I’ve used these DIY greenhouses to shield seedlings from chilly nights or to keep cuttings nice and humid while they root. It’s a great way to stretch the growing season without spending a dime on fancy gear.
Of course, not every method works perfectly, and some ideas are better left on the internet. But with a bit of trial and error, you can find the best ways to turn those empty bottles into tiny, productive plant homes.
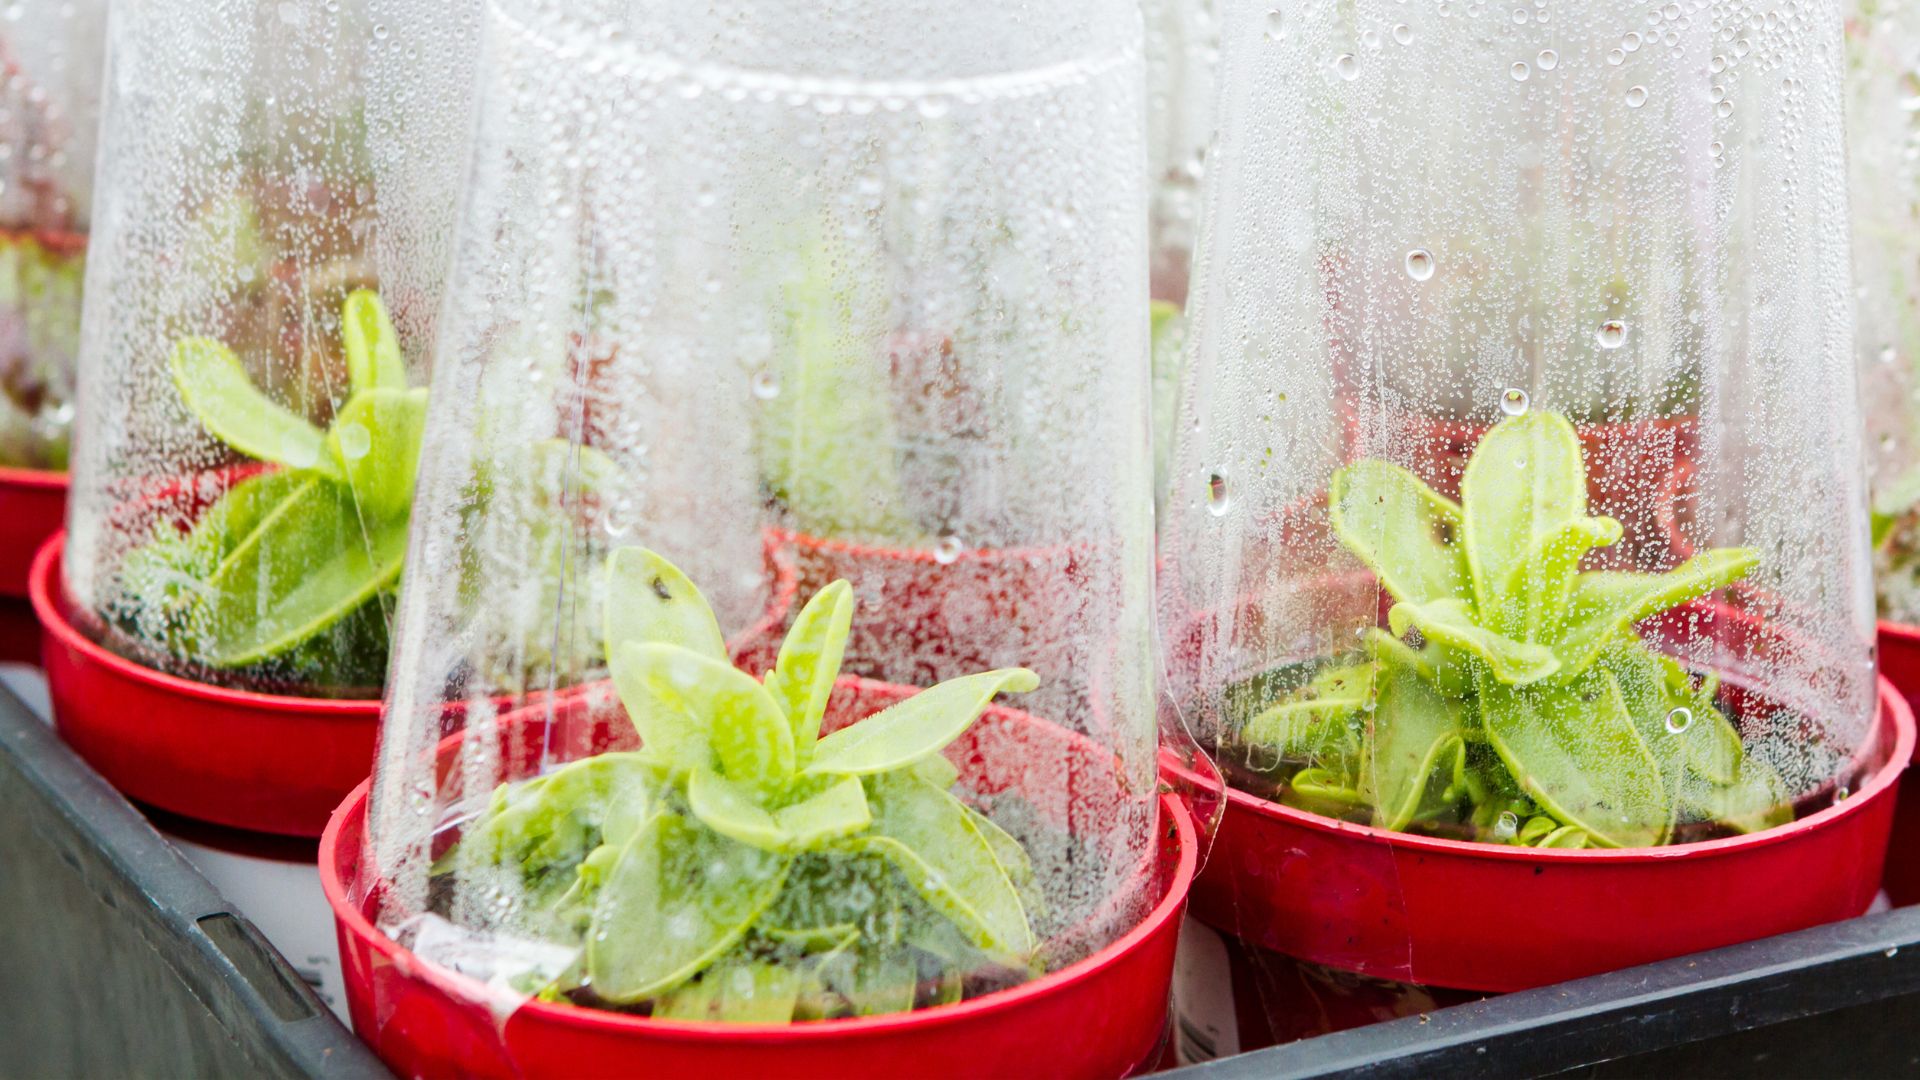
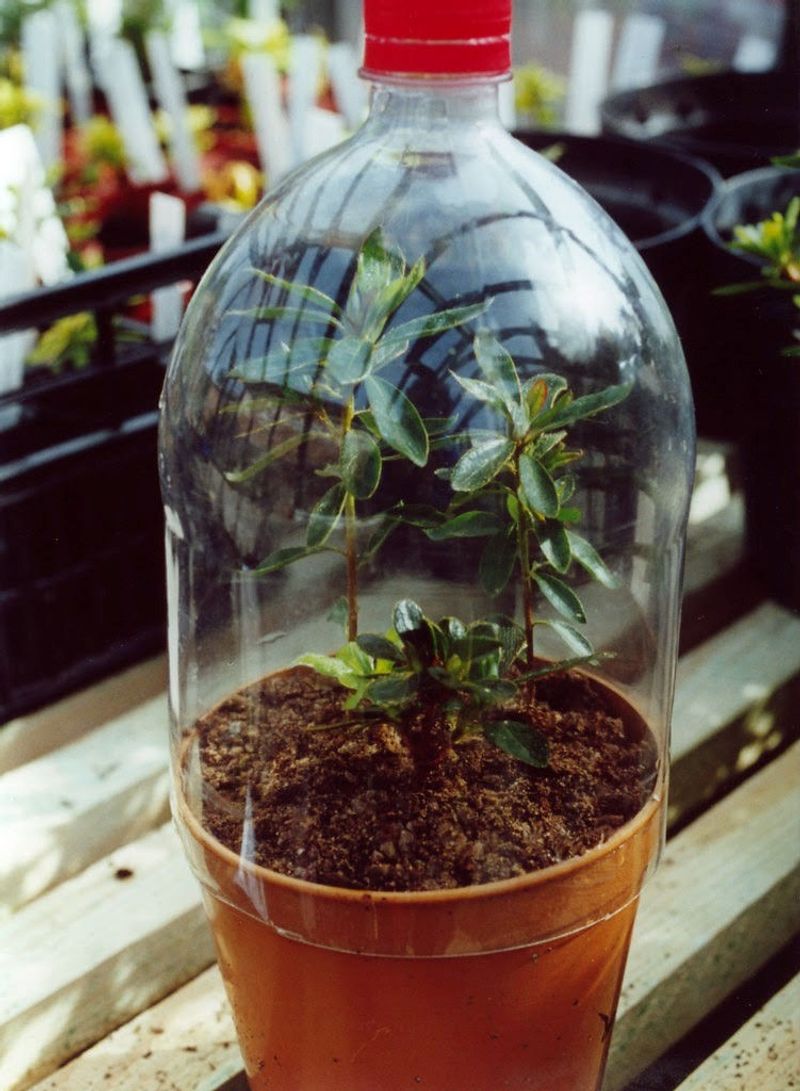
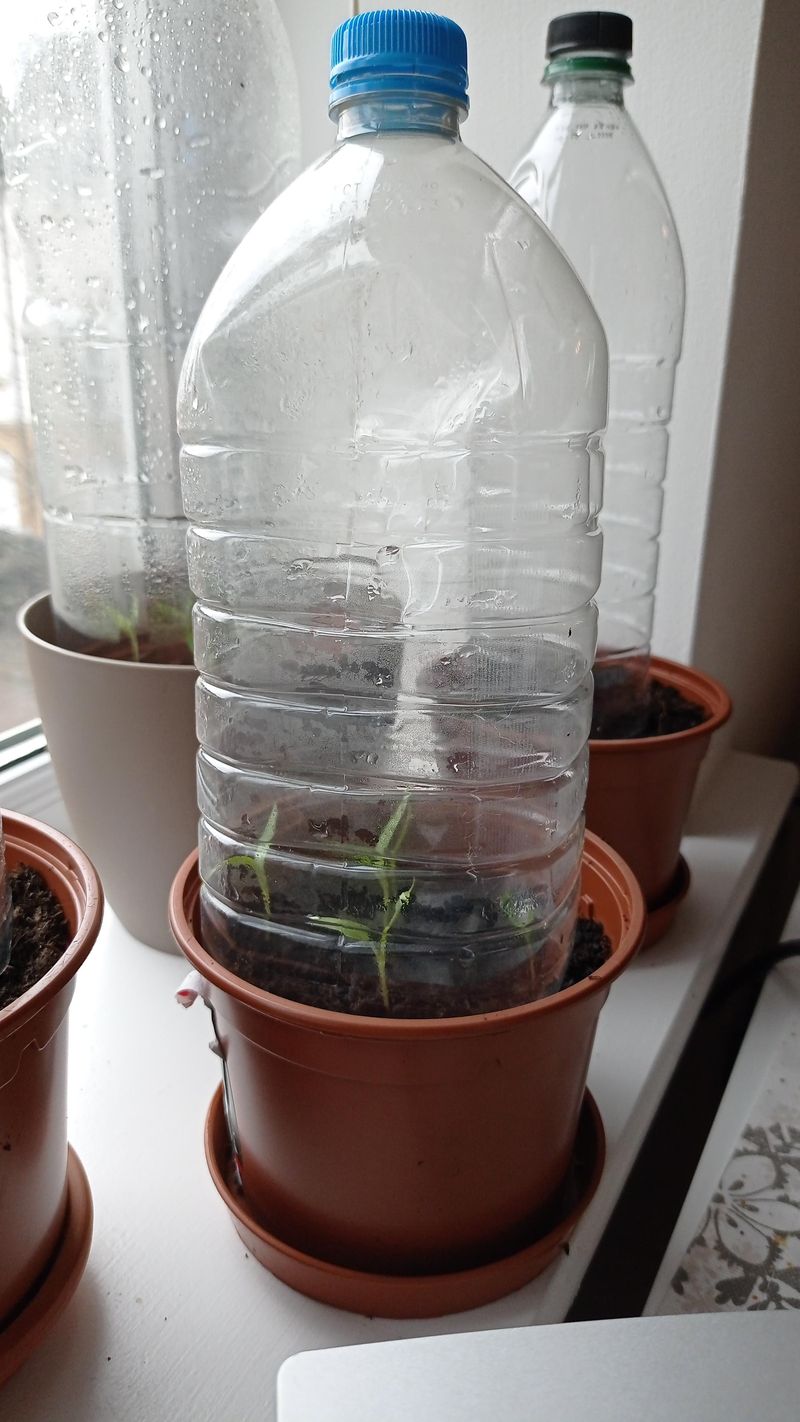
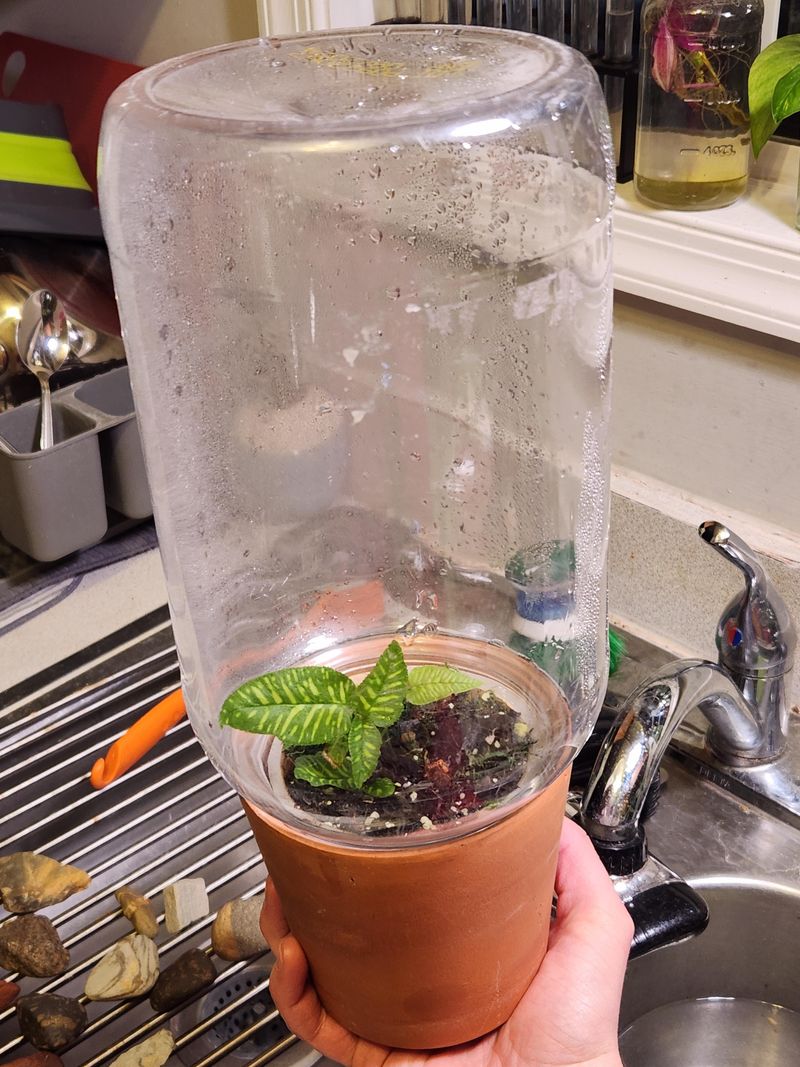
1. Seed Starting Humidity Domes

Cut the bottom off a clear 2-liter bottle and place it over newly planted seeds in small pots. The transparent dome traps moisture and heat, creating the perfect mini-environment for germination.
I’ve found these domes especially useful for starting heat-loving plants like peppers and tomatoes when it’s still cool outside. The greenhouse effect inside raises soil temperature by several degrees.
Remember to remove the cap for ventilation on sunny days, otherwise you might cook your seedlings when temperatures rise too high.
2. Hanging Bottle Terrariums
Cut a large window in the side of a horizontal bottle, leaving about an inch of plastic around the edges. Add a layer of small stones for drainage, then potting soil, and plant small succulents or moss inside.
Hang these bottle terrariums near a window using twine or wire threaded through small holes near the cap. They work well for plants that don’t need much space but benefit from high humidity.
My kitchen window collection started with just one of these and grew to five different plant varieties that thrive in these little moisture-trapping environments.
3. Bottle Cloche Protectors
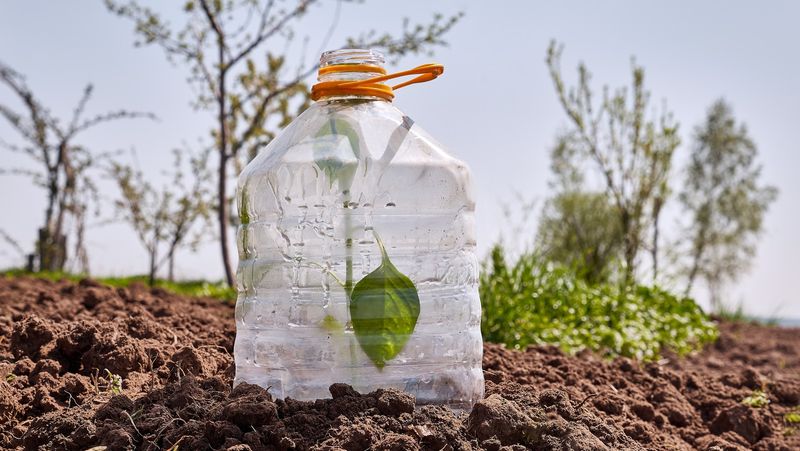
Simply cut the bottom off bottles and press them into the soil around individual plants in your garden. These protective covers shield young plants from unexpected frosts, cold winds, and even some pests.
For taller plants, use 2-liter bottles; for smaller seedlings, 20-ounce bottles work perfectly. The best part is you can easily remove them during the day and replace them at night when temperatures drop.
During an unexpected late spring frost last year, these bottle cloches saved my entire row of young lettuce plants while my neighbor’s crop was damaged.
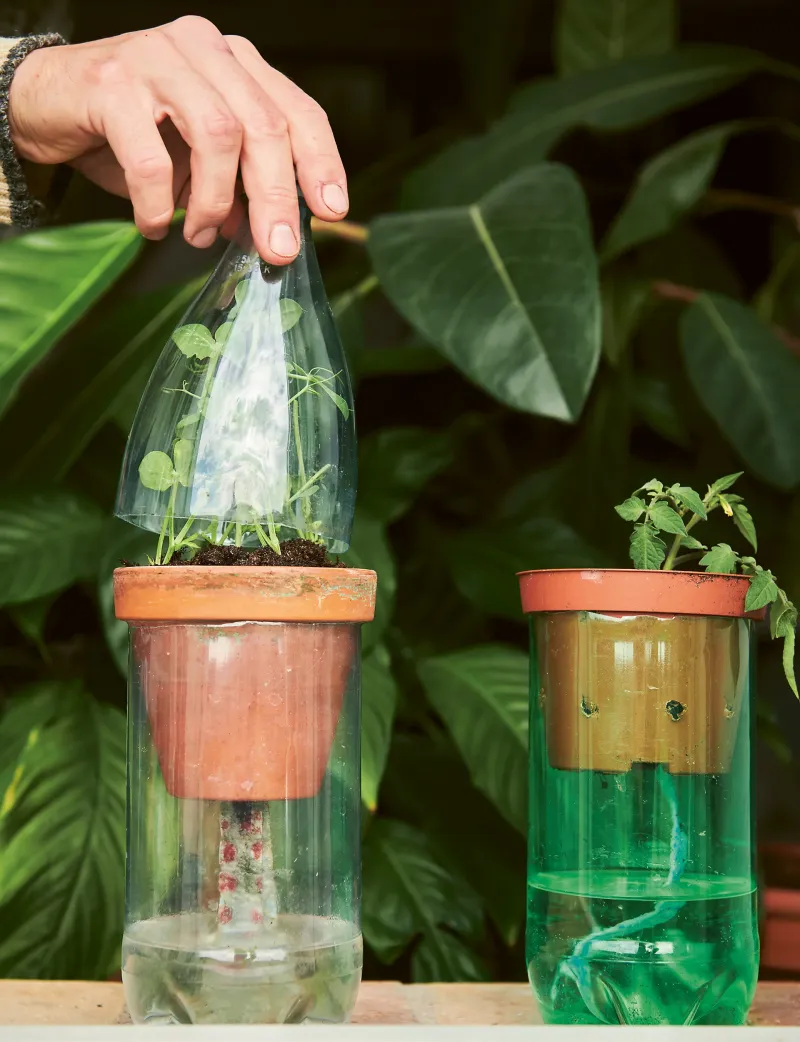
4. Self-Watering Seedling Nursery
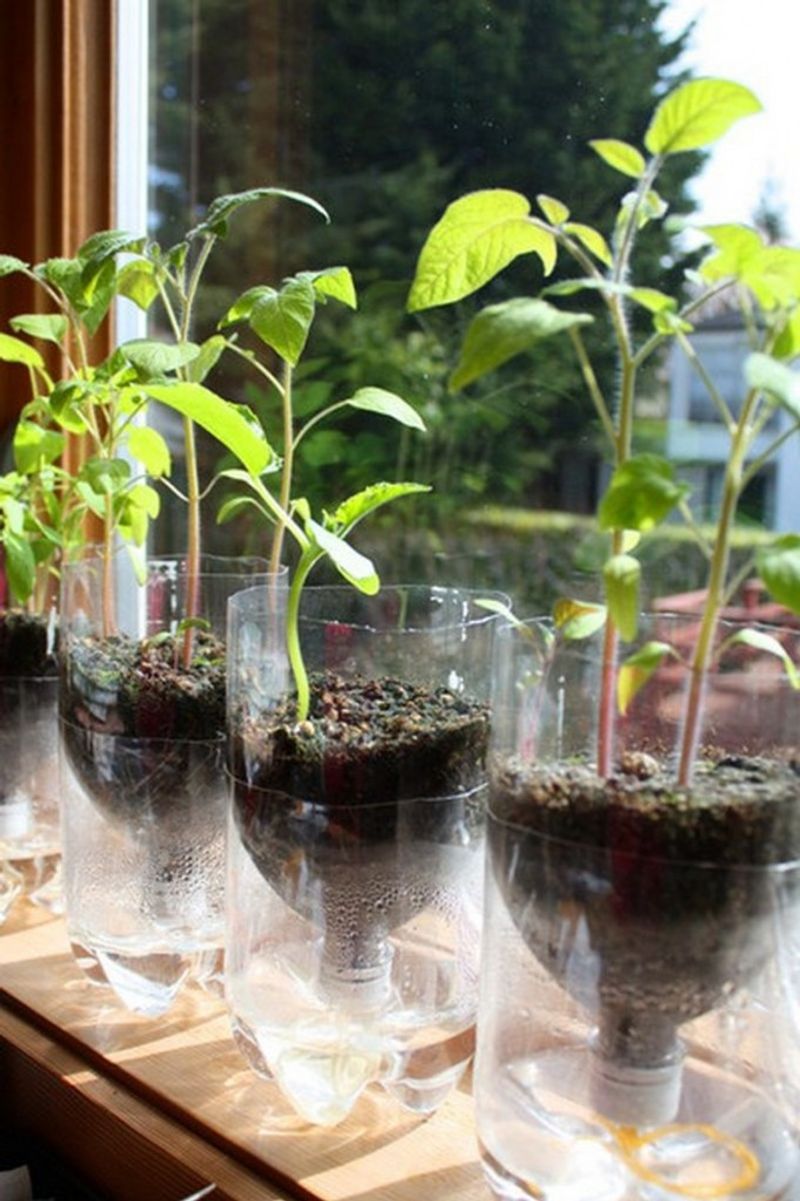
Cut a bottle in half, then invert the top portion into the bottom. Fill the top with soil and plant your seeds, while the bottom section holds water that wicks up through a piece of cloth or string.
The water reservoir means you won’t need to water daily, making this perfect for busy gardeners. Seeds stay consistently moist without becoming waterlogged.
After experimenting with different wicking materials, I’ve found that cotton cloth works better than synthetic materials for drawing water up to the soil at the right rate.
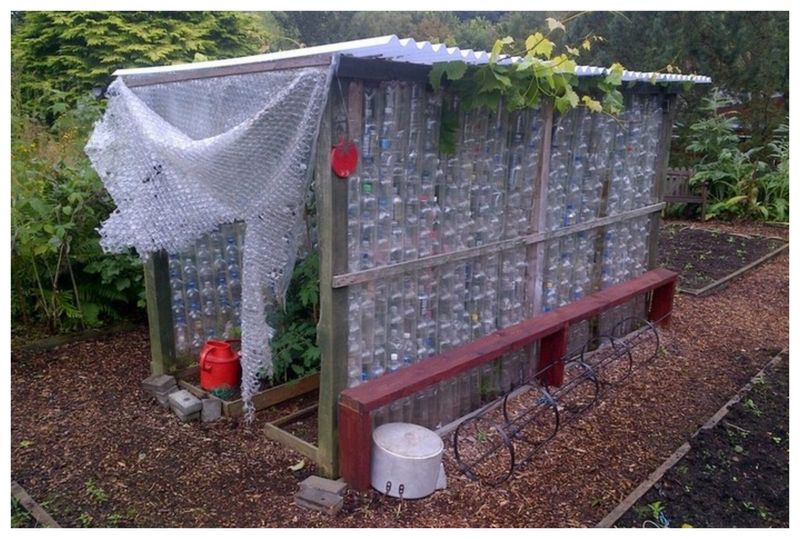
5. Bottle Wall Garden Greenhouse
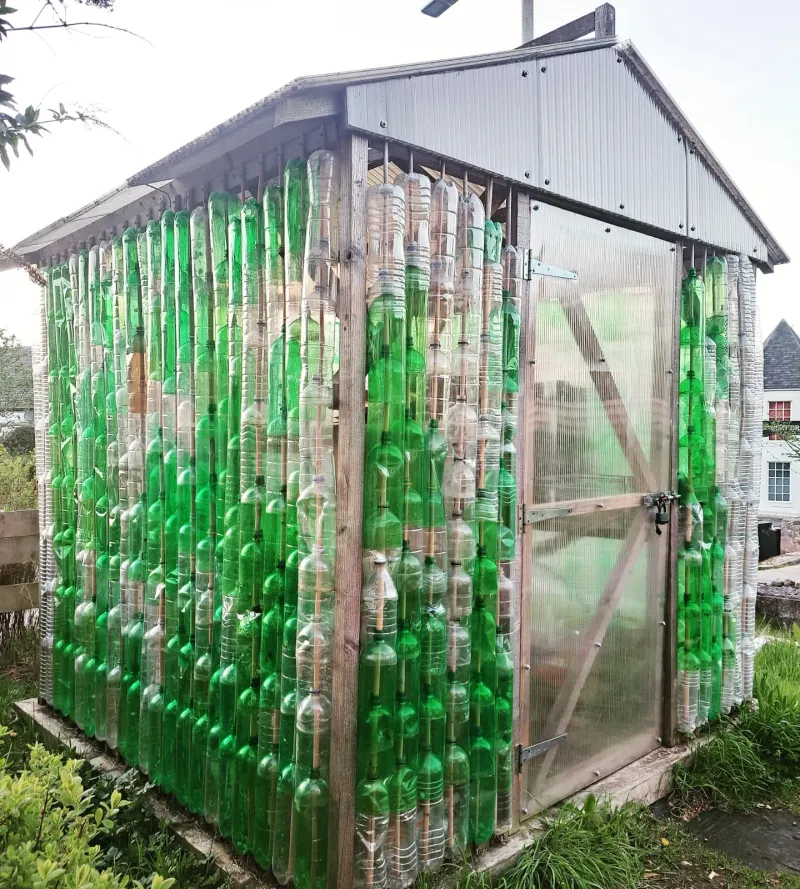
Collect dozens of 2-liter bottles and attach them side by side to create a translucent wall. This larger structure works as a greenhouse wall that captures solar heat while allowing light through.
The bottles can be tied together with wire or zip ties through holes drilled near their edges. Stack them in an alternating pattern for stability, like bricks in a wall.
My community garden built an entire greenhouse this way last year. It maintains temperatures about 10 degrees warmer than outside during winter months, extending our growing season significantly.
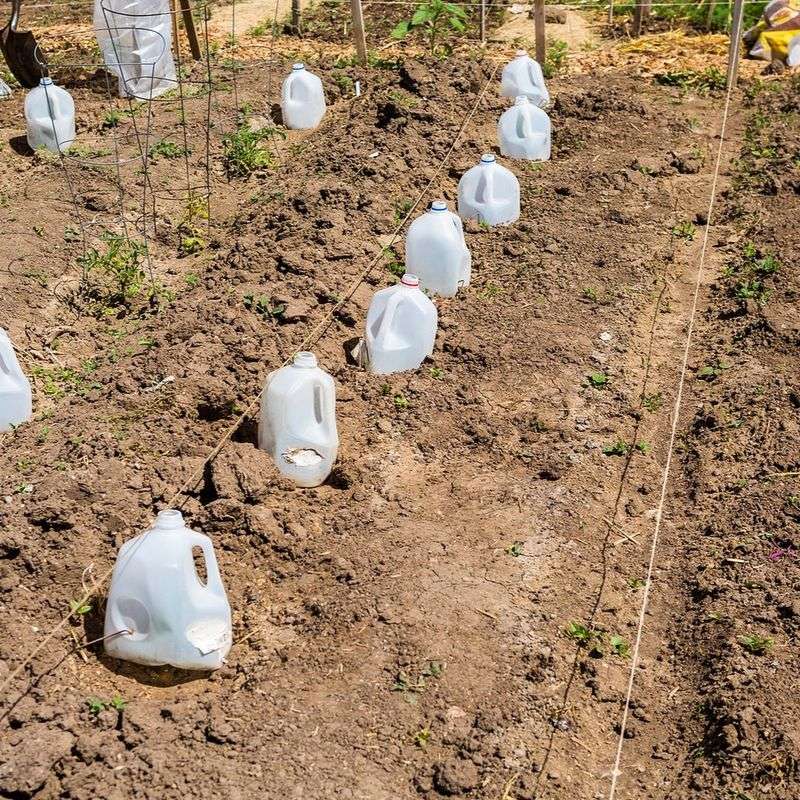
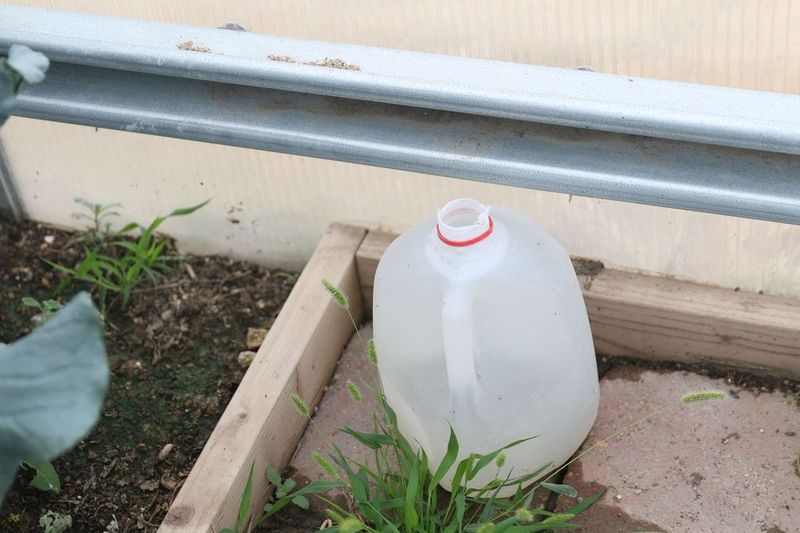
6. Bottle Drip Irrigation System
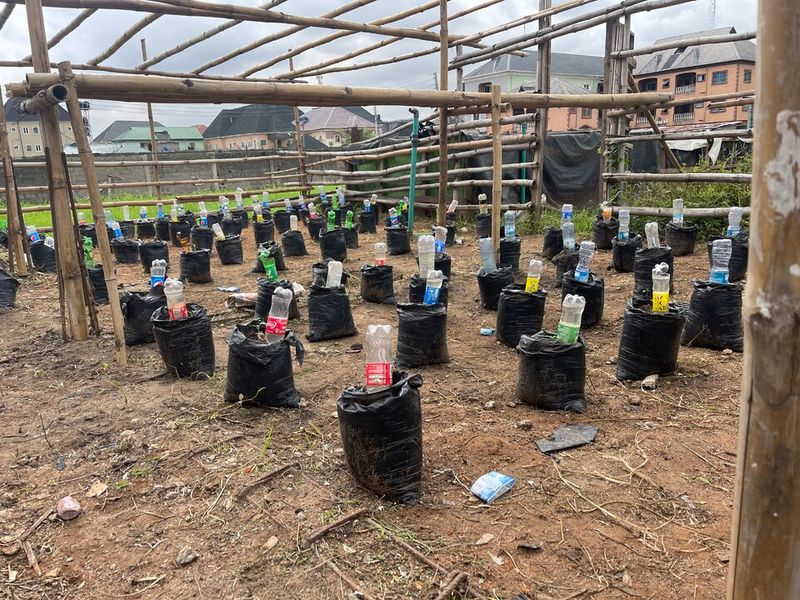
Poke tiny holes in bottle caps, fill bottles with water, and bury them cap-down next to your plants. The slow-release watering creates a humid microclimate around plant roots.
While not a traditional greenhouse, this setup promotes better growth by maintaining consistent soil moisture. Plants respond with stronger root systems and more vigorous growth.
During last summer’s drought, my tomato plants with bottle irrigators produced nearly twice as many fruits as those without. The constant moisture also prevented the soil from forming a hard crust.
7. Miniature Bottle Cold Frame
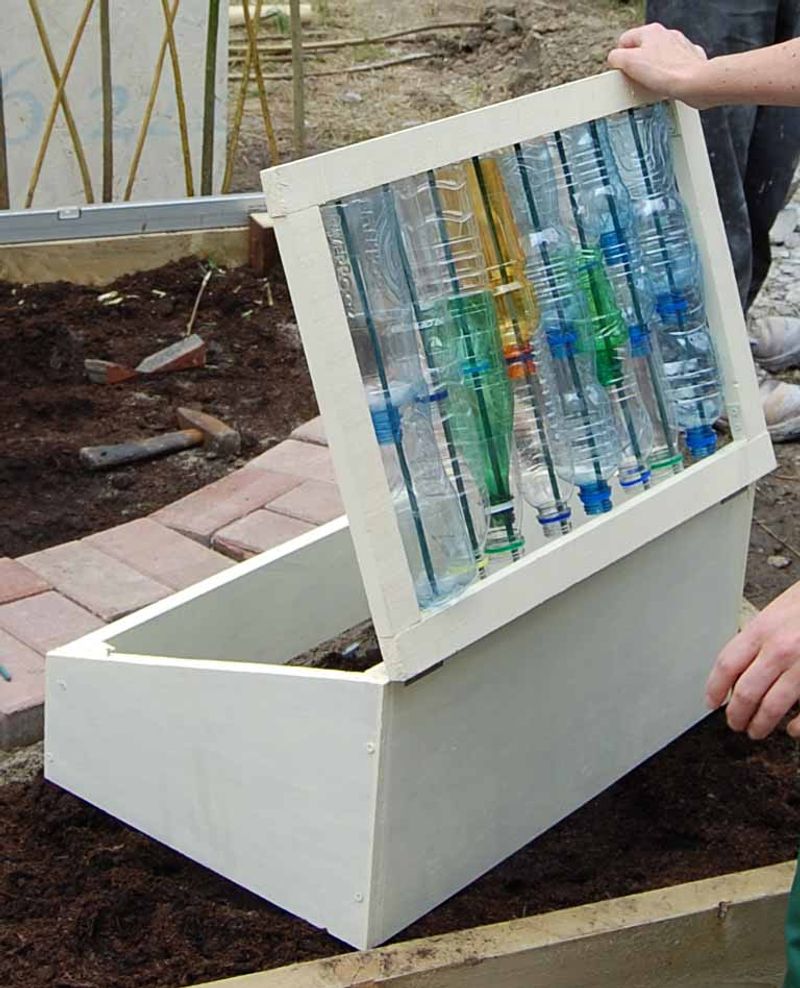
Cut several bottles in half and attach the top portions to a wooden frame using screws through their caps. The clear plastic tops create a sloped lid that allows sunlight in while protecting plants below.
These cold frames work particularly well for hardening off seedlings before transplanting them into the garden. The plastic traps heat during the day and slows cooling at night.
When a spring storm threatened my newly sprouted kale seedlings, I quickly built one of these frames in about 30 minutes with materials I already had on hand.
8. Vertical Bottle Tower Garden
Stack several bottles with their bottoms cut off and tops removed. Cut a large window in the side of each bottle for planting access, then stack them to create a vertical growing tower.
Each bottle section becomes a planting pocket where you can grow herbs, strawberries, or leafy greens. The transparent walls create a greenhouse effect while allowing you to monitor soil moisture.
The tower I built last spring became an amazing strawberry producer, with plants cascading down all sides and benefiting from the extra warmth the plastic provided.
9. Bottle Row Cover Tunnel
Cut bottles in half lengthwise and place them end-to-end over a row of seedlings. The clear plastic creates a tunnel that protects plants while allowing full sunlight penetration.
For longer rows, connect multiple bottle sections with small wooden stakes or wire. The tunnel shape sheds rain naturally while creating a warmer microclimate underneath.
Early carrot seedlings grew nearly twice as fast under my bottle tunnels compared to those in open ground. The protection from cold winds made all the difference during their delicate early growth stage.
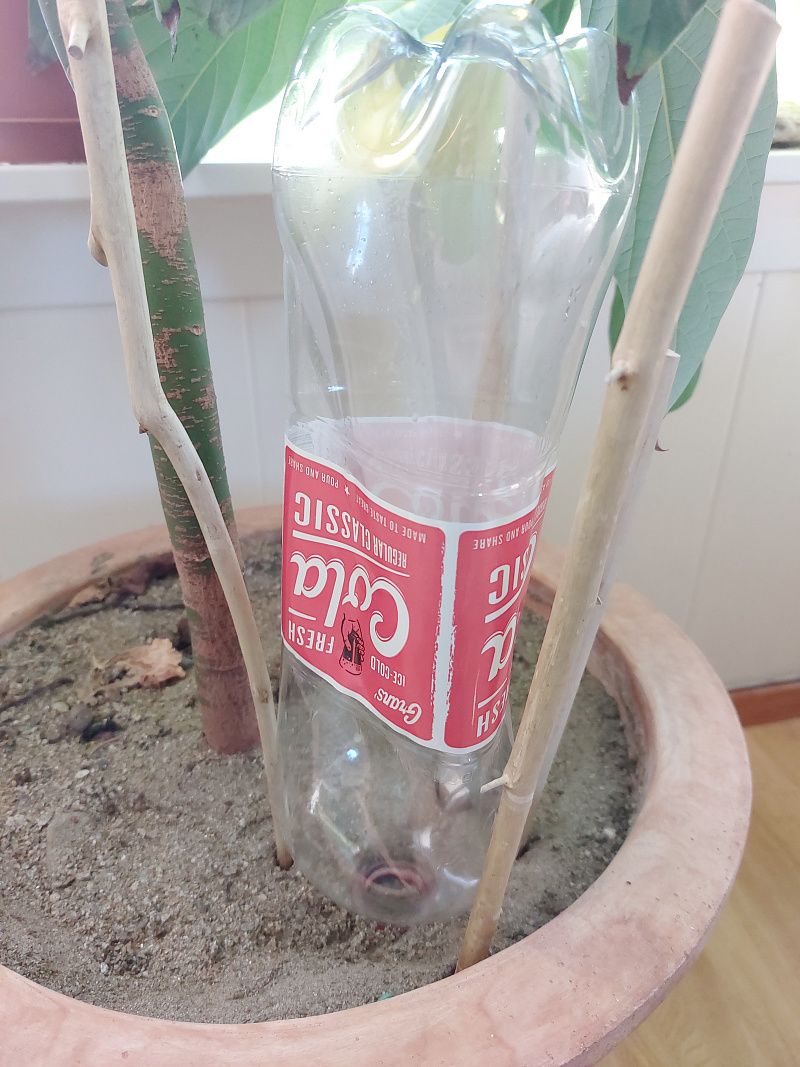
10. Bottle Propagation Chambers
Large soda bottles make perfect propagation chambers for plant cuttings. Cut the bottle in half, place moist growing medium in the bottom, insert your cuttings, then reattach the top portion.
The enclosed environment maintains high humidity levels that dramatically improve rooting success rates. You can easily monitor progress through the clear plastic without disturbing the delicate new roots.
Using this method, I’ve achieved nearly 100% success with notoriously difficult-to-root plants like lavender and rosemary. The difference compared to open-air propagation is truly remarkable.
11. Solar Bottle Water Heaters
Paint several bottles black, fill them with water, and place them inside your larger greenhouse or cold frame. During the day, these bottles absorb heat; at night, they release it slowly, moderating temperatures.
This passive heating system can prevent frost damage during spring cold snaps. The thermal mass of water is remarkably effective at stabilizing temperatures in small growing spaces.
When temperatures unexpectedly dropped to near freezing last April, these water bottles kept my cucumber seedlings safe while friends lost their early plantings.
12. Bottle Greenhouse Vents
Cut bottles into rings and use them to create adjustable vents in larger homemade greenhouses. The plastic rings can be rotated to open or close ventilation holes as needed.
These simple vents prevent overheating while still maintaining higher humidity levels. You can adjust them throughout the day as temperatures change, providing ideal growing conditions.
The vents I installed in my makeshift greenhouse last summer saved my plants during an unexpected heat wave. Being able to quickly open them prevented temperatures from reaching damaging levels.
13. Wicking Bottle Plant Incubator
Cut the top third off a 2-liter bottle and poke drainage holes in the cap. Fill the bottom section with water, then suspend a plant-filled pot above the water using a wick that dips into the reservoir.
Replace the top portion upside-down to create a humid, enclosed environment. The wick provides consistent moisture while the clear walls trap heat and humidity.
This setup worked wonders for reviving nearly-dead ferns I rescued from a clearance rack. The combination of consistent moisture and high humidity allowed them to put out new growth within days.
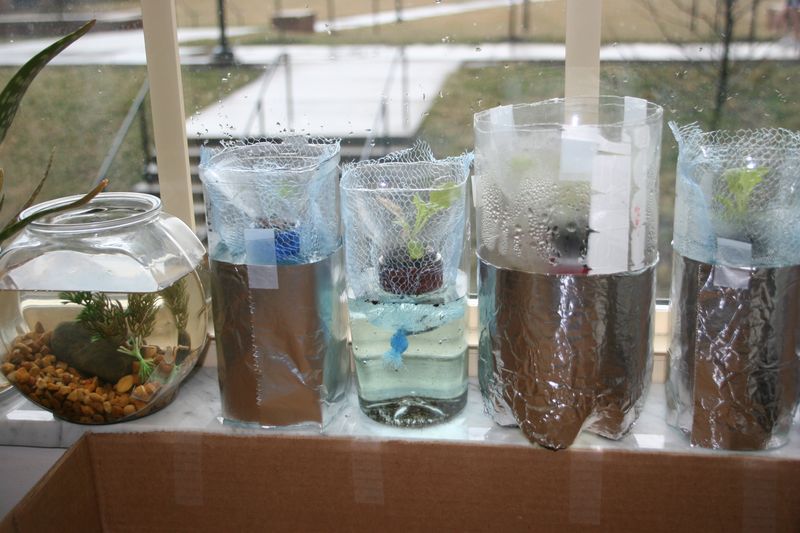
14. Bottle Greenhouse Insulation Panels
Collect clear bottles of the same size and secure them between two layers of chicken wire to create insulating wall panels. These can be attached to existing greenhouse frames for added insulation.
The air trapped in the bottles creates an insulating layer that helps maintain warmer temperatures inside your greenhouse. Light still passes through while heat loss is reduced.
After adding these panels to the north wall of my greenhouse, I measured a 7-degree temperature difference on cold nights compared to before. The plants along that wall now grow just as well as those elsewhere.
15. Bottle Greenhouse Rainwater Collection

Cut bottles in half and attach the funnel-shaped tops to greenhouse gutters. These direct rainwater into collection barrels while providing excellent natural lighting through the clear plastic.
The system serves dual purposes – capturing valuable rainwater while creating bright, humid growing conditions. You’ll notice plants respond positively to the natural light diffusion these create.
During last spring’s heavy rains, our community garden greenhouse collected over 50 gallons of water through this simple system. The quality of light coming through the bottle funnels created beautiful patterns on the plants below.
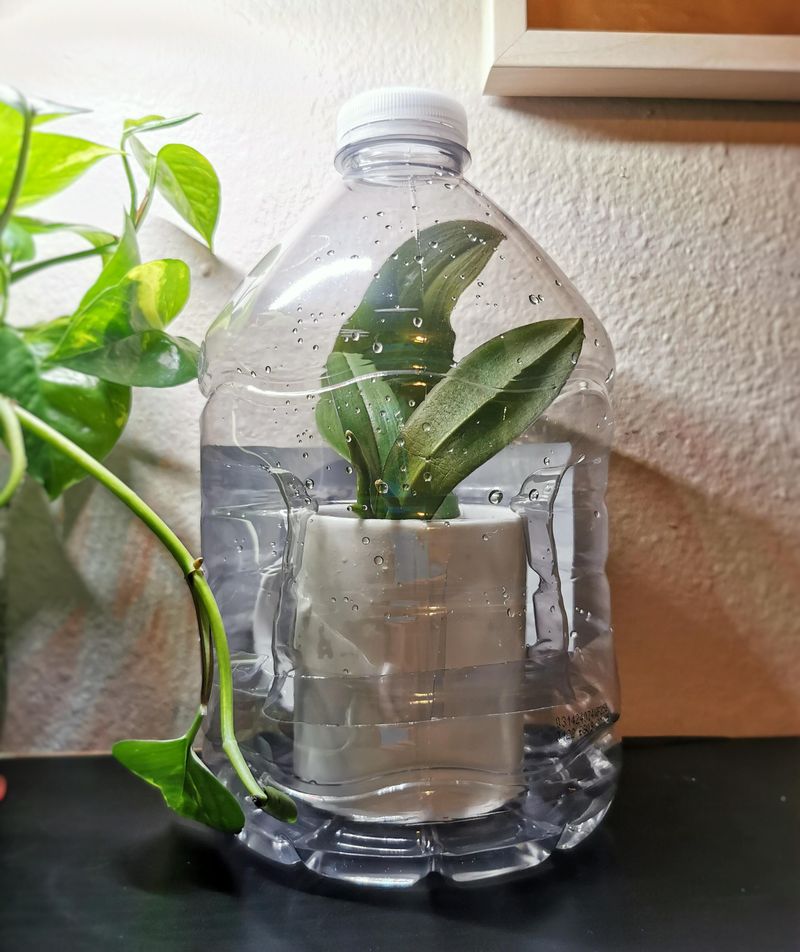
16. Bottle Mini Hydroponic System
Cut a wide opening in a bottle’s side, then fill the bottom with hydroponic nutrient solution. Suspend plants in net pots through holes in the bottle cap, allowing roots to reach the solution.
The clear bottle walls allow you to monitor root development and solution levels. The enclosed environment maintains higher humidity levels that many plants thrive in.
My kitchen windowsill now hosts three of these systems growing basil, mint, and lettuce. The plants grow faster than their soil-grown counterparts, and I love watching the fascinating root development through the clear plastic.
17. Bottle Terrarium With Direct Sunlight
Some online tutorials suggest creating completely sealed bottle terrariums placed in direct sunlight. This approach almost always ends in disaster as temperatures inside quickly become lethal to plants.
The magnifying effect of curved plastic combined with no ventilation creates a deadly environment. I’ve witnessed plants literally cook within hours when temperatures inside sealed bottles reached over 120°F.
My experiment with this method killed a beautiful collection of moss and ferns in less than a day. If you want to create bottle terrariums, always provide ventilation and keep them out of direct sunlight.
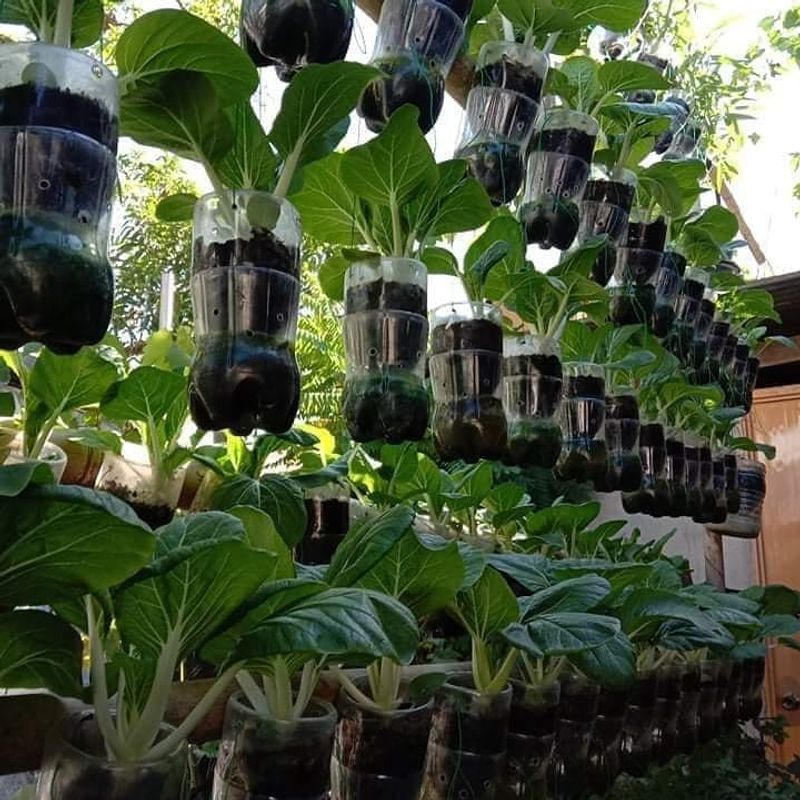
18. Upside-Down Hanging Bottle Planters
While popular on gardening websites, upside-down plastic bottles with plants growing through the cap rarely work well as greenhouses. The narrow opening restricts plant growth, and the inverted soil dries out extremely quickly.
Plants struggle to grow naturally against gravity, resulting in stressed, underperforming specimens. The promised moisture retention simply doesn’t materialize in real-world conditions.
After multiple attempts with different plants and bottle sizes, I’ve never had one perform well beyond a few weeks. The plants always end up stunted and unhealthy compared to those in conventional containers.