16 Simple Steps For Harvesting And Preserving Fresh Herbs Like A Pro
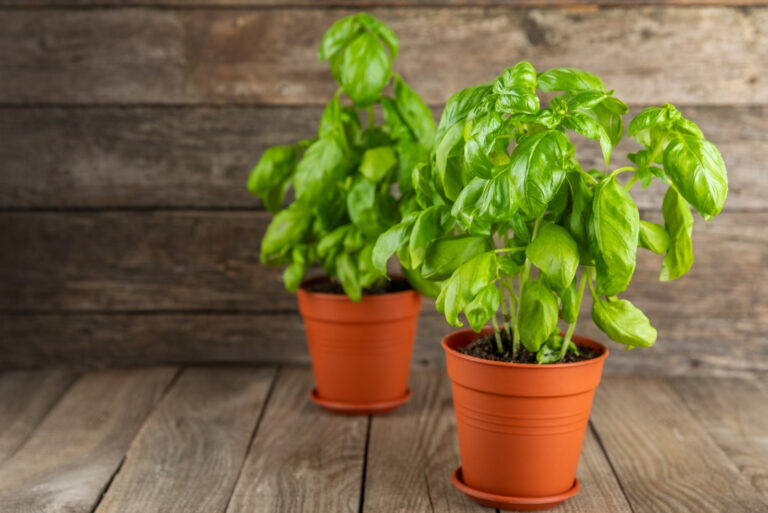
Growing your own herbs is one of those small garden wins that feels incredibly satisfying. There’s nothing like snipping fresh basil or thyme right before dinner—it just tastes better. But once those plants really take off, it’s easy to end up with more than you can use in a week.
That’s where smart harvesting and preserving come in. I used to let half my herbs bolt or wilt because I didn’t know what to do with them. Now I dry or freeze extra bunches, and I always have a stash ready—even in the dead of winter.
Whether you’ve got a windowsill planter or a full garden bed, learning how to store your herbs properly makes all the difference. It’s easy, it saves money, and it keeps that fresh garden flavor in your cooking long after the season ends.
1. Choose The Right Moment
Morning harvesting yields the best flavor. After the dew has dried but before the sun gets too hot, herbs contain their highest concentration of essential oils.
I used to grab my herbs whenever I needed them, but switching to morning harvests completely transformed their intensity. The difference is especially noticeable with delicate varieties like basil.
Avoid harvesting after a rainy day when possible. The oils that give herbs their distinctive flavors are more diluted then, resulting in less potent preserved herbs later.
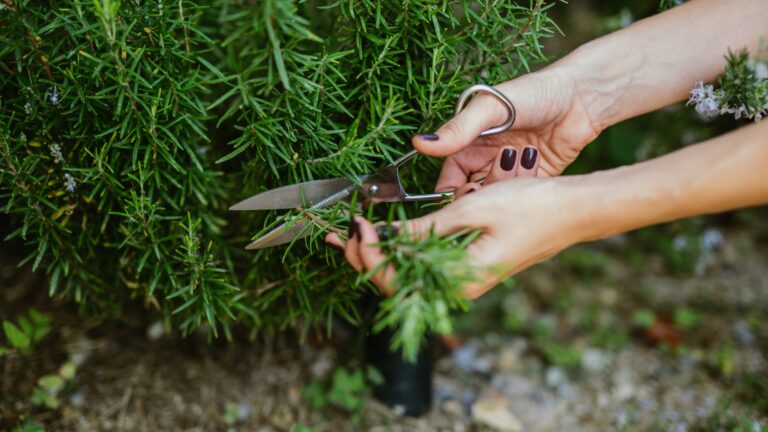
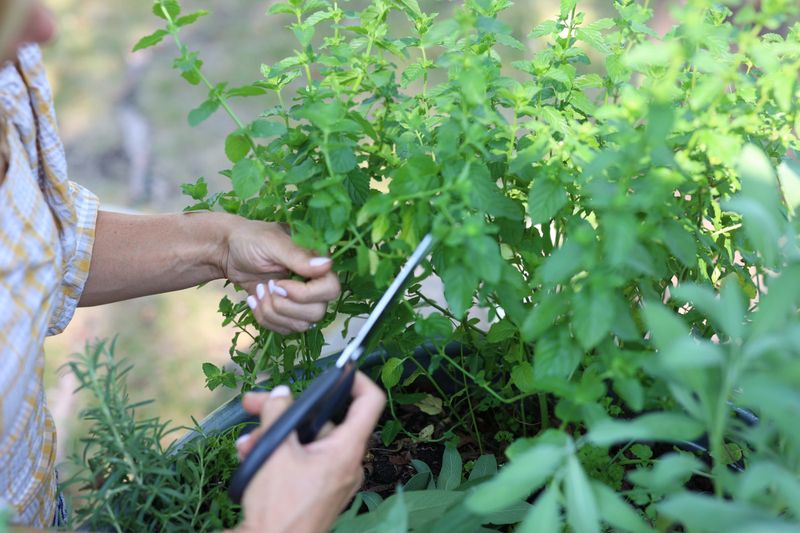
2. Gather The Right Tools
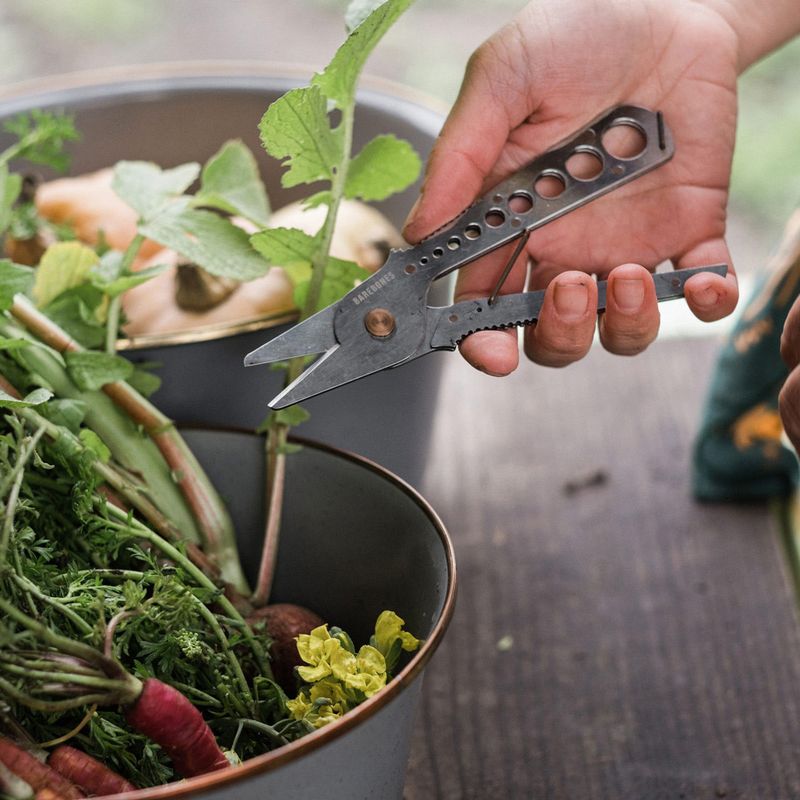
Sharp scissors or pruning shears make clean cuts that help plants recover quickly. Dull tools crush stems, potentially introducing disease and slowing regrowth.
My grandmother always used kitchen scissors for harvesting, and her herbs never thrived. Once I switched to dedicated pruning shears, my plants became bushier and produced more throughout the season.
Keep a small basket or paper bag handy to collect your cuttings. Plastic bags trap moisture and heat, which can cause herbs to wilt or begin composting before you even get inside.
3. Follow The One-Third Rule
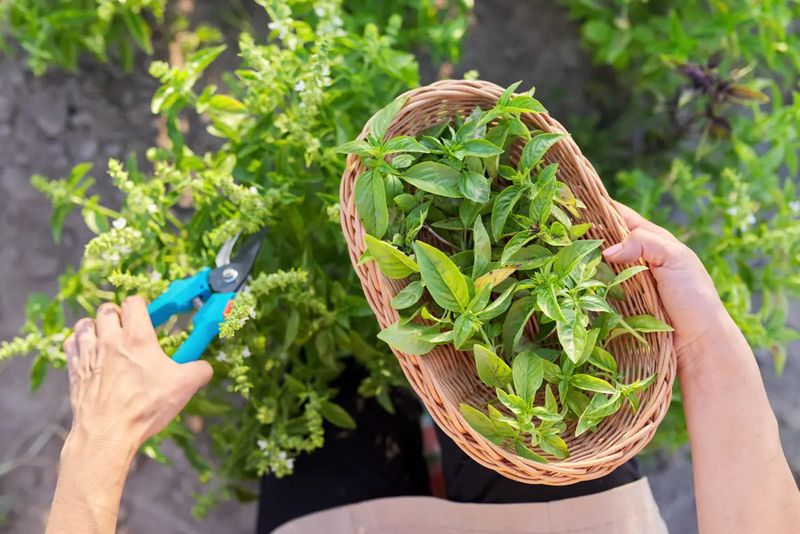
Never harvest more than one-third of a plant at once. This conservation technique ensures your herbs will continue growing and producing new leaves throughout the season.
The first year I grew basil, I stripped almost every leaf and wondered why the plant never recovered. Learning this rule changed everything about my herb gardening success.
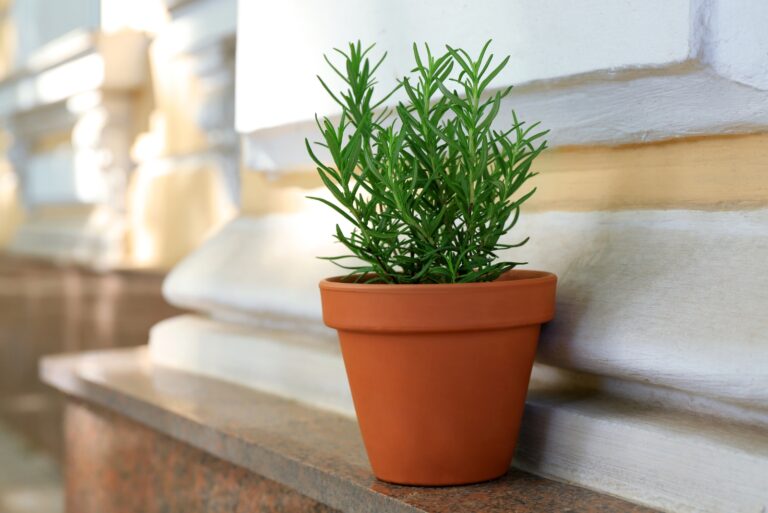
For perennial herbs like rosemary and thyme, this rule becomes even more important. Overharvesting in late summer or fall can reduce their chances of surviving through winter in colder climates.
4. Cut Above Growth Nodes
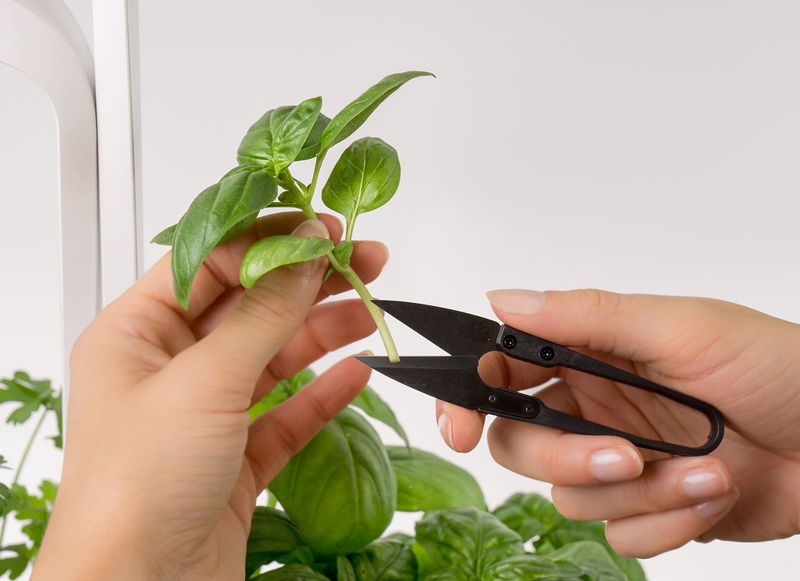
Making cuts just above leaf nodes encourages bushier growth. These nodes are the points where new stems will emerge, creating a fuller plant with more harvesting potential.
The difference between random cutting and node-focused harvesting became clear when I grew two basil plants side by side. The properly harvested one produced nearly twice as many leaves over the season!
For woody herbs like rosemary, look for small bumps or tiny leaf clusters along the stem. These are your target cutting points for promoting the healthiest regrowth possible.
5. Rinse With Cool Water
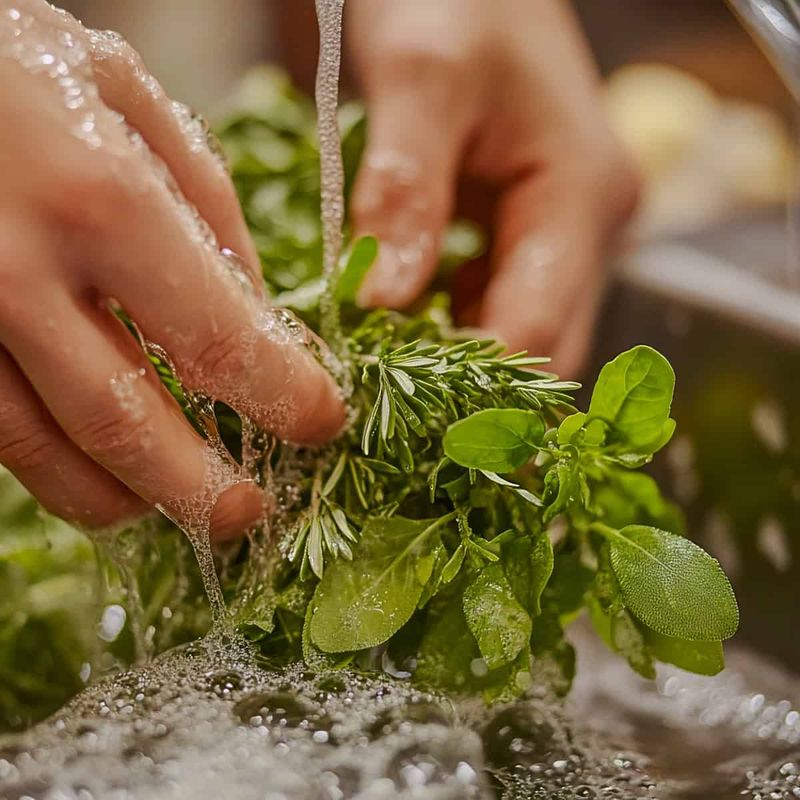
A quick, gentle rinse removes dirt and tiny insects without damaging delicate leaves. Fill a bowl with cool water and swish the herbs gently, then lift them out rather than pouring through a strainer.
The first time I made herb-infused oil without washing the herbs, I ended up with gritty sediment at the bottom. Not the culinary experience I was hoping for!
For fuzzy herbs like sage, be extra gentle during washing. Their leaf texture can trap water, leading to quicker spoilage if not dried properly afterward.
6. Pat Dry Thoroughly
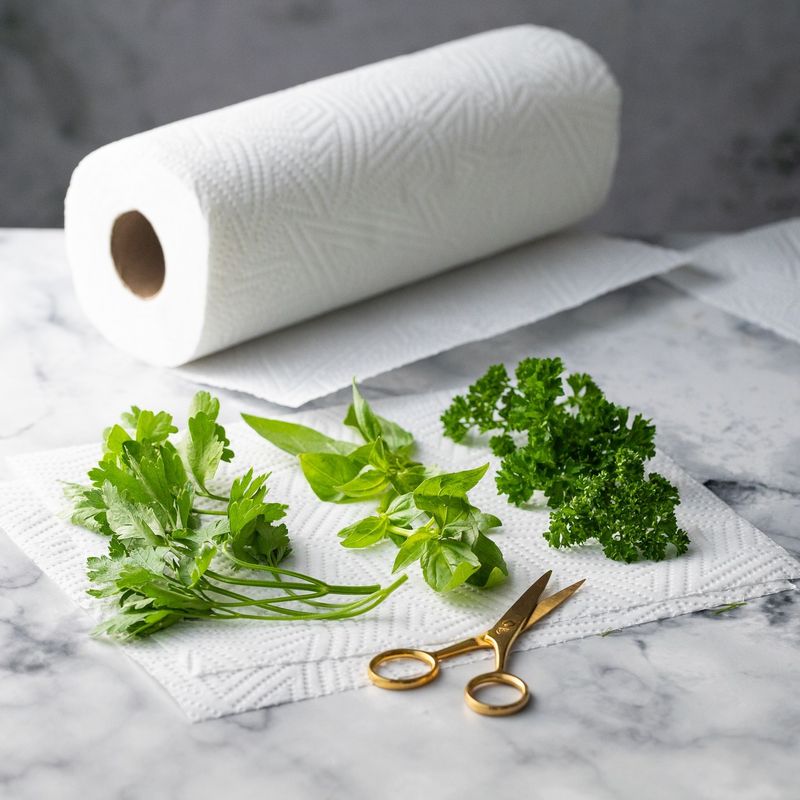
Moisture is the enemy of preservation. Lay herbs in a single layer between clean kitchen towels and press gently to remove surface water without crushing the leaves.
When I first tried drying herbs, I skipped this step and ended up with moldy oregano. Now I’m almost obsessive about making sure they’re completely dry before moving to the next preservation stage.
A salad spinner works wonders for hardier herbs like rosemary and thyme. Just spin gently and check to make sure no water droplets remain hidden among the leaves.
7. Bundle For Air-Drying
Gather small bunches of stems and secure with twine or a rubber band. Keep bundles relatively small to ensure air circulation reaches all parts of the herbs during the drying process.
My first attempt at drying involved massive bundles that developed mold in the center. Learning to make smaller, looser bunches completely solved the problem.
Leave enough string when tying to create a loop for hanging. Those little hooks designed for Christmas ornaments work perfectly for hanging herb bundles from shelves or curtain rods.
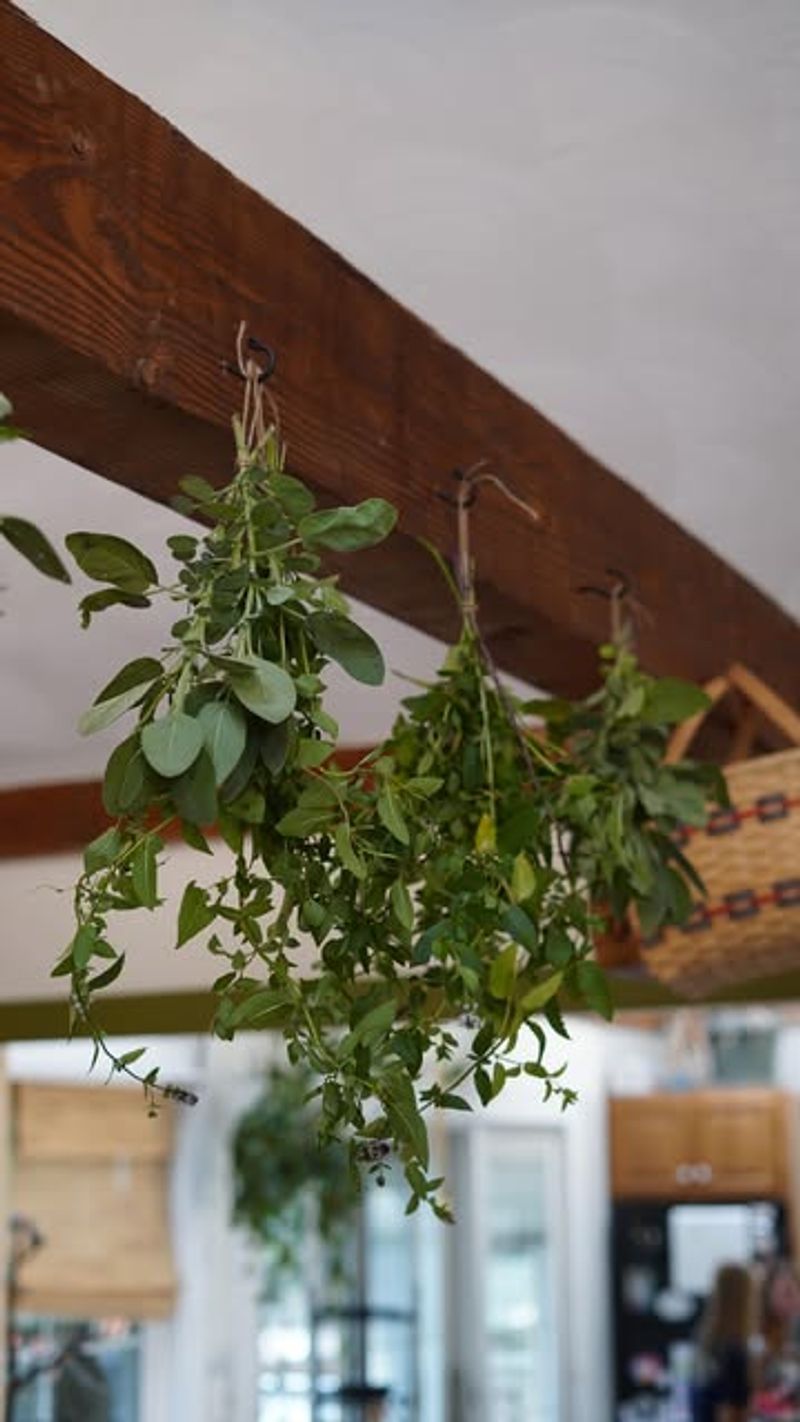
8. Find The Perfect Drying Spot

Hang herbs upside down in a warm, dry location with good air circulation. Avoid direct sunlight, which can fade color and diminish essential oils that carry flavor and aroma.
I used to hang mine in the kitchen, but it turned out too humid. Now I dry them in the laundry room where it’s warmer and drier, and they preserve beautifully every time.
A paper bag with holes punched in it can be placed around hanging herbs to protect them from dust while still allowing airflow. This trick has saved me from having to rewash herbs before storage.
9. Try Oven-Drying For Speed
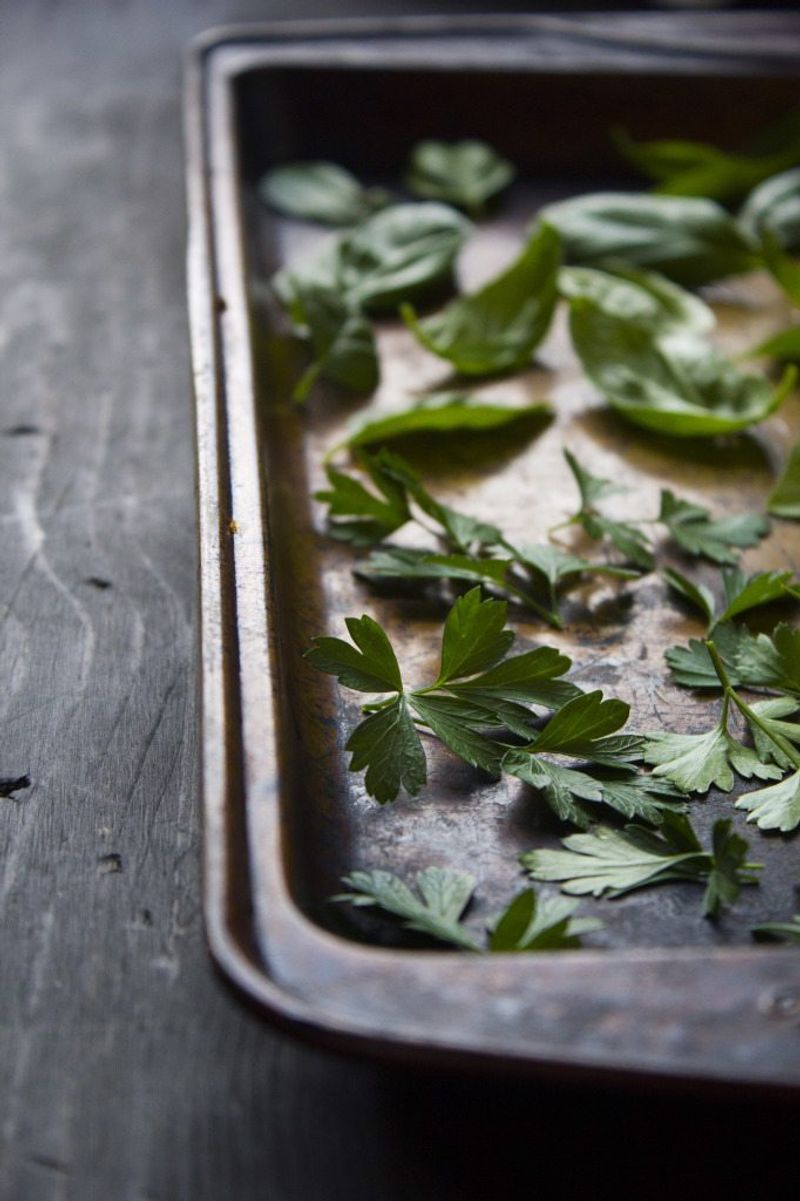
When time is short, oven-drying provides quick results. Spread herbs in a single layer on a baking sheet and dry at the lowest possible temperature with the door slightly ajar to allow moisture to escape.
The first time I tried this method, I set the temperature too high and ended up with crispy, flavorless herbs. Low and slow is definitely the way to go here.
Check frequently during the process – herbs can go from perfectly dried to burnt in minutes. They’re ready when they crumble easily between your fingers but still retain their color.
10. Freeze In Ice Cube Trays
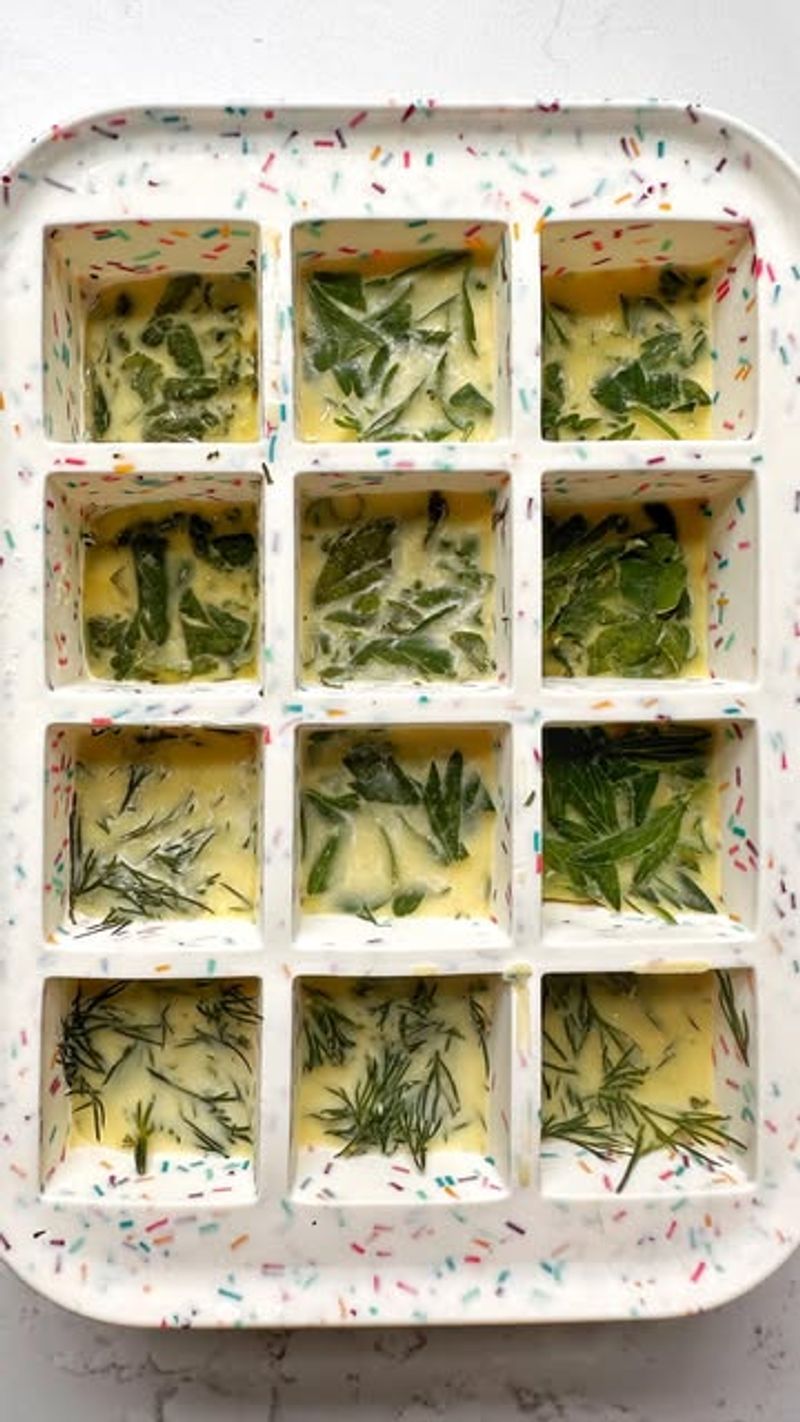
Freezing preserves flavor better than drying for many herbs. Chop fresh herbs finely, place in ice cube trays, cover with water or olive oil, and freeze for convenient cooking portions.
I discovered this method by accident when I had too much basil one summer. These frozen cubes became my secret weapon for adding fresh-tasting herbs to winter soups and stews.
Label each tray or transfer the cubes to labeled freezer bags once frozen. Trust me, all those green cubes start looking identical after a few weeks in the freezer!
11. Make Herb-Infused Oils

Steep clean, completely dry herbs in high-quality oil for delicious cooking ingredients. Any moisture can cause the oil to spoil or develop dangerous bacteria.
The first batch of rosemary oil I made looked beautiful but developed mold after a week. Ensuring bone-dry herbs has prevented this problem ever since.
For best flavor, gently warm the oil and herbs together, then cool completely before straining and bottling. This technique extracts more essential oils from the herbs, creating a more potent infusion.
12. Create Herb Salt Blends
Preserve fresh herbs by mixing them with salt, which draws out moisture and locks in flavor. Pulse herbs with coarse salt in a food processor until well combined but still slightly textured.
My first herb salt was a desperate attempt to save overgrowing thyme. It became such a hit with friends that I now make seasonal blends as gifts every year.
Spread the mixture on a baking sheet to air dry for 24-48 hours before transferring to jars. This final drying step ensures your herb salt will remain free-flowing and prevents clumping during storage.
13. Blend Custom Herb Butters

Herb butters capture fresh flavors in a versatile form. Mix softened butter with finely chopped herbs, roll into logs using parchment paper, and freeze for easy slicing.
For me, this step changed everything when I started making herb butter. Having compound butter ready to melt over steaks or vegetables elevates even the simplest meals to restaurant quality.
Experiment with combinations like chive and parsley for potatoes, or rosemary and thyme for meats. The freezer extends their life for months, though the vibrant green color may fade slightly over time.
14. Dehydrate For Consistent Results
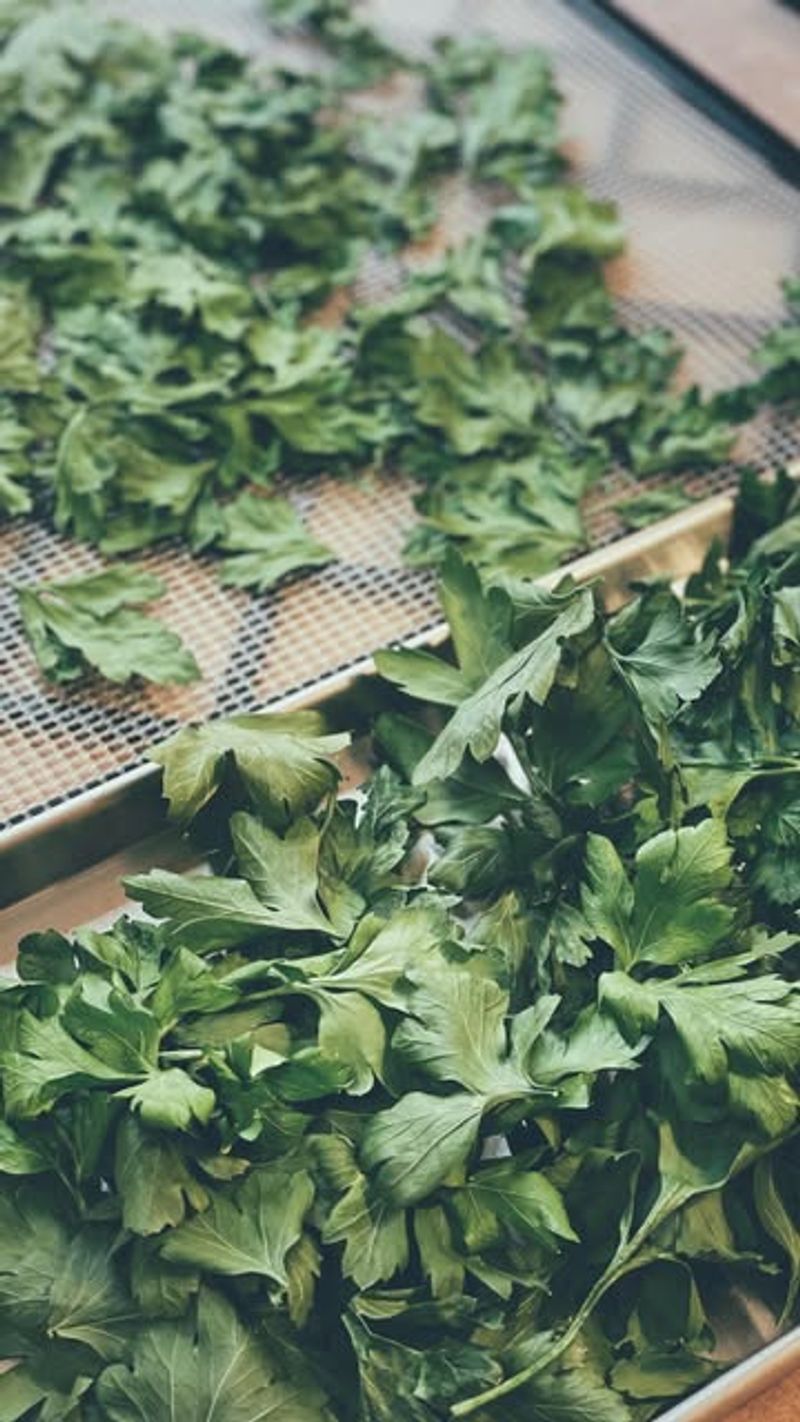
Food dehydrators provide controlled drying conditions. Arrange herbs in a single layer on trays and dry at the lowest setting until completely crisp but still colorful.
After years of hit-or-miss results with hanging herbs, I invested in an inexpensive dehydrator. The consistency and quality improvement was immediately noticeable, especially with delicate herbs like cilantro.
Check progress regularly – herbs like thyme dry quickly in 1-2 hours, while moisture-rich basil might need 4-6 hours. They’re ready when they crumble easily between your fingers.
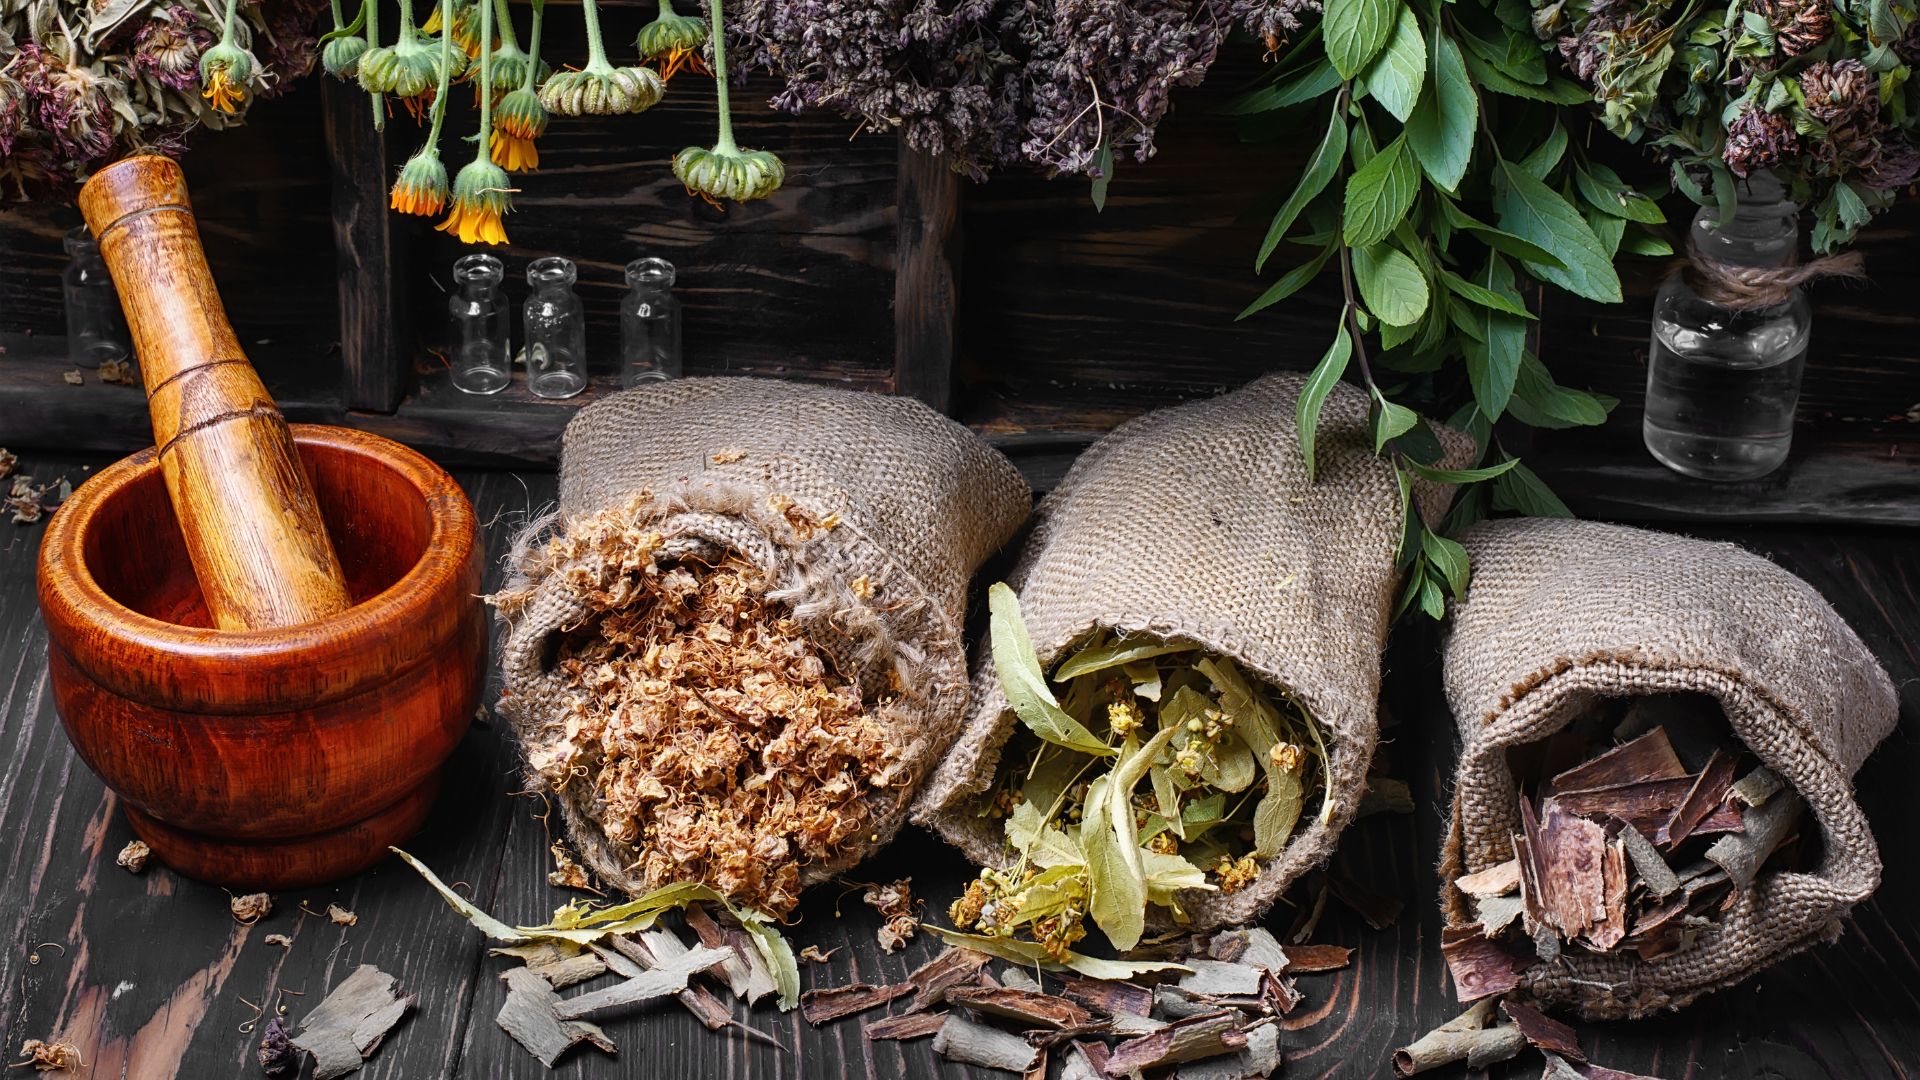
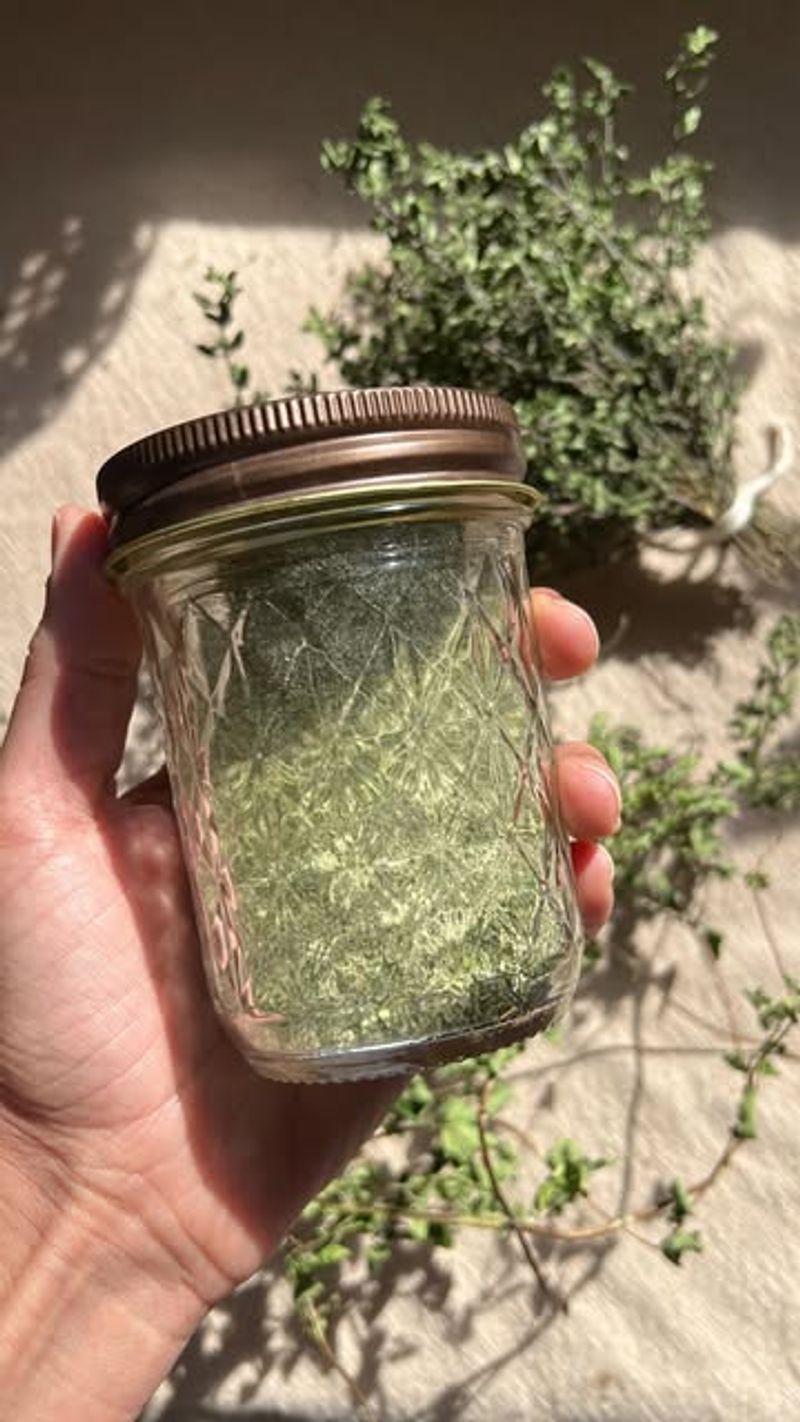
15. Store In Airtight Containers

Proper storage extends the life of preserved herbs. Use glass jars with tight-fitting lids and store in a cool, dark place to maintain flavor and color for up to a year.
The pantry clean-out that revealed two-year-old herbs in plastic bags taught me an important lesson. Now I use only glass jars with rubber seals, and my herbs stay potent much longer.
Leave dried herbs whole until you’re ready to use them. Crushing or grinding releases essential oils that dissipate quickly, so whole leaves and stems retain flavor better during long-term storage.
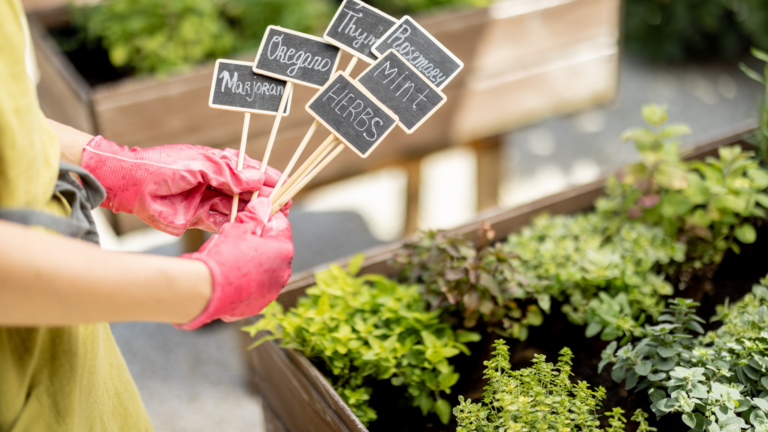
16. Label Everything Clearly
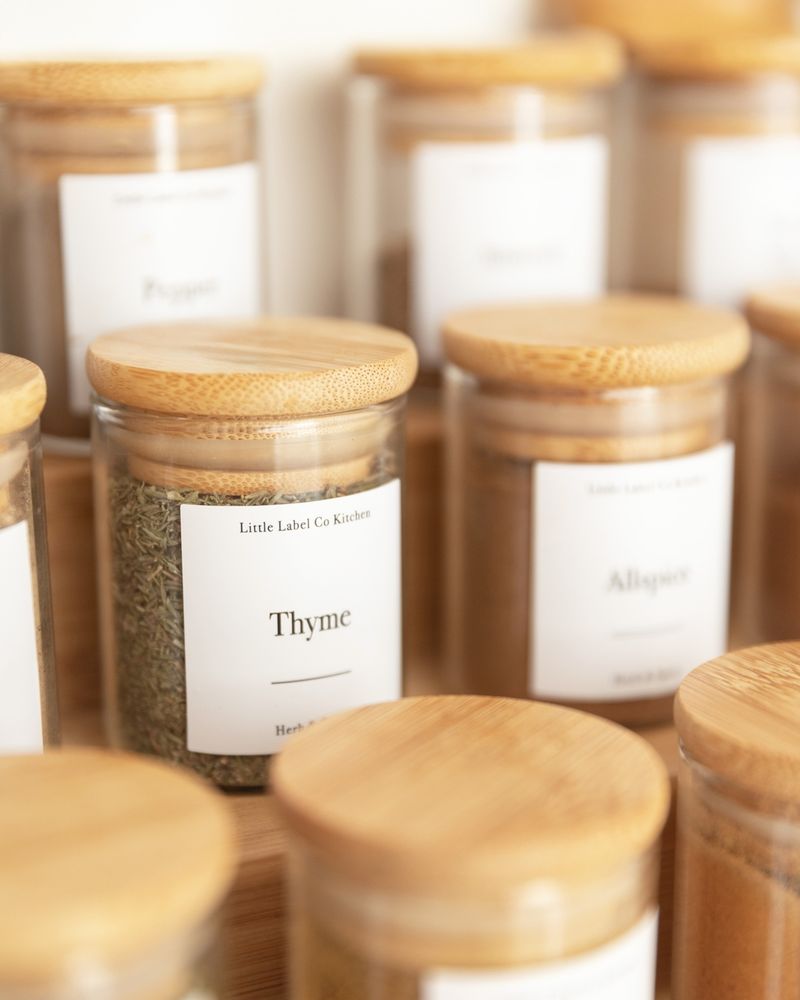
Detailed labels prevent mystery herbs in your pantry. Include the herb name, harvest date, and drying method on each container for easy reference months later.
The winter I grabbed what I thought was dried oregano for pizza sauce – only to discover it was mint – convinced me that careful labeling is non-negotiable. Some dried herbs look remarkably similar!
Take a moment to add usage suggestions to your labels too. Notes like “great with chicken” or “perfect for tomato dishes” help inspire cooking ideas when you’re staring at your herb collection months after harvest.