15 Easy Steps To Grow Roses From Cuttings Successfully (Even If You’ve Failed Before)
Want more roses without splurging on new plants? Growing them from cuttings is a smart and sentimental way to expand your garden. It’s like giving your favorite blooms a second life, right from your backyard.
Snip healthy stems just below a leaf node, and remove the bottom leaves to focus energy on root growth. Dip the ends in rooting hormone if you have it, then plant them in moist soil or perlite. Keep them shaded and humid while roots form.
If you’ve tried and failed before, don’t give up—little details like watering too much or skipping drainage can trip you up. With patience and the right technique, you’ll be surrounded by homegrown blooms in no time.
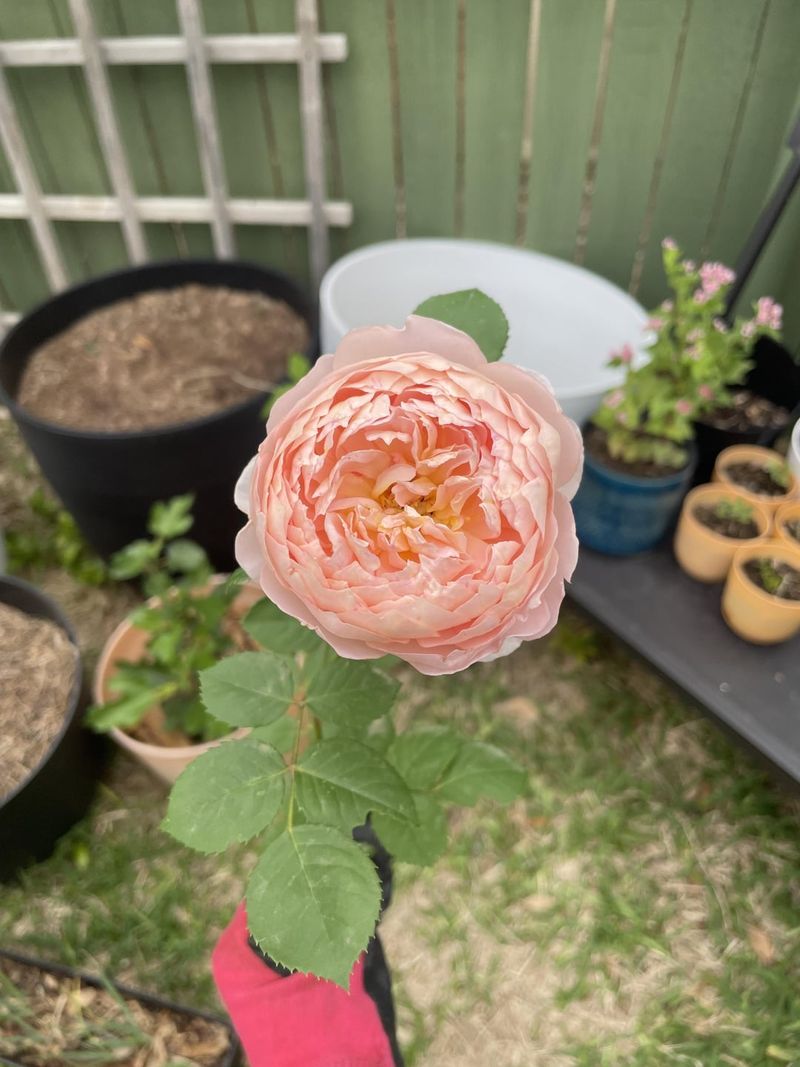
1. Choose Healthy Parent Roses

Look for a rose bush that’s flowering well and shows no signs of disease or pest damage. The parent plant’s health directly impacts your cutting’s success rate.
Morning is the best time to collect cuttings when the plant is well-hydrated. Avoid stressed plants or those recently treated with systemic pesticides.
Older stems with faded blooms often root better than very fresh green growth, contrary to what many beginners assume.
2. Select The Right Season
Timing matters tremendously when propagating roses. Early summer or late spring when stems are partially mature (not too soft, not too woody) offers the highest success rate.
Fall cuttings can also work well in milder climates. The moderate temperatures reduce stress on the cuttings while they develop roots.
I once tried winter cuttings in desperation and was surprised when they rooted slowly but surely in a protected cold frame.
3. Gather Your Tools

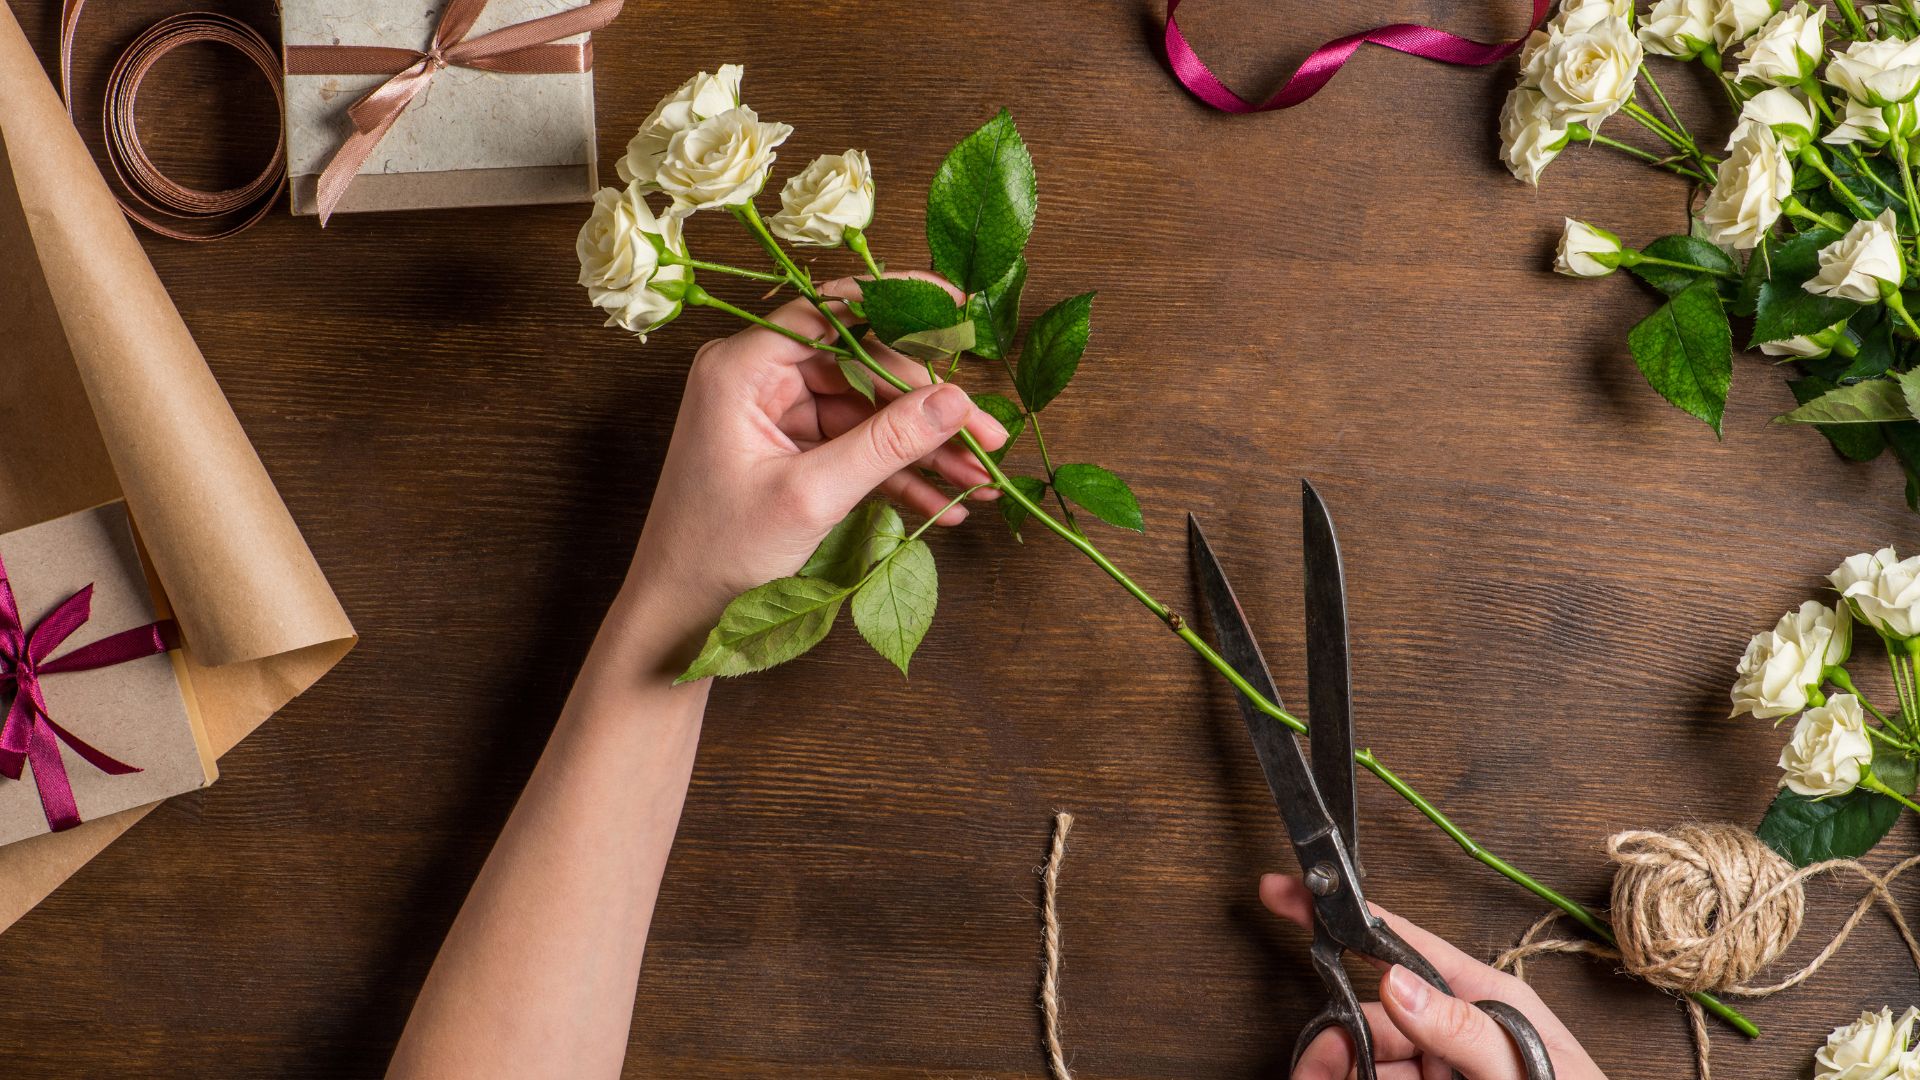
Sharp pruning shears make clean cuts that heal faster. Dull blades crush plant tissues and reduce success rates dramatically.
You’ll also need small pots, rooting medium, rooting hormone, clear plastic bags, and plant labels. Having everything ready prevents your cuttings from drying out while you scramble for supplies.
Sterilize your tools with rubbing alcohol before making cuts to prevent spreading any disease from one plant to another.
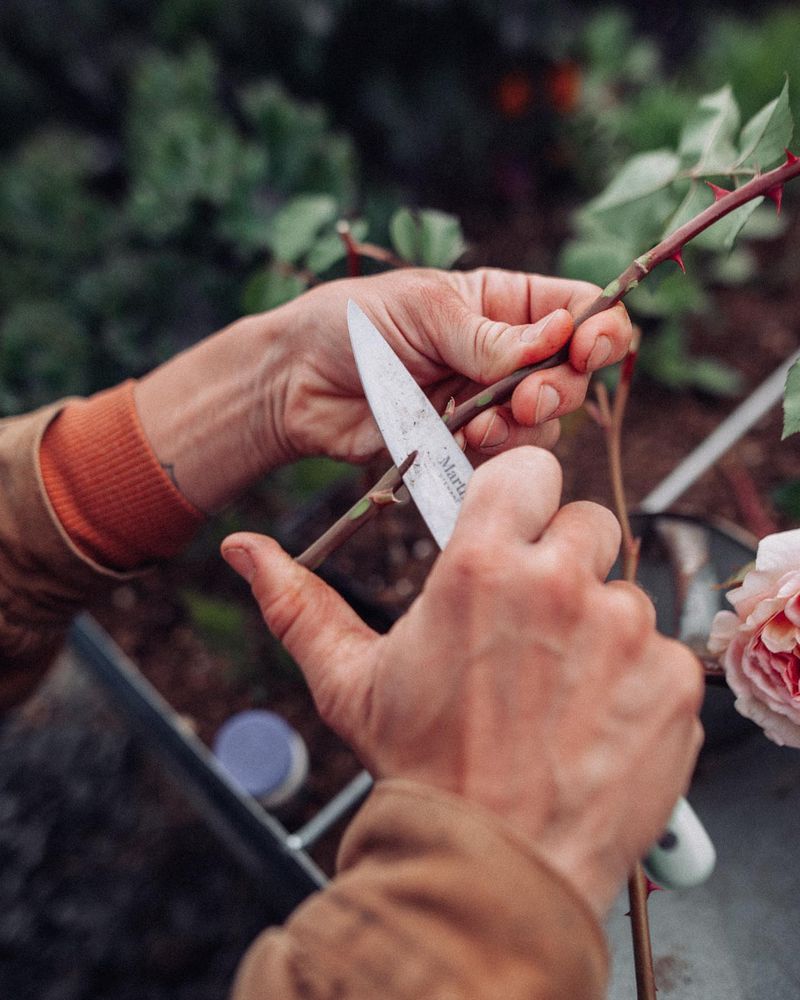
4. Cut At The Right Angle

Make your cut just below a leaf node at a 45-degree angle. This increases the surface area for root development and prevents water from pooling on the cut end.
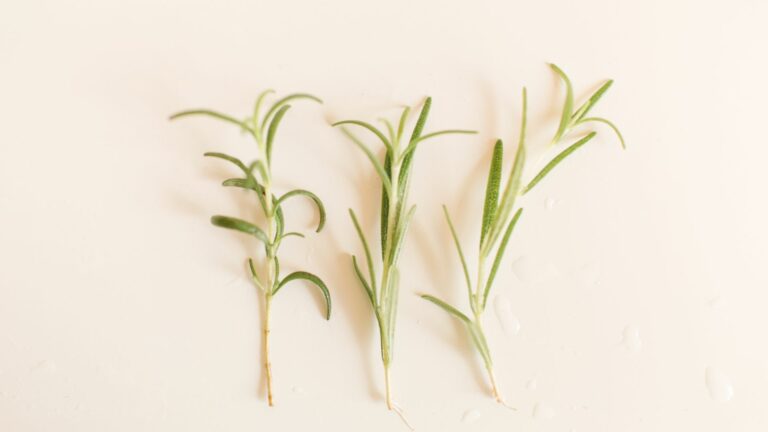
The cutting should be 6-8 inches long with at least 2-3 leaf nodes. These nodes are the bumpy areas on the stem where leaves emerge and where roots will eventually grow.
Longer isn’t better with cuttings. The plant must support all that tissue while developing roots, so moderate lengths root more reliably.
5. Remove Lower Leaves

Strip away all leaves from the bottom half of your cutting. Any leaves buried in soil will rot and potentially infect your cutting before it can root.
Leave just 2-3 leaves at the top. Too many leaves cause excessive moisture loss through transpiration, while the cutting has no roots yet to replace that water.
The leaf scars where you removed leaves aren’t damage – they’re actually beneficial spots where roots often emerge first.
6. Prepare The Stem Ends

Crush the bottom half-inch of the stem slightly with your fingernail. This minor damage stimulates the plant to produce rooting hormones naturally.
Remove any flowers or buds from the cutting. The plant needs to focus energy on root development, not flower production.
Make a fresh cut at the bottom just before planting if your cuttings have been sitting out. Even 30 minutes of air exposure can seal the stem end and reduce water uptake.
7. Apply Rooting Hormone

Pour a small amount of rooting hormone into a separate container rather than dipping directly into the bottle. This prevents contamination of your hormone supply.
Moisten the bottom inch of your cutting slightly, then dip it into the hormone powder or gel. Tap off any excess – a thin coating is all you need.
Natural alternatives like honey, cinnamon, or willow water contain compounds that can help with rooting if commercial hormone isn’t available.
8. Choose The Right Potting Medium
Regular garden soil is too heavy for cuttings. Use a light, well-draining mix like equal parts perlite and peat moss or coco coir.
The medium should hold moisture but never become soggy. Waterlogged conditions lead to stem rot before roots can form.
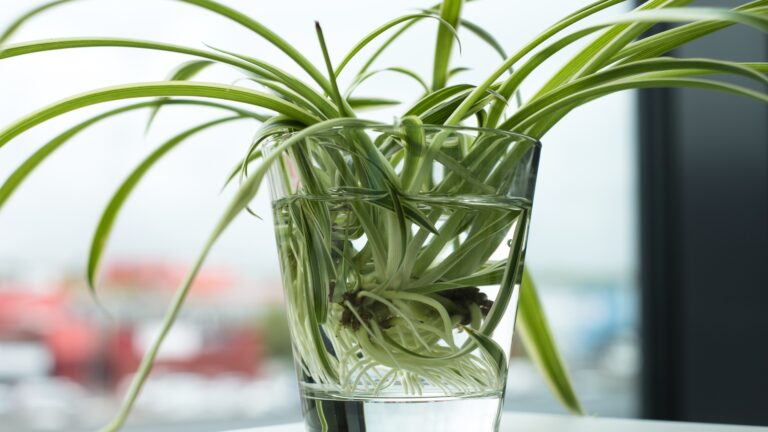
Some gardeners swear by starting rose cuttings in plain water, but I’ve found soil-less mediums give more consistent results and produce stronger root systems than water rooting.
9. Create The Perfect Planting Hole

Make a hole in your potting medium with a pencil or chopstick rather than pushing the cutting in directly. Forcing the cutting can scrape off the rooting hormone.
The hole should be deep enough that at least two nodes will be below the soil surface. These buried nodes are where most of the roots will emerge.
Space multiple cuttings at least 2 inches apart in larger containers to reduce competition and disease spread if one cutting fails.
10. Water Thoroughly But Carefully

Water immediately after planting until moisture seeps from the drainage holes. This settles the medium around the cutting and eliminates air pockets that can dry out tender new roots.
Avoid splashing water on the leaves, which can spread disease. Water at the base or use bottom watering by placing pots in a shallow tray of water.
Never let the medium dry out completely during the rooting period, but don’t keep it soggy either – aim for consistently moist.
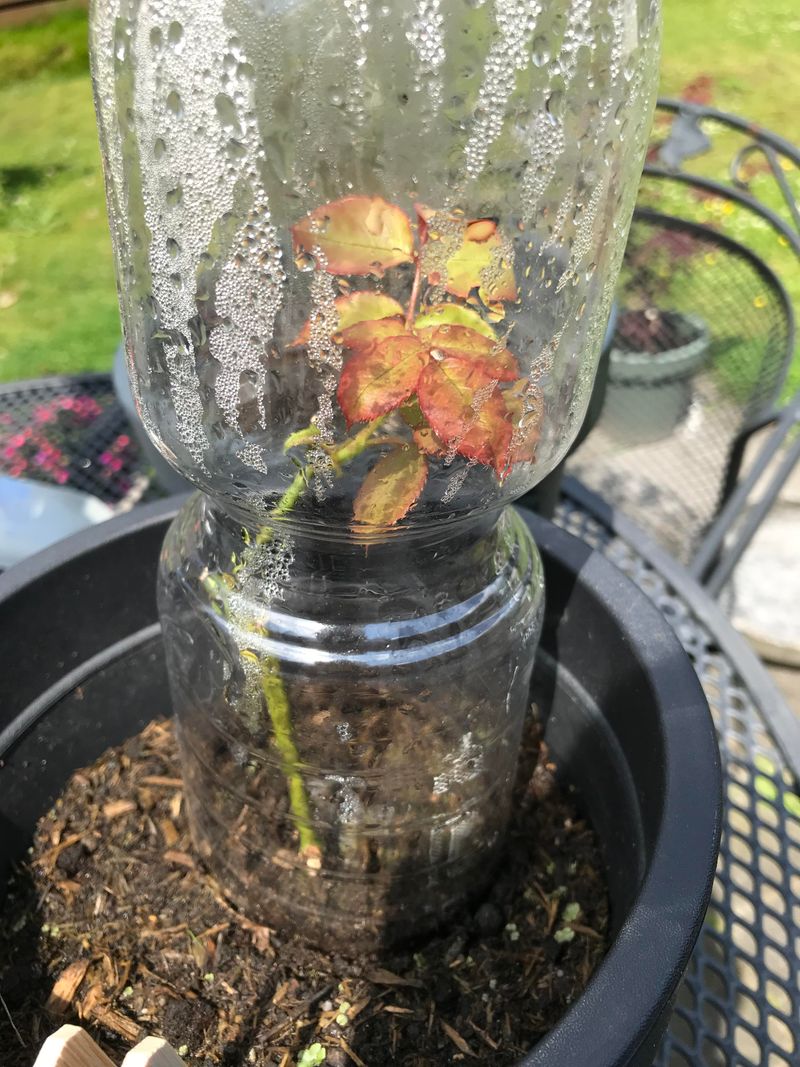
11. Create A Humidity Chamber
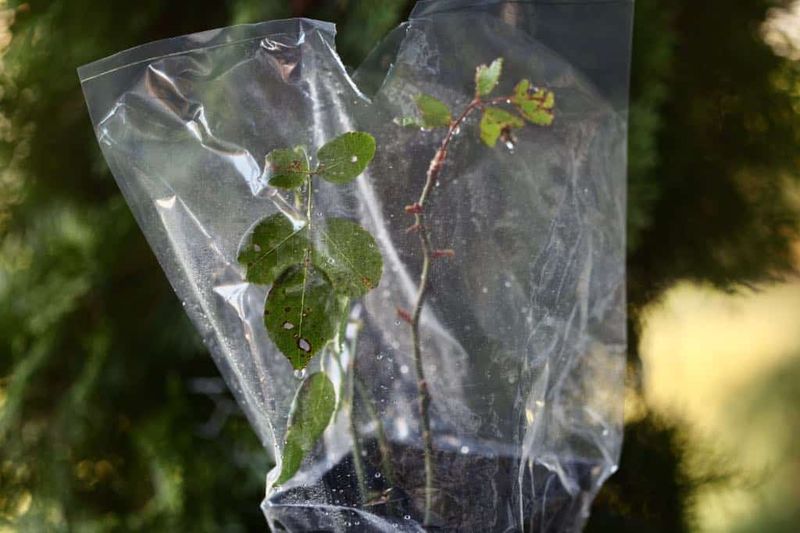
Cover your potted cuttings with clear plastic bags to create mini-greenhouses. This maintains high humidity around the leaves while the cutting has no roots to take up water.
Support the plastic with stakes to keep it from touching the leaves. Contact with the plastic can cause leaf rot and fungal issues.
Remove the covers briefly every few days to allow fresh air circulation and prevent mold growth. Just 10-15 minutes of airing out makes a big difference.
12. Find The Sweet Spot For Sunlight

Place your cuttings in bright, indirect light – never in direct sun, which can overheat the humidity chamber and cook your cuttings. An east-facing window is often perfect.
Too little light slows root development, while too much causes stress. Dappled shade under a tree outdoors can work well in mild weather.
The light requirements change once roots form. Gradually increase light exposure as your cuttings establish to prevent stretching and weakness.
13. Monitor For Root Development

After 3-4 weeks, gently tug on your cuttings. Resistance means roots are forming! Don’t pull hard enough to disturb the developing root system.
Another sign of successful rooting is new leaf growth at the top of the cutting. This indicates the plant has enough root structure to support new growth.
Be patient – some rose varieties take up to 8 weeks to root. The waiting period tests your patience but rushing the process leads to disappointment.
14. Harden Off Before Transplanting
Once roots have formed, gradually remove the plastic covering. Start with an hour daily, then increase exposure time over a week until the cuttings can survive without the humidity chamber.
This hardening off process toughens the new plants and prevents transplant shock. Skipping this step is why many rooted cuttings suddenly fail after seeming successful.
During this transition, keep the soil slightly drier than during the rooting phase to encourage deeper root growth.
15. Transplant To Their Forever Home

Wait until your rooted cutting has developed several sets of new leaves before transplanting to a larger pot or garden bed. This usually takes 2-3 months from the initial cutting.
Choose an overcast day for transplanting to reduce transplant shock. Water thoroughly the day before to ensure the root ball stays intact during the move.
Apply a light organic fertilizer after transplanting, but at half the recommended strength. Too much fertilizer can burn tender new roots.