18 Things You Must Do For Healthier Container Annuals All Season Long
Want to turn your patio, porch, or balcony into a blooming paradise? Container-grown annuals can do just that—but they need a little extra care to keep shining all season. With the right know-how, your pots will stay full and vibrant from spring to fall.
Unlike in-ground gardens, containers offer limited soil and root space, which means faster drying and quicker nutrient loss. Regular watering, feeding, and checking for root crowding are all musts to keep your flowers happy and healthy.
These 18 care tips cover everything from choosing the right pot size to deadheading spent blooms for more color. A little attention goes a long way—your container annuals will thank you with nonstop beauty all season long.
1. Choose The Right Container Size
Roots need room to stretch out and breathe. When plants are crammed into tiny pots, they quickly become rootbound and stressed, leading to stunted growth and fewer flowers.
I learned this lesson the hard way after squeezing too many petunias into a narrow window box. By midsummer, they were struggling despite regular watering and feeding.
Select containers at least 2-3 inches wider than the nursery pot your plants come in. For mixed plantings, choose even larger pots to accommodate multiple root systems comfortably.
2. Use Premium Potting Mix

Garden soil is too dense for containers and can suffocate roots. Quality potting mix provides the perfect balance of drainage and moisture retention that container plants desperately need.
Last year I tried saving money with cheap soil, and my containers dried out almost daily. The investment in good potting mix pays for itself in reduced watering and healthier plants.
Look for mixes specifically formulated for containers with ingredients like perlite, vermiculite, and coconut coir. These components create air pockets that allow roots to breathe while holding just enough moisture.
3. Add Slow-Release Fertilizer At Planting

Getting nutrition right from day one sets up your plants for success. Mixed into the potting soil, slow-release granules provide a steady diet of nutrients for weeks or months.
My containers always perform better when I incorporate fertilizer during planting rather than trying to catch up later. The continuous feeding helps establish strong roots and abundant blooms.
One tablespoon per gallon of soil is usually sufficient. Sprinkle it throughout the soil as you fill the container, not just on the surface, to ensure roots encounter nutrients as they grow.
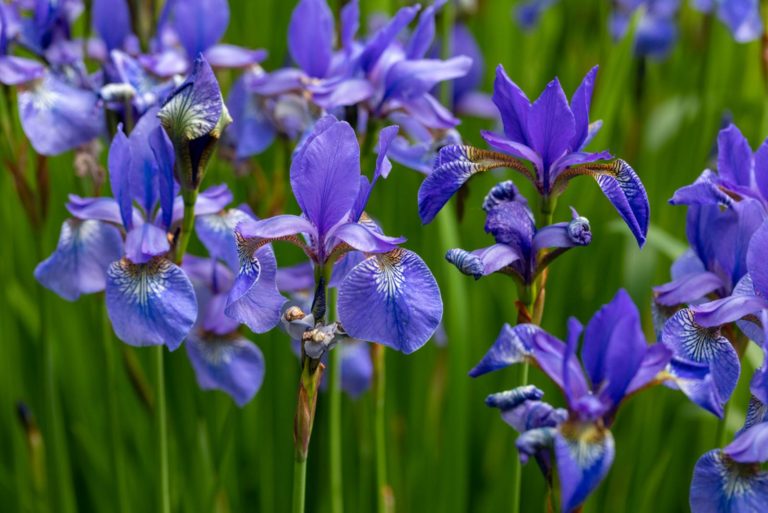
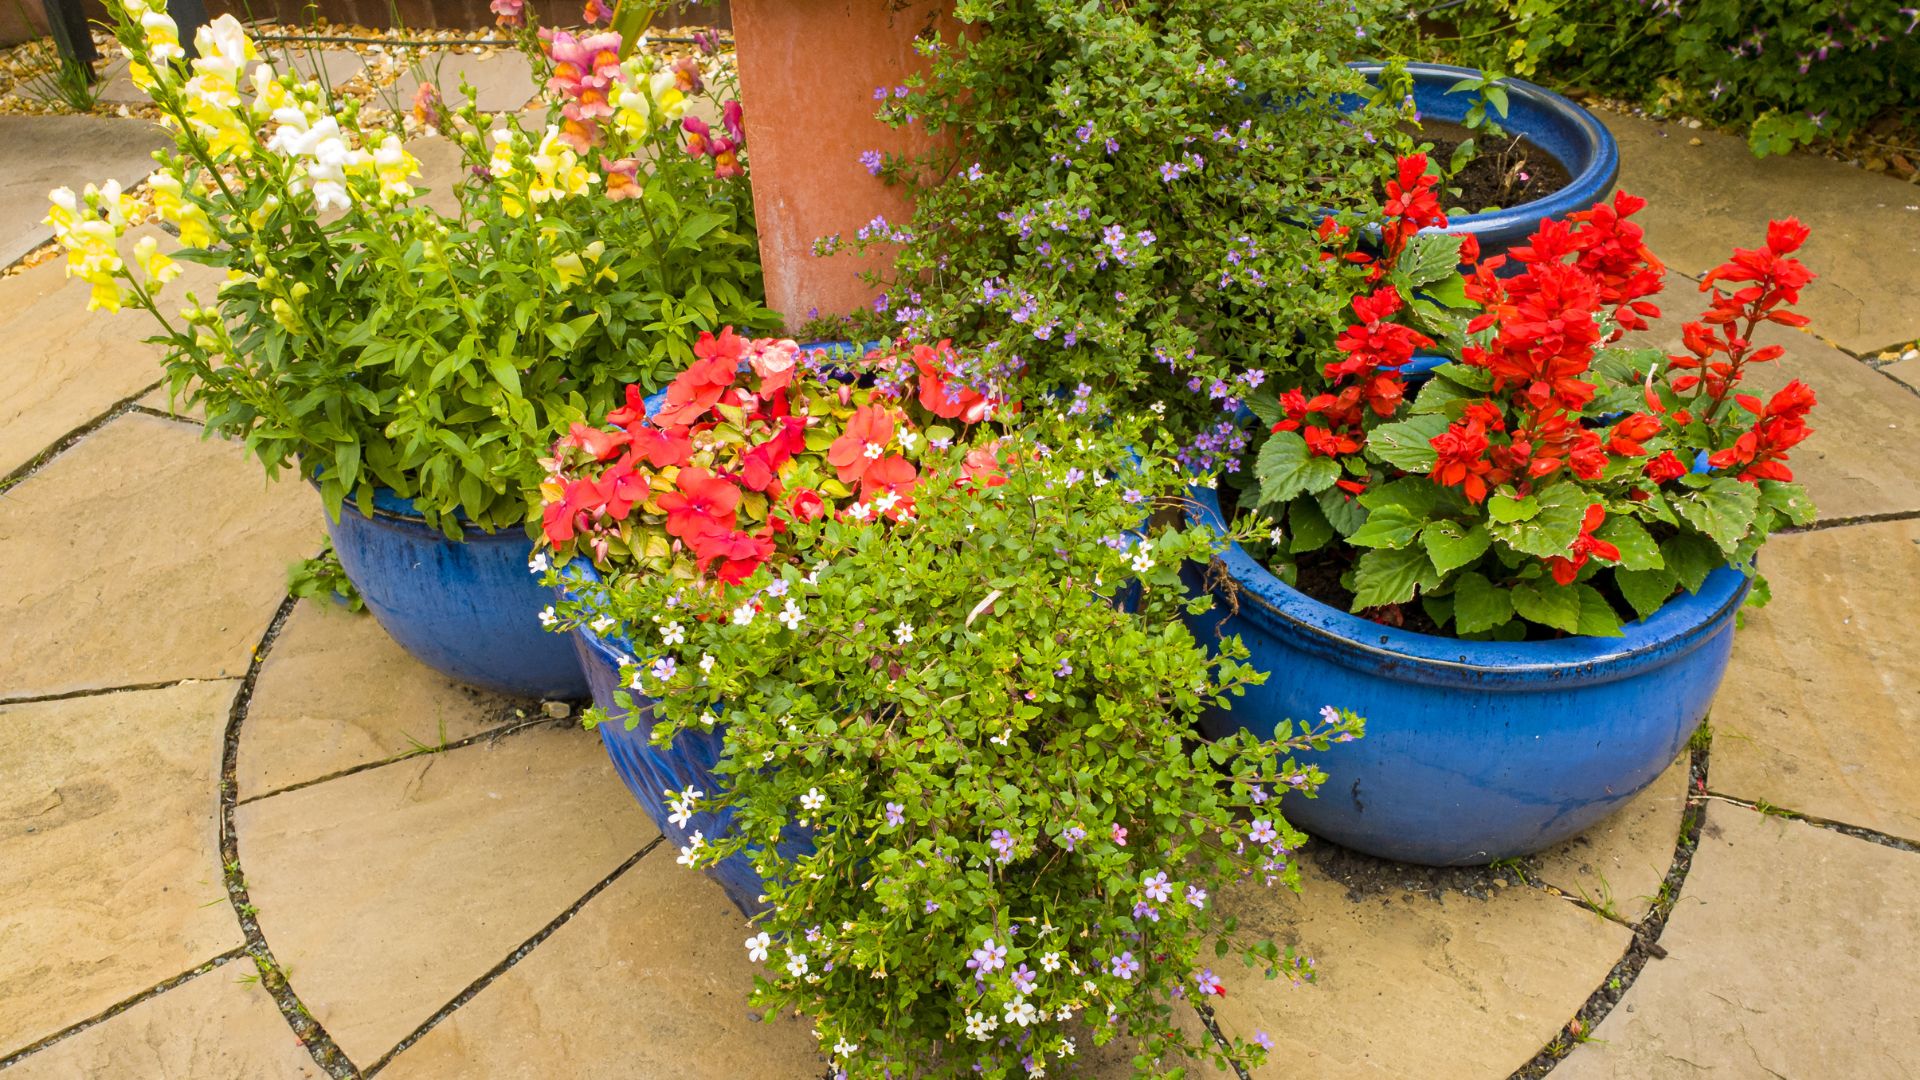
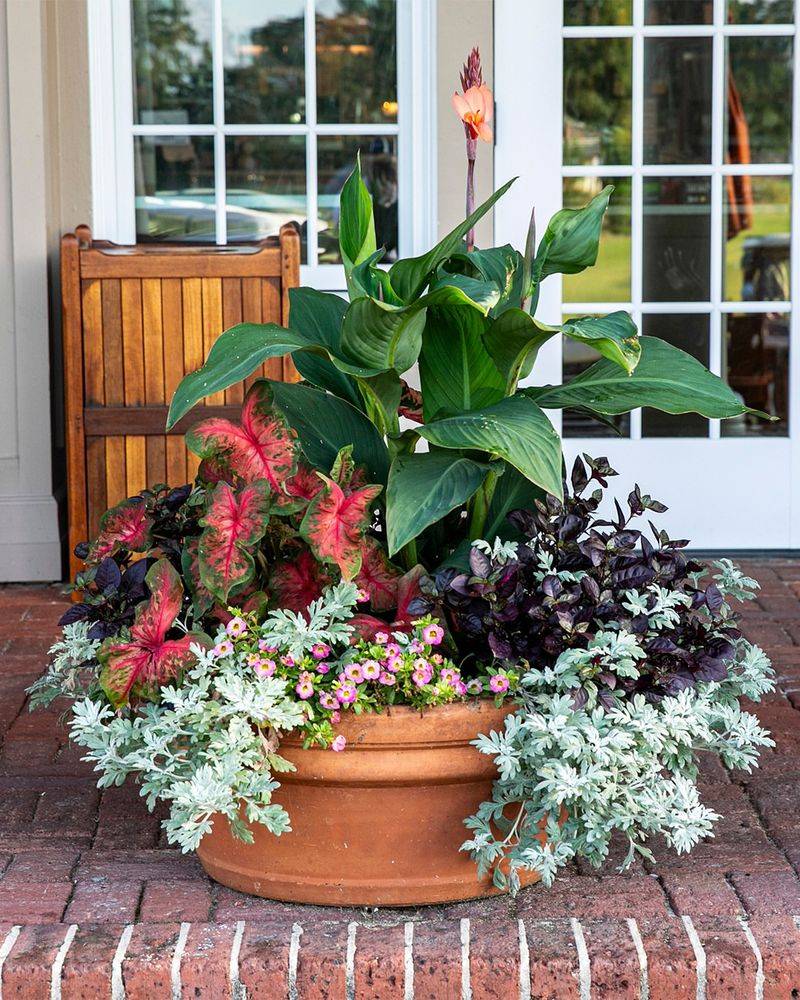
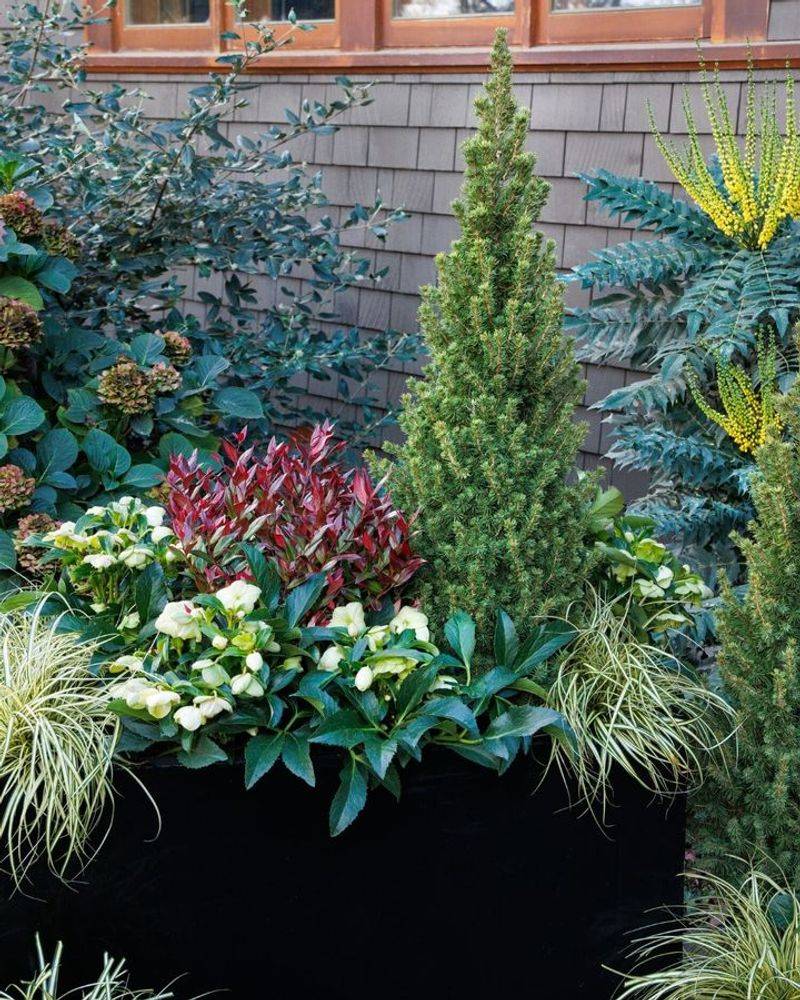
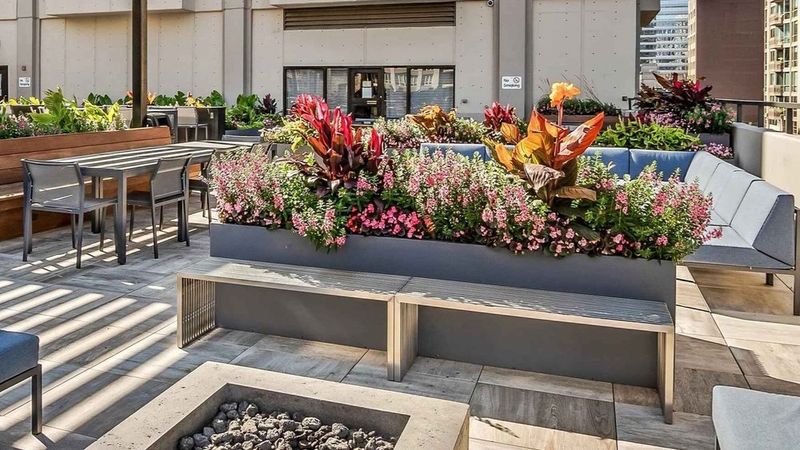
4. Follow The Thriller-Filler-Spiller Formula
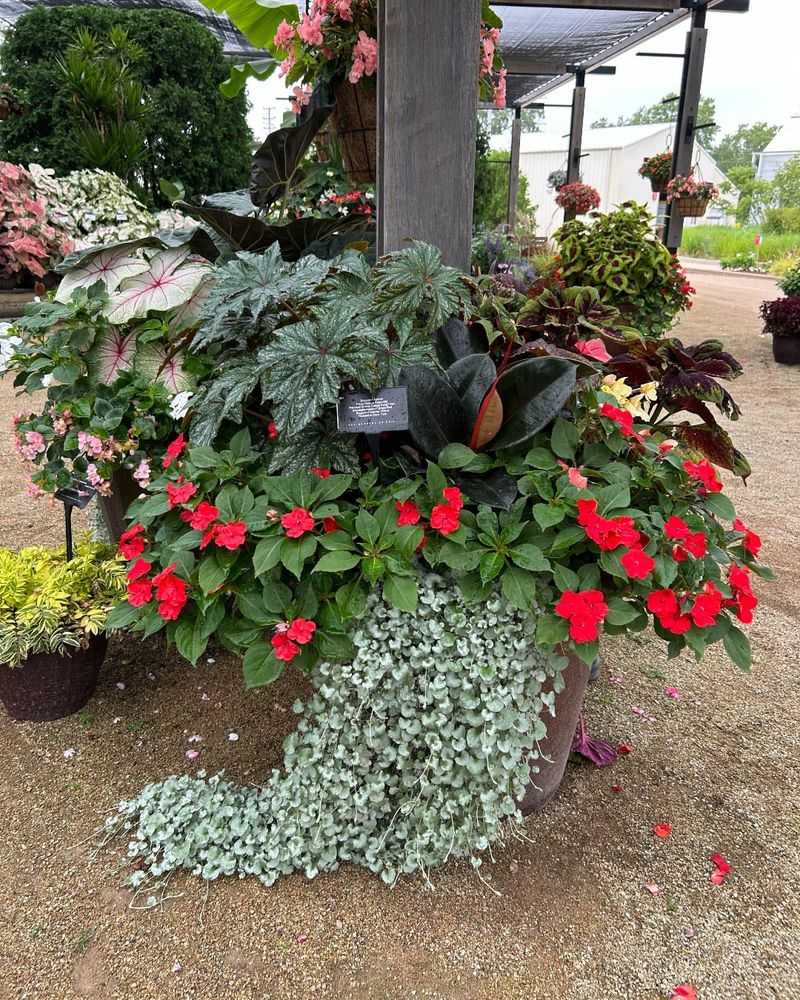
Strategic plant placement creates containers that look professionally designed. The thriller (tall center plant) provides height, fillers add mass, and spillers cascade over edges for a complete look.
My earliest container gardens looked flat and uninspiring until I started using this approach. Now even simple combinations have dimension and movement that catches the eye.
For a 14-inch pot, you might use one upright geranium as your thriller, three compact marigolds as fillers, and two trailing lobelia as spillers. This balance creates harmony while ensuring plants have adequate space.
5. Water Deeply, Not Frequently
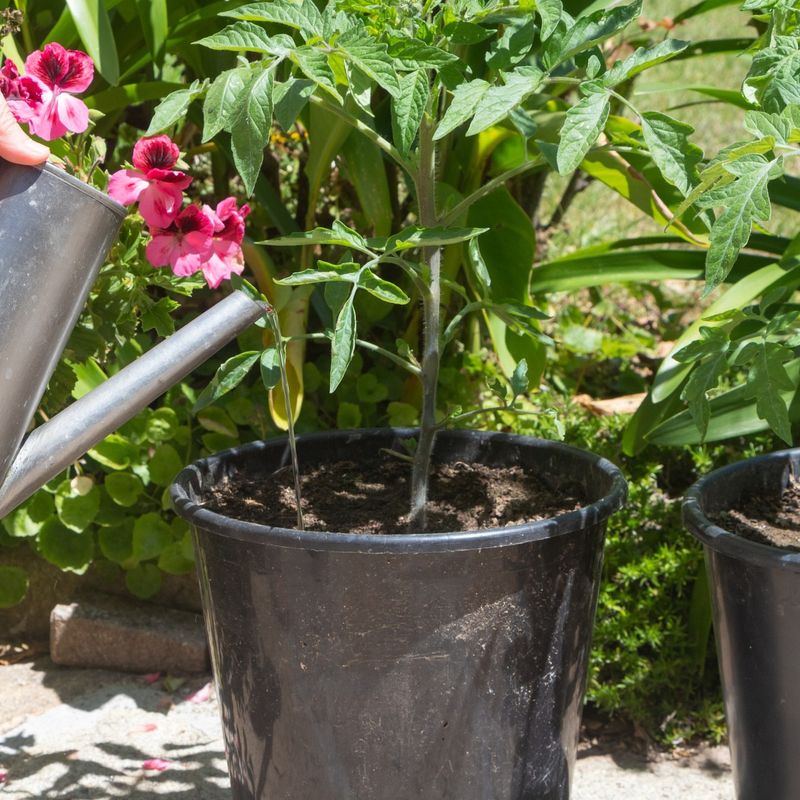
Frequent shallow watering creates weak, shallow root systems. When you water deeply until it flows from drainage holes, roots grow downward seeking moisture, creating stronger plants.
Morning is ideal for watering since plants have all day to dry their leaves, reducing disease risk. I’ve noticed my containers need about 30% less water when I switched to deep morning watering.
Stick your finger two inches into the soil to check moisture before watering again. This simple test prevents both overwatering and underwatering, which are equally harmful to container plants.
6. Install Drip Irrigation Systems

Consistent moisture makes all the difference for container plants. Drip systems deliver water directly to the soil, minimizing waste and keeping foliage dry to prevent diseases.
Setting up my first drip system took about an hour, but saved countless hours throughout summer. My plants thrived with steady moisture even during the hottest weeks when I used to lose plants to drought stress.
Simple kits connect to outdoor faucets and include timers that automate the process. Adding a moisture sensor makes the system even more efficient, watering only when truly needed.
7. Mulch Container Tops

A thin layer of mulch acts like a protective blanket for your container soil. It slows evaporation, moderates soil temperature, and prevents splashing that can spread disease.
Small bark chips, cocoa hulls, or even decorative pebbles work beautifully. After adding mulch to my containers, I noticed they needed watering every third day instead of daily during hot spells.
Apply just one inch of mulch, keeping it away from plant stems to prevent rot. Unlike garden beds that need thicker mulch, containers benefit from a lighter touch that still allows air circulation.
8. Position Containers Strategically

Sun-loving annuals need 6+ hours of direct sunlight, while shade-lovers burn in those conditions. Reading plant tags and placing containers accordingly prevents stress and disappointment.
Moving my containers just three feet from a west-facing wall eliminated the afternoon heat stress that was causing wilting despite adequate water. Small positioning changes can dramatically affect plant health.
Group containers with similar light needs together. This not only creates attractive vignettes but also streamlines care since all plants in the grouping will have similar watering and feeding requirements.
9. Deadhead Spent Blooms Regularly
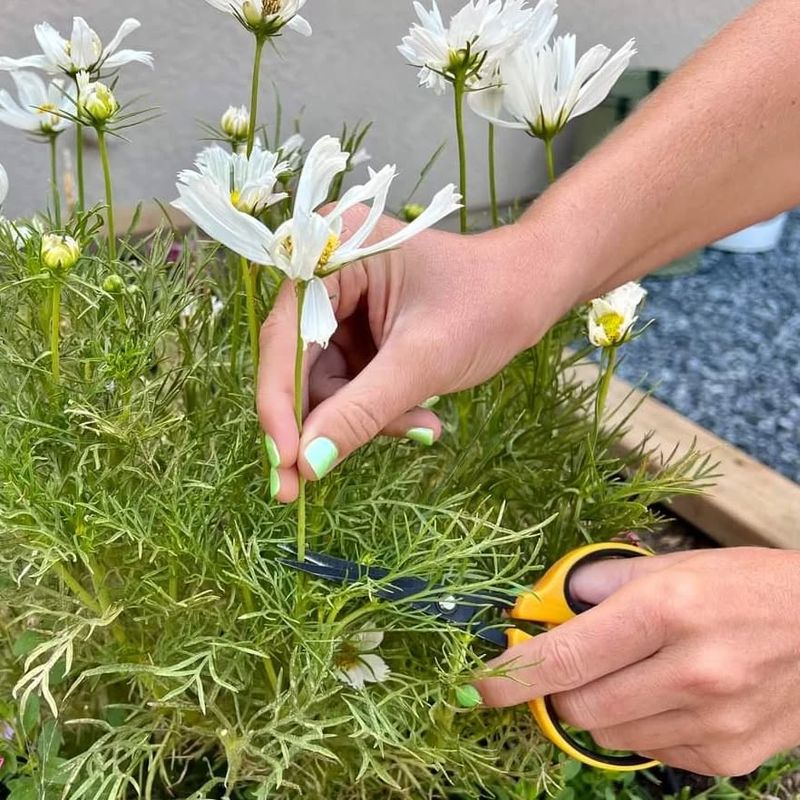
Removing faded flowers redirects the plant’s energy from seed production back to making new blooms. This simple maintenance task can double or triple the flowering period of most annuals.
My petunias and zinnias respond dramatically to weekly deadheading sessions. What takes just five minutes keeps them flowering continuously instead of cycling through blooming and seed production.
Use scissors or pruners for clean cuts rather than pinching with fingers, which can damage stems. Focus on removing just the spent flower and seedpod, not healthy foliage or buds.
10. Fertilize With Liquid Feed Biweekly
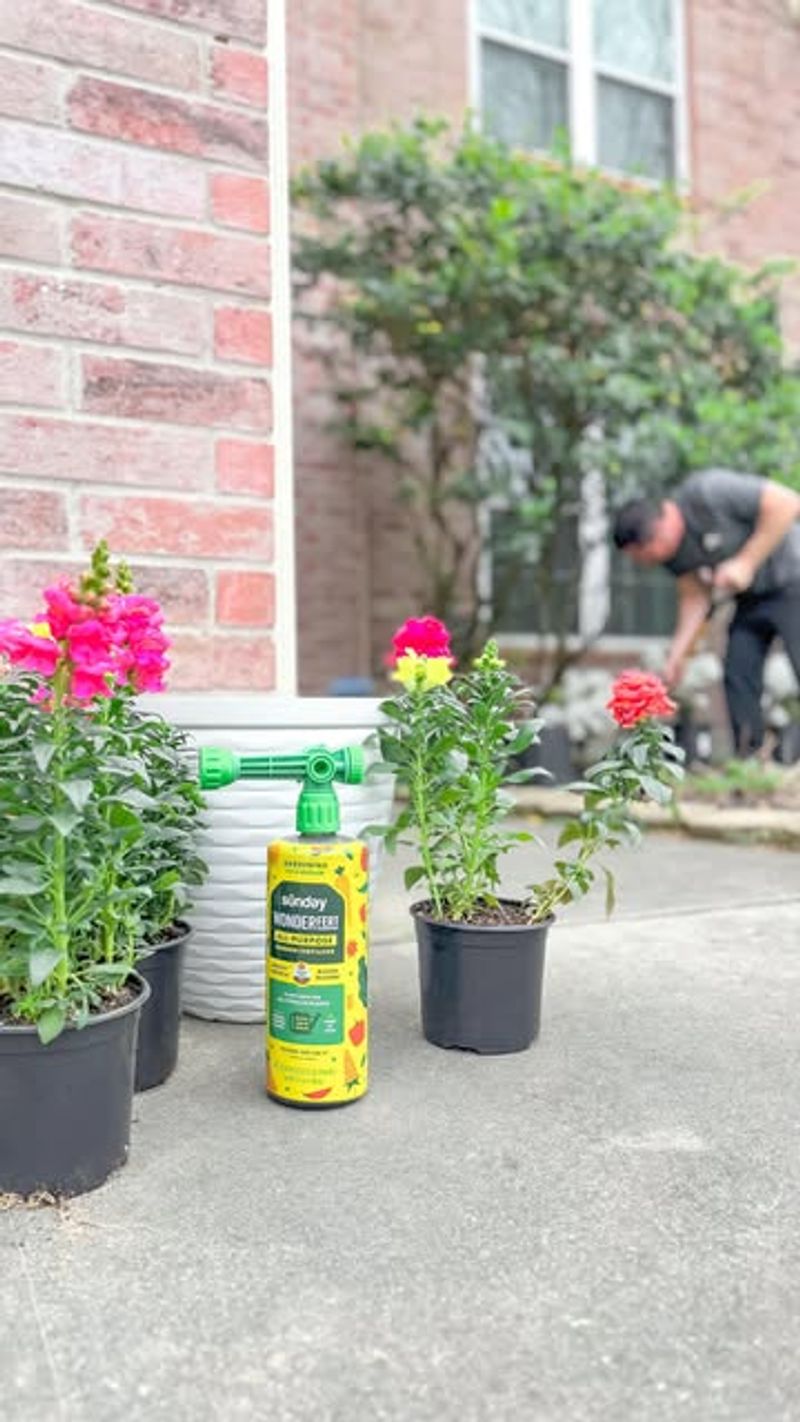
Frequent watering leaches nutrients from container soil much faster than garden beds. Supplementing slow-release fertilizer with liquid feeding provides immediate nutrition that hungry annuals quickly absorb.
Every other week, I apply half-strength liquid fertilizer when watering. This routine maintains steady growth without the feast-famine cycle that can occur with monthly feeding at full strength.
Water plants thoroughly before applying liquid fertilizer to prevent root burn. Apply in early morning or evening when temperatures are cooler for best absorption and to minimize foliage burn risk.
11. Trim Back Leggy Growth

By midsummer, many annuals develop long, sparse stems with fewer flowers at the tips. A bold haircut stimulates dense, compact growth and fresh flowering.
The first time I cut back my leggy petunias by half their length, I worried I’d killed them. Two weeks later, they exploded with new growth and more flowers than ever before.
Use sharp scissors to cut stems back by one-third to one-half their length. Make cuts just above leaf nodes where new growth will emerge. Follow this pruning with a dose of liquid fertilizer to fuel the comeback.
12. Rotate Containers Weekly
Plants naturally grow toward light sources, often creating lopsided growth when containers stay in one position. Regular rotation promotes even growth and a fuller appearance from all angles.
Turning containers a quarter turn weekly has become part of my watering routine. My geraniums and begonias develop more symmetrical shapes with flowers all around instead of just facing one direction.
For heavier containers, place them on plant caddies with wheels before filling with soil. This makes rotation effortless and allows you to move them to protected areas during severe weather.
13. Protect From Extreme Weather
Container plants are more vulnerable to temperature extremes than garden plants because their roots aren’t insulated by surrounding earth. Taking protective measures during weather events prevents damage.
During a surprise late spring frost, I saved my newly planted containers by moving them to the garage overnight. That quick action preserved weeks of potential flowering that neighbors lost.
For heat waves, temporarily relocate containers to morning-sun-only locations or use shade cloth to filter intense afternoon rays. During heavy rain, move containers under eaves to prevent soil saturation and nutrient leaching.
14. Group Containers For Humidity

Clustering pots creates a microclimate with higher humidity that most annuals love. This arrangement reduces water stress and creates a lush garden feel even in small spaces.
My patio corner with grouped containers stays visibly moister between waterings compared to isolated pots. Plants at the center of the grouping rarely show drought stress even during hot spells.
Leave some breathing room between pots to maintain air circulation, which prevents fungal issues. Arranging containers at varying heights adds visual interest while still allowing each plant to receive adequate light.
15. Monitor For Pests Weekly
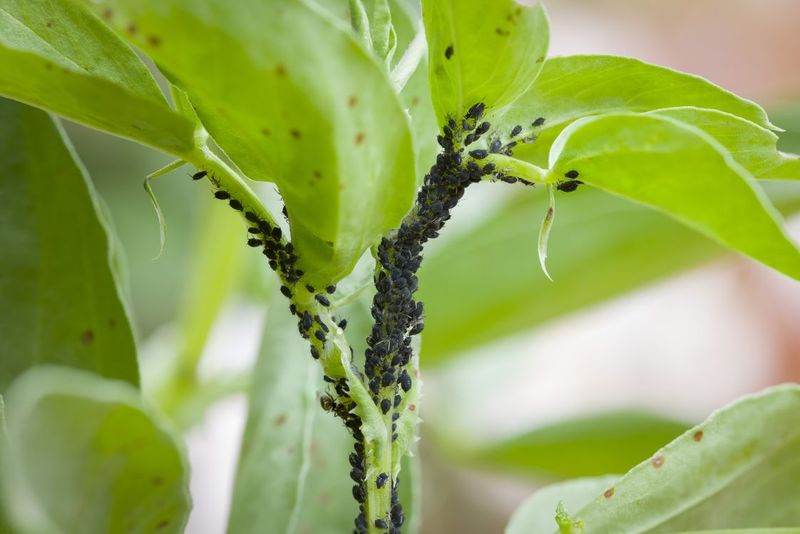
Early detection makes pest control simpler and more effective. Taking a few minutes each week to inspect leaves, stems, and soil surfaces can prevent minor issues from becoming infestations.
Flipping leaves to check undersides has saved my containers numerous times. That’s where aphids, spider mites, and whiteflies often begin their attacks, hidden from casual observation.
Keep a spray bottle of insecticidal soap ready for immediate spot treatment. For organic prevention, I’ve had great success introducing beneficial insects like ladybugs early in the season before problems develop.
16. Refresh Soil Surface Monthly

The top layer of container soil often becomes compacted, developing a crust that repels water instead of absorbing it. Gently loosening this surface improves water penetration and root aeration.
Using a small fork or cultivator tool, I carefully scratch the top half-inch of soil without disturbing roots. The difference in water absorption is immediately noticeable – no more runoff down the sides of pots.
After loosening, top off with a thin layer of fresh potting mix to replace what has decomposed or washed away. This simple refresh gives plants a boost similar to what garden plants get from natural soil processes.
17. Clean Containers Before Reusing
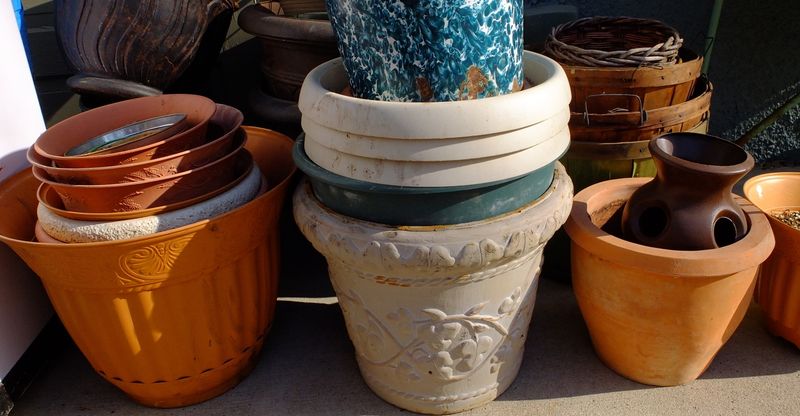
Old potting soil harbors disease organisms, insect eggs, and weed seeds that can affect new plantings. Thorough cleaning between seasons creates a fresh start for next year’s annuals.
My routine includes emptying containers completely, scrubbing with a 10% bleach solution, and allowing them to dry thoroughly. Since implementing this practice, I’ve seen fewer disease issues in successive plantings.
Terracotta pots benefit from soaking in water before the bleach solution to remove mineral deposits. Plastic containers should be checked for cracks that might allow roots to dry out or become damaged by extreme temperatures.
18. Elevate Containers For Drainage
When pots sit directly on solid surfaces, drainage holes can become blocked, leading to waterlogged soil and root rot. Creating space underneath allows excess water to escape freely.
Pot feet, small stones, or even bottle caps work perfectly as spacers. After elevating my containers just half an inch, I noticed they drained more completely and the soil dried more evenly throughout.
This small gap also prevents staining on decks and patios from soil that would otherwise seep out during watering. For wooden surfaces, this protection extends their life by reducing constant moisture contact.