19 Essential Tips For Growing Chamomile From Seeds (And What To Do If It Gets Leggy)
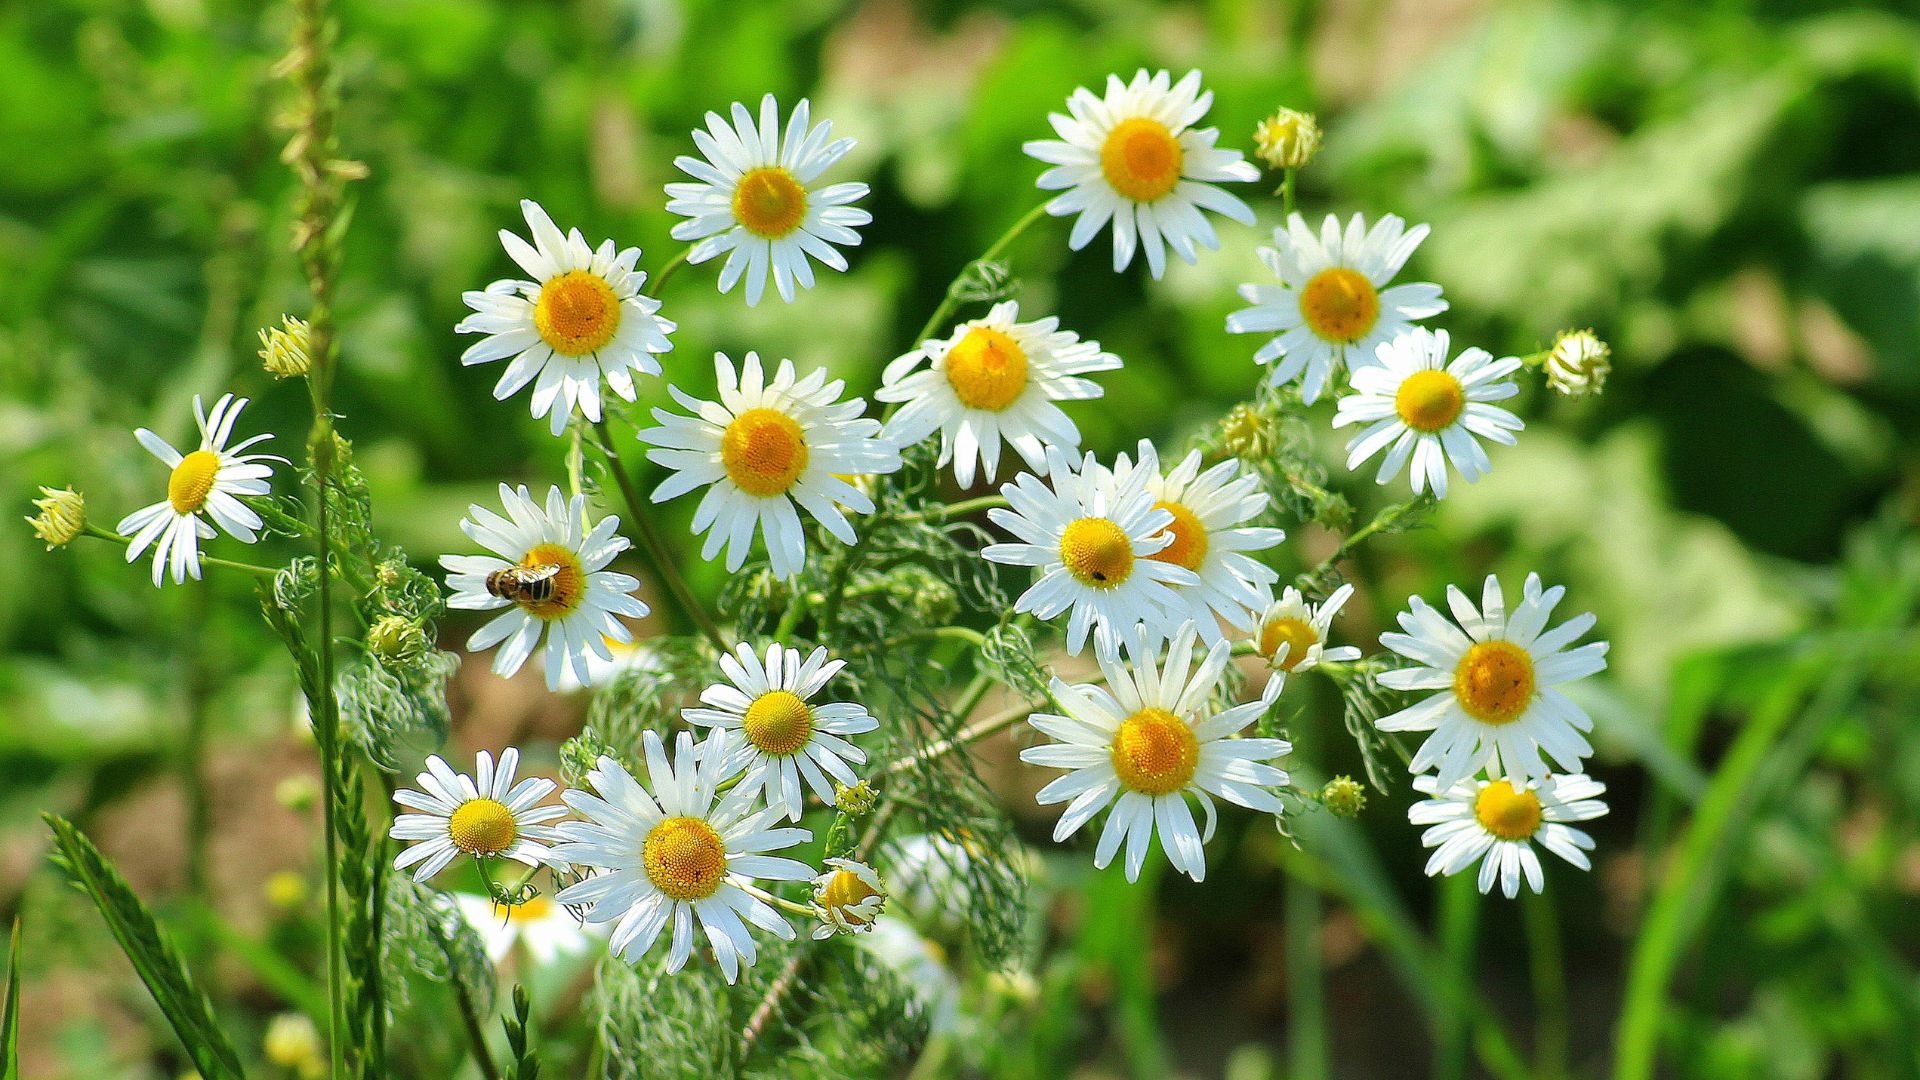
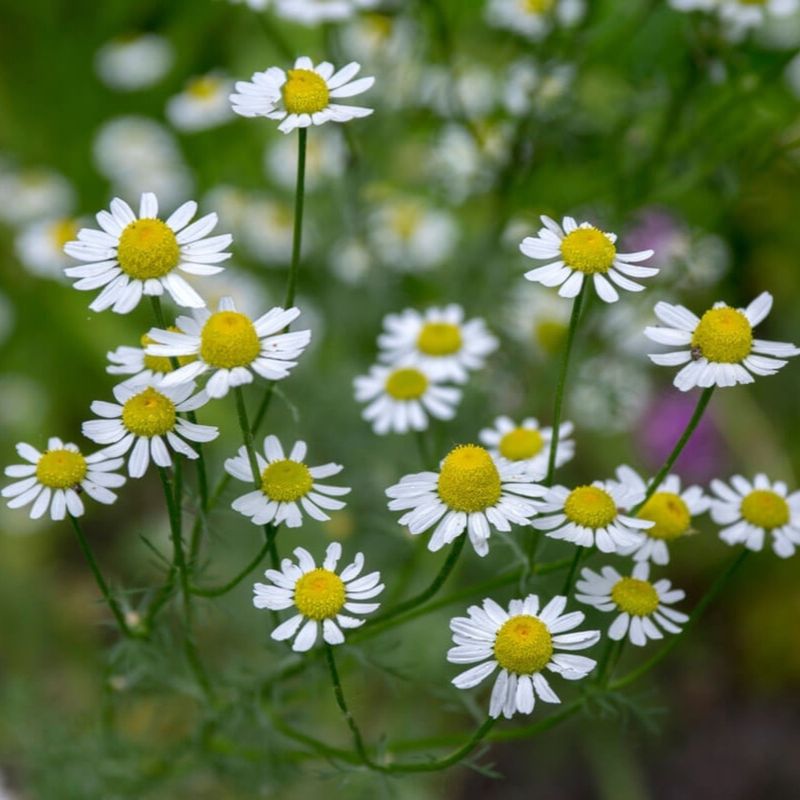
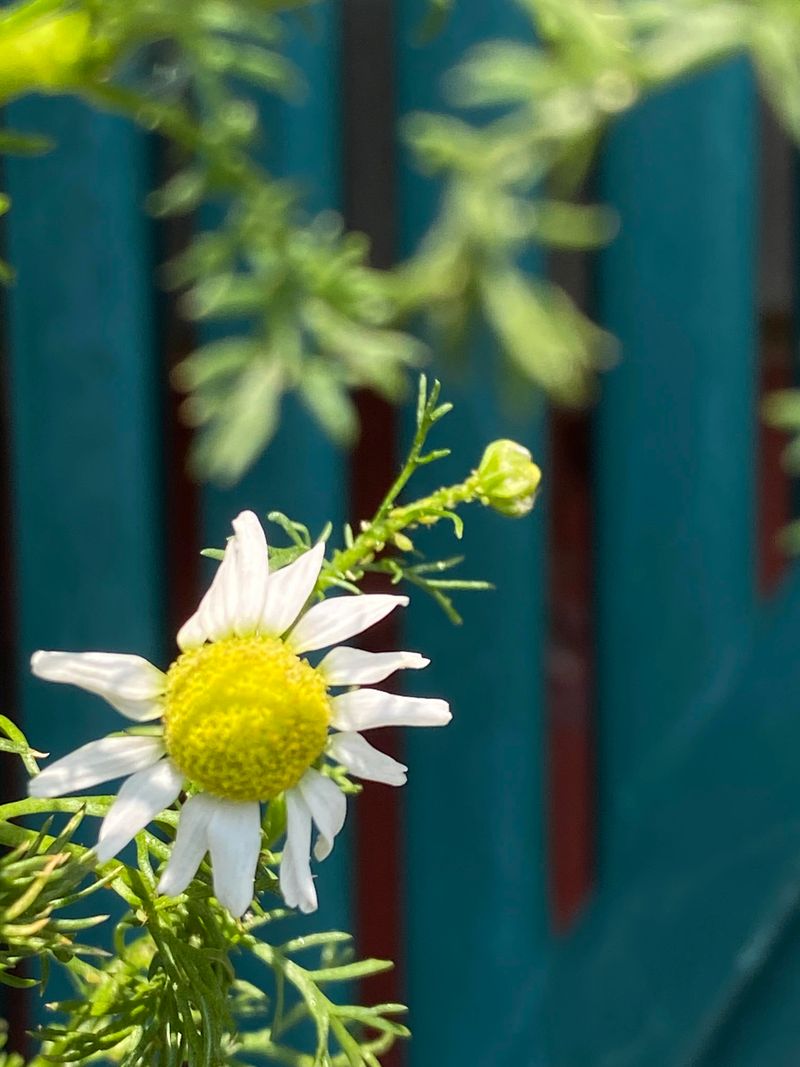
Chamomile isn’t just charming—it’s one of the most soothing herbs you can grow. Its dainty white blooms bring beauty to your garden and brew into tea that calms the soul. Starting from seed might feel tricky, but a few key tips make all the difference.
Sow seeds on moist, well-draining soil and gently press them in—they need light to germinate, so don’t bury them. Keep the area consistently damp, and you’ll usually see sprouts within a week or two. To prevent leggy growth, give the seedlings bright light early on and thin them as they grow.
Regular trimming encourages bushiness, and soon you’ll have a flourishing patch ready for harvesting, sipping, and admiring.
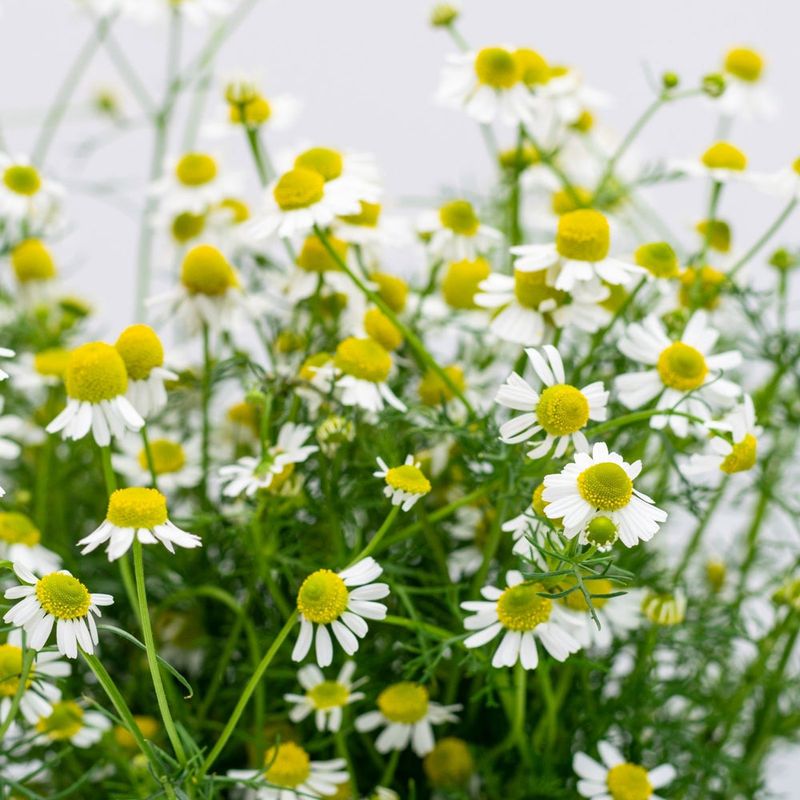
1. Choose The Right Chamomile Variety
German chamomile (Matricaria recutita) and Roman chamomile (Chamaemelum nobile) are the two main types you’ll encounter. German is an annual that grows taller with more abundant flowers, making it ideal for tea.
Roman chamomile is a low-growing perennial that forms a lovely ground cover. It produces fewer flowers but returns year after year. I’ve found German chamomile easier for beginners since it’s more forgiving.
For first-timers, I recommend starting with German chamomile seeds—they germinate more reliably and produce flowers in their first season.
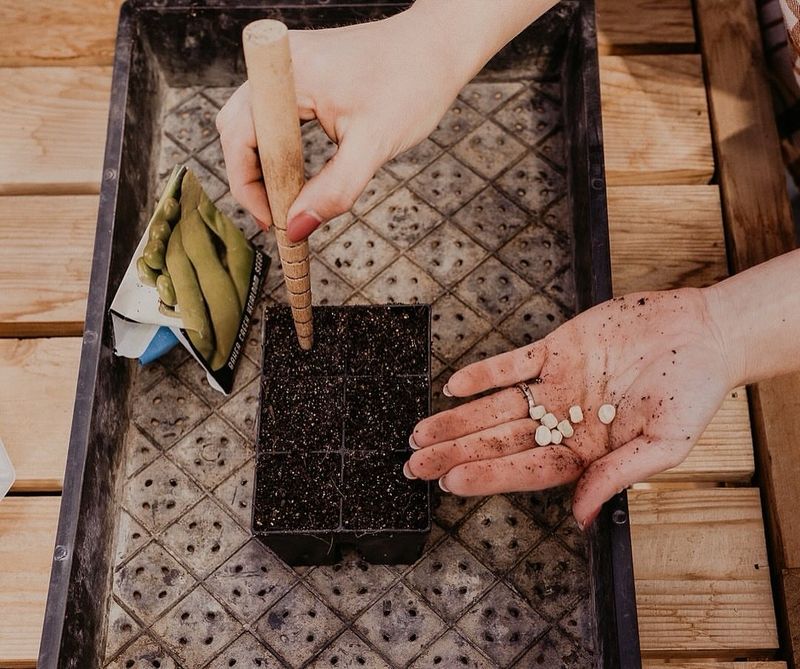
2. Start Seeds Indoors For A Head Start
Beginning your chamomile journey indoors gives plants a 6-8 week advantage before the last frost. Use a seed-starting tray with good drainage and fill it with a light, sterile seed-starting mix.
The tiny seeds should barely be covered with soil—just a dusting will do. One mistake I made early on was burying them too deep. They need light to germinate, so press them gently onto the surface instead.
Keep the soil consistently moist using a spray bottle to avoid washing away the small seeds. Germination typically happens within 7-14 days when kept at 65-70°F.
3. Direct Sowing Success Strategies
If you prefer planting directly in your garden, wait until after the last frost when soil temperatures reach about 60°F. The ground should be prepared by removing weeds and breaking up any clumps for a fine seedbed texture.
Mix the tiny seeds with fine sand before sowing to distribute them more evenly. This trick helped me avoid overcrowded patches that lead to competition and leggy growth.
Since chamomile seeds need light to germinate, simply press them into the soil surface rather than covering them. Water gently with a fine mist to avoid displacing the seeds.
4. Perfect Your Watering Technique
Watering chamomile correctly is crucial—especially during germination and early growth stages. Use a spray bottle or mister for seedlings to maintain moisture without disturbing the delicate plants.
Once established, these plants prefer consistent moisture but hate soggy roots. I’ve had better results letting the soil surface dry slightly between waterings, creating stronger plants with deeper roots.
During hot summer days, water in the morning so foliage has time to dry before evening. This simple timing adjustment prevents fungal issues that can devastate your chamomile patch.
5. Light Requirements For Sturdy Growth
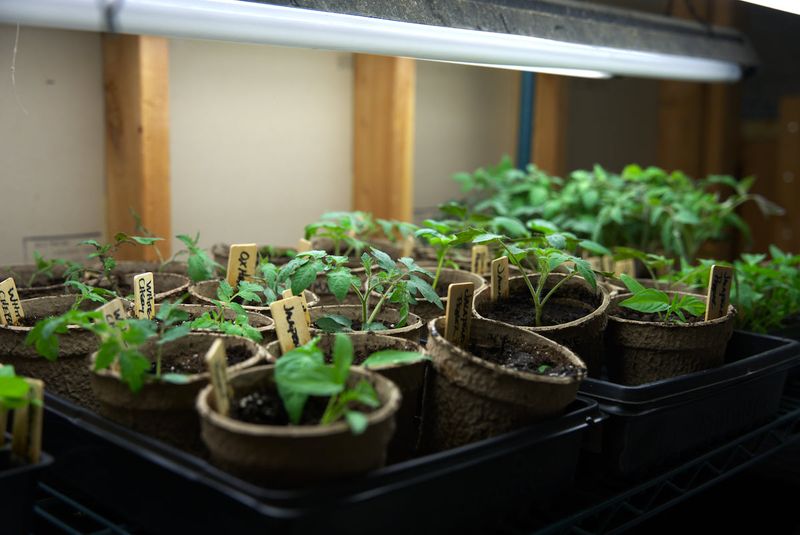
Proper lighting prevents the legginess that plagues many chamomile growers. These sun-loving plants need at least 6 hours of direct sunlight daily to develop strong, compact stems instead of stretched-out ones.
For indoor seedlings, place them under grow lights positioned just 2-3 inches above the plants. I learned to adjust the lights upward as plants grow, keeping them close without touching the foliage.
If growing on a windowsill, rotate containers daily to prevent plants from leaning toward the light source. This simple habit creates more symmetrical, sturdy plants.
6. Soil Mix That Promotes Strong Roots
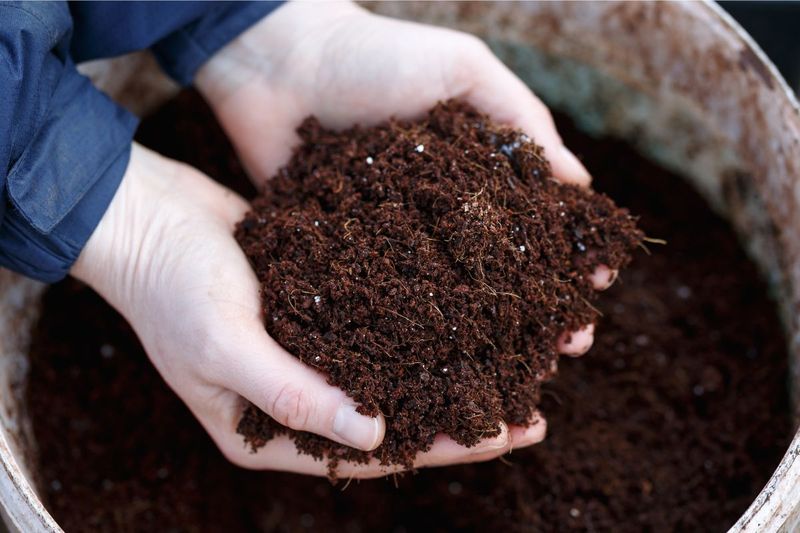
Creating the right growing medium makes a tremendous difference in chamomile’s development. These plants thrive in well-draining soil with moderate fertility—nothing too rich.
My best results came from mixing regular garden soil with about 30% sand or perlite to improve drainage. Adding excessive compost or fertilizer actually encourages floppy, weak growth rather than the sturdy stems we want.
For container growing, use a lightweight potting mix amended with a handful of sand. The slightly lean conditions encourage stronger root development and more compact, resilient plants.
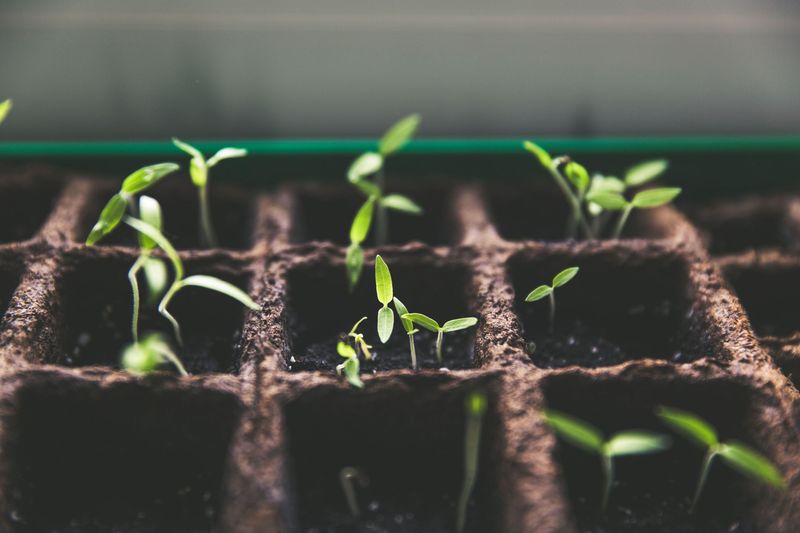
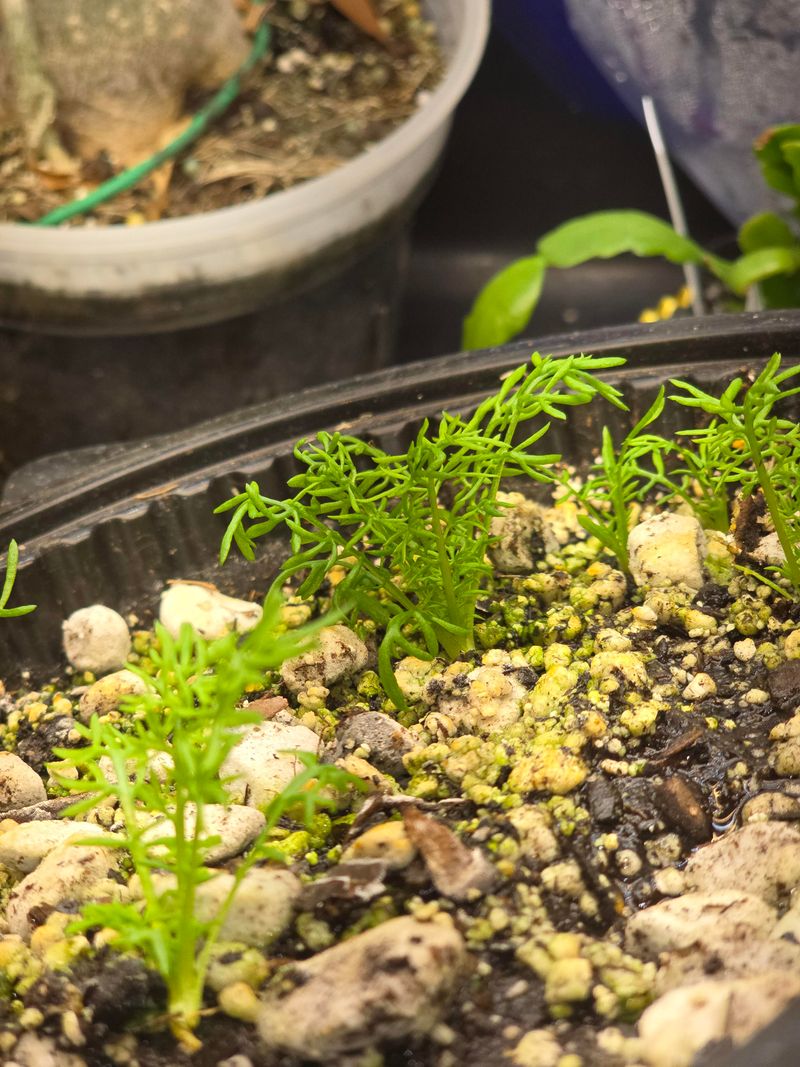
7. Thinning Seedlings For Healthier Plants
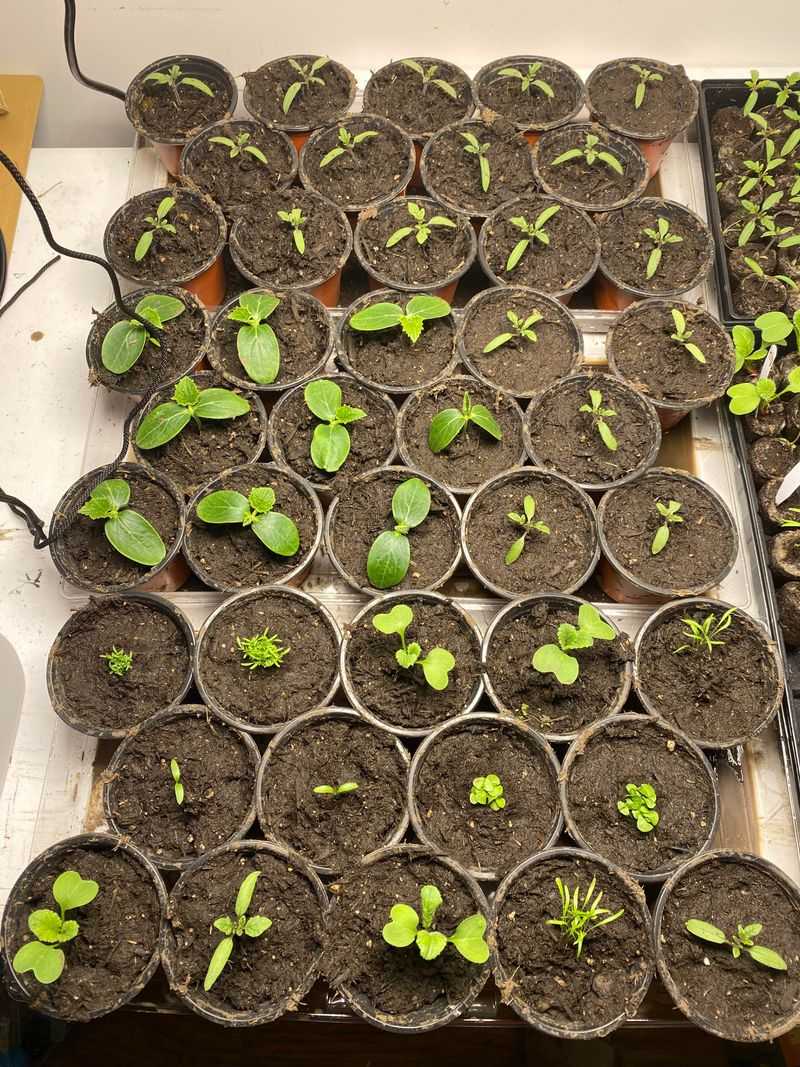
Overcrowded chamomile inevitably becomes leggy as plants compete for light. Once seedlings develop their first true leaves (the second set that appears), it’s time to thin them out.
Space plants about 8-10 inches apart for German chamomile and 12-18 inches for Roman varieties. Instead of pulling extras, which can disturb remaining roots, snip them at soil level with scissors.
This thinning process feels counterintuitive—I used to hate removing healthy seedlings—but it’s essential for air circulation and prevents the competition that leads to weak, stretched stems.
8. Prevent Legginess With Proper Feeding
Contrary to what you might expect, overfeeding chamomile actually contributes to leggy growth. These herbs naturally prefer poorer soil conditions and become lanky when given too much nitrogen.
If fertilizing, use a balanced, diluted organic fertilizer at half the recommended strength. I apply it just once monthly during the growing season, which provides enough nutrients without promoting excessive leafy growth.
For truly robust plants, consider skipping fertilizer altogether in average garden soil. My most compact, flower-filled plants have always been those growing in leaner conditions.
9. Pinch Back Early For Bushier Growth
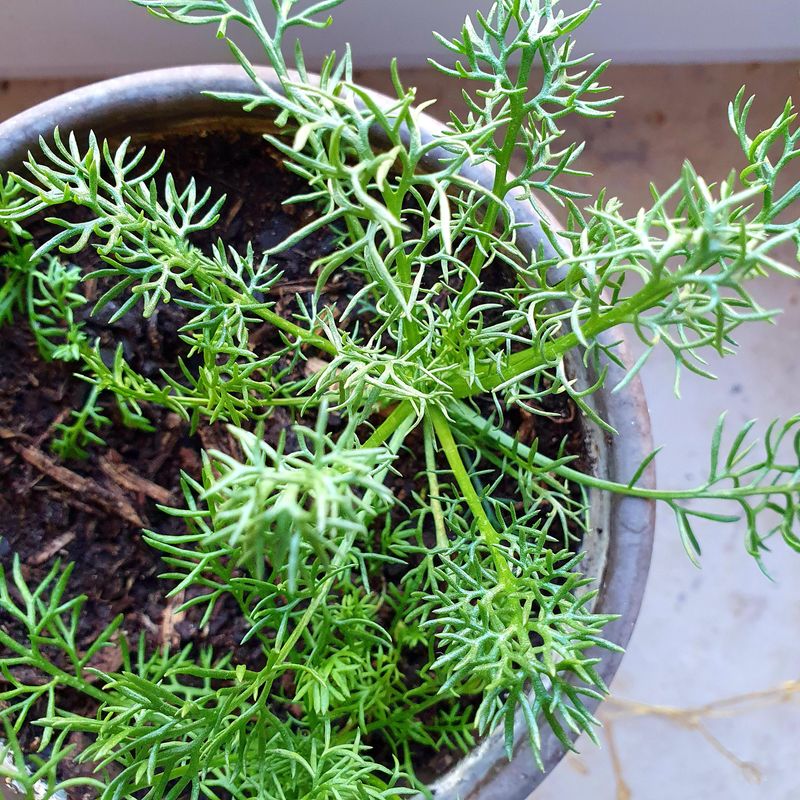
Strategic pinching creates fuller, more productive chamomile plants. When seedlings reach about 4-6 inches tall with several sets of true leaves, pinch off the top 1/2 inch of growth using your fingernails or small scissors.
This simple technique signals the plant to branch out rather than growing straight up. The first time I tried this, I was amazed at how my previously spindly plants transformed into compact, flower-covered bushes.
For continued bushiness, pinch again when new growth reaches 3-4 inches. This approach works especially well for container-grown chamomile that tends to stretch upward.
10. Container Growing Solutions
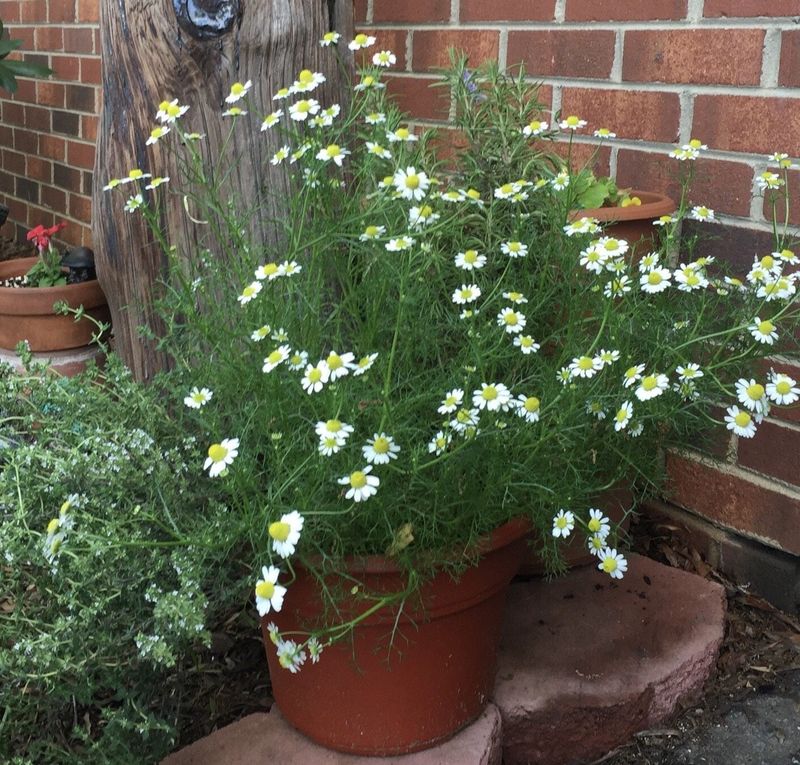
Growing chamomile in pots requires some special considerations to prevent legginess. Choose containers at least 8 inches deep with excellent drainage holes to accommodate their root systems.
Container plants dry out faster than those in the ground, so check moisture levels daily. Allowing soil to dry slightly between waterings encourages stronger stems.
Position potted chamomile where it receives full morning sun but gets some afternoon shade in hot climates. I rotate my containers a quarter turn each time I water to ensure even growth on all sides.
11. Wind Exposure Builds Stronger Stems
Gentle wind exposure acts as natural strength training for chamomile stems. Plants grown in completely sheltered locations often develop weaker, more elongated stems than those exposed to light breezes.
If starting indoors, set up a small fan to blow gently across seedlings for a few hours daily. This mimics natural conditions and stimulates stronger cell development in the stems.
Once outdoors, avoid planting in completely windless corners. My garden’s slightly breezy section consistently produces the sturdiest chamomile plants with stems that rarely flop over, even after rain.
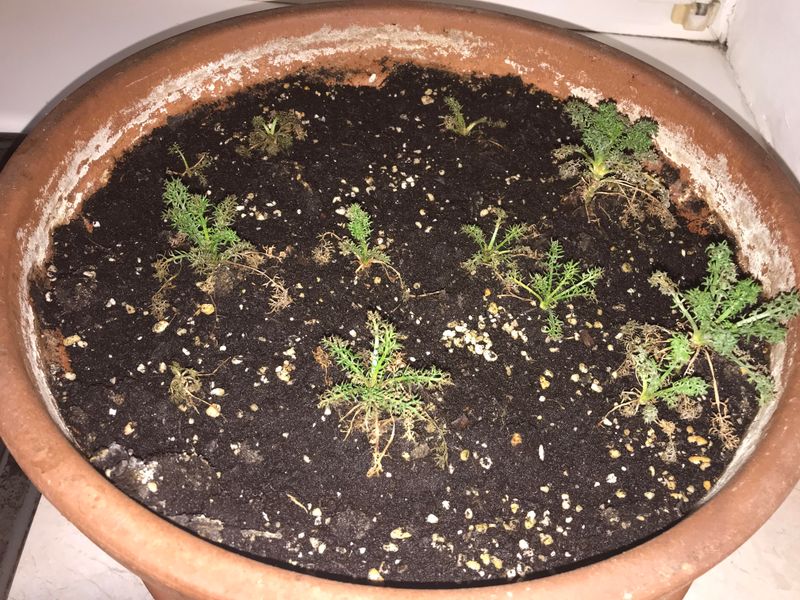
12. Rescuing Already Leggy Seedlings
If your chamomile has already stretched out, don’t despair—it can be salvaged. First, immediately increase light exposure by moving plants to a sunnier location or lowering grow lights to just a few inches above them.
Next, repot leggy seedlings deeper, burying up to two-thirds of the stretched stem. Unlike some plants, chamomile can develop new roots along buried stems, effectively transforming a leggy plant into a normal one.
Finally, pinch back the top growth to encourage branching. With these interventions, I’ve successfully rescued trays of stretched-out seedlings that went on to become productive plants.
13. Provide Support For Tall Varieties
German chamomile can reach 24-30 inches tall and sometimes benefits from light support, especially in windy areas or after heavy rain. Small bamboo stakes or twiggy branches inserted near the plant base provide natural-looking support.
Instead of tying individual stems, create a grid pattern with string between stakes to form a supportive net. The plants grow through this network naturally without looking artificially propped up.
I’ve found that adding support early in the season, when plants are about 8 inches tall, works better than trying to rescue already-fallen stems. The plants grow naturally around their supports.
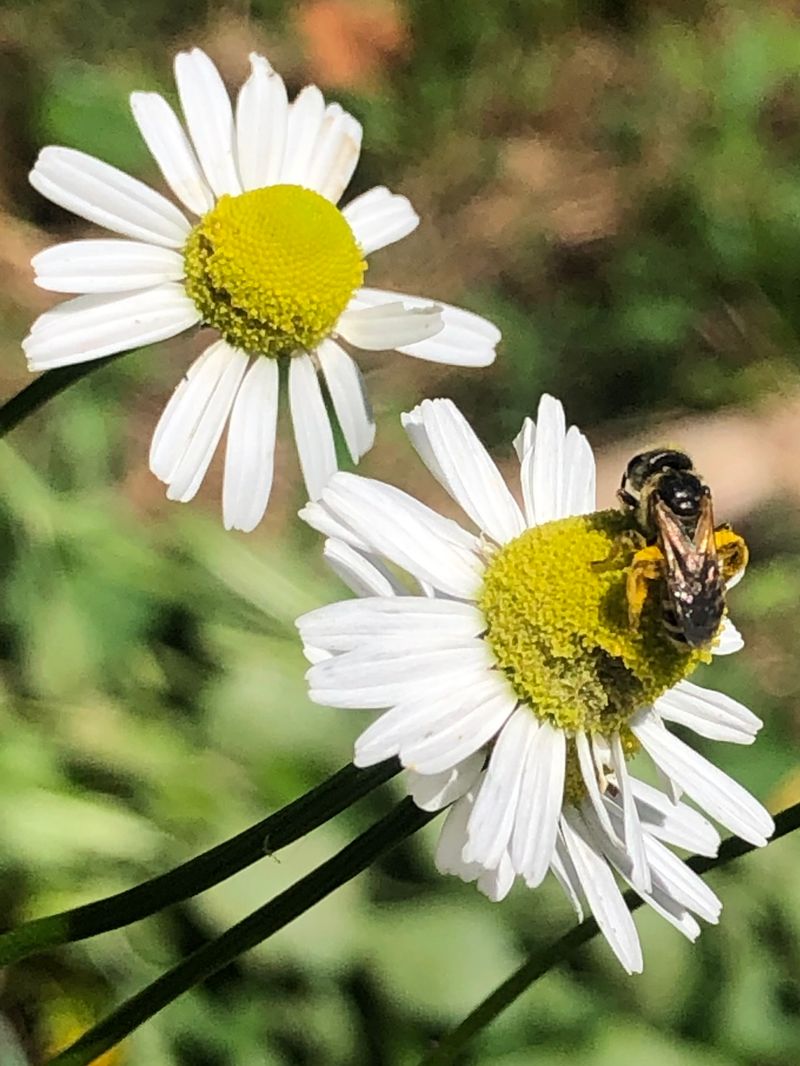
14. Proper Harvesting Promotes Continued Blooming
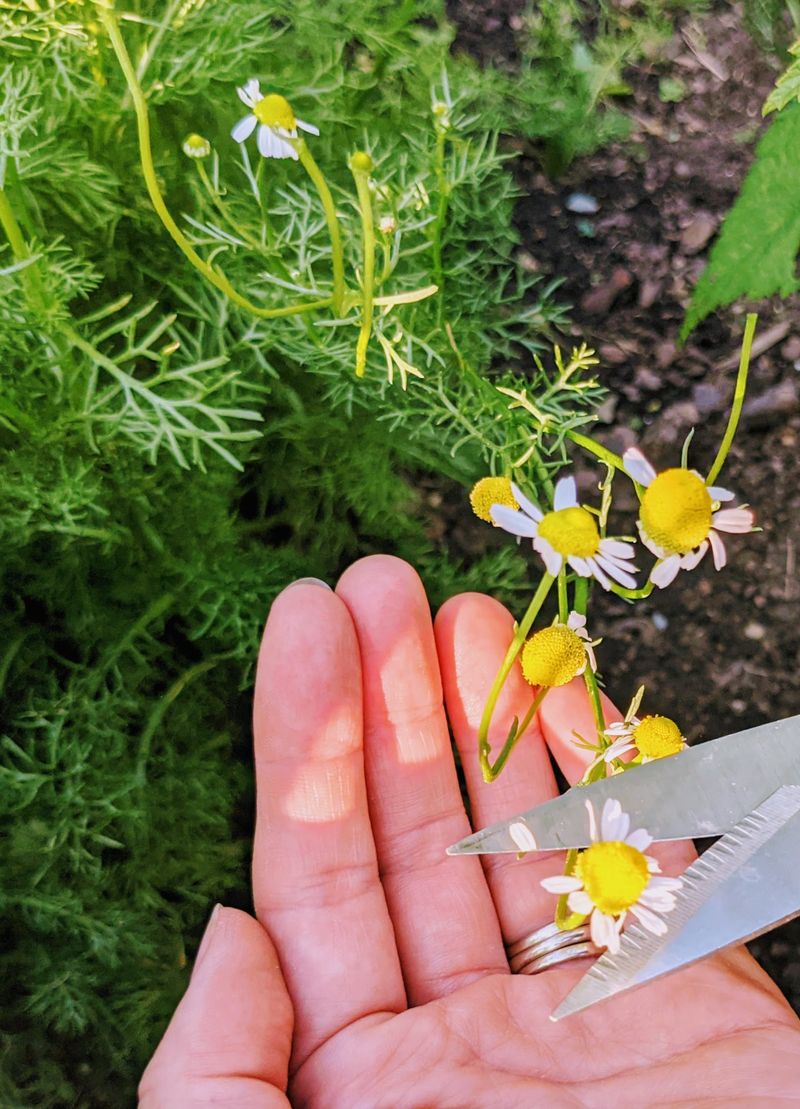
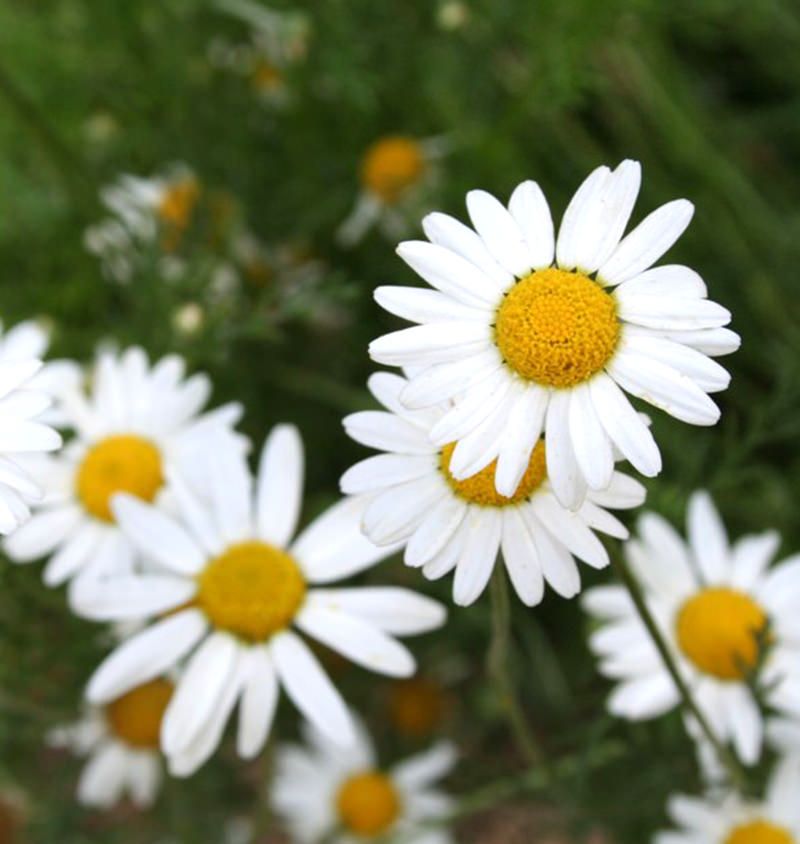
Harvesting chamomile correctly not only gives you the best flowers for tea but also encourages more compact growth. Pick flowers when they’re fully open but still fresh, typically when the white petals are horizontal rather than drooping downward.
Use scissors or your fingertips to snip just below the flower head, leaving the stems intact. Regular harvesting signals the plant to produce more blooms rather than focusing energy on seed production.
The best time to harvest is mid-morning after dew has dried but before the hot sun diminishes essential oils. This timing has consistently given me the most aromatic tea.
15. Temperature Management For Optimal Growth
Chamomile growth patterns are strongly influenced by temperature. Excessive heat can trigger rapid stretching as plants attempt to complete their lifecycle quickly, resulting in leggy growth.
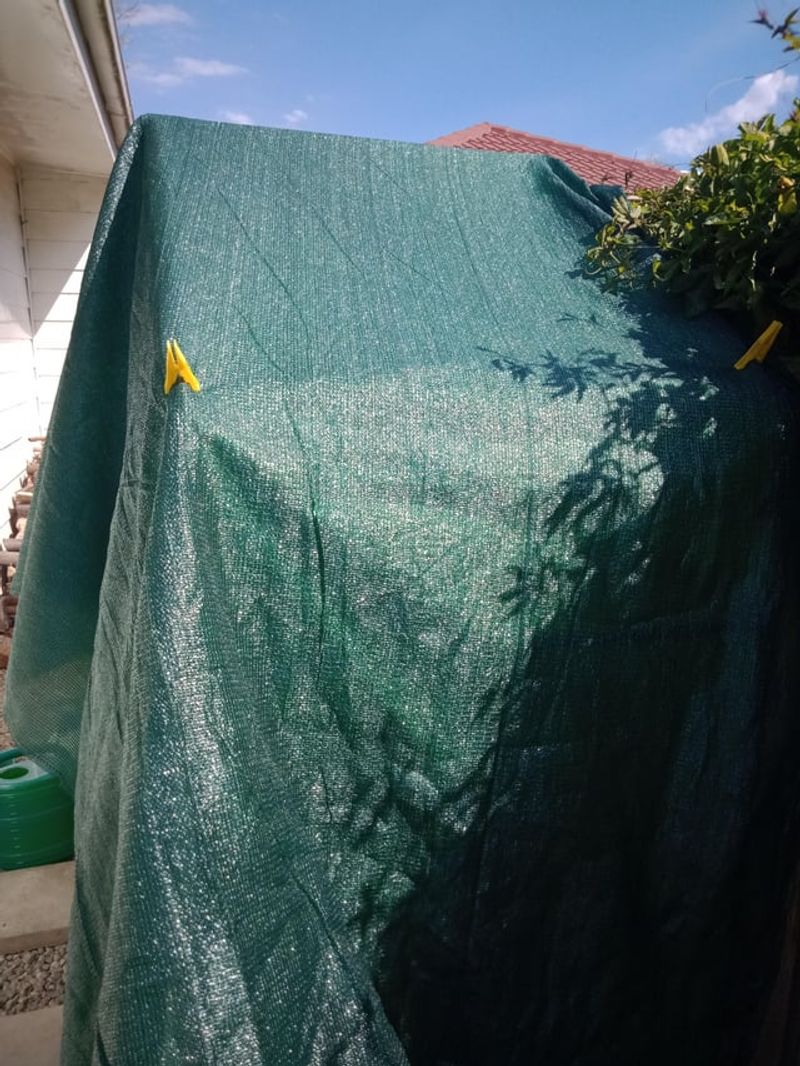
Maintain temperatures between 60-75°F (15-24°C) for optimal development. During summer heat waves, I provide afternoon shade using lightweight row cover or plant chamomile where taller plants cast partial afternoon shadow.
Cool night temperatures (around 55-60°F) actually benefit chamomile by slowing stem elongation. This temperature differential between day and night helps develop stockier, more compact plants with shorter internodes.
16. Companion Planting Benefits
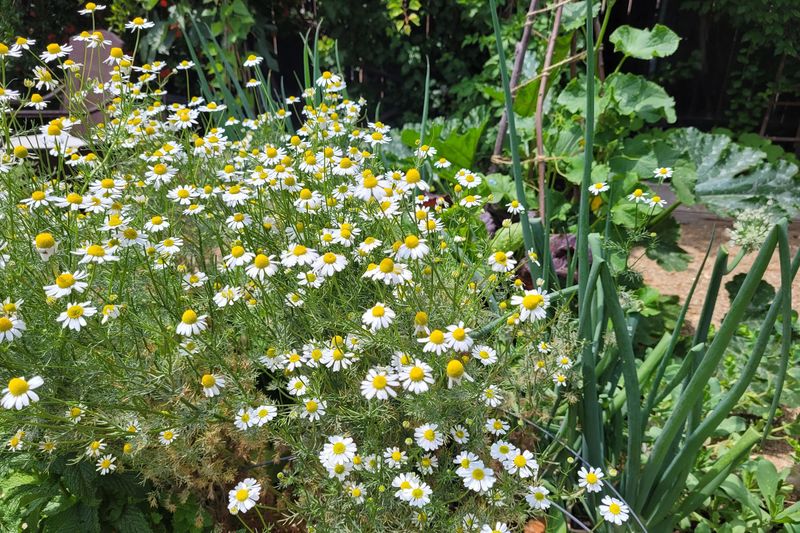
Strategic companion planting enhances chamomile’s growth while deterring pests naturally. Plant chamomile near cabbage, onions, or cucumbers to repel harmful insects that target these vegetables.
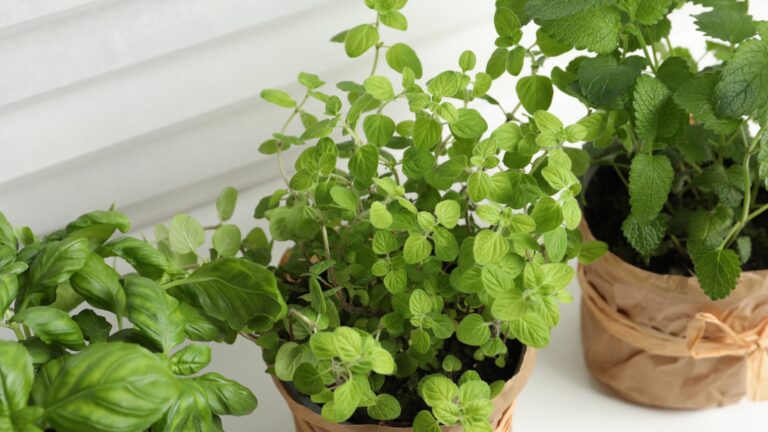
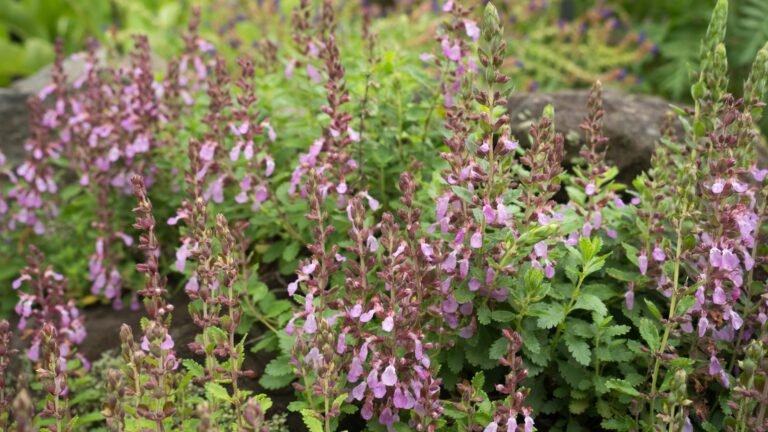
Avoid placing chamomile near mint, which can overwhelm it with aggressive growth. Instead, pair it with basil or sage for mutually beneficial relationships that improve both plants’ vigor and resistance to pests.
My garden’s most successful chamomile patch grows alongside calendula and low-growing thyme. This combination creates a beautiful display while naturally supporting healthier, more resilient plants with fewer pest issues.
17. Dealing With Common Pests Organically
Aphids occasionally target chamomile’s tender new growth, potentially stunting development. At the first sign of these tiny pests, spray plants with a solution of 1 tablespoon mild liquid soap in 1 quart of water.
For fungus gnats in indoor seedlings, allow the soil surface to dry completely between waterings and place yellow sticky traps nearby. Adding a thin layer of sand on top of the soil prevents adult gnats from laying eggs.
Slugs sometimes damage young plants at night. A ring of diatomaceous earth around plants creates an effective barrier they won’t cross. I reapply after rain for continuous protection.
18. Propagating From Cuttings As Backup
While seed starting is common, propagating chamomile from cuttings provides insurance against failed germination. Take 3-4 inch stem cuttings from healthy plants, removing lower leaves and keeping just the top few sets.
Dip cut ends in rooting hormone powder (optional but helpful) and insert into moist seed-starting mix. Cover with a clear plastic dome or bag to maintain humidity while roots develop.
This technique saved my garden when birds ate my newly sprouted seedlings one spring. The cuttings rooted within two weeks and produced compact, healthy plants that flowered abundantly.
19. Overwintering Chamomile Successfully

Roman chamomile can return year after year in zones 4-9 with proper winter preparation. In late fall, apply a 2-inch layer of straw or leaf mulch around plants after the ground freezes to prevent heaving during freeze-thaw cycles.
For German chamomile (an annual), allow some flowers to go to seed at season’s end. They’ll drop seeds naturally, often self-sowing for next year’s plants without any effort on your part.
In cold regions, I bring a few plants indoors before frost to grow on a sunny windowsill. This provides fresh flowers through winter and stems for cuttings to start next season’s garden.