19 Easy DIY Garden Projects To Tackle Before July Ends
The clock’s ticking on peak gardening season—but there’s still plenty of time to add something fresh, fun, and functional to your outdoor space. These 19 easy DIY garden projects are perfect for squeezing the most out of summer.
From quick planter upgrades and pollinator spots to clever storage fixes and backyard style boosts, each idea can be knocked out before July wraps up. No big tools, no major mess—just satisfying results you’ll enjoy all season long.
1. Paint Rock Garden Markers
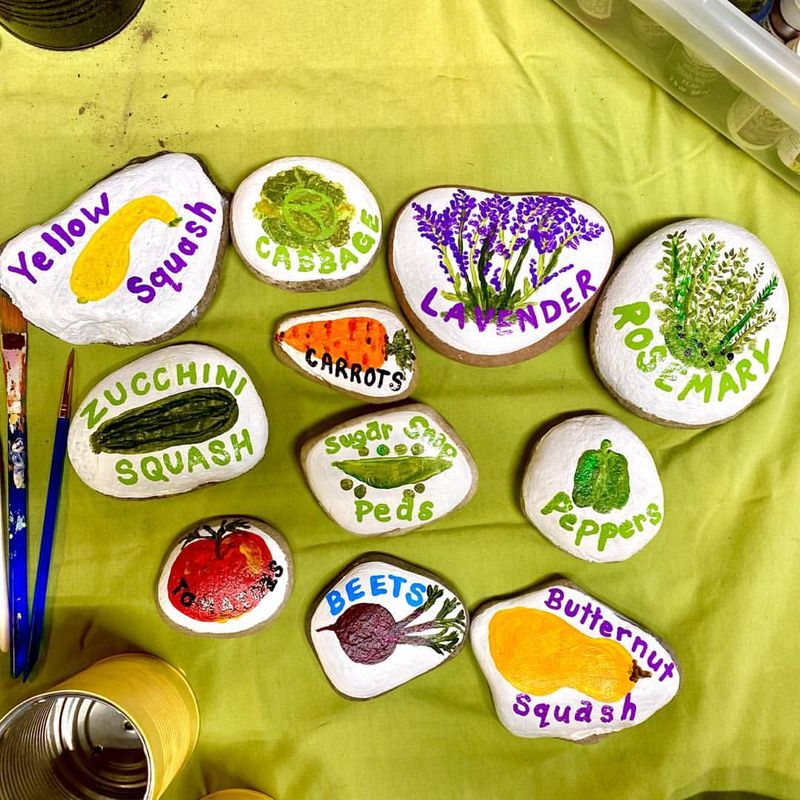
Collecting smooth stones from your yard or a nearby creek gives you perfect canvases for plant markers. Wash them thoroughly, let dry, then use acrylic paints to label each with plant names. The natural variation in rock shapes adds character to your garden beds.
Plus, unlike store-bought plastic markers, these won’t crack in the sun or get brittle over time. Kids love helping with this project too, making it a family-friendly afternoon activity that serves a practical purpose!
2. Build a Simple Trellis
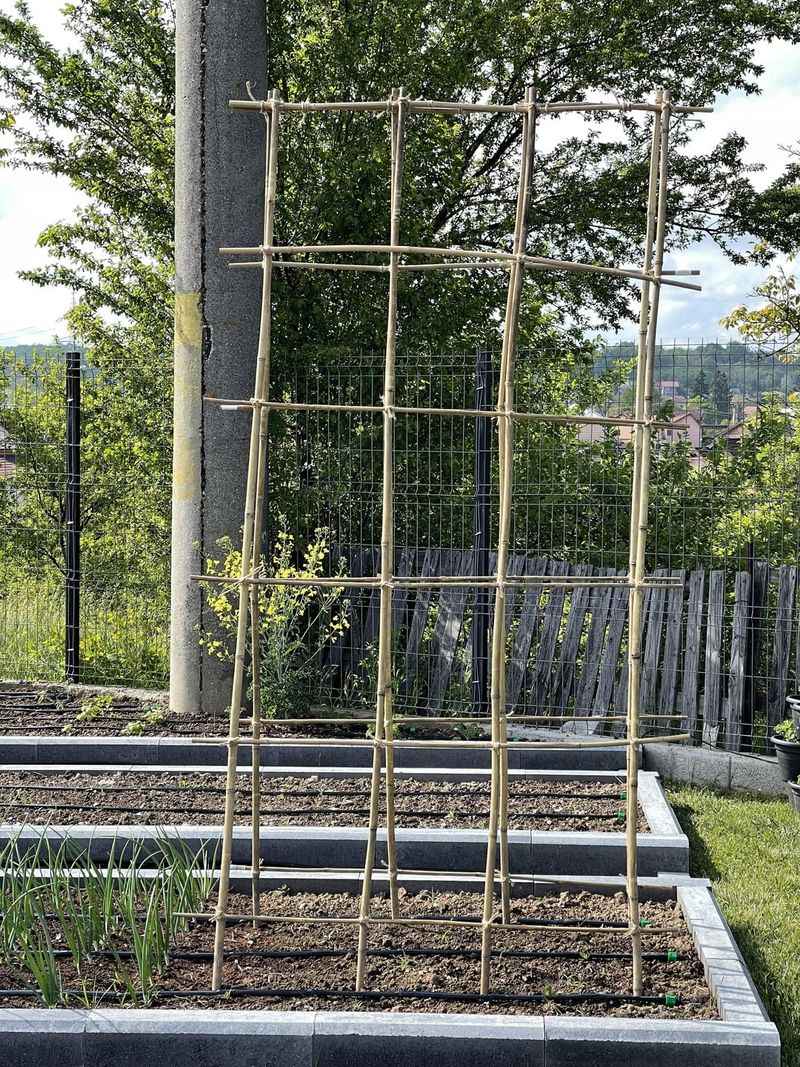
Garden trellises don’t require fancy woodworking skills. Grab some bamboo poles or straight branches and arrange them in a grid pattern, securing the intersections with garden twine or wire. Your climbing plants like cucumbers, beans, or morning glories will thank you for the support.
The vertical growing space maximizes your garden’s footprint while keeping vegetables cleaner and easier to harvest. Position your trellis where it won’t shade smaller plants nearby for best results.
3. Create a Bee Bath
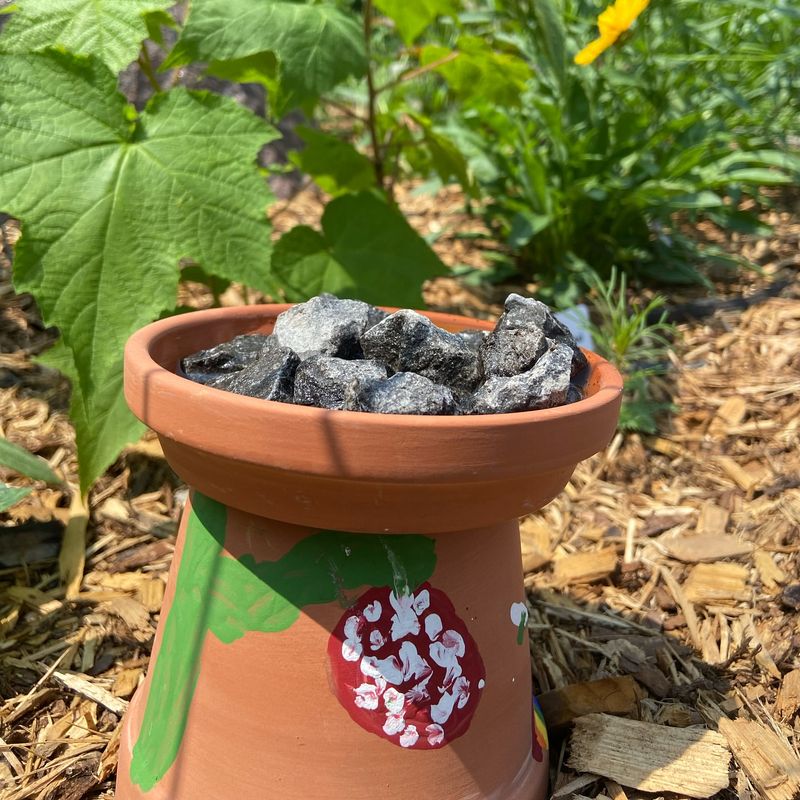
Bees need water too! Fill a shallow dish with clean water and add pebbles or marbles that stick up above the water line. These give bees safe landing spots to drink without drowning. Place your bee bath in a sunny spot near flowering plants where pollinators already visit.
Remember to refill it regularly as water evaporates quickly in July heat. Your garden’s pollination rates will improve, leading to better harvests and more vibrant flowers throughout your yard.
4. Craft Tin Can Lanterns

Empty soup cans transform into magical garden lights with just a few steps. Clean the cans thoroughly, fill with water, and freeze solid. Using a nail and hammer, punch decorative patterns into the frozen cans. Once thawed, spray paint the outsides in colors that complement your garden.
Add wire handles for hanging and pop in battery-operated tea lights or small candles for evening ambiance. Hang several along a fence or from tree branches to create enchanting pathways through your garden at night.
5. Set Up a Rain Gauge Station
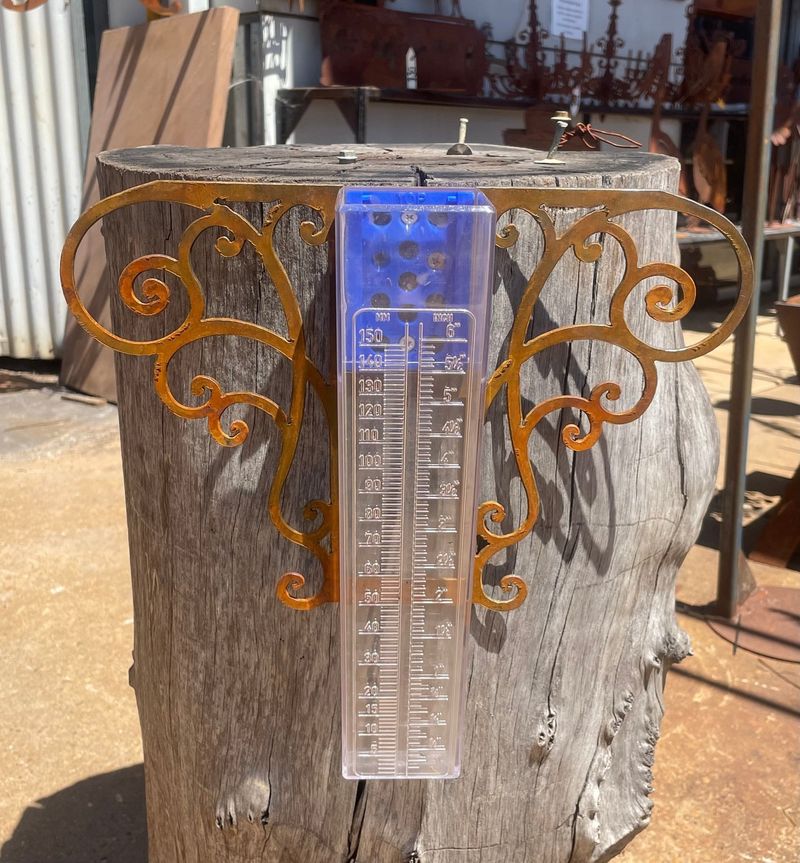
Monitoring rainfall helps you water plants more efficiently. Mount a clear plastic tube to a wooden stake with measurement markings drawn or etched on the side. Position your rain gauge in an open area away from trees or structures that might block rainfall.
Check it after each storm to track how much natural watering your garden received. For extra fun, keep a small garden journal to record rainfall patterns throughout the summer and adjust your watering schedule accordingly.
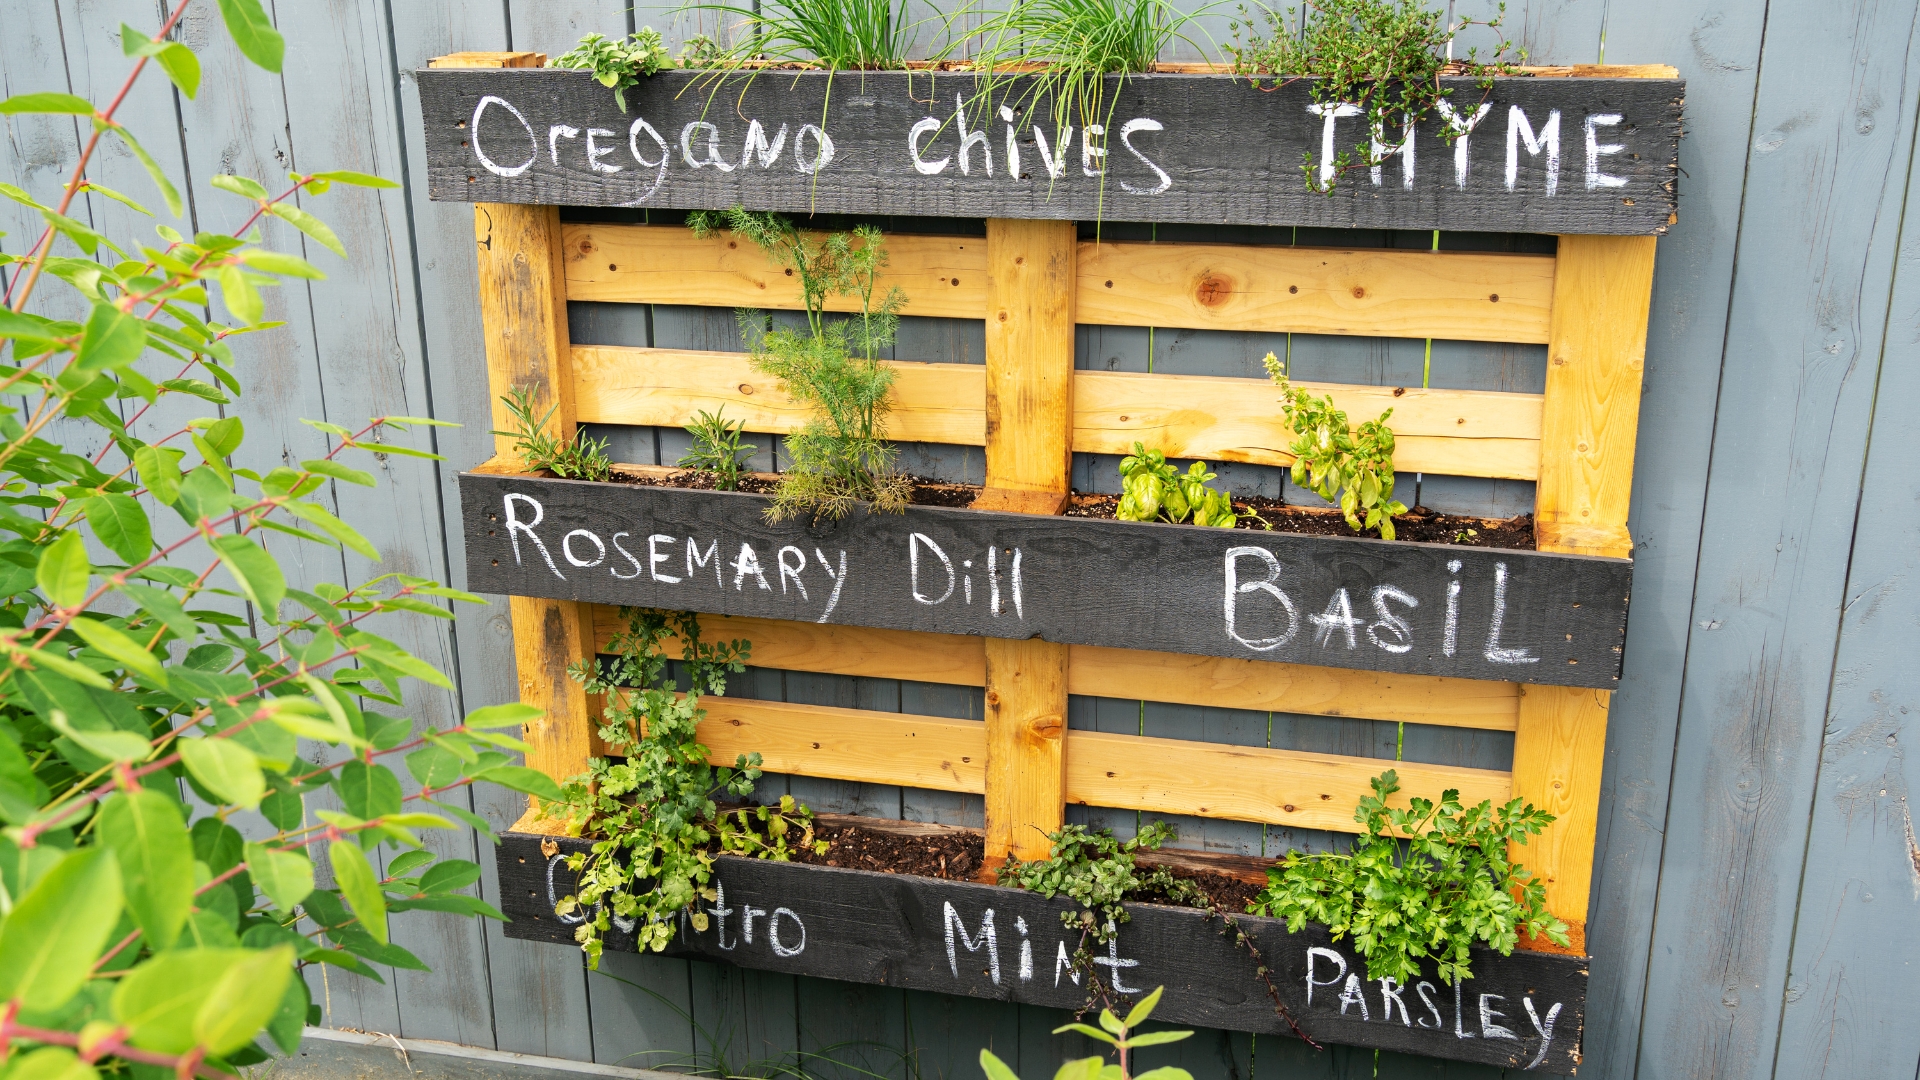
6. Assemble a Pallet Planter
Wood pallets make fantastic vertical gardens with minimal effort. Stand a pallet upright, staple landscape fabric to the back and bottom, then fill with potting soil through the slat openings. Plant herbs, strawberries, or trailing flowers in each opening.
The vertical design saves precious garden space while creating a living wall of greenery. Lean your finished planter against a sunny fence or secure it properly if you’re in a windy area for a space-saving garden feature.
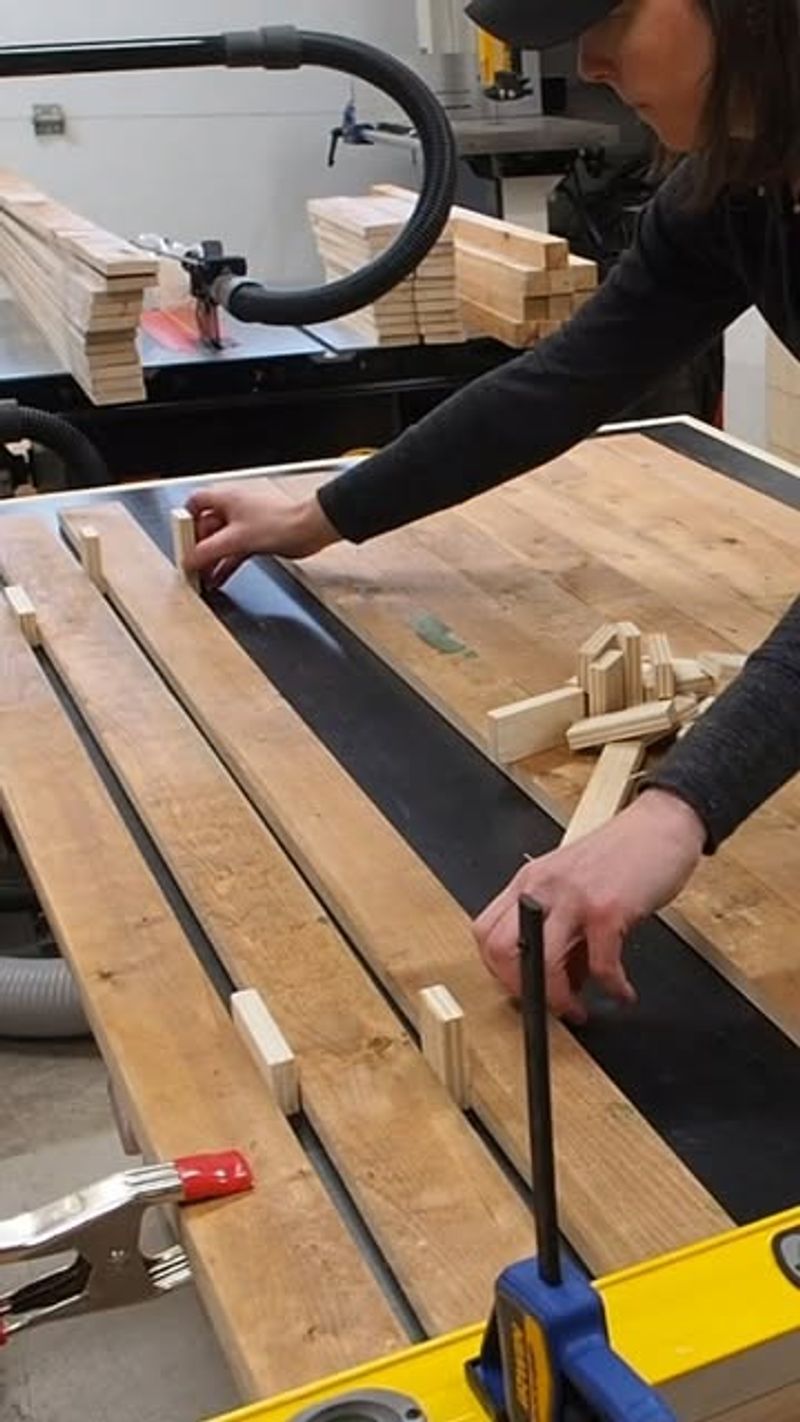
7. Fashion Stepping Stones
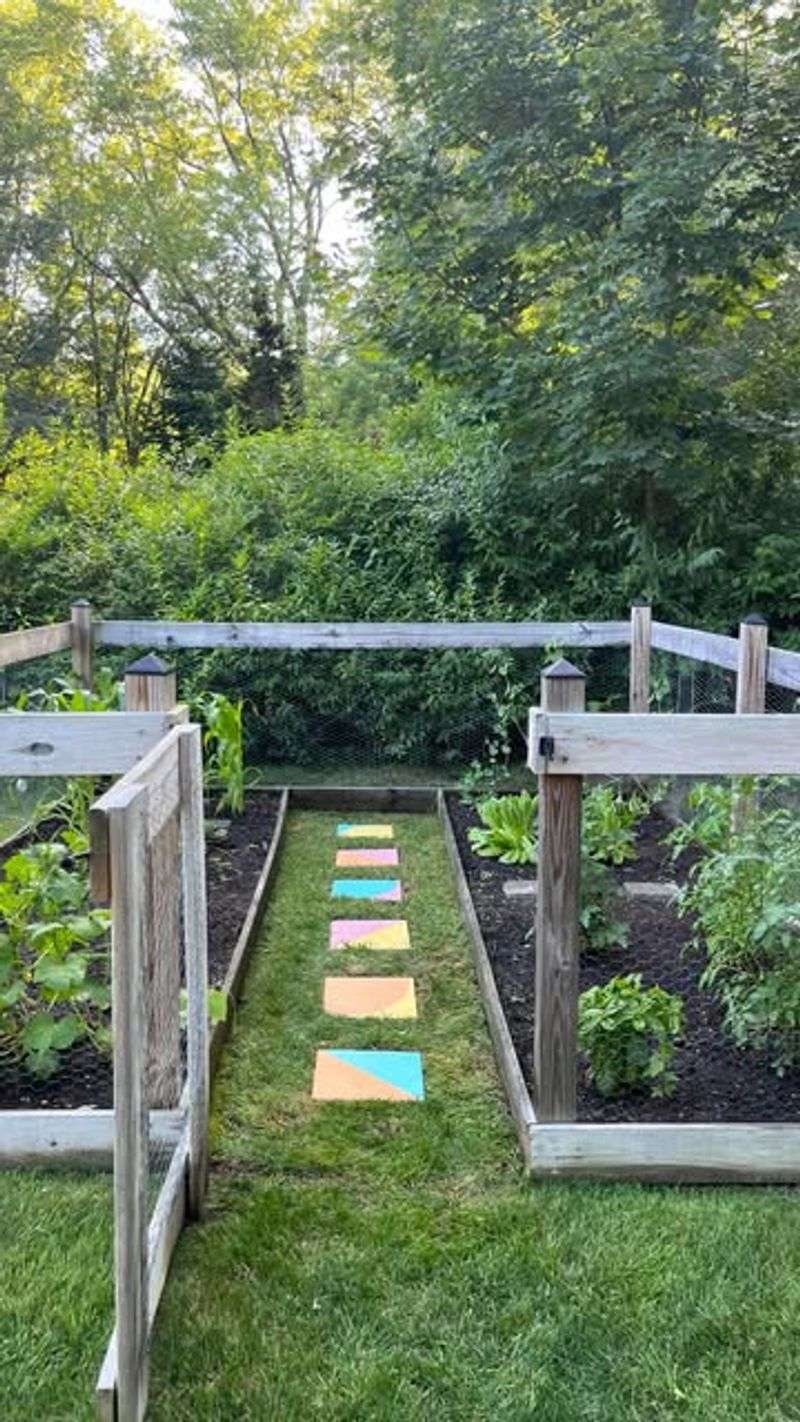
Personalized stepping stones add whimsy to garden pathways. Mix quick-setting concrete in a bucket according to package directions, then pour into plastic molds or repurposed cake pans. While still wet, press in colorful glass beads, pretty stones, or have family members make handprints.
Allow to cure completely before removing from molds and placing throughout your garden beds. Space them at comfortable walking distances to create natural pathways that protect your grass and guide visitors through your garden displays.
8. Hang Mason Jar Solar Lights
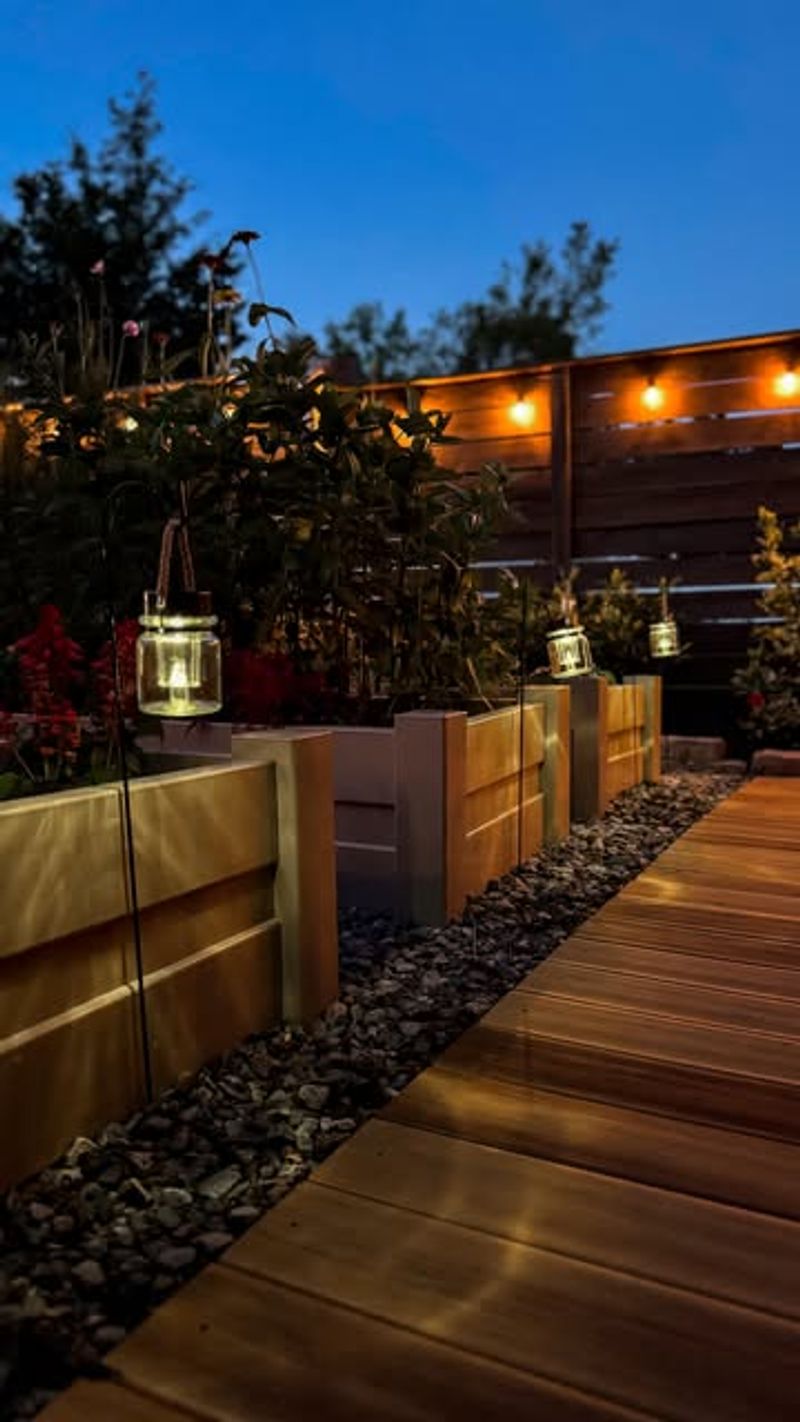
Mason jars paired with dollar store solar lights create magical evening illumination. Remove the solar tops from pathway lights and attach them to mason jar lids with strong glue. Hang your solar jars using wire wrapped around the jar necks, then suspend from shepherd’s hooks or tree branches.
During daytime, they’ll charge up to provide a gentle glow after sunset. For extra sparkle, add a tablespoon of glitter inside each jar before sealing with the solar lid!
9. Construct a Bug Hotel
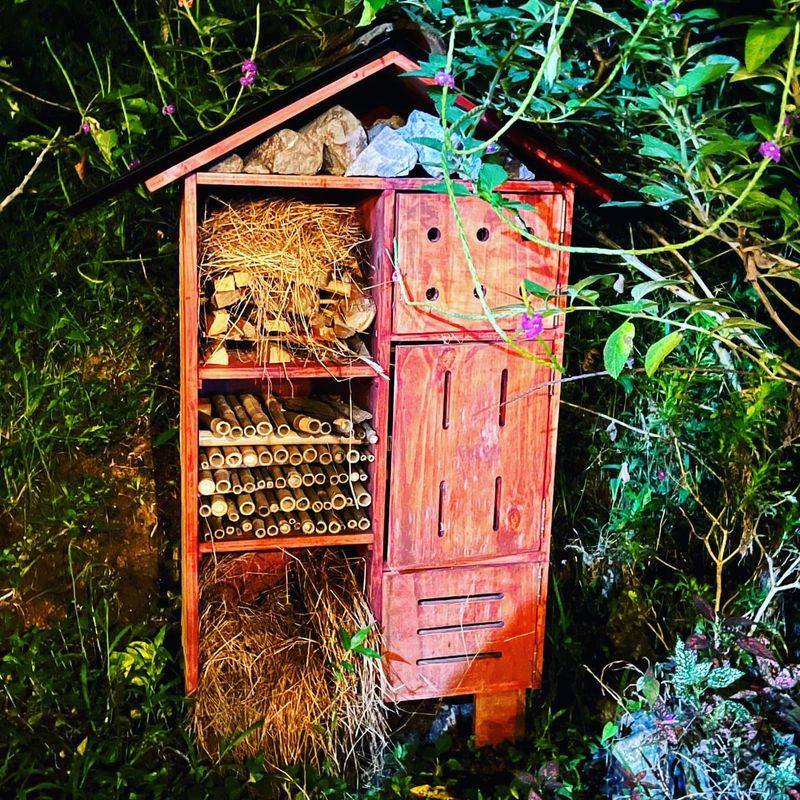
Beneficial insects need homes too! Gather hollow bamboo, pinecones, bark pieces, and small twigs. Arrange these materials inside a wooden frame or repurposed shelf to create different-sized tunnels and hiding spots.
Mount your bug hotel on a fence or post in a sheltered spot that gets morning sun. Solitary bees, ladybugs, and other garden helpers will move in quickly. The increased beneficial insect population will help control garden pests naturally while supporting local biodiversity right in your backyard.
10. Design a Bottle Edge Border
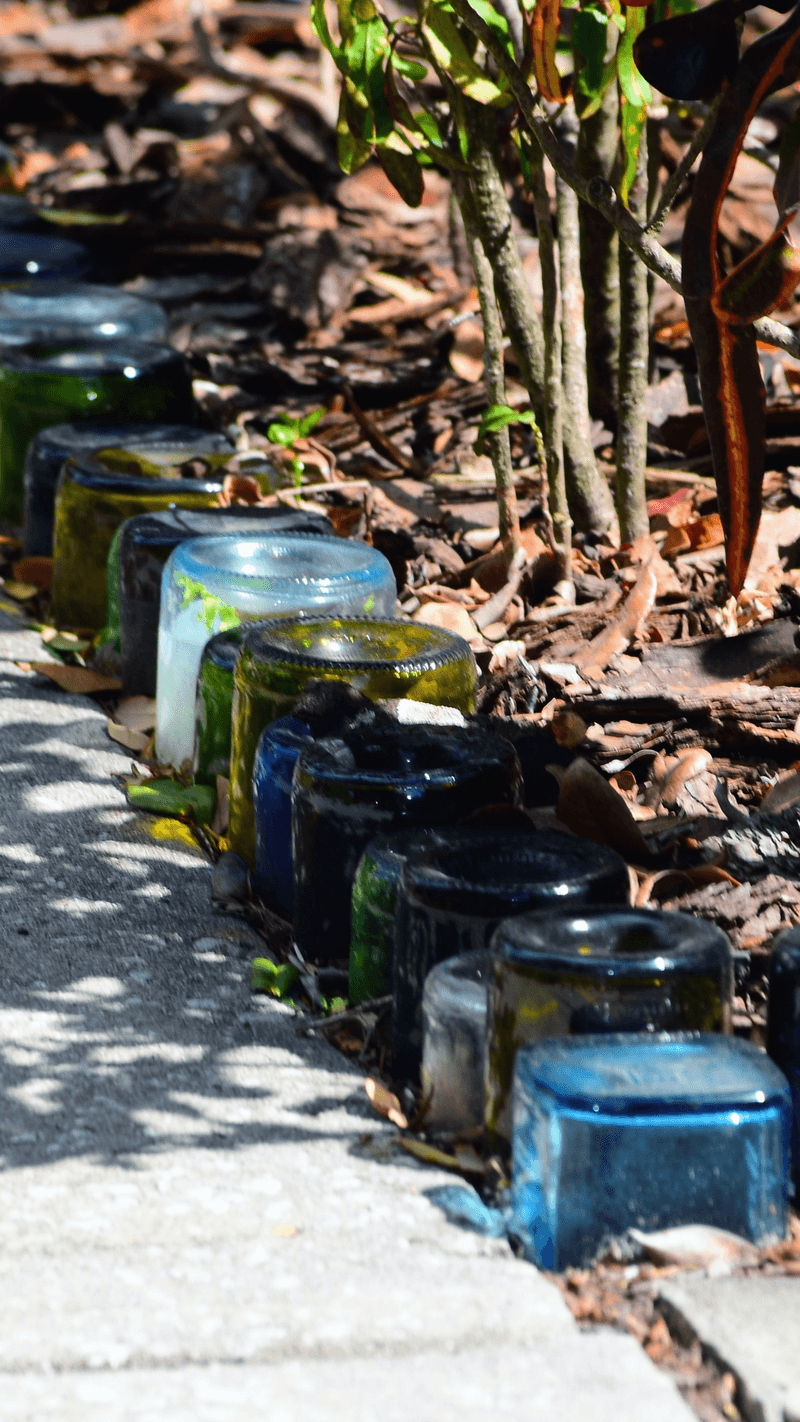
Colored glass bottles create eye-catching garden borders with minimal expense. Collect wine or beer bottles in consistent colors, then bury them neck-down along garden edges, leaving about 4-6 inches exposed. The sunlight catches the glass beautifully throughout the day.
This border also effectively keeps grass from invading your flower beds while adding a pop of color. For safety, make sure to bury bottles deeply enough that they’re stable and won’t tip over when brushed against.
11. Prepare a Butterfly Puddling Station

Butterflies need minerals they can’t get from nectar alone. Create a butterfly puddling station by filling a shallow dish with sand, then mix in a small amount of salt or compost. Keep the sand mixture damp but not soaking wet.
Place your puddling station in a sunny spot near butterfly-friendly flowers for best results. Male butterflies especially will gather at your puddling station to extract minerals, creating a colorful display while they help pollinate your garden plants.
12. Upcycle a Ladder Plant Stand
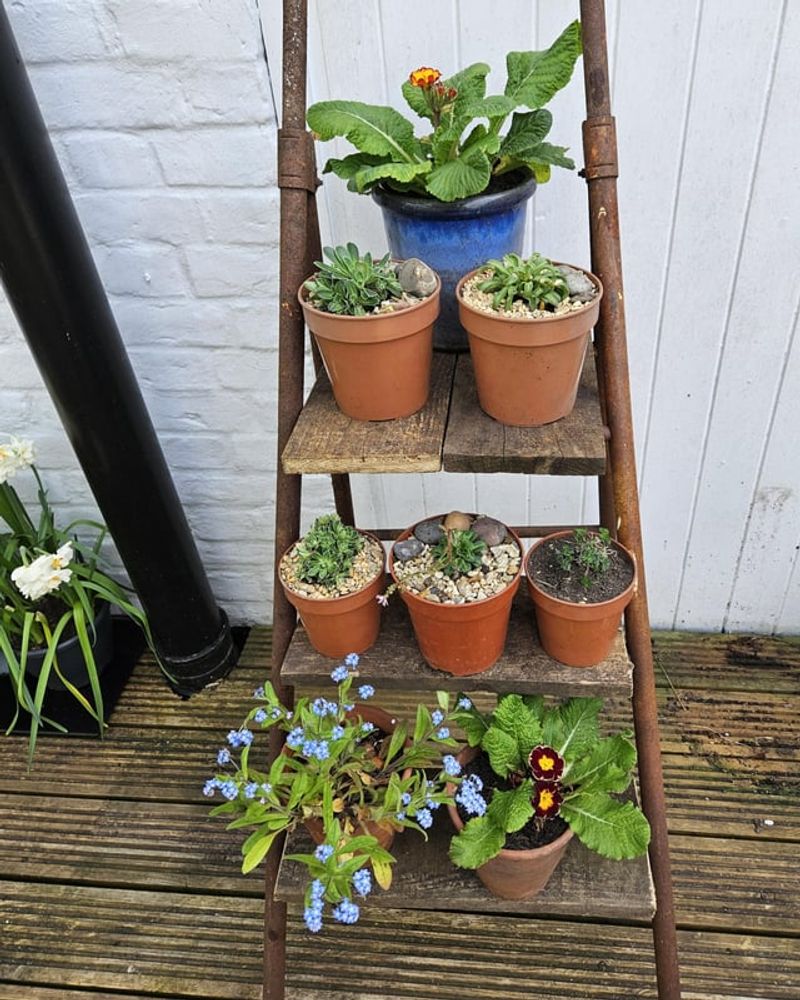
An old wooden ladder transforms into a stunning tiered plant display with just a coat of outdoor paint. Lean it against a wall or fence at a slight angle for stability. Place potted plants on each rung, arranging larger ones toward the bottom and smaller ones higher up.
The varying heights create visual interest while maximizing your vertical garden space. For extra flair, hang small planters or garden tools from S-hooks on the sides of your ladder stand.
13. Make Hypertufa Planters
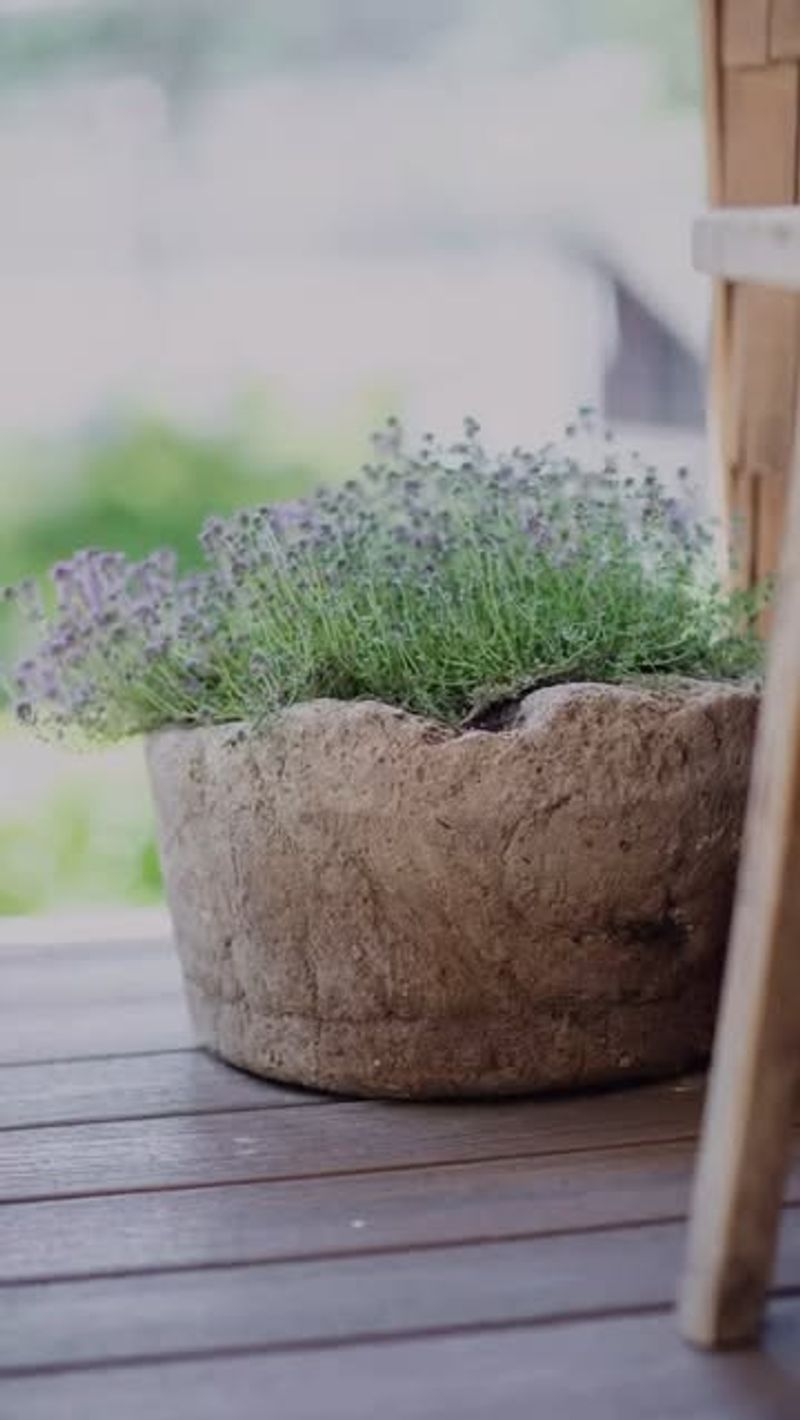
Hypertufa pots look like stone but weigh much less and cost a fraction of the price. Mix equal parts peat moss, perlite, and portland cement with water until it reaches a cookie-dough consistency. Mold your mixture around plastic containers or bowls, leaving drainage holes.
After curing for a week, remove the forms and let the pots age another week before planting. These rustic containers work beautifully with succulents, alpine plants, or herbs that prefer excellent drainage.
14. Build a Simple Compost Bin
Start composting with just some wooden pallets or wire fencing. For the pallet version, stand four pallets upright in a square and secure the corners with wire or rope. If using fencing, create a cylinder about 3 feet in diameter and secure the ends together.
Add garden scraps, leaves, and kitchen vegetable waste (no meat or dairy) to start your compost pile. Turn the materials every few weeks with a garden fork to speed decomposition and create rich soil for next year’s garden.
15. Craft Garden Plant Markers
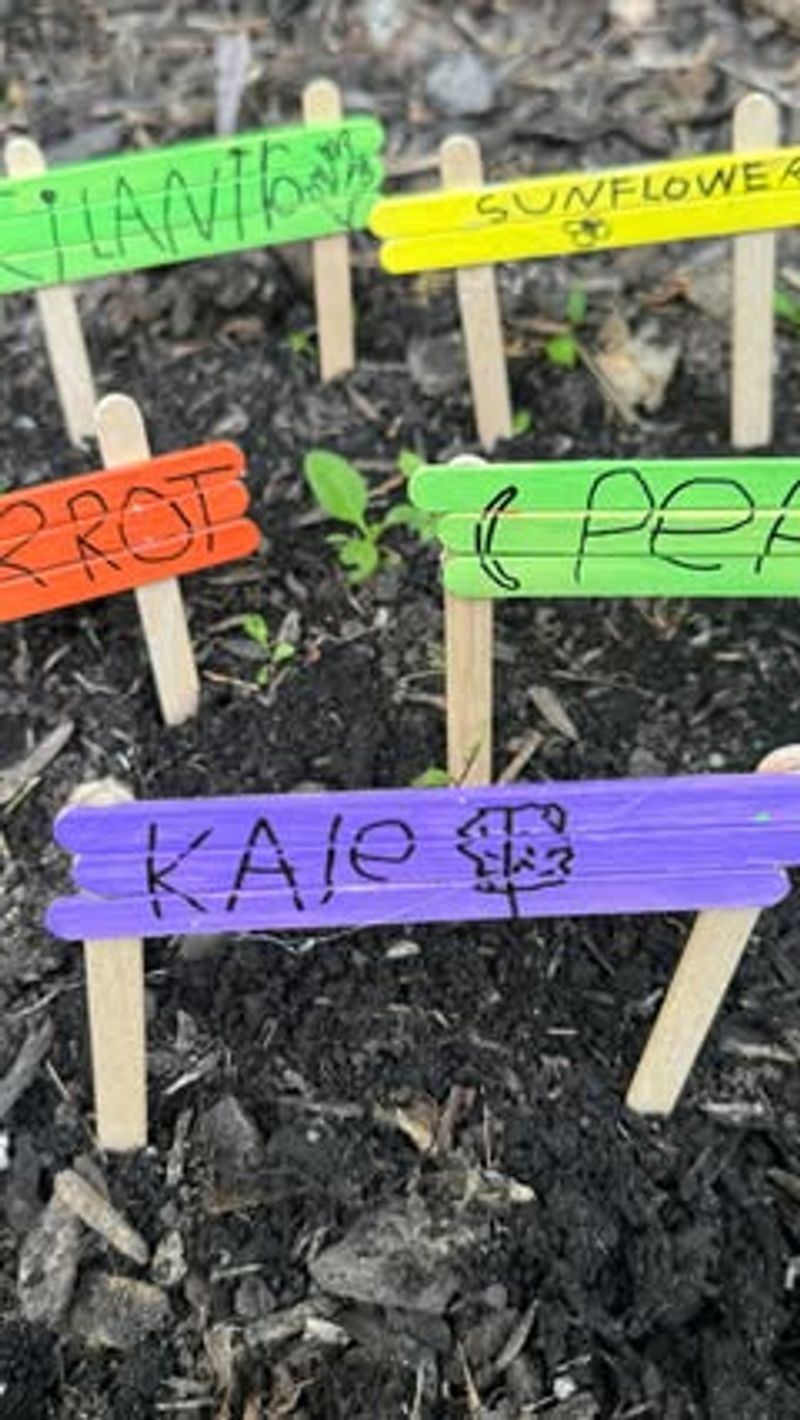
Create charming, weatherproof plant markers using plastic spoons, popsicle sticks, or even wine corks. For spoon markers, write plant names on the bowl of plastic spoons with permanent marker and stick handles into the soil.
Wine cork markers can be mounted on skewers with the plant name written directly on the cork. Seal any wooden markers with clear polyurethane to withstand watering and weather. Consistent labeling helps track what’s growing where, especially useful for beginning gardeners or when growing multiple varieties.
16. Set Up a Garden Tool Station

Organize your garden tools by repurposing a wooden pallet as a vertical storage unit. Stand the pallet upright and secure to a fence or wall for stability. Add hooks, small shelves, and holders between the slats to hang trowels, pruners, gloves, and other gardening essentials.
Paint or stain the wood to protect it from weather and add visual appeal. Having tools visible and accessible makes gardening more efficient and prevents misplacing important items in the shed or garage.
17. Create a Mini Greenhouse

Fashion a protective environment for tender seedlings using clear plastic storage bins turned upside down. Cut ventilation holes in the sides and cover with mesh to prevent insect entry while allowing airflow. Place your mini greenhouse over newly planted seedlings or delicate plants to shield them from harsh weather and pests.
The clear plastic creates a warm microclimate perfect for extending your growing season. On extremely hot days, prop up one edge for additional ventilation to prevent overheating.
18. Fashion a Garden Hose Holder
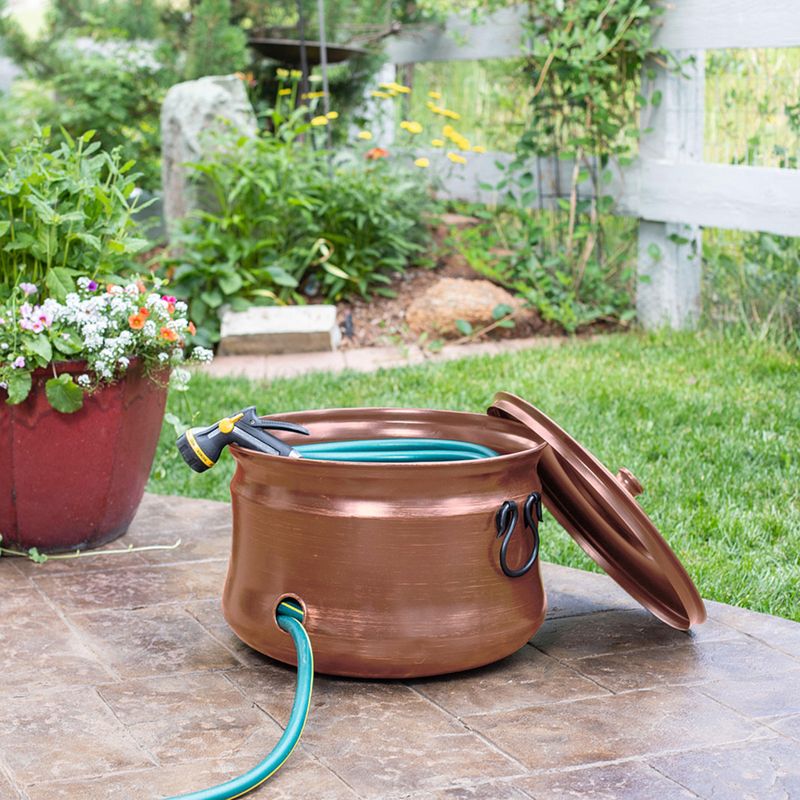
Keep your garden hose neatly coiled with a simple holder made from a repurposed pot or bucket. Mount a large terracotta pot to a fence post or wall using strong adhesive suitable for outdoor use. The pot creates a perfect circular space to wrap your hose around.
Add a small drainage hole at the bottom to prevent water accumulation after rainy days. Paint your pot holder in bright colors or patterns that complement your garden décor for a functional yet decorative touch.
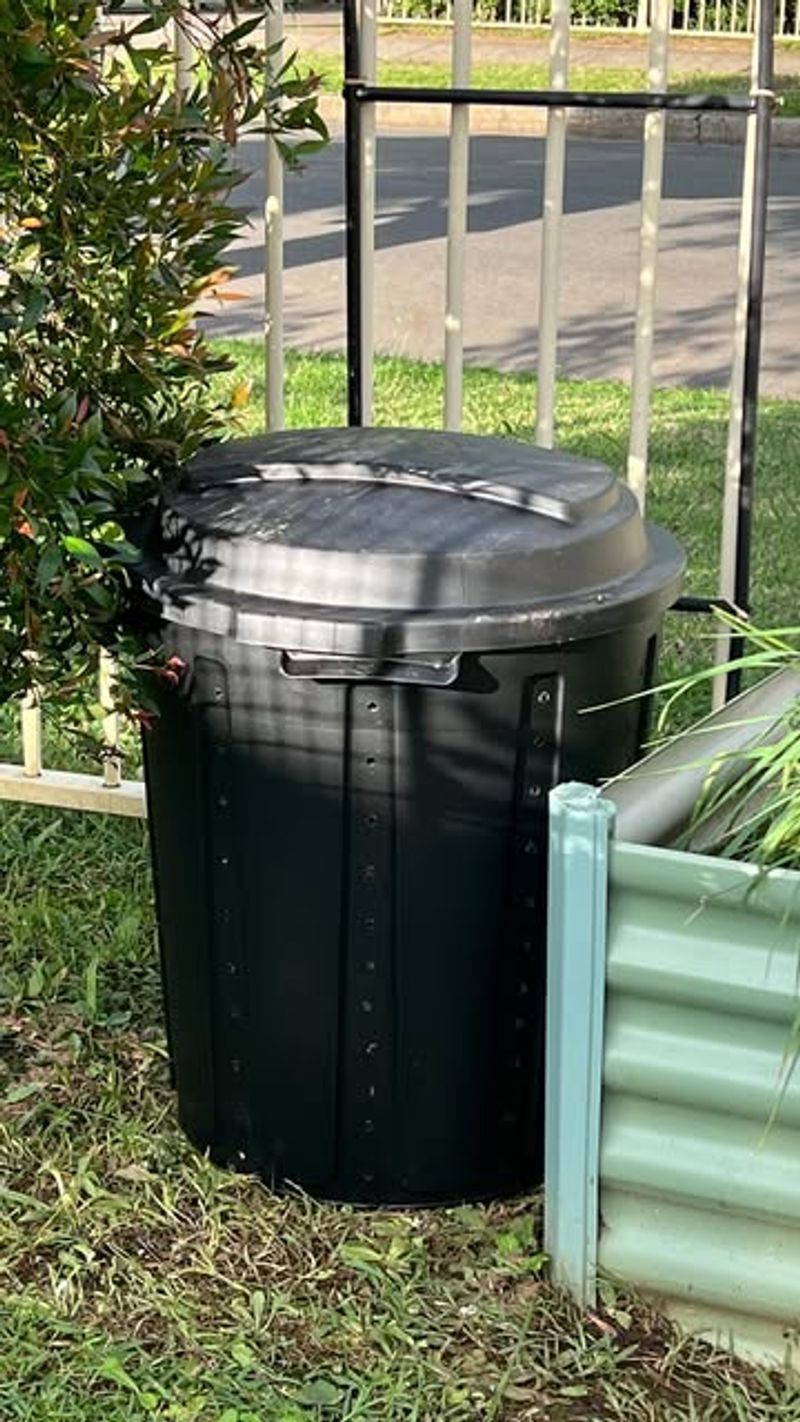
19. Install a Rain Barrel
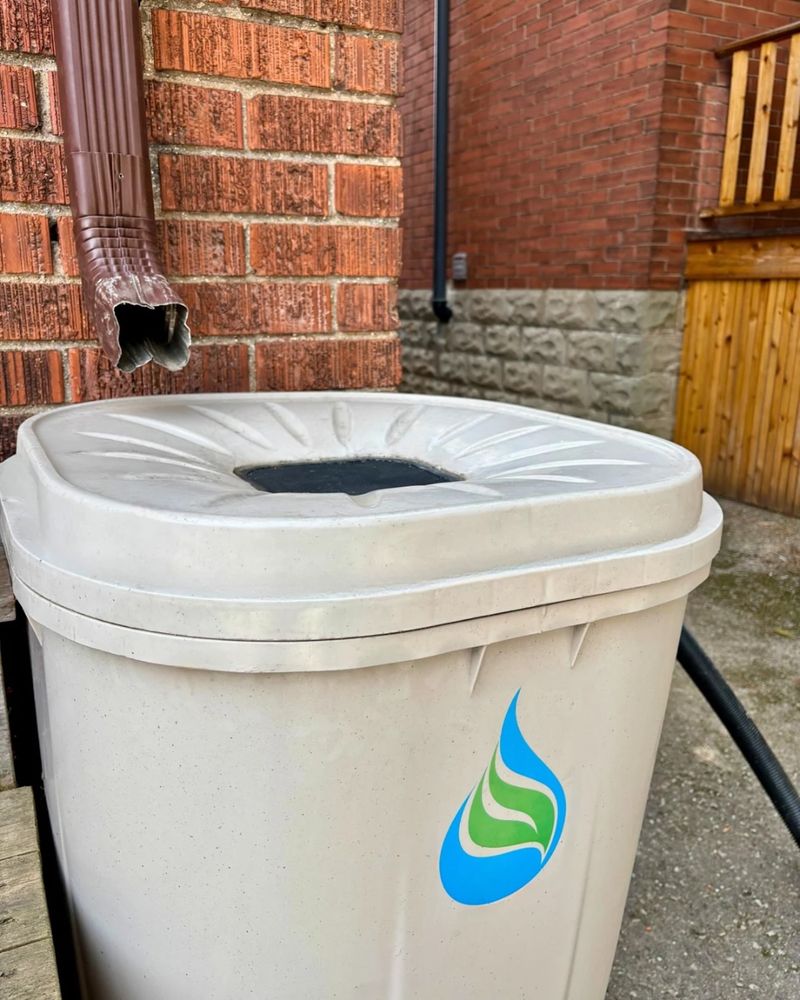
Capture free water for your garden by setting up a simple rain barrel system. Purchase a food-grade plastic barrel or large trash can and position it under a downspout from your roof gutters. Cut a hole in the lid to accept the downspout flow and add a spigot near the bottom for easy water access.
Cover any openings with fine mesh to prevent mosquito breeding. Your plants will thrive with natural rainwater, and you’ll save on water bills during dry summer weeks.