10 Ways To Spot Root Rot In Your Spider Plant—And 5 Ways To Save It Fast
Even the toughest houseplants have a weakness—and for spider plants, it’s root rot. Wilting leaves, soggy soil, and a funky smell are all red flags.
But don’t panic just yet. These 10 signs will help you catch the problem early, and the 5 simple fixes will get your spider plant back to thriving in no time.
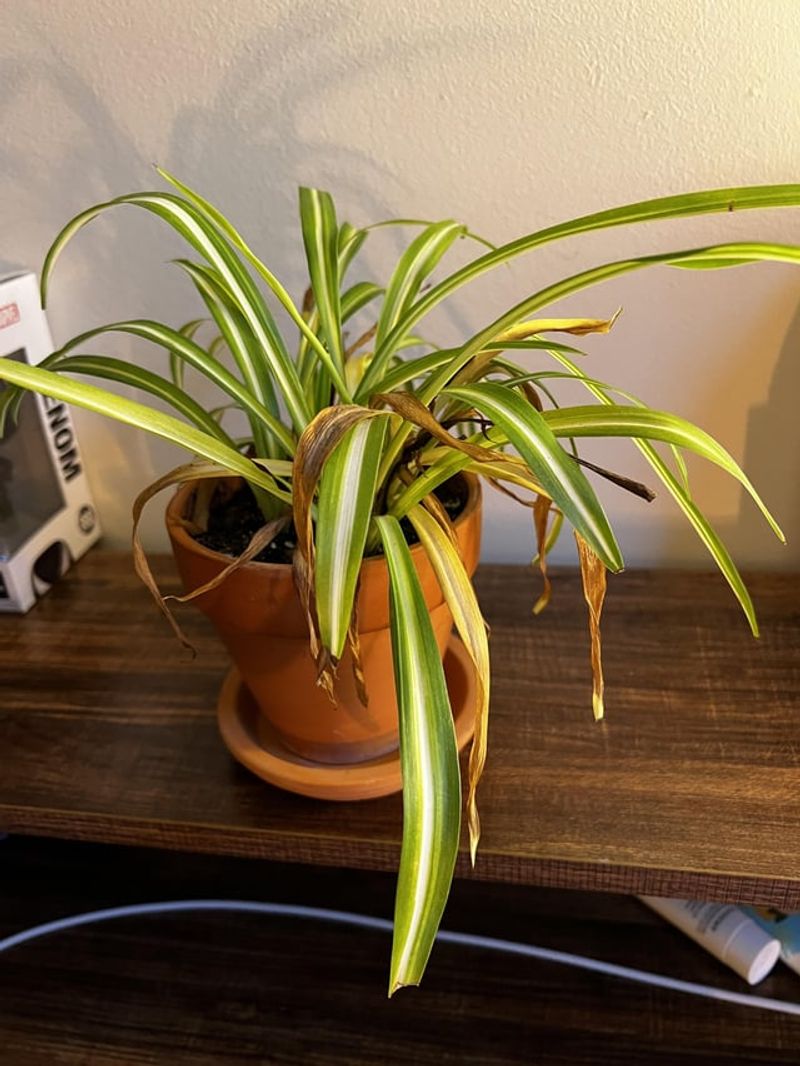
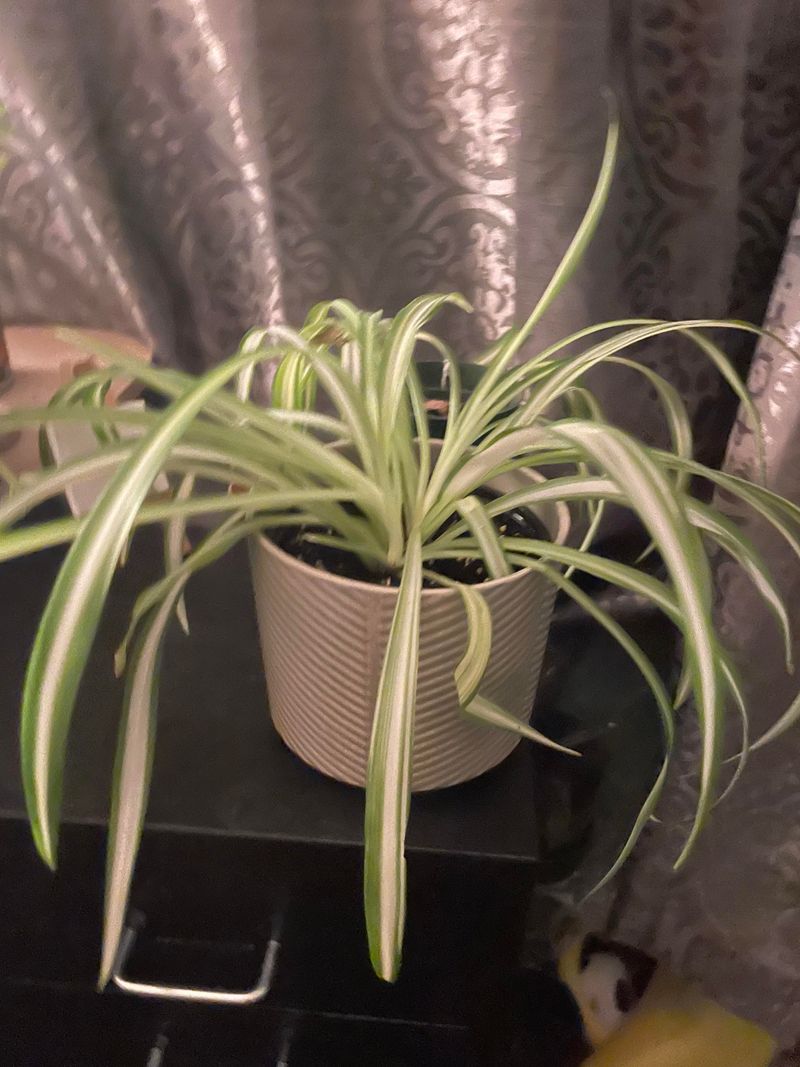
1. Yellowing Leaves Signal Trouble
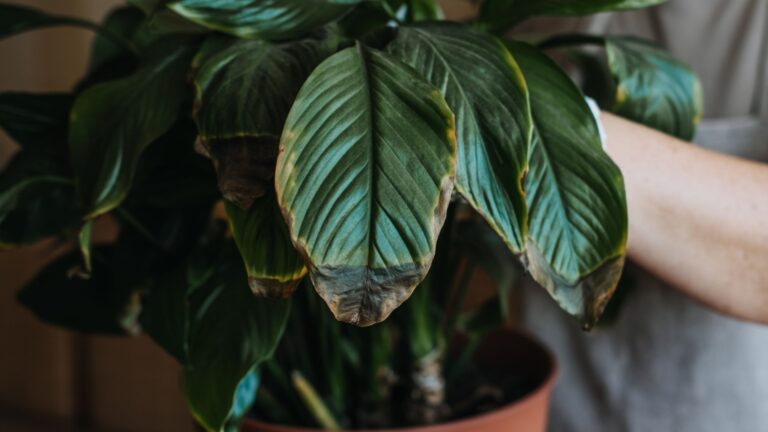
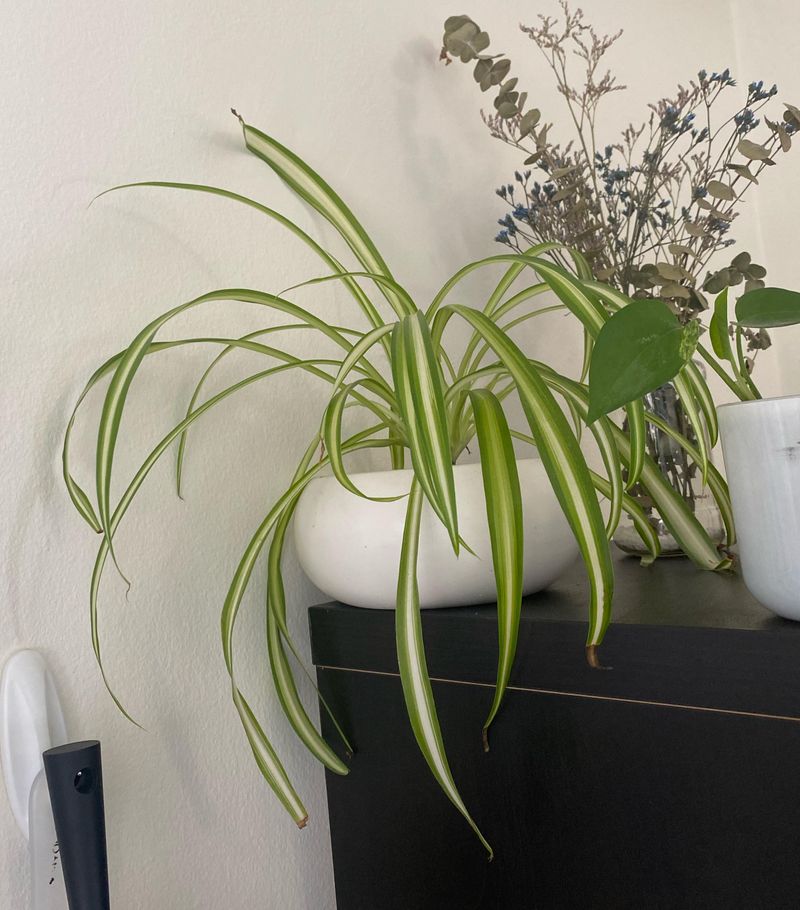
The first warning sign of root rot often appears in the leaves. Healthy spider plant leaves should be green with white stripes, but when root rot sets in, they turn yellow starting from the outer edges.
This yellowing happens because the damaged roots can’t deliver nutrients properly anymore. Unlike normal aging where just the oldest leaves yellow, root rot causes yellowing across multiple leaves at once.
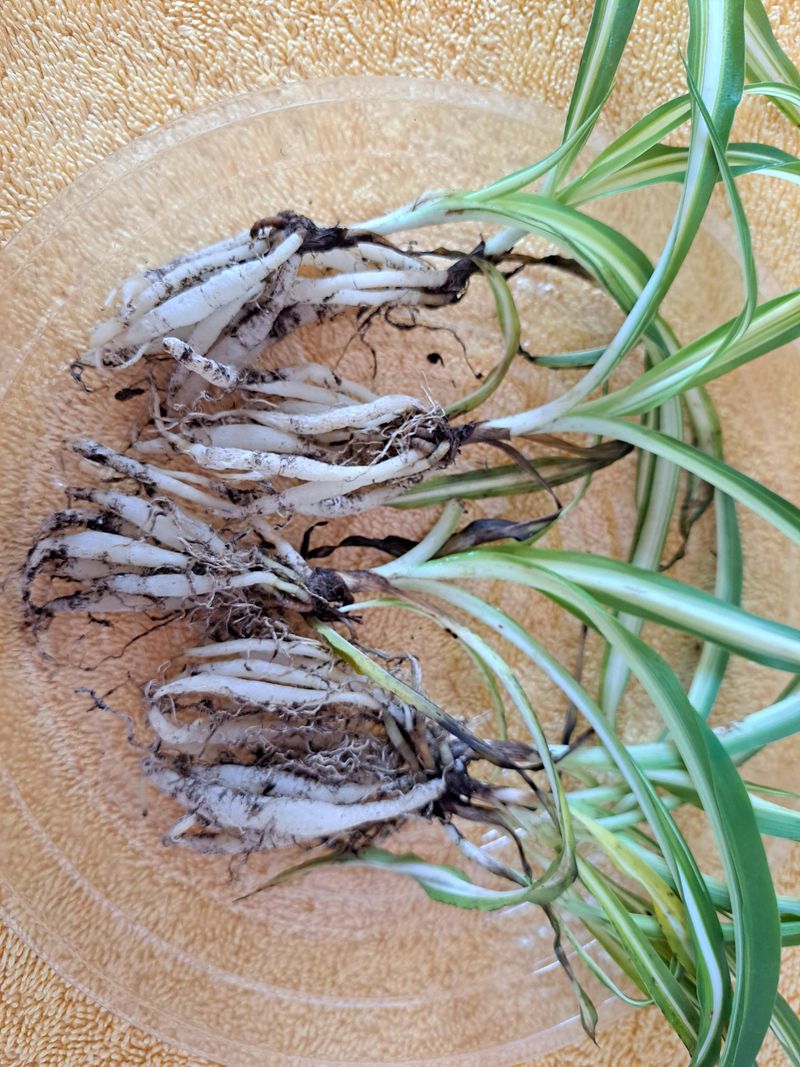
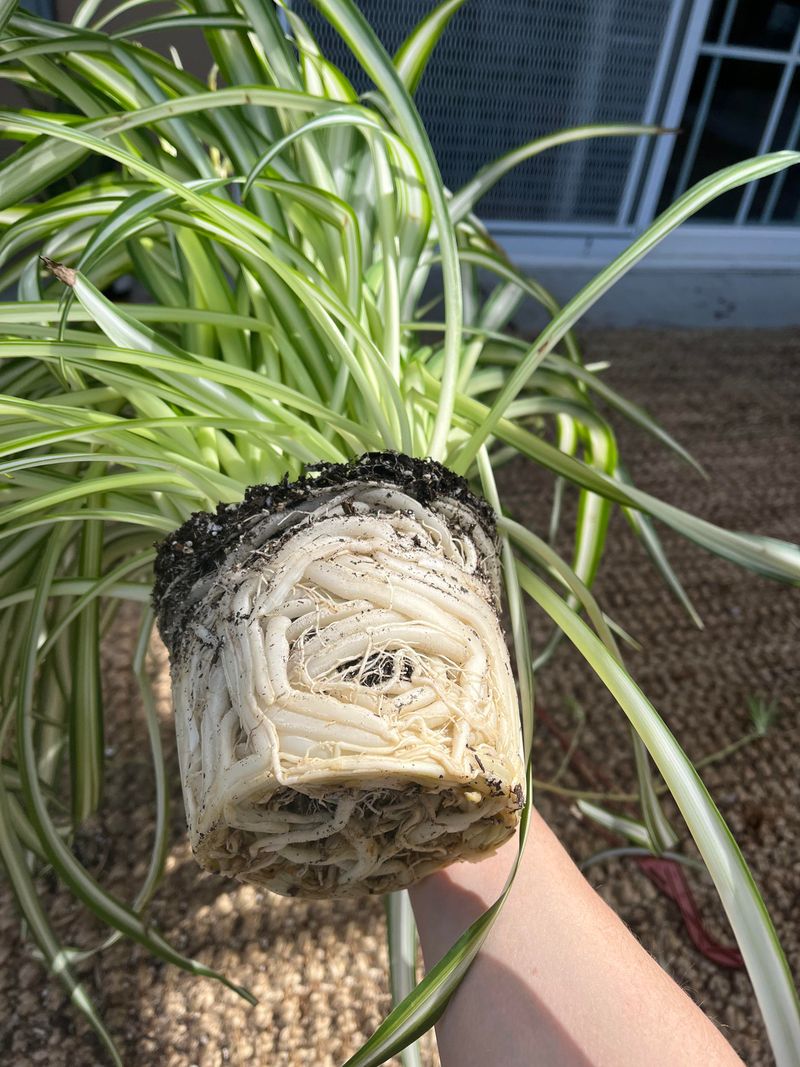
2. Mushy Brown Roots Tell The Truth
Healthy spider plant roots should be firm and white or light tan. When you gently remove the plant from its pot, rotting roots will be obvious – they’re brown or black and feel mushy between your fingers.
They might even fall apart when touched, unlike healthy roots that stay intact. The smell is another giveaway – rotting roots have a distinct, unpleasant odor similar to decaying vegetation.
3. Soggy Soil Never Dries Out
Stick your finger into your spider plant’s soil. If it feels constantly wet or soggy even days after watering, you’ve found a major red flag for root rot.
Healthy soil should gradually dry out between waterings. Waterlogged soil creates the perfect environment for fungi that cause root rot to thrive. The surface might even develop a green algae film or white mold growth when conditions stay too wet for too long.
4. Wilting Despite Wet Soil
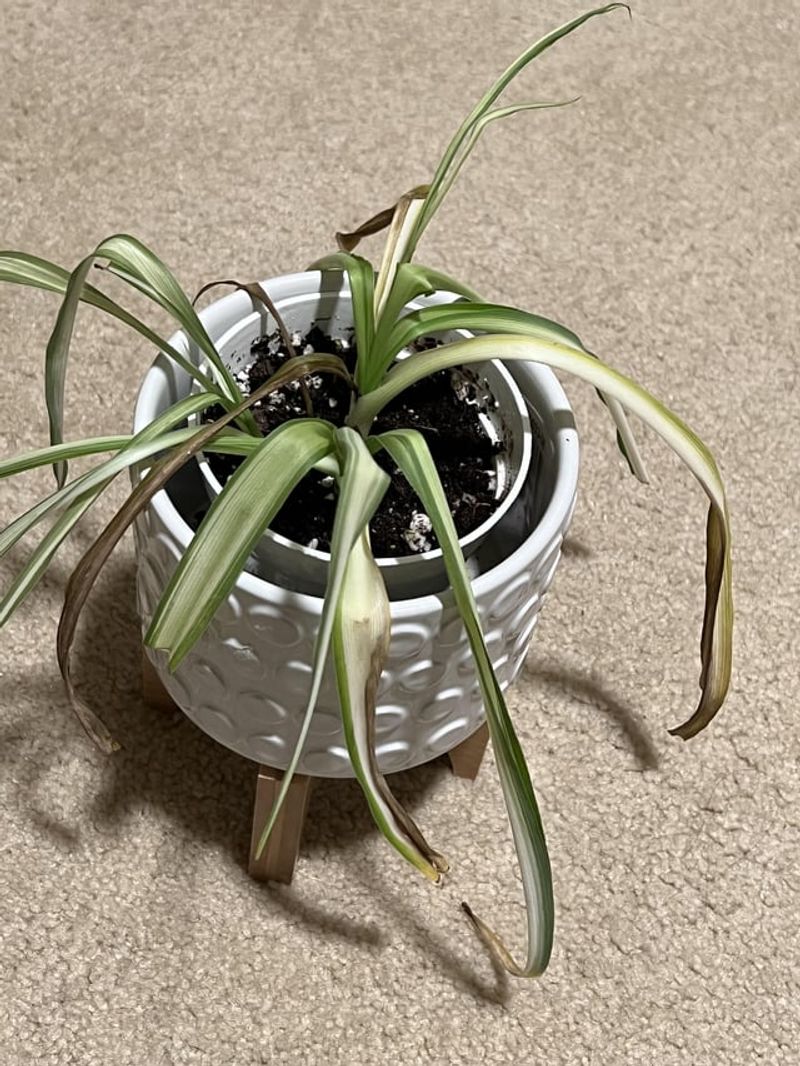
Spider plants typically droop when they need water, perking up after a good drink. But with root rot, you’ll notice a strange contradiction – the plant wilts even though the soil is wet.
This happens because damaged roots can’t absorb water properly anymore. No matter how much water is available, the plant can’t access it. The leaves may look limp, sad, and droopy despite the soil being adequately moist.
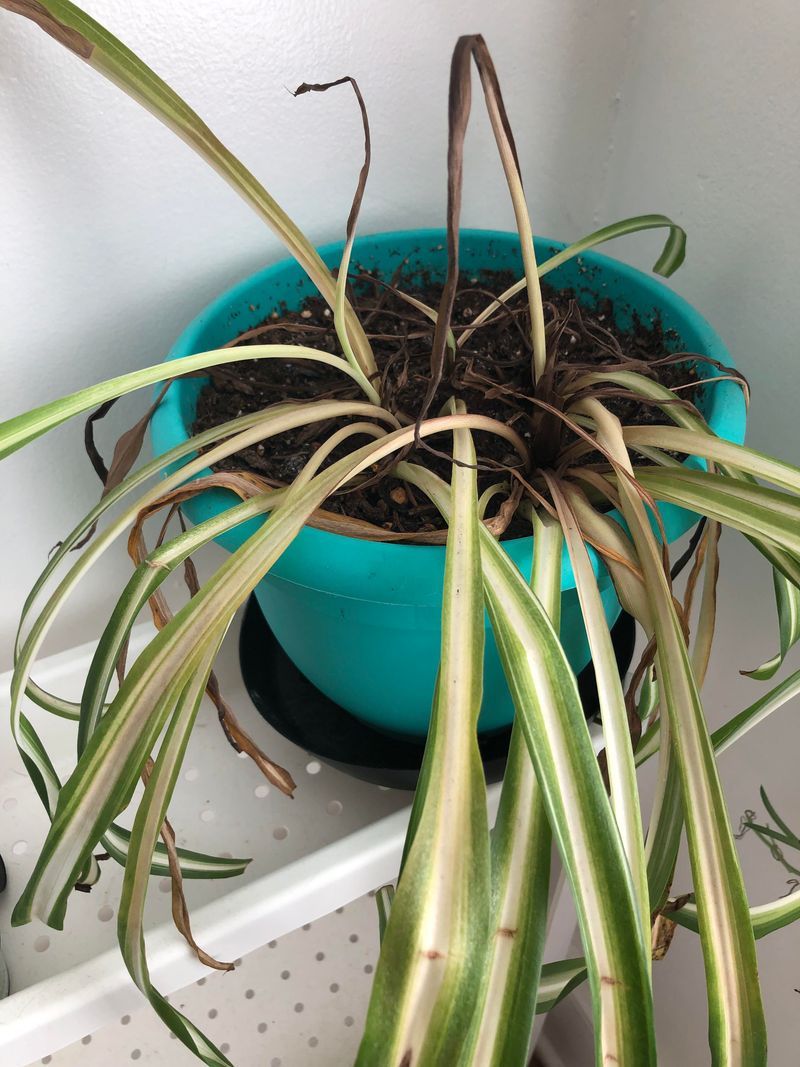
5. Stunted Growth Halts Progress
Spider plants normally grow quickly, producing new leaves and those characteristic hanging “babies.” When root rot strikes, all this vibrant growth grinds to a halt.
You might notice your once-thriving plant hasn’t produced any new leaves in weeks or months. The plant diverts all its energy to survival rather than growth. Any new leaves that do emerge may be smaller than normal or appear deformed.
6. Foul Smell Rises From The Pot
Your nose knows when something’s wrong! Healthy plant soil has a mild, earthy scent that’s barely noticeable. Root rot, however, produces a distinctly unpleasant smell.
The odor resembles rotten eggs, sewage, or decaying matter. This smell comes from the anaerobic bacteria thriving in the oxygen-deprived, waterlogged soil. If you detect this unmistakable stench when watering or getting close to your plant, root rot is likely the culprit.
7. Leaf Tips Turn Brown And Crispy
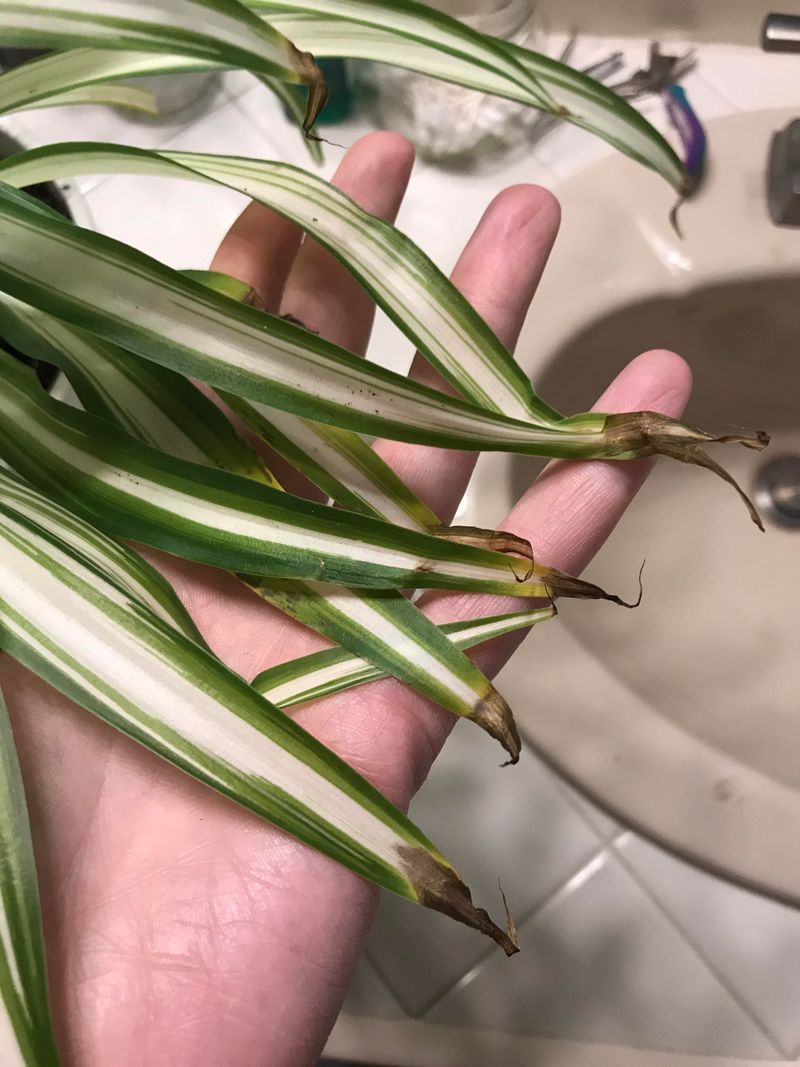
Brown leaf tips on spider plants can have several causes, but when paired with other root rot symptoms, they’re part of the bigger problem. The browning often starts at the very tips and moves inward.
Unlike drought stress where just the tips brown, root rot can cause entire leaf sections to become brown and crispy. This happens because the damaged root system can’t provide adequate moisture to the leaf extremities, causing them to die back.
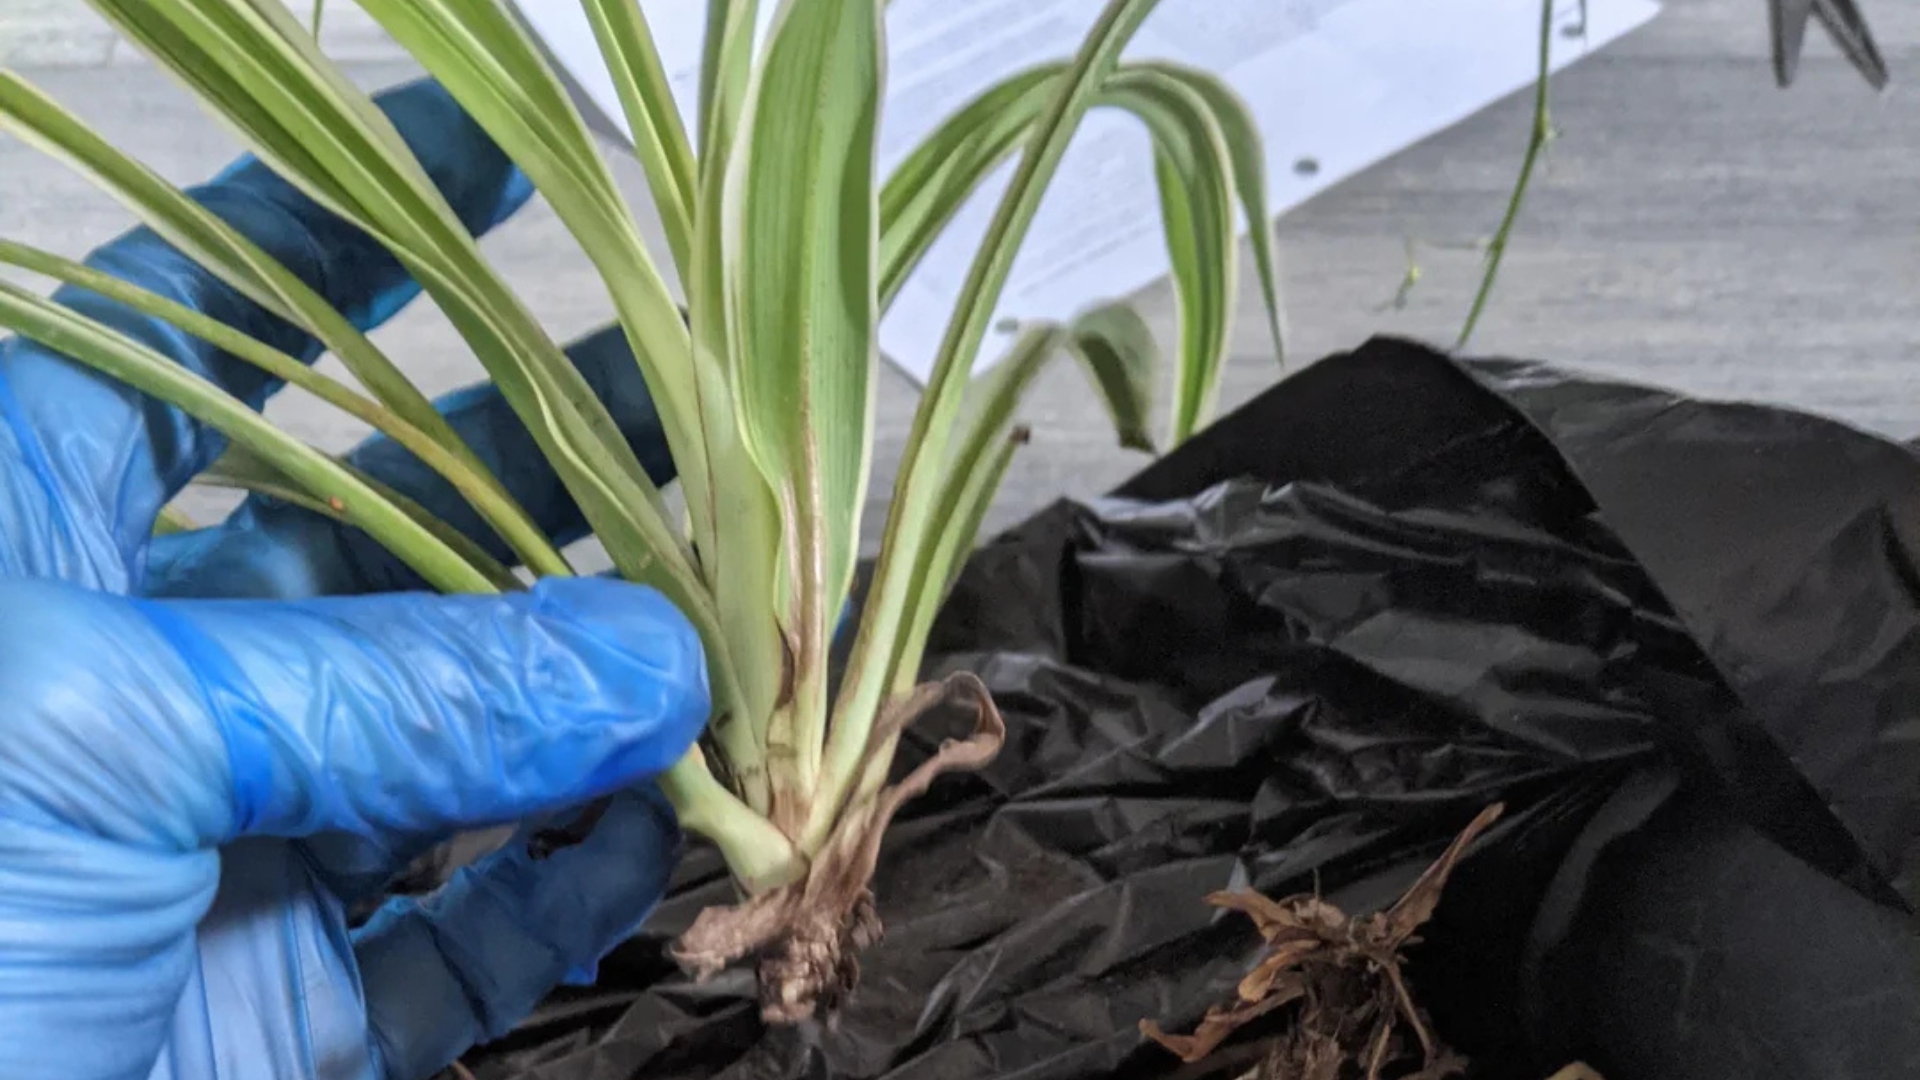
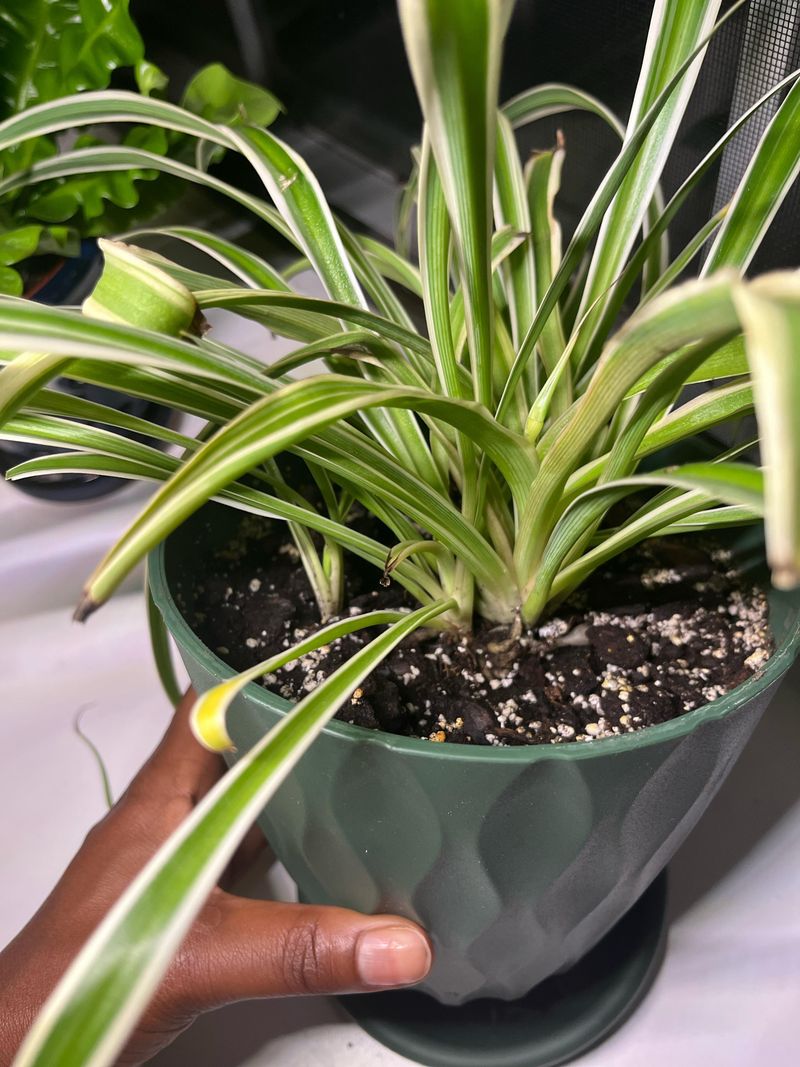
8. Soft, Squishy Stems Near The Base
Healthy spider plant stems should feel firm to the touch. When root rot advances upward from the roots, the stems near the soil line become soft and squishy.
Gently squeeze the base of your plant – if it feels mushy rather than solid, rot has likely spread beyond just the roots. The stem base might also appear darker than normal, often taking on a water-soaked, translucent appearance that indicates tissue breakdown.
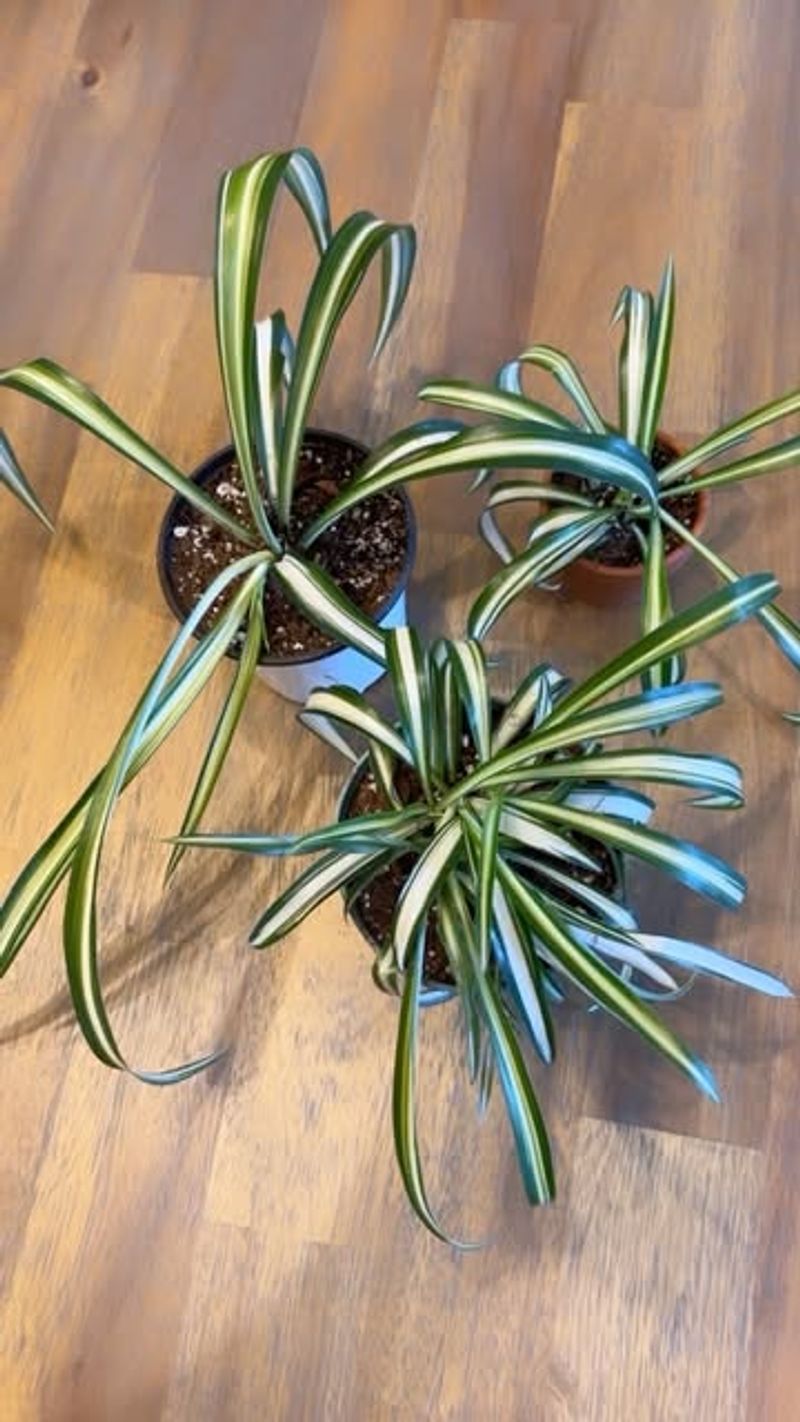
9. Fewer Baby Plantlets Hanging Down
Spider plants earned their nickname “spider plant” from the many baby plantlets they send out on long stems, resembling spiders. A healthy plant produces these offshoots abundantly.
When root rot takes hold, the plant stops investing energy in reproduction. You’ll notice fewer or no baby plantlets forming. Existing plantlets might look stunted or unhealthy. This reproductive slowdown is the plant’s way of conserving resources while fighting for survival.
10. White Fungus Or Mold On Soil Surface
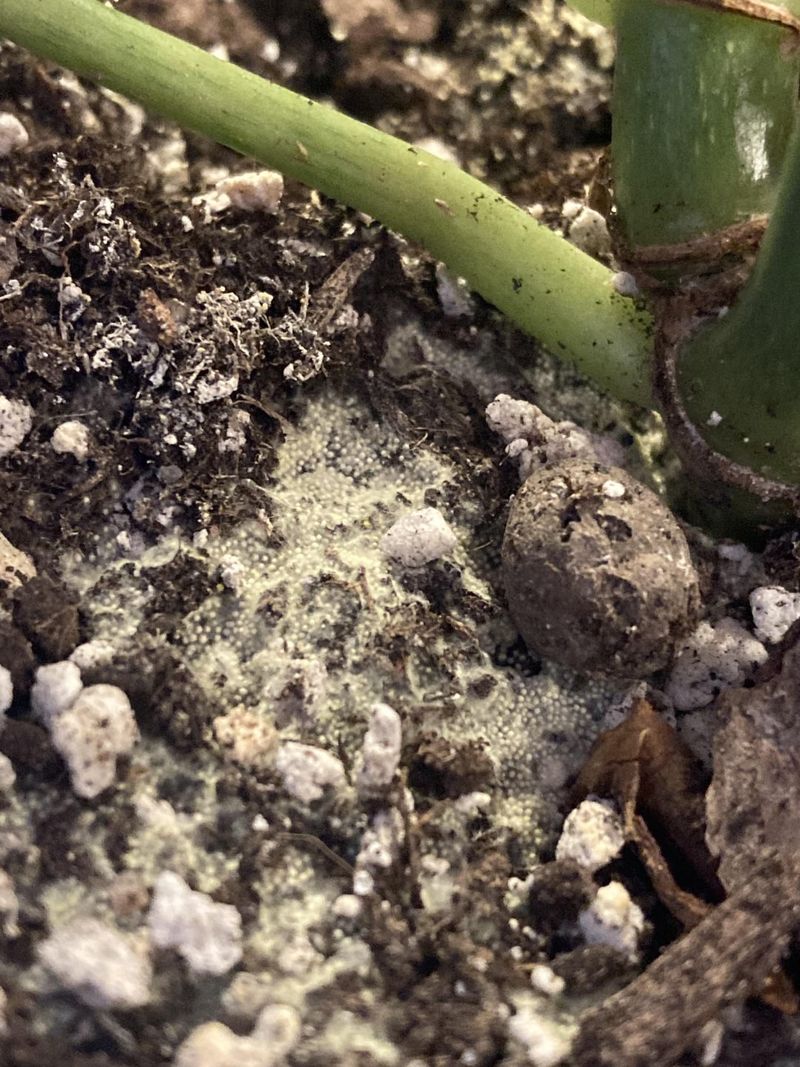
The same conditions that cause root rot – excessive moisture and poor drainage – often lead to fungal growth on the soil surface. You might spot white, fuzzy patches spreading across the top of the soil.
While not all mold directly causes root rot, its presence indicates the damp conditions that root rot fungi love. The white growth might appear powdery or cotton-like and can spread quickly across the entire soil surface in severe cases.
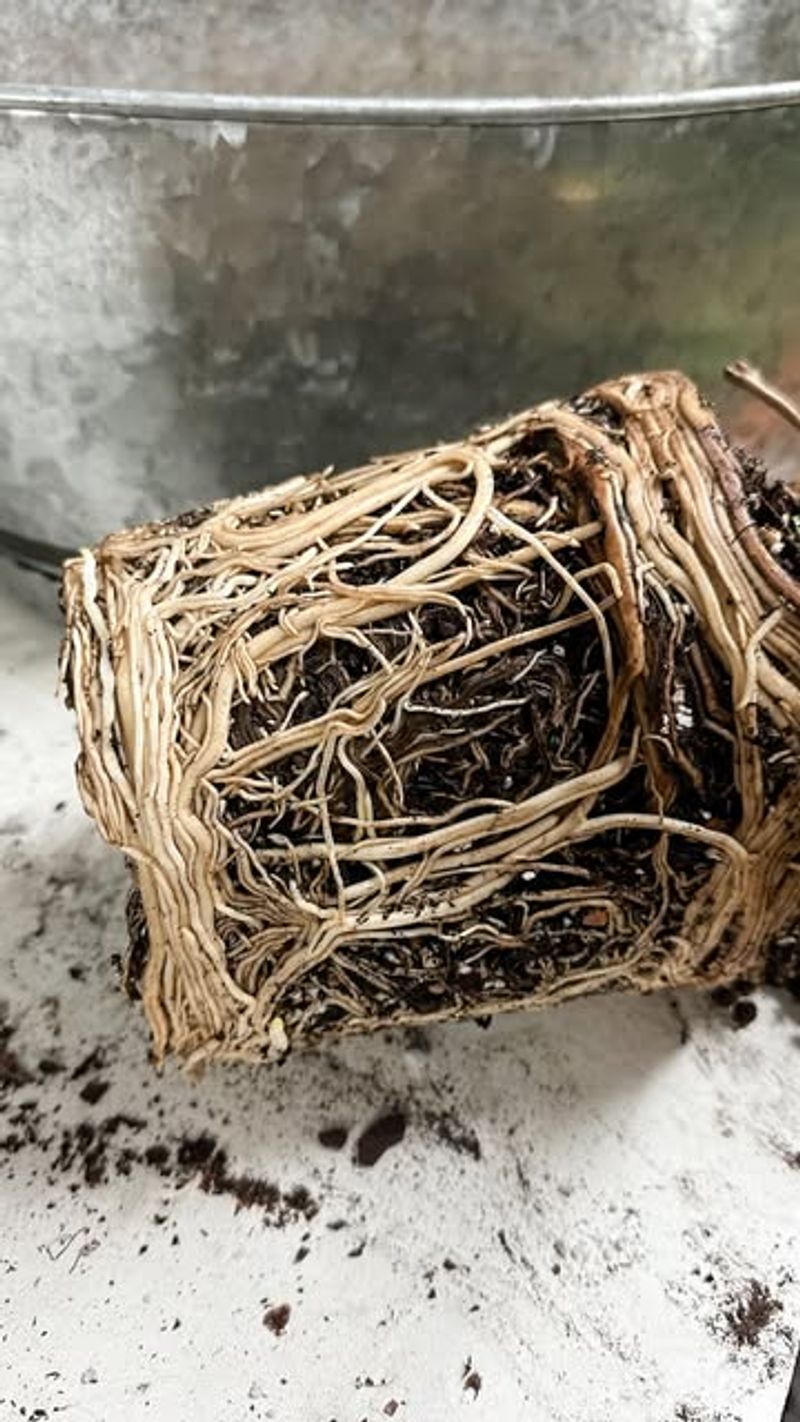
11. Act Fast: Remove From Pot And Inspect
Once you suspect root rot, time is critical. Carefully slide your spider plant from its pot, supporting the base while tapping the pot’s sides to loosen the soil ball.
Gently rinse away soil with lukewarm water to expose the roots completely. This gives you a clear view of the damage extent. Healthy roots are firm and light-colored; rotted roots are dark and mushy. This assessment helps determine if your plant can be saved.
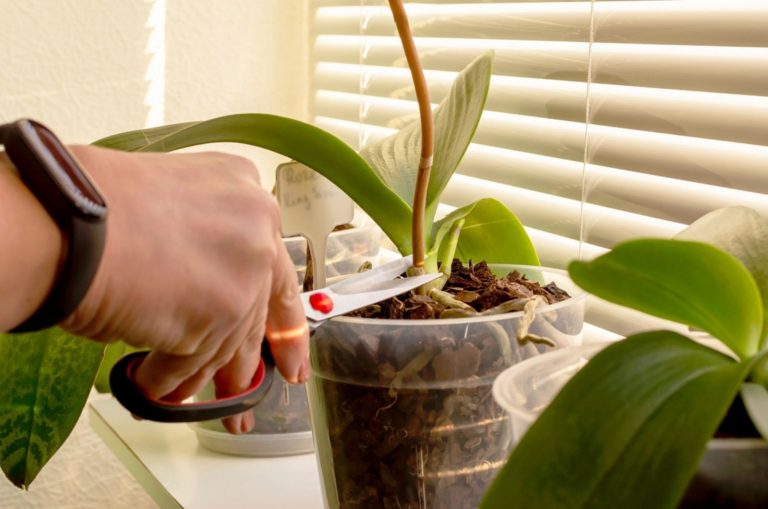
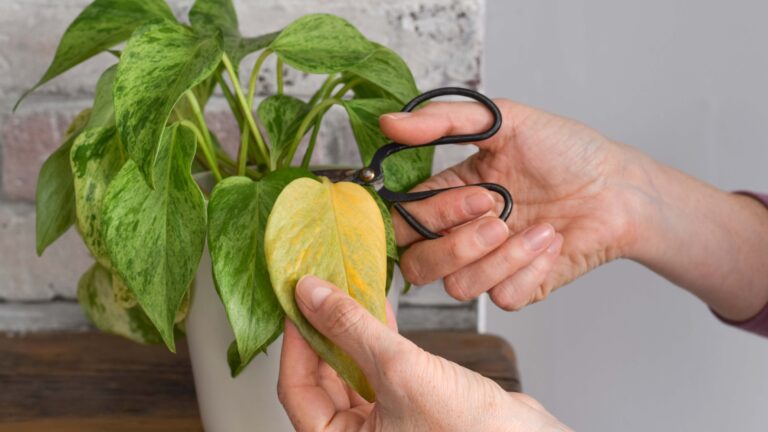
12. Surgical Approach: Trim Away Rot
Armed with clean, sharp scissors or pruning shears, you’ll need to perform plant surgery. Sterilize your tools with rubbing alcohol first to prevent spreading disease.
Cut away all mushy, brown or black roots, leaving only firm, healthy ones. Be ruthless – even a small amount of rot left behind can spread again. Don’t worry if you remove a significant portion of the root system; spider plants are remarkably resilient and can regrow roots from what remains.
13. Fresh Start: New Soil And Clean Pot
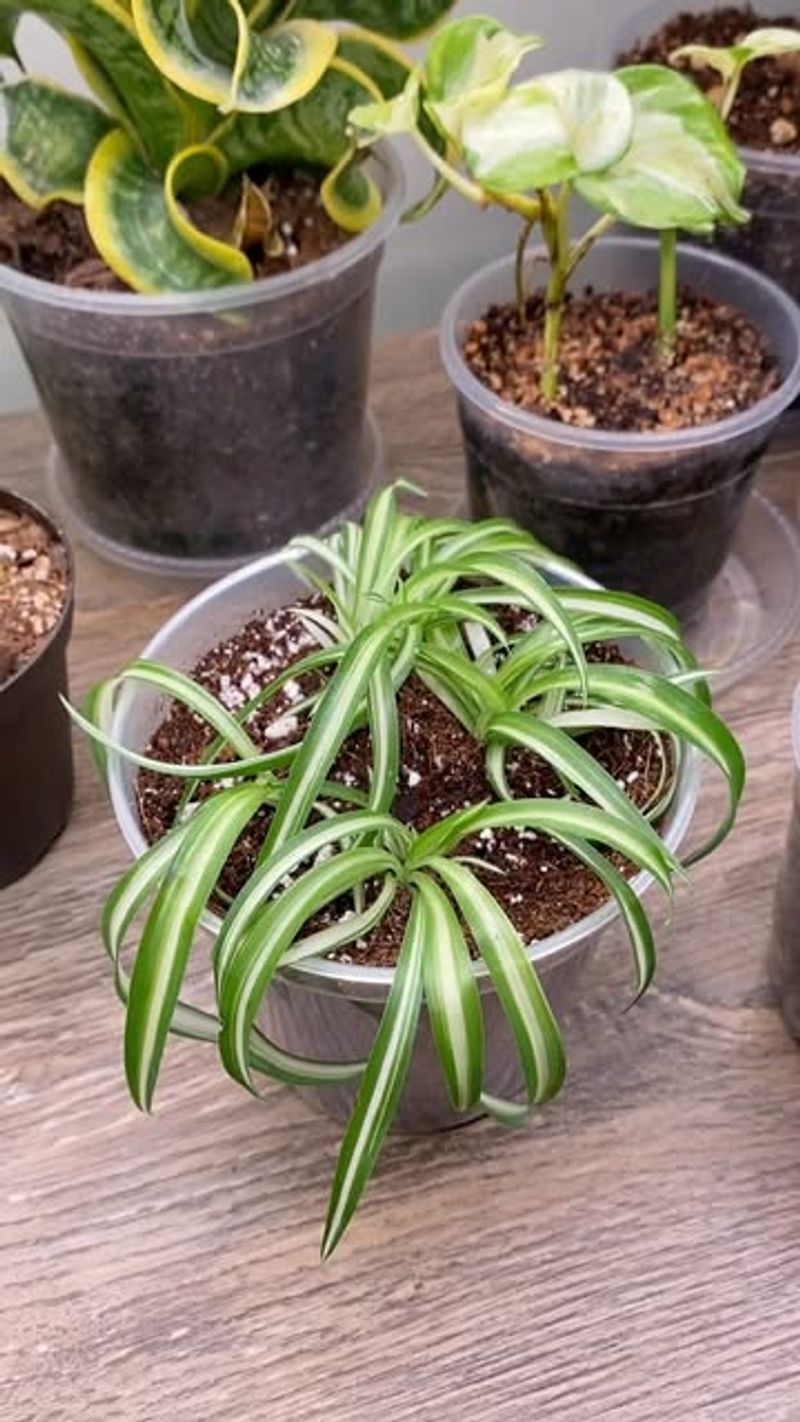
Never reuse old soil from a root-rotted plant – it contains the fungi that caused the problem. Start fresh with new, high-quality potting mix that drains well.
Before replanting, wash the original pot thoroughly with a 1:10 bleach solution if you plan to reuse it. Better yet, use a new pot with drainage holes. The fresh environment gives your recovering plant the best chance of bouncing back without reinfection.
14. Recovery Care: Light Watering Schedule
After replanting, resist the urge to water heavily. The reduced root system can’t handle as much water as before, and overwatering caused the problem initially.
Water lightly only when the top inch of soil feels completely dry. Spider plants recover best in bright, indirect light during this critical period. Avoid fertilizing for at least a month – the damaged plant needs to focus on root regrowth before processing nutrients.
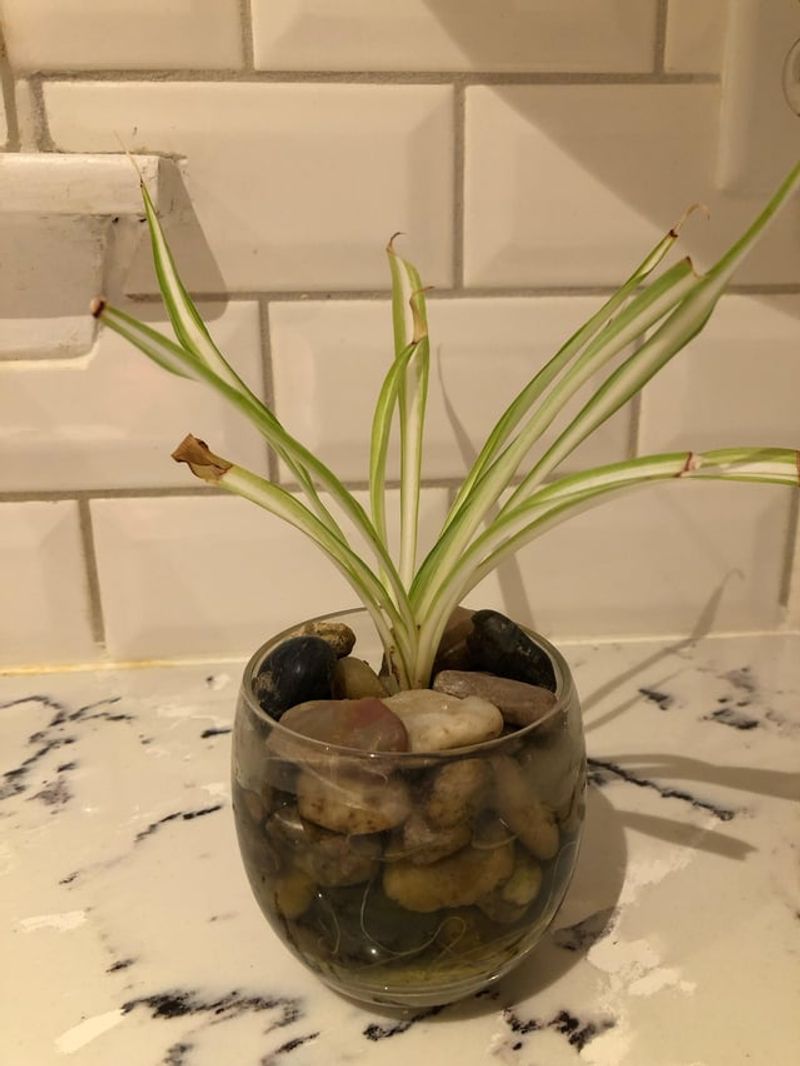
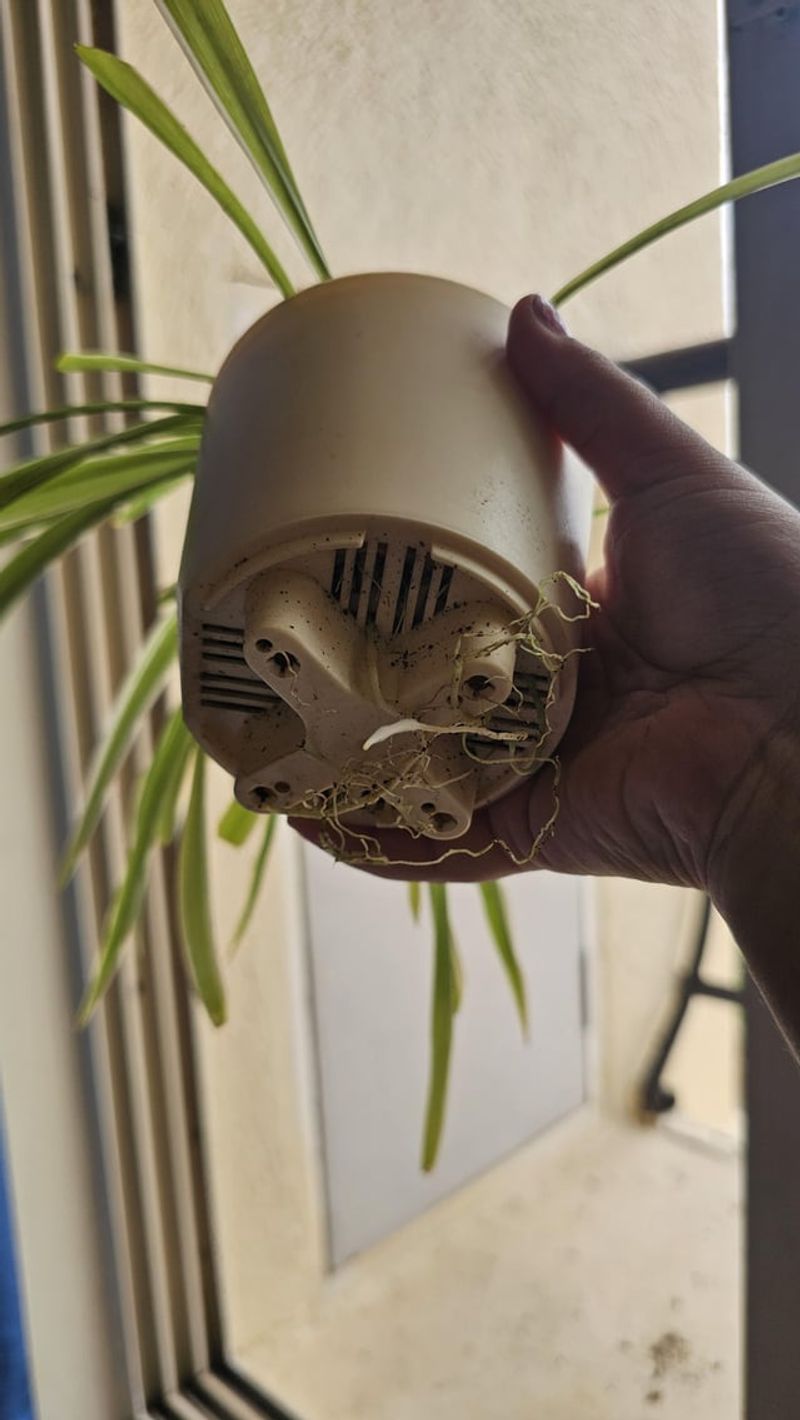
15. Prevention Plan: Proper Drainage Always
Moving forward, prevention becomes your priority. Choose pots with multiple drainage holes and consider adding a layer of pebbles at the bottom for extra drainage.
Never let your spider plant sit in standing water or decorative outer pots that collect water. Check saucers frequently and empty them after watering. Proper drainage is the single most important factor in preventing root rot from returning to your restored spider plant.