Follow These 10+ Easy Tips For The Healthiest Asparagus So Far
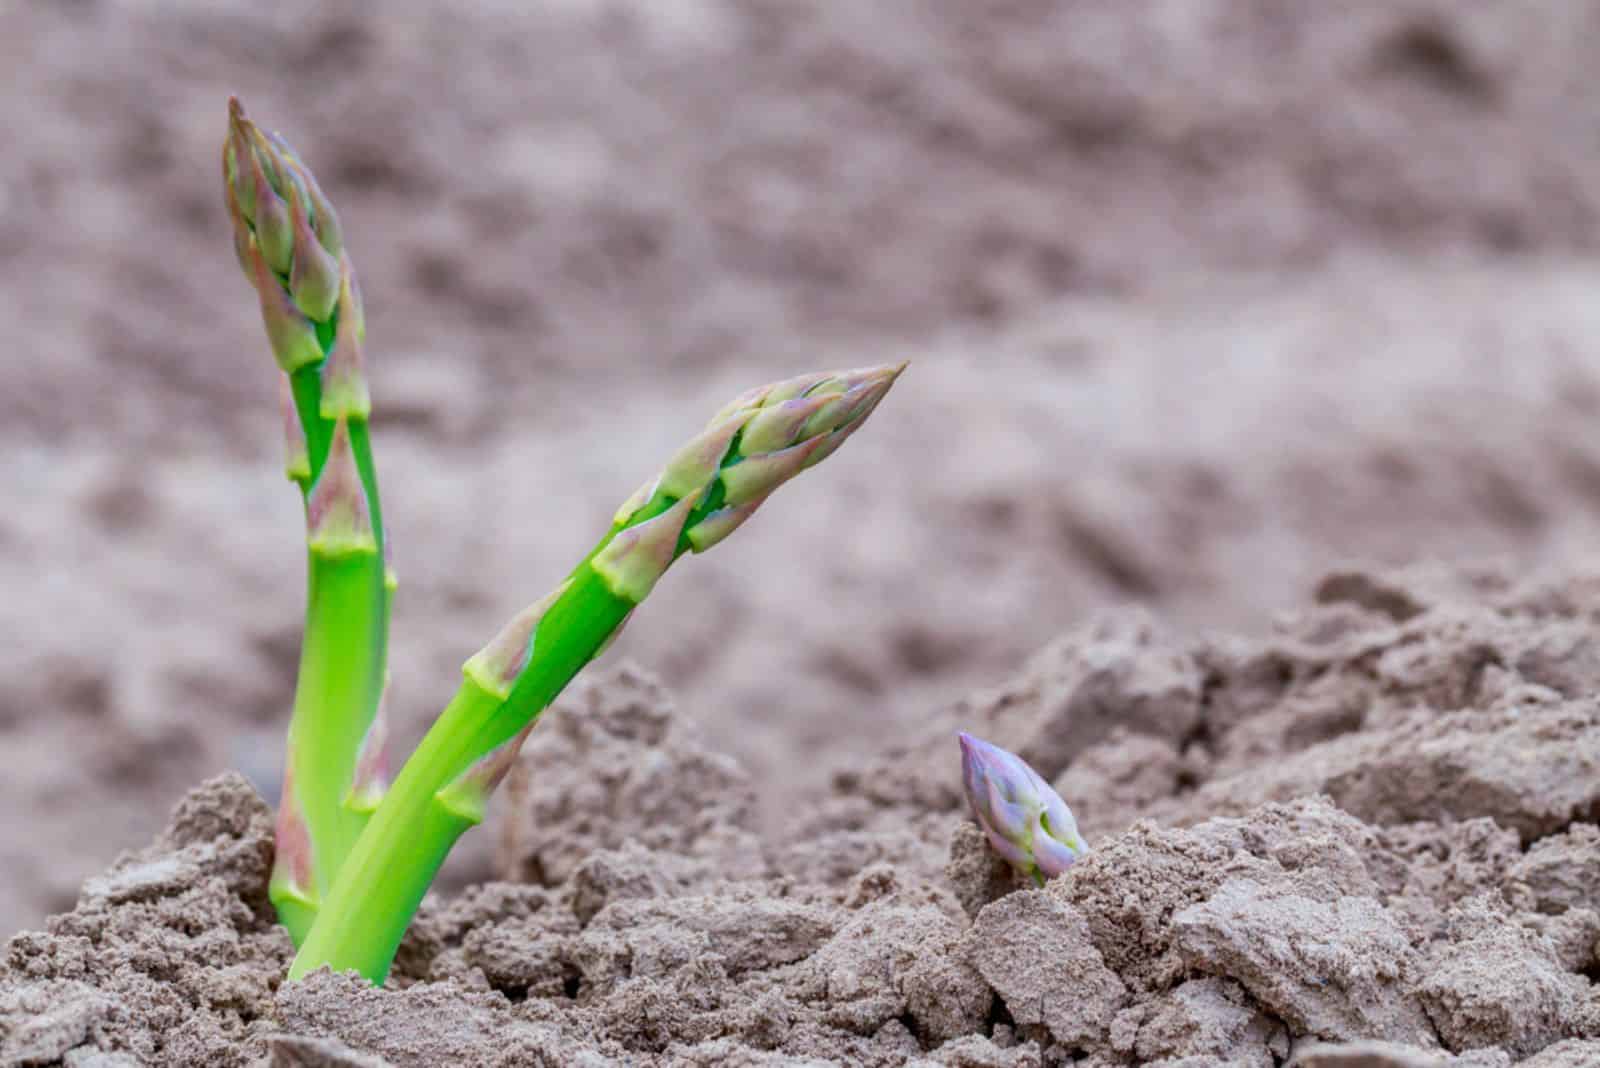
Asparagus, a slow-growing vegetable prized for its tender shoots, is not only a culinary delight but also a beneficial addition to any garden. This perennial veggie requires some patience and careful planning, but it’s totally worth the trouble!
The process of planting and growing asparagus is pretty straightforward, and yet it can provide you with a bountiful harvest for years to come.
In this article, we will walk you through the essential steps to establishing and successfully growing asparagus, so stay tuned!
How To Plant Asparagus
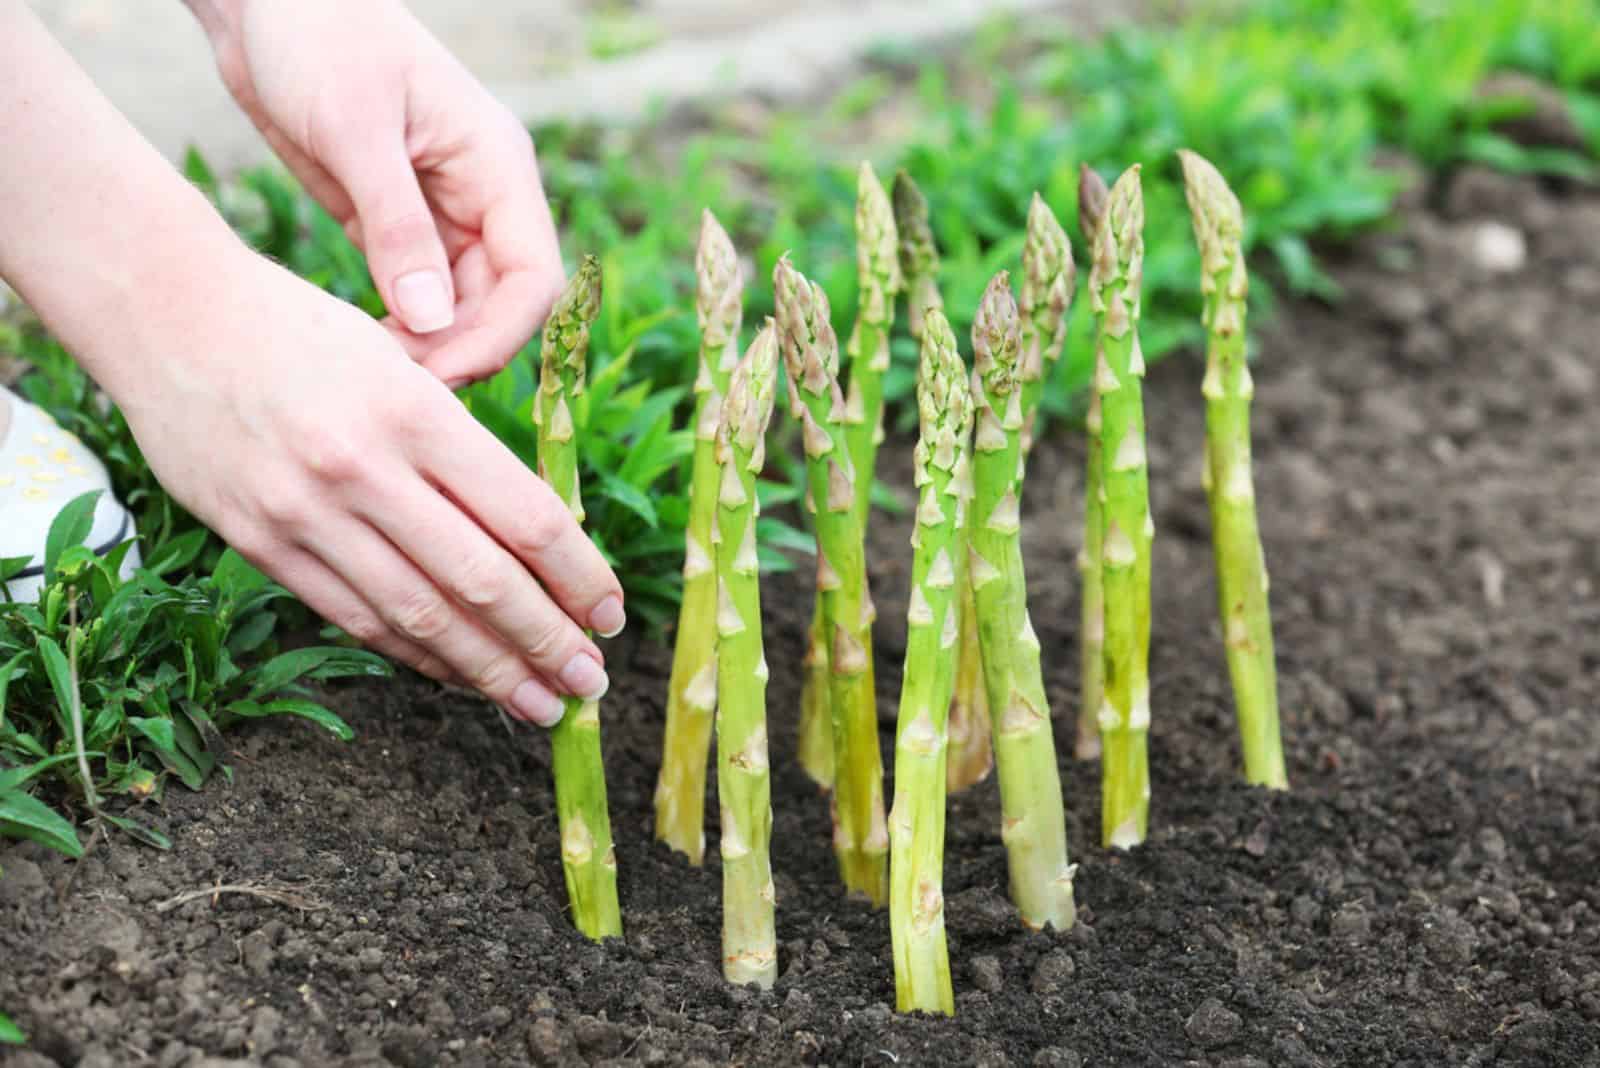
The first part of the asparagus growing stages is planting. In the beginning, choose the type of asparagus you want to plant – it can be either male or female asparagus, and both have advantages.
Since male plants don’t need to produce seeds, they can provide larger yields. However, female plants generate seeds that you can use the following year to sow additional asparagus.
You can plant crowns or seeds of asparagus, and they are best planted in early spring or fall. If you live in a colder region, you should put off planting your asparagus until the first few weeks of spring, when the soil temperature is at least 50 degrees Fahrenheit.
However, if you live somewhere warmer like Florida, you can plant it in the fall or even early winter.
Asparagus can be grown in raised beds or containers, but you must make sure they are large enough and include drainage holes to avoid overwatering.
Select a sunny spot with well-draining and nutrient-rich soil. Asparagus prefers a location that receives at least 6 to 8 hours of direct sunlight each day.
To improve drainage and replenish the planting soil with nutrients, mix in compost and other organic materials. For instance, perlite is great for improving drainage!
Since you can grow asparagus from either seeds or crown, how can you tell what the better option is?
Well, if you are a beginner gardener, then I would recommend you plant asparagus crowns since they already have developed root systems. In addition, they take a lot less time to grow.
When planting, try combining some asparagus companion plants, such as tomatoes or eggplants, to boost its growth and development.
Planting Asparagus Crowns
Asparagus crowns should be planted in trenches or furrows. The first thing you should do is dig a trench around 6 to 8 inches deep and 12 to 18 inches wide. Then, cover the roots with soil.
The rows should be spaced 3-6 feet apart, and the asparagus should be planted 1.5 feet apart. Water the plants until you notice that the soil is no longer absorbing water as quickly.
Add a layer of mulch (wood chips or grass clipping mulch) – make sure that it is about 6-8 inches deep so that it can suppress weed growth and aid in moisture retention.
You can also start covering the newly planted crowns with a few inches of soil. Repeat this process every 2 to 3 weeks.
Planting Asparagus Seeds
Soak the asparagus seeds two days before planting. In colder climates, you can start the seeds indoors and move them outside once the risk of frost has passed.
Before you put the seeds straight in the asparagus bed, wait until the soil temperature is at least 50 degrees Fahrenheit to prevent transplant shock. Dig holes that are 5 inches apart and about an inch deep, put the seeds in, and cover them with soil.
Water the seeds and wait for them to germinate!
How To Take Care Of Asparagus
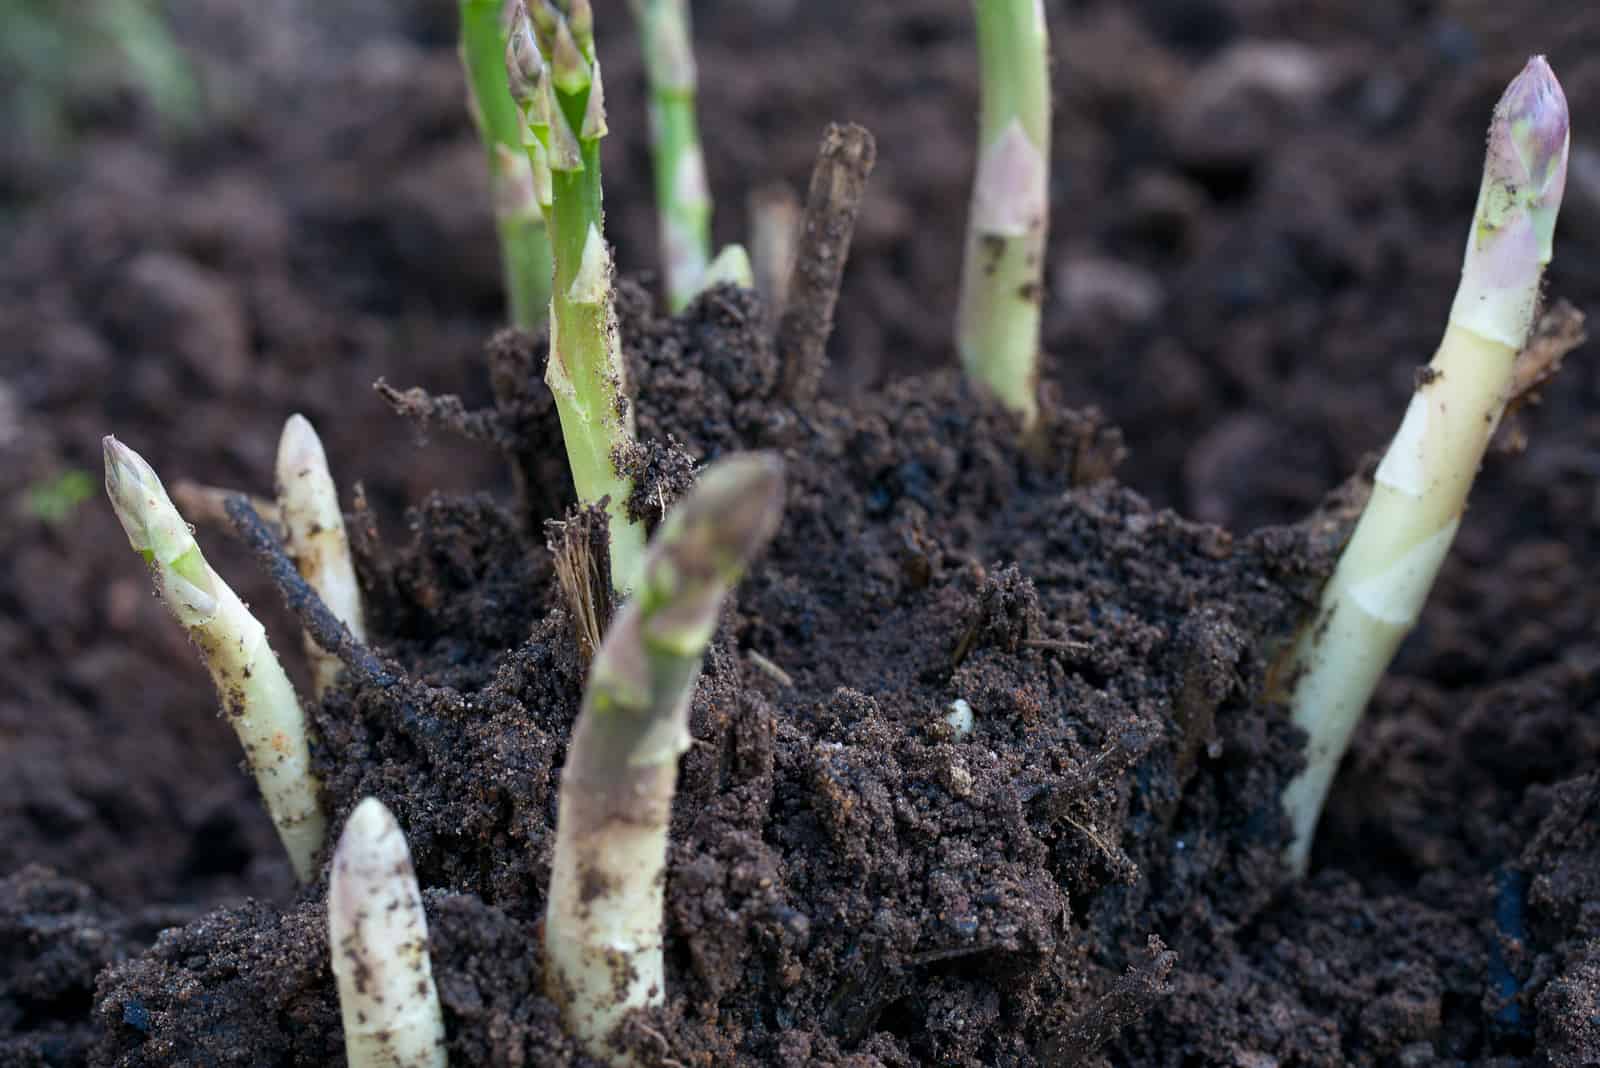
After you have successfully planted your asparagus, it is time to take good care of it!
Trust me, once established, taking care of asparagus is easy peasy. You should pay close attention to the soil type and fertilizer that you are using; the rest will work out by itself.
Nonetheless, a healthy plant will yield a more delicious harvest. So, let’s see the growing requirements of asparagus.
Soil Requirements
We already mentioned that soil is the most important aspect of this care guide.
Asparagus cannot handle extremely acidic mediums and likes soil with a pH of 6.5 to 7.0. It may grow in a wide range of soil types as long as they drain effectively.
You should add some compost to the soil because it favors loamy soils that are rich in nutrients and organic matter – this will help with drainage as well.
Temperature Requirements
The ideal daytime temperature range for this plant is between 70 and 85 degrees Fahrenheit. It does, however, prefer nights that are a little bit cooler – between 60 and 70 degrees Fahrenheit.
If the soil temperature is below 50 degrees, asparagus won’t grow. Keep in mind that frost can seriously damage your plant!
Temperatures above 85 and below 55 degrees will significantly slow down growth and development.
Humidity Requirements
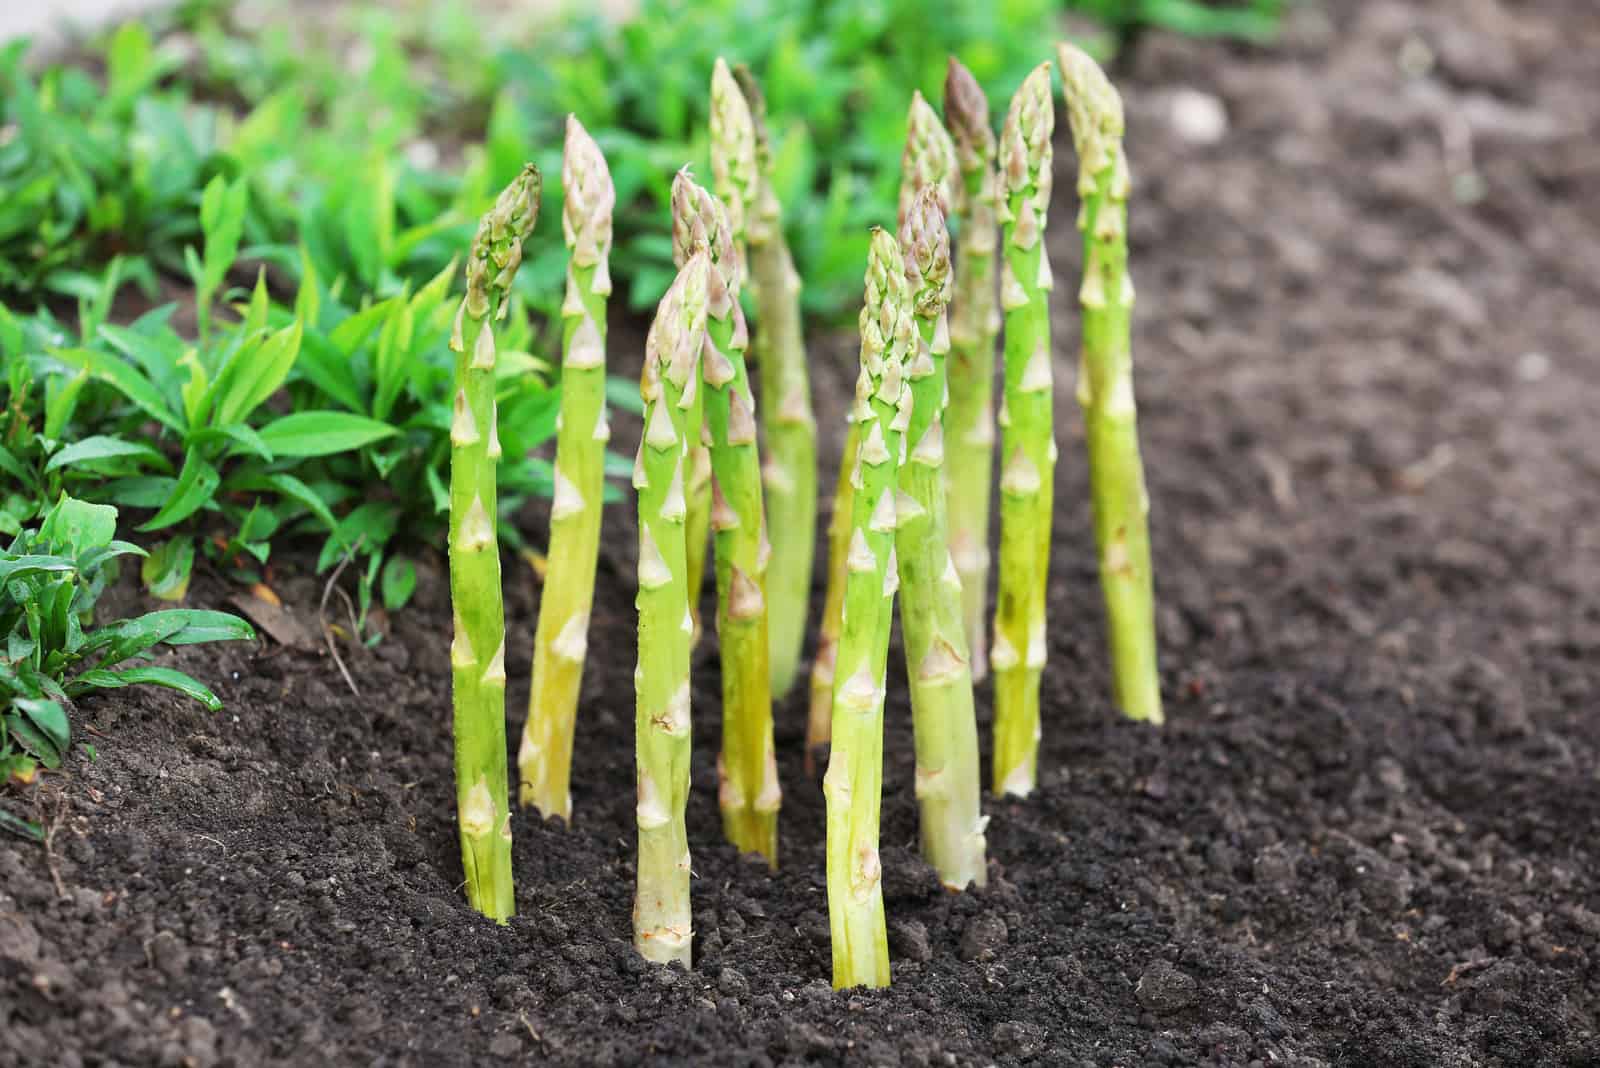
When it comes to humidity, asparagus will thrive in moderately humid environments.
It is one of the most adaptable vegetables because it tolerates higher humidity levels as well. You can simply water and mulch your plants if you think they might need additional moisture.
Water Requirements
Watering can be tricky sometimes, but with the proper drainage, it shouldn’t be an issue!
Asparagus is a veggie that requires a lot of water, especially when young.
During their first two years of growth, these plants require about 1-2 inches of water every week. Once the third growing season begins, you can cut back on watering to around an inch of water each week.
You can also add a drip irrigation system or a soaker hose to your asparagus bed.
Light Requirements
Asparagus needs full sun exposure to grow. We already mentioned that it should be planted in a location where it can receive about 6 to 8 hours of sunlight a day.
Don’t plant it near any shrubs or trees that create shade or you’ll end up with a leggy plant.
However, this plant prefers colder temperatures and thrives in the shade during the hot summer months. Simply plant it where it can receive a lot of early sunlight and some afternoon sun protection.
Fertilizer Requirements
Fertilizing asparagus is no different from fertilizing houseplants or any other plant in the garden.
Every now and again, asparagus requires fertilizer, and triple 10 is the best option since it has a good balance of nutrients. Avoid over fertilizing and fertilizer burn by using 1.2 pounds of fertilizer per 100 square feet.
This plant can be fertilized both before and after harvest, and we typically choose organic fertilizers to minimize any potential side effects.
You can add some nitrogen-based fertilizer, such as 34-0-0 if you see that the leaves are beginning to change color before they should. However, too much nitrogen can harm the plant, so you should only put 0.3 pounds of fertilizer on a 100 square foot area this time.
You can always dissolve the fertilizer in water and gently irrigate the plant so that it doesn’t come into contact with the leaves if you’re concerned about overfertilizing.
After fertilizing, always give the plant thorough watering to assist nutrients getting to the roots more quickly and prevent fertilizer burn.
Common Pests

Sadly, asparagus is not resistant to pests and diseases. The most common pests are spotted asparagus beetles, common asparagus beetles, and aphids.
When asparagus beetles feed on your plants, they might end up dark and scarred. Investigate the plant and pick off the beetles one by one if the infestation isn’t too big.
However, you should apply insecticides to get rid of asparagus beetles if you notice huge groups of insects on your vegetables.
Aphids can harm young seedlings and spears that haven’t yet been harvested. If they’re not treated, these insects can reduce production and possibly kill the plants. Thankfully, getting rid of them is simple.
If there aren’t too many of them on your asparagus, you can simply pick them off, get rid of the dead leaves, or use insecticides if the infestation has expanded.
Common Diseases
Fusarium, asparagus rust, and blight are the three common diseases that affect asparagus.
Fungal diseases like fusarium root and crown rot can affect both young plants and established ones. In high temperatures, they spread quickly and attack the plant’s roots.
Treating the plant with fungicide and getting rid of diseased parts is the best way to prevent fungi from spreading.
Your plants probably have blight if you find moist spots on the spears near the ground and you notice that they have twisted and curled.
It is brought on by a fungus that destroys your plants by attacking the asparagus roots. By using fungus-free materials and increasing the drainage of the soil, you can prevent blight.
How To Harvest Asparagus
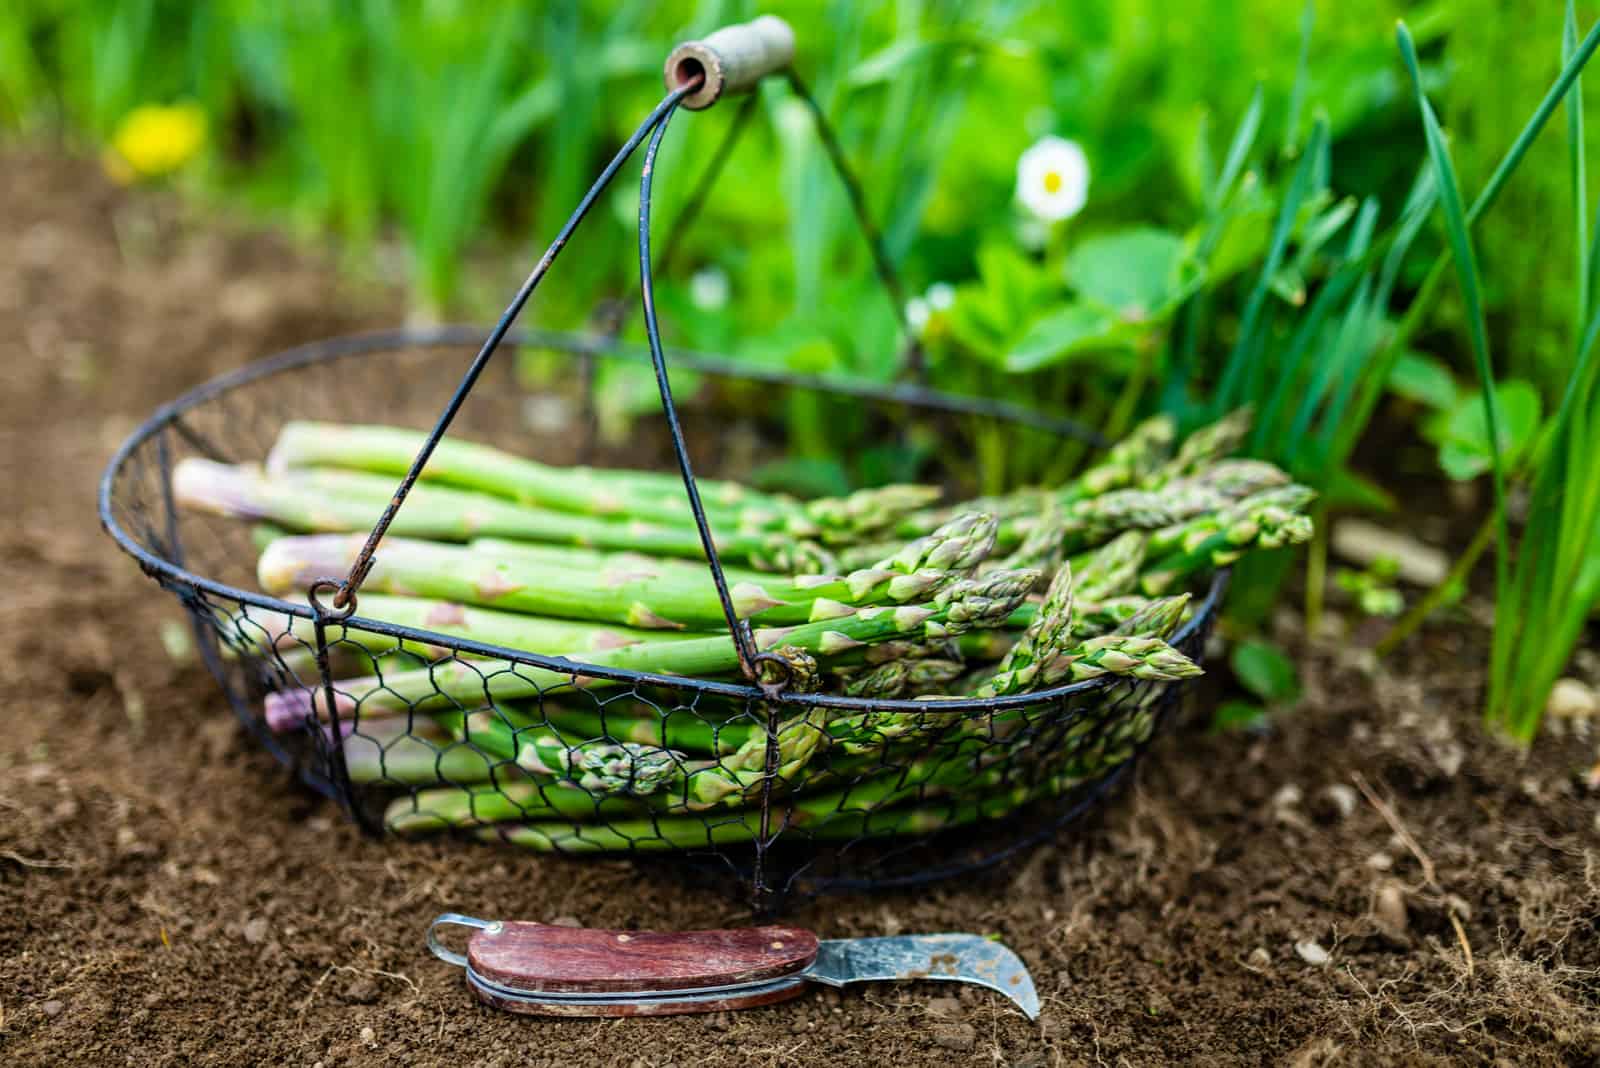
Asparagus is typically harvested three years after planting although some gardeners harvest it after two years. It is generally recommended to avoid harvesting after two years because the plant might stop producing the following year.
Harvesting after three years is beneficial since the plant is well-established and doesn’t require much energy to endure dormancy. The spears are usually harvested once they are 10 inches long.
You can start harvesting asparagus in mid-April, and continue to do so for the next six weeks!
Use a sharp knife to cut the spears of asparagus about an inch above the soil when harvesting.
The plant continues to develop until it fronds out, at which point it goes dormant until the next year when it begins to grow once more.
To ensure that there is enough food and energy to get through dormancy, you should stop harvesting asparagus spears at the end of May and allow the remaining ones to fern out.
After you’ve finished harvesting, feed your asparagus plants with an organic fertilizer.
Finally, when the fourth year approaches, harvesting can start in mid-April and continue for the next two months.
Overwintering Asparagus
Overwintering asparagus is an important step in ensuring the long-term health and productivity of your plants.
After the final harvest in the fall, cut down the fern-like foliage of the asparagus plants, leaving about 2 inches above the ground.
Remove and dispose of any plant debris, including fallen leaves, to minimize the risk of pests and diseases overwintering. Early removal has the benefit of preventing pests from overwintering in the stems, such as asparagus beetles.
On the other hand, leaving the stalks standing throughout the winter has the benefit of allowing snow to collect in the plant debris, protecting the asparagus crowns from freezing temperatures.
In regions with extremely cold winters, additional protection may be needed. Consider covering the asparagus bed with a layer of frost cloth or burlap to shield the crowns from freezing temperatures.
Types Of Asparagus

If you decide to grow asparagus, here are the top five types of asparagus that can easily be grown in any garden:
• Jersey Knight – a hybrid asparagus variety known for its robust growth and disease resistance. It produces large, thick spears with tight tips and a delicious flavor.
• Mary Washington – a popular variety of asparagus known for its reliability and productivity. It produces thick, green spears with tight heads and a mild, nutty flavor.
• Purple Passion – striking purple variety that can add a pop of color to the garden and the plate as well. The spears are tender and sweet.
• Gijnlim – a Dutch variety of asparagus known for its early and abundant harvests. It is prized for its thin, tender spears and delicate flavor. It is well-suited for colder climates.
• Pacific Purple – another purple asparagus variety that stands out for its vibrant color and unique sweet flavor.
Green vs White Asparagus
Asparagus officinalis produces two different forms of the same plant – green and white asparagus. They are technically the same plant, although green asparagus turns white because of blanching, a process which deprives the plant of light so it stops photosynthesis.
This can be done by putting soil or plastic tunnels over the spears as they grow.
If the harvested spears are quickly refrigerated to stop the fiber from developing, the finished product is smooth, white, and nearly fiber-free asparagus.
Green asparagus has a more robust flavor with a slightly grassy or earthy taste. It has a firm and crisp texture. White asparagus, being grown underground and shielded from sunlight, has a milder and more delicate flavor.


