8 Easy Orchid Pruning Tips To Encourage More Blooms In California
California orchid lovers, your flowers can bloom bigger and brighter with just a little care. Pruning is easier than it looks, and the results are always worth it.
I’ve put together eight simple tips to help your orchids thrive indoors or in your garden. Get ready to enjoy more stunning blooms all year long in your California home.
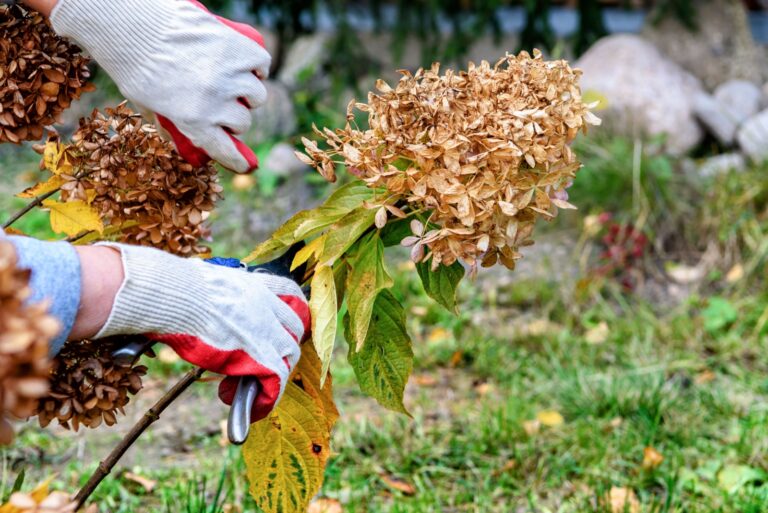
1. Wait Until Flowers Fully Drop Before Pruning

Patience is key when it comes to orchid care. Your plant needs time to absorb nutrients from the dying flower spike before you cut it away.
Many California gardeners make the mistake of pruning too early, which can stress the plant. Allow all the blooms to fall naturally and wait a few extra days.
Once the stem turns brown and papery, that’s your signal to grab the pruning shears and get to work on encouraging new growth.
2. Sterilize Your Pruning Tools First
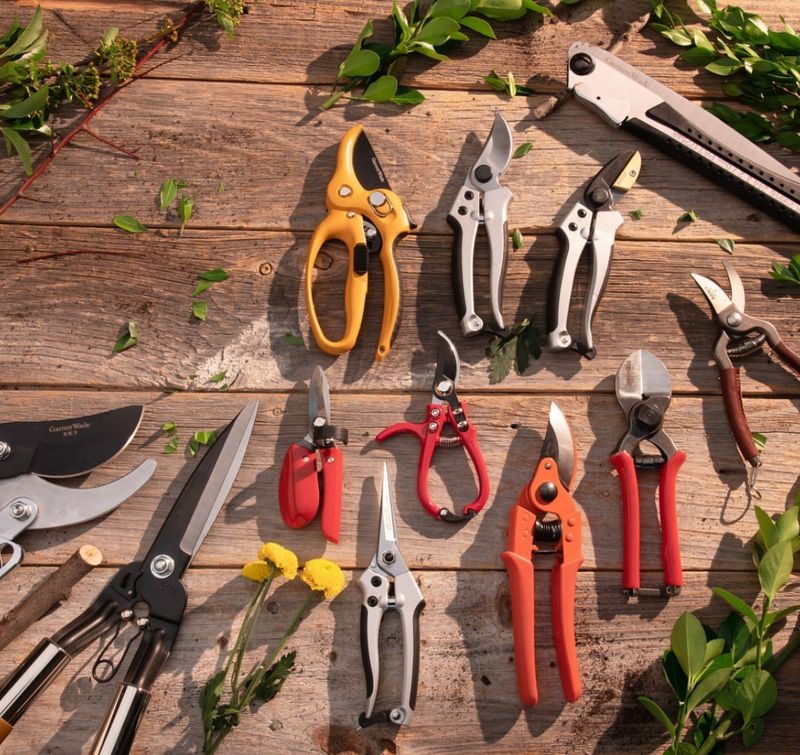
Clean tools prevent diseases from spreading between your plants. Bacteria and fungi love to hitchhike on dirty scissors and shears, causing major problems for orchids.
Before you start pruning your California orchids, wipe down your tools with rubbing alcohol or a bleach solution. This simple step takes just seconds but protects your entire collection.
Professional growers always sterilize between each plant, and you should too, especially if you have multiple orchids at home.
3. Cut Above a Healthy Node for Reblooming
Look closely at your orchid stem and you’ll notice small bumps or joints called nodes. Cutting about one inch above a healthy, green node can trigger a secondary bloom spike to grow from that spot.
California’s mild climate makes reblooming easier than in colder states. Count from the bottom and cut above the second or third node for best results.
Not every stem will rebloom, but this technique significantly increases your chances of seeing flowers again within a few months.
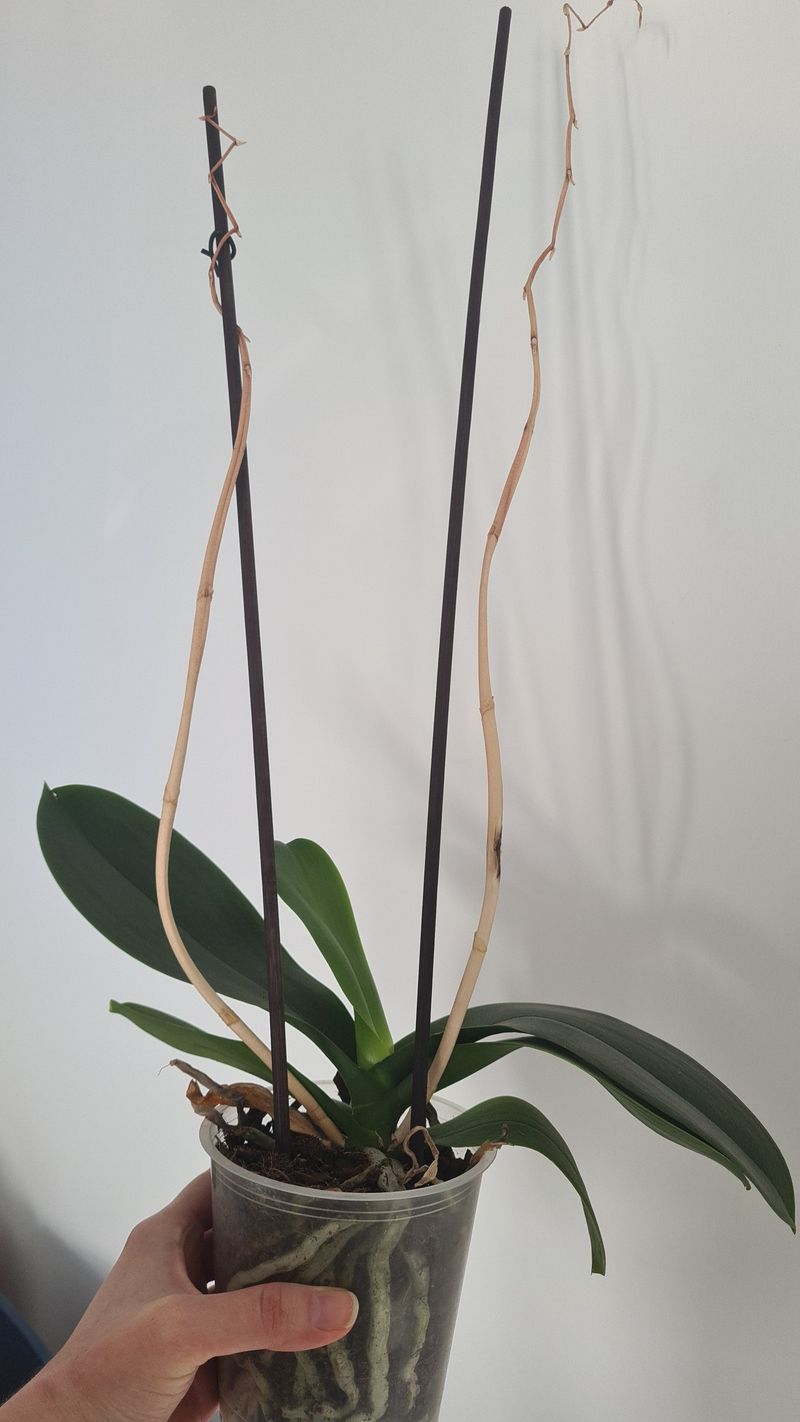
4. Remove Dead Spikes at the Base

When an orchid spike turns completely brown and dried out, it won’t produce any more flowers. Leaving dead spikes on the plant wastes energy that could go toward new growth.
Use sharp, clean shears to cut the spike as close to the base as possible without damaging the leaves. California’s sunny weather helps orchids recover quickly from pruning.
Removing dead material also improves air circulation around your plant, reducing the risk of rot and fungal issues in humid conditions.
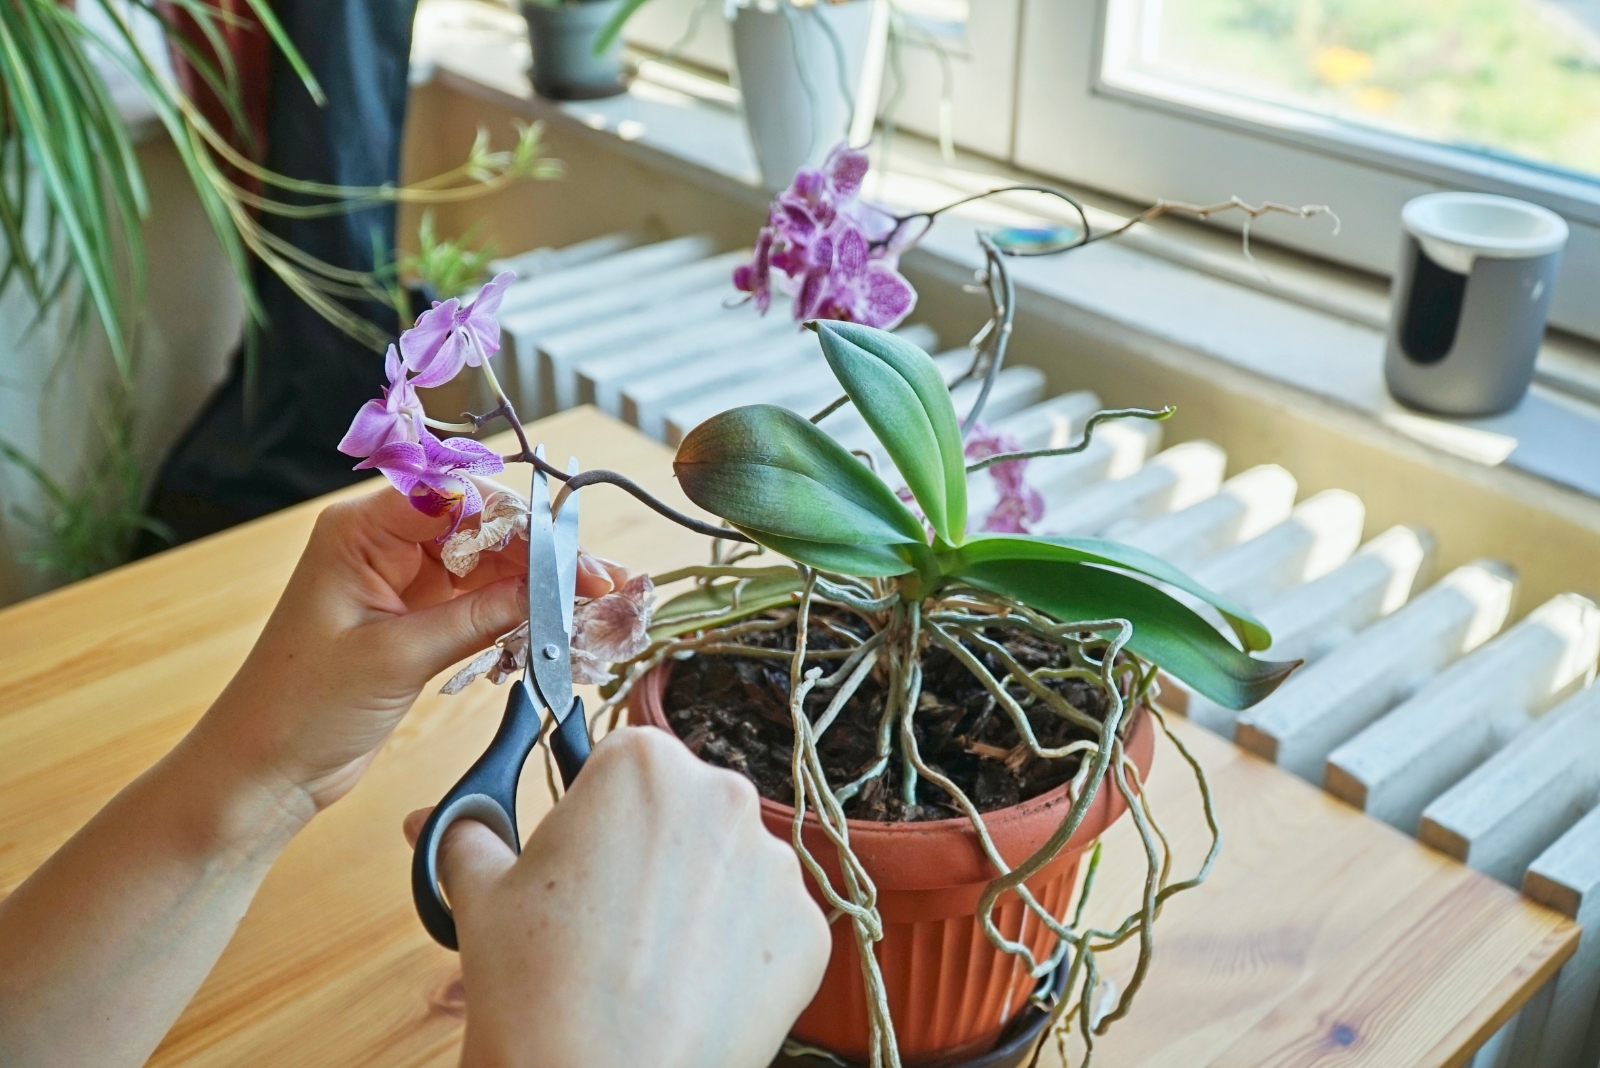
5. Trim Yellow or Damaged Leaves Carefully

Yellow leaves happen naturally as orchids age, but they can also signal watering issues or disease. Removing damaged foliage helps your plant focus energy on healthy growth and flowering.
Cut yellow leaves close to the stem using sterilized scissors. In California’s dry climate, orchids sometimes develop brown leaf tips from low humidity, which you can trim without removing the entire leaf.
Always leave healthy green leaves alone, as they’re essential for photosynthesis and bloom production.
6. Prune Aerial Roots Only When Necessary
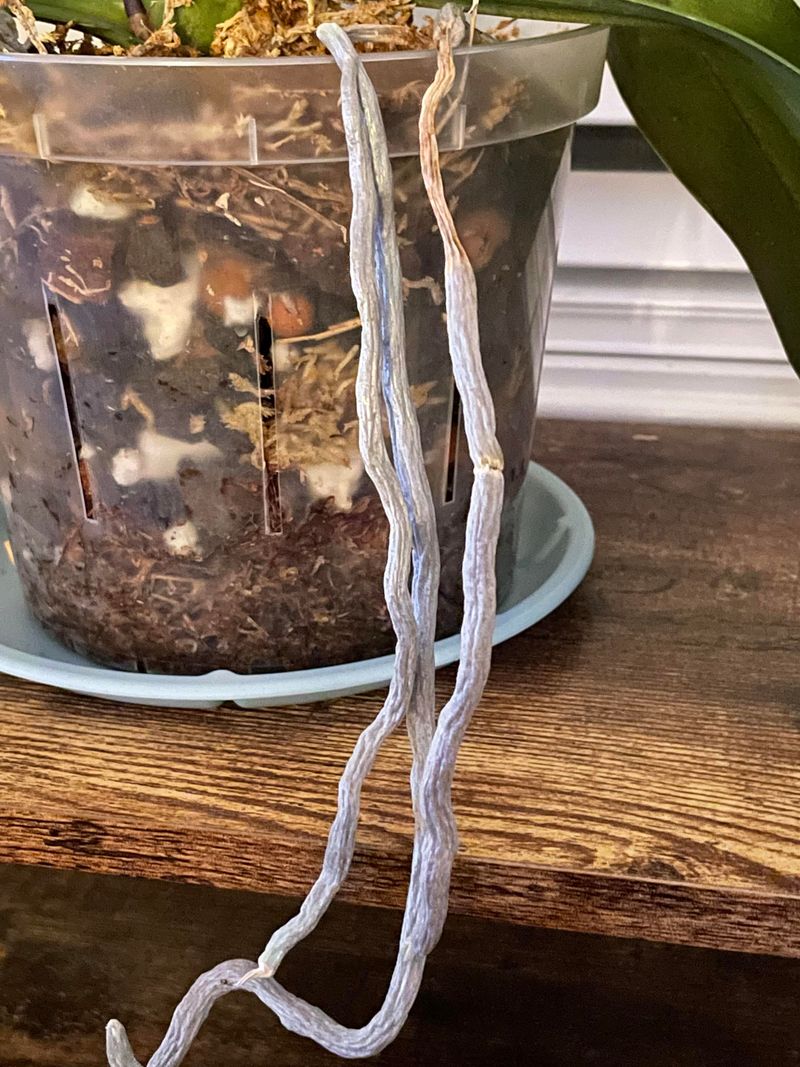
Those wild-looking roots growing outside the pot are actually normal and healthy for orchids. Aerial roots help the plant absorb moisture from the air, which is especially useful in California’s variable humidity.
Only trim aerial roots if they’re completely dead, mushy, or diseased. Healthy roots might look gray or silvery when dry, but turn green when watered.
Cutting healthy aerial roots can stress your orchid and reduce its ability to take in nutrients and water from the surrounding environment.
7. Time Your Pruning After Blooming Cycles
Orchids follow natural blooming cycles, and pruning at the right time maximizes your chances of repeat flowering. Most varieties bloom once or twice yearly, with rest periods in between.
California’s consistent temperatures allow for flexible pruning schedules compared to states with harsh winters. The best time is immediately after flowers fade but before new growth begins.
Watch your plant’s rhythm over a year to understand its unique cycle, then plan your pruning sessions accordingly for optimal results.
8. Make Clean Cuts at 45-Degree Angles
The angle of your cut matters more than you might think. Cutting at a 45-degree angle prevents water from pooling on the cut surface, which could lead to rot or infection.
Sharp, quality shears make clean cuts that heal faster, giving your California orchid the best chance at recovery. Ragged or crushed cuts from dull tools create entry points for diseases.
Position the angled cut so the higher point faces away from the plant’s center, allowing any moisture to drip away naturally.