The Wind-Protection Hack Washington Gardeners Swear By For Delicate Blooms

Washington gardeners know the struggle all too well: fierce winds can snap stems and shred petals on your most prized plants. But there’s a clever trick that’s been quietly saving delicate blooms across the Pacific Northwest.
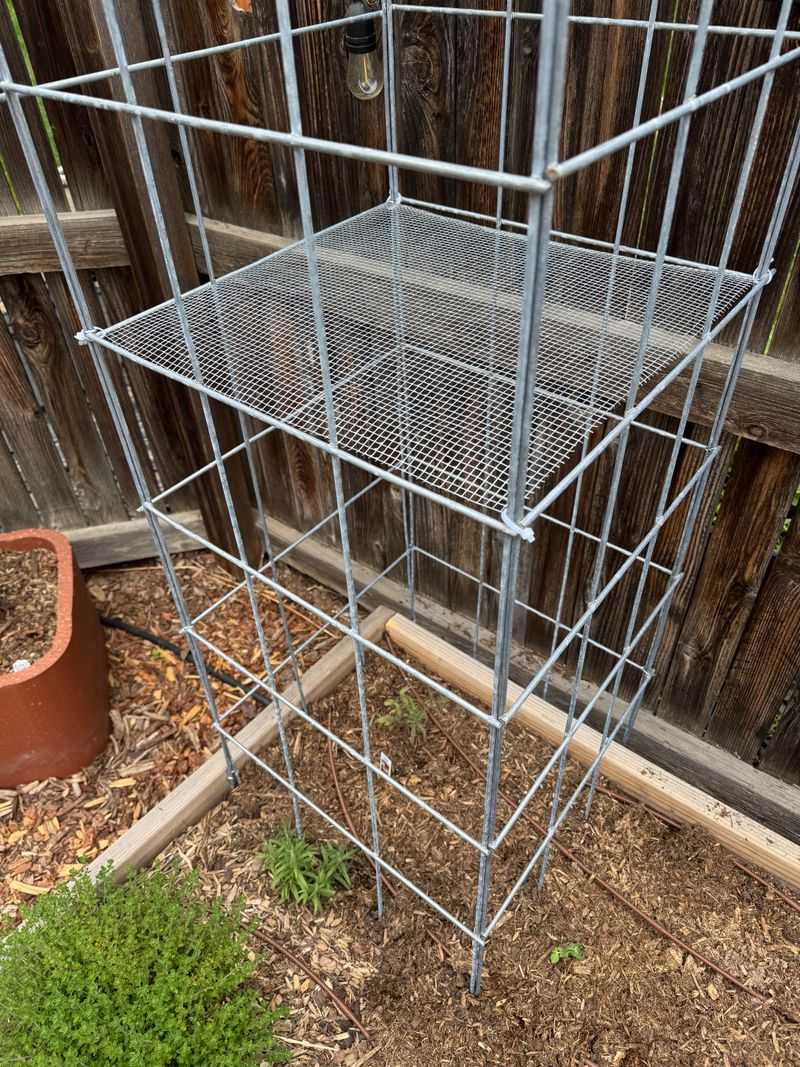
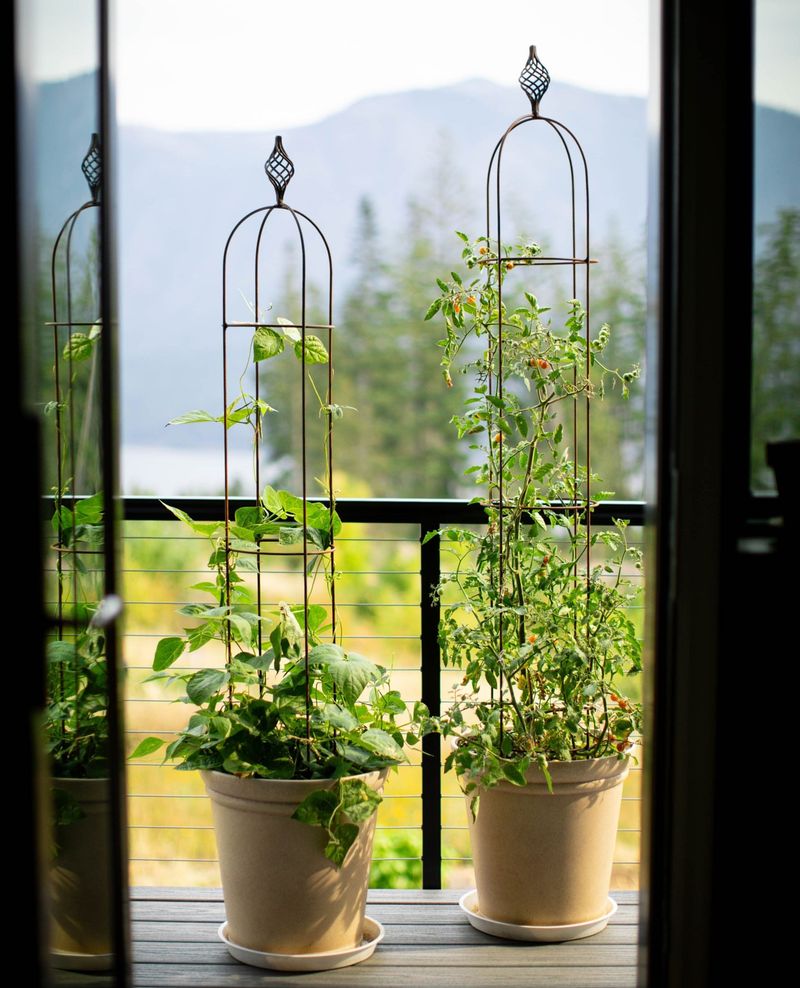
Tomato cages and peony rings aren’t just for supporting heavy fruits and floppy flowers anymore—they make surprisingly effective wind shields that protect your garden without breaking the bank.
Pick The Right Cage Size For Your Plant
Matching your cage to your plant’s height and width makes all the difference. A cage that’s too small won’t offer enough protection, while an oversized one wastes space and looks awkward in your garden bed.
Measure your plant from soil to the tallest bloom, then add about six inches for growth room. For bushier plants like peonies or roses, choose wider rings that can surround the entire plant without crushing outer stems.
Most Washington garden centers sell cages ranging from 18 to 54 inches tall, giving you plenty of options for everything from dainty sweet peas to tall delphiniums.
Install Cages Early In The Growing Season
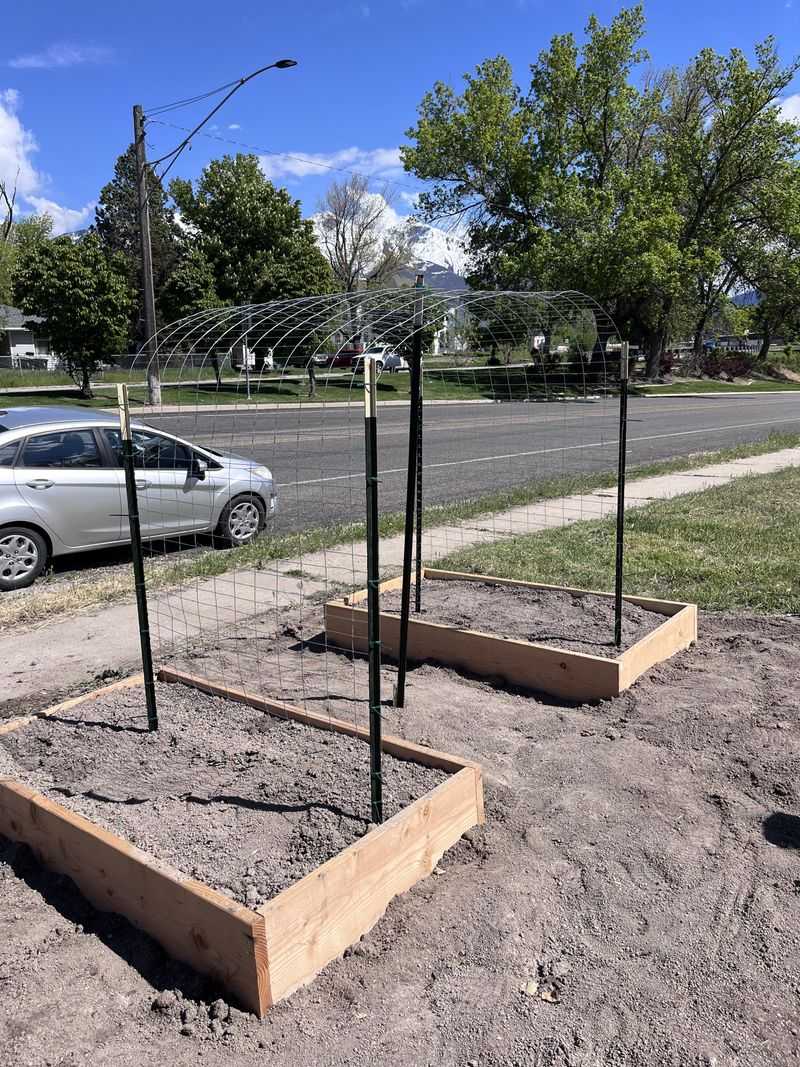
Timing really matters when you’re setting up wind protection. Place your cages around plants when they’re still young and small, ideally right after transplanting or when shoots first emerge in spring.
Early installation prevents root damage that happens when you try jamming stakes into the ground near established plants. Your flowers will naturally grow up and through the cage wires, creating a seamless look that hides the support structure.
Waiting until plants are already tall and leafy makes installation tricky and risks breaking branches during the setup process.
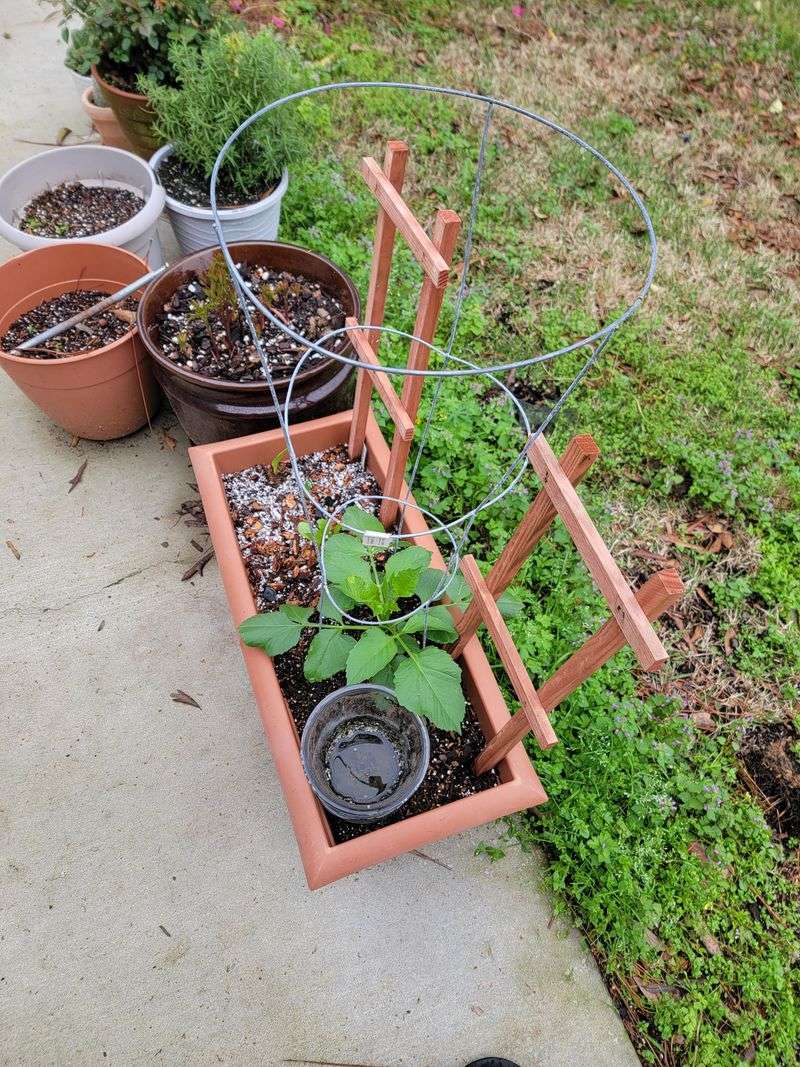
Secure Cages Firmly Into The Ground
A wind shield that topples over defeats the whole purpose. Push each leg of your cage at least four to six inches deep into the soil, working it down until it feels rock-solid and doesn’t wiggle when you shake it.
Clay-heavy Washington soil holds cages better than sandy or loose soil. For extra stability in windy spots, hammer wooden stakes alongside the cage legs and zip-tie them together.
Check your cages after heavy rainstorms, as water can soften soil and loosen the grip on your supports.
Add Windbreak Material To The Cage
Transform your basic cage into a serious wind barrier by attaching protective material to the windward side. Burlap works beautifully because it blocks harsh gusts while still allowing air circulation and light to reach your plants.
Landscape fabric, shade cloth, or even clear plastic sheeting can work depending on your needs. Attach your chosen material using zip ties, twine, or garden clips, making sure it’s taut enough to stay put but not so tight it bows the cage.
Face the covered side toward your prevailing winds for maximum protection.
Monitor And Adjust Throughout The Season

Your work isn’t done once the cage is in place. Walk through your garden weekly to check how plants are growing within their protective barriers and whether the cages still provide adequate coverage.
As plants grow taller, you might need to add a second cage stacked on top or reposition the existing one higher. Remove any stems poking through the cage that could snap in wind, and gently tuck them back inside.
After major windstorms, inspect for damage and reinforce any cages that shifted or loosened during the weather event.