7 Warning Signs Your Pothos Is Struggling And The Simple Fixes That Actually Work In Florida Homes
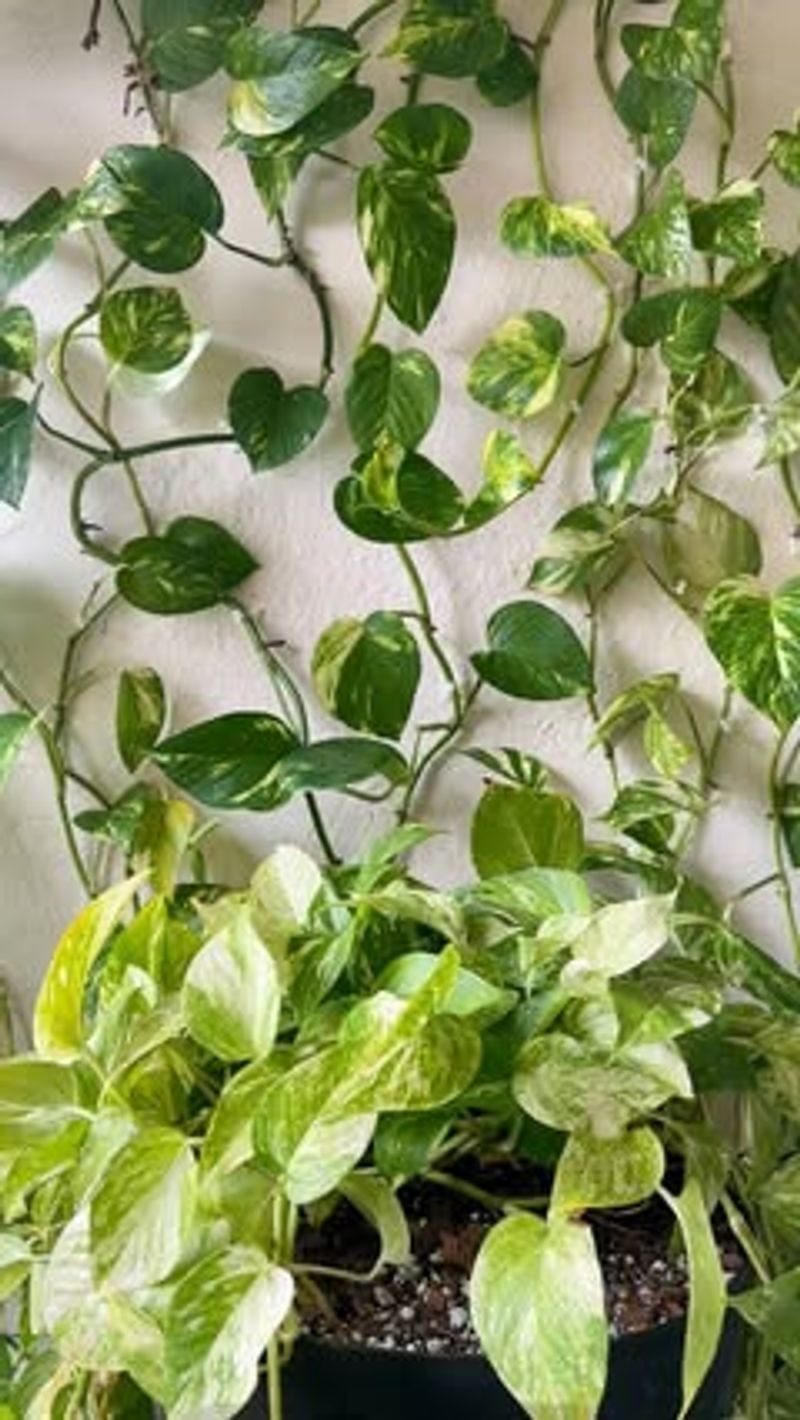
Pothos has a reputation for being indestructible—but even this laid-back houseplant has its limits, especially in Florida homes.
Between intense humidity, air conditioning, and fluctuating light, pothos can quietly struggle long before it gives up completely.
Yellowing leaves, leggy growth, or drooping vines are often brushed off as normal, but they’re the plant’s way of waving a white flag.
The good news? Most pothos problems have simple fixes that don’t require special tools or plant whispering skills.
Florida homeowners who catch the signs early can bring pothos back from the brink fast.
A few small adjustments—often involving light, water, or airflow—can make all the difference.
When pothos is happy, it shows it. And when it’s not, it’s counting on you to notice.
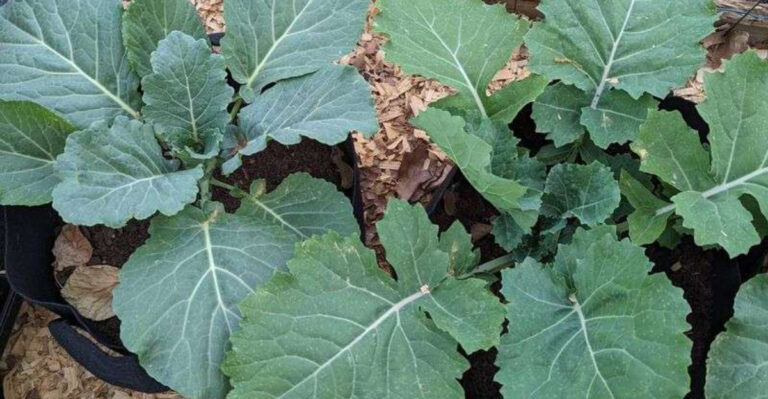
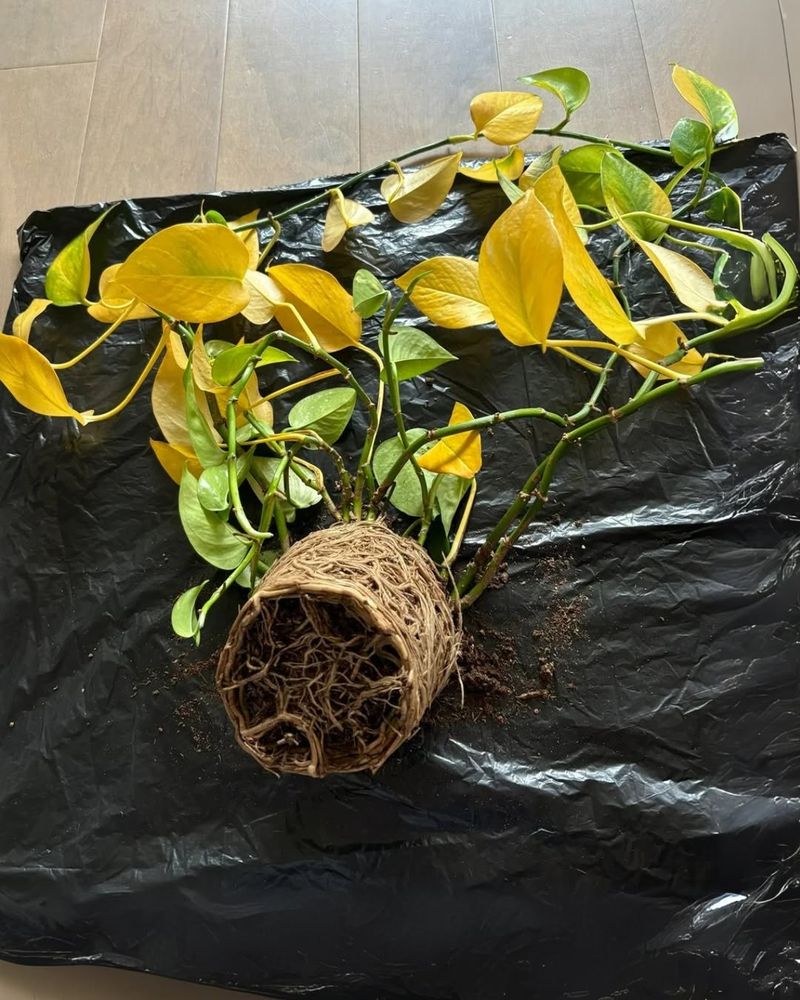
1. Yellowing Leaves That Start At The Bottom
When you notice the lower leaves on your pothos turning yellow, your plant is waving a red flag about its watering routine.
Florida homes naturally have higher humidity levels, which means soil stays damp longer than you might expect.
Too much moisture sitting around the roots creates an environment where they can’t breathe properly, leading to those telltale yellow leaves creeping up from the base.
The fix starts with checking your watering schedule.
Stick your finger about two inches into the soil before you water again—if it feels moist, wait a few more days.
Most Florida pothos only need watering once every week to ten days, depending on your home’s air conditioning use.
Drainage matters just as much as watering frequency.
Make sure your pot has drainage holes that actually work, and consider adding perlite or orchid bark to your potting mix to help water move through faster.
If your pot sits in a decorative cache pot, always empty the excess water that collects at the bottom after watering.
Within a couple of weeks of adjusting your routine, you should see the yellowing stop spreading.
The affected leaves won’t turn green again, but new growth will come in healthy and vibrant, showing your plant is bouncing back beautifully.
2. Wilting Even Though The Soil Is Wet
Nothing feels more confusing than seeing your pothos droop and wilt when you just watered it recently.
This contradiction points to root stress, where the roots themselves are struggling in soil that’s stayed too wet for too long.
Florida’s warm indoor temperatures can accelerate this problem, especially when combined with poor air circulation around the pot.
Roots need oxygen just like the leaves do, and waterlogged soil cuts off that supply.
When roots can’t function properly, they stop taking up water efficiently, which makes the leaves wilt even though moisture surrounds them.
Early root rot might be starting, but catching it at this stage gives you excellent chances for recovery.
Stop watering immediately and let the soil dry out significantly.
Move your plant to a spot with better airflow, away from corners or tight spaces where air gets stagnant.
If the wilting doesn’t improve within five to seven days, it’s time to unpot the plant and check the roots directly.
Healthy roots should be white or light tan and firm to the touch.
If you find any that look dark, slimy, or smell unpleasant, trim those away with clean scissors and repot in fresh, well-draining soil.
Give the plant bright indirect light and hold off on watering until the top few inches of soil feel completely dry.
3. Brown, Mushy Stems Near The Soil Line

Soft, brown stems right where they meet the soil represent a more serious situation that needs immediate attention.
This mushiness indicates advanced moisture damage that has progressed beyond just the roots.
Florida’s combination of warmth and humidity creates perfect conditions for this to develop quickly once overwatering becomes chronic.
The good news is that pothos are incredibly resilient and can be saved even at this stage.
Your mission is to rescue the healthy portions of the plant before the damage spreads further up the vines.
Use clean, sharp scissors or pruning shears to cut stems well above any soft or discolored sections, making sure you’re cutting into firm, green growth.
Each cutting should be at least four to six inches long with several healthy leaves attached.
Remove the bottom one or two leaves and place the cuttings in clean water, changing it every few days.
Within two to three weeks, you’ll see new white roots beginning to sprout from the nodes.
Once roots reach about two inches long, you can pot them in fresh soil.
Use a light, airy potting mix and a container with excellent drainage this time around.
Water sparingly at first, letting the plant establish itself without repeating past mistakes.
Those cuttings will grow into full, healthy plants that thrive in your Florida home.
4. Small New Leaves Or Slow Growth
Have you noticed that the new leaves unfurling on your pothos look noticeably smaller than the older, established ones?
This size difference tells you that your plant isn’t getting enough light to fuel proper growth.
Many Florida homes have beautiful but shaded interiors, with trees outside filtering sunlight or rooms positioned away from direct window exposure.
Pothos can survive in low light, which makes them popular for dim corners, but surviving and thriving are two different things.
When light levels drop too low, the plant conserves energy by producing smaller, paler leaves and slowing down its overall growth rate.
You might also notice the variegation fading on varieties that normally show white or yellow patterns.
The solution is simpler than you might think—just move your plant closer to a light source.
Look for a spot that gets bright, indirect light for most of the day, such as a few feet back from an east or west-facing window.
Avoid direct afternoon sun, which can scorch the leaves, but don’t be afraid of bright, filtered light.
Within a month of better lighting, you should see new growth coming in larger and more robust.
The small leaves that already developed will stay that size, but they’ll be a reminder of how far your plant has come.
Better light also encourages faster growth and fuller vines that look absolutely stunning trailing from shelves or hanging baskets.
5. Leggy Vines With Long Gaps Between Leaves
When your once-full pothos starts developing long stretches of bare stem between leaves, the plant is literally reaching out for more light.
This stretching, called etiolation, happens when a plant tries to grow toward a light source that’s too far away or too dim.
The result looks sparse and stringy rather than lush and full, which isn’t the look most plant parents are going for.
Low light causes the plant to prioritize length over density, putting energy into extending vines rather than producing leaves close together.
This is particularly common in Florida homes where rooms are set back from windows or where heavy landscaping blocks natural light from entering.
The good news is that this issue responds beautifully to two simple interventions.
First, relocate your pothos to a brighter spot with more consistent indirect light throughout the day.
Second, grab your pruning shears and trim back those leggy vines to just above a leaf node—the small bump on the stem where leaves emerge.
This pruning encourages the plant to branch out from those nodes, creating multiple new growth points instead of one long, sparse vine.
Don’t toss those cuttings—propagate them in water to create fuller growth when they root.
You can even plant several rooted cuttings back into the original pot to increase density.
With better light and strategic pruning, your pothos will transform into a full, bushy plant within a couple of months.
6. Brown, Crispy Leaf Tips Or Edges
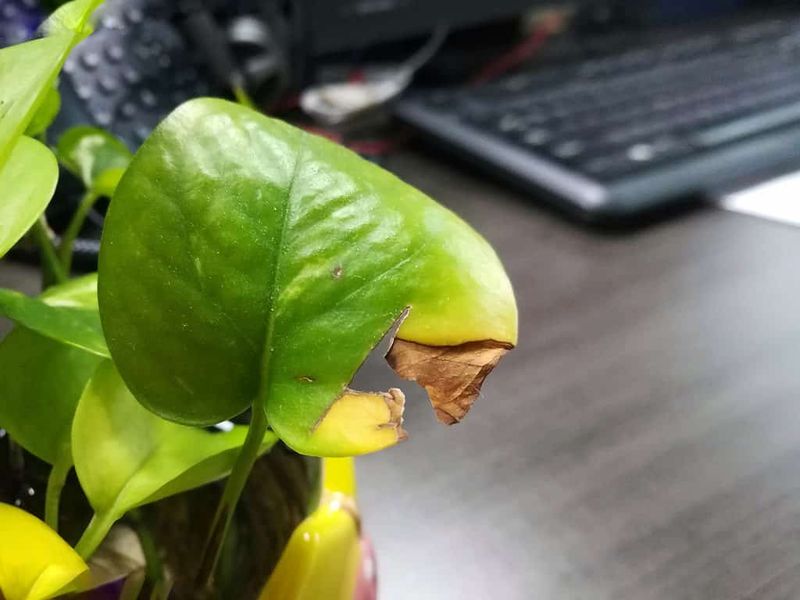
Crispy brown edges creeping across your pothos leaves might look like a watering issue, but the cause is usually something else entirely.
Florida tap water often contains minerals and salts that build up in the soil over time, and these accumulations can burn sensitive leaf tissue.
Fertilizer residue adds to this problem, especially if you’ve been feeding your plant regularly without flushing the soil.
Air conditioning also plays a surprising role in creating crispy leaf edges.
While AC keeps your home comfortable, it pulls moisture from the air and can create drafts that dry out leaf tips faster than the plant can replace the moisture.
Pothos prefer moderate humidity, and the combination of dry air and salt buildup creates the perfect storm for brown, crunchy edges.
Start by flushing your soil thoroughly to remove built-up salts.
Take your plant to the sink or tub and run room-temperature water through the soil for several minutes, letting it drain completely afterward.
Do this monthly to prevent future accumulation, and consider switching to filtered or distilled water if your tap water is particularly hard.
Boost humidity around your plant by grouping it with other houseplants, which creates a microclimate of moisture.
You can also place the pot on a tray filled with pebbles and water, making sure the pot sits on the pebbles above the water line.
Keep your pothos away from direct AC vents, and you’ll see new growth emerging with perfect, crisp-free edges.
7. Pests Showing Up On Leaves Or Stems
Even though pothos plants are relatively pest-resistant, Florida’s warm, humid environment can attract unwelcome visitors to your indoor jungle.
Spider mites, mealybugs, and scale insects are the most common culprits, and catching them early makes treatment much more effective.
Spider mites appear as tiny moving dots, often accompanied by fine webbing on leaf undersides, while mealybugs look like small cotton tufts in leaf joints and along stems.
Scale insects are trickier to spot because they look like small brown or tan bumps that don’t move, easily mistaken for part of the plant itself.
Regular inspection is your best defense—make it a habit to check the undersides of leaves and along stems when you water.
Pests tend to hide in these protected spots, multiplying quickly if left unchecked.
For treatment, start with the gentlest approach that works.
Wipe leaves and stems with a soft cloth dipped in soapy water, which physically removes many pests and disrupts their life cycle.
For stubborn infestations, mix one tablespoon of neem oil with a quart of water and spray all plant surfaces thoroughly, repeating weekly for three weeks.
Isolate any affected plants from your other houseplants to prevent spreading.
Increase air circulation around your pothos, as pests thrive in stagnant conditions.
After treatment, keep monitoring closely for several weeks, because some pest eggs can survive initial applications and hatch later.
With consistent attention and quick action, your pothos will return to pest-free health.