The Beneficial Garden Shrub North Carolina Homeowners Can Propagate From Cuttings In Winter
Winter might seem like a time to step away from the garden, but for North Carolina homeowners, it can be one of the most rewarding seasons to get planting—if you know where to start.
While many shrubs lie dormant, a few quietly prepare for explosive spring growth, offering savvy gardeners the chance to multiply their landscape for free.
One of the best-kept secrets is the American elderberry.
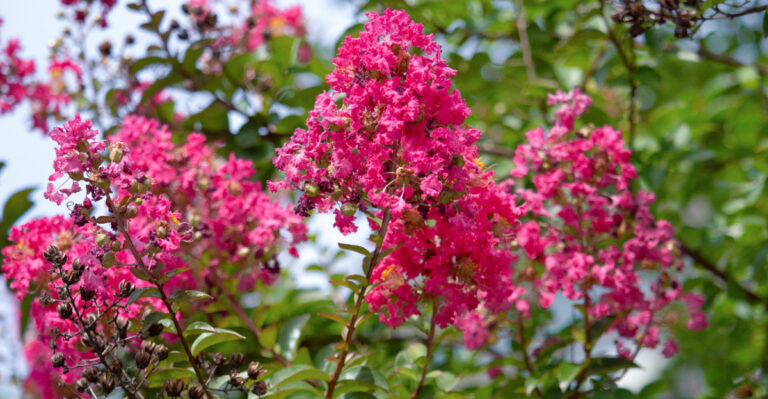
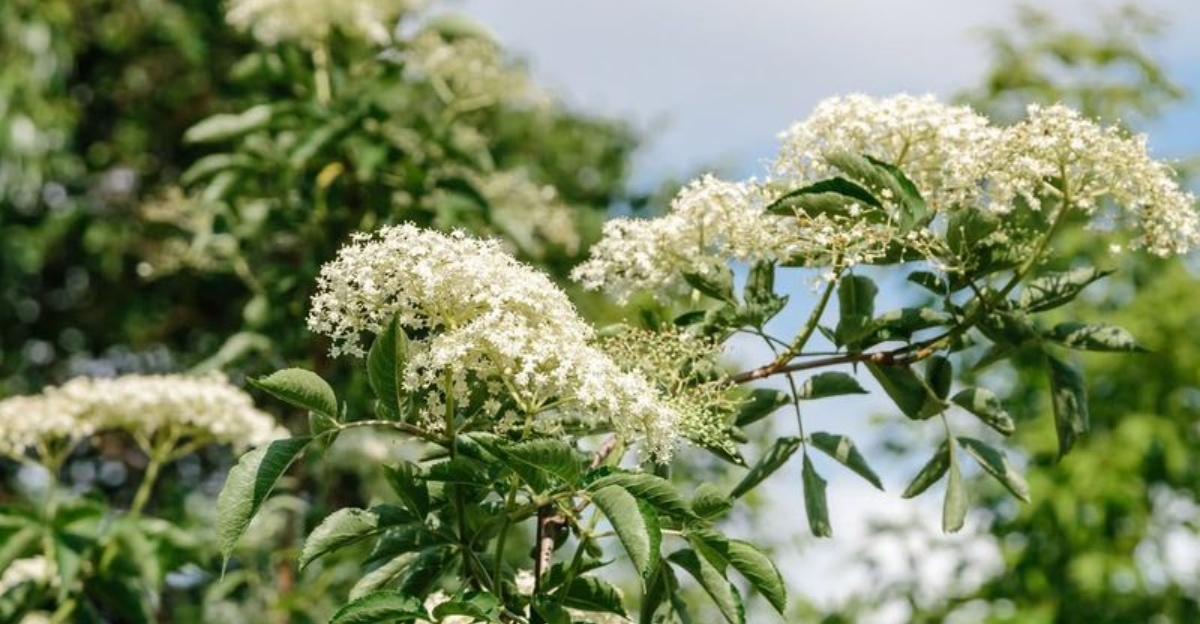
This resilient native shrub thrives across North Carolina, supporting birds, pollinators, and beneficial insects while delivering clusters of creamy white flowers and deep purple berries packed with nutrients.
Even better, American elderberry is incredibly easy to propagate from cuttings during winter dormancy, making it perfect for gardeners who want maximum impact with minimal expense.
Whether your goal is to create a natural privacy screen, enhance your backyard ecosystem, or grow a plant with culinary and medicinal value, elderberry checks every box.
With just a few simple cuttings and a little patience, winter can become the season you set the foundation for a healthier, more vibrant garden come spring.
Understanding Why American Elderberry Thrives In North Carolina Gardens
Native plants naturally adapt to local conditions better than imported species, making American elderberry an outstanding choice for Carolina gardeners seeking low-maintenance options.
This shrub tolerates our humid summers, occasional droughts, and winter temperature swings without requiring constant intervention or specialized care from busy homeowners.
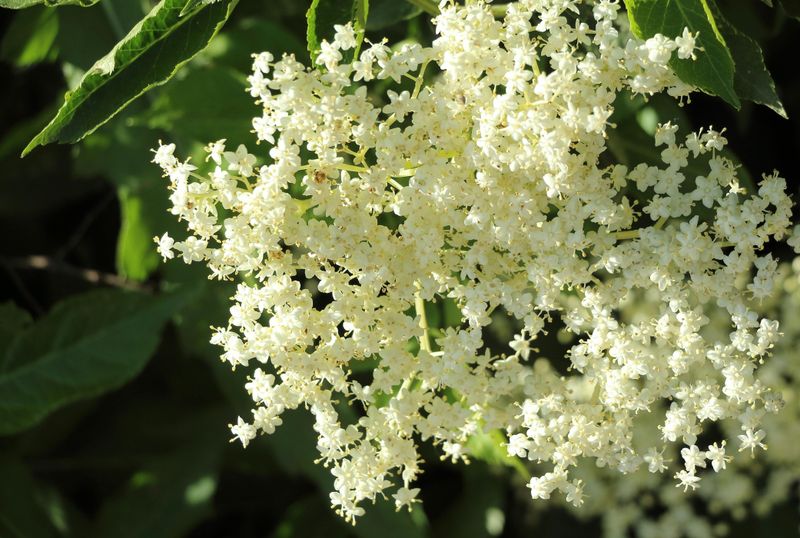
Elderberries produce clusters of creamy white flowers in late spring that attract beneficial pollinators like bees and butterflies to your garden ecosystem.
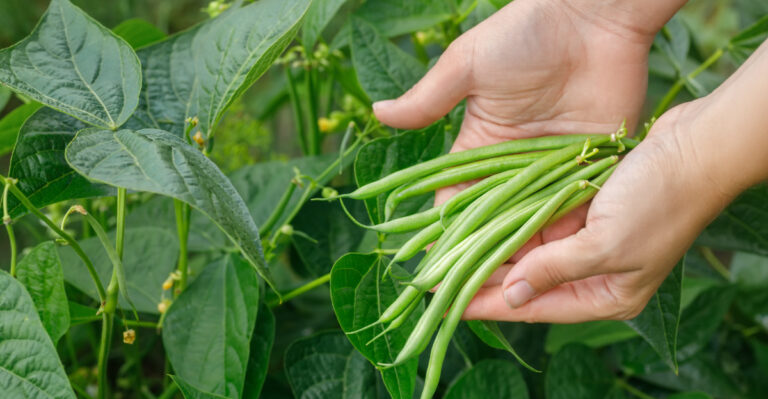
By midsummer, those blooms transform into nutritious dark purple berries that birds adore and humans can harvest for jams, syrups, and wellness preparations.
Wildlife benefits extend beyond birds since the dense branching structure provides excellent nesting sites and shelter for small creatures throughout the year.
Elderberry shrubs grow quickly, often reaching six to twelve feet tall, creating natural privacy screens or windbreaks without the stiffness of formal hedges.
Root systems help prevent soil erosion on slopes while improving ground stability in rain-prone areas common across our state.
Homeowners appreciate how elderberries require minimal fertilizer, resist most common pests, and bounce back vigorously even after harsh pruning or storm damage occurs.
Recognizing The Perfect Time For Taking Winter Cuttings
Dormancy represents the ideal propagation window because plant energy concentrates in stems rather than leaves, increasing rooting success rates for home gardeners everywhere.
Late December through February offers the best cutting period in North Carolina since elderberries enter full dormancy and cold temperatures minimize stress during handling.
Waiting until leaves drop completely ensures cuttings focus energy on root development instead of supporting foliage that would drain precious stored resources unnecessarily.
Avoid taking cuttings during active growth periods or when buds begin swelling in early spring, as these times reduce rooting success dramatically.
Cold but not frozen conditions work best, so choose days when temperatures hover above freezing but remain cool enough to keep plants fully dormant.
Morning hours provide optimal cutting conditions since plant tissues contain maximum moisture levels after overnight recovery, improving survival rates once cuttings get planted.
Experienced propagators watch for clear, dry weather rather than rainy or foggy days to prevent introducing fungal diseases into fresh cuts on stems.
Calendar dates matter less than observing your specific elderberry’s dormancy signals, which vary slightly depending on microclimate and elevation across different regions.
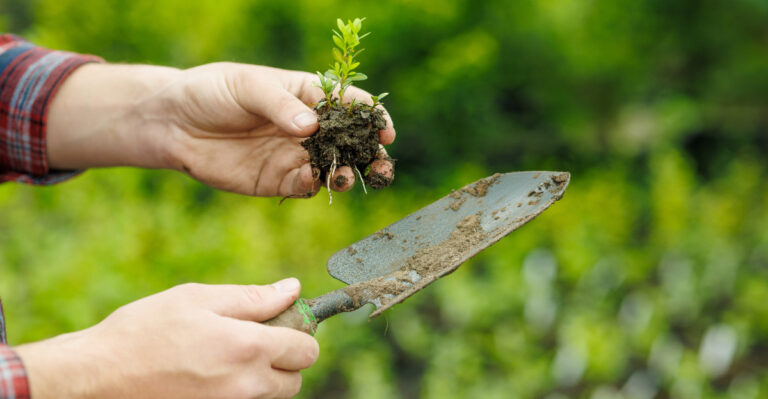
Selecting And Preparing Healthy Cutting Material
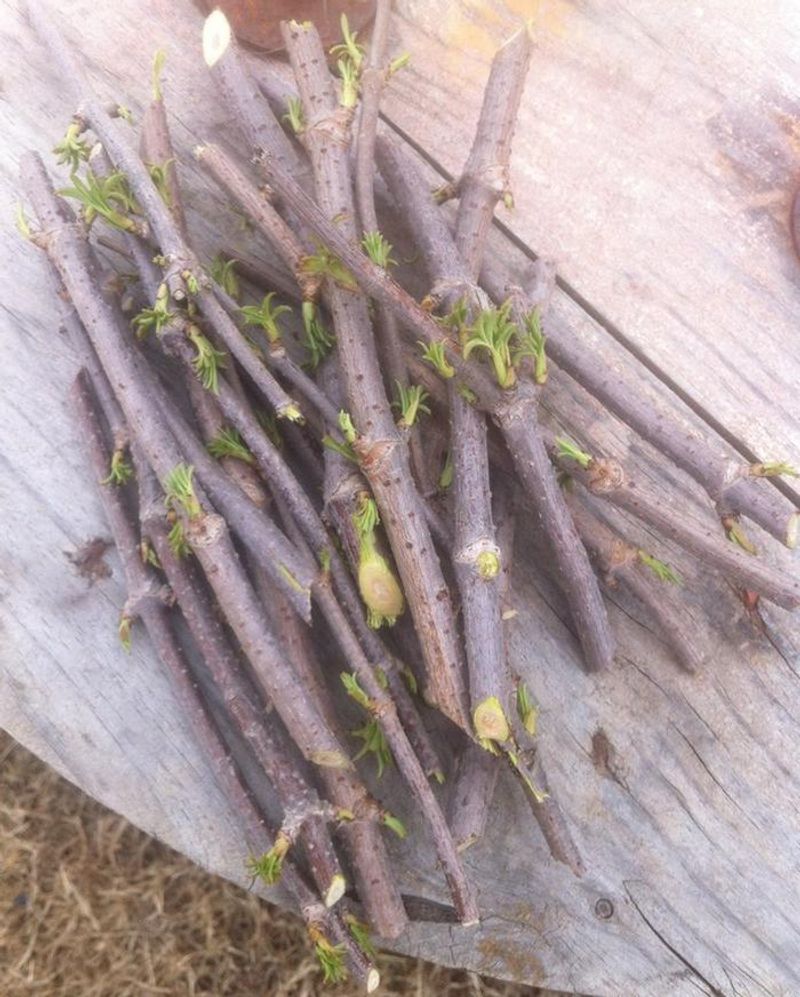
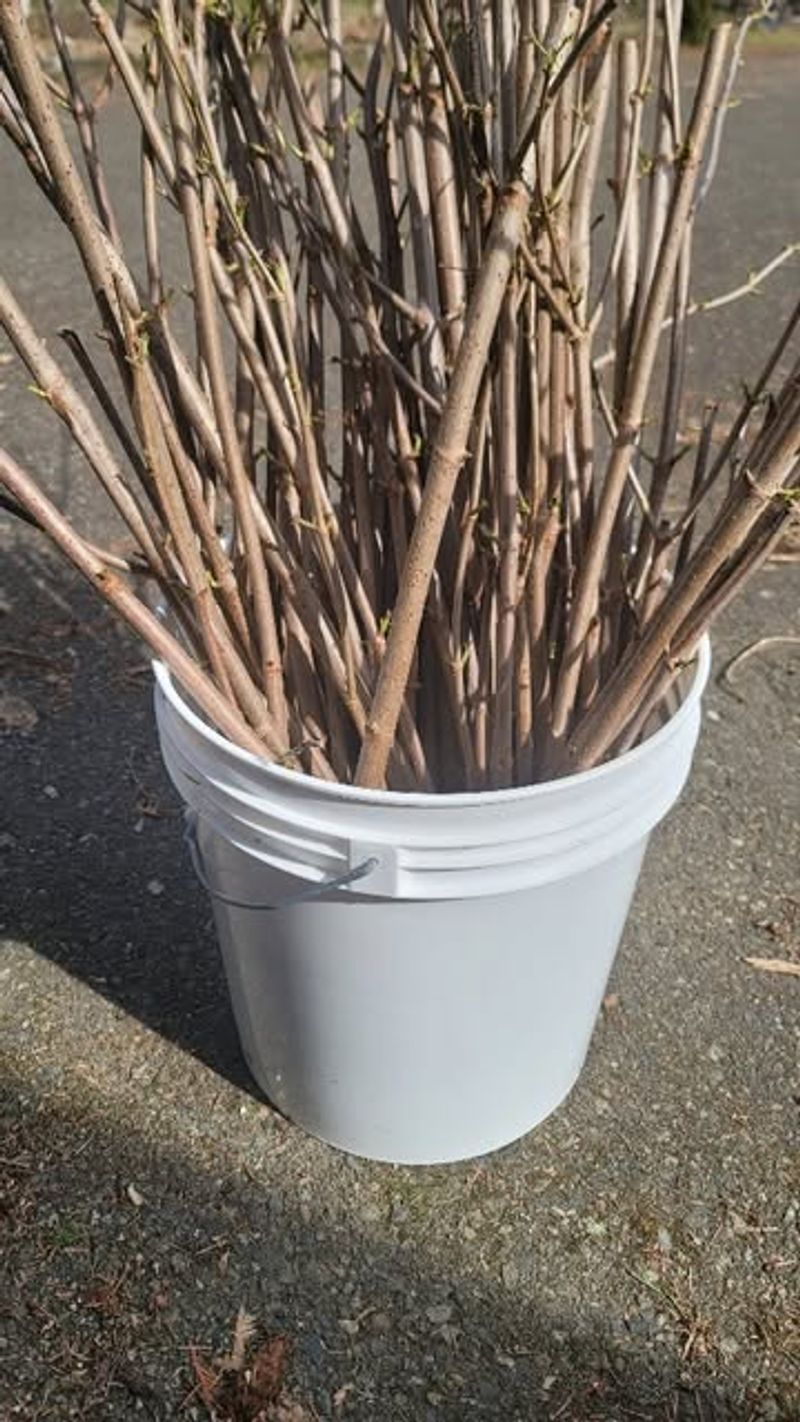
One-year-old wood produces the most reliable roots compared to older, woodier stems or soft new growth that lacks sufficient stored energy for propagation.
Look for pencil-thick branches with smooth bark and tight, healthy buds spaced regularly along the stem, avoiding any showing discoloration or damage signs.
Cut sections measuring eight to ten inches long, making the bottom cut just below a node and the top cut slightly above another node.
Nodes contain concentrated growth hormones that stimulate root formation, so positioning cuts properly dramatically improves your success rate with elderberry propagation efforts overall.
Use sharp, clean pruning shears sterilized with rubbing alcohol to prevent spreading diseases between plants or introducing pathogens into fresh cutting wounds.
Straight cuts heal faster than ragged tears, so maintain your tools properly and replace dull blades before starting any propagation project this season.
Collect more cuttings than you need since not every piece will root successfully, even under ideal conditions and careful management throughout the process.
Bundle cuttings loosely and keep them moist but not soaking wet during transport from the parent plant to your propagation area or workspace.
Creating The Ideal Rooting Environment For Elderberry Cuttings
Well-draining rooting medium prevents waterlogged conditions that encourage rot while maintaining enough moisture to support developing roots throughout the critical establishment period ahead, especially in climates like North Carolina where fluctuating winter and early spring moisture levels are common.
Mix equal parts perlite and peat moss or coconut coir to create an airy medium that balances drainage with moisture retention perfectly.
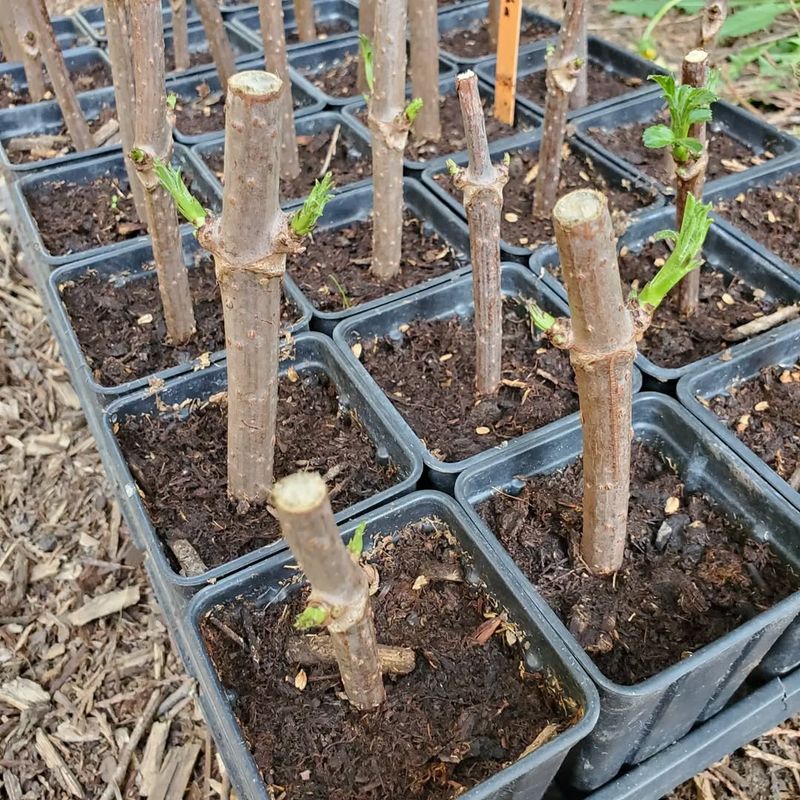
Fill containers at least six inches deep to accommodate root growth, ensuring drainage holes exist at the bottom to release excess water effectively.
Insert cuttings two-thirds deep into the medium, leaving only the top two or three buds exposed above the soil surface for future shoot development.
Firm the medium gently around each cutting to eliminate air pockets that could dry out the stem base and prevent proper root contact.
Space multiple cuttings about three inches apart if using larger trays, allowing air circulation while maximizing your available propagation space efficiently and productively.
Water thoroughly after planting until moisture appears at drainage holes, then allow the surface to dry slightly before watering again to prevent fungal issues.
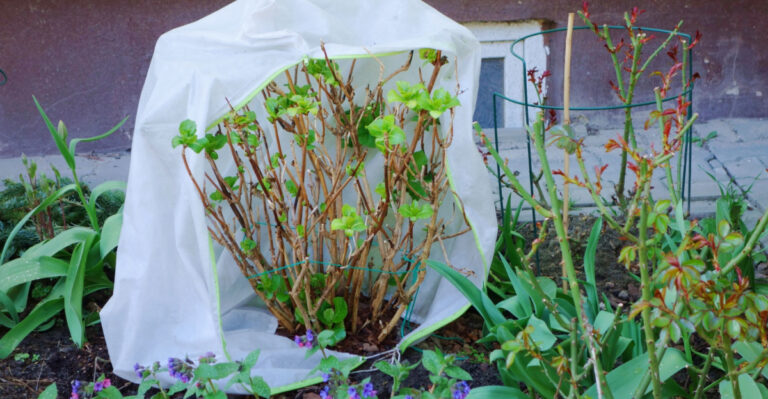
Covering containers with clear plastic creates a humid microclimate that reduces moisture loss while maintaining the dormancy conditions elderberry cuttings need for successful rooting in North Carolina’s variable seasonal conditions.
Managing Temperature And Moisture During Root Development
Cool temperatures between 35 and 50 degrees Fahrenheit maintain dormancy while allowing slow root formation that produces stronger, more resilient plants than rapid forcing.
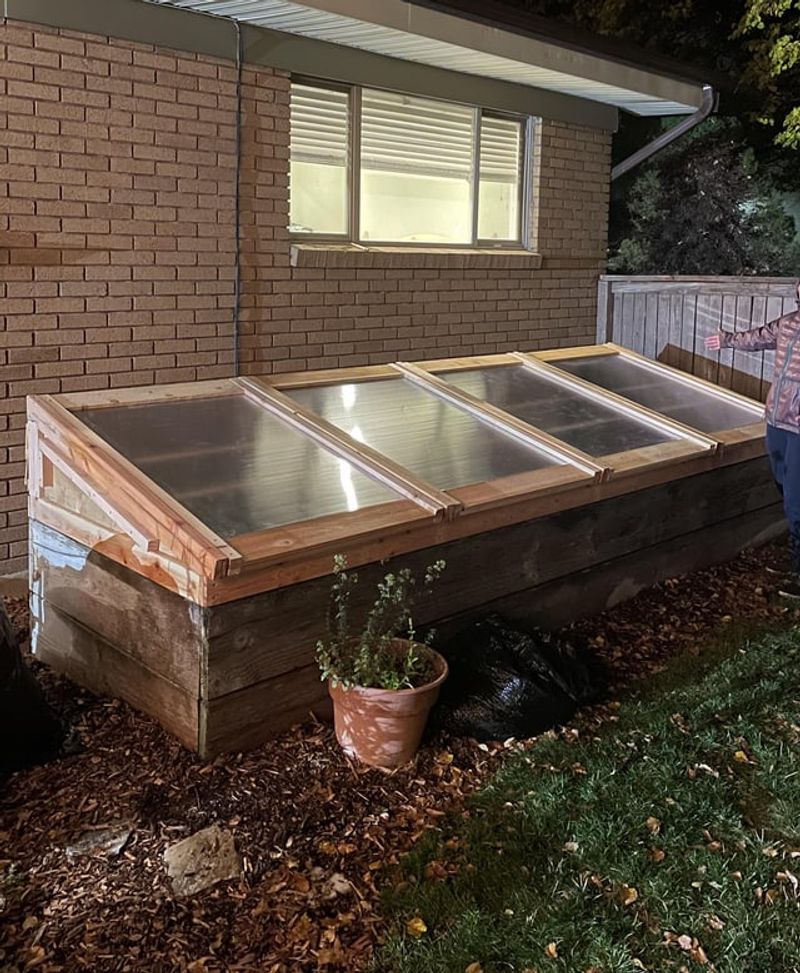
Unheated garages, covered porches, or cold frames provide perfect environments in North Carolina since they protect cuttings from harsh winds without artificial heating.
Monitor moisture levels weekly by checking the medium an inch below the surface, adding water only when it feels barely damp to the touch.
Overwatering causes more propagation failures than underwatering since soggy conditions promote rot faster than roots can develop and establish themselves properly in containers.
Condensation on plastic coverings indicates adequate humidity, but excessive dripping suggests poor ventilation that could encourage fungal growth and cutting decline over time.
Lift covers briefly every week to exchange air and prevent stagnant conditions while checking for mold, rot, or other problems requiring attention.
Patience proves essential since elderberry cuttings typically require six to ten weeks to develop substantial root systems before showing visible growth above soil.
Resist the urge to tug on cuttings to check progress, as disturbing developing roots can set back or completely halt the rooting process.
Transitioning Rooted Cuttings To Outdoor Growing Conditions
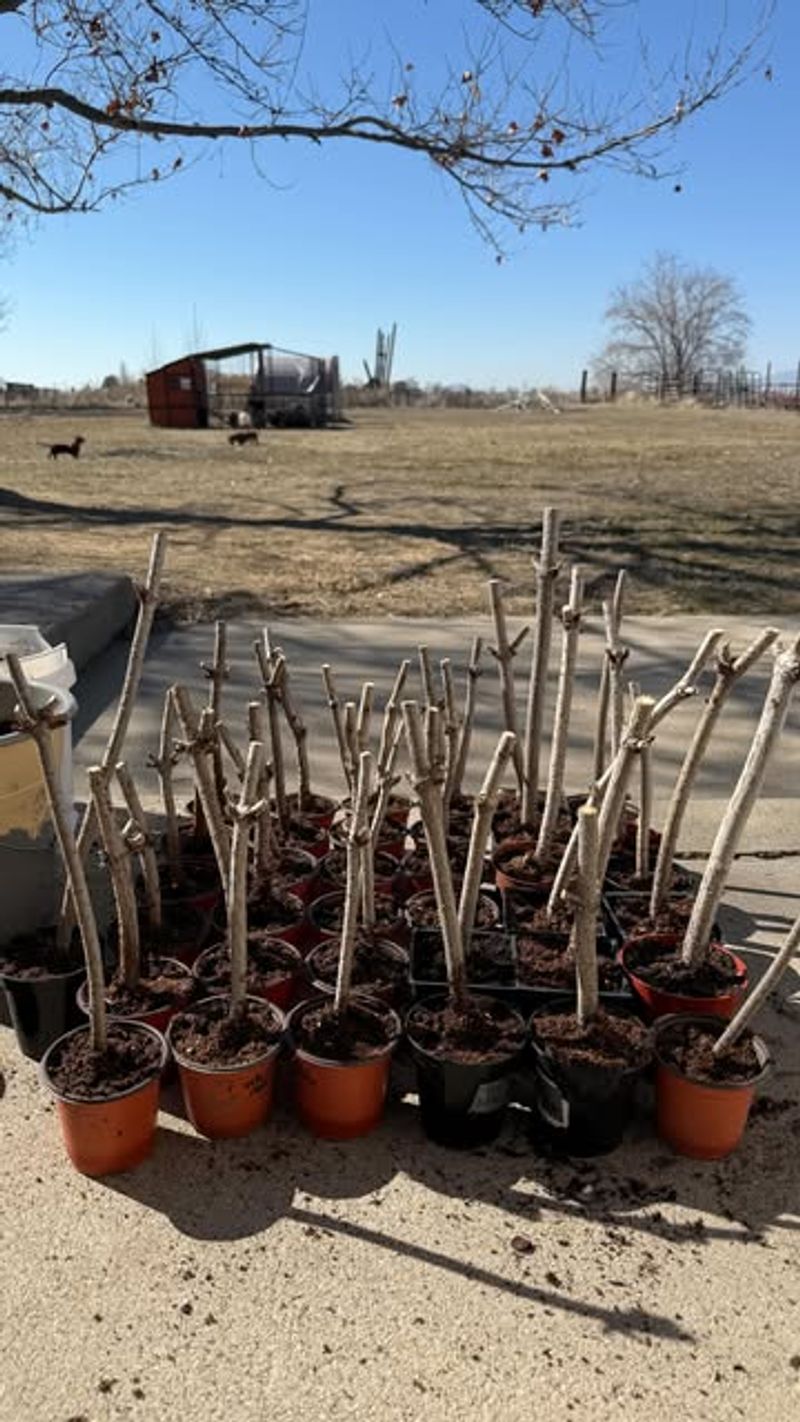
Gradual acclimation prevents shock when moving rooted cuttings from protected propagation areas to the harsher conditions found in open North Carolina garden spaces outdoors.
Wait until new leaf growth appears and reaches several inches tall, indicating roots have developed sufficiently to support active growth and nutrient uptake.
Begin hardening off by placing containers in a sheltered outdoor location for a few hours daily, gradually increasing exposure over two weeks.
This process toughens leaf tissues and strengthens stems so young plants can handle wind, direct sunlight, and temperature fluctuations without experiencing stress damage.
Choose an overcast day for final transplanting to minimize transplant shock and give roots time to establish before facing intense sun exposure.
Prepare planting sites with loose, well-amended soil enriched with compost to provide nutrients and improve drainage in heavy clay common across Carolina.
Space elderberry plants six to ten feet apart since mature shrubs spread considerably and require room for proper air circulation and sunlight penetration.
Water newly transplanted elderberries deeply and regularly throughout their first growing season, helping roots establish firmly before facing summer heat or winter cold.
Caring For Newly Established Elderberry Plants Through Their First Year

First-year care determines long-term health and productivity, so consistent attention during this establishment phase pays dividends for decades of reliable harvests and beauty.
Apply a three-inch layer of organic mulch around plants, keeping it several inches away from stems to prevent rot while conserving moisture and suppressing weeds.
Water deeply once weekly during dry periods, providing about an inch of moisture to encourage deep root growth rather than shallow, drought-sensitive systems.
Young elderberries benefit from light fertilization in late spring using balanced organic fertilizer, but avoid overfeeding which promotes weak, disease-prone growth patterns.
Prune lightly to remove any damaged or crossing branches, but resist heavy pruning until plants reach their second or third year and establish strong frameworks.
Watch for common pests like aphids or Japanese beetles, addressing problems promptly with organic methods before infestations become severe and damaging to plants.
Most elderberries begin producing small berry clusters by their second or third year, with full production starting around year four or five.
Celebrate your propagation success knowing you created these valuable plants from simple winter cuttings using basic techniques and minimal investment or specialized equipment.