11 Garden Projects To Finish Before Spring Hits In Florida
Florida gardens move at a different tempo, and late winter is the sweet spot when magic still waits just beneath the soil.
While the rest of the country sits on its hands, Sunshine State growers can steal a march on spring and turn bare beds into a green goldmine.
A stitch in time saves nine, and every task tackled now keeps future troubles at bay.
Rich soil, tidy beds, sharp tools, and smart planning stack the deck in your favor before heat and humidity crank up the pressure.
From coaxing seedlings to life to laying mulch like a protective quilt, these projects separate the weekend dabblers from the garden whisperers.
When spring finally rolls in like a welcome breeze, all the heavy lifting is already in the rearview mirror, leaving only lush growth, colorful blooms, and harvest baskets that fill to the brim.
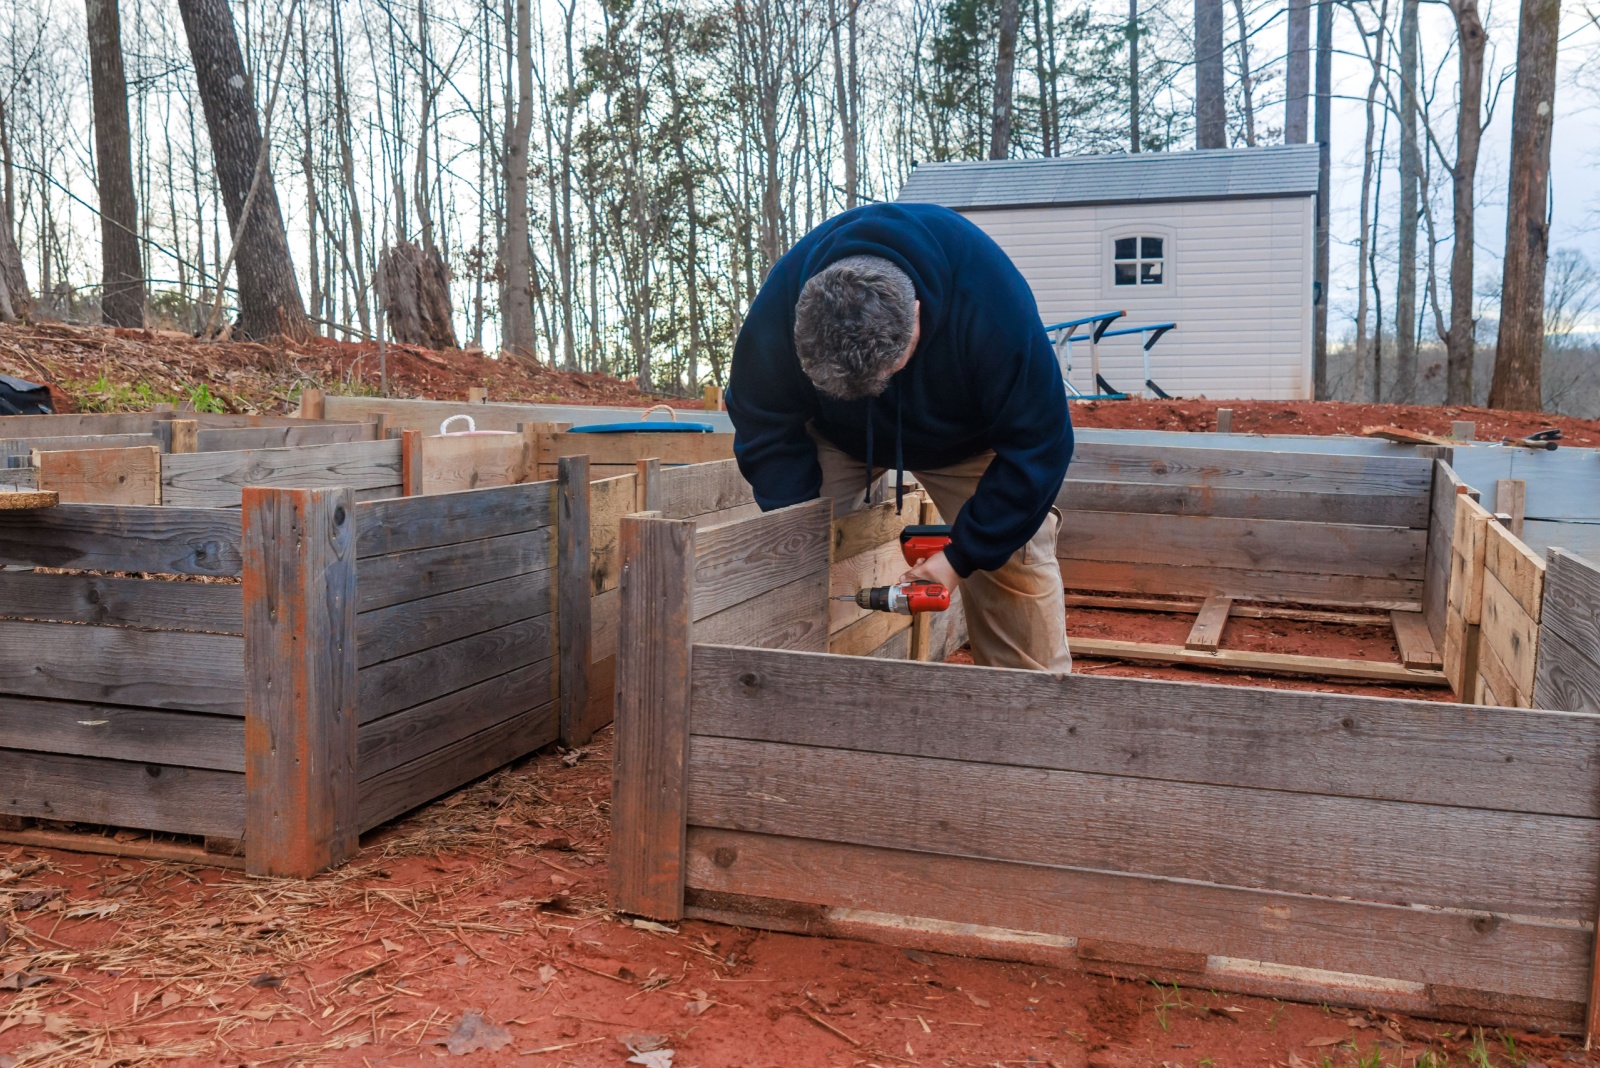
1. Refresh And Rebuild Garden Beds
Garden beds take a beating throughout the year, with soil settling, edges eroding, and weeds creeping in from all sides.
Late winter gives you the chance to restore structure and vitality before planting season begins in earnest.
Start by clearing out any leftover plant debris from last season, pulling weeds that have taken root, and checking the condition of bed borders or raised frames.
If your beds have wooden frames, inspect them for rot or termite damage, which is common in Florida’s humid climate.
Replace any compromised boards with rot-resistant cedar or composite materials that will hold up better over time.
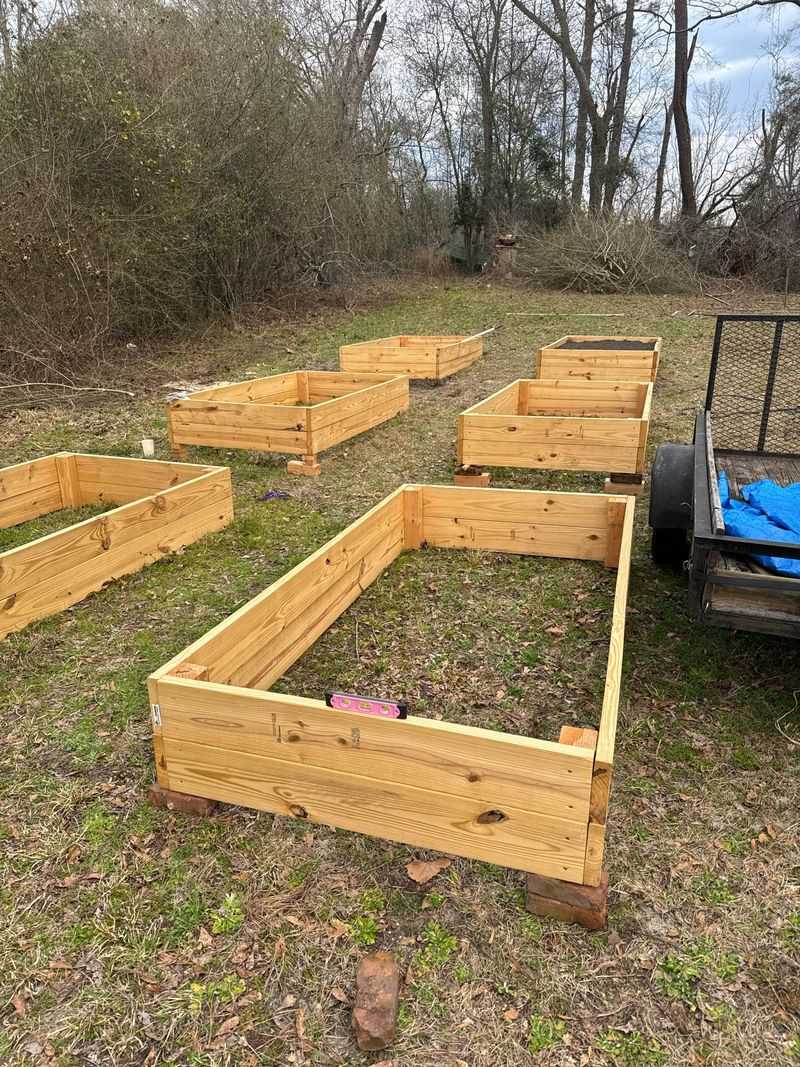
For in-ground beds, redefine the edges with a sharp spade to keep grass and weeds from invading your planting space.
Consider raising the height of your beds if drainage has been an issue, especially in areas prone to heavy summer rains.
Adding a few inches of fresh soil or compost not only improves drainage but also gives roots more room to grow.
Finishing this project now ensures your beds are ready to support vigorous spring growth without any last-minute scrambling.
2. Test And Improve Soil Health
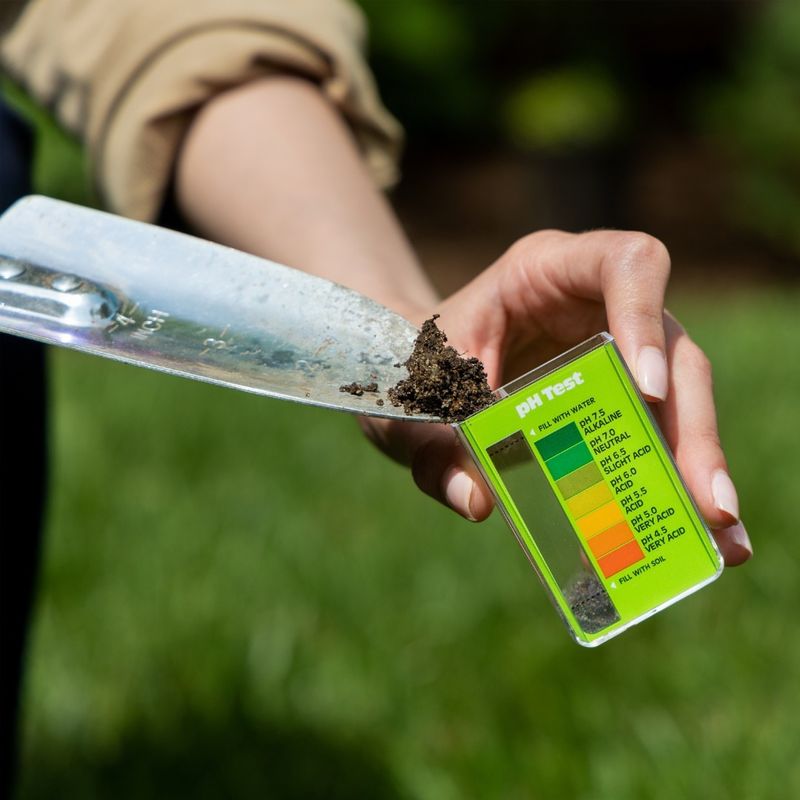
Healthy soil is the foundation of any successful garden, yet many Florida gardeners skip soil testing and wonder why their plants struggle.
Sandy soils dominate much of the state, draining quickly and losing nutrients faster than plants can absorb them.
Testing your soil now reveals pH levels and nutrient deficiencies so you can make targeted improvements before spring planting begins.
Pick up a soil test kit from your local extension office or garden center, then follow the instructions to collect samples from different areas of your garden.
Send the samples to a lab or use a home testing kit to get results within a week or two.
Pay close attention to pH levels, as many vegetables and flowers prefer slightly acidic to neutral soil, which Florida sand often lacks.
Once you have your results, amend accordingly with lime to raise pH or sulfur to lower it, and add fertilizers based on specific nutrient needs.
Improving soil health now gives microorganisms time to break down amendments and create a thriving ecosystem underground.
Your Florida Garden Changes Every Week. Your Plan Should Too.
Gardening in Florida changes quickly throughout the season. Every Friday you’ll receive a simple weekly plan showing exactly what to plant, prune, fertilize, harvest, and protect so you never miss the right timing.
Your plants will reward you with stronger roots, lusher foliage, and more abundant blooms and fruits throughout the season.
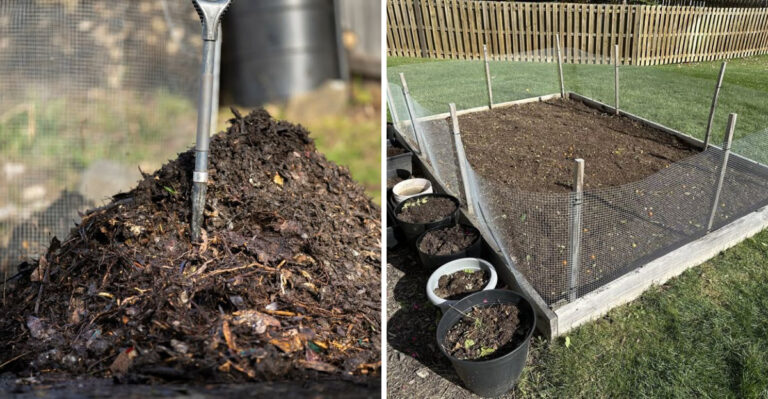
3. Add Compost And Organic Matter
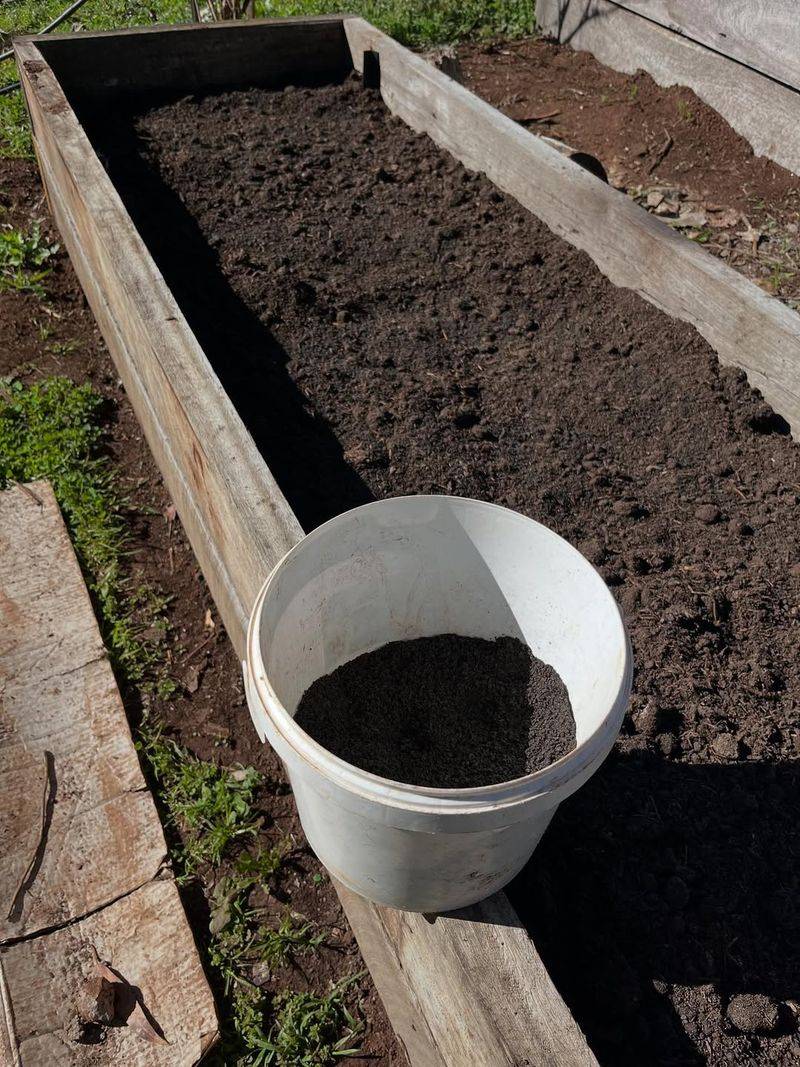
Compost works wonders in Florida gardens, transforming poor sandy soil into a nutrient-rich growing medium that holds moisture and supports beneficial microbes.
Late winter is the ideal time to spread a generous layer of compost over your beds, giving it a few weeks to integrate before you start planting.
Whether you make your own or buy it by the bag or truckload, quality compost is one of the best investments you can make.
Spread at least two to three inches of compost over the surface of your beds, then gently work it into the top few inches of soil with a garden fork or tiller.
Avoid digging too deeply, as this can disrupt beneficial organisms and soil structure.
For established perennial beds, simply top-dress around plants without disturbing roots.
Beyond compost, consider adding other organic matter like aged manure, leaf mold, or coconut coir to improve soil texture and water retention.
These amendments break down over time, feeding your plants gradually and creating a living soil ecosystem.
Completing this task now means your garden will be primed and ready to support vigorous spring growth with minimal fertilizer inputs later on.
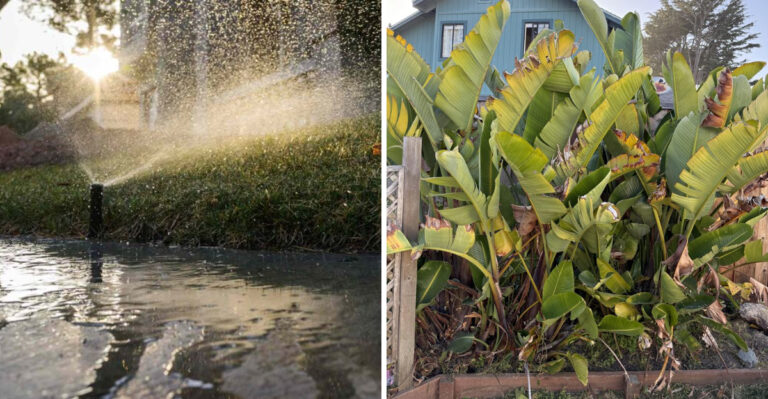
4. Set Up Or Repair Irrigation Systems
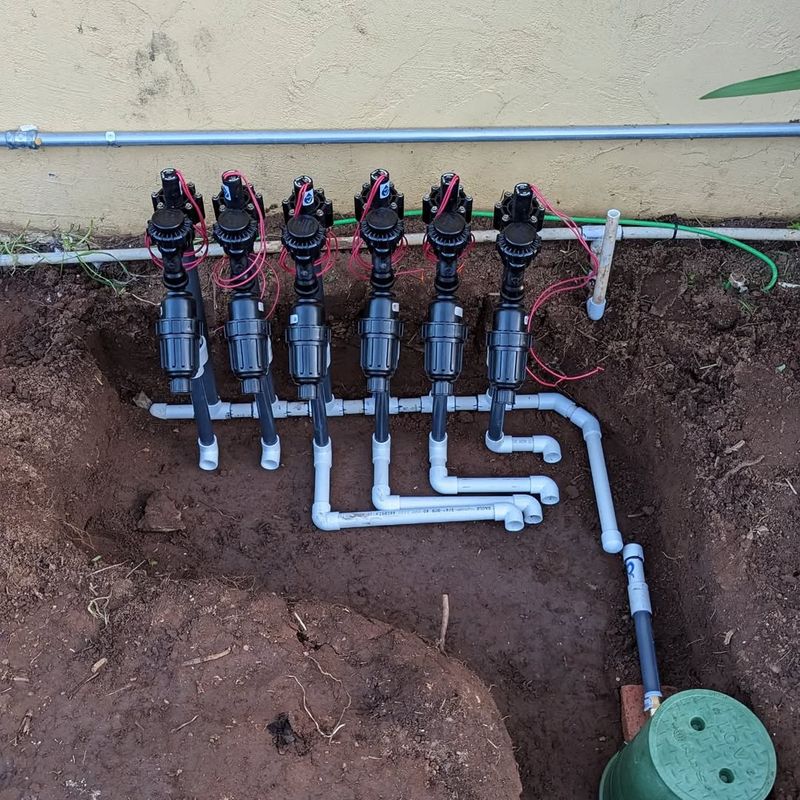
Water is life in a Florida garden, especially as temperatures climb and spring rains become unpredictable.
Setting up or repairing your irrigation system now prevents stress for both you and your plants when the heat arrives.
Walk through your garden and check every sprinkler head, drip emitter, and hose connection for leaks, clogs, or damage from the cooler months.
Replace any cracked or broken components, and flush out lines to remove sediment that may have built up over time.
If you rely on drip irrigation, inspect tubing for holes or kinks and replace worn sections to ensure even water distribution.
Adjust timers and schedules to match the needs of spring crops, which typically require more frequent watering than winter plantings.
For gardeners without an irrigation system, late winter is the perfect time to install one before the planting rush begins.
Even a simple soaker hose setup can save hours of hand watering and deliver moisture directly to plant roots where it matters most.
Finishing this project now means you can plant with confidence, knowing your garden will stay hydrated even during dry spells or busy weeks when you cannot water manually.
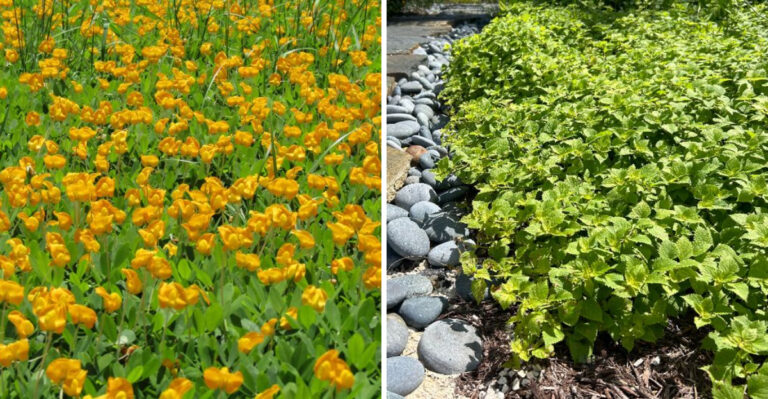
5. Mulch All Planting Areas
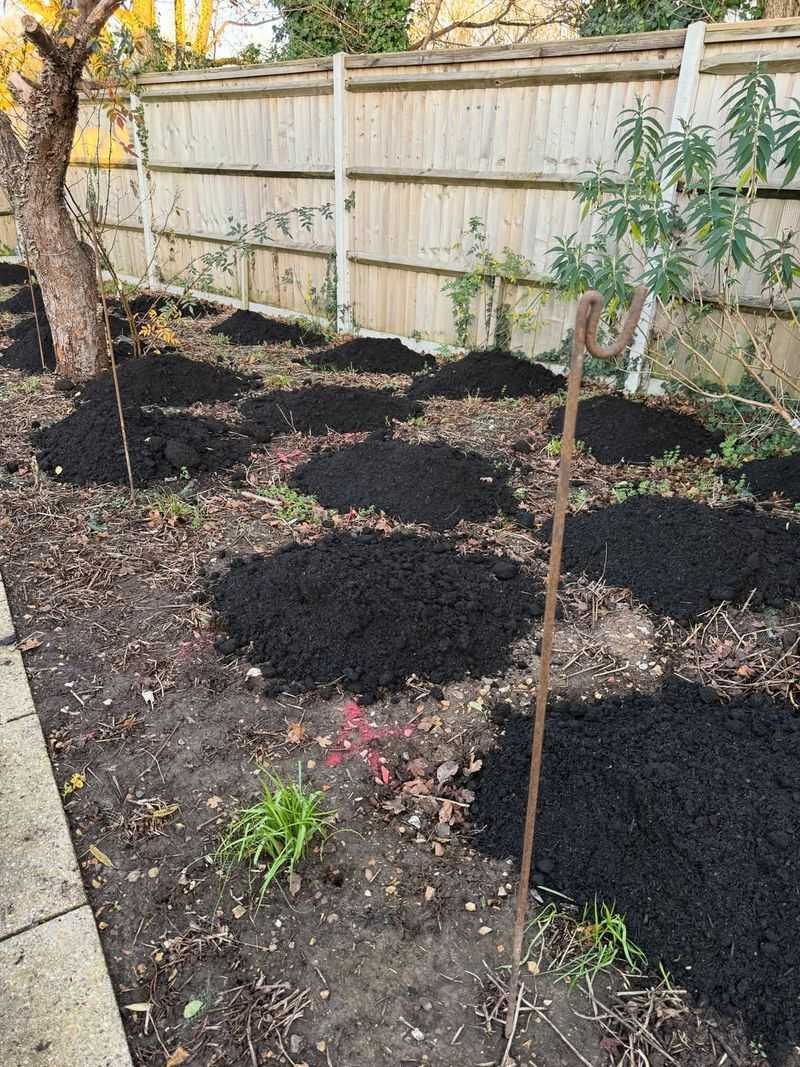
Mulch is a Florida gardener’s best friend, keeping soil cool, retaining moisture, and suppressing weeds that compete with your plants for nutrients and water.
Applying a fresh layer of mulch before spring arrives gives your garden a polished look while providing practical benefits that last for months.
Choose organic mulches like pine straw, shredded bark, or cypress, which break down slowly and enrich the soil as they decompose.
Spread mulch two to four inches deep around plants, keeping it a few inches away from stems and trunks to prevent rot and pest problems.
Pay special attention to vegetable beds, where mulch helps regulate soil temperature and reduces the need for frequent watering.
In perennial and shrub beds, mulch creates a tidy appearance and reduces maintenance throughout the growing season.
Avoid piling mulch too thickly, as this can smother plant roots and create a habitat for pests like slugs and snails.
Refresh mulch annually or as needed to maintain coverage and keep your garden looking its best.
Completing this task now sets the stage for a low-maintenance spring and summer, freeing up your time to enjoy the beauty and bounty of your garden.
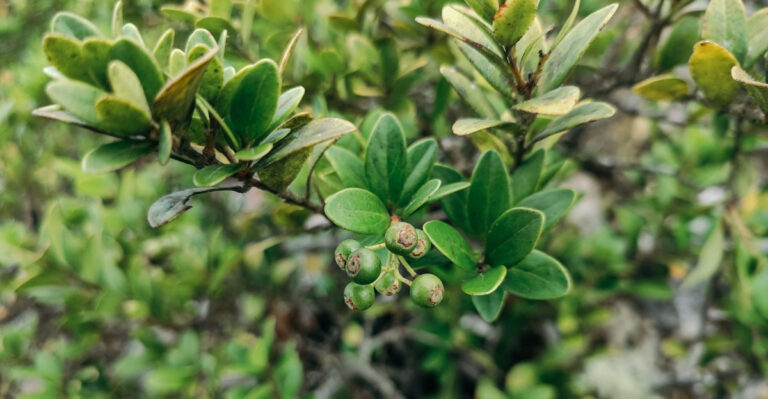
6. Prune Fruit Trees And Shrubs
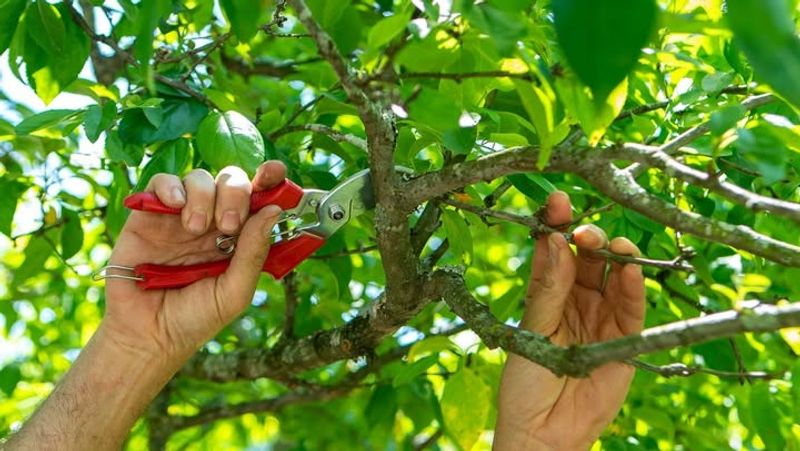
Pruning fruit trees and shrubs before spring growth begins encourages strong structure, better air circulation, and more abundant harvests in the months ahead.
Late winter is the ideal time for this task in Florida, as plants are still dormant or just beginning to wake up.
Start by removing any branches that are damaged, diseased, or crossing over each other, which can rub and create entry points for pests and pathogens.
Focus on opening up the center of the tree or shrub to allow sunlight and air to reach all parts of the plant, reducing the risk of fungal diseases that thrive in humid Florida conditions.
Make clean cuts just above a bud or branch junction, using sharp bypass pruners or loppers to avoid tearing the bark.
For larger branches, use a pruning saw and follow the three-cut method to prevent splitting.
Avoid pruning too heavily, as this can stress the plant and reduce flowering and fruiting potential.
Instead, aim for light to moderate pruning that shapes the plant and removes problem areas without sacrificing too much growth.
Finishing this project now ensures your fruit trees and shrubs will put their energy into producing healthy new growth and delicious harvests throughout the spring and summer.
7. Clean And Sharpen Garden Tools

Sharp, clean tools make every gardening task easier and more enjoyable, while dull or rusty equipment can damage plants and make even simple jobs feel like a chore.
Late winter is the perfect time to give your tools some attention before the busy spring season begins.
Start by gathering all your hand tools, pruners, shovels, hoes, and other equipment in one place for a thorough inspection.
Scrub off dirt and debris with a stiff brush and soapy water, then rinse and dry each tool completely to prevent rust.
Inspect wooden handles for splinters or cracks, sanding rough spots smooth and applying linseed oil to protect the wood from moisture.
Check metal parts for rust, using steel wool or a wire brush to remove it, then apply a light coat of oil to prevent future corrosion.
Sharpen blades on pruners, shears, hoes, and shovels with a file or sharpening stone, following the original bevel angle for the best results.
Test the sharpness by making a clean cut through paper or a small twig.
Finishing this project now means your tools will be ready to tackle spring planting, pruning, and weeding with ease, saving you time and effort throughout the growing season.
8. Start Seeds Indoors
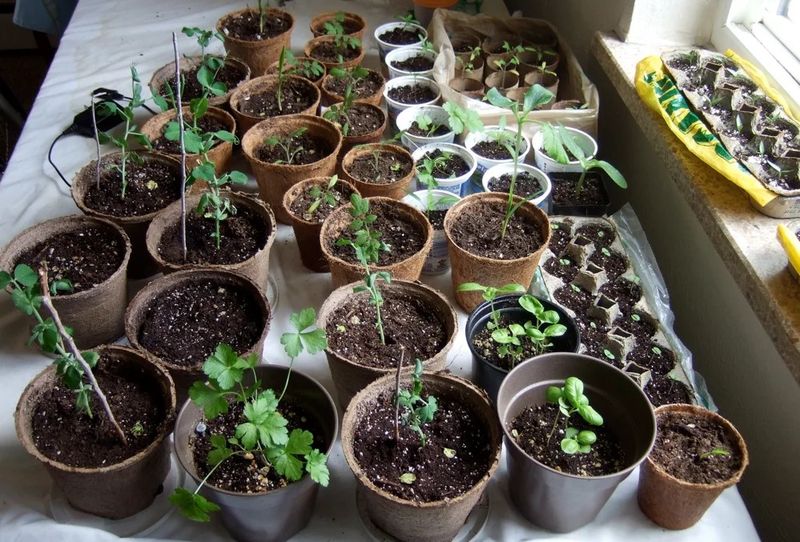
Starting seeds indoors gives you a head start on the growing season, allowing you to transplant vigorous seedlings into the garden as soon as conditions are right.
Florida’s warm spring weather arrives early, so starting seeds in late winter ensures your plants will be ready to go when the time comes.
Choose varieties that thrive in Florida’s climate, such as tomatoes, peppers, eggplants, and herbs, and gather seed-starting supplies like trays, soil mix, and labels.
Fill seed trays or small pots with a sterile seed-starting mix, which drains well and reduces the risk of damping-off disease.
Plant seeds at the depth recommended on the packet, usually two to three times the diameter of the seed.
Water gently with a misting bottle or bottom watering method to avoid disturbing the seeds, then cover trays with a clear dome or plastic wrap to maintain humidity.
Place trays in a warm, bright location, such as a sunny windowsill or under grow lights, and keep the soil consistently moist but not waterlogged.
As seedlings emerge, remove covers and provide plenty of light to prevent leggy growth.
Transplant seedlings into the garden once they have several sets of true leaves and outdoor temperatures remain consistently warm, giving them the best chance for strong growth and abundant harvests.
9. Install Trellises And Supports
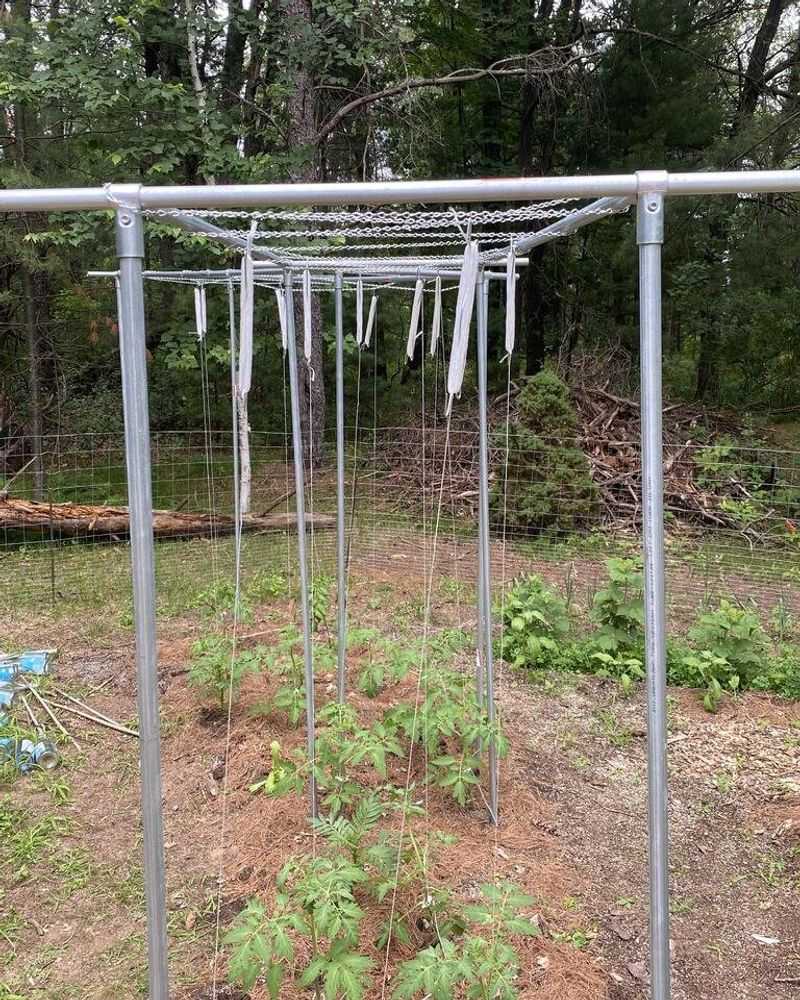
Vertical growing saves space, improves air circulation, and makes harvesting easier, especially for vining crops like tomatoes, cucumbers, beans, and squash.
Installing trellises and supports before spring planting begins ensures they are sturdy and ready to support plants as they grow.
Late winter is the ideal time for this task, as the ground is easier to work and you can plan your layout without navigating around existing plants.
Choose materials that will hold up in Florida’s heat and humidity, such as galvanized metal, PVC, or rot-resistant wood like cedar.
Drive stakes or posts at least a foot into the ground for stability, and use sturdy twine, wire, or netting to create climbing surfaces.
For heavy crops like tomatoes and melons, consider using cages or strong wooden frames that can bear significant weight without collapsing.
Position trellises on the north side of beds to avoid shading shorter plants, and space them according to the mature size of the crops you plan to grow.
Secure all connections tightly, as Florida’s summer storms can test even the sturdiest structures.
Completing this project now means your garden will be ready to support vigorous vertical growth, maximizing your harvest while keeping plants healthy and easy to manage throughout the season.
10. Plan Spring Planting Layouts
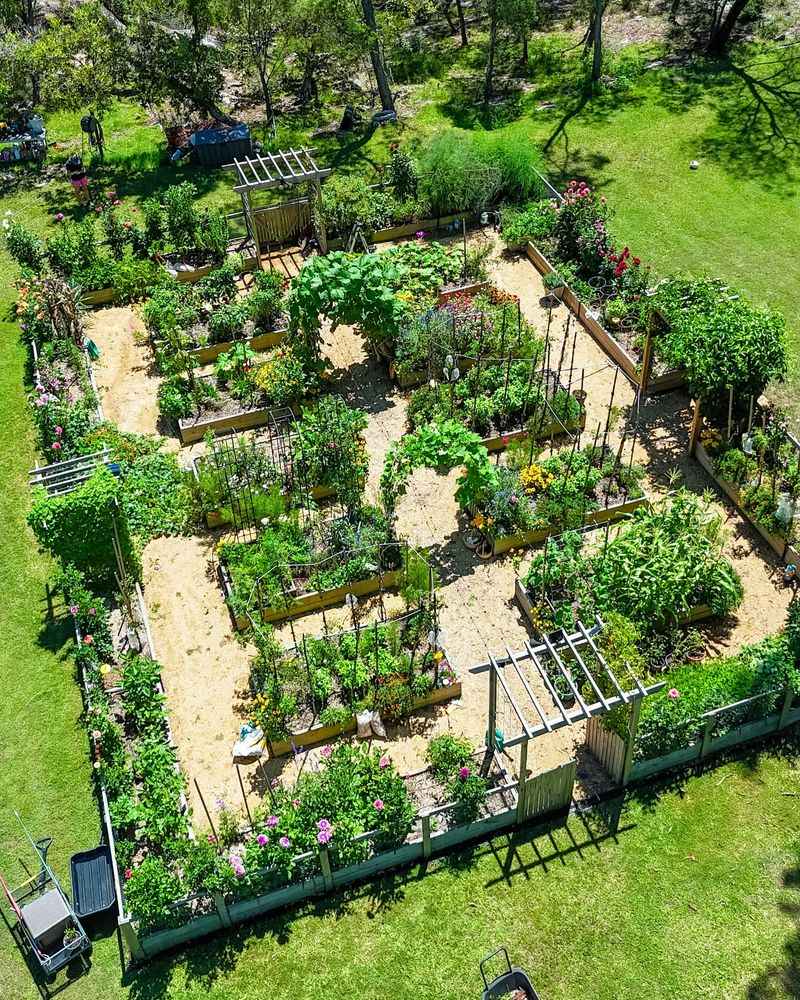
A well-planned garden layout makes the most of your space, ensures plants get the light and nutrients they need, and simplifies maintenance throughout the growing season.
Late winter is the perfect time to sit down with graph paper or a garden planning app and map out where everything will go.
Consider factors like sun exposure, mature plant size, and companion planting relationships to create a layout that supports healthy growth and abundant harvests.
Group plants with similar water and nutrient needs together to simplify care, and rotate crop families to different beds each year to reduce pest and disease pressure.
Plan pathways wide enough for easy access with a wheelbarrow or garden cart, and leave space for trellises, stakes, and other supports.
Mark out areas for succession planting, where you can sow new crops every few weeks to extend your harvest window.
Take note of Florida-specific considerations, such as providing afternoon shade for heat-sensitive crops and choosing varieties that tolerate high humidity and warm nights.
Review your notes from previous seasons to avoid repeating mistakes and build on past successes.
Finishing this planning now means you can plant with confidence when spring arrives, knowing every plant has the best possible spot to thrive and produce generously throughout the season.
11. Prepare Pest Prevention Strategies
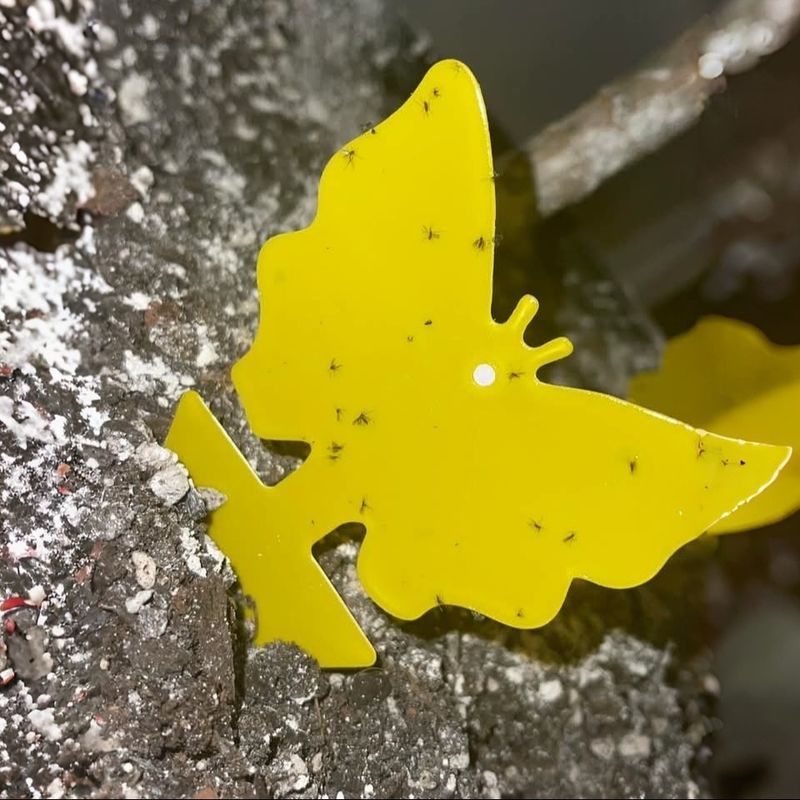
Florida’s warm climate supports year-round pest activity, making prevention strategies essential for a healthy, productive garden.
Late winter is the time to get ahead of potential problems by setting up barriers, attracting beneficial insects, and planning for early intervention.
Start by inspecting your garden for signs of overwintering pests, such as aphid eggs on plant stems or whitefly larvae on leaf undersides, and remove any affected plant material.
Install floating row covers over beds to protect young plants from insects and birds, securing the edges with soil or landscape staples to prevent pests from sneaking underneath.
Plant flowers and herbs that attract beneficial insects like ladybugs, lacewings, and parasitic wasps, which prey on common garden pests.
Consider setting up yellow sticky traps to monitor pest populations and catch problems early before they get out of hand.
Stock up on organic pest control products like neem oil, insecticidal soap, and Bacillus thuringiensis so you are ready to respond quickly if issues arise.
Keep a garden journal to track pest activity and note which strategies work best in your space.
Completing this preparation now gives you peace of mind and sets the stage for a thriving garden that can withstand pest pressure without relying on harsh chemicals or last-minute scrambling.