How Texas Plant Owners Can Repot A Peace Lily In 5 Simple Steps
Repotting a peace lily might sound like a big task, but it’s actually pretty simple and incredibly rewarding. If you’re a Texas plant owner, you’re in luck.
The warm climate and bright natural light (even indoors) help peace lilies thrive, and giving them a fresh start with new soil and space can keep them happy for years.
Over time, these popular houseplants outgrow their pots, leading to crowded roots, drooping leaves, or fewer blooms. That’s your sign it’s time for a change. The good news?
With just a few basic tools and five easy steps, you can repot your peace lily without any stress.
Whether you’re new to plant care or just want to give your favorite green companion a boost, learning the right way to repot makes all the difference.
Ready to get your hands a little dirty and help your plant thrive? Let’s walk through it step by step.
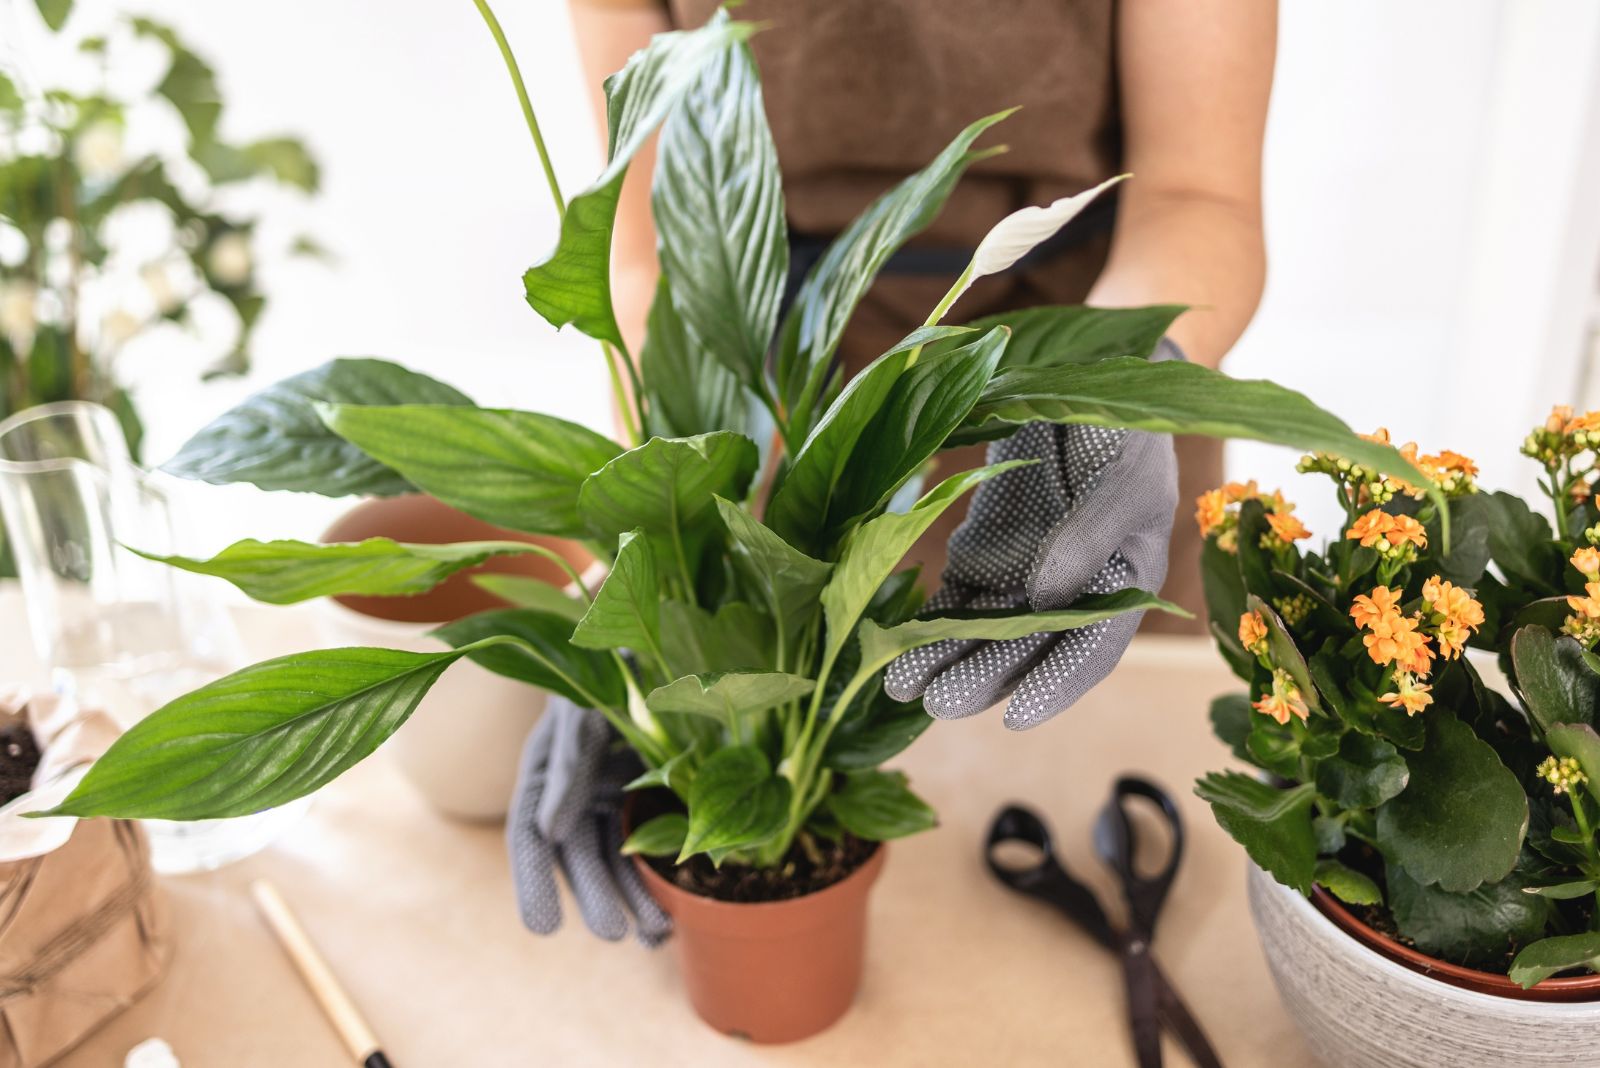
1. Choose The Right Pot And Gather Your Supplies
Getting started with the right tools makes the entire repotting experience smoother and less stressful for both you and your peace lily. You’ll want to select a new pot that’s about one to two inches larger in diameter than the current container.
Going too big can actually cause problems because excess soil holds moisture that the roots can’t absorb quickly enough, especially during Texas summers when indoor air conditioning creates different humidity levels.
Look for a pot with drainage holes at the bottom. This feature is absolutely essential for peace lilies because they dislike sitting in waterlogged soil.
Ceramic, plastic, or terracotta pots all work well, though terracotta breathes better and can help prevent overwatering issues common in humid areas like Houston or Dallas.
Gather your other supplies before you begin. You’ll need fresh potting mix specifically designed for indoor plants or tropical varieties.
Regular garden soil from your Texas yard won’t work because it’s too dense and doesn’t drain properly in containers. Pick up a bag of quality potting soil from your local garden center.
You’ll also want newspaper or a plastic sheet to protect your work surface, a pair of clean gardening gloves, and a watering can. Some people like having scissors or pruning shears handy for trimming any damaged roots or brown leaves.
Having everything within reach before you start means you won’t need to pause midway through the process.
Set up your workspace in a well-lit area, preferably near a sink for easy cleanup. Texas plant owners often find that working in the garage or on a covered patio works perfectly, especially on cooler mornings when outdoor temperatures are comfortable.
Preparation is half the battle, and starting organized sets you up for repotting success.
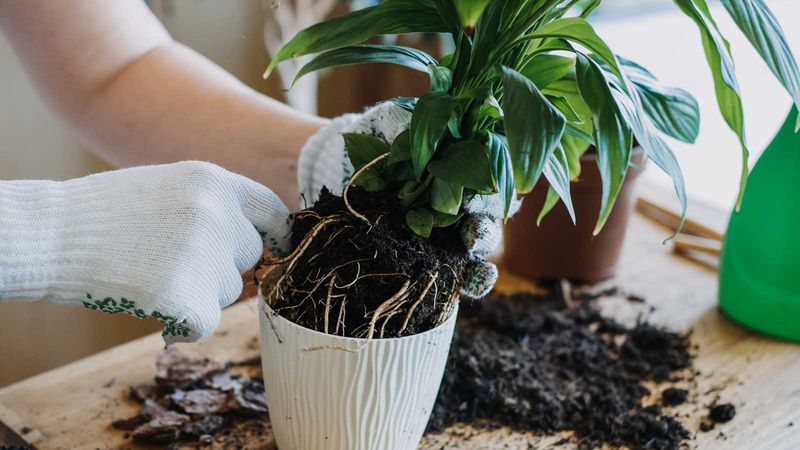
2. Carefully Remove Your Peace Lily From Its Current Pot
Before you start pulling at your plant, water it lightly a few hours beforehand. Moist soil slides out more easily than bone-dry or heavily saturated dirt.
Your Texas Garden Changes Every Week. Your Plan Should Too.
Gardening in Texas changes quickly throughout the season. Every Friday you’ll receive a simple weekly plan showing exactly what to plant, prune, fertilize, harvest, and protect so you never miss the right timing.
This little trick saves you from wrestling with stubborn root balls and reduces stress on your peace lily during the transition.
Turn your plant sideways and gently tap the bottom and sides of the pot. Sometimes a few firm taps are all it takes to loosen the root system from the container walls.
If your peace lily has been in its pot for a long time, roots might be clinging tightly to every surface. Be patient and work slowly rather than yanking, which can damage delicate roots.
Once you feel the plant loosening, support the base of the stems with one hand while sliding the pot off with the other. If roots have grown through the drainage holes, you might need to carefully cut them or break the pot if it’s plastic.
Texas gardeners dealing with root-bound plants sometimes find this step challenging, but taking your time prevents unnecessary harm.
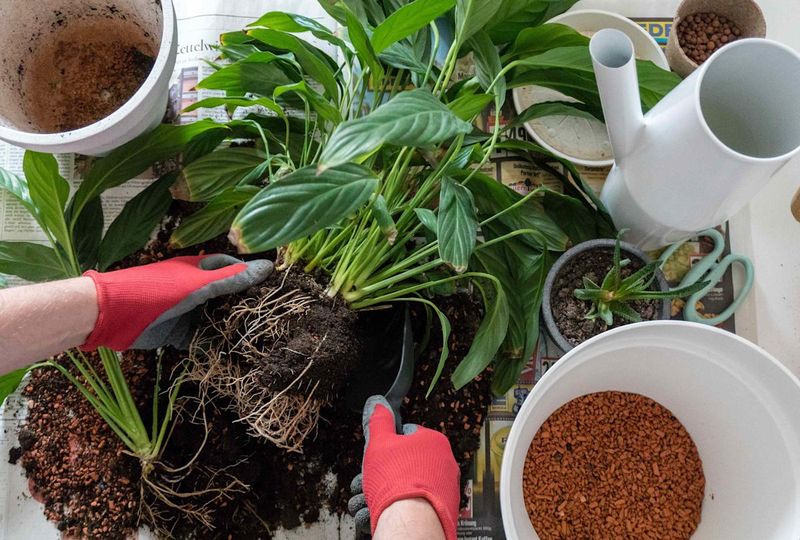
After removing the pot, examine the root ball closely. Healthy roots should be white or light tan and firm to the touch.
If you notice any dark, mushy, or foul-smelling roots, those sections need to be trimmed away with clean scissors. This inspection step is crucial because it lets you address any developing problems before they become serious.
Gently loosen the outer roots with your fingers, teasing them apart slightly. This encourages the roots to grow outward into the new soil rather than continuing to circle around themselves.
In Texas’s varying climate conditions, giving roots room to spread helps your peace lily establish itself quickly in its new container and access water more efficiently.
3. Add Fresh Soil To The New Pot

Start by placing a layer of fresh potting mix at the bottom of your new container. The amount depends on how deep you want your peace lily to sit, but generally, you’ll want about two to three inches of soil as a base.
Your plant should sit at the same depth it was in the original pot, with the top of the root ball positioned about an inch below the rim of the new container.
Press the soil down lightly with your hands to eliminate large air pockets, but don’t pack it too firmly. Peace lilies prefer soil that’s loose enough to allow air circulation around the roots.
Good drainage is especially important for Texas plant owners because our climate can fluctuate between very dry periods and sudden humid spells.
Check the positioning by setting your peace lily into the pot temporarily before adding more soil. The crown of the plant, where the stems meet the roots, should be level with or slightly above the soil surface.
If it sits too low, add more potting mix to the bottom. If it’s too high, remove some soil until you get the right height.
Quality potting soil makes a real difference in how well your peace lily adapts to its new home. Look for mixes that contain peat moss, perlite, or vermiculite because these ingredients improve drainage while retaining enough moisture.
Some Texas gardeners add a handful of orchid bark to their potting mix for extra aeration, which works wonderfully in our climate.
Once you’re satisfied with the base layer, you’re ready for the next step. Taking time to prepare the soil properly ensures your peace lily will have the best environment for root growth.
Remember, healthy roots mean healthy leaves and more of those stunning white blooms that make peace lilies such beloved houseplants throughout Texas homes.
4. Position The Plant And Fill With Soil
Hold your peace lily centered in the new pot while checking that it’s sitting at the proper depth. The plant should stand upright naturally without leaning to one side.
If it tilts, adjust the soil underneath until everything looks balanced and straight. This might take a few tries, but getting the positioning right now saves you from having a lopsided plant later.
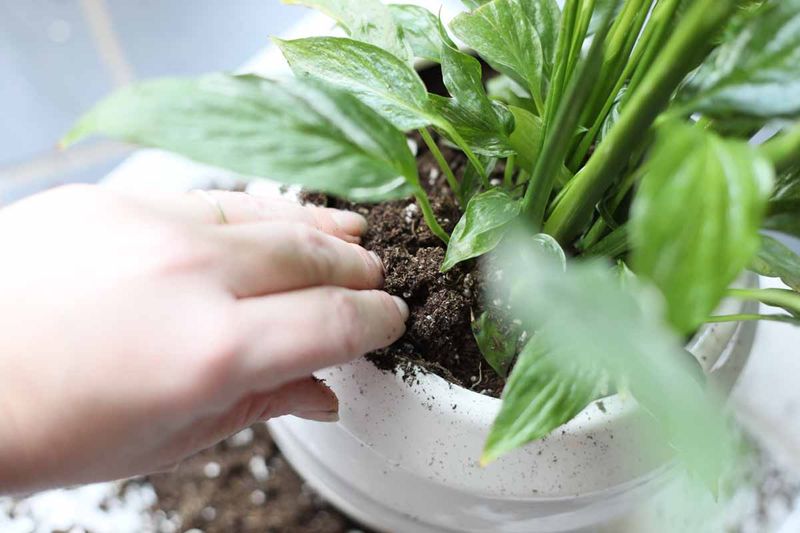
Begin filling in around the root ball with fresh potting mix, working your way around the entire circumference. Add soil gradually, a few handfuls at a time, rather than dumping it all in at once.
This method helps you fill gaps evenly and prevents leaving empty spaces where roots can’t reach moisture or nutrients.
As you add soil, gently press it down with your fingers to settle it around the roots. You want the soil to have good contact with the root system without being compressed into a hard mass.
Tap the pot on your work surface occasionally to help soil settle into any hidden air pockets. Texas plant owners should aim for soil that feels firm but still springs back slightly when pressed.
Continue adding potting mix until you reach about an inch below the pot’s rim. This space is important because it prevents water from spilling over the sides when you irrigate your plant.
Peace lilies appreciate thorough watering, and having that extra room at the top makes the process much tidier.
Check around the base of the stems to make sure no roots are exposed above the soil line. If you see any peeking out, add a bit more potting mix to cover them.
However, avoid piling soil against the stems themselves because this can encourage rot. The goal is to create a stable environment where your peace lily can spread its roots and flourish in your Texas home.
5. Water Thoroughly And Place In Proper Location
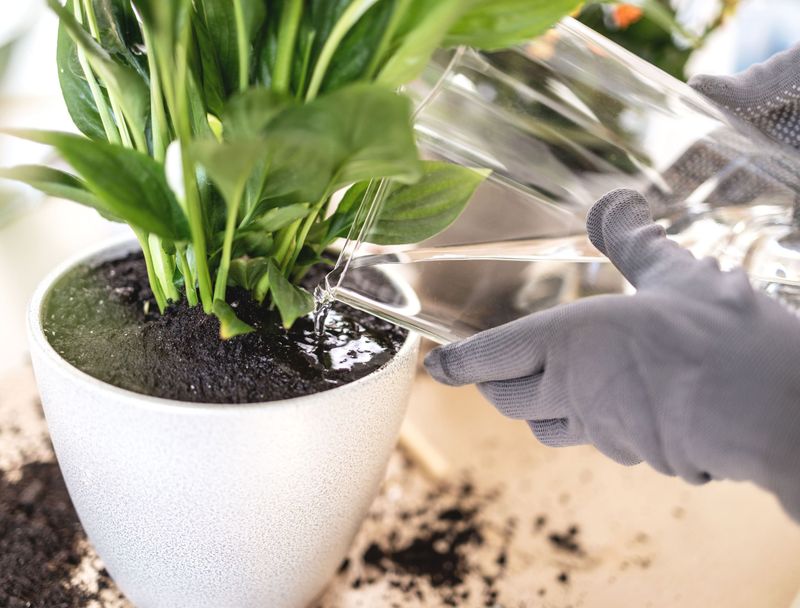
After your peace lily is settled in its new pot, it’s time to give it a good drink. Water slowly and evenly across the entire soil surface, allowing the moisture to soak in gradually.
Continue watering until you see liquid draining from the holes at the bottom. This thorough watering helps eliminate any remaining air pockets and ensures the roots make good contact with the fresh soil.
Let the excess water drain completely before moving your plant to its permanent spot. You might want to leave it in the sink or on a drainage tray for fifteen to twenty minutes.
Texas homes with tile or hardwood floors will appreciate this extra precaution against water damage.
Peace lilies thrive in bright, indirect light, so choose a location away from direct sun exposure. A spot near an east or north-facing window works wonderfully, or you can place your plant several feet back from a south or west window.
Direct Texas sunlight, especially during our intense summer months, can scorch those beautiful green leaves and cause brown patches.
Consider the humidity level in your chosen location too. Peace lilies originally come from tropical environments and appreciate moisture in the air.
Bathrooms and kitchens often provide naturally higher humidity, making them ideal spots. If you place your plant in a drier room, which is common in air-conditioned Texas homes, you might want to mist the leaves occasionally or use a pebble tray with water underneath the pot.
Monitor your peace lily closely for the next few weeks as it adjusts to its new container. The plant might look a bit droopy for a day or two after repotting, but this is normal.
Keep the soil consistently moist but not soggy, and avoid fertilizing for at least a month to let the roots establish themselves in the fresh potting mix.