How To Grow Okra Successfully In Your Texas Yard
Ever wondered why okra seems to thrive in Texas gardens while other veggies struggle in the heat? This Southern favorite loves sunshine, warm soil, and long summer days, which makes Texas the perfect place to grow it.
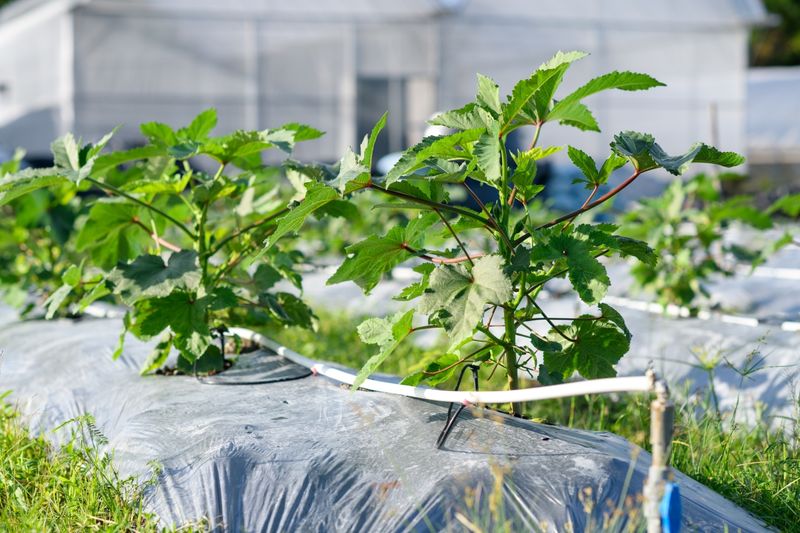
With the right timing and a little care, you can enjoy tall plants, bright blooms, and plenty of tender pods for your kitchen. Okra is tougher than it looks and does well even during hot, dry stretches.
Whether you are planting in a backyard garden, raised bed, or a simple row along the fence, success is easier than most people think. A few smart tips can make all the difference, from choosing the right variety to watering and harvesting at the right moment.
Get ready to grow a strong, productive crop that keeps producing through the Texas heat and brings fresh flavor straight from your yard to your table.
1. Choose The Right Okra Variety For Your Texas Region
Selecting the perfect okra variety makes all the difference between a struggling plant and one that produces bushels of tender pods. Texas covers multiple climate zones, so what works in East Texas might not be ideal for West Texas gardeners.
Clemson Spineless remains the most popular choice across the state because it adapts well to various conditions and produces smooth, spine-free pods that are easy to harvest.
If you live in South Texas or along the Gulf Coast, consider planting Burgundy or Red Velvet varieties. These colorful options handle extreme heat even better than green varieties and add visual interest to your garden beds.
North Texas gardeners often have great success with Emerald, which matures quickly and can produce before the first fall frost arrives.
Dwarf varieties like Annie Oakley work wonderfully in smaller Texas yards or container gardens. These compact plants still produce full-sized pods but only grow three to four feet tall instead of the typical six to eight feet.
They’re perfect for urban gardeners in Houston or Dallas who have limited space but still want fresh okra all summer long.
Always buy seeds from reputable suppliers who test their varieties in Southern climates. Many national seed companies sell varieties bred for cooler regions that simply won’t perform well in Texas heat.
Local garden centers and Texas-based seed companies understand our unique growing conditions and stock varieties proven to succeed here.
Reading reviews from other Texas gardeners can also guide you toward varieties that consistently produce heavy yields in our challenging climate.
2. Plant At The Perfect Time When Soil Warms Up
Timing your okra planting correctly separates successful Texas gardeners from those who struggle with poor germination. Okra seeds refuse to sprout in cold soil and will simply rot if planted too early.
Wait until your soil temperature reaches at least 65 degrees Fahrenheit, but ideally 70 degrees or warmer for best results.
In South Texas and coastal areas, you can usually plant okra by mid-March or early April. Central Texas gardeners should wait until late April or early May when the soil has thoroughly warmed.
North Texas residents often need to hold off until mid-May to ensure consistent soil temperatures that encourage rapid germination.
Using a simple soil thermometer takes the guesswork out of planting time. Stick it two inches deep in your garden bed and check the temperature in the morning for three consecutive days.
If all three readings show 65 degrees or higher, your soil is ready for okra seeds. Many experienced Texas gardeners plant okra in succession every two to three weeks through June.
This strategy ensures a continuous harvest from July through October rather than one big flush of production.
Your later plantings will actually outperform early ones as the soil gets hotter and summer heat intensifies.
Avoid planting okra before your last expected frost date, even if the soil feels warm. One late cold snap can set back your entire crop or damage emerging seedlings.
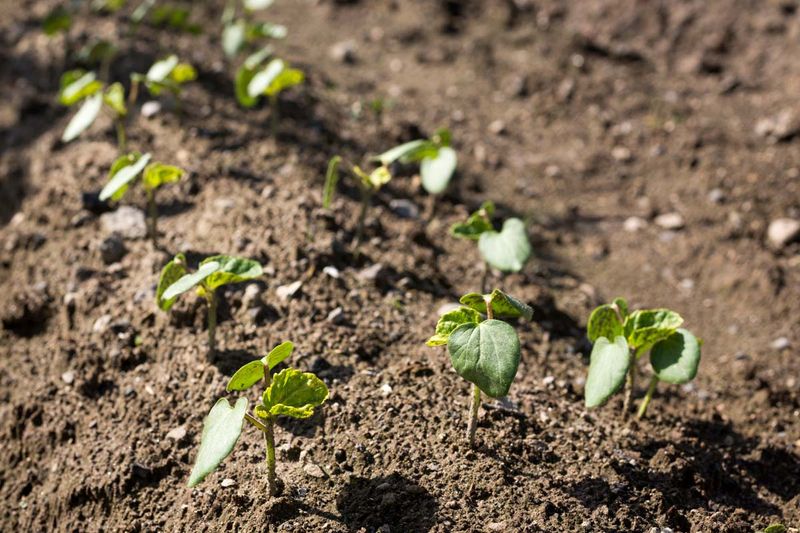
Patience pays off with okra because seeds planted in properly warmed soil will germinate in just five to seven days and quickly catch up to any plants started too early.
3. Prepare Well-Draining Soil With Plenty Of Organic Matter
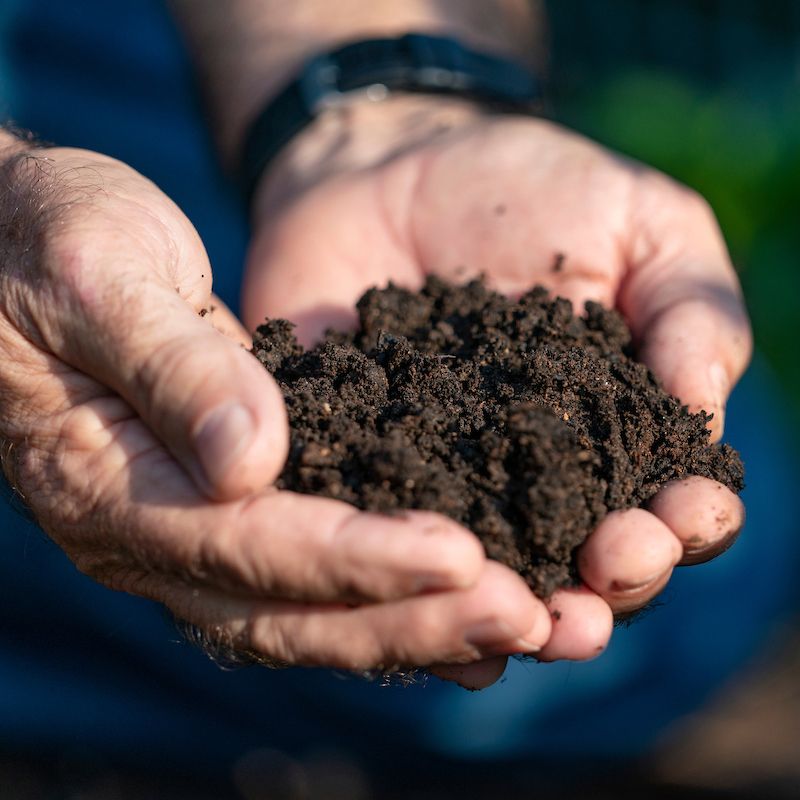
Okra isn’t particularly fussy about soil, but it absolutely demands good drainage to prevent root problems. Heavy clay soils common throughout much of Texas can suffocate okra roots if not properly amended.
Working in three to four inches of compost or aged manure before planting transforms dense clay into a friendlier growing environment.
Raised beds solve drainage issues beautifully for Texas okra growers dealing with problematic soil. Building beds just eight to twelve inches high provides enough elevation for excess water to drain away from plant roots.
Fill your raised beds with a mixture of native soil, compost, and coarse sand for optimal drainage and nutrition.
Testing your soil pH helps you understand if amendments are needed beyond organic matter. Okra prefers slightly acidic to neutral soil with a pH between 6.0 and 7.0, which matches most Texas soils naturally.
If your test shows pH below 5.5, add lime according to package directions to raise it into the acceptable range.
Incorporating a balanced organic fertilizer at planting time gives okra seedlings the nutrients they need for strong early growth.
Look for products with equal amounts of nitrogen, phosphorus, and potassium, or use a formula like 10-10-10 at the rate recommended on the package.
Avoid high-nitrogen fertilizers that encourage leafy growth at the expense of pod production. Texas soils often lack organic matter, especially in new construction areas where topsoil was removed.
Continually adding compost each season builds soil health over time and creates the loose, crumbly texture okra roots love to explore. Healthy soil means healthy plants that resist pests and diseases naturally.
4. Provide Consistent Water Without Overwatering
Watering okra correctly requires finding the sweet spot between too much and too little moisture. Young seedlings need consistent moisture to establish strong root systems, so water lightly every day or two until plants reach six inches tall.
After establishment, okra becomes surprisingly drought-tolerant but still produces better with regular watering.
Deep watering once or twice weekly works better than frequent shallow watering for mature okra in Texas. Soaking the soil to a depth of six to eight inches encourages roots to grow downward where moisture stays more consistent.
Shallow watering creates weak surface roots that struggle during our intense summer heat.
Drip irrigation or soaker hoses deliver water directly to the root zone without wetting foliage. Wet leaves invite fungal diseases that can reduce your harvest, especially during humid Texas summers along the Gulf Coast.
Installing drip lines at planting time saves water and reduces disease problems throughout the growing season.
Mulching around okra plants with two to three inches of organic material helps retain soil moisture between waterings.
Shredded leaves, grass clippings, or pine straw all work well and break down over time to improve your soil. Keep mulch a few inches away from plant stems to prevent rot and pest problems.
Watch your plants for signs of water stress like wilting leaves in the morning or evening. Some afternoon wilting is normal during extreme Texas heat, but plants should recover by evening.
If leaves remain droopy after sunset, your okra needs more frequent watering to maintain production. Consistent moisture is especially important once pods start forming because water-stressed plants produce tough, fibrous pods instead of tender ones.
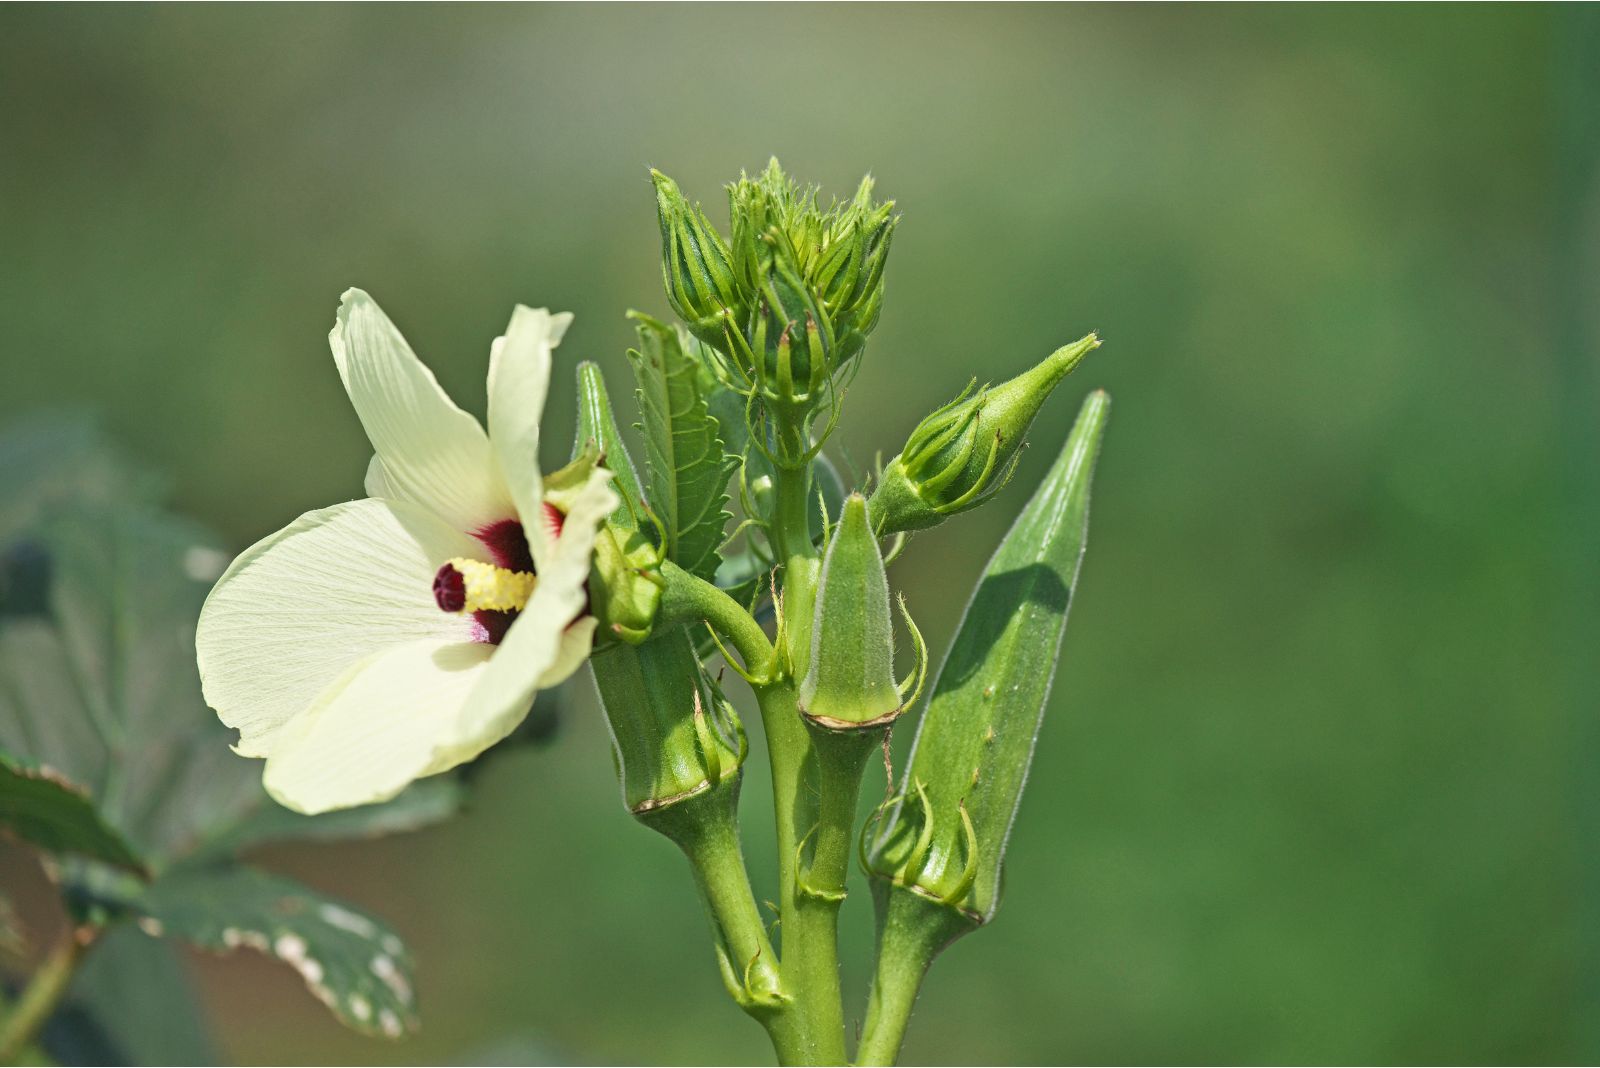
5. Harvest Pods Regularly To Keep Plants Producing
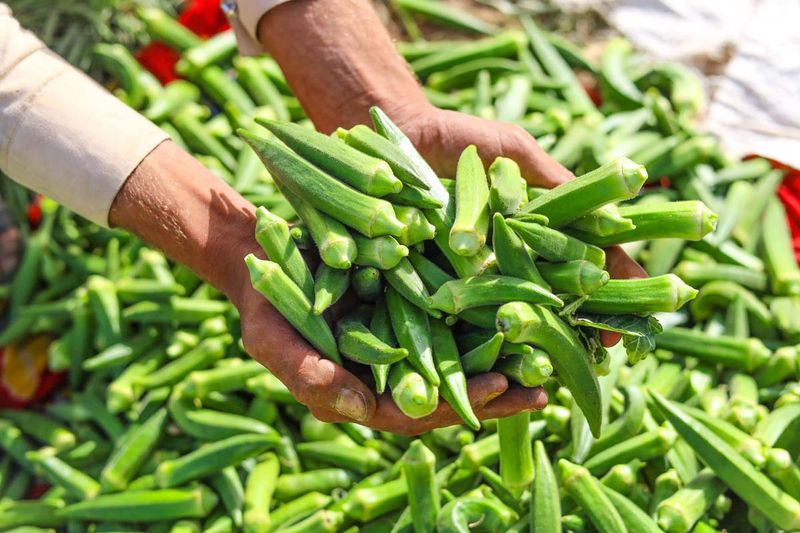
Frequent harvesting is the secret to keeping your Texas okra plants producing until frost. Okra pods grow incredibly fast in our hot climate, often reaching harvest size just four to five days after the flower opens.
Check your plants every single day once production starts because pods can go from perfect to overly mature in just 24 hours.
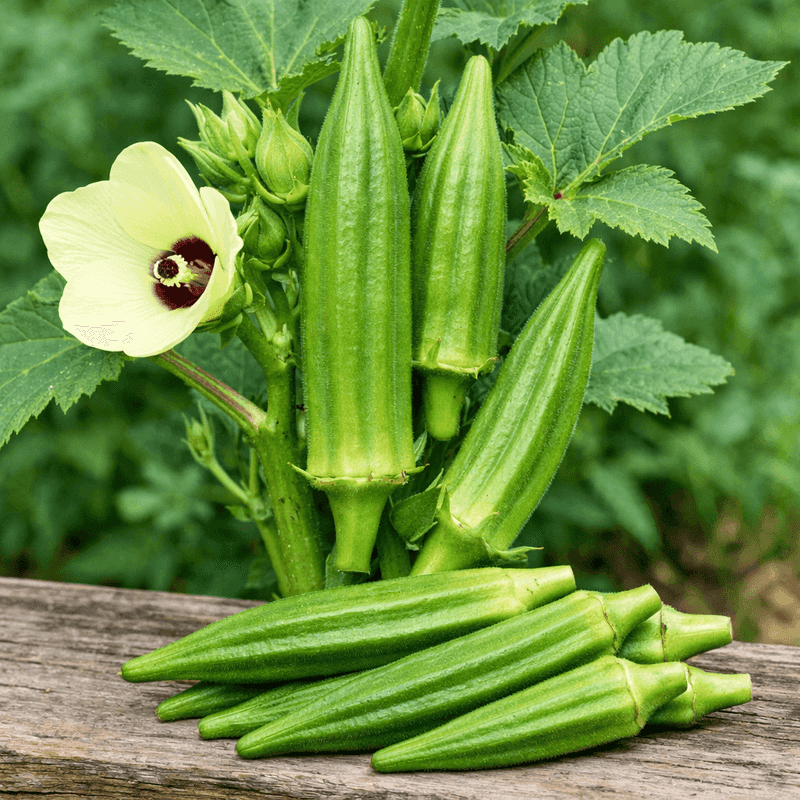
Harvest okra when pods measure three to four inches long for the most tender texture. Larger pods become woody and tough, making them unpleasant to eat even with long cooking.
Use sharp scissors or pruning shears to cut pods from the plant, leaving a small stub of stem attached to each pod.
Wearing long sleeves and gloves protects your skin from the tiny spines found on most okra varieties. Even spineless varieties have some prickly hairs that can irritate sensitive skin.
Early morning harvesting works best because pods are crisp and full of moisture before the Texas sun heats them up.
Leaving mature pods on the plant signals it to stop producing new flowers and focus energy on seed development. Removing all harvestable pods every day tricks the plant into continuous flowering and pod production.
This simple practice can extend your harvest season by several weeks and dramatically increase your total yield.
Texas gardeners can expect to harvest okra from July through October in most regions. Southern areas often see production into November during mild years.
A single healthy okra plant can produce dozens of pods each week during peak season, so just six to eight plants provide plenty for fresh eating with extra for freezing or sharing with neighbors.
6. Manage Common Texas Pests With Natural Methods
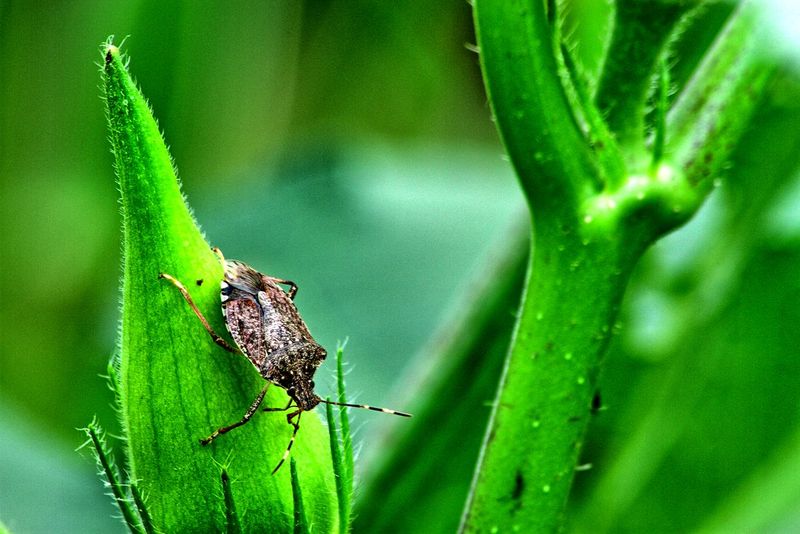
Stink bugs rank as the most troublesome okra pest across Texas, piercing pods and leaving behind distorted, unmarketable vegetables.
Handpicking these shield-shaped insects in early morning when they’re sluggish provides effective control in small gardens. Drop collected bugs into soapy water to prevent them from returning to your plants.
Aphids sometimes cluster on okra leaves and stems, sucking plant juices and potentially spreading diseases.
A strong spray from your garden hose knocks aphids off plants and reduces populations without any chemicals. Repeat this treatment every few days until aphid numbers decrease to acceptable levels.
Encouraging beneficial insects creates a natural pest control system in your Texas okra patch. Ladybugs, lacewings, and parasitic wasps all prey on common okra pests and will establish populations if you avoid broad-spectrum pesticides.
Planting flowers like marigolds, zinnias, or sunflowers near your okra attracts these helpful insects to your garden.
Flea beetles occasionally chew tiny holes in okra leaves but rarely cause serious damage to established plants.
Young seedlings are more vulnerable, so covering them with lightweight row cover for the first few weeks prevents flea beetle damage during the vulnerable stage. Remove covers once plants grow twelve inches tall and can tolerate some leaf damage.
Neem oil works as a safe, organic option for controlling persistent pest problems on Texas okra. Mix according to label directions and spray in the evening to avoid harming beneficial insects and prevent leaf burn.
Treating every seven to ten days keeps pest populations manageable without resorting to harsh chemicals that harm the environment and beneficial garden wildlife.