The Easiest Way To Multiply Your Texas Spider Plants In Water
Thinking about making more spider plants without spending a dime or fussing with soil? Texans have a simple trick that works almost every time: rooting those little spider plant babies in water.
This method is incredibly beginner friendly and lets you watch new roots form right before your eyes.
Spider plants thrive in Texas homes because they handle warm temperatures, bright light, and occasional neglect with ease, so multiplying them fits right into that low-stress vibe.
All you need is a healthy plantlet, a clean jar, and a spot with steady light. The process is quick, satisfying, and a great way to grow your collection or share plants with friends.
Before long, those tiny roots grow strong enough to pot up and turn into full, lush plants. If you’ve ever wanted a no-mess, no-pressure way to expand your indoor jungle, water propagation might become your new favorite method.
1. Selecting Healthy Offsets From Your Parent Plant
Your spider plant produces baby plantlets naturally when it feels happy and healthy in its Texas home. These offsets appear on long arching stems that grow from the center of the parent plant throughout the growing season.
Look for pups that have already started developing small brown root bumps along their base because these will adapt to water much faster than babies without any root development.
The best offsets measure at least two to three inches across with several leaves unfurling from the center. Smaller babies can work too, but they take longer to establish strong root systems in water.
Texas gardeners often find the most vigorous offsets appear during spring and summer when daylight hours increase and temperatures warm up naturally.
Choose plantlets that show bright green coloring without any brown tips or yellow streaks on the foliage. Healthy babies feel firm to the touch rather than soft or mushy at the base where they connect to the stem.
You can leave offsets attached to the parent plant until they reach a good size, which actually helps them grow stronger before separation.
Some spider plants produce dozens of babies each year, giving Texas plant lovers plenty of options for propagation projects. The parent plant continues thriving even after you remove several offsets for water propagation.
This makes spider plants one of the most generous houseplants you can grow indoors.
Timing matters less than offset quality when selecting babies for propagation. You can start the water propagation process any time of year in Texas, though spring and summer typically bring faster root development.
Pick the healthiest looking plantlets first and save smaller ones for future propagation attempts once you gain confidence with the basic technique.
2. Preparing Clean Containers With Fresh Water

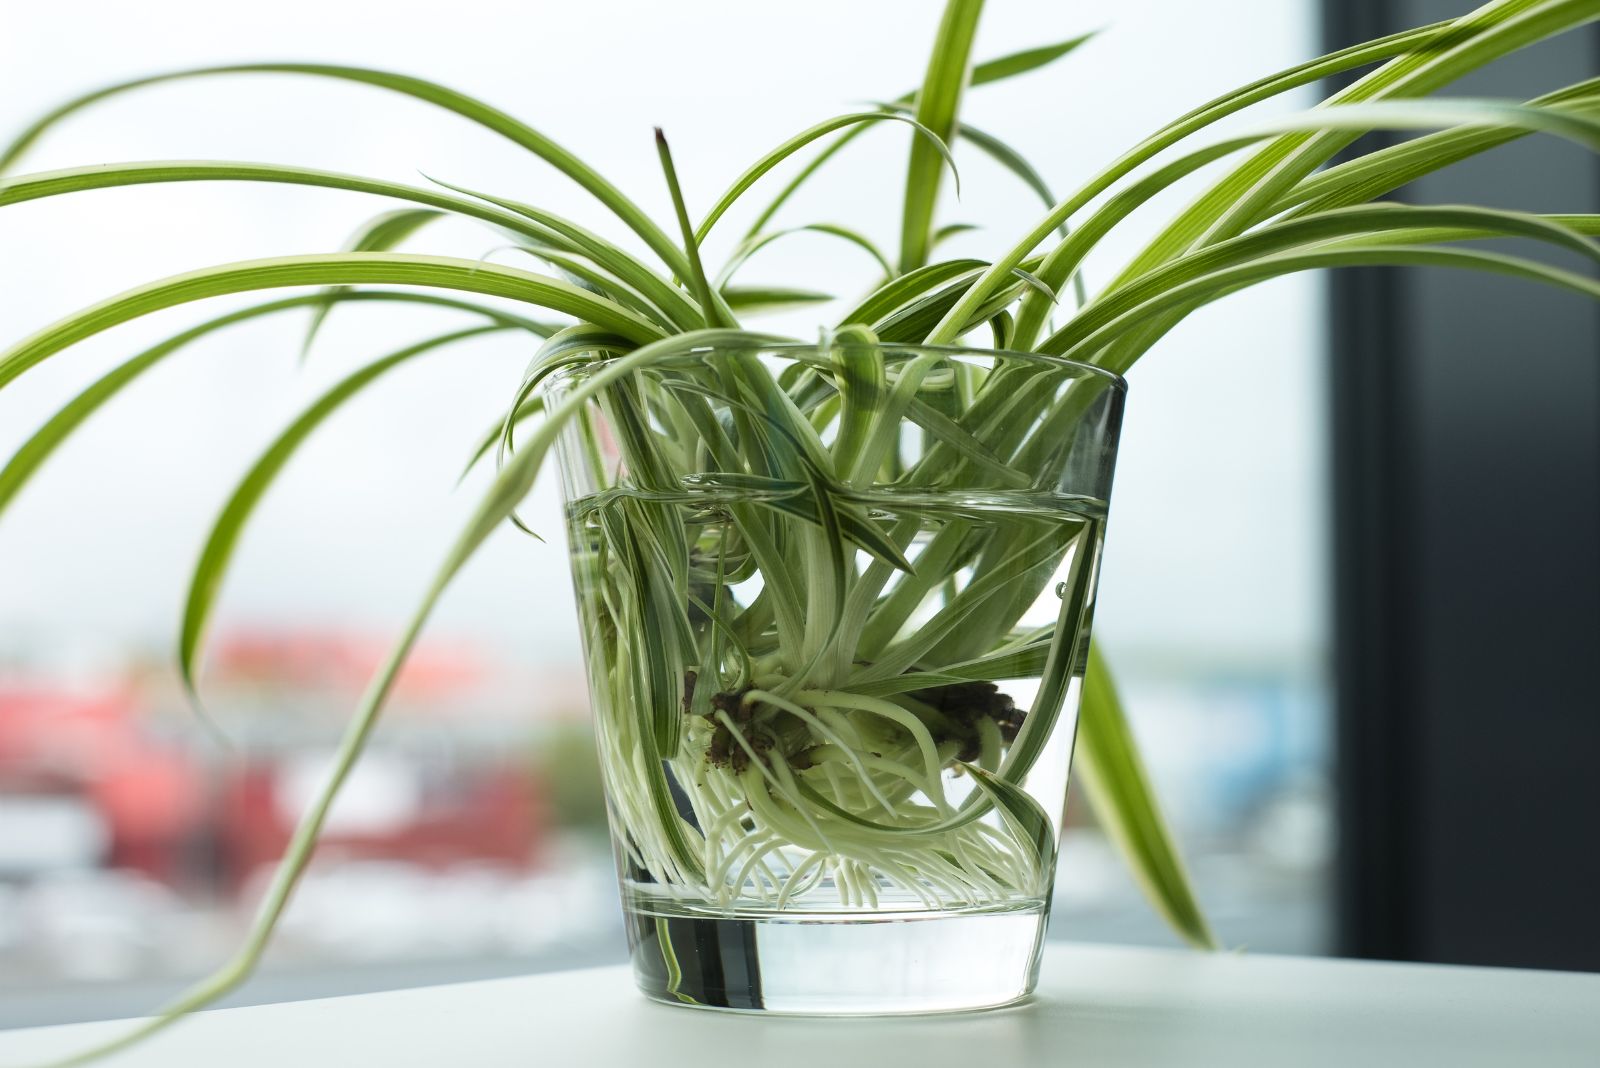
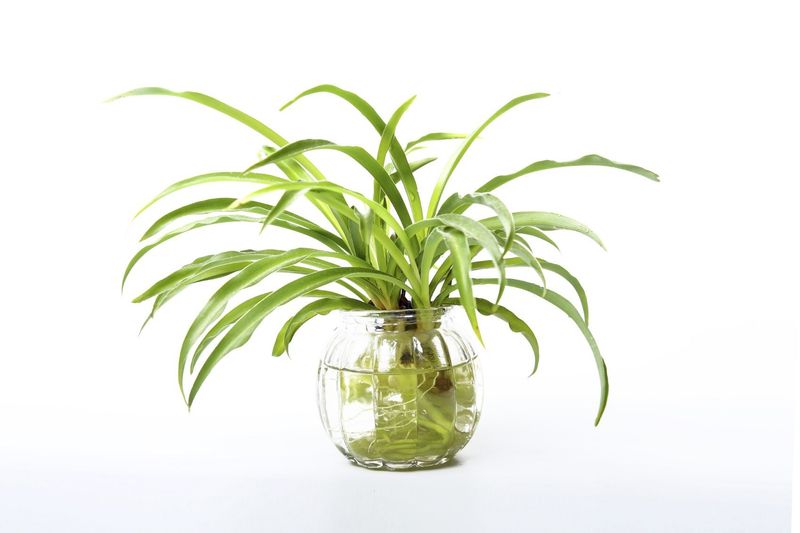
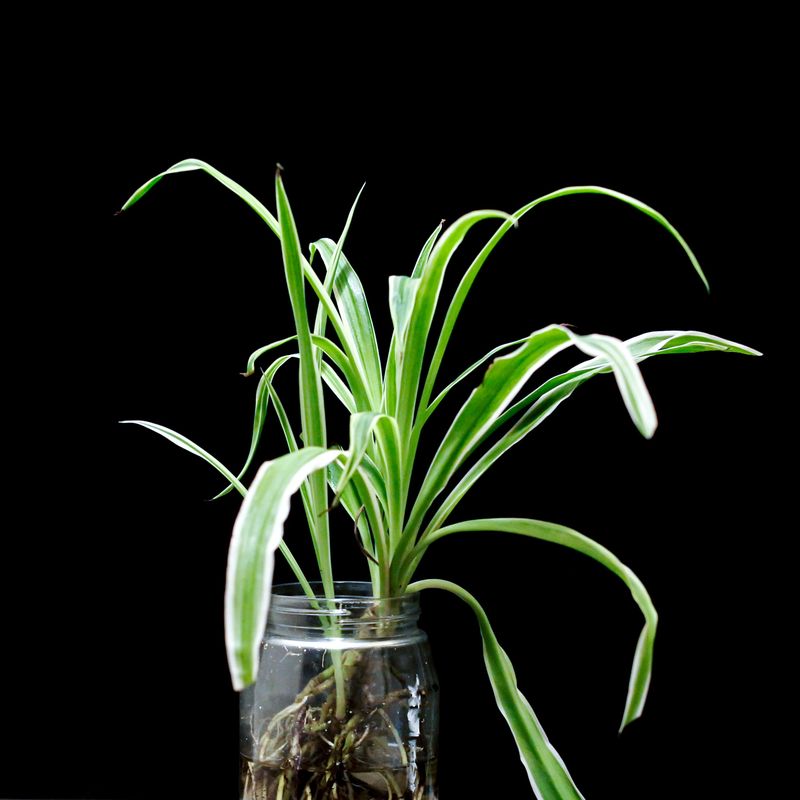
Clear glass containers work beautifully for water propagation because you can watch roots develop without disturbing the plantlets. Small jars, drinking glasses, or even recycled food containers serve this purpose perfectly in any Texas kitchen.
The opening should be wide enough to support the offset without letting all the leaves fall into the water below.
Wash your chosen containers thoroughly with soap and hot water before starting the propagation process. Residue from previous contents can introduce bacteria that interfere with healthy root development.
Rinse everything several times to remove all soap traces that might harm delicate new roots forming on your spider plant babies.
Fill each container with room temperature water that has sat out overnight if possible. Texas tap water often contains chlorine and other chemicals that dissipate when water stands exposed to air for several hours.
This simple step helps create better conditions for root growth without requiring bottled or filtered water for most situations.
The water level should reach about one to two inches deep in your container. You want enough water to keep developing roots moist without submerging the entire offset base.
Too much water can cause the leaves to rot rather than encouraging healthy root formation in your propagation setup.
Some Texas gardeners prefer using narrow-necked bottles that naturally support offsets at the perfect height above the water surface. Others create support systems using plastic wrap or cardboard with holes cut to size.
Both methods work equally well, so choose whatever feels easiest based on containers you already have available at home.
Change the water every few days to keep it fresh and clear throughout the propagation period. Cloudy or smelly water indicates bacterial growth that can prevent successful rooting.
Clean containers and fresh water give your spider plant offsets the best possible start in their new growing environment.
3. Cutting Offsets Properly From The Mother Plant
Sharp, clean scissors or pruning shears make the cleanest cuts when removing offsets from your spider plant. Dull blades crush plant tissue instead of slicing cleanly, which can introduce problems during the rooting process.
Wipe your cutting tool with rubbing alcohol before making any cuts to eliminate bacteria or fungi that might infect the fresh wound.
Position your scissors as close to the baby plantlet as possible without cutting into the offset itself. You want to remove the offset along with a small section of the connecting stem if any remains attached.
The exact cutting location matters less than making one decisive snip rather than multiple jagged cuts that damage plant tissue unnecessarily.
Some Texas gardeners prefer cutting the entire stem from the parent plant first, then dividing it into individual offsets afterward. This approach works especially well when your spider plant has produced multiple babies along a single stem.
You can work at a comfortable table or counter space rather than reaching into the parent plant repeatedly.
The parent plant heals quickly after you remove offsets, so don’t worry about harming your established spider plant. The cut stem eventually browns and can be trimmed back to the base if desired.
Your spider plant will continue producing new offsets throughout the growing season to replace the ones you propagated in water.
If an offset snaps off accidentally while you handle the parent plant, you can still use it for water propagation successfully. Spider plants tolerate rough handling better than many houseplants.
Just trim any ragged edges with clean scissors before placing the offset in water to start the rooting process in your Texas home.
4. Positioning Offsets At The Right Water Depth
Getting the water depth exactly right makes a huge difference in propagation success rates for Texas spider plant lovers. The developing roots need contact with water while the base of the offset stays mostly dry to prevent rotting.
This balance feels tricky at first but becomes second nature after you propagate a few batches of babies successfully.
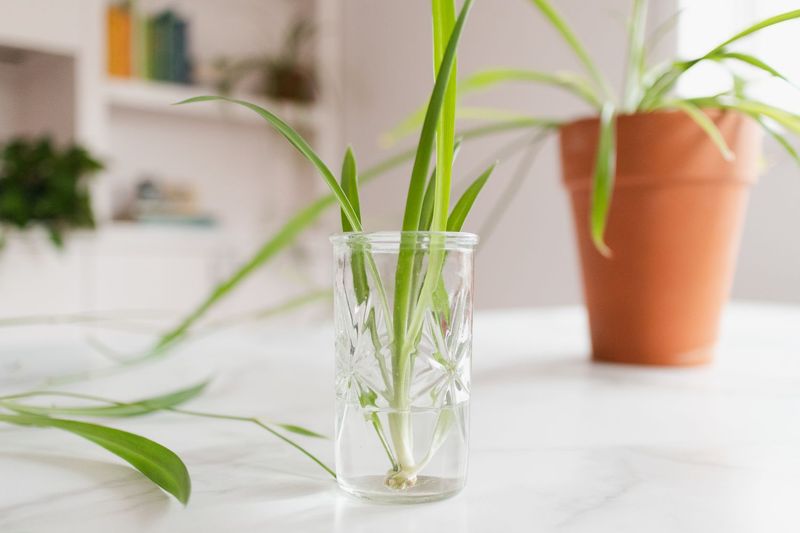
Rest the offset across the container opening so only the very bottom touches the water surface. The small brown root bumps should make contact with water while the leaves spread above the rim naturally.
If your container opening feels too wide, create a support system using toothpicks inserted horizontally through the offset base to hold it at the perfect height.
Another popular Texas method involves covering the container opening with plastic wrap secured with a rubber band. Poke a small hole through the center just large enough to insert the offset base.
This creates a stable platform that keeps the plantlet positioned correctly throughout the entire rooting period without any adjustments needed.
Check the water level daily because evaporation happens quickly in Texas, especially during hot summer months. Add more room temperature water as needed to maintain contact between developing roots and the water surface.
The offset should never sit completely submerged or entirely above the water during the propagation process.
Multiple offsets can share the same container if you have enough space between them for air circulation. Just make sure each baby has its own access to water without crowding against neighbors.
Good spacing prevents problems with mold or bacteria that sometimes develop in humid conditions around water propagation setups indoors.
5. Providing Ideal Light And Temperature Conditions

Bright indirect light creates perfect conditions for root development on spider plant offsets throughout Texas homes.
A spot near an east or north-facing window provides gentle morning sun without the intense afternoon heat that can overheat water in your propagation containers.
Direct sunlight often causes water temperature to spike, which stresses developing roots and encourages algae growth in your clear containers.
Room temperature between 65 and 75 degrees Fahrenheit works beautifully for water propagation in most Texas households year-round. Your offsets don’t need special heating or cooling equipment to develop strong root systems.
Normal indoor temperatures that feel comfortable for people also suit spider plant propagation needs perfectly without any extra effort or expense.
Avoid placing propagation containers near air conditioning vents or heating registers that create temperature fluctuations. Consistent warmth helps roots develop steadily rather than starting and stopping growth in response to changing conditions.
Texas homes typically maintain stable temperatures that support excellent propagation results without requiring any special accommodations.
Keep your water propagation setup away from cold drafts near exterior doors or windows during winter months. Spider plants tolerate cool conditions but root development slows significantly when water temperature drops below 60 degrees.
A stable indoor location away from temperature extremes gives your offsets the best environment for quick root formation.
Natural daylight cycles work better than artificial lighting for most home propagation projects in Texas. However, you can supplement with grow lights if your home lacks bright windows or during shorter winter days.
Position any artificial lights about 12 inches above the offsets and run them for 10 to 12 hours daily to mimic natural growing conditions that encourage healthy root development.
6. Transplanting Rooted Offsets Into Soil Successfully
Patience pays off when you wait for roots to reach two to three inches long before transplanting your spider plant offsets into soil. This length gives the plantlet enough root system to anchor itself and absorb water from potting mix effectively.
Rushing the transplanting process often results in setbacks as shorter roots struggle to adapt from water to soil growing conditions.
Choose a small pot with drainage holes that measures about four inches across for each rooted offset. Texas gardeners often reuse containers from previous plants or purchase inexpensive plastic pots at local garden centers.
The pot size should match the root system rather than providing excessive space that holds too much moisture around developing roots.
Fill your container with well-draining potting mix designed for houseplants rather than garden soil from outdoors. Commercial potting mixes provide the light, fluffy texture that spider plant roots prefer in Texas homes.
Garden soil compacts too densely in containers and often contains insects or diseases that can harm your newly transplanted offset.
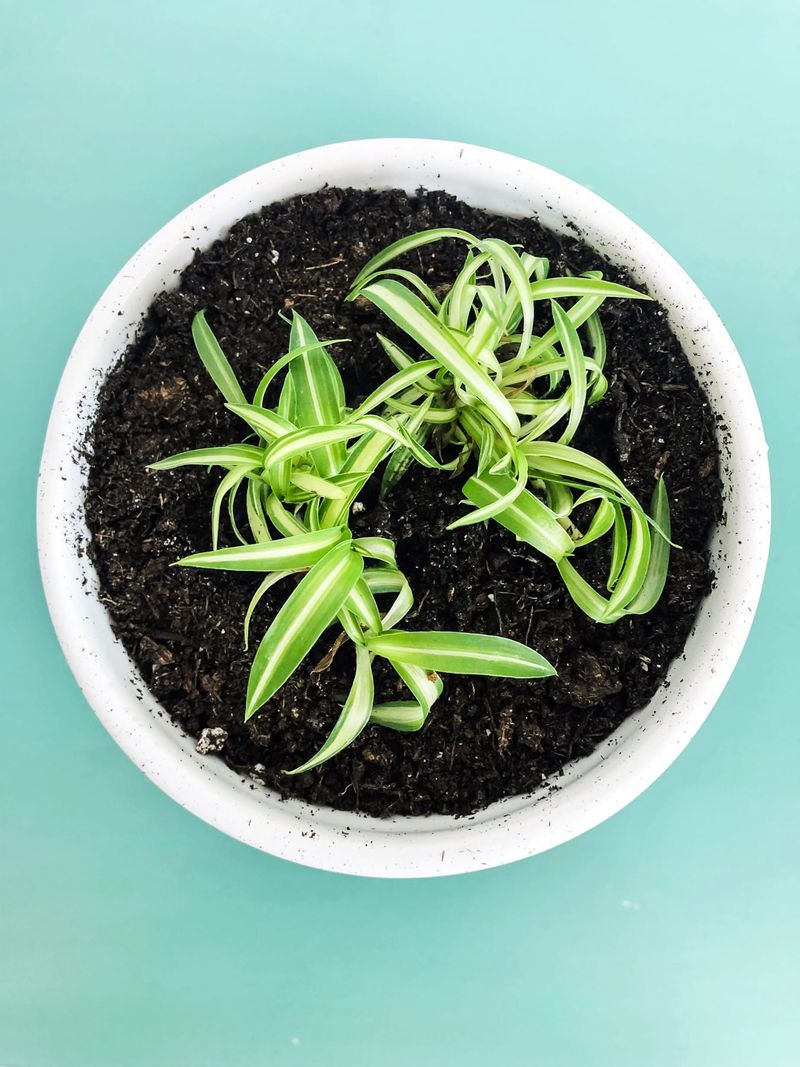
Create a small hole in the center of the potting mix and gently lower the rooted offset into position. The base of the plantlet should sit at the same depth it grew in water, with roots spreading downward naturally.
Fill around the roots carefully without packing soil too tightly, which can damage delicate new root growth.
Water the newly potted offset thoroughly until excess moisture drains from the bottom of the container. This initial watering settles soil around roots and eliminates air pockets that can dry out root sections.
Place your transplanted spider plant in the same bright indirect light location where it rooted successfully in water for the easiest transition to soil growing conditions in your Texas home.