8 Easy Steps To Revive Frost Damaged Hibiscus Plants In Florida
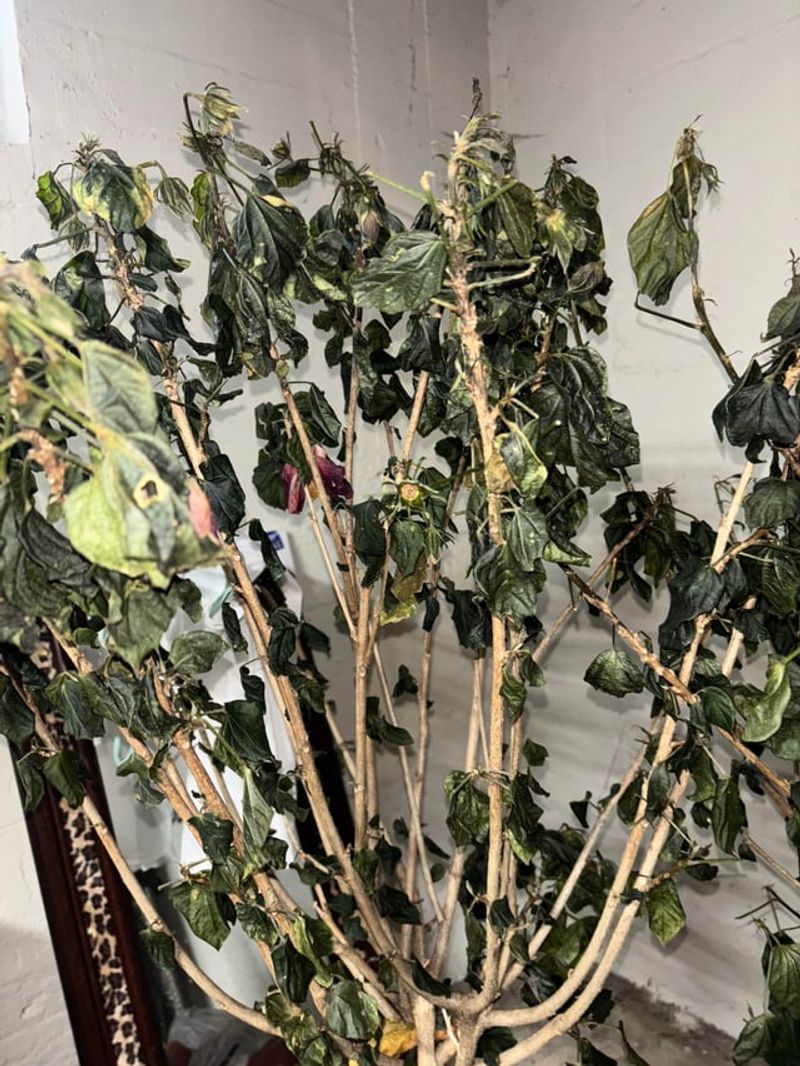
After the hard frost, many hibiscus plants around Florida look sad, droopy, or even like they didn’t survive. Walking past your garden and seeing those brown, wilted leaves can be heartbreaking.
The good news is most hibiscus are tough enough to bounce back. With a little care and patience, you can bring life back to frost-damaged branches, encourage new growth, and enjoy colorful blooms again.
Even plants that seem bare right now can recover, and your patio or backyard can feel vibrant once more.
This season, frost damage doesn’t have to mean the end, it’s just a chance to help your hibiscus come back stronger.
1. Start With A Quick Damage Check Before You Touch Anything
Right after a cold night, your first instinct might be to grab pruning shears and start cutting away everything that looks damaged. Resist that urge completely.
Frost damage takes several days to fully reveal itself, and what appears lifeless immediately after a freeze might actually still be alive underneath the surface.
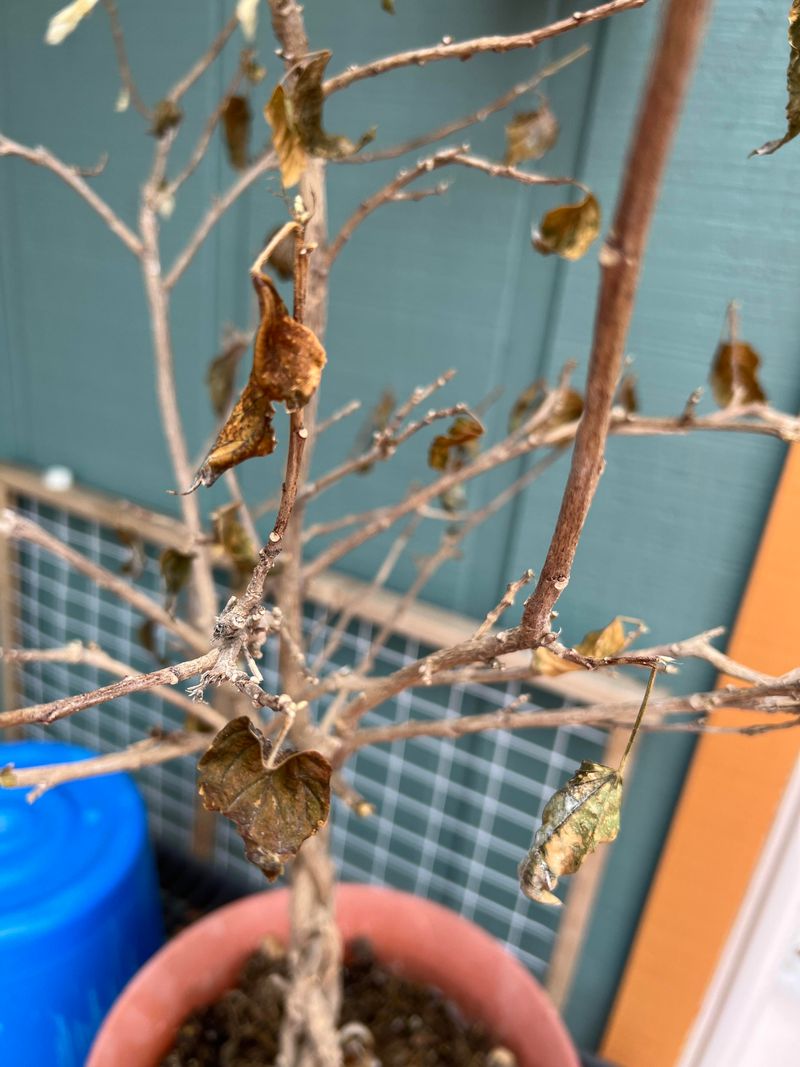
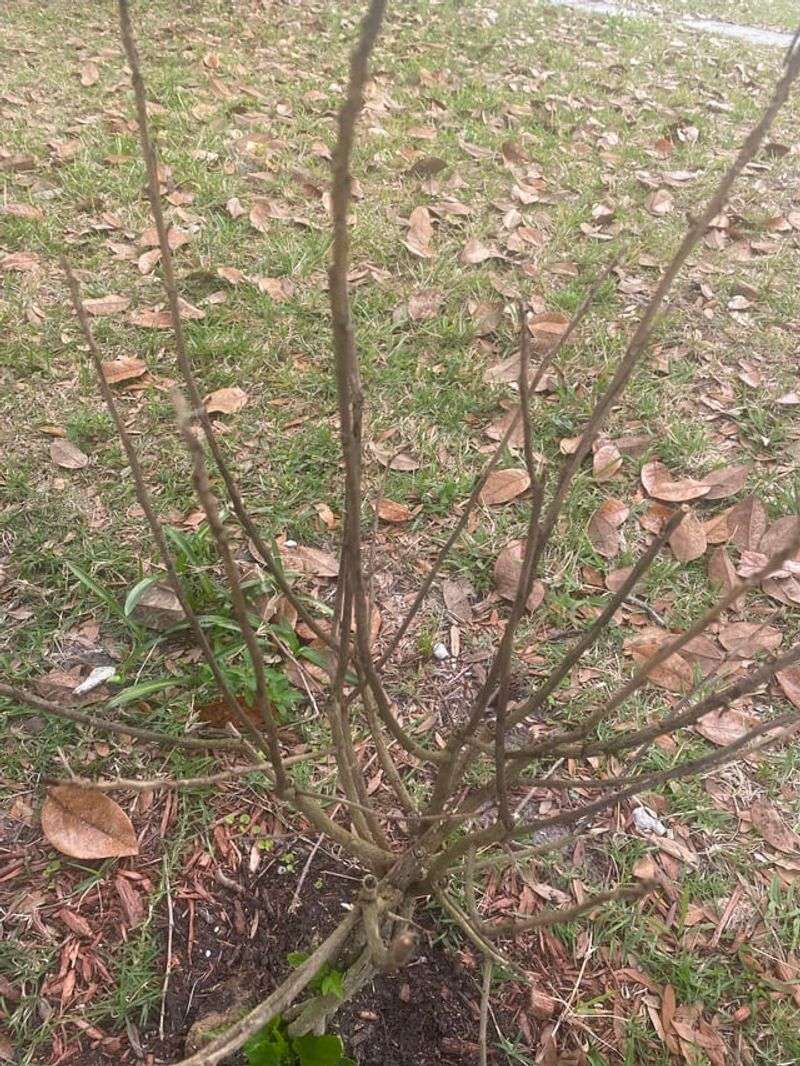
Walk around your hibiscus and observe the overall condition without removing anything yet. Look at the leaves, stems, and branch structure.
Brown, wilted foliage is common, but the woody stems beneath often survive even when leaves do not. Take mental notes or even photos so you can track changes over the coming weeks.
In North Florida, where temperatures can drop into the low 20s, damage tends to be more severe and widespread. Central Florida gardeners usually see damage limited to tender new growth and exposed branches.
South Florida rarely experiences hard freezes, so damage there is typically superficial, affecting only the most delicate leaf tips and blooms.
Give your plant at least three to five days before making any decisions. During this waiting period, damaged tissue will turn darker brown or black, while living parts remain firm and show subtle color changes.
This patience prevents you from accidentally removing healthy wood that could sprout new growth, saving you months of recovery time and preserving the plant’s natural shape and strength.
2. Wait For Warm Weather So You Do Not Cut Too Soon
Timing your pruning correctly makes an enormous difference in how well your hibiscus recovers. Many Florida gardeners make the mistake of pruning immediately after frost damage appears, but this can actually harm the plant further.
Cold-damaged tissue, even though it looks terrible, provides insulation and protection for the living wood underneath during any additional cold snaps that might follow.
Wait until nighttime temperatures consistently stay above 50 degrees and daytime temps reach the 70s. In North Florida, this usually means late March or early April.
Central Florida gardeners can often begin pruning in mid-March, while South Florida residents can often safely prune as early as mid- to late March, depending on local frost risk.
Checking your local weather forecast for the next two weeks helps ensure no surprise cold fronts are approaching. One late-season freeze after you have already pruned can damage newly exposed tissue and set recovery back significantly.
Your Florida Garden Changes Every Week. Your Plan Should Too.
Gardening in Florida changes quickly throughout the season. Every Friday you’ll receive a simple weekly plan showing exactly what to plant, prune, fertilize, harvest, and protect so you never miss the right timing.
Patience during this waiting period pays off with faster regrowth and healthier overall plant structure.
While you wait, avoid fertilizing or heavy watering. The plant is in a stressed, semi-dormant state and cannot process nutrients efficiently.
Simply maintain basic care and let natural warming temperatures signal the plant that it is safe to start growing again. This approach mimics how hibiscus naturally respond to seasonal changes in their tropical native habitats.
3. Scratch Test The Stems To Find What Is Still Alive
Once warmer weather arrives, you need to figure out which parts of your hibiscus actually survived the cold. The scratch test is the most reliable method gardeners use to distinguish living wood from tissue that will never recover.
This simple technique takes just minutes but provides crucial information that guides all your pruning decisions.
Using your fingernail or a clean knife, gently scrape away a tiny bit of bark on various stems throughout the plant. Start near the tips and work your way down toward the base.
If you see bright green tissue just under the bark, that section is alive and will produce new growth. Brown, tan, or gray tissue underneath means that portion has been lost to frost.
Work systematically through the entire plant, testing stems at different heights and locations. You will often discover that lower branches survived while upper portions were damaged, or that the main trunk remains healthy even when side branches were affected.
Mark living sections mentally or with small pieces of tape so you remember where to make cuts.
In areas where damage was severe, you might find that only the lowest portions near the soil line survived. This is actually common in North Florida after hard freezes.
Even if 80 percent of the plant appears lost, that surviving base can regenerate an entirely new hibiscus over the growing season, though it will take longer than plants with more surviving structure. Note that the main trunk rarely withers completely unless temperatures dropped below 20°F.
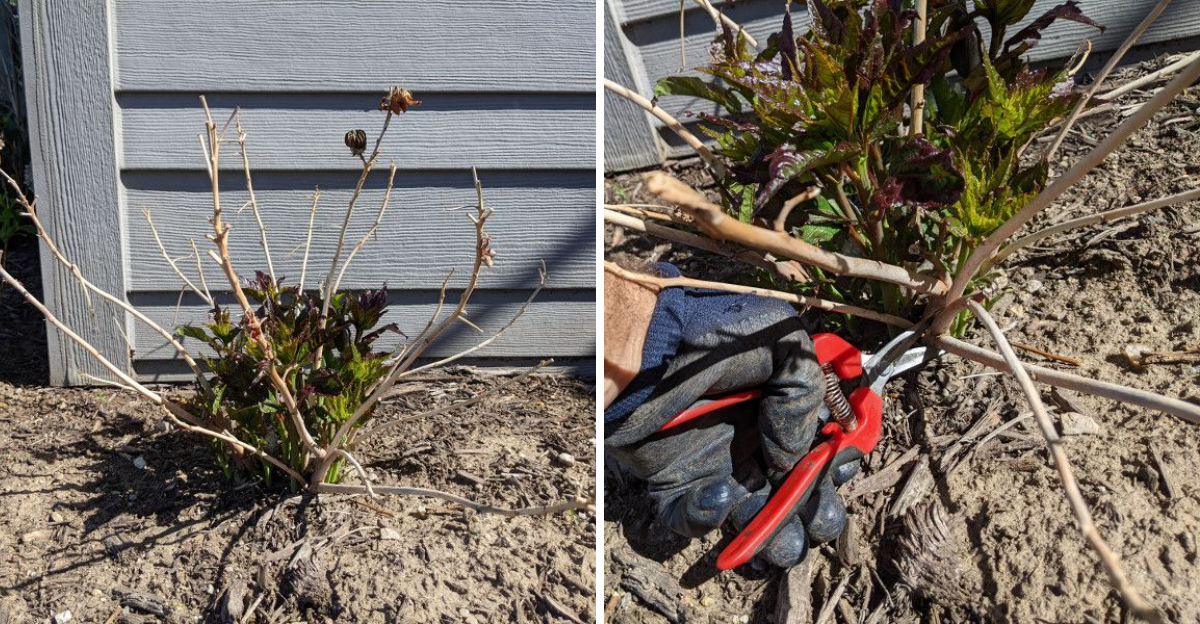
4. Prune In Stages To Avoid Removing Healthy Growth
After identifying living and damaged wood through scratch testing, begin pruning carefully and gradually. Never remove everything at once, even if most of the plant looks compromised.
Staged pruning gives you opportunities to observe how the plant responds and prevents accidentally cutting away wood that might still push out new shoots.
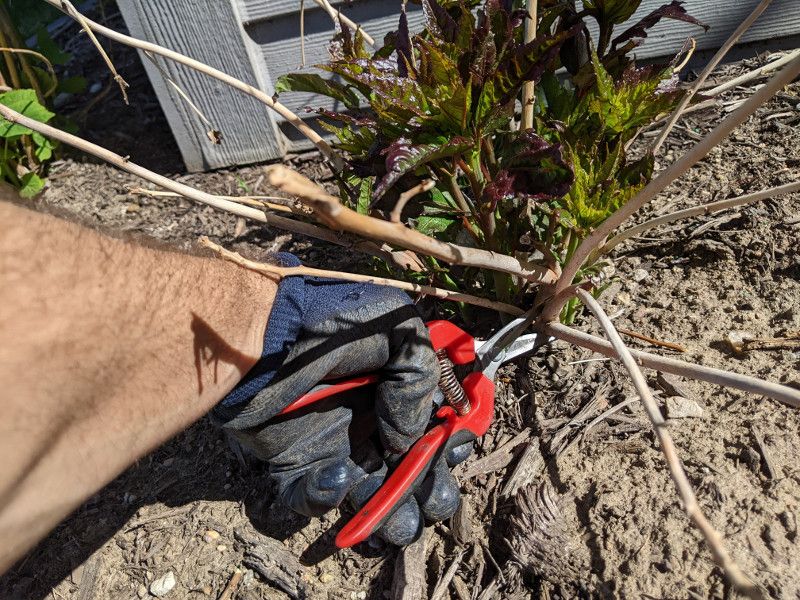
Start by removing only the obviously damaged portions where your scratch test revealed brown tissue underneath. Cut back to just above a node or bud on living wood, making clean cuts at a slight angle.
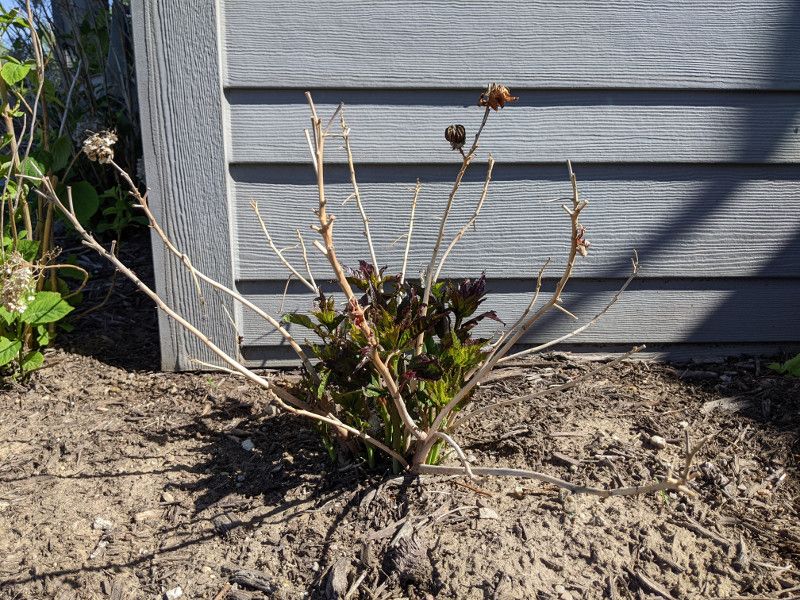
Leave living stems intact even if they look bare right now, because dormant buds along those stems, including lower branches, will activate and produce new growth as temperatures rise
Wait two to three weeks after your first pruning session, then reassess. You will likely notice small green shoots emerging from unexpected places on stems you left behind.
These new growth points show you where the plant’s energy is focusing, helping you decide if any additional pruning is needed or if you should simply let nature take its course.
Some gardeners in Central and South Florida find that their hibiscus needs only light pruning to remove damaged leaf tips and withered twigs. North Florida plants often require more aggressive cutting back to the main trunk or even to ground level.
Regardless of your region, working slowly and observing the plant’s response between pruning sessions leads to better outcomes than one hasty cutting session that removes too much too soon.
5. Clean Up The Base And Refresh The Soil Surface
Once pruning is complete, turn your attention to the soil and the area immediately surrounding your hibiscus. Frost-damaged leaves and pruned branches often fall and accumulate around the plant’s base, creating a thick layer of deceased material.
While this debris provided some insulation during cold weather, it now needs removal to prevent fungal problems and pest issues as humid Florida weather returns.
Carefully rake away all fallen leaves, withered flowers, and cut stems from around the plant. Dispose of this material in yard waste rather than composting it, since diseased or pest-infested tissue can survive in compost piles.
Clear the area in a circle extending at least 12 inches beyond the plant’s drip line to ensure good air circulation around the base.
After cleaning, inspect the soil surface. If it looks compacted or crusty, gently loosen the top inch or two with a hand cultivator, being careful not to damage shallow roots.
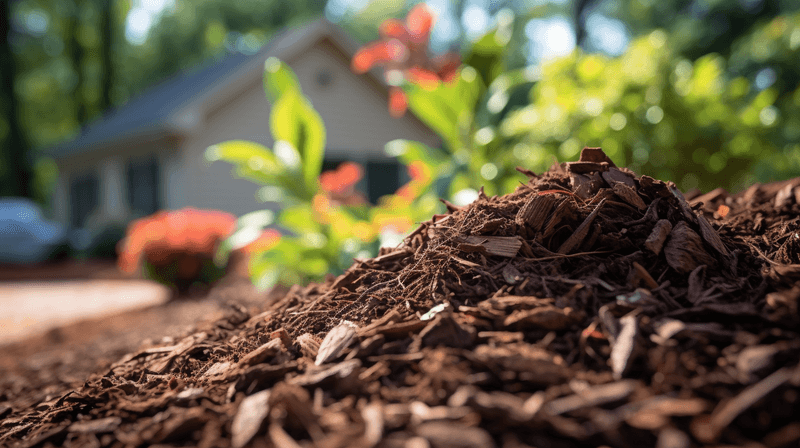
This improves water penetration and oxygen availability to recovering roots. Then apply a fresh two-inch layer of mulch such as pine bark, wood chips, or cypress mulch around the plant, keeping it 2–3 inches away from the main stem to prevent rot.
Fresh mulch helps regulate soil temperature as spring weather fluctuates, retains moisture during the increasingly warm days ahead, and suppresses weeds that would compete with your recovering hibiscus. This clean, refreshed base gives your plant the best possible foundation for the vigorous regrowth that is about to begin throughout the Florida growing season.
6. Water Smart After Frost So Roots Recover Faster
Proper watering after frost damage is tricky because your hibiscus needs moisture to support new growth, but damaged roots cannot handle the same water volume as a healthy plant. Overwatering during recovery is one of the most common mistakes Florida gardeners make, often causing more harm than the original frost event.
For the first few weeks after pruning, water only when the top two inches of soil feel dry to your finger. This might mean watering just once or twice per week, much less frequently than you watered during the plant’s active growing season.
Damaged roots are less efficient at taking up water, and frost-stressed plants transpire less through their reduced foliage, so they simply need less moisture during early recovery.
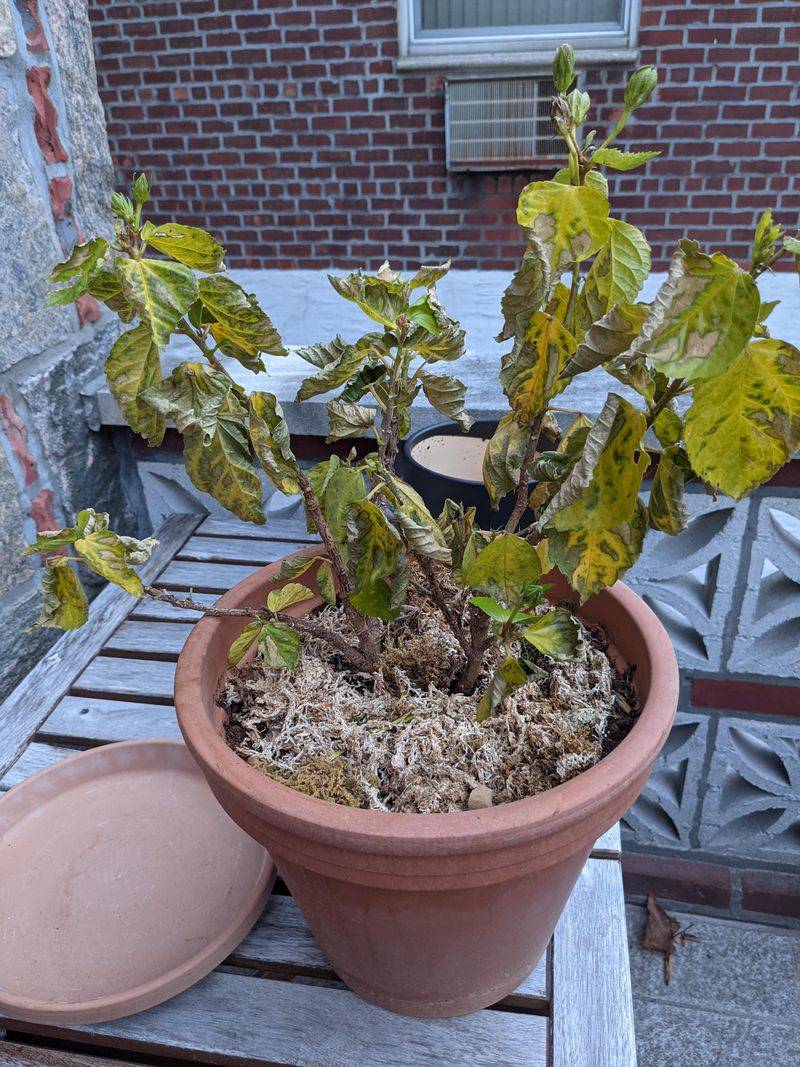
As new green shoots emerge and begin expanding, gradually increase watering frequency. Watch the new growth closely.
Leaves should look firm and vibrant, not wilted or yellowing. If new foliage appears stressed despite regular watering, check drainage around the plant, particularly in clay or compacted soils, because sitting in soggy soil can damage recovering roots just as much as drought stress.
South Florida’s naturally higher humidity and frequent spring rains mean gardeners there often need to water less than those in drier North Florida regions. Central Florida falls somewhere in between, with watering needs varying based on specific microclimates and soil types.
Always let your individual plant and local conditions guide your watering schedule rather than following a rigid calendar-based approach that might not match your hibiscus’s actual needs.
7. Hold Fertilizer Until You See New Green Growth
Fertilizer is essential for healthy hibiscus growth, but applying it too soon after frost damage can actually stress the plant further or even cause chemical burn on tender new roots. Your hibiscus needs time to stabilize and begin active growth before it can properly utilize added nutrients.
Patience with fertilization is just as important as patience with pruning.
Wait until you see at least two to three inches of vigorous new green growth emerging from multiple points on the plant. This visible new foliage signals that the root system has recovered enough to absorb and process nutrients effectively.
In most Florida regions, this happens between mid-March and late May, depending on frost severity and region, with North Florida on the later end and South Florida on the earlier end.
When you do resume fertilizing, start with half the normal strength. Use a balanced fertilizer formulated for tropical flowering plants, or choose one specifically designed for hibiscus if available.
Water the plant thoroughly before applying fertilizer to prevent root burn, then water again after application to help distribute nutrients through the root zone.
Gradually increase to full-strength applications over the next month as growth accelerates. Throughout the summer growing season, fertilize every two to three weeks to support the rapid regrowth your plant will experience.
North Florida gardeners should stop fertilizing by early September to allow plants to harden off before potential fall cold snaps, while South Florida residents can often continue feeding through November since their frost risk is minimal and plants may bloom year-round in warmer microclimates.
8. Protect The Comeback With Simple Cold Night Habits
After nursing your hibiscus through frost recovery, the last thing you want is for another cold snap to undo all your careful work. Developing simple protective habits for cold nights ensures your recovering plant stays safe through any late-season temperature drops and is better prepared for the following winter.
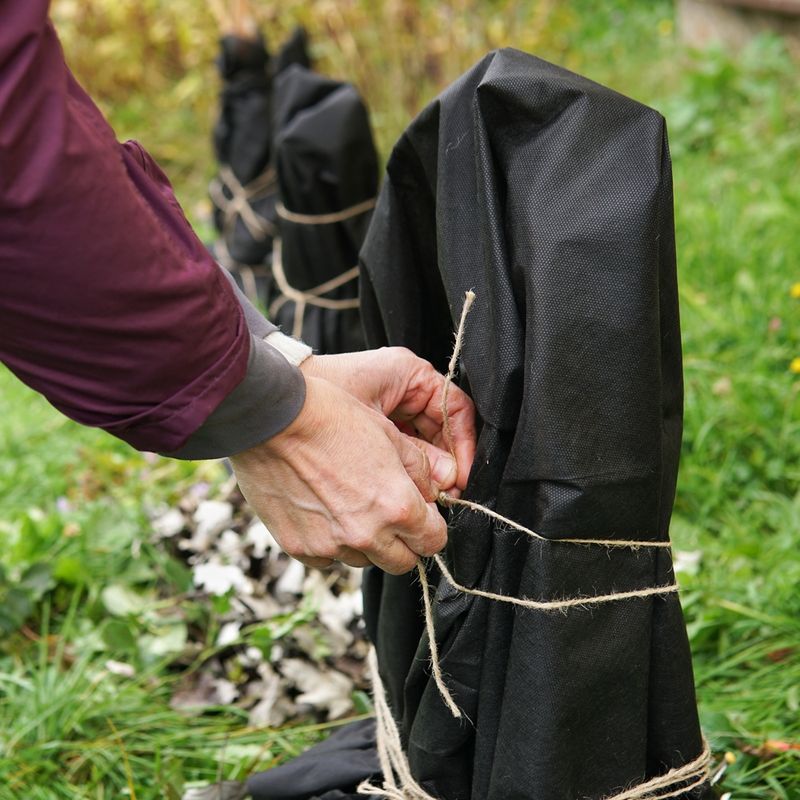
Keep frost cloth, old bed sheets, or lightweight blankets readily accessible near your hibiscus throughout the cooler months. Cover plants when forecasts predict temperatures dropping below 40°F in North Florida, below 35°F in Central Florida, and rarely needed in South Florida except in the northernmost zones.
Drape the covering all the way to the ground and weight down edges with rocks or stakes to trap warmer air around the plant. Remove covers the next morning once temperatures rise above 50 degrees to prevent overheating.
Consider the plant’s location for future cold protection. Hibiscus planted near south-facing walls, under eaves, or in spots that receive radiant heat from buildings fare better during cold weather than those in open, exposed areas.
If your plant suffered severe damage this year, you might want to transplant it to a more protected microclimate once it has fully recovered, typically by fall.
North Florida gardeners often find that potted hibiscus they can move into garages or covered porches on cold nights survive better than in-ground plants. Central Florida residents might only need protection during occasional cold fronts.
South Florida rarely requires covering except in the northernmost parts of the region. Building these protective habits into your routine transforms you from a reactive gardener scrambling during freezes into a proactive one whose plants consistently thrive.