7 Steps To Build A Rain Garden That Doesn’t Rot Plants In Florida (Complete It By May)
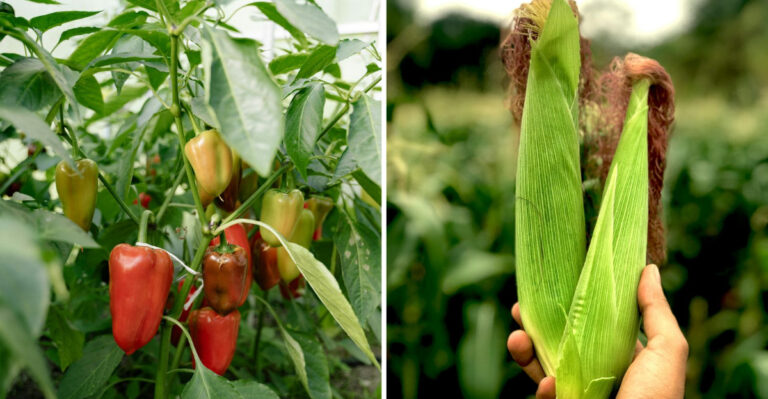
If your yard turns into a puddle every time it rains, you’re not alone. Florida’s heavy storms can leave plants struggling and soil soaked for days, and it’s frustrating to watch flowers or shrubs drown while trying to keep your garden looking nice.
A rain garden can completely change that. It captures extra water, protects plants, and even adds a splash of color to your yard.
With a little planning, the right placement, and careful plant choices, you can have a garden that actually thrives in wet conditions instead of fighting them. Start now, and by May you could have a flourishing, water-smart backyard that handles storms gracefully.
It’s not just about drainage; it’s about creating a backyard that looks beautiful, stays healthy, and finally makes the rainy season work for you.
1. Pick The Right Low Spot That Drains Naturally
Walking your yard after a typical afternoon thunderstorm reveals exactly where water wants to go. Look for areas where puddles form but eventually disappear within a day or two, signaling soil that accepts water at a reasonable pace.
Your rain garden belongs in one of these natural collection points, ideally at least 10 feet away from your home’s foundation to prevent moisture problems near the structure.
Florida’s variable soil types make this step particularly important. Central Florida’s sandy soils drain quickly, sometimes too quickly, while clay-heavy areas in parts of North Florida hold water longer.
South Florida’s limestone base creates unique drainage patterns you need to observe carefully before committing to a location.
Avoid spots where water sits for days on end, as these indicate soil too dense for a functional rain garden. Similarly, very fast-draining sandy soil can still work for rain gardens but may require added organic matter to improve water retention for plants.
The sweet spot drains completely within 24 to 72 hours after significant rainfall.
Consider how water flows across your property during storms. Position your rain garden to intercept runoff from downspouts, driveways, or sloped lawn areas.
This strategic placement maximizes the garden’s stormwater management benefits while reducing erosion and nutrient runoff into local waterways.
Test your chosen spot during Florida’s variable weather patterns before breaking ground. Spring rains provide excellent opportunities to confirm drainage behavior, ensuring your selected location performs as expected when summer’s heavier storms arrive.
2. Test Your Soil So Water Never Stays Too Long
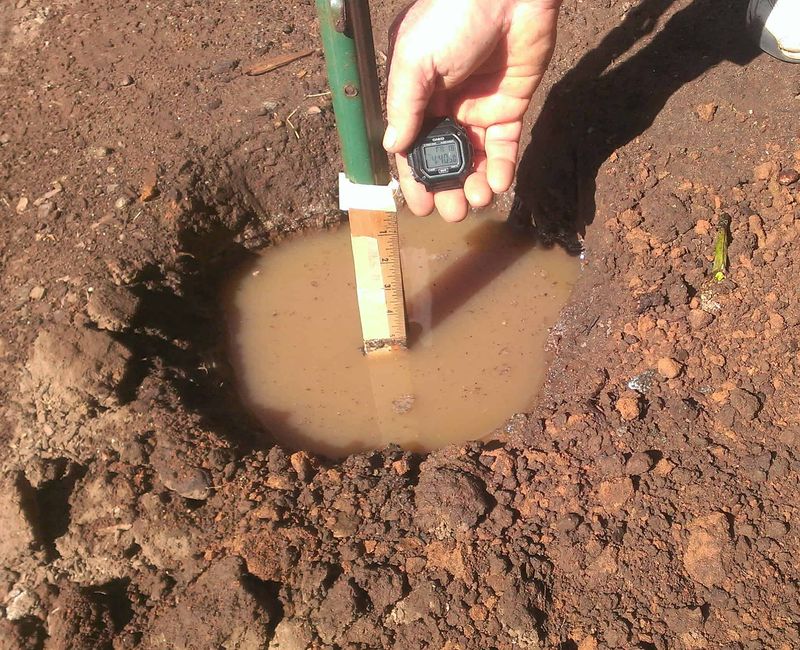
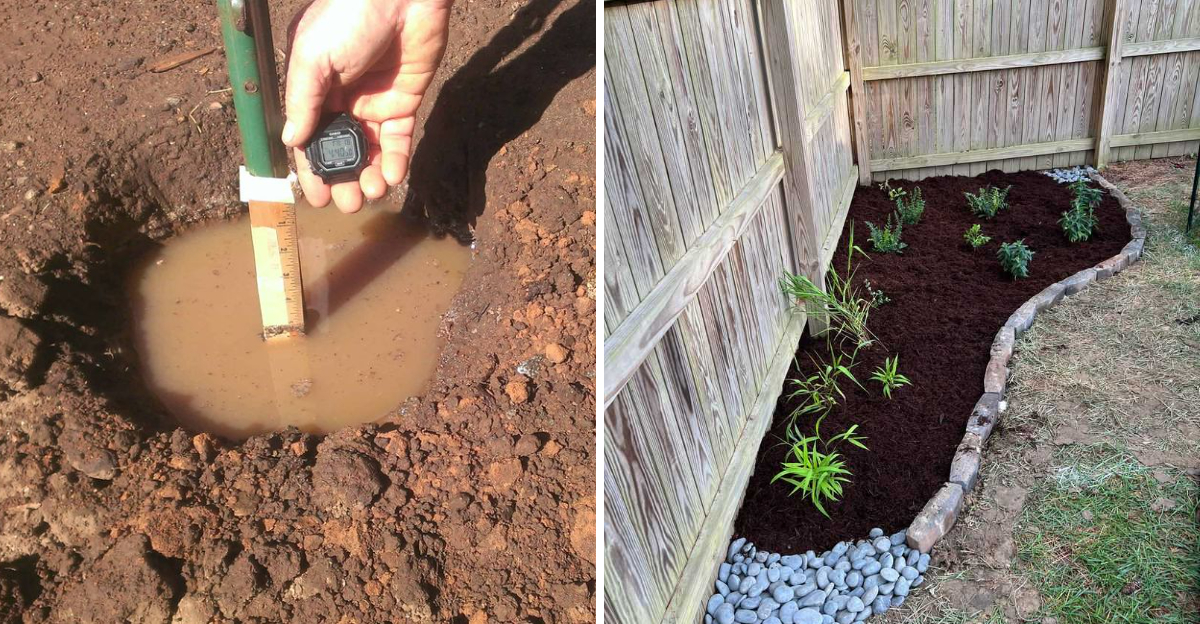
Grab a shovel and dig a hole about 12 inches deep and 12 inches wide in your proposed rain garden location. Fill this hole completely with water and watch what happens over the next 24 hours.
Proper drainage means the water disappears within 24 hours, with ideal infiltration typically occurring between about 4 and 24 hours in Florida soils.
This simple percolation test tells you whether your soil can handle rain garden duty without creating standing water that harms plant roots. Water draining in less than 6 hours suggests very sandy soil that may need organic matter added to retain some moisture.
Drainage taking longer than 24 hours indicates you need to amend the soil significantly or choose a different location entirely.
Florida’s diverse soil composition means results vary dramatically across regions. North Florida gardeners often encounter clay layers that slow drainage, while Central Florida’s sand drains almost too efficiently.
South Florida’s rockier substrate presents its own challenges, sometimes requiring extra excavation to reach soil that percolates properly.
Repeat this test in multiple spots within your planned garden area, as soil consistency can change within just a few feet. Mark areas that drain well versus poorly, using this information to fine-tune your garden’s exact placement and shape.
Conduct your percolation test during dry weather for accurate results. Testing right after heavy rains gives false readings since saturated soil naturally drains more slowly.
Spring months before May offer ideal conditions for this assessment, giving you time to address any drainage issues before summer arrives.
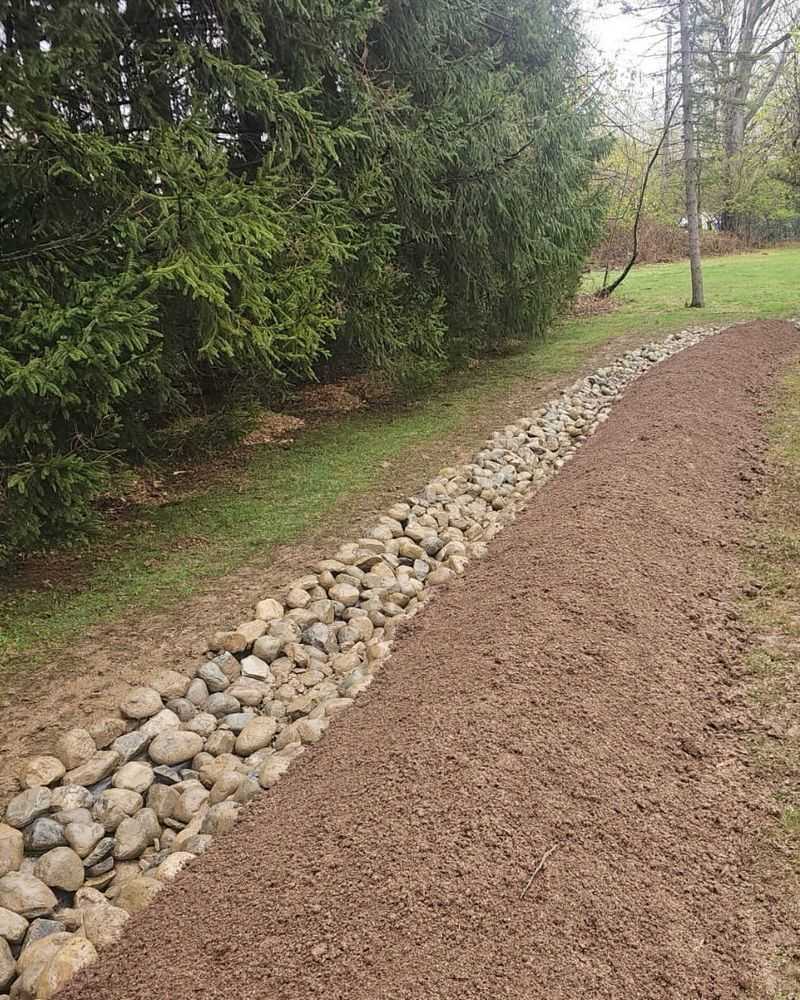
3. Shape The Basin For Slow Gentle Soaking
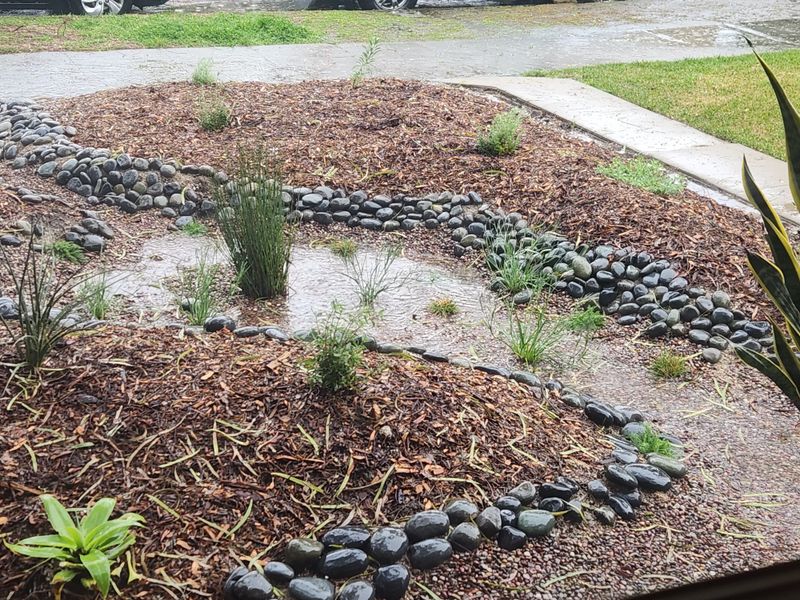
Creating the right basin shape determines whether your rain garden succeeds or becomes a plant graveyard. Aim for a shallow depression with gently sloping sides rather than steep walls, allowing water to spread evenly across the entire planted area.
Most Florida rain gardens work best with depths between about 4 and 8 inches, though sandy soils may allow slightly deeper basins.
Start by marking your garden’s outline with spray paint or a garden hose, creating an oval or kidney shape that looks natural in your landscape. Excavate soil from the center, piling it around the edges to create a subtle berm that contains water during heavy rainfall.
This raised perimeter prevents overflow while giving your garden defined boundaries.
Slope the sides gradually at a ratio of about 3:1, meaning for every 3 inches of horizontal distance, drop 1 inch in depth. This gentle grade prevents erosion during intense South Florida downpours while making the garden accessible for planting and maintenance.
Steep sides wash out quickly under Florida’s aggressive summer storms.
Shape the bottom relatively flat rather than creating a deep center point where water pools. Even distribution across the basin floor ensures all plants receive moisture without some areas staying soggy while others dry out too quickly.
This matters especially in Central Florida’s sandy soils where water moves through unevenly.
Lightly firm the basin floor without compacting it, as excessive compaction reduces drainage and can cause standing water, creating a stable surface that resists erosion while still allowing infiltration. Avoid over-compacting, which reduces drainage capacity.
4. Use Florida Friendly Plants That Handle Wet And Dry
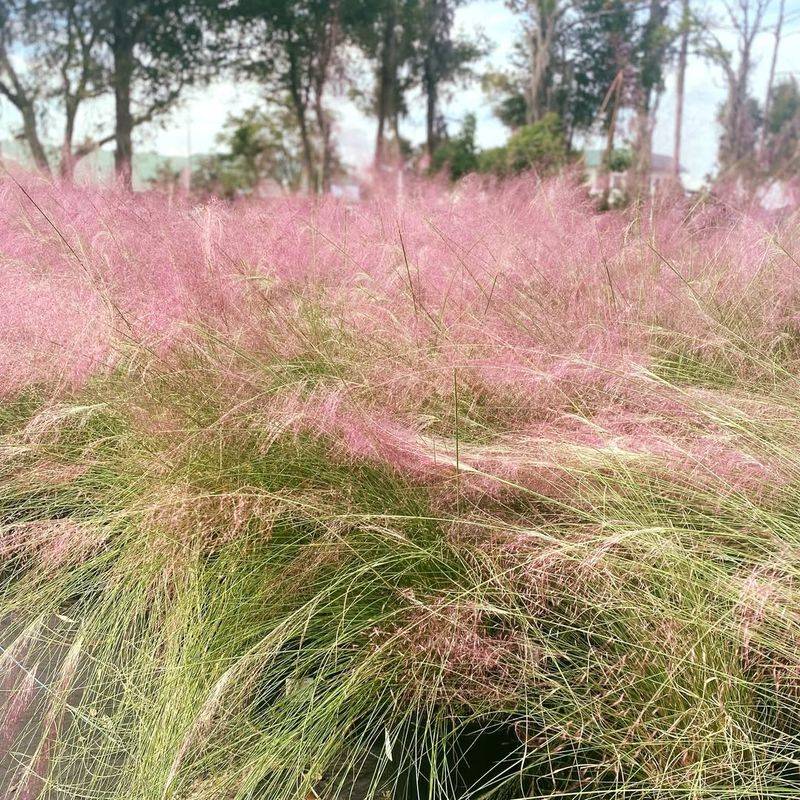
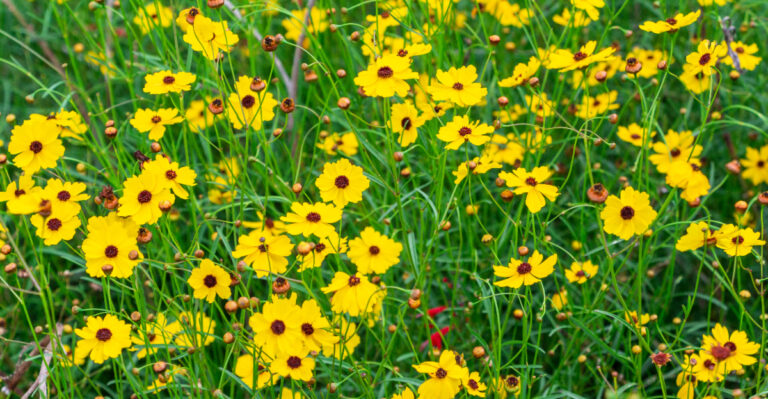
Florida-friendly plants adapted to wet-dry cycles make rain gardens thrive without constant attention. Native species like blue flag iris, pickerelweed, muhly grass, and swamp sunflower handle periodic flooding followed by dry spells, exactly the conditions your rain garden creates.
These tough performers establish quickly when planted in spring, developing root systems ready for summer’s challenges.
Choose plants based on where they sit within your basin. Place moisture-loving species like pickerelweed and soft rush in the lowest center areas where water lingers longest.
Position moderately tolerant plants such as coontie on the middle slopes and place firebush toward the drier upper edges. Save the driest perimeter spots for tough customers like muhly grass and blanket flower that prefer good drainage.
North Florida gardeners can incorporate plants that tolerate occasional cooler weather, while South Florida residents should focus on tropical-adapted species that handle year-round warmth and humidity. Central Florida offers flexibility to use plants from both groups, creating diverse plantings that perform reliably.
Avoid plants requiring consistently moist soil, as rain gardens dry out between storms. Similarly, skip species that cannot tolerate wet roots even temporarily.
Your plant selection needs this dual tolerance to survive Florida’s boom-or-bust rainfall patterns.
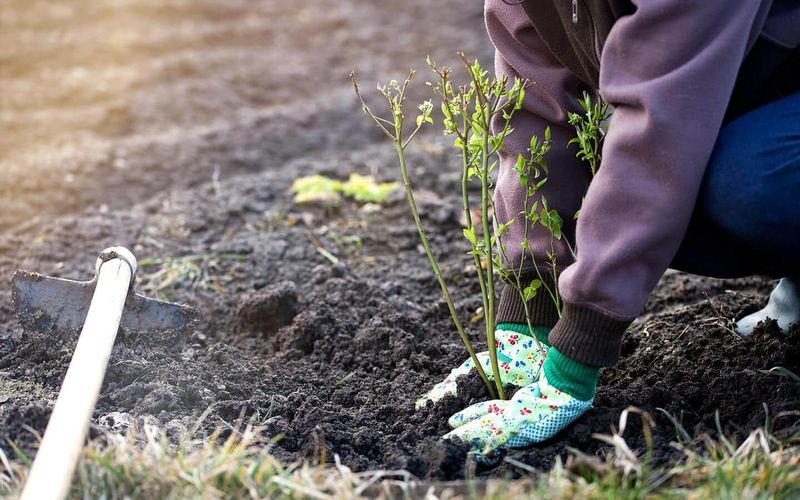
Start with small plants or divisions rather than large specimens, as younger plants establish faster in rain garden conditions. Space them according to mature size, resisting the urge to overcrowd.
Dense plantings look full initially but create maintenance headaches and poor air circulation that encourages fungal problems in Florida’s humid climate.
5. Build Healthy Soil That Breathes And Drains
Amending your basin soil creates the foundation for healthy plant growth without waterlogging. Mix 2 to 3 inches of compost into the top 6 to 8 inches of existing soil, improving both drainage in clay-heavy areas and water retention in excessively sandy spots.
This organic matter feeds soil microbes while creating air pockets that roots need to breathe during wet periods.
Central Florida’s naturally sandy soil benefits from extra compost, helping it hold nutrients and moisture between rain events. North Florida gardeners dealing with clay should add generous compost and organic matter rather than sand, which can worsen compaction in clay soils.
South Florida’s rocky or thin topsoil often needs the most amendment, sometimes requiring imported topsoil blended with compost to create adequate growing medium.
Avoid adding topsoil alone without organic matter, as this rarely improves drainage and may compact over time. Similarly, peat moss can be used sparingly but compost generally provides longer-lasting soil improvement in Florida conditions.
Finished compost from yard waste or mushroom compost works far better for lasting soil improvement.
Work amendments thoroughly into existing soil rather than layering them on top. Distinct layers create interfaces where water movement slows, defeating your drainage goals.
Blend everything together until you cannot distinguish between native soil and added materials.
Test your improved soil’s texture by squeezing a handful. It should hold together loosely when compressed but crumble easily when poked, indicating good structure that drains well while supporting plant roots.
Completing this soil preparation by early May gives amendments time to settle before summer rains begin.
6. Add Mulch The Right Way To Prevent Root Problems
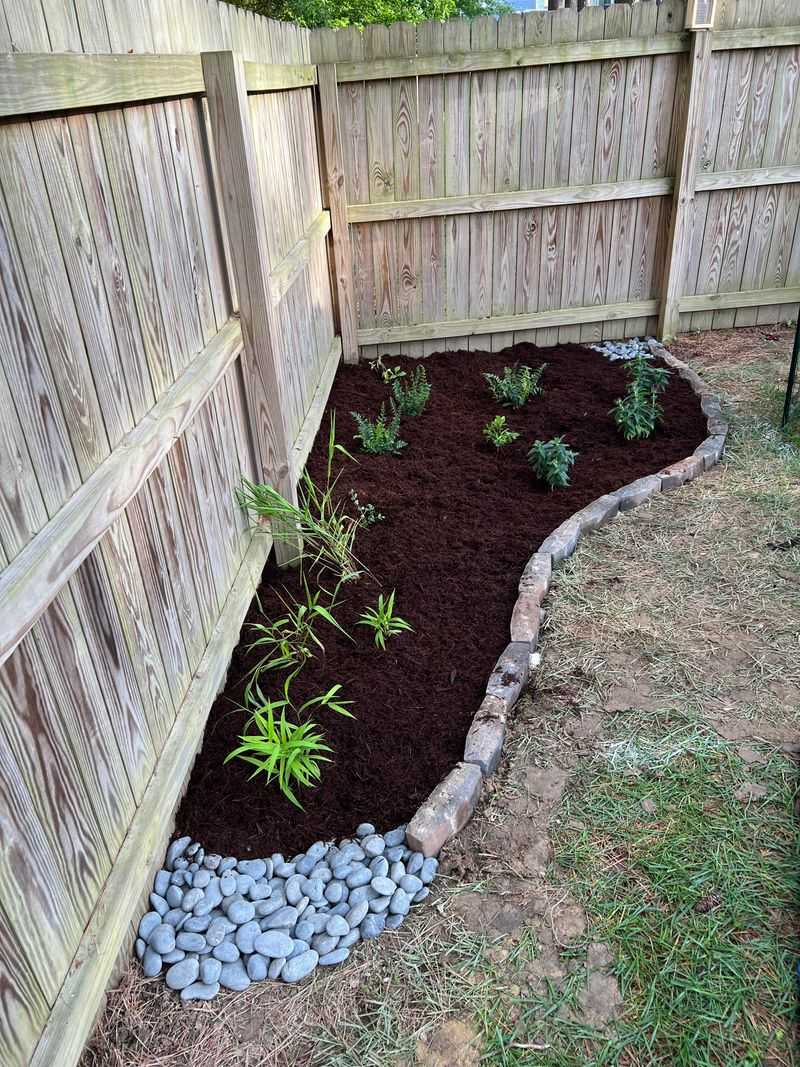
Applying mulch correctly protects plant roots while preventing the moisture problems that harm rain gardens. Spread 2 to 3 inches of shredded hardwood mulch or pine bark across your basin, keeping it pulled back about 3 inches from plant stems and crowns.
This gap prevents moisture from accumulating against plant tissue, reducing fungal issues common in Florida’s humid environment.
Choose mulch that breaks down moderately rather than too quickly or too slowly. Shredded hardwood decomposes at a rate that replenishes soil organic matter annually without creating soggy mats.
Avoid mulch types that become water-repellent when dry; shredded hardwood or pine bark usually perform best in rain gardens, and skip rubber mulch entirely, as it provides no soil benefits and can retain excessive heat in Florida’s sun.
Apply mulch after planting but before summer rains arrive, giving your garden a finished look while suppressing weeds during establishment. The mulch layer moderates soil temperature, keeping roots cooler during hot months while insulating them during North Florida’s occasional cold snaps.
Refresh mulch annually each spring, adding new material as the previous layer decomposes. Maintain the 2 to 3 inch depth without exceeding it, as excessive mulch holds too much moisture against the soil surface.
South Florida gardeners may need to replenish mulch more frequently due to faster decomposition in tropical conditions.
Keep mulch level across the basin rather than mounding it around plants or creating uneven layers. Even coverage ensures consistent moisture retention and weed suppression throughout the garden.
Watch for mulch washing away during heavy storms, redistributing it as needed to maintain proper depth and coverage.
7. Finish Before Summer Rains And Let Nature Take Over
In North and Central Florida, completing your rain garden by May helps plants establish before heavy summer rains. Spring’s moderate temperatures and occasional rainfall give plants time to establish roots before summer’s intense heat and daily thunderstorms test their resilience.
This timing matters more in Florida than almost anywhere else, as our dramatic wet season can overwhelm newly planted gardens that lack established root systems.
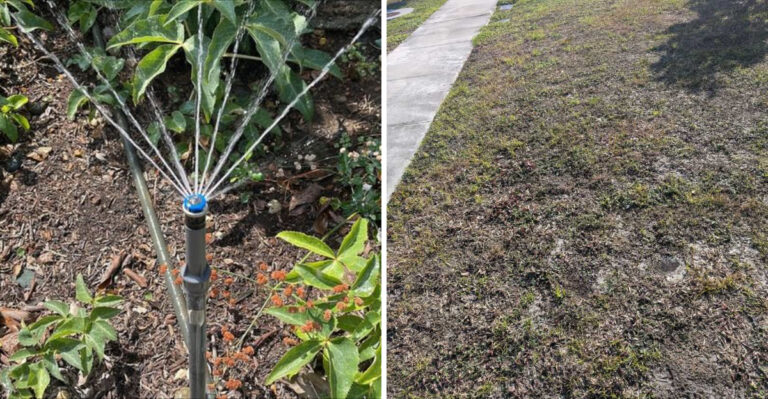
Water your new plants regularly during the first few weeks, adjusting frequency based on rainfall and soil moisture rather than a fixed schedule. This supplemental irrigation helps roots spread into surrounding soil, anchoring plants before summer storms arrive.
South Florida’s earlier warm-up may require slightly more frequent watering, while North Florida’s cooler spring allows longer intervals.
Monitor your garden during late spring rains, observing how quickly water infiltrates and drains. Make final adjustments to basin shape or soil if water lingers longer than 72 hours, addressing problems before summer’s heavier rainfall begins.
Early completion gives you this valuable testing period.
Once summer rains begin, most rain gardens require little supplemental watering, though extended dry periods may still require occasional irrigation. Plants receive moisture from periodic storms while the basin drains between events, creating the wet-dry cycle that keeps roots healthy.
This natural rhythm prevents the constant saturation that damages plants in poorly designed gardens.
Expect your rain garden to look sparse initially but fill in rapidly through summer and fall as plants mature. Resist adding more plants too quickly, as proper spacing prevents overcrowding and promotes air circulation that reduces fungal problems in Florida’s humidity.