Fix These Soil Mistakes Before March Arrives In Florida
March is right around the corner in Florida, and what’s happening under your feet matters more than most gardeners realize. You can water on schedule, add fertilizer, plant something new, and still wonder why growth feels slow or plants look tired.
Often, the problem sits in the soil. Maybe it feels hard like concrete, drains too fast, stays soggy, or simply lacks life.
Most Florida gardens deal with at least one of these issues after winter. There is still a window to turn things around before spring growth begins. A few simple changes now can wake up your soil, help roots breathe, and set your plants up for a much stronger start this spring.
Before March arrives, let’s look at the most common soil mistakes Florida gardeners make and how you can correct them without turning your yard upside down.
1. Stop Using The Wrong Soil Type
Sandy soil dominates most of Florida, especially in central and coastal areas. This type drains fast but struggles to hold nutrients and moisture.
Many gardeners make the mistake of treating all Florida soil the same way, but northern counties often have heavier clay content while southern regions stay sandy year-round.
Using potting mix meant for containers in your garden beds wastes money and creates drainage problems. Garden soil needs different structure than container mixes.
If you’re planting in native sandy soil, adding the wrong amendments can make drainage too fast, causing plants to dry out between waterings.
For raised beds and vegetable gardens, a quality garden soil blend works better than pure sand or pure compost. Look for mixes that combine organic matter with mineral components.
These balanced blends hold moisture longer than sand alone while still draining well enough to prevent root problems.
Clay-heavy soils in northern Florida need different treatment than sandy soils further south. Heavy soil benefits from added organic matter such as compost to improve structure and drainage.
Understanding your specific soil type helps you choose the right products and amendments for long-term plant health and proper root development throughout the growing season.
2. Fix Poor Drainage Before Spring Rains
Waterlogged roots suffocate quickly in Florida’s heavy spring and summer rains. Poor drainage is one of the most common reasons plants struggle or fail in Florida gardens.
When soil stays saturated, roots can’t access oxygen and begin to rot within days.
Rainfall increases as spring progresses and peaks during summer, so drainage problems that seem minor in February become serious once rainfall increases. Low spots in your yard collect water and create zones where nothing thrives.
Even a slight depression can hold water long enough to damage plant roots.
Raised beds offer the simplest solution for areas with chronic drainage issues. Building beds 8 to 12 inches high lifts roots above problem zones and allows excess water to drain away naturally.
You can also improve existing beds by working organic matter such as compost into the top 6 to 8 inches of soil.
Adding organic matter helps sandy soil hold moisture while also improving structure in heavier soils. Compost creates air pockets that allow water to move through soil instead of pooling on the surface.
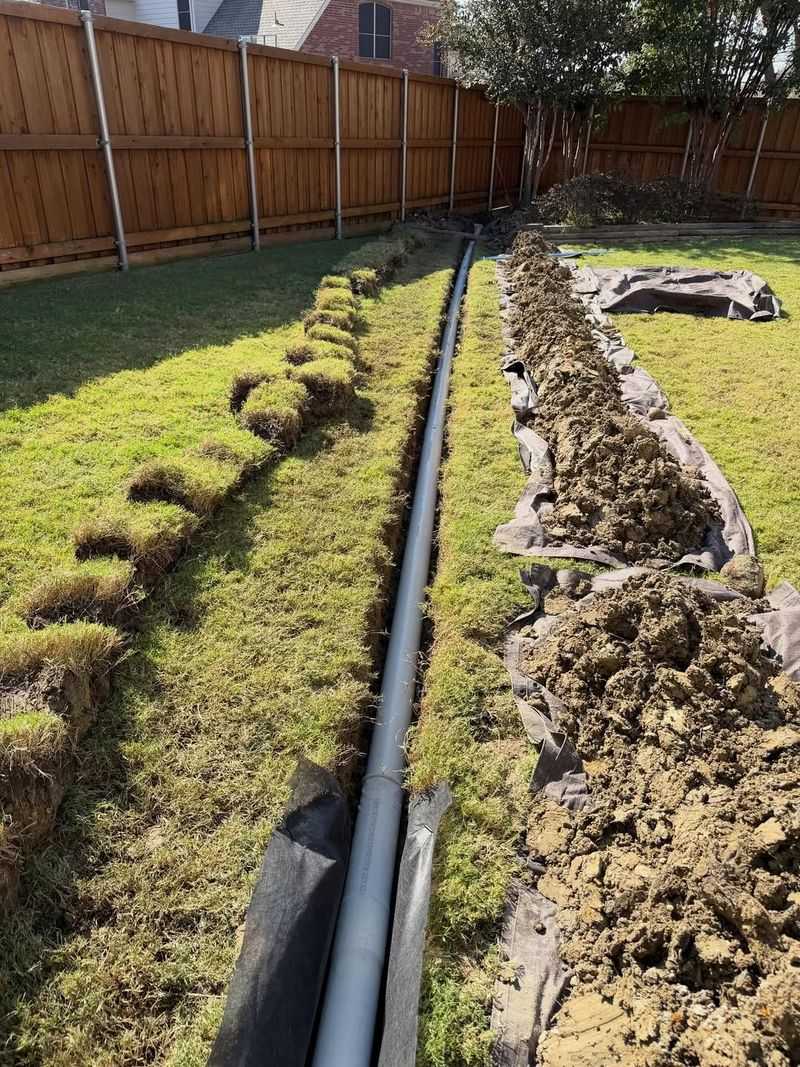
For severe drainage problems, consider installing French drains or redirecting downspouts away from planting areas before spring rains begin in earnest.
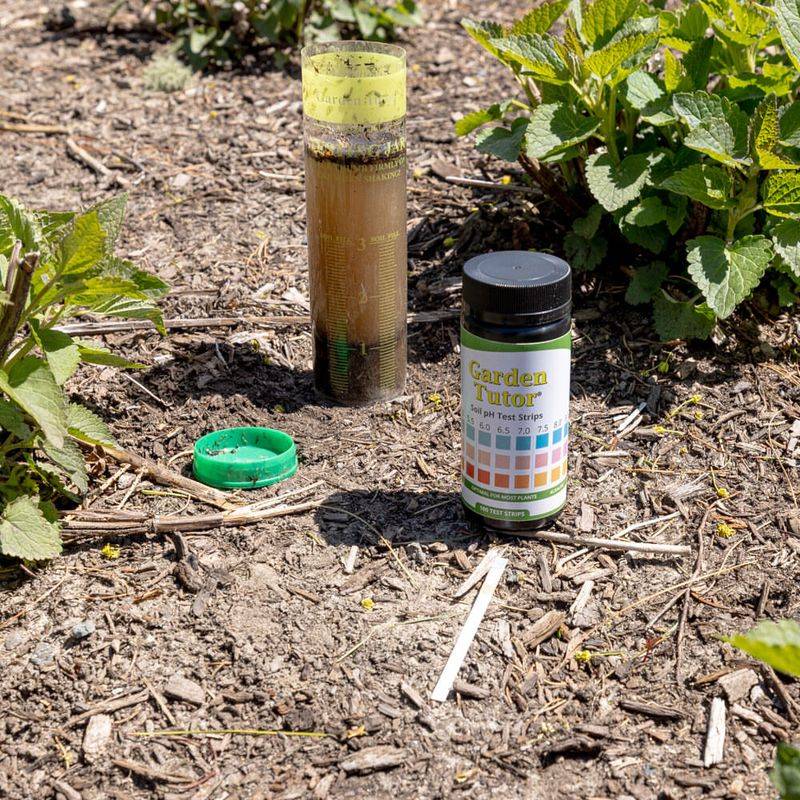
3. Test Your Soil Before Adding Anything
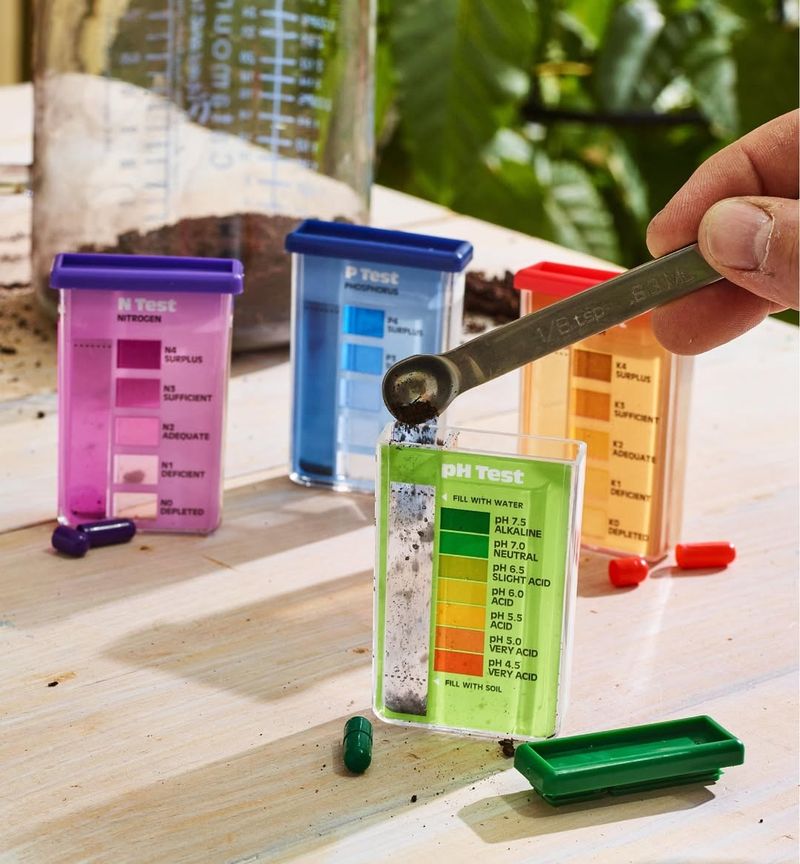
Guessing about soil nutrients leads to expensive mistakes and plant problems. A proper soil test reveals exactly what your soil needs and what it already has in abundance.
The University of Florida IFAS Extension offers affordable testing that gives you specific recommendations for your growing goals.
Many Florida gardeners assume their soil needs heavy feeding, but testing often shows adequate levels of certain nutrients. Adding more of what’s already present creates imbalances that block plants from absorbing other essential elements.
Excess phosphorus, for example, can prevent plants from taking up iron and other micronutrients.
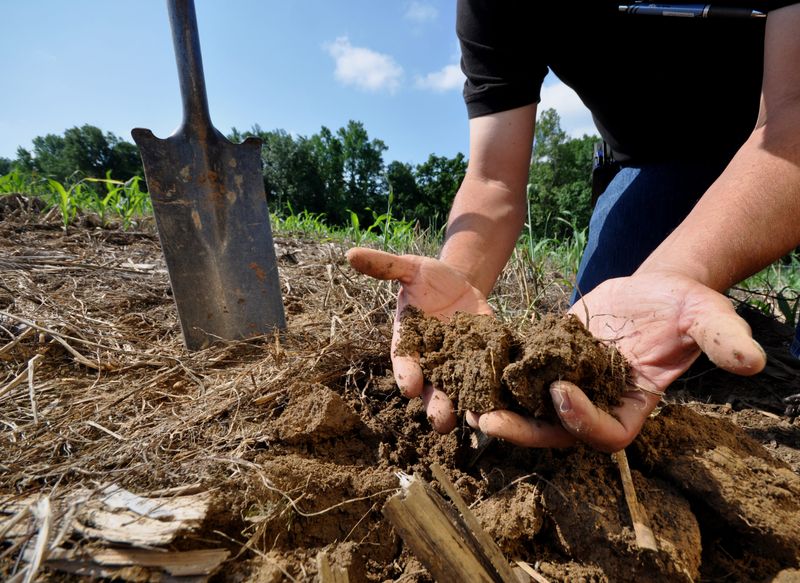
Collect samples from multiple spots in your yard since soil composition varies even within small areas. Take samples from the root zone depth, usually the top 6 inches for most plants.
Mix these samples together in a clean bucket, then send a portion to the testing lab following their specific instructions.
Test results typically arrive within two weeks and include pH levels, nutrient content, and specific amendment recommendations. This information guides your fertilizer choices and helps you avoid wasting money on products your soil doesn’t need.
Testing every two to three years keeps you informed as soil conditions change over time with regular gardening activities.
4. Do Not Add Fertilizer Blindly
Over-fertilizing damages plants faster than under-fertilizing in most cases. Excess nutrients burn roots and create salt buildup that repels water instead of helping plants grow.
Florida’s sandy soils already struggle with nutrient retention, so adding too much fertilizer at once just washes away with the next rain or irrigation.
Late winter is the wrong time to heavily fertilize most plants anyway. Many Florida plants are still growing slowly in February and can’t use large amounts of nutrients effectively.
Applying fertilizer before active growth begins often results in nutrient runoff that pollutes groundwater and local waterways without benefiting your plants.
Wait until you see new growth emerging before applying fertilizers to landscape plants. For vegetables and annuals you’re planting in March, prepare beds with compost rather than synthetic fertilizers.
Organic matter releases nutrients slowly as soil microbes break it down, providing steady nutrition without the risk of burning young roots.
When you do fertilize, follow label rates exactly and consider using half the recommended amount for sandy Florida soils. Lighter, more frequent applications work better than heavy one-time feeding.
Slow-release fertilizers designed for Florida conditions offer the best results since they match nutrient release to plant uptake patterns throughout the growing season.
5. Correct Soil pH The Right Way
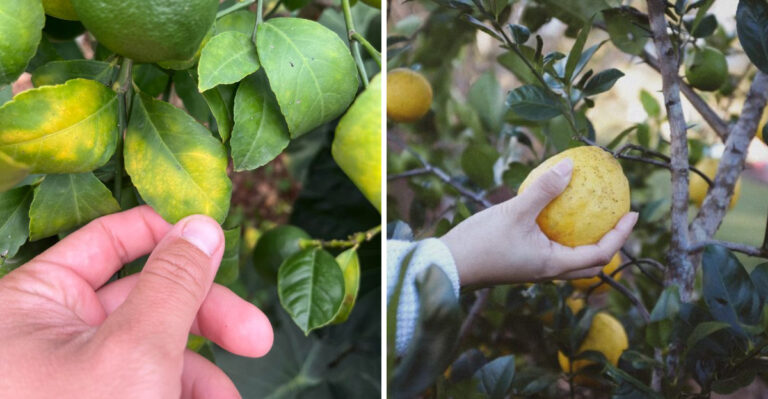
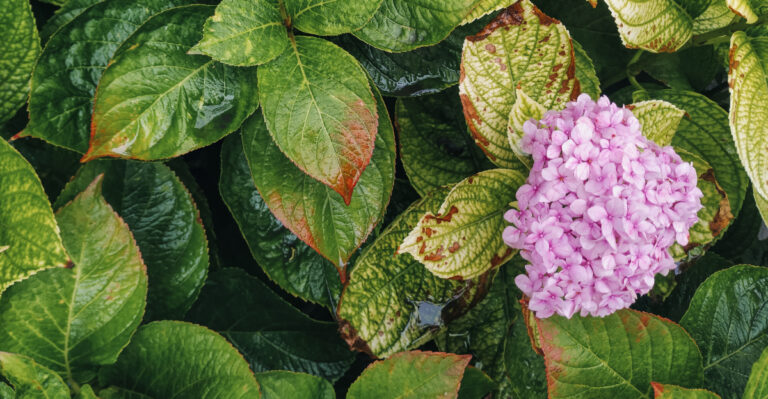
Most Florida soils are naturally slightly acidic, but pH problems prevent plants from accessing available nutrients even when soil tests show adequate levels. Iron deficiency shows up as yellow leaves with green veins, often caused by pH that’s too high rather than actual iron shortage in the soil.
Adjusting pH takes time and patience since dramatic shifts can shock plants and beneficial soil organisms. Adding lime raises pH when soil is too acidic, while sulfur lowers pH for acid-loving plants that prefer more acidic conditions.
Both amendments work slowly, taking weeks or months to fully change soil chemistry.
Apply pH amendments in late winter so they have time to work before spring planting begins. Work materials into the top few inches of soil rather than just spreading them on the surface.
Water thoroughly after application to help amendments start reacting with soil particles.
Retest soil pH after six to eight weeks to see how much adjustment occurred. You may need a second application to reach your target range.
Most vegetables and flowers do well in the 6.0 to 7.0 pH range, while blueberries and azaleas prefer more acidic conditions around 4.5 to 5.5. Gradual adjustment prevents plant stress and creates lasting results.
6. Add Organic Matter Where Soil Is Weak
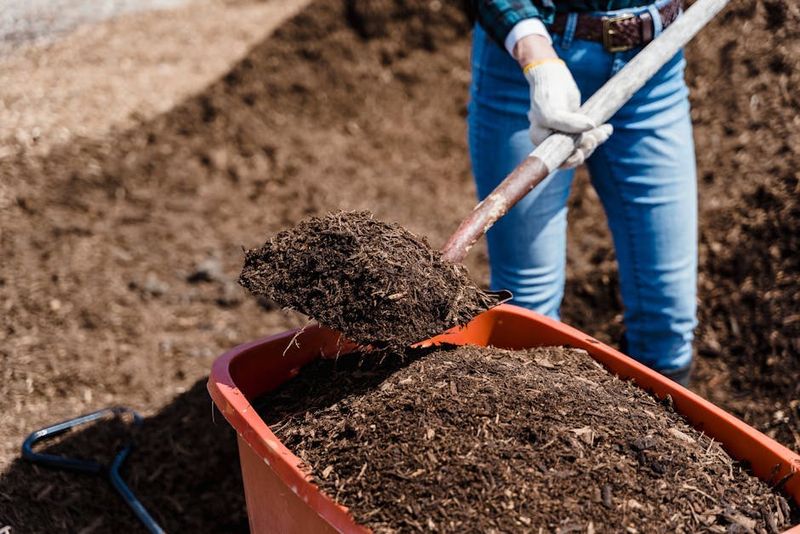
Compost transforms weak Florida soil better than any other single amendment. Organic matter improves water retention in sandy soils while enhancing drainage in heavier soils.
This seemingly contradictory benefit comes from improved soil structure that creates the right balance of air and water spaces around plant roots.
Finished compost adds beneficial microbes that help break down nutrients into forms plants can absorb. These microscopic organisms also protect roots from harmful pathogens and improve overall soil health in ways synthetic amendments cannot match.
A thriving soil ecosystem supports stronger, more resilient plants throughout the growing season.
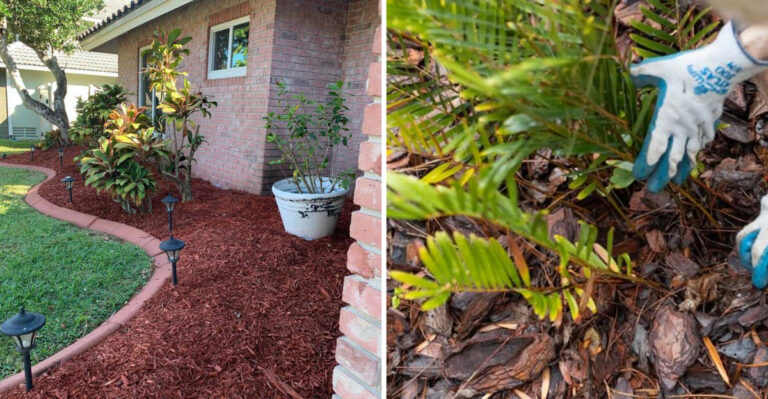
Spread a 2 to 3 inch layer of compost over garden beds and work it into the top 4 to 6 inches of soil. For established landscape beds, apply compost as mulch around plants and let earthworms and weather gradually incorporate it into the soil.
This top-dressing method improves soil without disturbing existing root systems.
Make your own compost from yard waste and kitchen scraps, or purchase quality compost from local suppliers. Avoid compost that smells sour or contains visible chunks of undecomposed material.
Good compost has an earthy smell and crumbly texture. Adding organic matter now gives it time to integrate with existing soil before March planting begins.
7. Break Up Compacted Soil Now
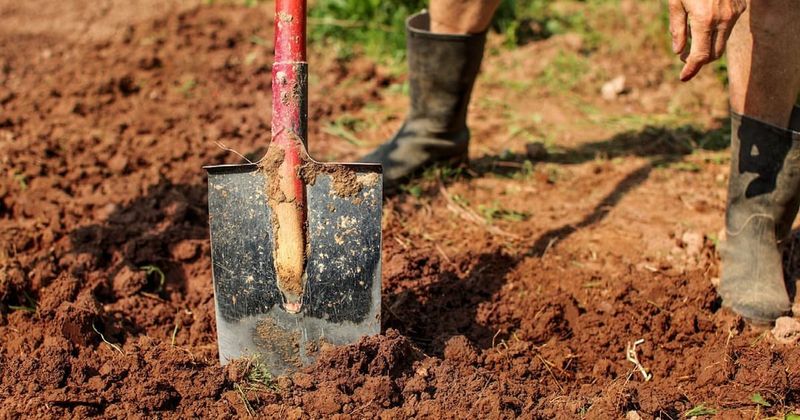
Compacted soil blocks root growth and prevents water from penetrating to deeper layers. Foot traffic, heavy equipment, and even repeated tilling can press soil particles together so tightly that roots cannot push through.
Shallow root systems make plants vulnerable to drought stress and wind damage since they cannot anchor properly or access deeper moisture reserves.
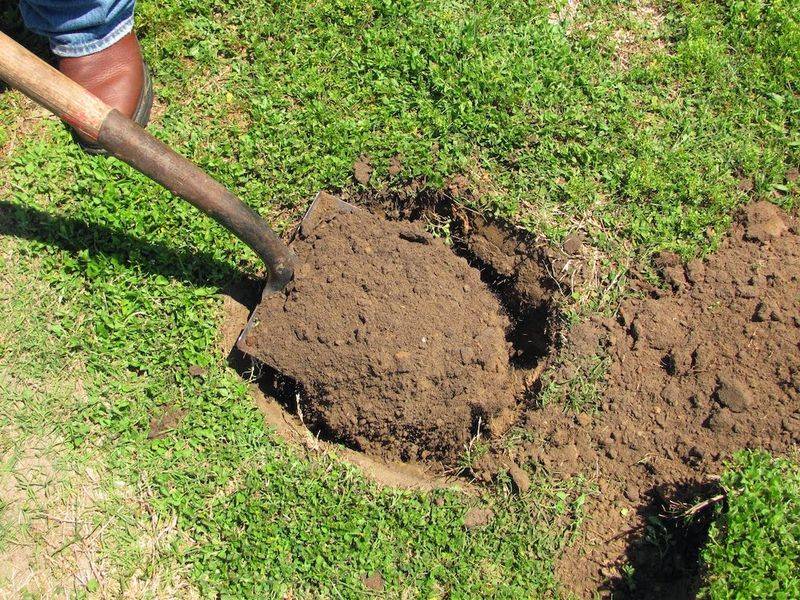
Late winter offers the ideal time to address compaction since soil is typically drier and easier to work than during rainy season. Use a garden fork or broadfork to loosen compacted areas without completely turning over the soil.
Push the fork in deeply and rock it back and forth to create cracks and air channels.
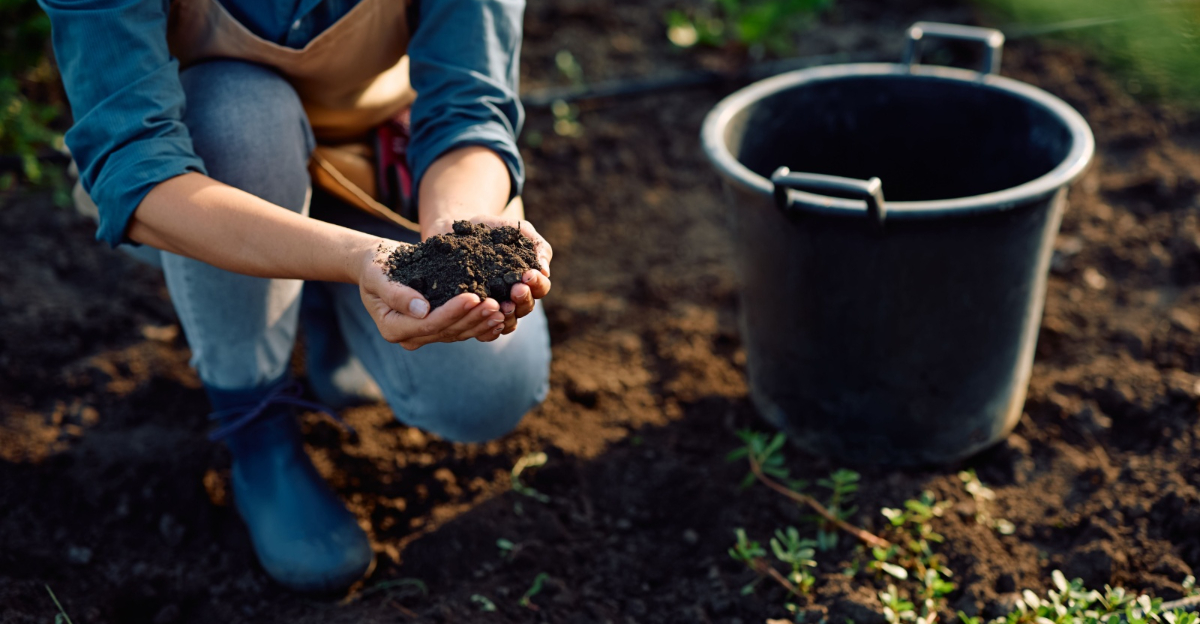
Avoid working soil when it’s too wet since this actually worsens compaction. Squeeze a handful of soil to test moisture levels.
If it forms a tight ball that doesn’t crumble when poked, wait a few days for it to dry out. Properly moist soil holds together loosely but breaks apart with light pressure.
After loosening compacted areas, add a layer of compost to help maintain the improved structure. Mulch also protects soil from recompacting due to heavy rain impact.
For high-traffic areas, consider installing stepping stones or paths to keep foot traffic off planting beds and prevent future compaction problems.