How To Shape Florida Hedges In March Without Creating Brown Holes
March creates a dangerous moment in Florida gardens. Hedges start growing again, the yard looks a little messy, and the hedge trimmers suddenly feel impossible to ignore.
So the trimming begins. A few quick passes later, the hedge looks shorter but something feels off.
Patches of brown wood appear where green leaves used to be. Weeks go by and those bare spots stubbornly refuse to fill in.
It happens to Florida gardeners every spring. The problem usually is not the timing.
March is actually one of the safest times to shape hedges in Florida because plants are preparing for a burst of new growth. The real issue comes from trimming too aggressively or cutting into parts of the shrub that cannot easily produce new leaves.
The secret to full hedges in Florida is not trimming more. It is trimming differently.
1. March Is A Smart Time To Shape Florida Hedges
Early spring in Florida feels like the garden is quietly waking up, stretching its roots and pushing out fresh new leaves after the cooler winter months. March sits right at that sweet spot when temperatures are comfortable, frost risk has passed for most of the state, and shrubs are beginning their spring growth flush.
That combination makes it one of the best windows of the year for shaping hedges.
According to guidance from the University of Florida IFAS Extension, late winter through early spring is an ideal time for major structural pruning of most landscape shrubs. Pruning just before new growth emerges means fresh stems will quickly fill in any trimmed areas, reducing the time your hedge looks bare or uneven.
Florida gardeners who take advantage of this timing tend to see faster recovery and fuller foliage heading into summer.
March also avoids the intense heat of Florida summers, which can stress freshly pruned shrubs and slow healing. Cutting during cooler, more moderate temperatures gives plants the energy they need to bounce back without added heat pressure.
Waiting too long into spring means you risk trimming during active growth spurts or right before flowering on certain shrubs, which can set the plant back further than necessary.
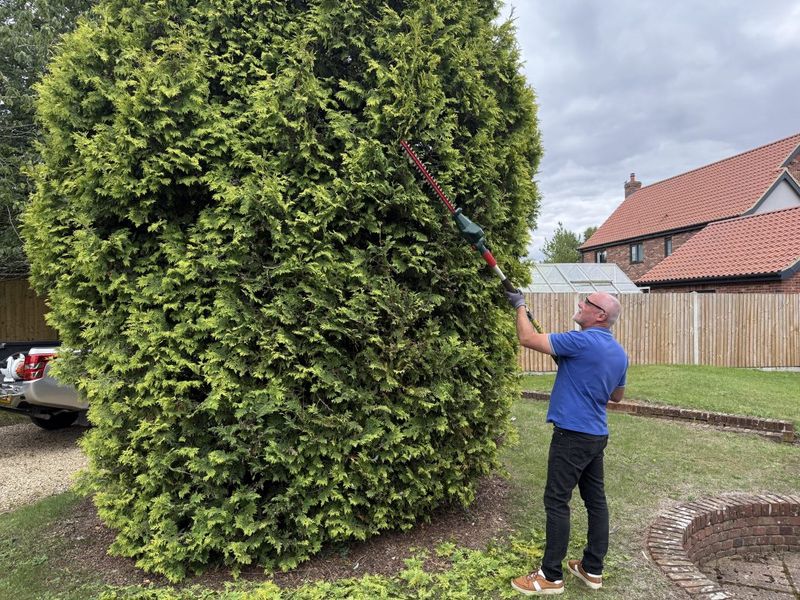
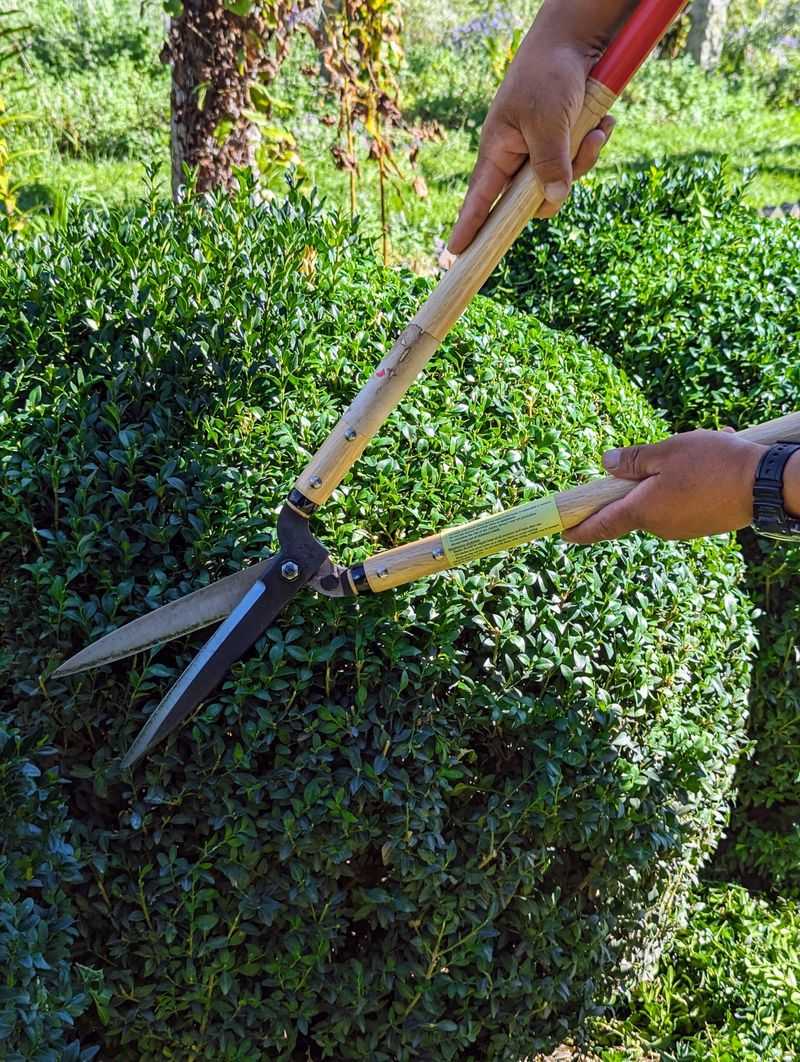
2. Start With Light Trimming Instead Of Heavy Cuts
Walking up to an overgrown hedge with a powerful trimmer and going all in might feel satisfying in the moment, but aggressive pruning in a single session is one of the fastest ways to create brown holes that linger for months. A lighter, more gradual approach protects the dense interior of your hedge while still giving it a clean, tidy shape.
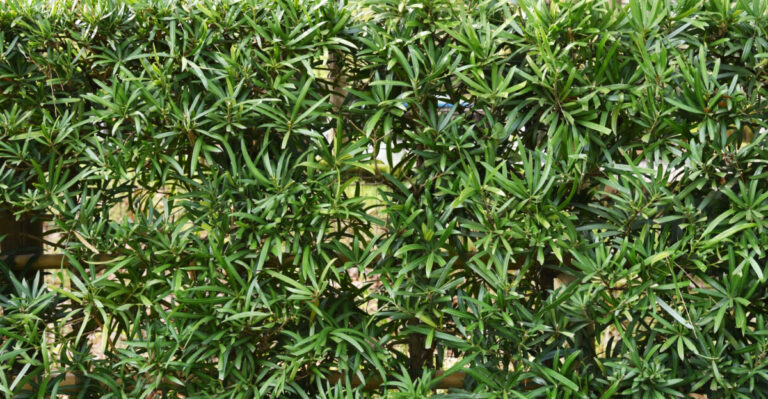
Most Florida hedges, including popular varieties like viburnum, podocarpus, and clusia, develop a thick outer shell of green foliage over time. Beneath that green surface, the interior branches are often woody, bare, and lacking in leaves.
When you cut too much at once, you expose those bare interior branches, and what you see left behind is a brown, patchy gap instead of healthy green growth.
Starting with a light trim, removing just an inch or two from the outermost layer, lets you clean up the shape without breaching that green zone. If the hedge needs significant size reduction, plan to do it in stages spread across several weeks or even a couple of months.
Your Florida Garden Changes Every Week. Your Plan Should Too.
Gardening in Florida changes quickly throughout the season. Every Friday you’ll receive a simple weekly plan showing exactly what to plant, prune, fertilize, harvest, and protect so you never miss the right timing.
This approach keeps the foliage looking full while slowly bringing the hedge back to the size and shape you want. Patience here pays off in a big way for Florida gardeners.
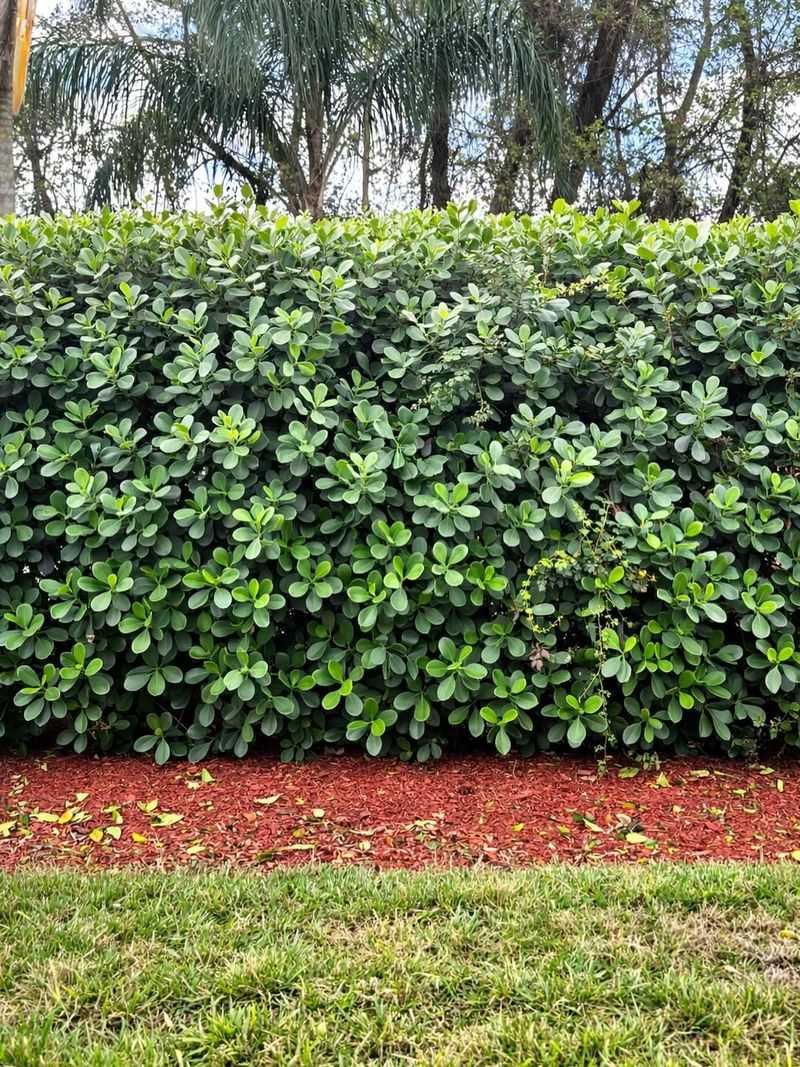
3. Keep The Top Slightly Narrower Than The Base
One of the most reliable principles in hedge shaping is also one of the most overlooked by homeowners doing the job themselves. Keeping the top of the hedge slightly narrower than the base is not just about looks, it is actually about keeping the entire hedge healthy and green from top to bottom.
When the top of a hedge is trimmed wider than the base, or perfectly flat and vertical on all sides, the upper portions shade out the lower branches. Over time, those lower branches stop receiving enough sunlight to produce new leaves, and they begin to thin out and turn brown.
Florida sun is intense, and even a few inches of shading from an overgrown top section can make a noticeable difference in how the lower portions of your hedge look.
By tapering the top so it is slightly narrower, you allow sunlight to reach down the sides and into the lower sections of the hedge. Think of it like a gentle slope or a soft A-frame shape.
This does not need to be dramatic. Even a slight angle, just a few inches of difference between top width and base width, keeps light filtering through the whole plant.
Florida IFAS Extension recommends this shaping approach for maintaining healthy, evenly green hedges throughout the growing season.
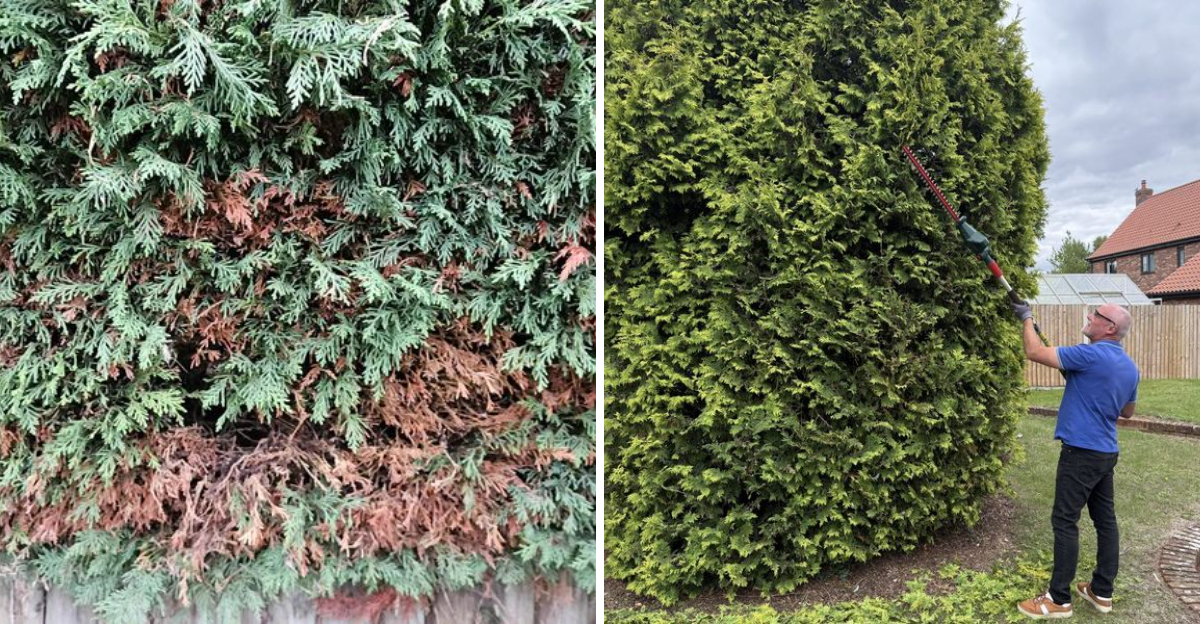
4. Avoid Cutting Too Deep Into Old Growth
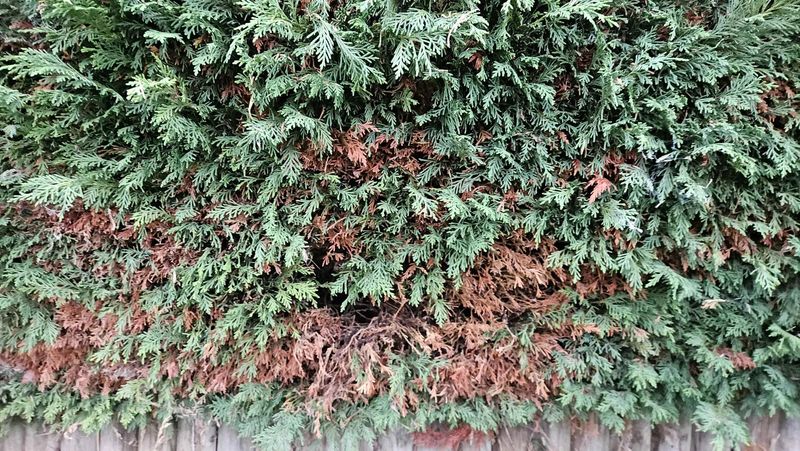
Somewhere inside every thick, mature hedge is a zone where the leaves stop and the bare wood begins. Experienced Florida gardeners know this boundary well, and they treat it with a lot of respect when pruning.
Cutting past that green outer layer and into the old, woody interior is the single most common cause of brown holes in hedges.
Dense shrubs like viburnum, ligustrum, and podocarpus are especially vulnerable to this kind of damage. Their interiors are filled with old branches that have not produced active foliage in years.
When exposed by heavy pruning, those branches rarely push out new growth quickly, and the result is a brown patch that can take a full growing season or longer to fill back in.
A good rule of thumb, supported by University of Florida IFAS horticulture guidance, is to avoid removing more than one-third of a plant’s overall growth in a single session. Staying within that range keeps you safely in the green zone and out of the bare interior.
Before making any cut, take a close look at the branch you are targeting. If the area behind it looks thin or leafless, stop there and move on.
Protecting that green shell is the key to a hole-free hedge every time.
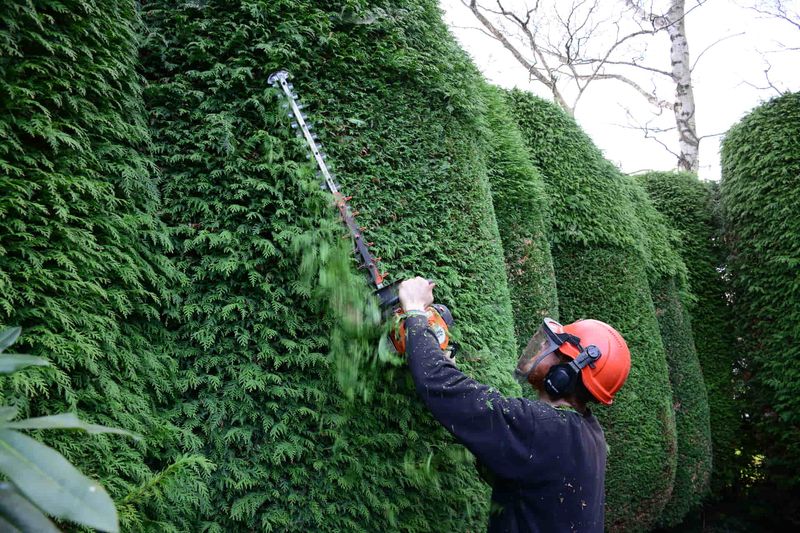
5. Shape Gradually To Prevent Brown Patches
Rushing through a hedge trimming job in one afternoon might seem efficient, but slow and steady really does win the race when it comes to keeping Florida hedges full and green. Shaping gradually over multiple sessions is one of the best strategies for preventing those frustrating brown patches that make a hedge look ragged and neglected.
Think of it like a haircut. A good stylist does not chop off half the length in one snip.
They cut a little, check the shape, adjust, and cut a little more. The same logic applies perfectly to hedge trimming.
By trimming a small amount at each session, you give the outer foliage time to adjust and new growth time to fill in before the next cut. This creates a denser, more uniform surface over time.
For Florida gardeners working with fast-growing species like ficus or schefflera, spacing trims every three to four weeks during the active growing season allows you to manage size without ever exposing bare interior wood. For slower-growing varieties, monthly or even seasonal trimming may be enough.
The key is consistency. Regular, light maintenance trims are far less likely to create brown damage than one big, aggressive cut done once or twice a year.
Build the habit and your hedges will reward you with steady, lush green growth.
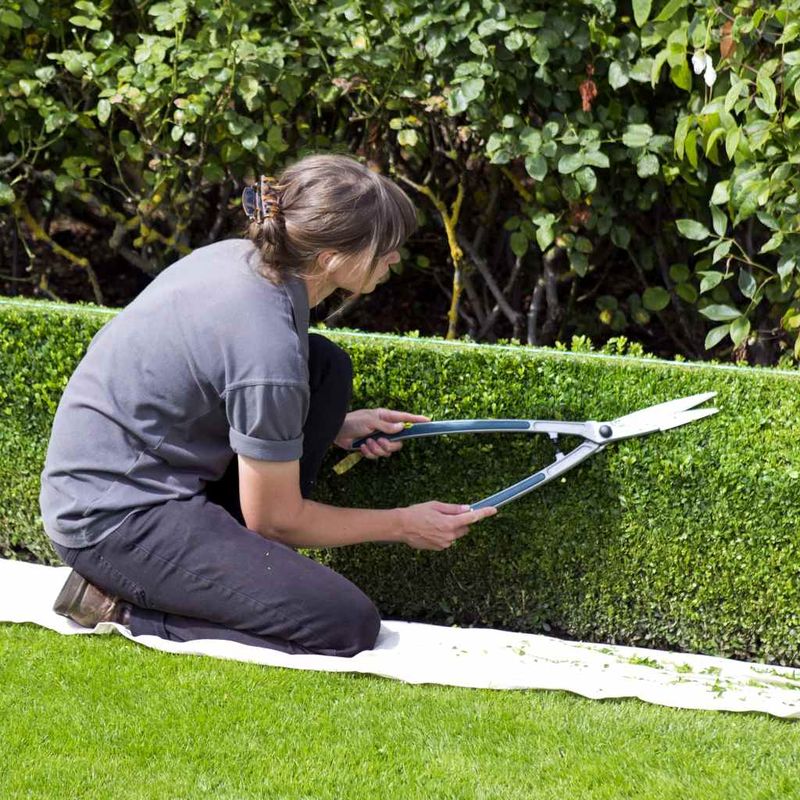
6. Step Back Often To Check The Overall Shape
Standing right next to a hedge while trimming it is a bit like trying to read a book with your nose pressed to the page. You simply cannot see what you are actually creating.
Stepping back regularly while you work is one of the simplest habits you can build, and it makes an enormous difference in the final result.
Most uneven hedges and accidental brown patches happen because a gardener gets locked into trimming one section without pausing to look at the bigger picture. A small overcorrection in one spot leads to another cut to balance it out, and before long you have taken off far more than intended on one side.
Stepping back every few minutes gives you the perspective you need to catch those problems early, before they become hard to fix.
Try moving at least eight to ten feet away from the hedge and viewing it straight on, then from a slight angle on each side. Check that the top line is level, the sides are even, and no one section looks noticeably thinner or lower than the rest.
Florida yards often have hedges that run along fence lines or property borders, where visual symmetry really matters. Taking those extra seconds to step back and assess saves you from having to explain an awkward lopsided hedge to your neighbors for the next several months.
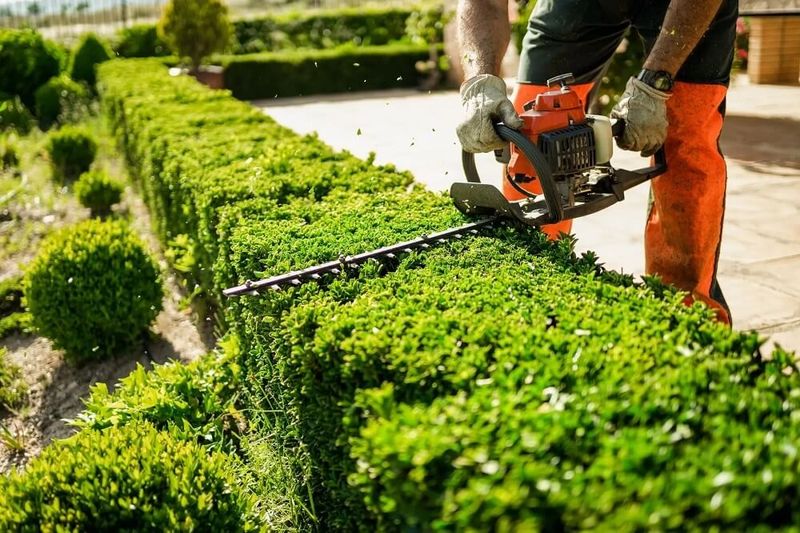
7. Use Sharp Clean Tools For Smoother Cuts
Dull blades might technically cut through a branch, but the damage they leave behind is rough, torn, and slow to heal. Clean, sharp tools make cuts that are precise and smooth, and that difference matters a lot when you are trying to keep a hedge healthy and free from browning or disease.
Ragged cuts from dull blades create larger wound surfaces that take longer to close up. In Florida’s warm and humid climate, those slow-healing cuts can become entry points for fungal infections or bacterial diseases that cause discoloration and further damage.
Keeping your hedge trimmers and hand pruners sharp is not just about convenience, it is genuinely a health issue for your plants.
Beyond sharpness, cleanliness is equally important. Disinfecting your blades between plants helps stop the spread of pathogens from one shrub to another.
A quick wipe with 70 percent isopropyl alcohol or a solution of one part bleach to nine parts water does the job effectively. This is especially important when working in Florida landscapes where certain fungal and bacterial diseases can spread quickly in warm, moist conditions.
Sharpening blades at the start of each pruning season and disinfecting regularly during the job are two small habits that protect your hedges all year long.
8. Water And Mulch To Support New Growth
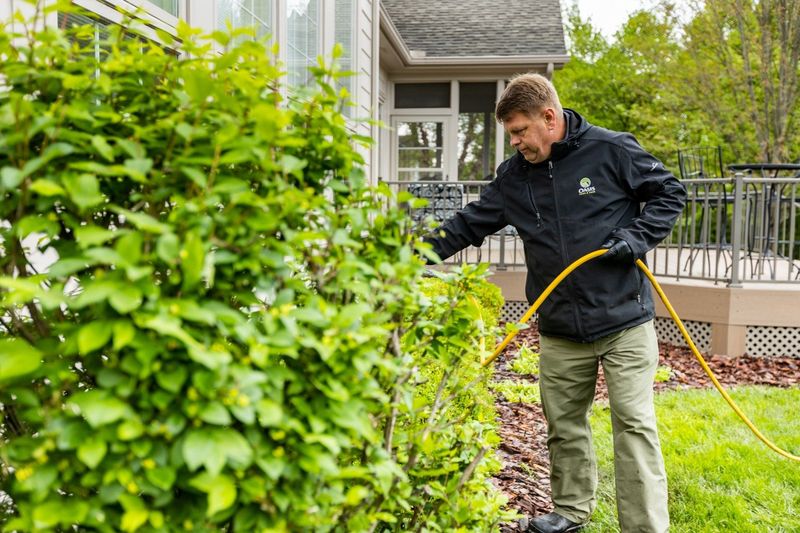
Trimming a hedge puts real stress on a plant. Losing foliage means losing some of the surface area the plant uses to collect sunlight and produce energy, so giving your hedge the right support after pruning helps it bounce back faster and fill in any trimmed areas with fresh, healthy growth.
Watering deeply after a pruning session is one of the most helpful things Florida gardeners can do. Moist soil encourages root activity, which in turn supports the surge of new growth that follows a trim.
Avoid light, frequent watering that only wets the surface. Instead, water slowly and deeply so moisture reaches the root zone where it does the most good.
In March, Florida temperatures are still moderate, but the soil can dry out faster than you expect, especially in sandier coastal soils.
Mulching around the base of the hedge after trimming adds another layer of support. A two to three inch layer of organic mulch, such as pine bark or wood chips, helps retain soil moisture, regulates soil temperature, and slowly adds nutrients as it breaks down.
Keep mulch a few inches away from the base of the stems to prevent moisture buildup against the bark. Together, deep watering and proper mulching give freshly trimmed Florida hedges exactly what they need to push out new growth quickly and stay looking full and green.