How To Grow Okra Successfully In California Yards
Okra might not be the first vegetable people think about growing in California, but it probably should be.
This heat-loving plant thrives in warm weather, produces tons of pods, and adds a bold, tropical look to the garden.
Plus, fresh okra straight off the plant tastes way better than anything from the store. Ever tried it grilled or tossed into a quick stir fry? So good.
The trick is understanding what okra really wants. It loves sunshine, warm soil, and a bit of space to stretch out.
Give it the right conditions and it can grow surprisingly fast, sometimes shooting up taller than you expected.
Many California gardeners are discovering that their long growing season is perfect for this productive veggie. Once it gets going, you may find yourself harvesting pods every few days.
If you want tall plants, steady harvests, and healthy growth, a few simple tips can make all the difference when growing okra in California yards.
1. Choose A Sunny Planting Spot
Sunlight is everything when it comes to growing okra. These tall, tropical plants absolutely love the sun, and California has plenty of it to go around.
Pick a spot in your yard that gets at least 6 to 8 hours of direct sunlight every single day.
South-facing garden beds or open yard spaces work great because they catch the most sun from morning to evening. Avoid planting near fences, large trees, or structures that cast long shadows.
Even a couple of hours of shade each day can slow down your plants and reduce how many pods they produce.
In Southern California, summer sun can be intense, which is actually perfect for okra. The Central Valley and Sacramento areas also get long, hot summer days that okra absolutely loves.
Just make sure your chosen spot stays sunny throughout the entire growing season and not just in spring. Walk around your yard at different times of day to check where the sun hits longest.
That simple observation can make a huge difference in your harvest results.
2. Wait For Warm Soil Before Planting
One of the biggest mistakes new gardeners make is planting okra too early. Okra seeds will simply sit in the ground and do nothing if the soil is too cold.
You need soil temperatures of at least 65 degrees Fahrenheit before planting outdoors.
In Southern California, like Los Angeles County, that sweet spot usually arrives around late April. In the Central Valley around Fresno, and in Northern California near Sacramento, late April to early May is a safe window.
A cheap soil thermometer from any garden center makes checking super easy and takes less than a minute.
Cold soil can also cause seeds to rot before they ever sprout, which wastes your time and effort. Patience really pays off here.
Wait a week longer if you are unsure rather than rushing the process. Once soil temps stay consistently warm, okra seeds sprout quickly, sometimes in just 5 to 7 days.
Warm California summers make up for any late start, so do not stress too much if planting gets delayed a bit into May.
Your California Garden Changes Every Week. Your Plan Should Too.
Gardening in California changes quickly throughout the season. Every Friday you’ll receive a simple weekly plan showing exactly what to plant, prune, fertilize, harvest, and protect so you never miss the right timing.
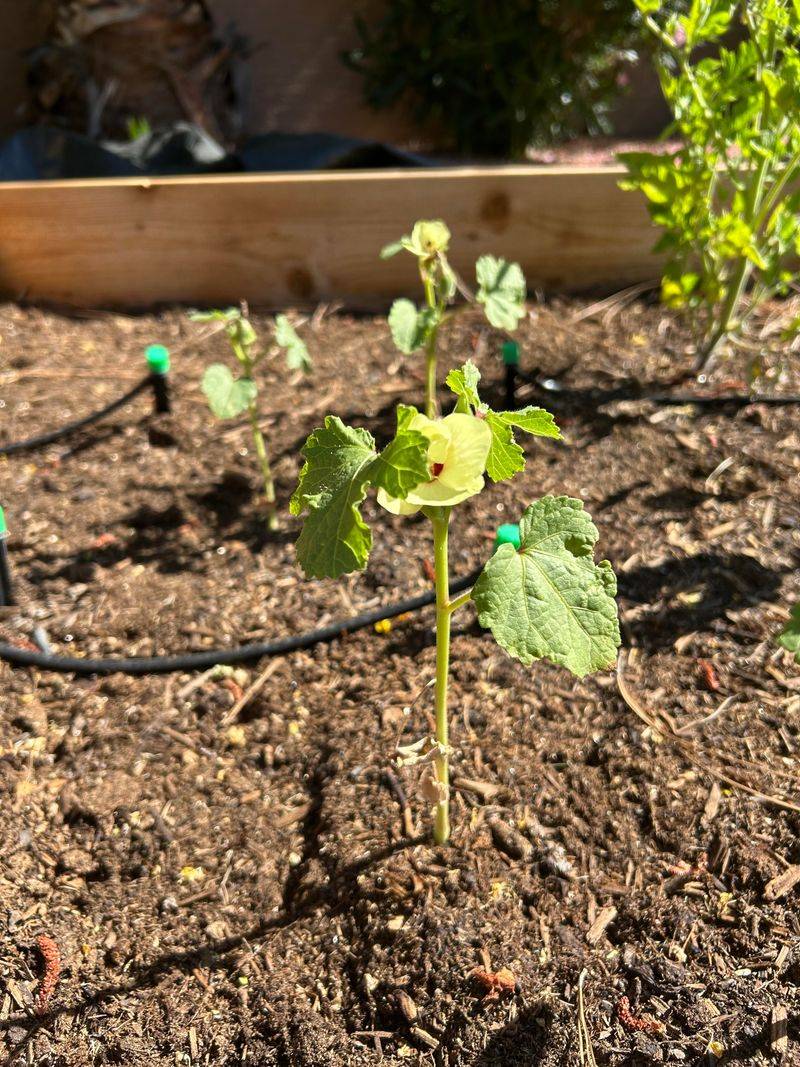
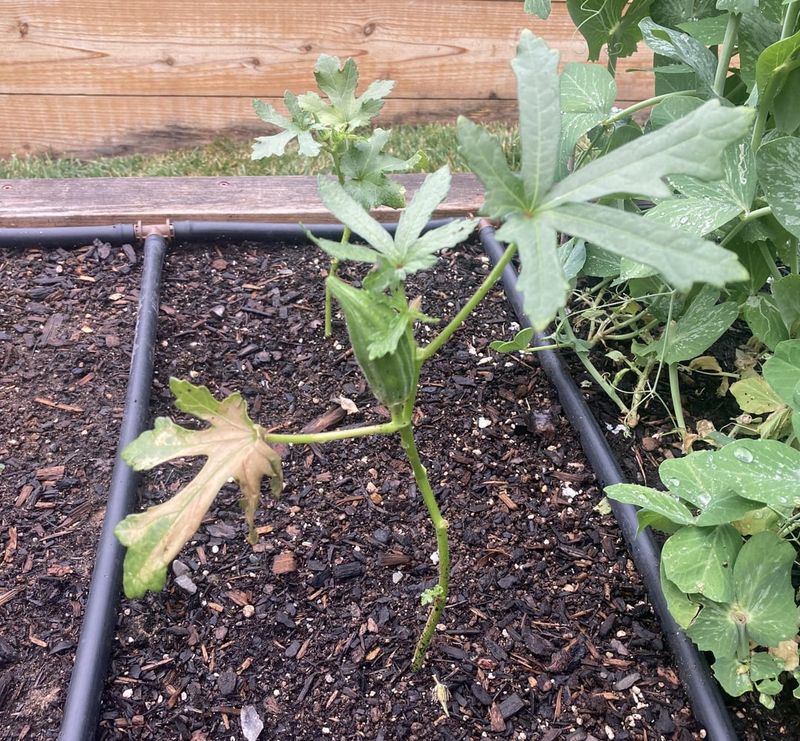
3. Start Seeds Indoors In Cooler Areas

If you live in a cooler part of California, like higher elevation areas or coastal zones with more fog, starting seeds indoors gives you a real head start. Sow seeds in small pots or seed trays about 4 to 6 weeks before you plan to move them outside.
Use a warm, bright spot indoors, like a south-facing windowsill or under grow lights. Okra seedlings grow fast once they get going, so do not start them too early or they will get too big and leggy before it is safe to transplant them.
A heat mat under your seed trays can speed up germination nicely.
Soaking seeds in water overnight before planting helps soften the seed coat and speeds up sprouting. Once your seedlings have a couple of true leaves and outdoor soil temperatures are consistently above 65 degrees, they are ready to go into the ground.
Handle the roots gently during transplanting since okra does not love having its roots disturbed. With a little indoor care, even cooler California spots can produce a great okra crop by midsummer.
4. Use Well-Draining, Rich Soil
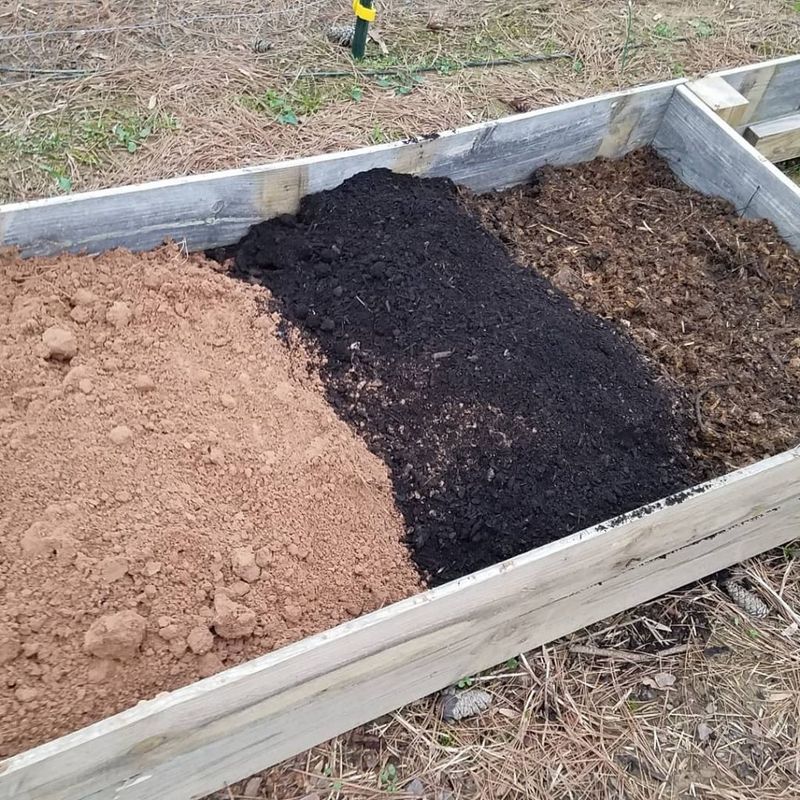
Okra is not too picky, but it does have one firm requirement: well-draining soil. Roots sitting in waterlogged ground can lead to rot and weak plants.
If your California yard has heavy clay soil, mixing in compost or aged manure makes a big improvement before you plant anything.
Aim for a soil pH between 6.0 and 7.5. Most California soils fall somewhere in this range, but it is worth doing a quick soil test just to be sure.
Garden centers carry inexpensive test kits that give you results in minutes. If your soil tests too alkaline, adding a little sulfur can bring the pH down to a better level.
Work compost into the top 8 to 12 inches of your garden bed before planting. This improves both drainage and nutrient content at the same time.
You can also apply a balanced fertilizer like 10-10-10 at about 2 pounds per 100 square feet before planting. Rich, loose, well-draining soil gives okra roots room to spread out and pull in all the nutrients they need to produce a big, healthy harvest all season long.
5. Water Deeply But Not Too Often

Watering okra the right way makes a noticeable difference in how healthy your plants look and how many pods they produce. Deep, infrequent watering encourages roots to grow downward, making plants stronger and more drought-tolerant over time.
Aim to give your okra about 1 to 1.5 inches of water per week. During California’s hot summers, especially in the Central Valley and Southern California where temps can soar, you may need to water a bit more often.
Drip irrigation is a smart choice here because it delivers water directly to the roots without wetting the leaves, which helps prevent fungal problems.
Overwatering is a common issue that new gardeners run into. If the soil feels moist a few inches down, hold off on watering for another day or two.
Letting the top inch of soil dry out slightly between waterings is perfectly fine and actually encourages healthy root development. Water deeply in the morning so the soil has time to absorb moisture before the heat of the day kicks in.
Consistent moisture during flowering and pod development is especially important for keeping production strong.
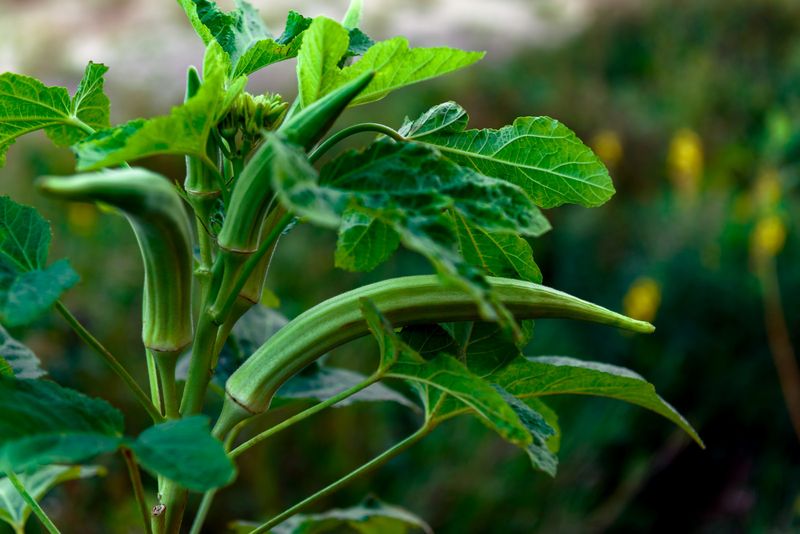
6. Space Plants Properly For Airflow
Giving okra enough room to breathe is one of the most underrated steps in growing a successful crop. Crowded plants trap humidity and reduce air circulation, which creates conditions where fungal diseases can spread quickly.
Plant seeds or transplants about 12 inches apart within each row. Space your rows at least 3 feet apart to give yourself room to walk through and tend to plants easily.
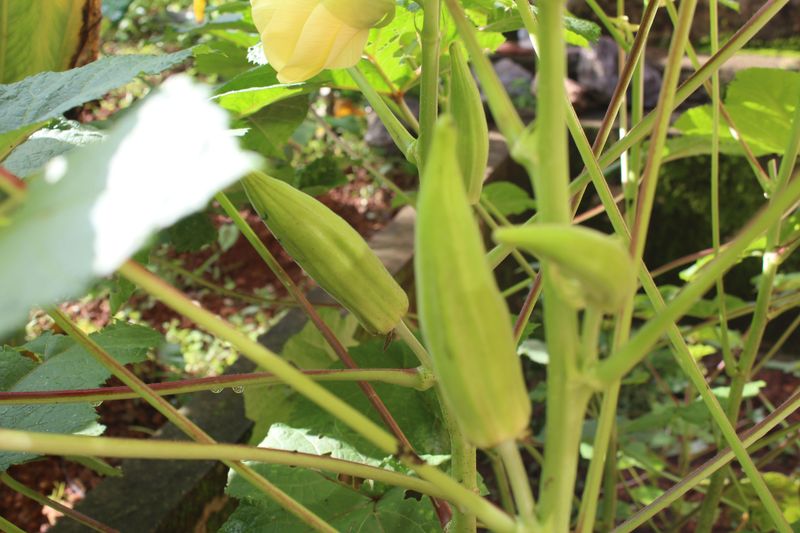
Okra can grow quite tall, sometimes reaching 5 to 6 feet by midsummer in warm California climates, so think ahead when planning your layout.
Proper spacing also means each plant gets its fair share of sunlight without being shaded out by neighbors. In dense plantings, lower leaves often stay damp longer after watering, which can invite problems.
Thinning seedlings early, even though it feels wasteful, actually leads to bigger and healthier individual plants. In California’s warm, dry summers, good airflow combined with drip irrigation creates near-perfect growing conditions for okra.
A little extra space now pays off with a much cleaner, more productive garden bed by the time harvest season rolls around in late summer.
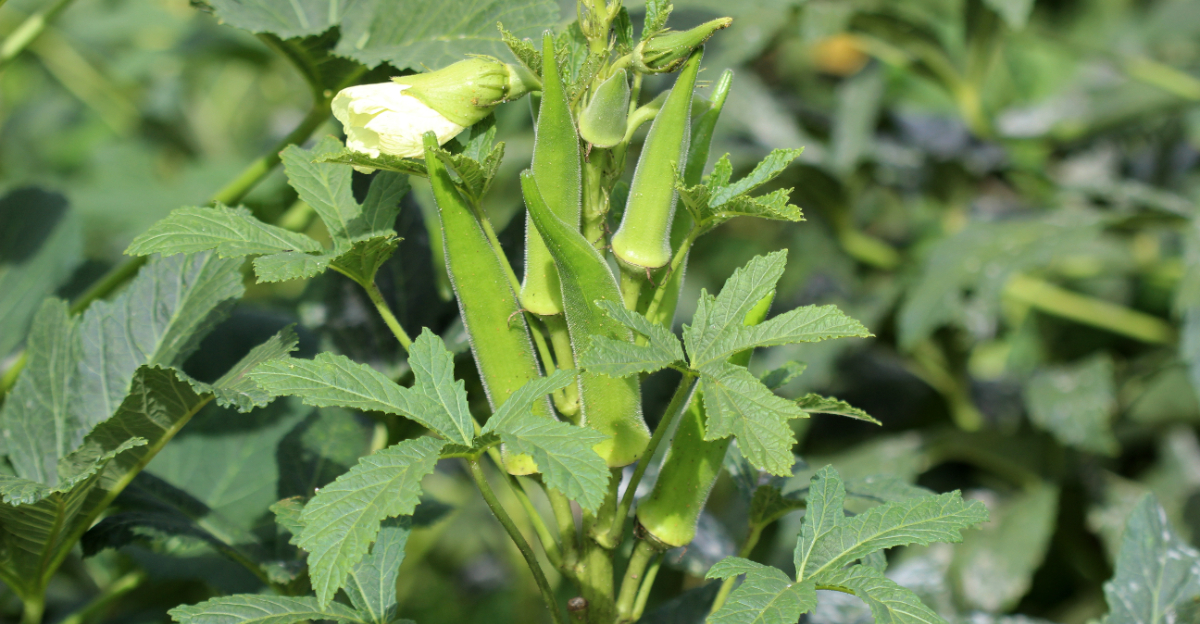
7. Harvest Pods While They’re Tender
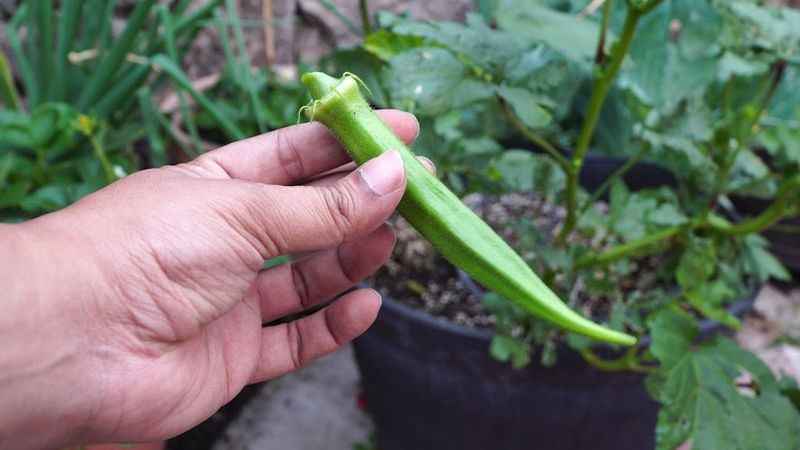
Fresh okra straight from your California yard tastes so much better than anything from a store, but only if you pick it at the right time. Pods should be harvested when they are 3 to 4 inches long.
At that size, they are tender, flavorful, and have the best texture for cooking.
Leave pods on the plant too long and they turn tough, fibrous, and almost woody. Once they reach that stage, they are not very pleasant to eat.
Checking your plants every 2 to 3 days during peak season is the best way to catch pods at just the right moment.
Use a sharp knife or garden scissors to cut pods cleanly from the stem. Pulling them off by hand can damage the plant and slow future production.
Wear gloves if your skin is sensitive since okra plants have tiny spines on their stems and leaves that can cause mild irritation. Harvesting in the cooler morning hours keeps pods crisp and fresh longer after picking.
During California’s long, hot growing season, plants can stay productive well into September or even October in warmer regions like the Inland Empire and the San Joaquin Valley.
8. Pick Regularly To Encourage Growth
Here is something that surprises a lot of first-time okra growers: the more you pick, the more the plant produces. Leaving mature pods on the plant signals it to slow down and stop making new ones.
Regular harvesting keeps the plant focused on producing fresh pods all season long.
During peak growing season in California’s hot summer months, you may find yourself harvesting every other day. That is a good sign.
Busy plants are happy plants. Set up a simple routine, like checking your okra patch every morning with your coffee, and you will rarely miss the perfect picking window.
Consistent harvesting also keeps your plants looking tidy and healthy. Overgrown pods can weigh down branches and sometimes attract pests.
Any pods that accidentally get too large can be left on the plant to fully mature and dry for saving seeds for next year’s garden.
California’s long warm season, especially in places like Fresno, Bakersfield, and the greater Los Angeles area, gives okra plants a long window to keep producing.
Stay on top of picking and you will be amazed at just how much one or two plants can produce from midsummer all the way into fall.