Arizona Gardeners Can Propagate Rosemary From Cuttings In 6 Easy Steps
What if you could turn a single grocery store sprig or a neighbor’s bush into an endless supply of aromatic herbs?
In Arizona, April is your propagation power hour.
As the desert soil warms and the sun intensifies, rosemary enters its happy place, giving you the perfect window to multiply your plants before the brutal summer heat arrives.
Whether you’re gardening in the Phoenix heat or the cooler Prescott air, taking cuttings now is a total game-changer for your landscape.
It’s a simple, sustainable way to fill your garden with drought-tolerant fragrance for years to come.
Mastering the art of rooting rosemary in the Grand Canyon State is easier than you think with these six essential steps.
1. Select Healthy Stems From Strong, Vibrant Plants
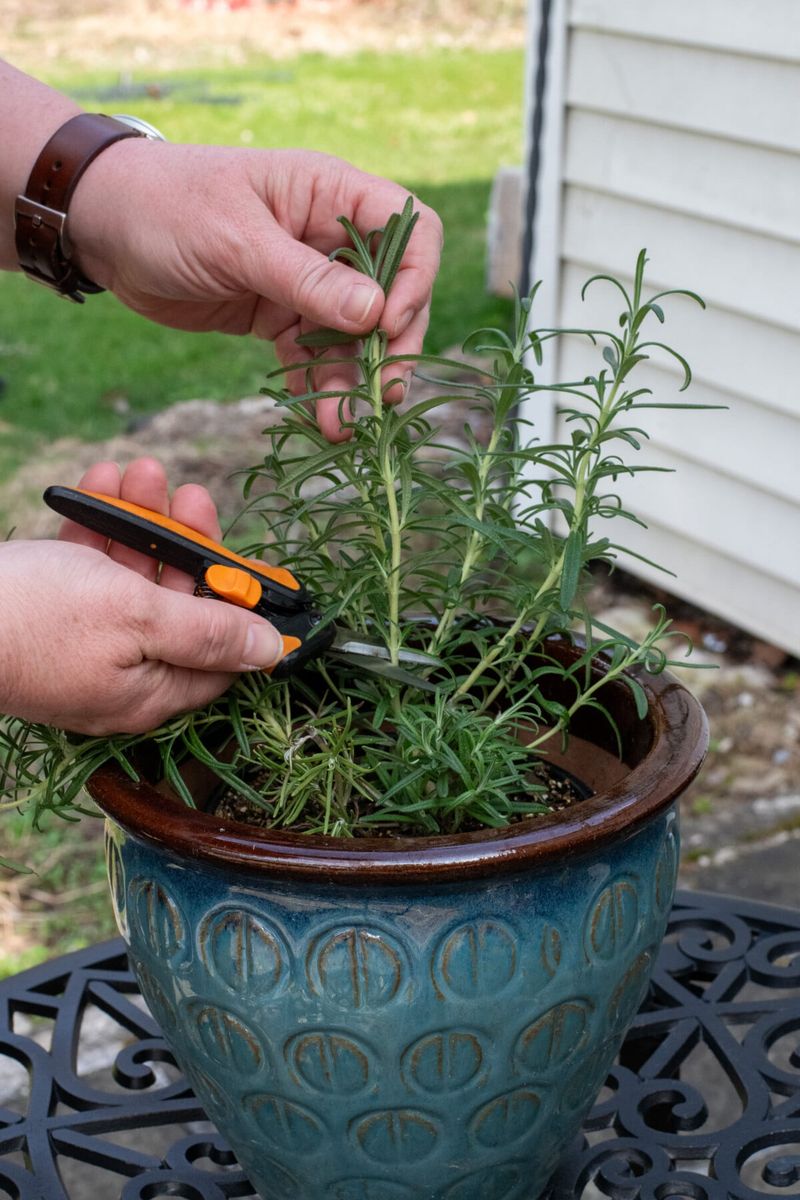
Spring mornings in Arizona are the best time to walk your garden and scout for the strongest rosemary stems you can find. Look for soft, green, flexible tips that have not yet turned woody or gray.
These newer growth sections root far more reliably than older, stiff stems that have already hardened over time.
Aim for cuttings that measure roughly four to six inches long. Shorter cuttings tend to dry out quickly in Arizona’s low humidity, while stems that are too long can struggle to support themselves during the rooting process.
A stem with several sets of healthy leaves near the tip is a solid indicator that the plant is actively growing and ready to share its energy with new roots.
Avoid stems that show any yellowing, spotting, or signs of pest damage.
In the Phoenix low desert, rosemary plants that have been stressed by winter cold snaps or overwatering may look healthy at a glance but produce weak cuttings.
Take your cuttings in the early morning when the plant is well-hydrated and temperatures are still cool. Use clean, sharp scissors or pruning snips to make a clean cut just below a leaf node, which is where rooting tends to begin most easily.
A clean cut reduces the risk of stem damage that can slow root development.
2. Trim Lower Leaves To Encourage Fast Rooting
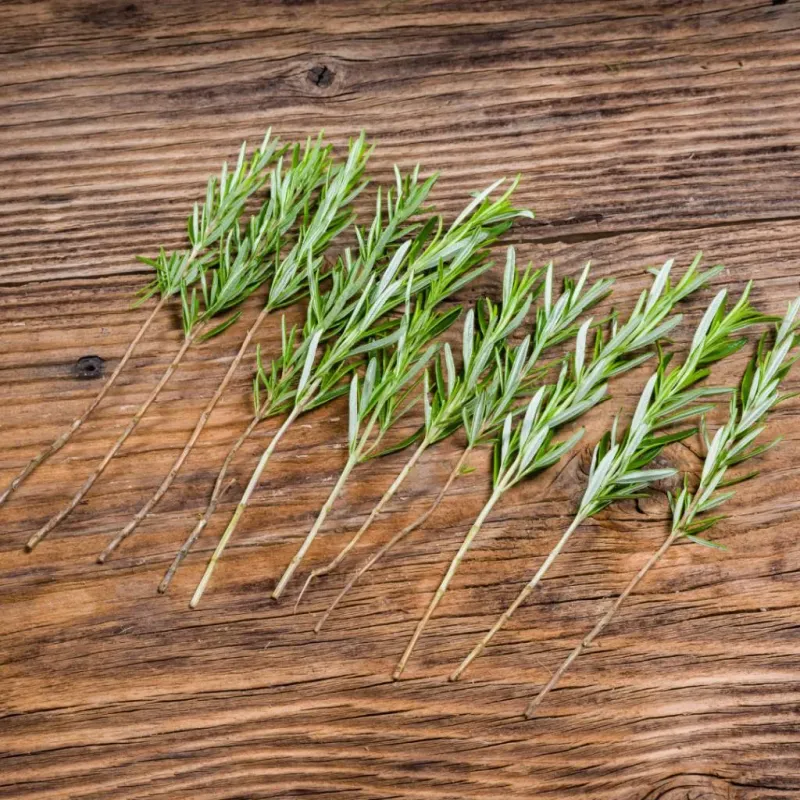
Once you have your cuttings in hand, the next move is to strip away the leaves from the lower two-thirds of each stem.
Leaving foliage below the soil or water line invites rot, which is a real concern in any propagation setup, especially in the warm spring temperatures Arizona brings.
Work gently when removing leaves to avoid tearing the outer layer of the stem. Pinching leaves off with your fingers works fine, though small pruning scissors give you more control.
What you want to preserve is a clean, bare section of stem at the bottom and a small cluster of healthy leaves at the very top. That top cluster is where photosynthesis will continue to feed the cutting while roots form below.
Some gardeners in Arizona choose to dip the stripped end into a rooting hormone powder or gel before planting.
While rosemary can root without it, rooting hormone can shorten the time it takes for roots to appear, which is especially useful during the warmer weeks of April when you want to get cuttings established before summer heat intensifies.
If you use rooting hormone, tap off any excess powder before placing the cutting into your medium. Too much can actually slow the process rather than speed it up, so a light, even coat on the bottom inch of stem is plenty.
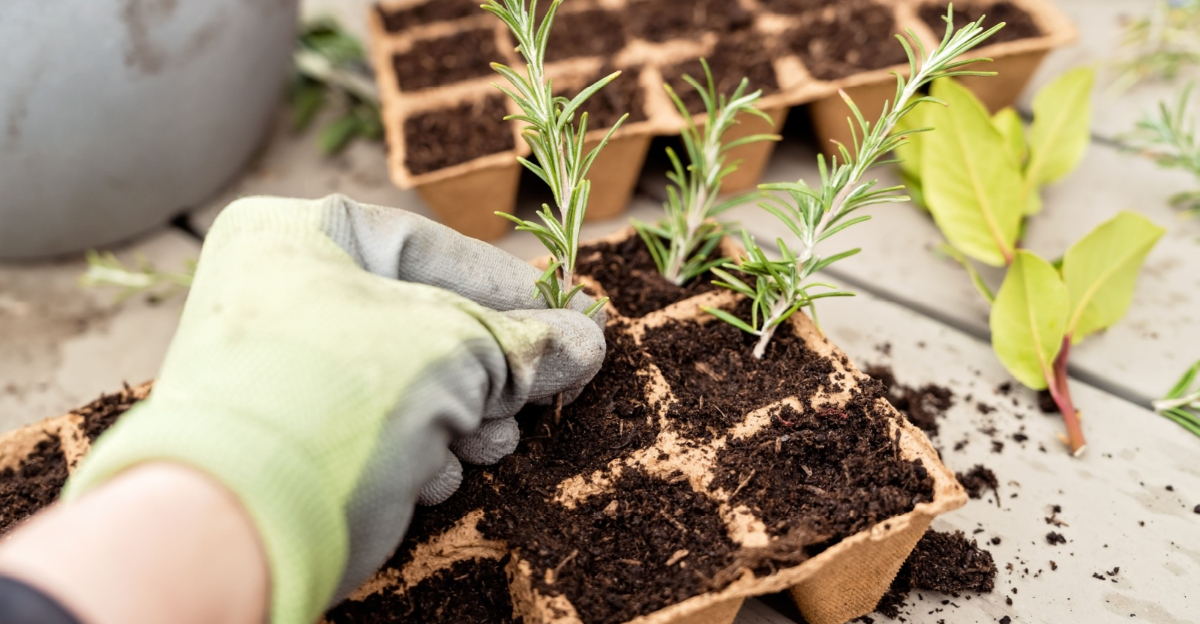
3. Prepare A Well-Draining Medium For Success

Arizona’s native soils range from sandy loam in the low desert to heavier clay in some valley areas, but neither type is ideal for rooting cuttings directly in the ground.
A purpose-built propagation medium gives your cuttings the best environment for developing new roots without the risk of sitting in moisture for too long.
A reliable mix for Arizona gardeners combines coarse perlite and a quality potting mix in roughly equal parts. Perlite improves drainage dramatically, which matters because rosemary roots are sensitive to excess moisture.
Some gardeners prefer a mix of coarse sand and peat moss, though peat can hold more water than you want in the warmer spring temperatures typical of Phoenix and Tucson.
Whichever blend you choose, make sure it feels gritty and loose rather than dense and clumping.
Use a small container with drainage holes at the bottom. A four-inch nursery pot works well for one or two cuttings.
Moisten the mix lightly before inserting your cuttings so the medium holds its shape without being soggy.
Use a pencil or chopstick to poke a small hole before inserting each cutting, which prevents the rooting hormone from rubbing off and protects the tender stem tip.
Firm the mix gently around the base of each cutting so it stands upright on its own, but avoid packing the medium too tightly.
4. Place Cuttings In Bright, Indirect Sunlight
Arizona’s spring sun is intense even in April, and direct midday sunlight can stress freshly cut rosemary stems before they have roots to pull in moisture.
Bright, indirect light gives cuttings the energy they need for photosynthesis without the leaf scorch that full Arizona sun can cause at this early stage.
A spot on a covered patio that receives morning sun and afternoon shade works beautifully in the Phoenix metro area. East-facing walls or positions under a shade cloth rated at thirty to forty percent work well too.
In higher elevation areas like Prescott or Flagstaff, spring sunlight is somewhat less aggressive, so cuttings may tolerate a bit more direct exposure without issue. Pay attention to how the leaves look after the first day or two.
If they appear wilted or bleached, shift the pots to a slightly shadier location.
Maintaining warmth alongside the right light level is key. Rosemary roots develop best when soil temperatures stay above sixty degrees Fahrenheit, which Arizona’s spring climate handles naturally in most low-desert areas.
If you are propagating indoors, a bright windowsill with southern or eastern exposure works well.
Avoid placing cuttings near air conditioning vents, as the dry, cool air can pull moisture from the leaves faster than the stem can replace it.
Checking on your cuttings daily helps you catch any early signs of stress and make small adjustments before they become bigger problems.
5. Keep Water Fresh And Soil Slightly Damp
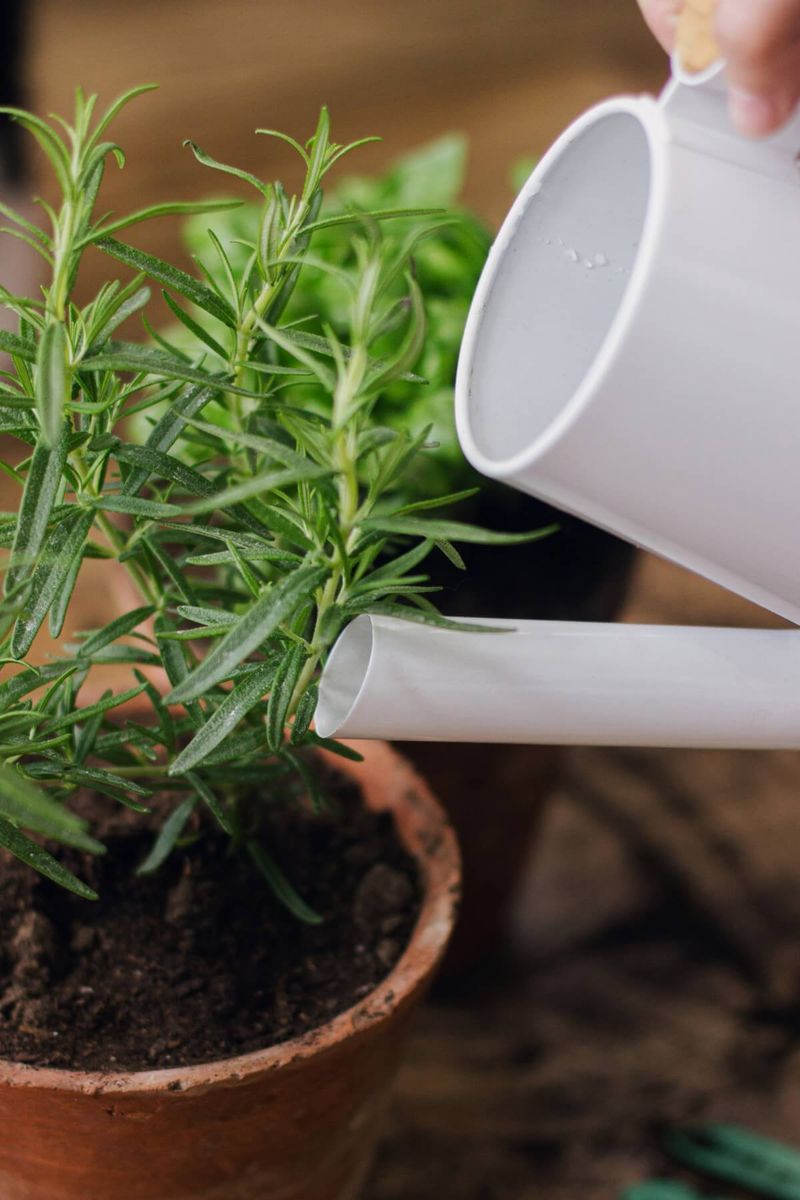
Watering rosemary cuttings is one of those tasks where less is genuinely more, especially in Arizona where spring days warm up quickly and evaporation can trick gardeners into overwatering.
The goal is to keep the propagation medium just slightly damp, not wet, and never bone dry.
Check the moisture level every day or two by pressing your finger about an inch into the mix. If it feels barely moist, give the pot a light drink until water just begins to trickle from the drainage holes, then stop.
If you are rooting cuttings in water instead of soil, change the water every two to three days to keep it fresh and oxygenated. Stale water encourages bacterial growth that can damage tender new roots before they have a chance to establish.
One practical trick for Arizona gardeners is to cover cuttings loosely with a clear plastic bag or an inverted clear plastic bottle to trap a bit of humidity around the leaves.
The dry desert air, even in spring, can cause leaves to lose moisture faster than the stem can supply it.
This simple humidity tent slows that process without eliminating airflow entirely. Remove the cover for an hour or two each day to prevent mold from forming in the warm conditions.
As roots begin to develop over the following weeks, you can gradually reduce the humidity tent time until the cuttings are fully acclimated to open Arizona air.
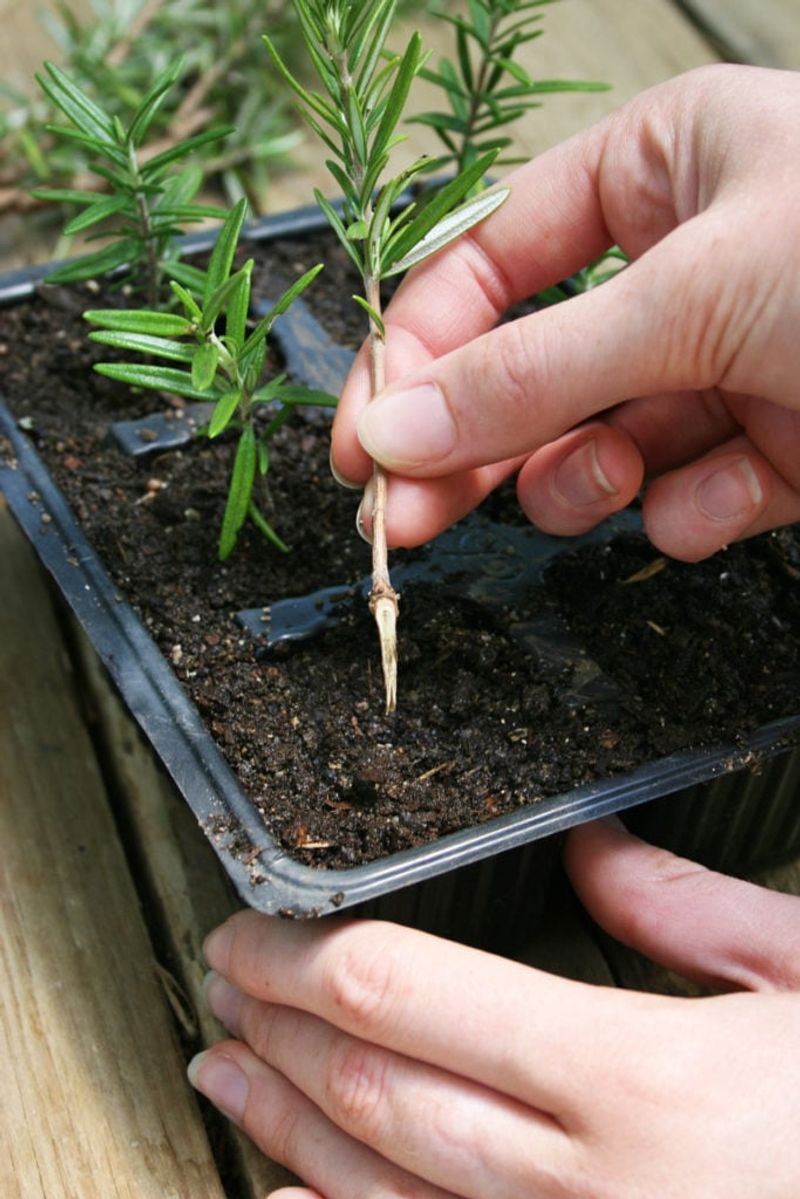
6. Transplant Carefully And Acclimate To Full Arizona Sun
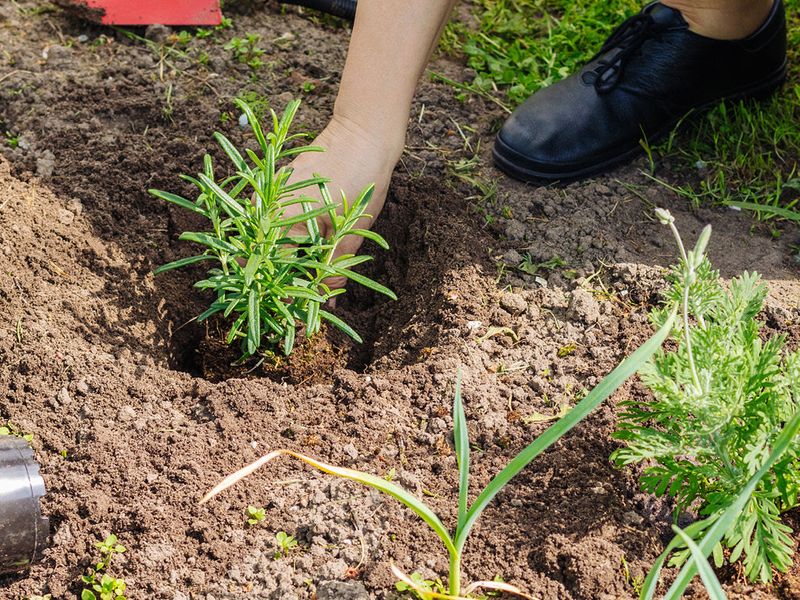
After several weeks, gently tug on the base of your cutting with two fingers. If you feel mild resistance rather than the stem sliding freely from the mix, roots have formed and your cutting is ready to move into a larger home.
Patience at this stage pays off, as transplanting too early can set back a cutting that was just beginning to establish itself.
Choose a container or garden bed location that offers excellent drainage. In Arizona’s clay-heavy soils, mixing in coarse sand or decomposed granite before planting improves drainage and mimics the rocky, lean conditions rosemary thrives in naturally.
A container with drainage holes and a well-draining cactus or herb mix is a reliable choice for gardeners who want more control over soil moisture through the long, dry summer ahead.
Acclimation is the final and often overlooked step. Move your newly transplanted rosemary into gradually increasing sun exposure over one to two weeks rather than placing it directly into full Arizona sun from day one.
Start with morning sun only, then add an hour or two of midday exposure every few days. This gradual process helps the plant build the internal resilience it needs to handle Arizona’s relentless summer heat.
By mid-spring, a well-acclimated rosemary plant can handle six or more hours of direct sun daily and will reward you with fragrant, vigorous growth through the season.