This Is The Best Way To Grow Lavender From Cuttings In Ohio
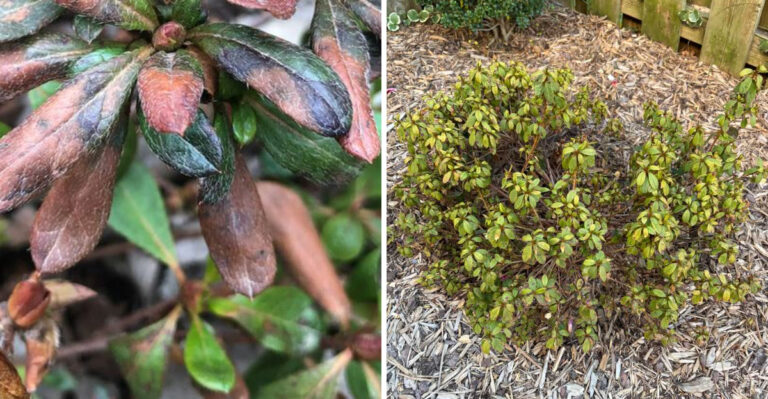
Lavender has a reputation for being easy, right up until you try to multiply it in Ohio and nothing seems to take. Cuttings dry out, roots never form, and what looked like a simple process starts to feel like a guessing game.
Between humid summers, heavy soils, and unpredictable swings in weather, this plant can be a bit particular about how it gets started.
That is where most gardeners hit a wall. The timing feels off, the cuttings struggle, and success seems hit or miss.
But once you understand what lavender actually needs in Ohio conditions, everything starts to fall into place.
The real difference comes down to a few small adjustments that make a big impact. Get those right, and propagation stops feeling like luck and starts working the way it should, giving you healthy new plants that are ready to grow on.
1. Start With Healthy Non Woody Lavender Stems
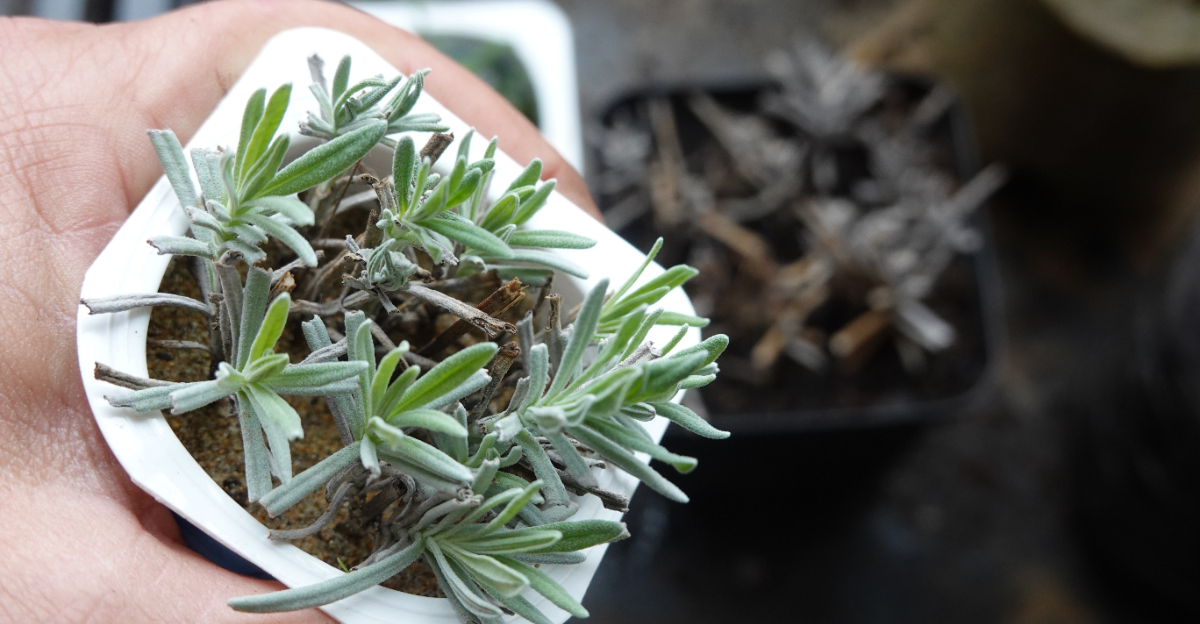
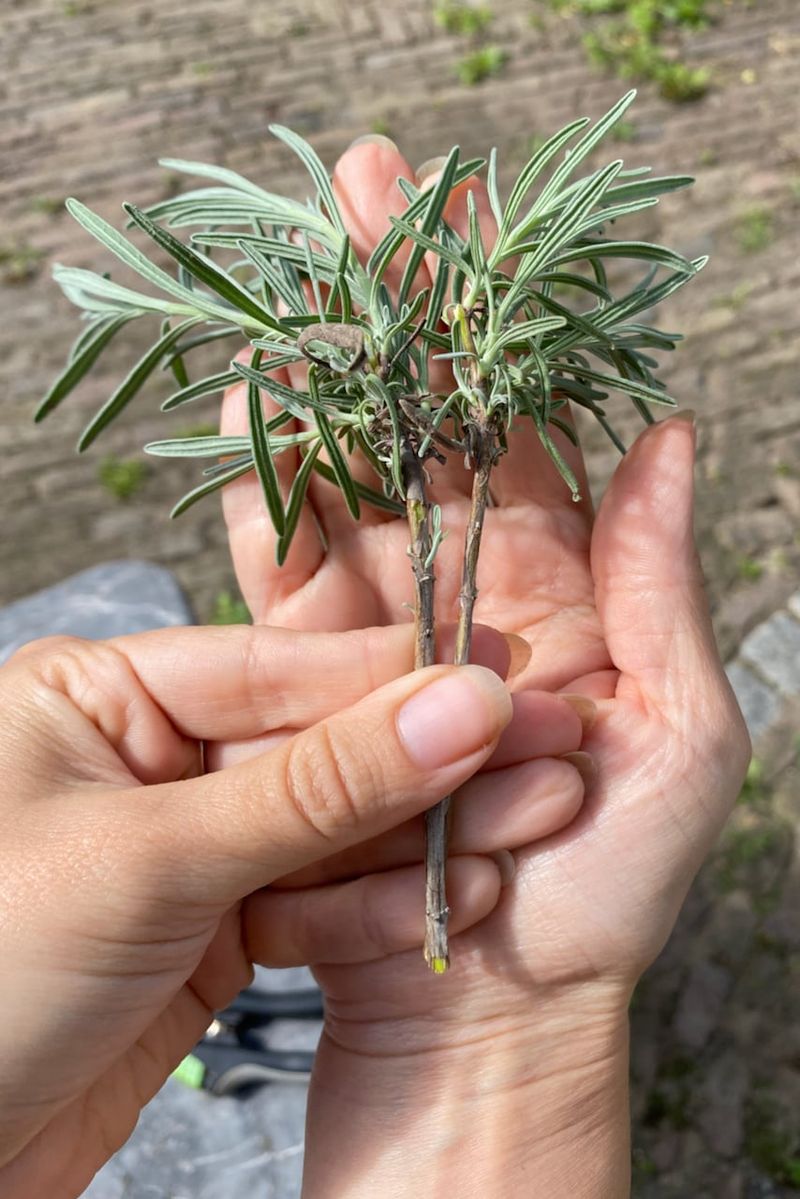
Not every stem on a lavender plant is worth taking as a cutting, and picking the wrong one is the most common reason beginners end up frustrated. The stems you want are the soft, flexible ones near the tips of the plant, often called softwood or semi-hardwood growth.
They should be green and pliable, not gray or stiff like the older base of the plant.
Woody stems that have been on the plant for more than one season rarely root well. They have a tough outer layer that resists forming new roots, and even if they do root, the process takes much longer.
Softwood growth, on the other hand, still has the cellular flexibility needed to generate a brand-new root system quickly and reliably.
Look for stems that are about four to six inches long with at least two or three sets of leaves near the top. Avoid any growth that shows yellowing, spots, or signs of pest damage.
A healthy parent plant produces healthy cuttings, so if your source plant looks stressed or has been recently treated with pesticides, wait a few weeks before harvesting.
Ohio State University Extension recommends selecting propagation material from vigorous, disease-free plants to reduce the risk of carrying problems into your new starts.
It is also a good idea to take a few extra cuttings as insurance, since not every cutting will root successfully even under ideal conditions.
Aiming for five to ten cuttings at once gives you a comfortable buffer. Taking time at this first stage to choose wisely sets up everything that follows, and a strong, healthy stem is genuinely the foundation of the whole propagation process.
2. Take Cuttings At The Right Time For Best Results
Timing is everything when it comes to propagating lavender, and Ohio’s seasons give you a clear window to work with. Late spring through early summer, roughly from late May into June, is widely considered the best time to take cuttings.
The plant is actively pushing new growth during this period, which means the stems have the energy and cellular activity needed to form roots quickly.
Taking cuttings too early in spring, when temperatures are still unpredictable and the plant has barely woken up, often leads to slow or failed rooting.
Waiting too long into summer is also a problem, because by midsummer many lavender varieties begin to set flower buds, and once a stem is focused on blooming, it redirects energy away from root production.
You want stems that are growing but not yet flowering.
The ideal time of day to take cuttings is early morning, right after the dew has dried but before the afternoon heat sets in. Lavender stems are most hydrated in the morning, which helps them survive the stress of being cut and potted.
If you take cuttings during the hottest part of the day, they can wilt rapidly before they have a chance to root.
Ohio gardeners should also keep an eye on the forecast. Taking cuttings a day or two before a stretch of mild, cloudy weather can reduce stress on the new starts.
Extreme heat right after propagation makes it harder for the cuttings to stay hydrated. A consistent temperature between 65 and 75 degrees Fahrenheit is ideal during the rooting phase, which aligns naturally with Ohio’s late spring conditions.
Planning around the weather is a small detail that makes a noticeable difference in how many cuttings successfully root.
3. Trim Just Below A Leaf Node For Strong Roots
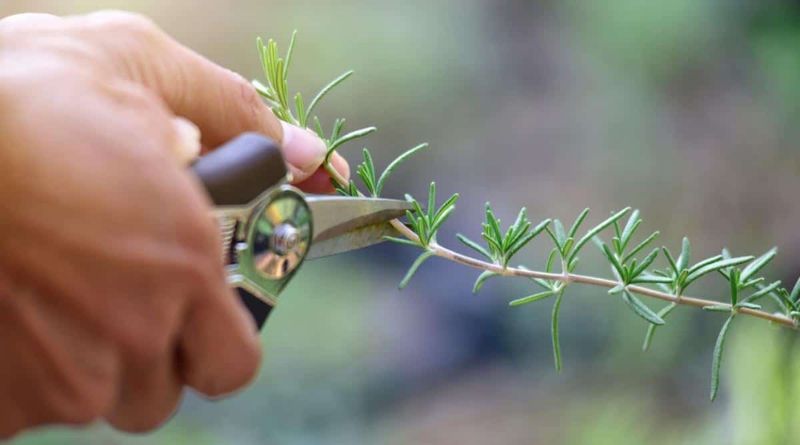
Where you make your cut matters more than most people realize. A leaf node is the small bump or joint on the stem where a leaf or pair of leaves attaches.
Cutting just below one of these nodes, within about a quarter inch, gives the cutting its best opportunity to sprout roots. The tissue at a node is biologically active and primed for cell division, which is exactly what you need for root development.
If you cut in the middle of a long stretch of bare stem with no node nearby, you are working against the plant’s natural biology.
Those mid-stem cuts can callus over without ever producing roots, leaving you with a cutting that looks fine for weeks before eventually fading away.
Always aim for a node as your cutting point, and use sharp, clean pruning shears or a razor blade to make the cut.
Sharp tools matter because they create a clean, smooth cut surface. A dull blade crushes and tears the stem tissue, which slows healing and opens the door to fungal problems.
Before you start, wipe your blades with rubbing alcohol to sterilize them. This simple step prevents you from accidentally transferring any bacteria or pathogens from one plant to another.
Once you have made your cut, work quickly. Lavender stems can begin to dry out within minutes of being removed from the parent plant.
Some gardeners keep a small cup of water nearby and drop the cuttings in immediately, though others prefer to let the cut end air-dry for just a few minutes before dipping it in rooting hormone powder. Either approach works well as long as you are not leaving the cuttings sitting in open air for a long time before potting them up.
4. Remove Lower Leaves To Prevent Rot Issues
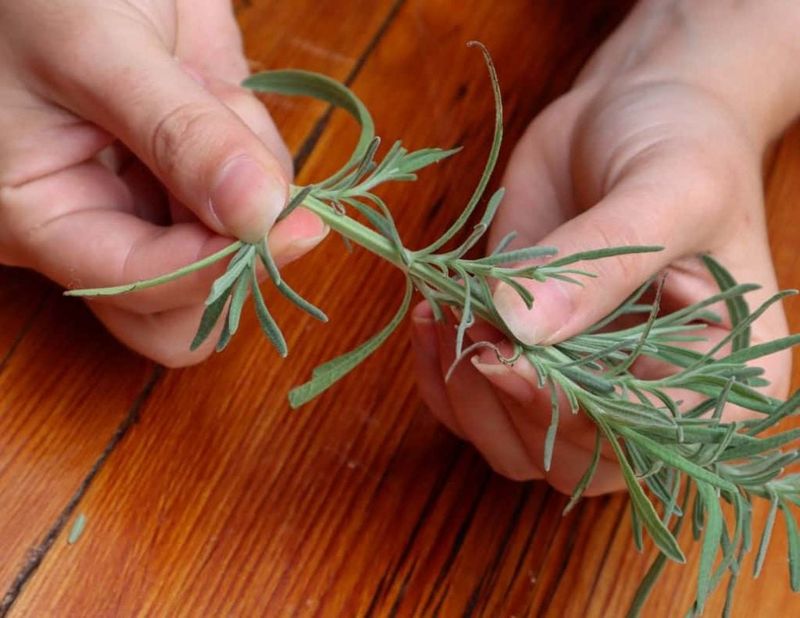
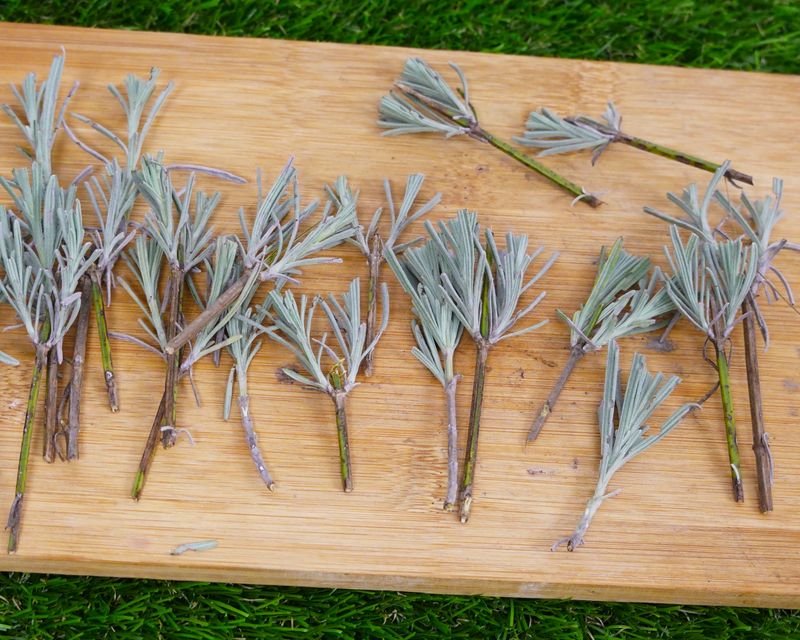
Once you have your cutting trimmed to the right length and cut cleanly below a node, the next task is removing the leaves from the lower half of the stem. This step is simple but absolutely necessary.
Any foliage buried in the rooting mix will break down quickly in the moist environment, and that decaying plant material becomes a breeding ground for mold and fungal rot that can spread to the stem itself.
Strip off the leaves from the bottom one to two inches of the stem using your fingers or small scissors. Be gentle so you do not tear or damage the stem.
Leave two or three sets of healthy leaves at the top of the cutting, because those remaining leaves will continue to photosynthesize lightly and support the cutting while it works on producing roots underground.
After removing the lower leaves, you will notice small wounds on the stem where each leaf was attached. These tiny spots are actually helpful, since roots often emerge from those areas as well as from the cut end.
Think of the defoliated section of stem as your future root zone, and keep that entire section buried in the rooting mix away from light and air.
A common beginner mistake is skipping this step to save time or because it feels unnecessary. The result is almost always the same: cuttings that start to show fuzzy white or gray mold at the soil line within the first two weeks.
Ohio’s humidity, especially in late spring, makes this issue even more likely if foliage is left in contact with moist growing medium.
Removing those lower leaves takes about thirty seconds per cutting and genuinely protects all the effort you have already put into the process.
It is one of the easiest ways to improve your overall success rate.
5. Use A Well Draining Mix That Lavender Prefers
Lavender has a reputation for being low-maintenance, but it is extremely particular about one thing: drainage. This plant evolved in the dry, rocky hillsides of the Mediterranean region, where water flows away quickly and roots never sit in soggy conditions.
When you recreate that environment in a pot, rooting success goes up dramatically. When you use heavy, moisture-retaining soil, the cuttings are much more likely to develop rot before roots ever form.
A simple and effective rooting mix for lavender cuttings combines equal parts perlite and a basic seed-starting blend or coarse horticultural sand. Perlite is a lightweight volcanic material that creates air pockets in the mix and allows excess water to drain freely.
It is inexpensive and widely available at any garden center in Ohio. Avoid using regular potting soil on its own, because most commercial potting mixes hold too much moisture for lavender cuttings.
Some gardeners also add a small amount of coarse sand to the mix for extra drainage. The goal is a medium that holds just enough moisture to keep the cutting hydrated but dries out relatively quickly between waterings.
If you press the mix and water drips out easily, you are in good shape. If it holds a clump and stays wet for days, it is too heavy for lavender.
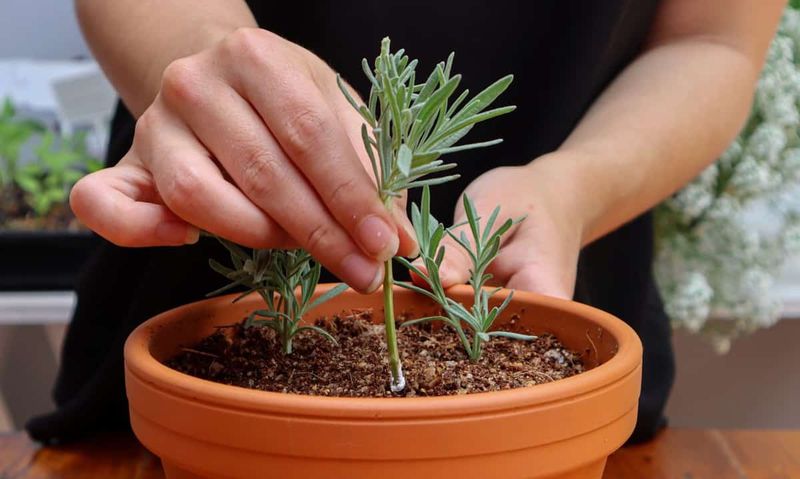
Fill a small pot or seed tray with your mix and water it lightly before inserting the cuttings. Pre-moistening the mix prevents you from having to water heavily right after planting, which can disturb the newly placed stems.
Optionally, dip the cut end in rooting hormone powder before inserting, as this can speed up root formation noticeably. Using the right mix from the start is one of the highest-impact choices you can make in this whole process.
6. Keep Cuttings Warm Bright And Slightly Humid
After your cuttings are potted up, the environment you place them in will make or break the whole project. Lavender cuttings need warmth, good light, and a touch of humidity to root well, but getting that balance right takes a little attention.
Too much of any one of those things can cause just as many problems as too little.
Aim for a spot that gets bright, indirect light for most of the day. A south- or east-facing windowsill works well for most Ohio homes during late spring.
Direct harsh afternoon sun, especially through glass, can overheat the cuttings and cause them to wilt before roots form. If you have a grow light, placing it about six inches above the cuttings for fourteen to sixteen hours a day is an excellent alternative.
Temperature should stay consistently between 65 and 75 degrees Fahrenheit. Ohio homes are generally comfortable in this range during late spring, so indoor propagation fits naturally into the season.
Avoid placing the pots near air conditioning vents or cold drafts from windows, as temperature fluctuations slow down rooting and stress the young stems.
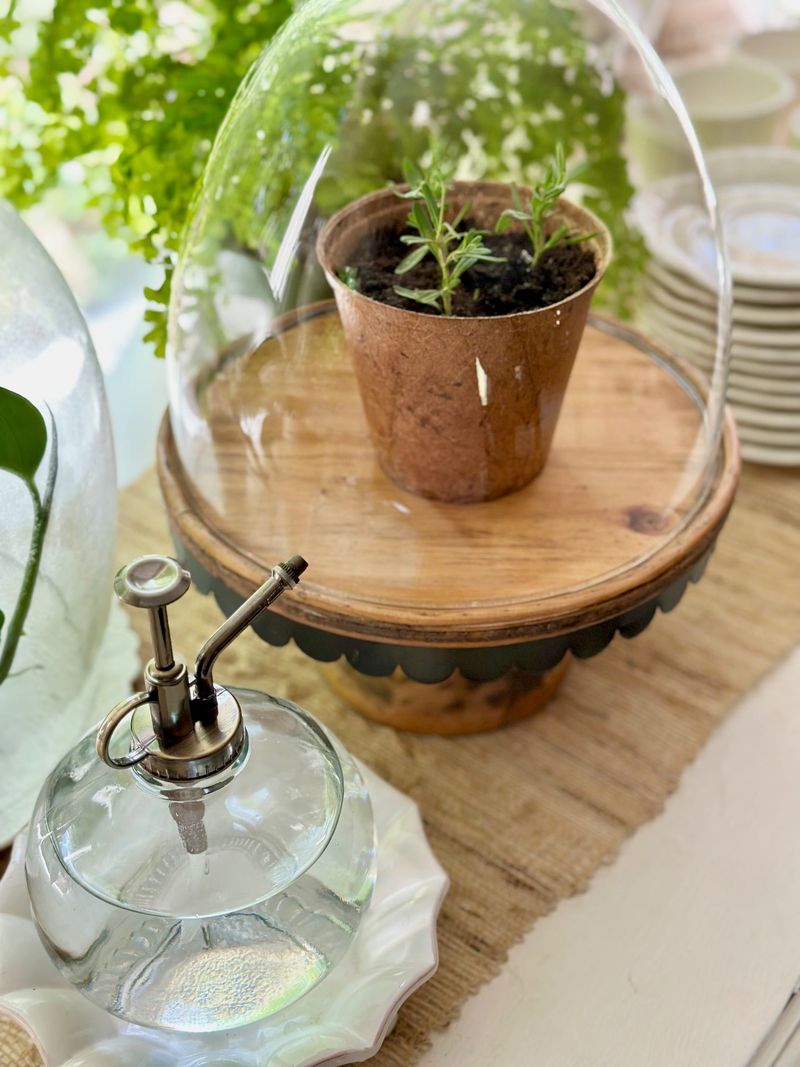
A light humidity dome, such as a clear plastic bag propped up over the pot or a purchased propagation dome, helps maintain just enough moisture in the air around the cuttings.
Check it every couple of days and remove it briefly to let fresh air circulate, which prevents mold from building up inside.
The goal is slightly humid, not dripping wet. Once you see the first signs of new growth at the tips of the cuttings, you can begin removing the dome for longer periods each day.
That new growth is a positive signal that roots are starting to develop below the surface, and the cutting no longer needs as much humidity support.
7. Transplant Once Roots Form And Growth Picks Up
Patience is probably the hardest part of growing lavender from cuttings. Roots typically take anywhere from three to six weeks to develop, and during that time the cutting may look completely unchanged on the surface.
The best way to check for roots without disturbing the cutting too much is to give the stem a very gentle tug. If you feel resistance, roots have anchored into the mix.
If the stem slides out easily, give it more time.
Another reliable sign that rooting has been successful is the appearance of fresh new growth at the tips of the cutting. When a stem starts pushing out tiny new leaves, it means it has established enough of a root system to support active growth.
At that point, you can begin transitioning the cutting out of its humid, sheltered environment and into brighter, drier conditions.
For Ohio gardeners, the timing of transplanting into the garden matters a lot. If your cuttings rooted in late spring and it is now early summer, you have a good window to move them into the garden before the heat peaks.
Choose a spot with full sun and excellent drainage, and amend heavy clay soil with coarse sand or fine gravel before planting. Lavender planted in poorly drained Ohio clay will struggle no matter how well it rooted in the propagation stage.
If your cuttings rooted later in summer, consider keeping them in pots through the first Ohio winter and transplanting in early spring instead. Young lavender plants are more vulnerable to Ohio’s freeze-thaw cycles than established ones.
Hardening off the transplants by setting them outside for a few hours each day over the course of a week before planting helps reduce transplant shock and gives your new lavender the smoothest possible start in its permanent home.