This Is How Florida Gardeners Grow Tomatoes In Containers And Actually Get Results
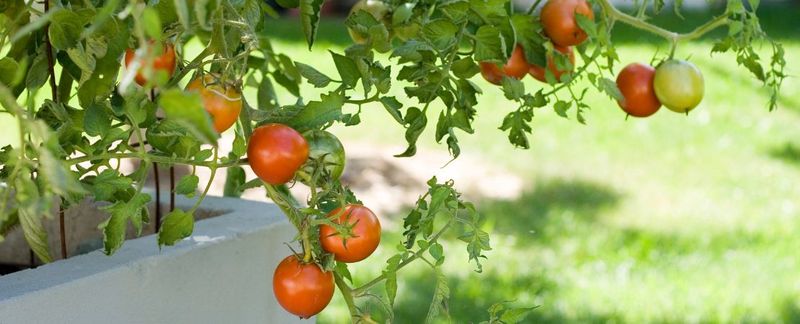
Container tomatoes have a reputation for being a compromise. A consolation prize for gardeners without enough yard space, something that technically works but never quite delivers what a proper garden bed would.
A lot of Florida gardeners go in with low expectations and end up pleasantly surprised.
Florida’s growing conditions are a different story than most of the country.
The heat, the rain patterns, the soil that drains fast and holds little, all of it pushes gardeners toward solutions that work with the climate rather than against it. Containers fit that logic better than most people give them credit for.
Getting real results from container tomatoes here is not about luck or having a particularly green thumb. It comes down to a handful of decisions made early in the season that shape everything that follows.
1. Plant Tomatoes When Your Florida Region Says Go
Many first-time Florida gardeners make the same mistake: they plant tomatoes in June because that feels like summer and summer feels like tomato season. In Florida, that logic can work against you fast.
Timing is everything, and it changes depending on where in the state you live.
North Florida generally has two planting windows. Spring planting often runs from February through April, depending on frost risk, and a late-summer window opens around July or August.
Central Florida gardeners often aim for late January through February for spring crops, with a second window in late August or September.
South Florida flips the script entirely, with the main tomato season running from fall through winter when temperatures cool down enough for good fruit set.
Planting outside your regional window usually means heat stress, poor fruit set, and heavy disease pressure before your plants ever hit their stride. Check with your county Extension office for local frost dates and planting recommendations specific to your area.
UF/IFAS Extension publishes planting calendars by region that take local conditions into account.
Florida gardeners are not chasing a summer tomato harvest the way northern gardeners are, and accepting that early makes a real difference in how your container garden performs.
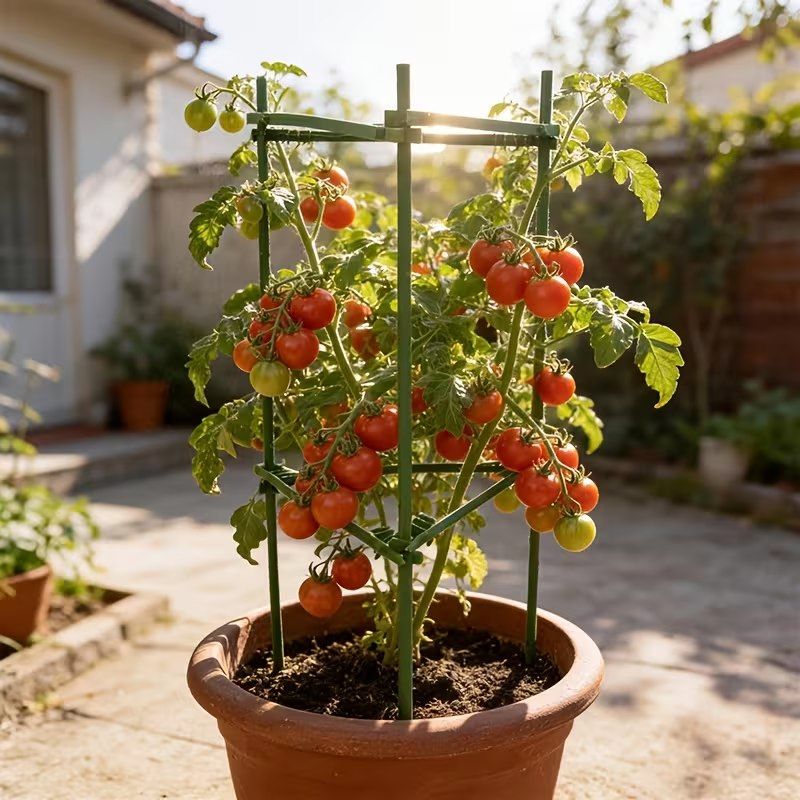
2. Pick Containers Big Enough To Keep Roots Happy
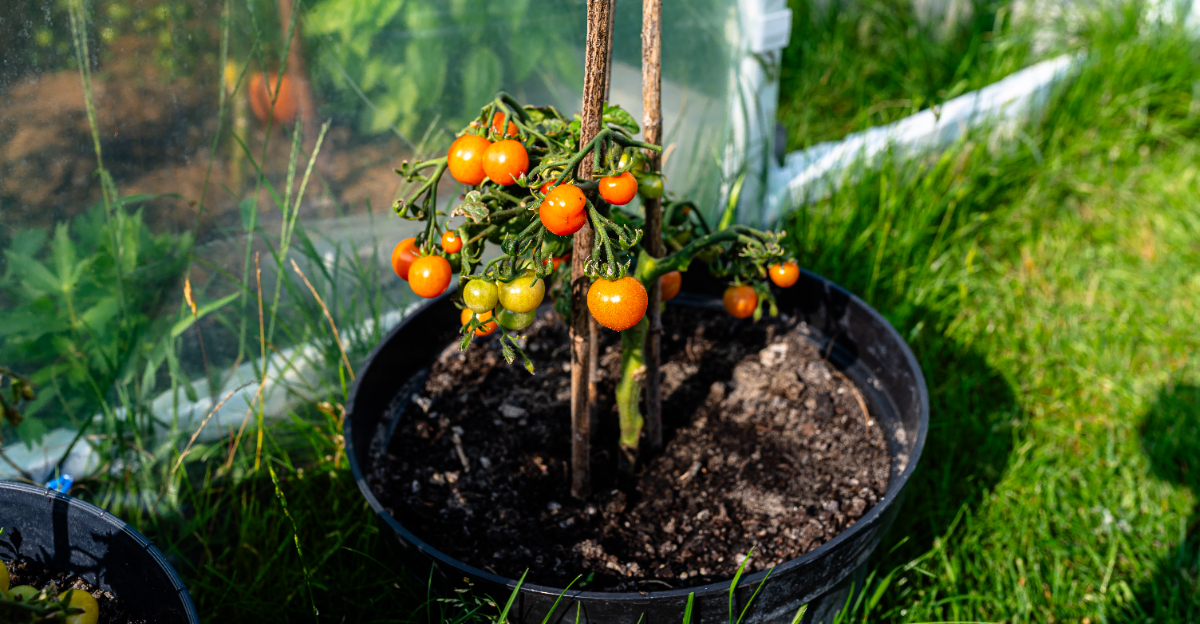
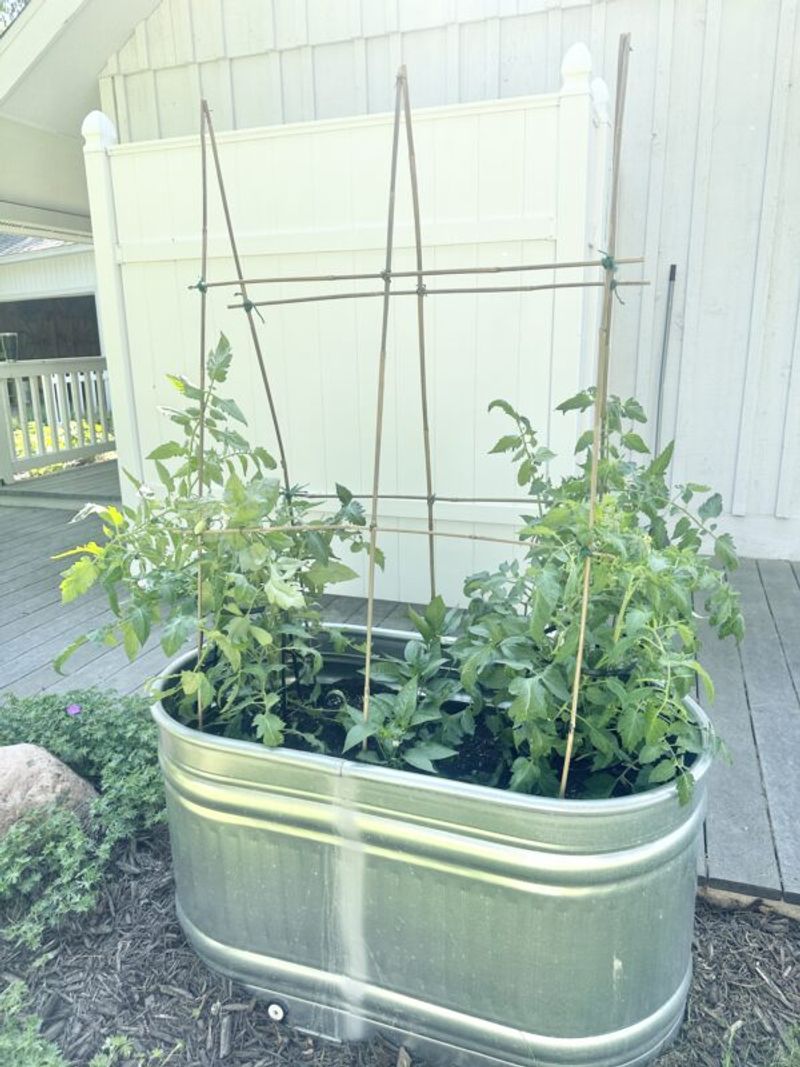
A small decorative pot might look great on a patio, but it can be one of the fastest ways to frustrate a container tomato in Florida. Roots need room to spread out, access moisture between waterings, and anchor a plant that will eventually carry the weight of cages, leaves, and fruit.
Most full-size tomato varieties do best in containers that hold at least five gallons of potting mix, and many experienced Florida growers prefer ten-gallon containers or larger for plants like Celebrity or Better Boy.
Compact patio or dwarf varieties can do reasonably well in smaller containers, but even they benefit from more root room than a tiny pot offers.
Container material and placement matter more in Florida than in many other states. Black plastic pots sitting on concrete driveways, pool decks, or sunny balconies can get extremely hot, which stresses roots and dries out soil quickly.
A larger container also buffers moisture and temperature swings better than a tiny pot. Raising pots slightly off the ground improves drainage and airflow.
Make sure every container has strong drainage holes, because soggy roots in Florida’s humidity create serious problems. Stability matters too, since a tall tomato plant in a cage can tip over in Florida afternoon storms.
3. Choose Compact Varieties That Fit The Pot
Reaching for the biggest, most impressive tomato variety at the garden center is tempting, but sprawling indeterminate plants can quickly outgrow a container and become hard to manage. For pots, compact and determinate varieties usually produce better results with less frustration.
UF/IFAS Extension recommends several varieties that perform well in Florida gardens, including Celebrity, Better Boy, and Amelia.
Celebrity is a popular determinate type that handles Florida conditions reasonably well and has disease resistance built in. ‘Amelia’ is another UF/IFAS-listed variety with useful disease resistance, including resistance to root-knot nematodes, though fresh potting mix is still one of the best ways to avoid bringing soil pests into containers.
For warmer planting windows, ‘Heat Wave II’ is worth considering because UF/IFAS notes it can set fruit in hotter months, although even heat-tolerant tomatoes have limits.
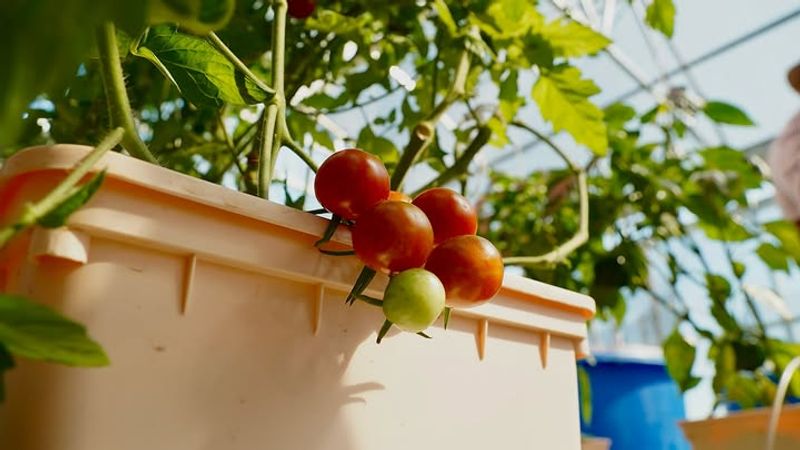
Cherry tomatoes like Sweet 100 tend to set fruit more reliably in warm conditions, making them a practical choice for Florida containers. Always look for disease resistance codes on plant tags or seed packets.
Letters like V, F, N, and T indicate resistance to common tomato problems including fusarium wilt and nematodes. Not every recommended garden tomato automatically works in every pot size, so match the variety to the container.
A compact patio-type tomato in a five-gallon pot will usually outperform a large indeterminate variety crammed into the same space.
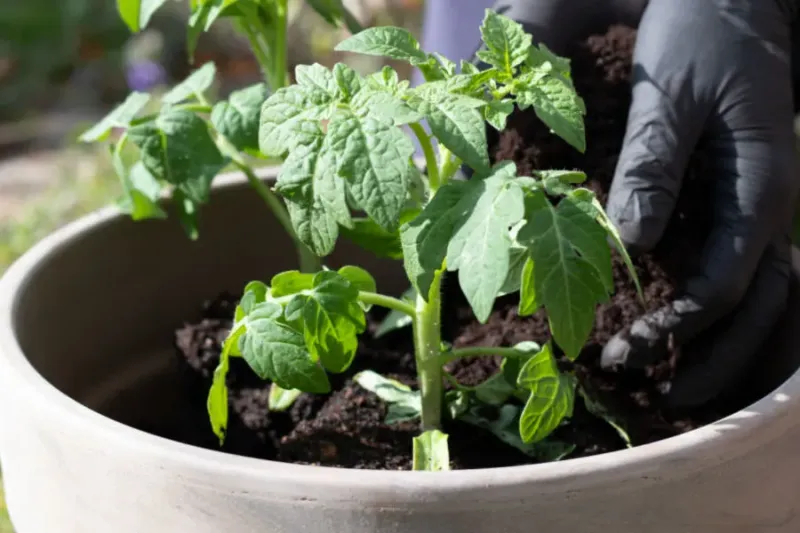
4. Start With Transplants When The Season Is Short

Starting tomatoes from seed is satisfying, but Florida’s planting windows can be short and unpredictable.
Between the end of frost season in spring and the arrival of intense heat, or between late summer rains and the first cool nights of fall, the window for getting a productive tomato plant established can close faster than most gardeners expect.
Using healthy transplants gives you a head start. A good transplant should have a sturdy, thick stem, deep green leaves, and no signs of yellowing or wilting.
Avoid plants that are already flowering heavily in a small cell pack, because that usually means the plant is stressed and rootbound. Leggy, stretched transplants with pale leaves have often been sitting too long under poor light conditions and may struggle to establish well.
Hardening off is important before moving any seedling outdoors full-time. Gradually exposing transplants to outdoor sun, wind, and temperature over several days reduces transplant shock.
In North and Central Florida, hold off on planting spring transplants until frost danger has clearly passed for your county. In South Florida, fall transplants set out in October or November can take full advantage of the cooler season ahead.
Your county Extension office can confirm the safest transplant timing for your specific area.
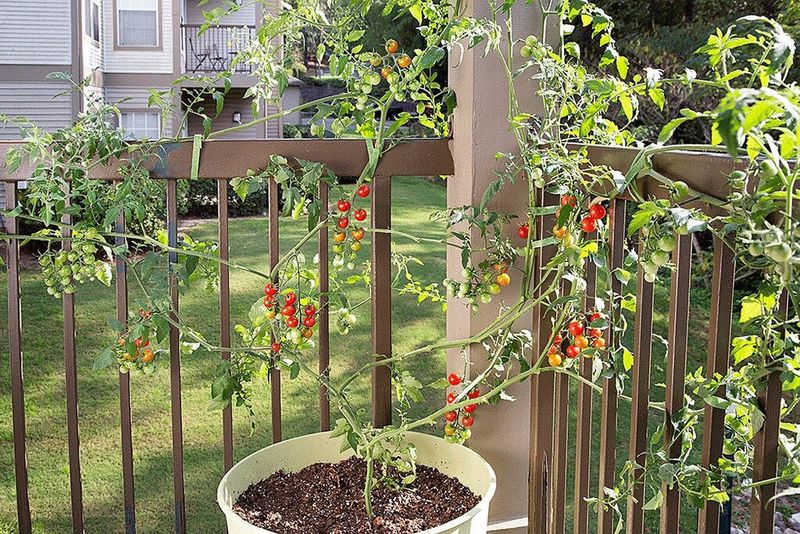
5. Give Tomatoes Sun Without Baking The Pot
Sunlight is non-negotiable for tomato production. UF/IFAS Extension guidance notes that tomatoes need at least four to six hours of direct sun to flower and fruit well.
Cut that back too much and your plants stay green and leafy without ever producing a single tomato worth picking.
Here is where Florida gets complicated. Strong afternoon sun on a concrete patio, driveway, or pool deck can push container soil temperatures to levels that stress roots and cause blossoms to drop.
Morning sun with some afternoon shade or relief is often the sweet spot, especially in Central and South Florida during warmer months. Reflected heat from light-colored walls, pavers, and fences adds to the heat load on containers sitting close by.
One of the biggest advantages of container gardening is that pots are movable. Use that advantage.
A spot that works well in February may be too harsh by April in Central Florida, and you can simply shift the pot to a better location as the season changes.
Watch your plants for signs of heat stress like curling leaves, drooping during midday, or blossom drop, and adjust placement before those signs become a lasting problem.
Getting the sun and heat balance right is one of the most Florida-specific skills a container tomato grower can develop.
6. Use Potting Mix Instead Of Backyard Soil
Florida backyard soil has a reputation, and for good reason. Much of the state sits on sandy, fast-draining soil that holds very little moisture or nutrition.
In other parts of Florida, soil can be compacted, heavy with clay, or loaded with nematodes and other pests. None of that belongs in a container.
A high-quality potting mix designed for vegetables gives container tomatoes the drainage, root-friendly structure, and moisture balance they need. Good potting mix is light, loose, and allows water to move through without pooling at the bottom of the pot.
Avoid filling containers with straight compost, heavy garden soil, or backyard dirt. Even rich-looking soil from the yard can compact inside a pot, restrict root growth, and hold too much moisture in Florida’s humid conditions.
Look for a potting mix that includes perlite or vermiculite for drainage and some moisture-retaining material to help buffer Florida’s fast-drying conditions. Some mixes come with starter fertilizer included, which is helpful for the first few weeks after transplanting.
Refresh or replace potting mix between growing seasons rather than reusing old, depleted mix from the previous year. Old potting mix breaks down, compacts, and can harbor pathogens from previous plantings.
Starting with fresh, quality mix each season gives your container tomatoes the cleanest possible foundation.
7. Water Deeply Before The Leaves Complain

Containers dry out faster than garden beds, and in Florida that process speeds up even more thanks to strong sun, warm temperatures, and drying winds.
A pot that felt moist in the morning can be bone dry by afternoon during a hot Florida spring day, especially in a small or dark-colored container sitting on a sunny surface.
Checking soil moisture by pressing a finger an inch or two into the potting mix is more reliable than watering on a set schedule. If the mix feels dry at that depth, water thoroughly until you see water draining from the bottom of the pot.
That deep watering encourages roots to grow downward and reach the full volume of the container. Quick surface splashes wet the top inch but leave the root zone dry, which stresses the plant without you realizing it.
Inconsistent watering is one of the most common triggers for blossom-end rot in container tomatoes. That condition, which shows up as a dark sunken spot on the bottom of the fruit, is linked to calcium uptake problems caused by irregular moisture.
Wetting the foliage while watering can also encourage fungal disease in Florida’s humid conditions, so aim the water at the soil surface rather than the leaves.
Steady, deep watering at the root zone is the habit that keeps container tomatoes healthy through a Florida season.
8. Feed Container Tomatoes On A Steady Schedule
Every time you water a container, some nutrients wash out through the drainage holes. That is just how container gardening works, and it means container tomatoes depend entirely on the gardener to replace what is lost.
Unlike tomatoes growing in a garden bed that can reach into surrounding soil, container plants are limited to what is in the pot.
Following the guidance on your fertilizer label or UF/IFAS vegetable gardening recommendations is a safer approach than guessing. Tomatoes need a balance of nutrients to support healthy leaf growth, strong flowers, and developing fruit.
Too much nitrogen, which is the first number on a fertilizer label, pushes the plant to grow lots of lush green leaves while flowers and fruit take a back seat.
A fertilizer labeled for tomatoes or vegetables, used according to the label, is safer than guessing or piling on extra nutrients.
Slow-release granular fertilizers mixed into the potting mix at planting can provide steady background nutrition.
If the potting mix does not already include enough slow-release nutrition, a water-soluble fertilizer can help during active growth, but the timing and amount should follow the label.
The key word is steady. A big dose of fertilizer once a month followed by nothing is harder on the plant than smaller, regular feedings.
Watch your plants for signs of nutrient deficiency like yellowing lower leaves, and adjust your feeding schedule rather than doubling up on fertilizer all at once.
9. Cage The Plant Before It Starts Leaning
A tomato plant that starts leaning against the side of its container, flopping over the edge, or bending under the weight of developing fruit is a plant that is working harder than it needs to.
Container tomatoes are less stable than in-ground plants because the root system is confined and the pot itself can tip.
Getting support in place early prevents most of that trouble.
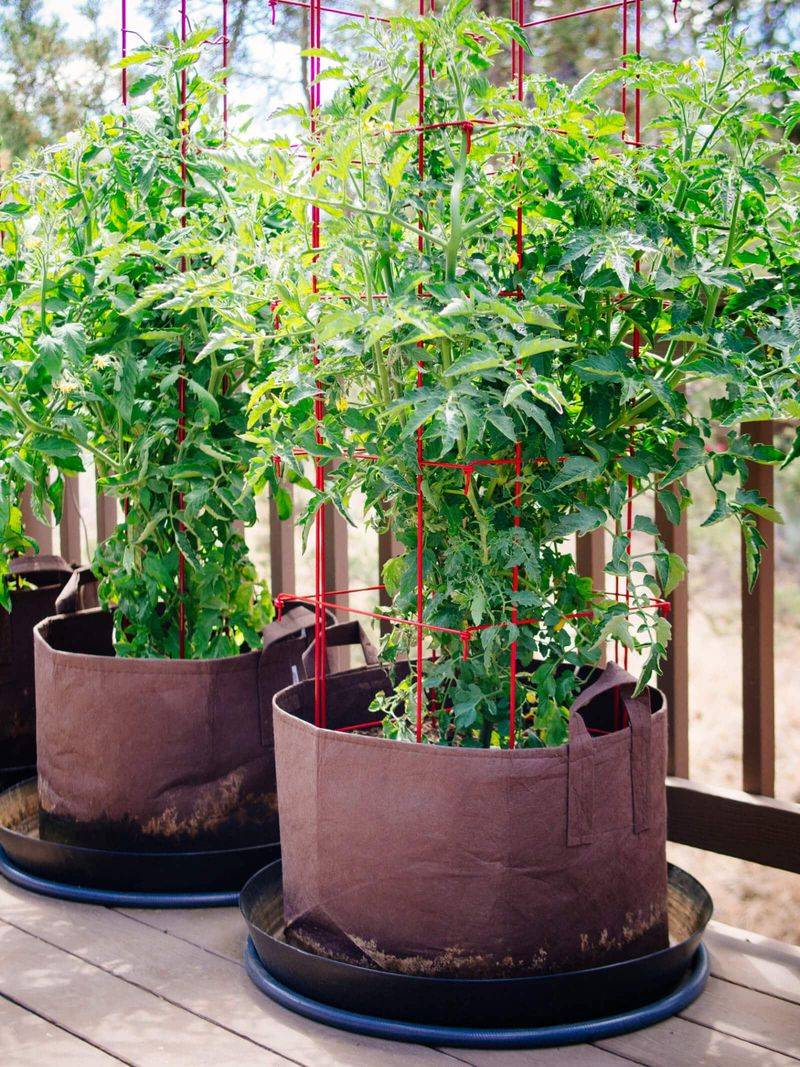
UF/IFAS Extension guidance confirms that container tomatoes benefit from staking or caging, especially as fruit begins to develop and the plant gains weight.
Adding a cage before the plant needs it is much easier than trying to thread a wire cage around an already-full tomato plant without snapping branches.
Push cage legs firmly into the potting mix and make sure the cage is stable before the plant gets top-heavy.
Compact and patio-type tomatoes generally need less support than tall indeterminate varieties, but even small plants can benefit from a simple stake tied loosely with soft twine.
In Florida, afternoon thunderstorms and tropical weather bring wind gusts that can topple an unsupported container plant in seconds.
Choose a sturdy cage rated for the size of plant you are growing, and consider anchoring the container itself against a wall or railing in exposed locations like balconies and open patios. A few minutes of setup early in the season prevents a lot of damage later.
10. Watch For Heat Before The Flowers Quit
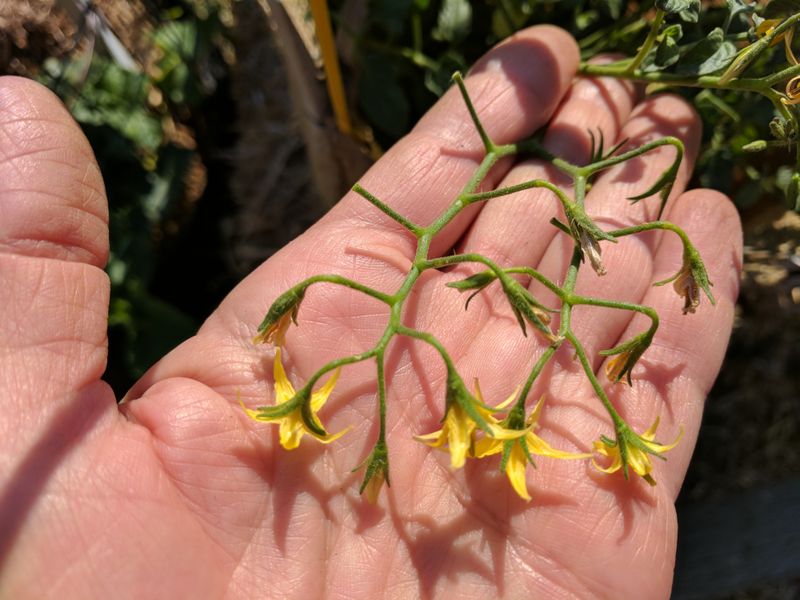
A tomato plant can look completely healthy, deep green leaves, strong stems, and plenty of buds, and still produce almost no fruit if temperatures push outside the range where pollination works well.
Florida gardeners run into this more than gardeners in cooler states, and it catches a lot of people off guard the first time it happens.
Tomatoes generally set fruit best before days become extremely hot and while nights still cool down, because hot days and warm nights can interfere with pollination and fruit set. When nights stay warm and days run hot, blossoms drop without setting fruit.
The plant is not struggling visibly, it is just pausing production until conditions improve.
Planting during your correct regional window, as discussed earlier, is the most effective way to avoid this problem rather than trying to fight it after the fact.
Heat-tolerant varieties like Heat Wave II were developed to set fruit at higher temperatures than standard varieties, and cherry tomatoes like Sweet 100 tend to handle warm conditions better than large-fruited types.
Keeping the container consistently watered and mulching the top of the pot with a thin layer of straw or shredded material can help moderate soil temperature during warm spells.
Morning sun exposure with afternoon relief reduces heat stress on flowers. Watch your plants during flowering, and if blossom drop starts, check your planting timing and variety choice before the next season so you can set yourself up for better results.