Deadhead Your Mums This Way And Witness the Most Stunning Fall Blossoms

Whenever someone asks me why I love fall so much, my answer is always because of chrysanthemum blooms.
They’ve been a part of my fall garden for longer than I can remember and I wouldn’t have it any other way.
As an added bonus to their timeless beauty, mums are fairly easy to maintain. However, there’s one fall task you should complete for more blooms and healthier mums.
We call it deadheading, and it works wonders for plants across the board – mums included. But when’s the perfect time to dive in, and how?
Don’t worry, you’ll find the answers sooner than you expected!
But First, Let’s See Why Deadheading Is So Beneficial For Mums
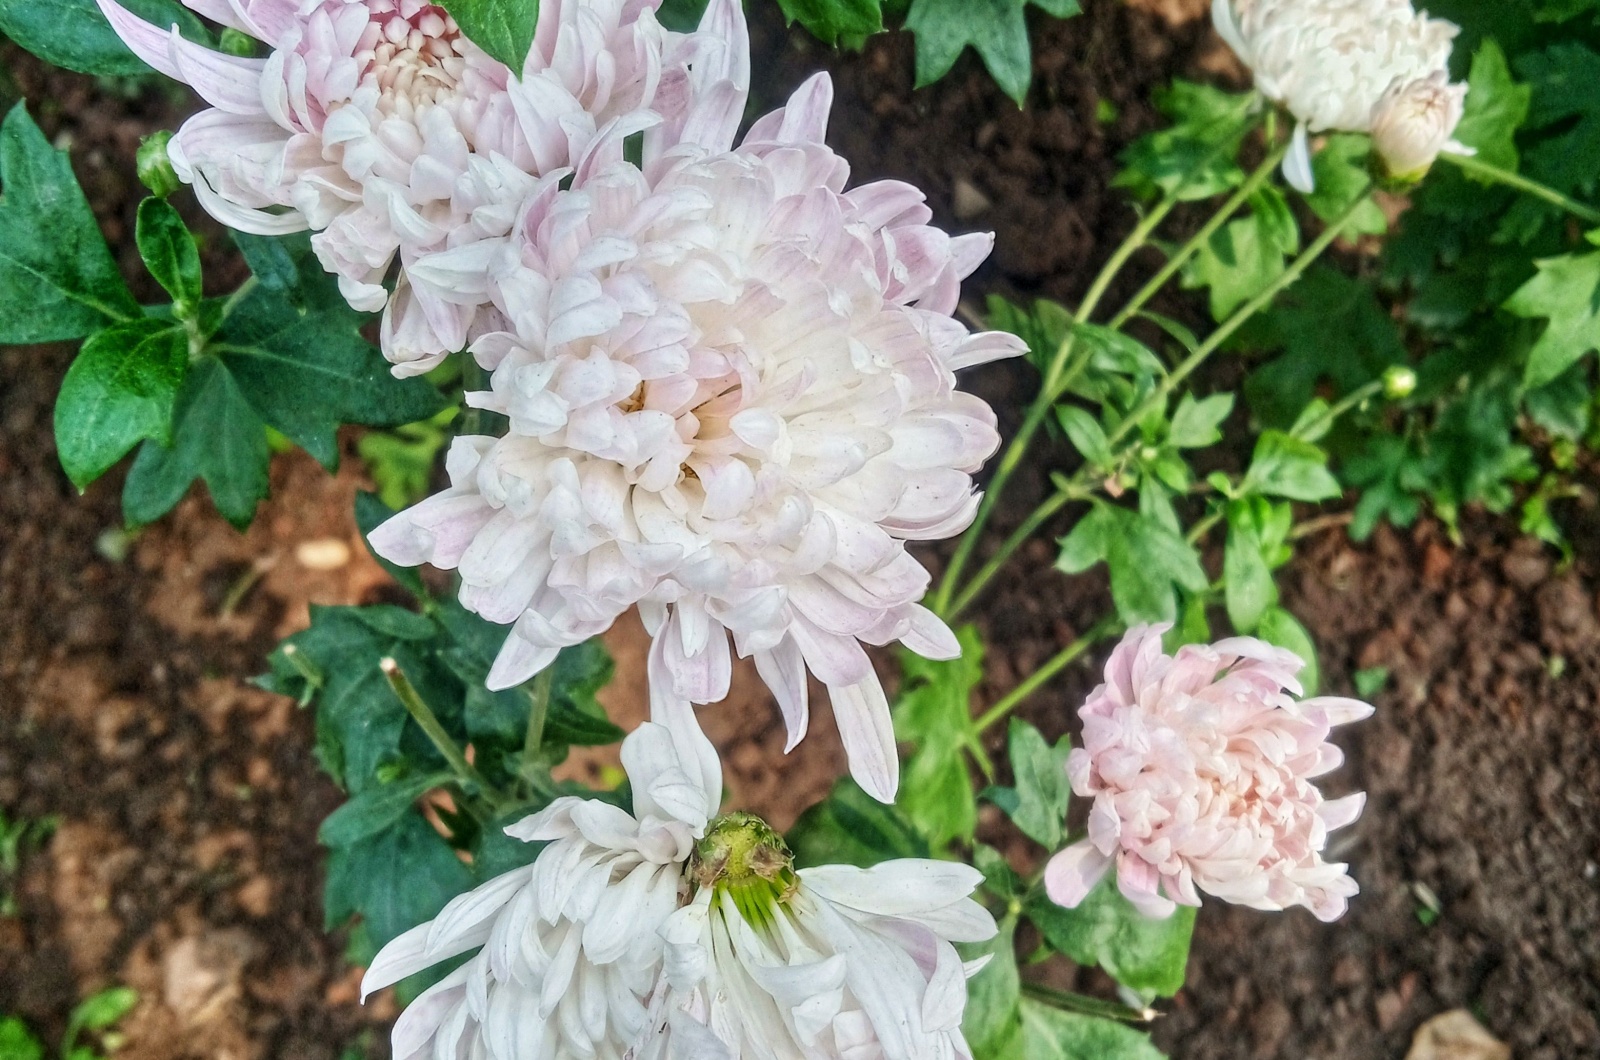
There’s one thing many beginner gardeners believe that isn’t true. Contrary to popular belief, mums aren’t annual plants and they can come back season after season if maintained correctly.
When growing mums, you need to pay attention to planting, ensuring the right soil type, and watering. But deadheading should also be on this list.
Why? It leads to healthier development and helps mums store enough energy for overwintering.
After you deadhead your mums, you can expect to see more blossoms and enjoy them for a long time.
Spent blooms still use the plant’s energy, and by removing them you help your mums focus their energy on root establishment.
Diseased blooms and foliage threaten the overall health of your mums and removing them protects the plants.
There’s really no reason to skip this chore, so we can proceed to the next step.
This Is When You Should Deadhead Your Chrysanthemums

Before deadheading, it’s crucial to determine the ideal timing. This can be pretty tricky for mums.
Your main goal is to deadhead once the chrysanthemum blooms start losing their original color.
Do not wait any longer or until the flowers turn brown and become crispy. These are the signs that the blossoms went to seeds and you’ll just waste the energy of your chrysanthemums.
These plants typically bloom for 10 weeks, which means you’ll need to deadhead every 2 weeks or so.
This is a simple task that won’t take more than a few minutes and offers so many benefits.
And This Is How I Do It
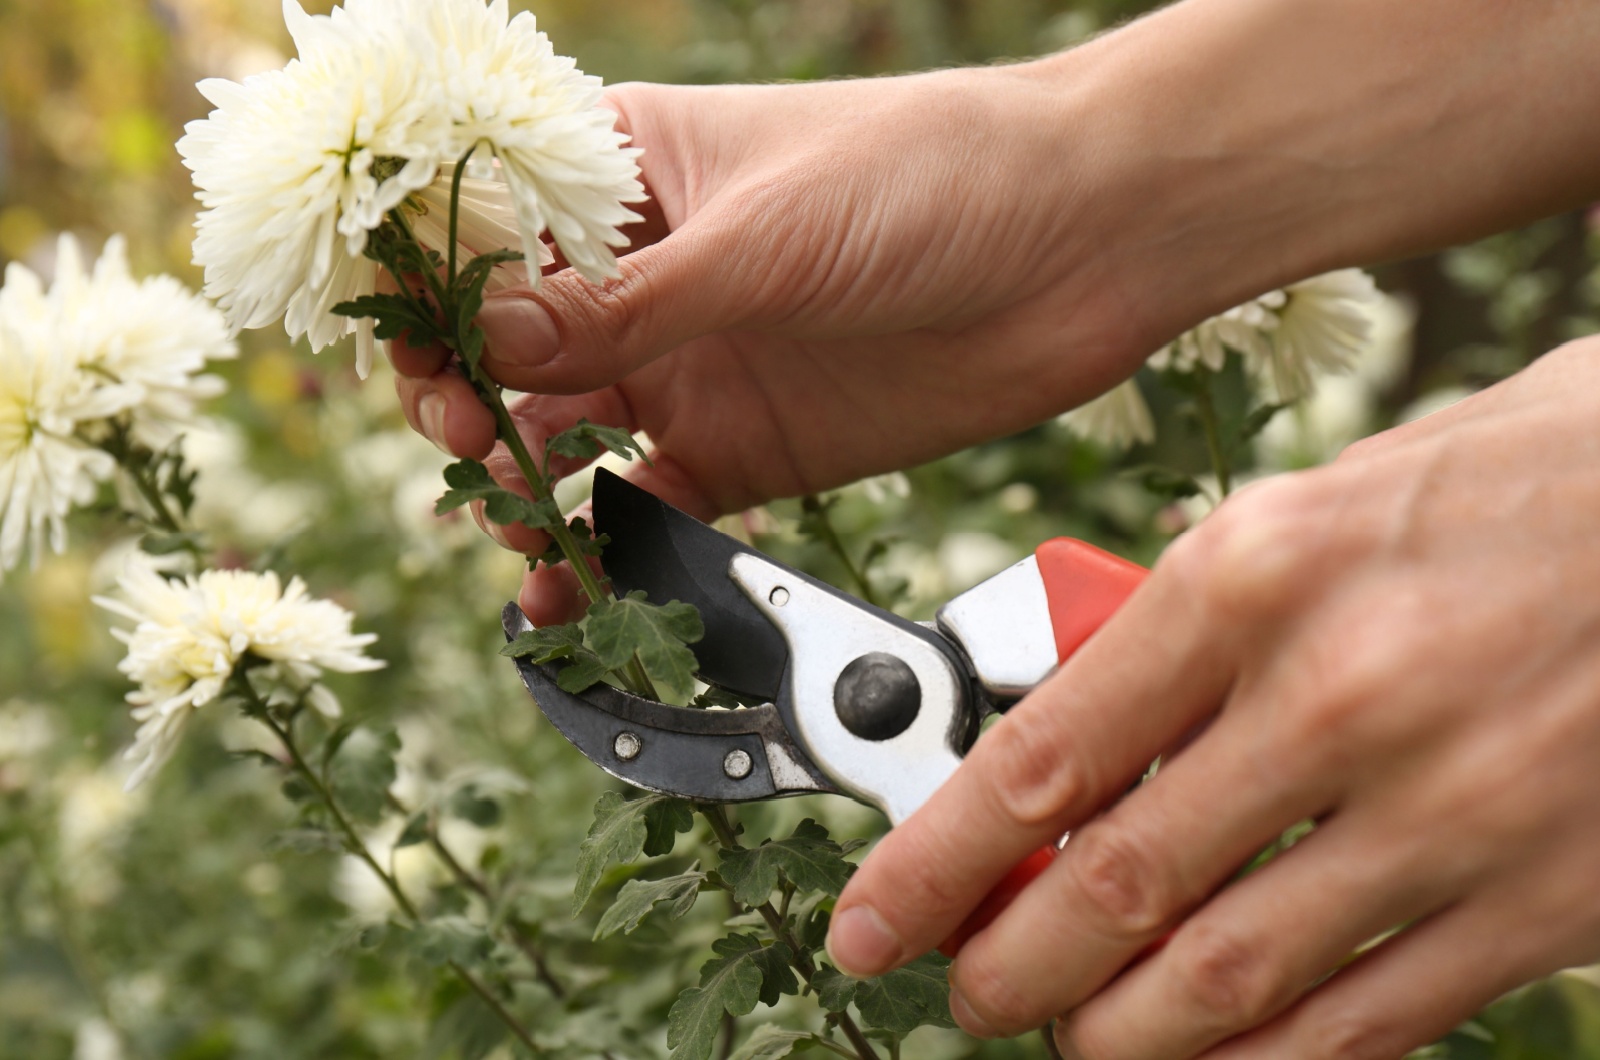
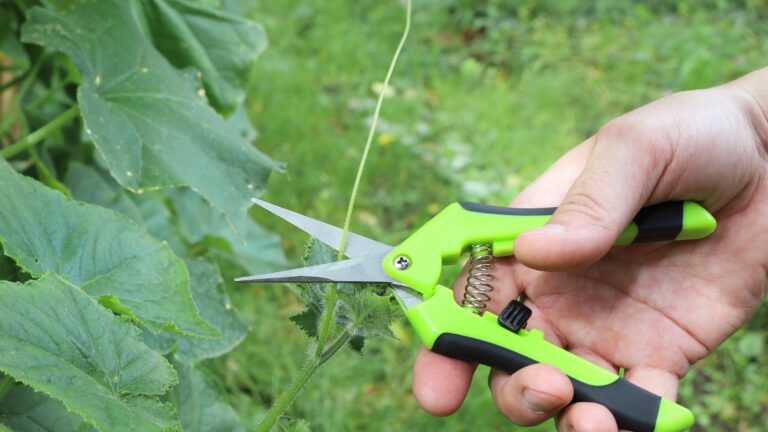
Luckily, you don’t need any special equipment or skill to deadhead your mums. I simply use a clean pair of garden shears and they do the job perfectly.
Observe the blossoms that are ready for deadheading and aim to cut them a few inches below the flower heads.
This way, cut stems won’t be noticeable because the chrysanthemum’s leaves will hide them. You’ll get a visually pleasing display before a new set of blooms appears.
Use this method until the flowering season ends and your mums go dormant.
Remember That Pinching Back And Deadheading Isn’t The Same
Before you go, I have one more thing to discuss with you. You should know that deadheading and pinching back are used interchangeably but these aren’t the same thing.
When deadheading your mums, you’re removing the spent blooms. On the other hand, when you’re pinching back, you basically remove the tip of the stem or shoot. This method encourages the plant to branch.
As a result, the plant gets bushier and healthier. You may have noticed that mums tend to get leggy and too tall over time, so the pinching back method is perfect to prevent it.
I mean, the mounding shape is what chrysanthemums are known for, right?
You deadhead mums in the fall but you pinch them in early spring or when the plants are about 6 inches tall. In this case, your task is to remove buds and non-budded tips.
Repeat this method until mid-summer and then leave your mums alone to allow them to form buds and bloom once fall arrives.
That’s it! Deadheading offers many benefits, and now that you know when and how to do it, nothing can stop you from getting the prettiest chrysanthemum bloom display you could ever imagine!

