Do These Things The Moment Your Ohio Hydrangeas Start Showing New Growth
New growth on a hydrangea is easy to overlook. A few small leaves pushing out from the base or along last year’s stems, nothing dramatic, nothing that seems to require immediate attention.
Most Ohio gardeners note it and move on. That’s the moment worth pausing on.
What happens in the first few weeks after hydrangeas break dormancy sets the tone for everything that follows. Soil conditions, pruning decisions, and feeding timing all land differently when the plant is just waking up.
They matter in a different way than they do once it is mid-season and carrying full foliage. The window is short and it closes faster than expected.
Ohio gardeners who consistently get strong blooms, healthy stems, and vigorous plants by midsummer often trace that performance back to early spring. It comes down to what they did, or did not do, the moment new growth appeared.
1. Identify Which Hydrangea Type You Are Growing
Before touching a single stem, the single most useful thing you can do is figure out exactly which hydrangea you are growing.
Not all hydrangeas behave the same way in spring, and treating them all identically is one of the most common mistakes home gardeners make.
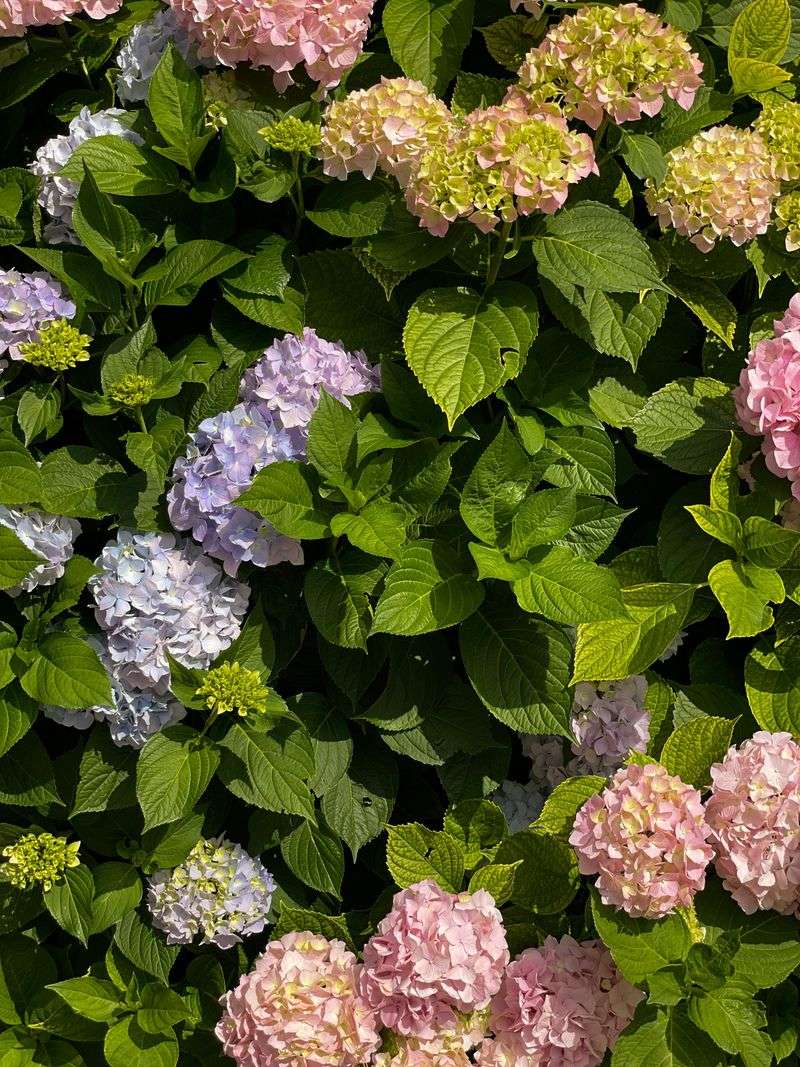
There are four main types you are likely to find in local gardens: bigleaf, oakleaf, smooth, and panicle. Bigleaf hydrangeas, also called Hydrangea macrophylla, are the classic mophead or lacecap types with large, rounded flower clusters.
Oakleaf hydrangeas have distinctive lobed leaves that look a bit like oak foliage. Smooth hydrangeas, like the popular Annabelle, produce big white ball-shaped blooms on fresh stems each year.
Panicle hydrangeas, such as Limelight or Bobo, grow cone-shaped flower clusters and are among the toughest types for our climate.
Why does this matter so much? Bigleaf and oakleaf hydrangeas bloom on old wood, meaning the flower buds formed last summer and survived the winter on existing stems.
Cutting those stems now removes the buds before they ever open. Smooth and panicle types bloom on new wood, so they can handle spring pruning without losing flowers.
To identify your plant, look at leaf shape, check any old plant labels, and think back to where the blooms appeared last year. Did flowers come from the tips of older stems, or did new stems push up from the base and bloom later in summer?
That memory alone can save your flowers this season.
2. Check Stems Before You Prune Anything
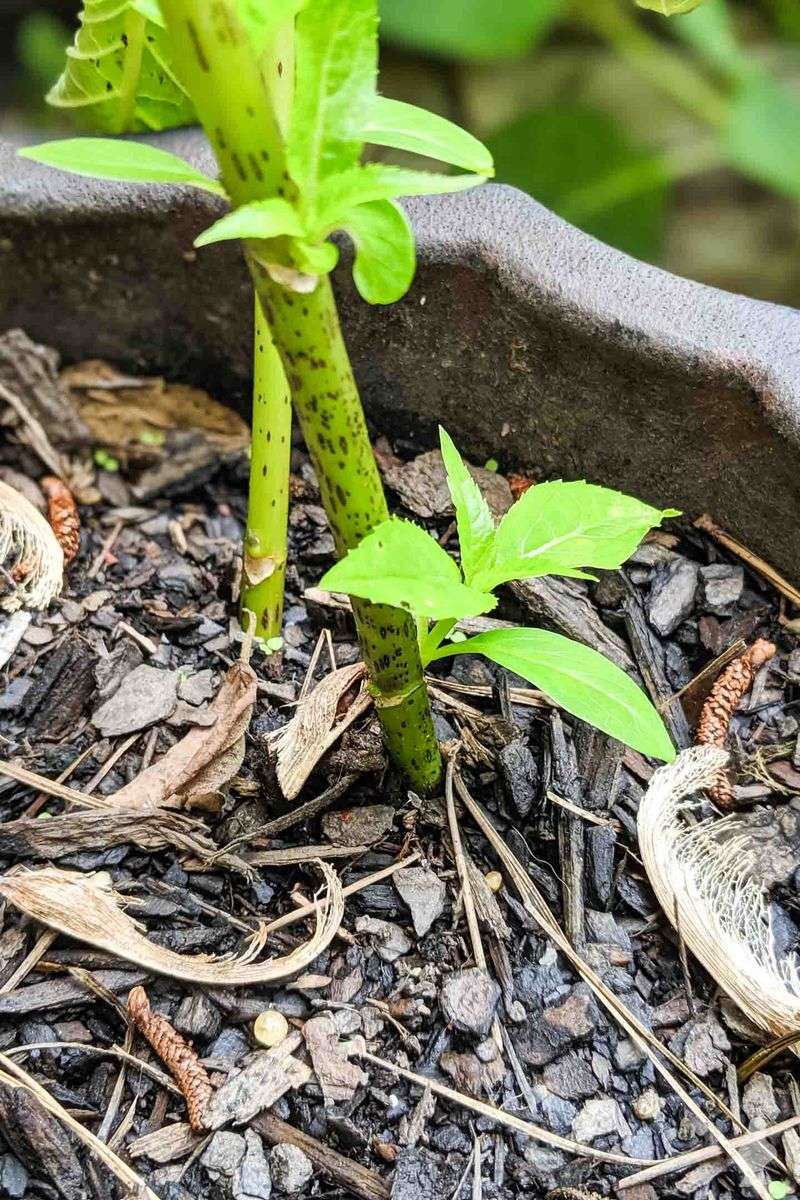
Spring has a way of making gardeners feel urgent. The moment green shows up, the urge to prune, shape, and tidy everything can be hard to resist.
But with hydrangeas, patience in these first weeks pays off more than speed.
Start by walking up to your plant and really looking at the stems before cutting anything. Gently bend a stem slightly.
A healthy stem feels flexible and may show a faint green tint just under the bark when you scratch it lightly with your fingernail. A stem that is truly gone will feel brittle, snap easily, and show dry brown tissue all the way through.
Your Ohio Garden Changes Every Week. Your Plan Should Too.
Gardening in Ohio changes quickly throughout the season. Every Friday you’ll receive a simple weekly plan showing exactly what to plant, prune, fertilize, harvest, and protect so you never miss the right timing.
That scratch test is one of the most reliable ways to check stem health without guessing.
Even stems that look bare and lifeless in early spring can surprise you. Buds on bigleaf hydrangeas especially can be slow to swell, and a stem that looks withered in March or early April may push leaves by late April or May.
Northern parts of the state tend to see later bud break, so gardeners there should wait even longer before making decisions about bare-looking wood.
Swelling buds along the sides of a stem are a clear sign that wood is alive and worth keeping. Check the full length of each stem from tip to base before deciding what stays and what goes.
Marking questionable stems with a piece of yarn or a twist tie gives you a simple way to track them over the next few weeks without committing to a cut you might regret.
3. Remove Only Clearly Damaged Wood At First
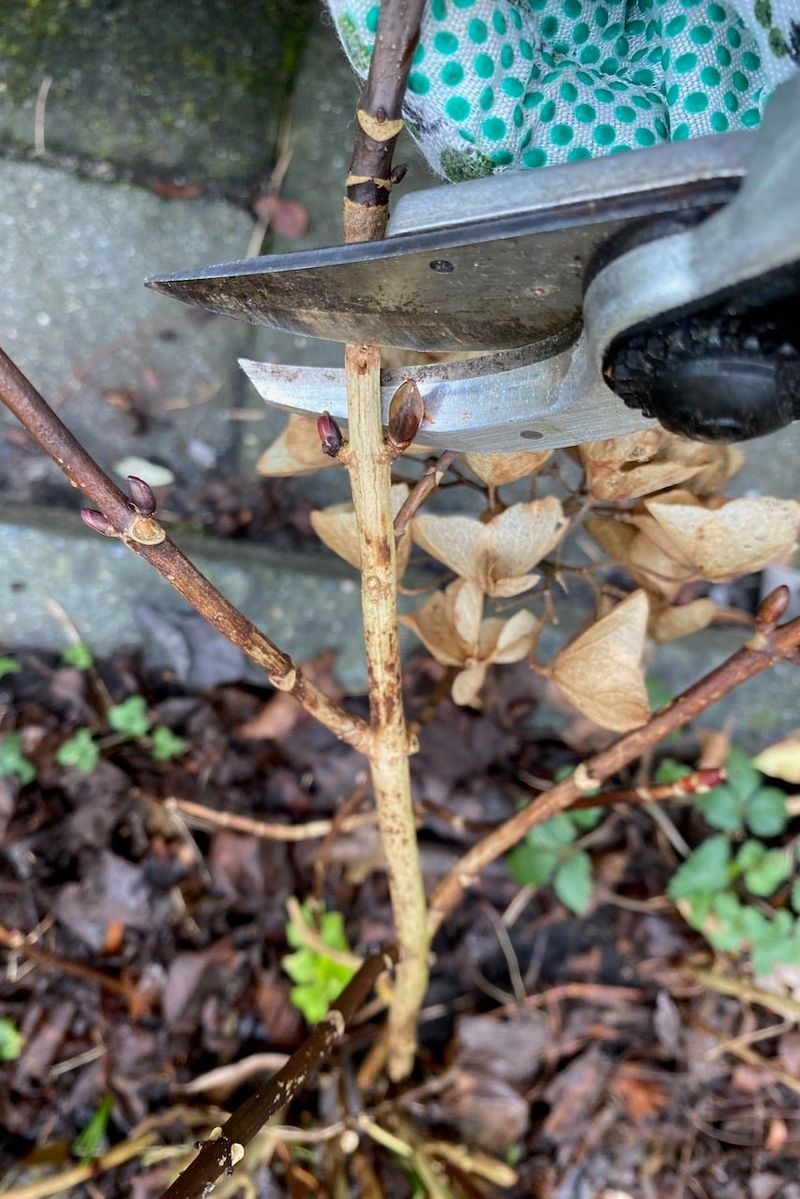
A light, careful cleanup is exactly the right approach once you have finished inspecting your stems. The goal at this stage is not a full reshape or a dramatic cutback.
Focus only on wood that is clearly gone: stems that snap cleanly, feel hollow, or show no sign of any bud activity after a fair wait.
For smooth hydrangeas like Annabelle, cutting stems back to about 12 to 18 inches or to just above a swelling bud is a common and well-supported approach. These plants bloom on new wood, so they can handle a more confident trim in early spring.
Panicle hydrangeas are similarly forgiving and can be lightly shaped once growth is clearly active.
Bigleaf and oakleaf types deserve the most caution. Flower buds on these plants are often sitting right on last year’s stems, sometimes near the tips.
Removing those stems before you are certain they are truly gone can cost you every bloom for the season. If a stem has even one swelling bud, leave it alone for now.
You can always remove it later once the season makes the situation clearer.
Broken or crossed branches that rub against each other are safe to remove at any time, regardless of hydrangea type. Same goes for stems that were snapped by winter snow or ice.
Keep your cuts clean and angled slightly so water sheds away from the cut surface. Sharp, clean pruners make better cuts and reduce the chance of tearing the bark on healthy nearby stems.
4. Refresh Mulch Around The Shallow Roots
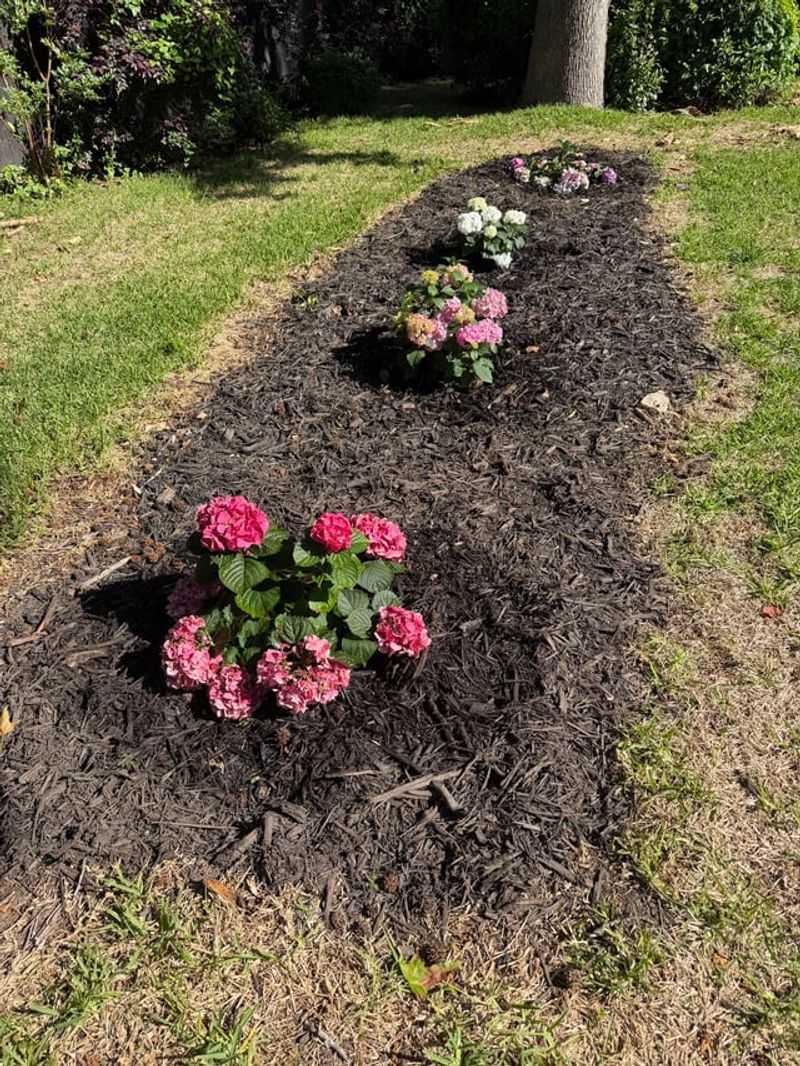
Hydrangea roots sit surprisingly close to the soil surface. Unlike deep-rooted trees or shrubs, hydrangeas rely on the top layer of soil for most of their moisture and nutrient uptake.
That makes mulch one of the most practical investments you can make for these plants each spring.
Once you have finished your early stem inspection and cleanup, pull back any old, compacted mulch and replace it with a fresh two-to-three-inch layer of organic material. Shredded bark, composted leaves, leaf mold, or wood chip mulch all work well.
These materials break down gradually, adding organic matter to the soil while also helping hold moisture during dry spells.
One firm rule: keep mulch pulled back about two to three inches from the crown of the plant and away from the base of any stems. Piling mulch against the crown traps moisture against tender tissue and can encourage rot or fungal problems over time.
A donut shape around the plant, rather than a mound against the stems, is the right approach.
Fresh mulch also helps moderate soil temperature during those unpredictable spring weeks when warm days and cold nights take turns. Shallow roots are sensitive to those swings, and a consistent mulch layer acts as a buffer.
In mulched beds, soil warms more gradually and holds onto warmth a little longer on cold nights. That gives new roots a more stable environment to grow into as the season opens up.
5. Water Deeply If Spring Soil Turns Dry
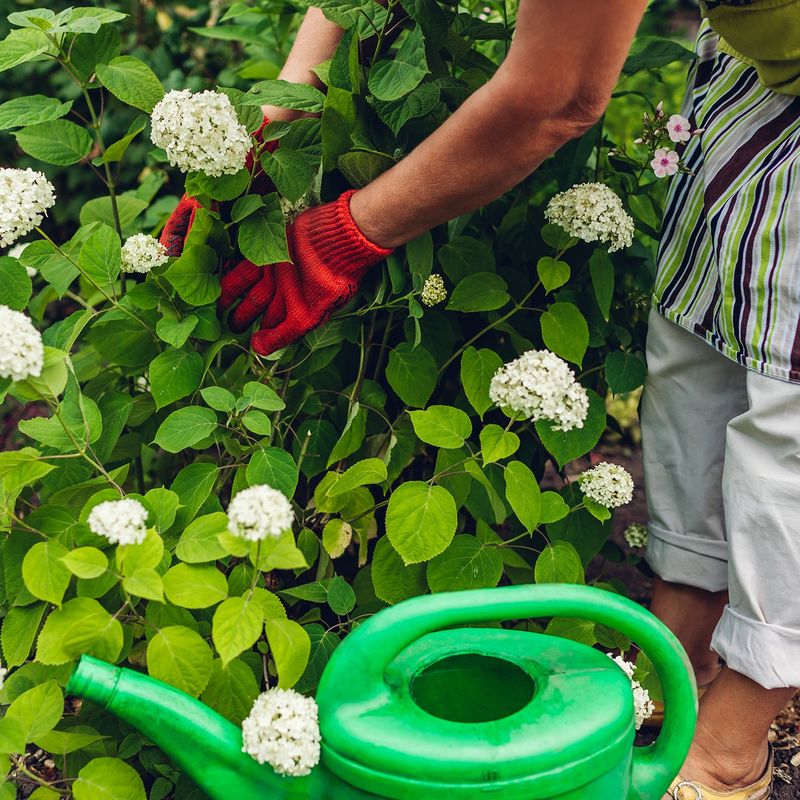
Spring rain in this state can be generous, but it can also be unpredictable. Some weeks bring steady soaking rains, and others turn surprisingly dry with warm winds that pull moisture out of the soil faster than you expect.
New growth needs consistent moisture to develop well, but that does not mean your hydrangeas need water every day.
Before reaching for the hose, push a finger about two inches into the soil near the base of the plant. If the soil feels moist at that depth, hold off.
If it feels dry and crumbly, it is time to water. This simple check takes about five seconds and keeps you from overwatering, which hydrangeas dislike just as much as drought.
When you do water, water deeply and slowly rather than giving a quick sprinkle on the surface. Deep watering encourages roots to reach down rather than staying right at the surface.
A slow soak at the base of the plant for several minutes is far more useful than a brief pass with a sprinkler that barely wets the top inch of soil.
Container hydrangeas and newer plants installed last season dry out much faster than established shrubs growing in the ground. Check those plants more frequently during dry stretches.
Established hydrangeas in well-mulched beds have a bit more buffer, but they still appreciate a deep drink during extended dry spells.
Avoid wetting the foliage in the evening if you can, since damp leaves overnight can encourage fungal issues as the season warms up.
6. Feed Lightly After Growth Gets Going

Fertilizer timing matters more than most gardeners realize. Rushing to feed hydrangeas the moment the first tiny leaves appear is one of the most common early-season missteps.
Tiny new growth does not need a heavy nutrient push right away. In fact, feeding too early or too heavily can push a flush of soft, leafy growth that comes at the expense of better flower development later.
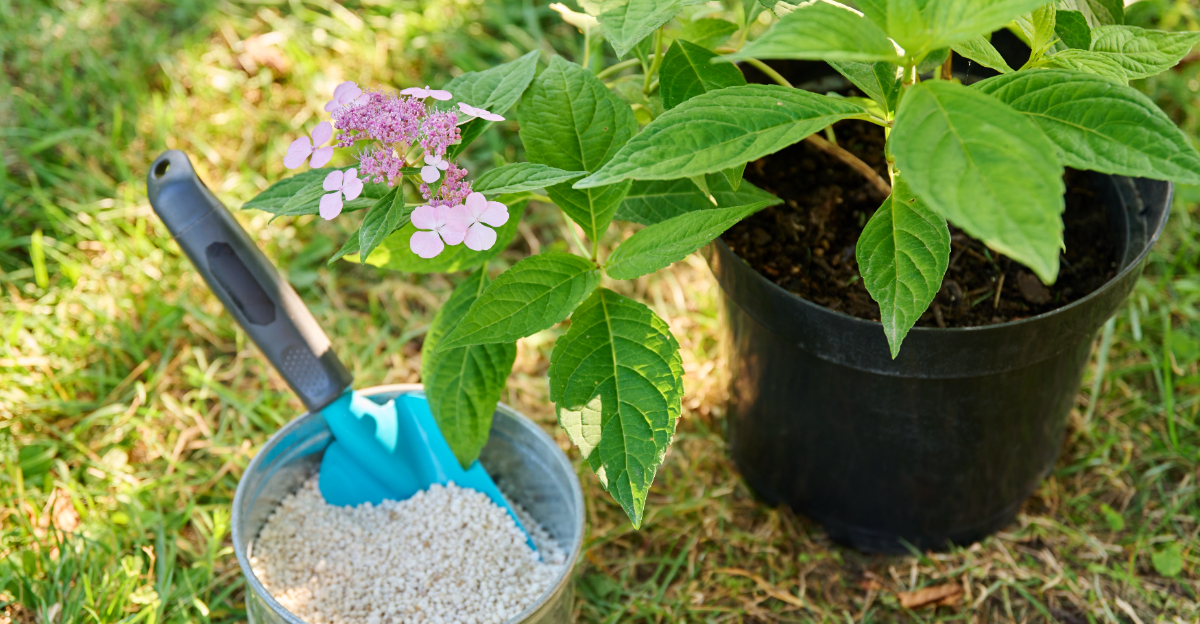
Wait until growth is clearly active and the plant has a good set of leaves emerging before offering any fertilizer at all. A light application of a balanced, slow-release granular fertilizer is a reasonable choice for most hydrangeas at that point.
Look for a product with roughly equal nitrogen, phosphorus, and potassium numbers, such as a 10-10-10 formula, and follow the label rate rather than doubling up.
If you are not sure whether your hydrangeas actually need feeding, a simple soil test is worth doing. Your local Ohio State University Extension office can help with soil testing.
The results will tell you what your soil already has and what, if anything, it is missing. Many established hydrangeas growing in decent soil with regular organic mulch need very little supplemental fertilizer at all.
Avoid high-nitrogen fertilizers, which push lots of green leafy growth but can reduce the energy a plant puts toward producing flowers. For bigleaf hydrangeas where you want to influence bloom color, soil pH plays a bigger role than fertilizer type.
Acidic soil tends to shift blooms toward blue, while more alkaline conditions shift them toward pink.
7. Protect Tender Growth From Late Cold Snaps
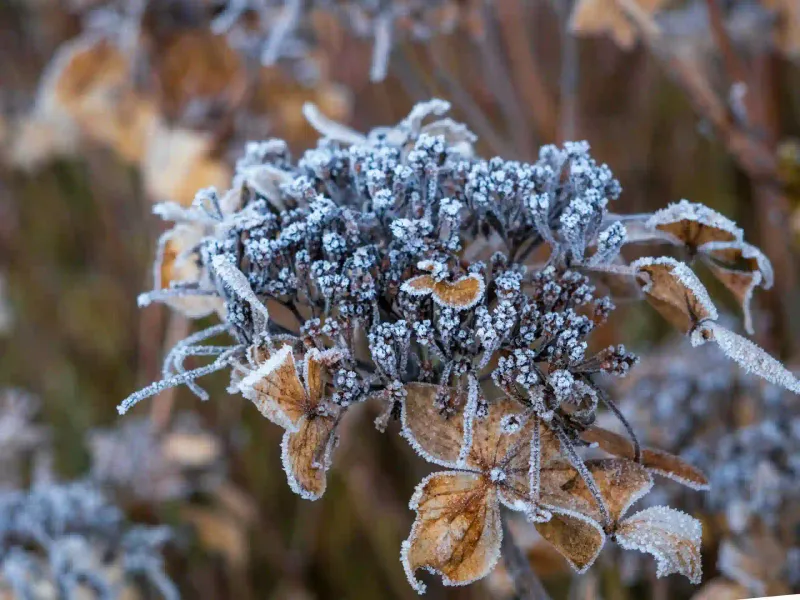
Late cold snaps are one of the trickiest parts of growing hydrangeas in this state. Spring temperatures can swing dramatically, with warm sunny days in the 60s followed by overnight lows that dip back toward freezing.
That pattern is especially common in frost-prone areas and northern regions near Lake Erie, where cold air can settle in well into May.
Tender new growth, especially the soft, unfurling leaves and swelling flower buds that appear in early spring, is much more vulnerable to cold than the woody stems below.
A frost that barely affects your perennials can nip the new growth on a bigleaf hydrangea and set back its blooming potential for the whole season.
That is not a reason to panic, but it is a reason to keep an eye on the forecast.
When cold nights are predicted, cover your hydrangeas loosely with a breathable fabric row cover or a few layers of burlap. These materials trap enough warmth to protect tender tissue without smothering the plant.
Avoid using plastic sheeting directly against the leaves, since plastic does not breathe and can cause more damage than the cold itself when temperatures fluctuate.
Container hydrangeas have a big advantage here: you can simply move them to a sheltered spot like a garage or covered porch for the night. Remove covers or bring containers back outside once daytime temperatures are comfortably above freezing.
Repeated covering and uncovering takes a few extra minutes, but it is far easier than losing a full season of blooms to one cold night you did not see coming.