Do These Things Now If Your Michigan Hostas Are Getting Smaller Every Year
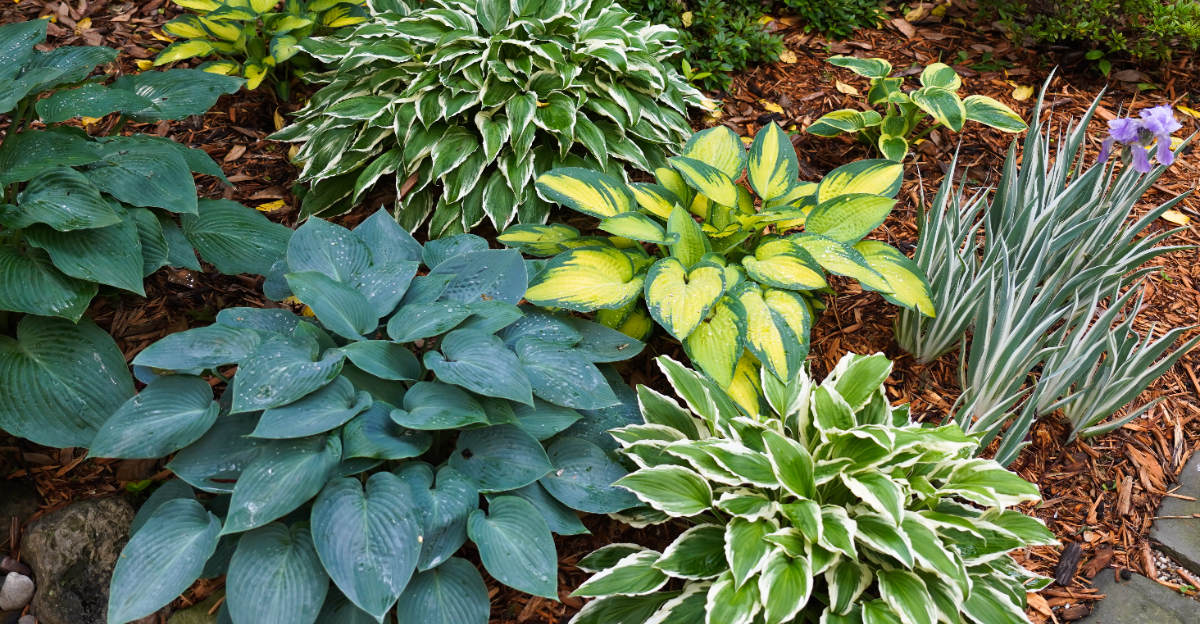
A hosta that gets a little smaller each season is one of those garden problems that sneaks up on you. The plant is still there, still coming back, still green, so it rarely triggers the same urgency as something that dies outright.
But a hosta that produces smaller leaves and thinner clumps year after year is telling you something specific about conditions in the soil and the space around it. Ignoring those signals does not make the situation stable.
It makes it worse, and by the time the decline is obvious enough to feel urgent, some of the easiest fixes are no longer on the table.
Several straightforward steps taken right now, while the season is still early, can reverse the pattern and get the plant performing the way it did when you first put it in the ground.
1. Divide Overcrowded Clumps
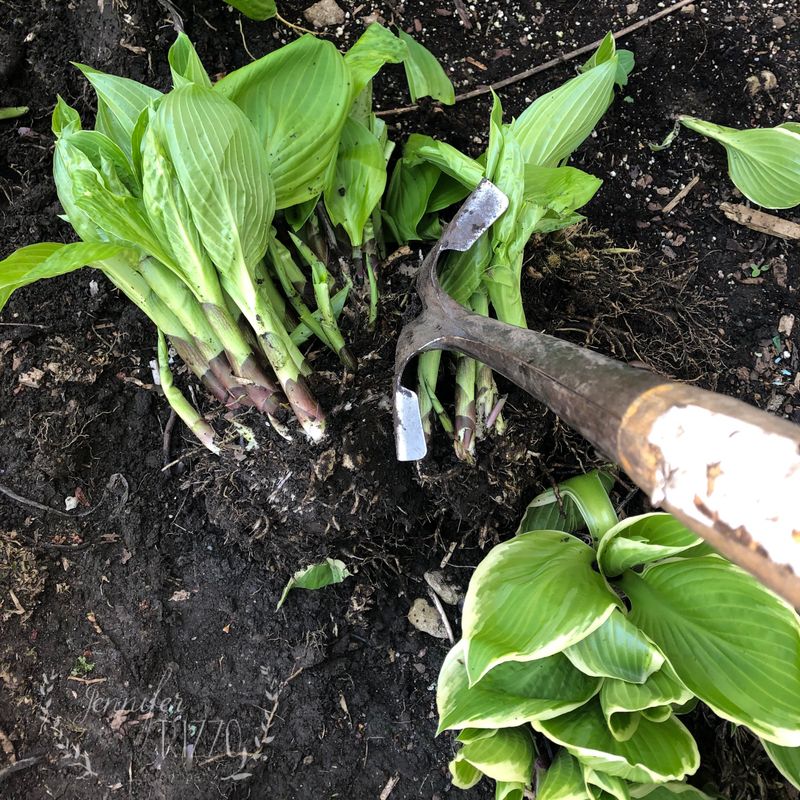
A hosta clump that has been sitting in the same spot for five or more years might be its own worst enemy. As the crown expands, individual shoots compete with each other for moisture, nutrients, and root space.
That internal competition is one of the most common reasons Michigan hostas start producing smaller leaves each year.
The best time to divide hostas in Michigan is early spring, right as the pointed shoots, called eyes, push up through the soil. At that stage the plant is easy to see, the soil is moist, and the divisions settle in before summer heat arrives.
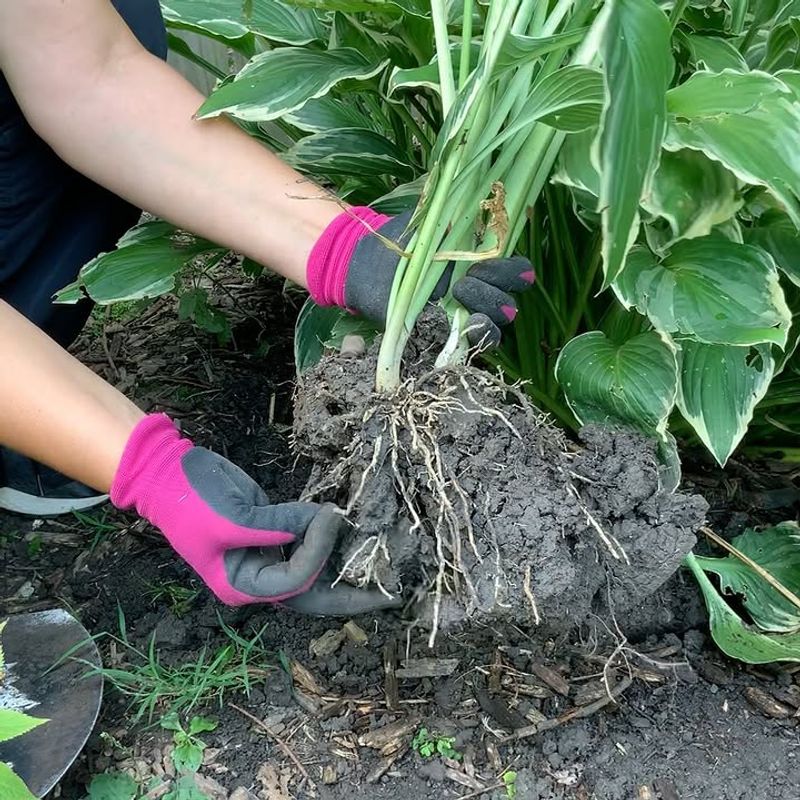
Use a sharp spade or garden fork to lift the entire clump, then work it apart into sections. Each division should have at least two to three healthy eyes and a solid root system attached.
When replanting, set each division so the crown sits right at soil level, not buried below it. Burying the crown too deeply traps moisture against it and invites rot.
Space divisions at least 18 to 24 inches apart depending on the variety, water them in thoroughly, and add a light layer of mulch around them without touching the crown.
Most divisions will establish quickly and reward you with noticeably larger, healthier leaves within a single growing season.
2. Add Compost Around The Root Zone
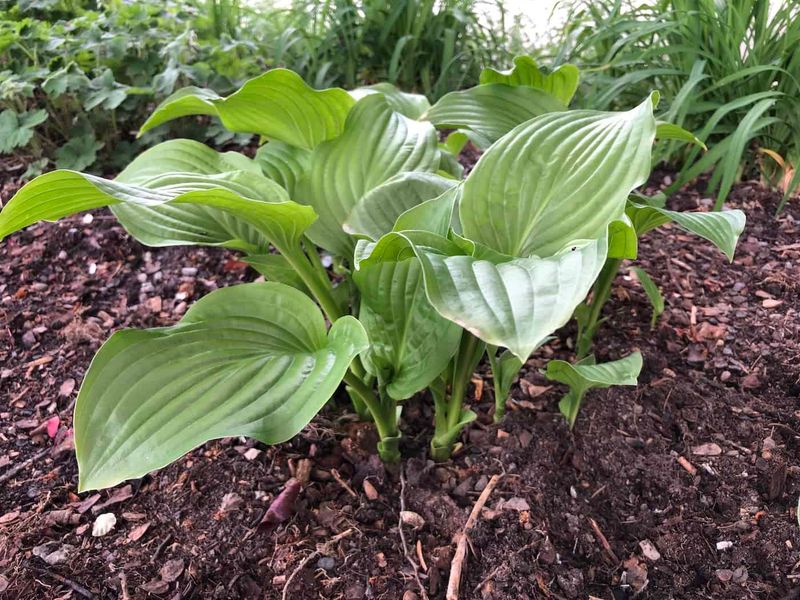
Soil quality matters more than most gardeners realize when hostas start shrinking. Over time, the organic matter in garden beds breaks down, soil compacts, and roots struggle to pull in what they need.
Adding compost is one of the simplest and most reliable ways to reverse that trend without disturbing your plants.
Top-dressing is the method that works best for established hostas. Spread two to three inches of finished compost around each plant, starting a few inches away from the crown and working outward to the drip line.
You are not trying to dig it in deeply. Michigan hosta roots are surprisingly shallow, and aggressive digging near the base can slice right through them and set the plant back further.
Once the compost is spread, you can lightly work the outer edges into the top inch of soil with a hand cultivator if you like. Rain and earthworms will carry nutrients downward naturally over the following weeks.
Your Michigan Garden Changes Every Week. Your Plan Should Too.
Gardening in Michigan changes quickly throughout the season. Every Friday you’ll receive a simple weekly plan showing exactly what to plant, prune, fertilize, harvest, and protect so you never miss the right timing.
Compost improves moisture retention in sandy Michigan soils, loosens heavy clay, and feeds beneficial soil organisms that support root health. Doing this every spring builds a richer growing environment year after year.
Paired with consistent watering and good mulch, regular compost applications can genuinely transform a struggling hosta bed into something you are proud to show off.
3. Water Deeply During Dry Michigan Summers
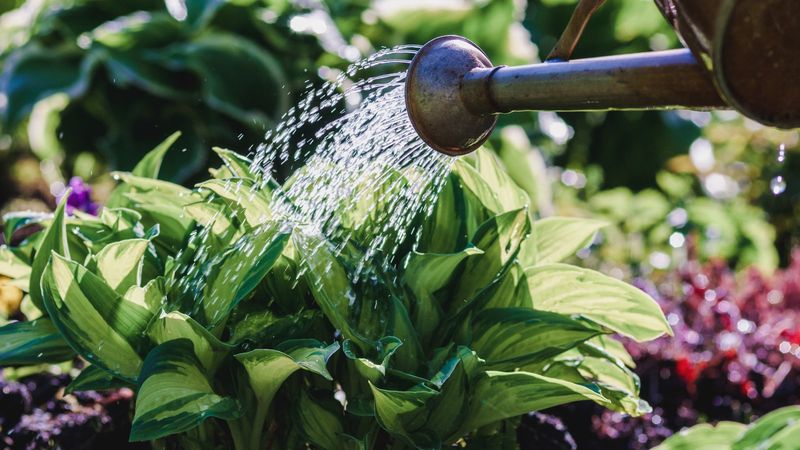
Hostas look tough, but they are actually pretty thirsty plants. Those big, beautiful leaves lose a surprising amount of moisture through transpiration every day, and when the soil dries out, the plant responds by producing smaller, thinner foliage the following year.
Michigan summers can swing from rainy and cool to hot and dry within weeks, and that inconsistency catches a lot of gardeners off guard.
Shallow, frequent watering does not help much because it never reaches the deeper roots. What hostas really need is a long, slow soak about once a week during dry stretches, enough to push moisture six to eight inches into the soil.
Sandy soils in western Michigan drain fast and may need water twice a week in peak summer. Heavy clay soils in metro Detroit or Lansing hold moisture longer but can also stay waterlogged, so pay attention to how quickly your bed drains after a good rain.
Hostas planted near mature trees face an extra challenge because tree roots pull moisture from the same soil. Those beds dry out faster than open garden areas and need more frequent attention.
Watering in the morning is always the better choice since it gives foliage time to dry before evening, which helps reduce slug and fungal activity.
A two-inch layer of shredded bark mulch slows evaporation significantly and makes your watering efforts go much further throughout the season.
4. Reduce Tree Root Competition Or Move Hostas To A Better Spot
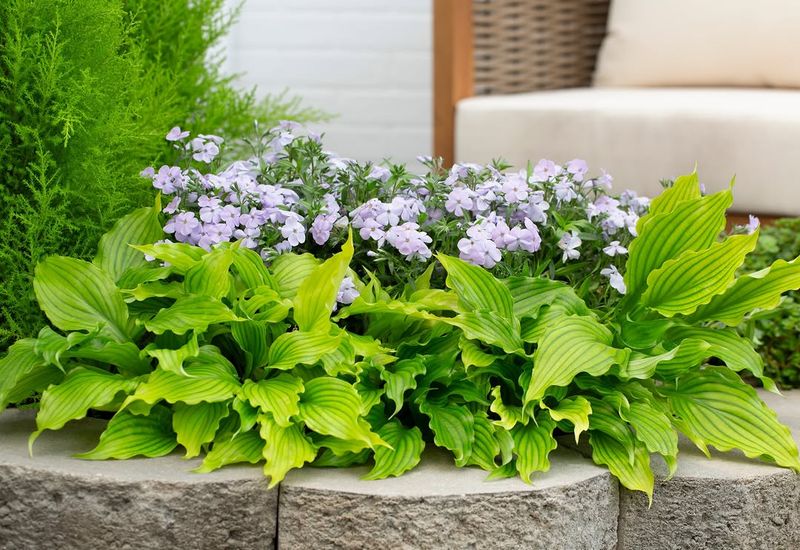
Planting hostas under trees feels like a natural match, and often it is. But certain trees, especially silver maples, Norway maples, and large beeches, have aggressive shallow root systems that spread through the top six inches of soil.
That is exactly where hosta roots live, which means both plants end up fighting for the same water and nutrients season after season.
You might notice the hostas closest to the trunk shrinking faster than others or looking stressed even after watering. That is a reliable sign that tree root competition is a factor.
Before pulling plants out, try improving the situation by adding compost on top of the soil, mulching lightly to hold moisture, and watering more frequently during dry spells.
Sometimes those steps are enough to give hostas what they need even with tree competition nearby.
Cutting large tree roots is not a realistic solution and can harm the tree significantly. If the competition is severe, the smarter move is relocating the hostas to a better spot.
Look for areas that get bright, filtered shade or gentle morning sun, with soil that drains well and is not packed with competing roots. A fresh planting site with improved soil gives struggling hostas a real chance to thrive again.
Many gardeners are surprised at how quickly a relocated hosta rebounds once it is no longer competing for every drop of water.
5. Check For Slug Damage On New Leaves
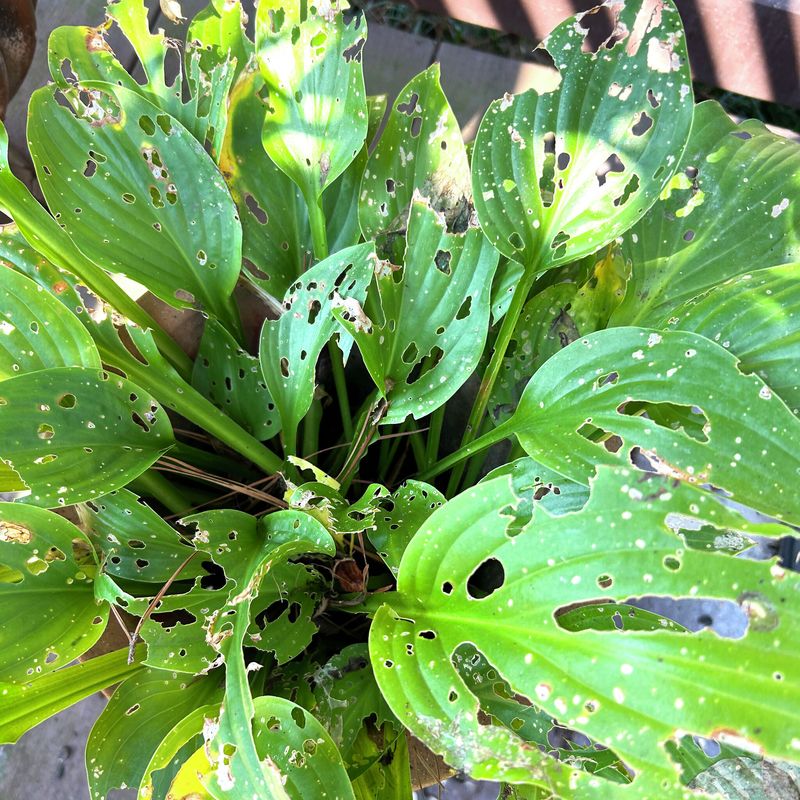
Slugs are a fact of life in Michigan shade gardens, and they have a particular fondness for hostas. They feed mostly at night, rasping irregular holes and ragged edges into new leaves before you even get a chance to enjoy them.
While slugs alone rarely cause hostas to shrink year after year, heavy and repeated feeding can stress plants, reduce photosynthesis, and leave foliage looking so rough that the whole bed seems to be declining.
Start checking in early spring as soon as new shoots emerge, because that is when slugs are most active and most damaging. Go out after dark with a flashlight and look along the base of stems, under mulch, and on the undersides of leaves.
You will often find more than you expected. Hand removal works well for small infestations. Drop them into a container of soapy water to stop them from returning.
Managing the environment matters just as much as direct removal. Pull mulch back a few inches from the crown so slugs have fewer hiding spots.
Water in the morning instead of evening so the soil surface dries out by nightfall. Avoid piling thick layers of organic material directly against the stems.
Iron phosphate-based slug baits are considered safe for use around pets, wildlife, and children and are a practical option for heavier infestations. Consistent monitoring through spring and early summer keeps slug populations from building up to damaging levels.
6. Remove Old Leaves And Debris In Spring
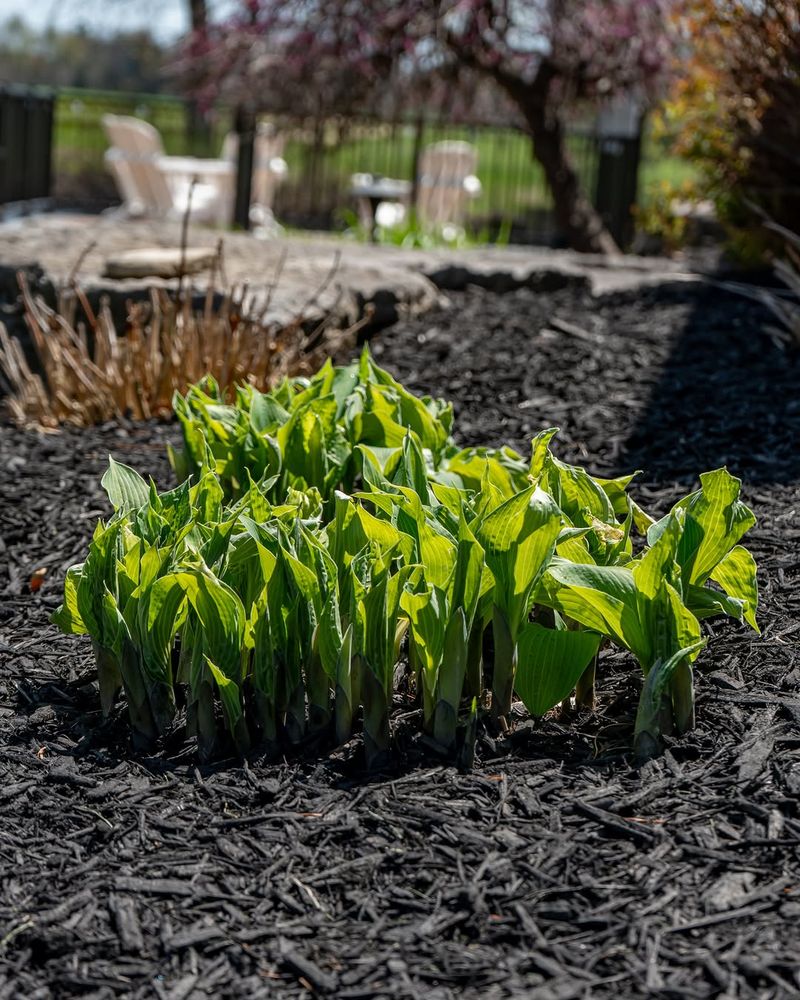
Spring cleanup in a hosta bed is more than just tidying up. All that collapsed, wet debris left over from winter creates the perfect hiding place for slugs, fungal spores, and the conditions that lead to crown rot.
Getting it cleared out before new growth really gets going gives your hostas a much healthier start to the season.
Wait until the worst of the cold has passed, usually late March to mid-April in most parts of Michigan, and then get in there before the new eyes push up too far. Remove old collapsed leaf blades, dry petiole stubs, and any soggy material sitting against the crown.
Work carefully around the base because emerging hosta shoots are surprisingly fragile and easy to snap off accidentally. A pair of scissors or hand pruners works better than raking near the crown.
Once the debris is cleared, take a good look at the crown itself. It should be firm and show clean, pointed growth tips.
Any mushy, discolored, or foul-smelling tissue near the base is a warning sign worth investigating further. After cleanup, dispose of the removed material in your yard waste bin rather than composting it, especially if you noticed disease or rot.
Finishing the job with a fresh, thin layer of mulch set a few inches away from the crown helps keep the bed tidy, holds moisture, and reduces the chance of new slug activity as warmer weather arrives.
7. Avoid Heavy Fertilizer Applications
When hostas start shrinking, reaching for fertilizer feels like the logical fix. More food should mean bigger plants, right?
Not exactly. Heavy fertilizer applications can actually make things worse by pushing soft, weak growth that is more attractive to pests, more prone to disease, and less able to handle summer heat.
Fertilizer cannot fix poor drainage, shade imbalance, overcrowding, or root competition, which are the real culprits in most declining Michigan hosta beds.
A light application of balanced, slow-release granular fertilizer in early spring is usually all hostas need. Look for something in the 10-10-10 range or a fertilizer specifically labeled for shade perennials.
Sprinkle it lightly around the drip line of each plant, not directly against the crown, and water it in well. One application per season is enough for most established plants growing in decent soil.
If you are already adding compost regularly, you may not need additional fertilizer at all. Compost feeds soil biology and releases nutrients slowly, which suits hostas perfectly.
A soil test from Michigan State University Extension is a worthwhile step if you are unsure what your beds actually need. Testing takes the guesswork out of it and prevents the buildup of excess nutrients like phosphorus, which can lock out other minerals over time.
Feeding lightly and thoughtfully is always more effective than dumping on extra product hoping for faster results.
8. Improve Airflow Around Dense Plantings
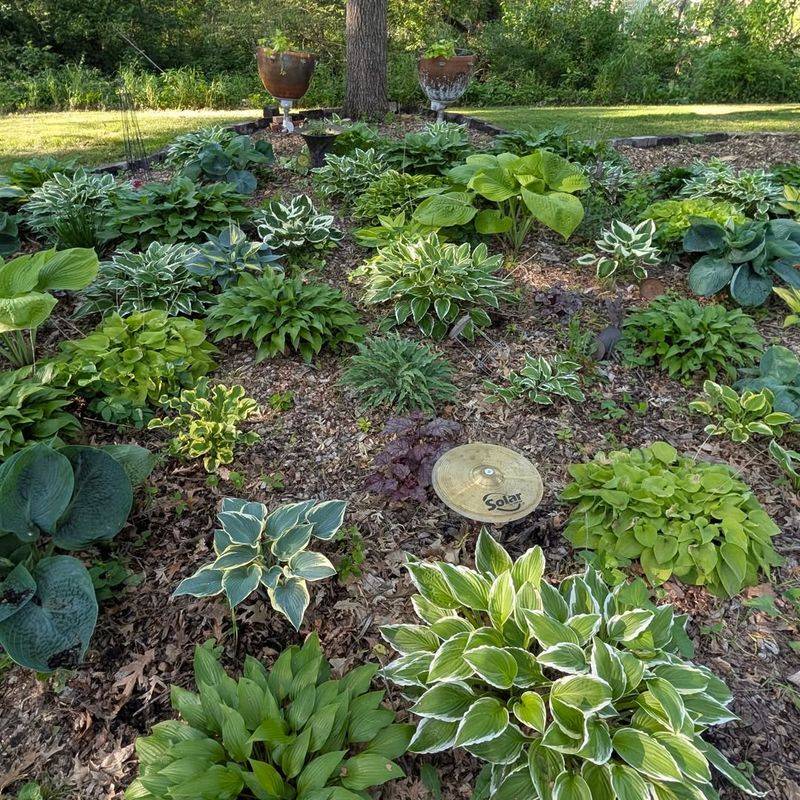
Picture a hosta bed so packed with plants that leaves overlap completely and the soil underneath never fully dries out between rain events. That kind of dense, humid microclimate is a playground for fungal issues and slugs.
While poor airflow is rarely the only reason hostas shrink, it absolutely contributes to the overall stress load on plants that are already struggling.
Improving airflow does not mean starting over. Start by thinning nearby perennials that have crept into the hosta space.
Pull back mulch that has been piled too thickly against the crowns. If hostas have grown so large they are touching each other completely, that is a sign division is overdue.
Giving each plant a little breathing room makes a real difference in how quickly foliage dries after rain or morning dew.
Spacing matters at planting time too. Small to medium hosta varieties generally need 18 to 24 inches between plants, while large varieties like Sum and Substance or Empress Wu can need three feet or more.
Michigan gardeners often underestimate how big hostas eventually get and plant too close together from the start. Revisiting spacing every few years keeps beds from becoming unmanageable.
Better airflow combined with morning sun, clean debris removal, and proper mulch depth creates an environment where hostas can genuinely thrive rather than just survive season after season.
9. Watch For Petiole Rot Near The Crown
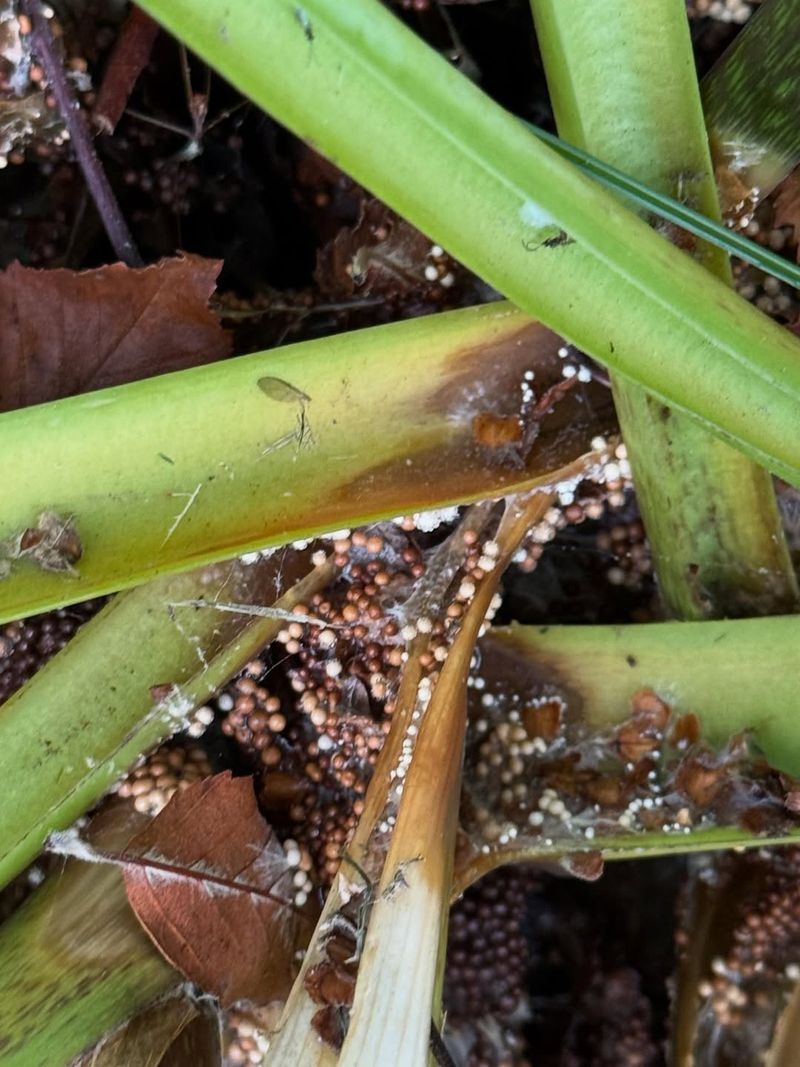
There is a big difference between a hosta that is simply getting smaller and one that is actively rotting at the base. Petiole rot, caused by the soilborne pathogen Sclerotium rolfsii, produces a very specific set of symptoms.
Leaf stems collapse suddenly at soil level, the tissue near the crown turns mushy and brown, and you may notice a sour or unpleasant smell when you dig near the base. In wet Michigan summers, this problem can spread quickly.
Poorly drained shade beds are the highest-risk spots. Water that sits around the crown for extended periods creates exactly the conditions this pathogen loves.
If you spot collapsing stems on one or two plants, act quickly. Remove the affected tissue carefully, pulling away mushy petioles and any discolored crown material you can reach.
Avoid watering overhead if possible and let the soil surface dry between waterings.
Improving drainage is the most important long-term fix. Raised beds, amended soil with extra perlite or coarse compost, and keeping mulch away from the crown all reduce moisture buildup at the base of the plant.
For severely affected plants, removal may be the best option to keep the problem from spreading to neighboring hostas. Do not compost infected material.
Bag it and put it in yard waste or trash. Replacing the soil in that spot before replanting gives new divisions a much cleaner start.
10. Replant Weak Divisions In Better Soil
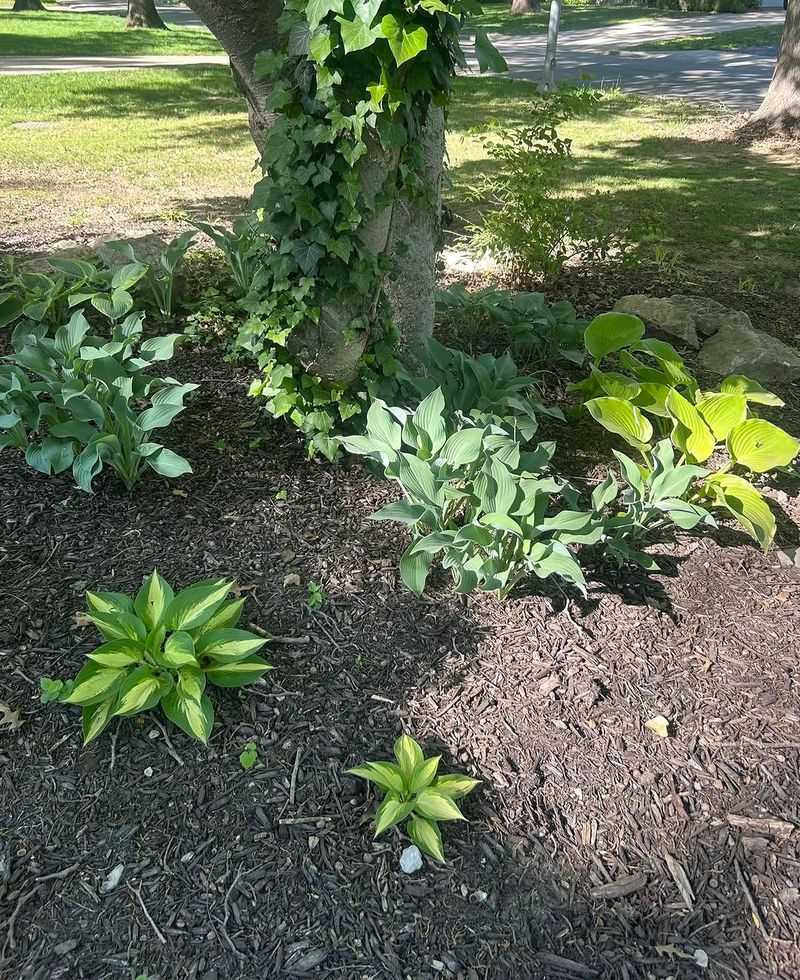
Sometimes a hosta clump has been struggling for so long in poor conditions that simply dividing it and dropping it back into the same tired soil does not do much good.
Weak divisions with limited root systems need a better environment to recover, and giving them one is not complicated. It just takes a little extra effort at planting time.
Start by preparing the new planting area properly. Loosen the soil to about 12 inches deep and work in two to three inches of finished compost.
If your Michigan garden has heavy clay, adding a handful of coarse perlite or fine bark to the mix improves drainage without making the soil too dry. Good drainage combined with consistent moisture is the exact balance hostas want.
Set each division so the crown, the point where stems meet roots, sits right at soil level. Too deep and moisture collects against it.
Too shallow and roots dry out quickly. Firm the soil gently around the roots to eliminate air pockets, then water thoroughly.
A two-inch layer of shredded bark mulch spread around but not touching the crown helps hold moisture during the establishment period. Keep the soil consistently moist for the first four to six weeks.
Weak divisions planted in rich, well-prepared soil with good drainage can surprise you with how quickly they put on new growth and start building back toward the size they once were.
11. Increase Morning Sun If The Bed Is Too Dark
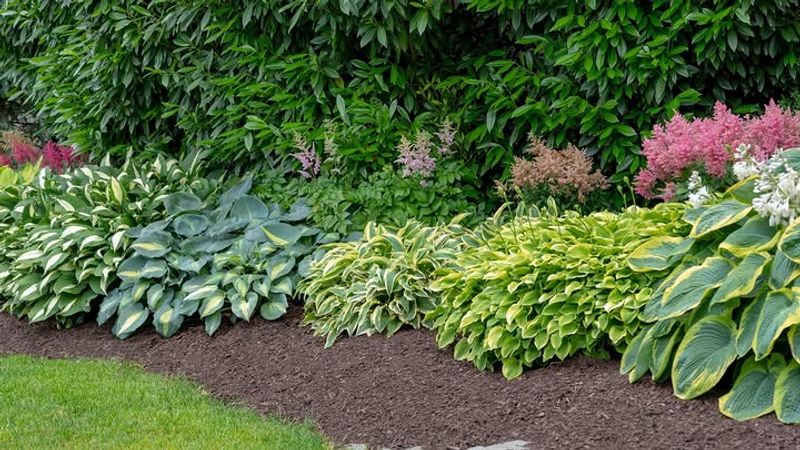
Not all shade is created equal, and hostas know the difference. Many gardeners assume that more shade always means happier hostas, but extremely deep, all-day shade can actually cause plants to become smaller, stretched out, and less vigorous over time.
Hostas need some light to fuel photosynthesis, and when a canopy grows denser as trees mature, the light level in a bed can drop significantly from one decade to the next.
Bright indirect light or gentle morning sun, roughly two to three hours worth, is ideal for most hosta varieties. Morning sun is much softer than afternoon sun and rarely scorches leaves the way direct midday or western exposure can.
If your bed sits on the north side of a fence, under a dense evergreen, or in a corner that never sees any direct light, that could be a real factor in why your plants keep getting smaller.
Evaluating your light situation is simple. Spend a day noting how much direct or filtered light reaches the bed at different times.
If the answer is almost none, moving hostas to a slightly brighter location can make a dramatic difference. Thinning a few lower branches from nearby trees is another option that opens the canopy without removing the shade entirely.
Many Michigan gardeners discover that their best-performing hostas are in spots that get morning sun and afternoon shade, a combination that supports strong, full-sized growth year after year.
12. Remove And Replace Plants If Hosta Virus X Is Suspected
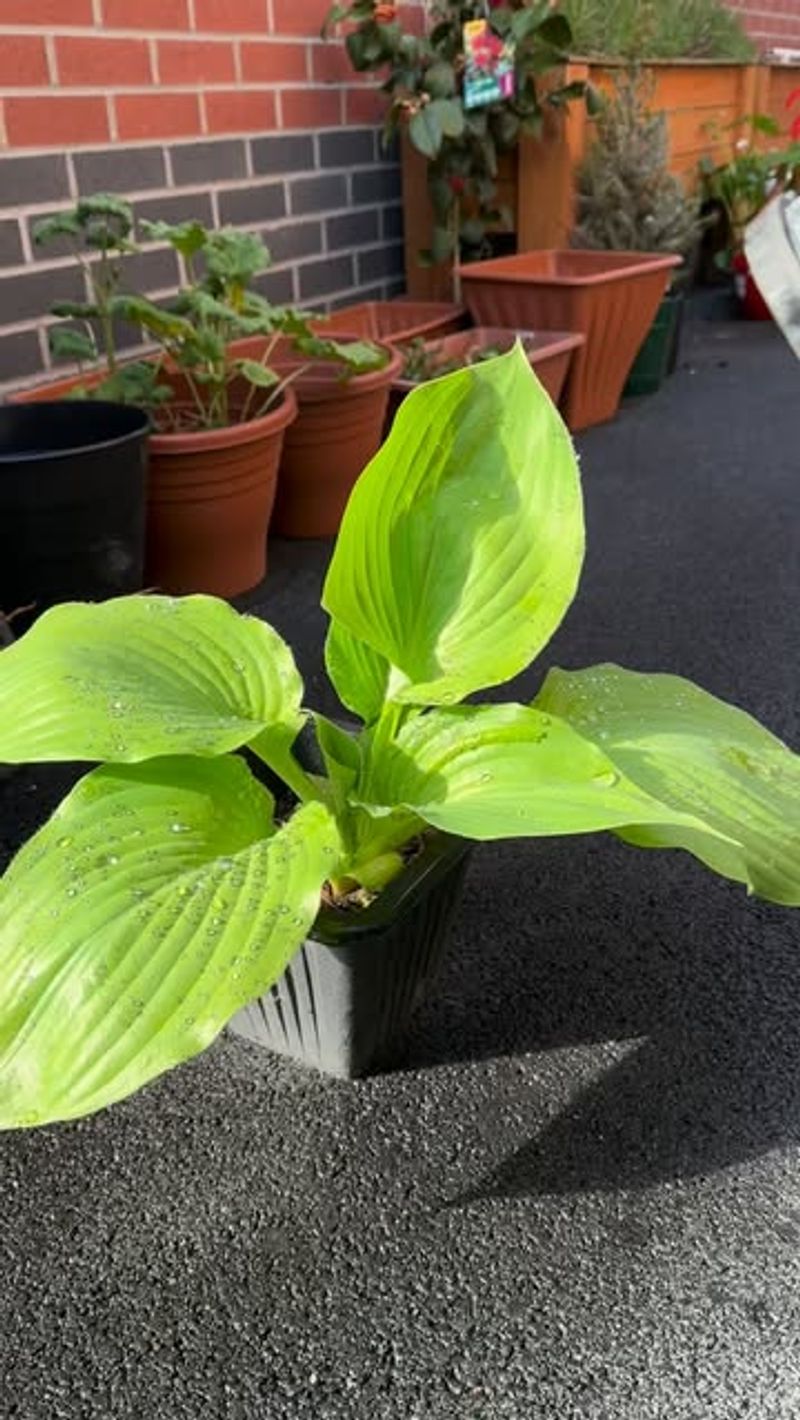
Hosta Virus X is one of those problems that gardeners often dismiss for too long because the symptoms can look decorative at first.
Unusual color patterns, inky streaks bleeding between leaf sections, and strange mottling might seem like an interesting variation, but they are warning signs of a virus that has no cure.
Over time, infected plants show distorted growth, collapsed or sunken tissue, and a slow but steady decline that no amount of fertilizer or water will reverse.
It is worth saying clearly that shrinking hostas alone do not confirm Hosta Virus X. Overcrowding, drought, poor soil, and root competition are far more common causes.
But if a plant also shows mottled or blotchy coloring, ink-bleed patterns along leaf veins, or puckered and distorted foliage that worsens each year, removal is the responsible choice.
The virus spreads through sap contact, meaning shared tools, rough handling, or dividing an infected plant can pass it to healthy ones nearby.
Always disinfect pruning tools with a diluted bleach solution or rubbing alcohol between plants. If you remove a suspected plant, bag it completely and place it in the trash rather than the compost bin.
Avoid replanting hostas in that same spot for at least a season. When buying new plants, choose reputable nurseries that source from tissue-cultured or virus-tested stock.
Starting fresh with clean, healthy plants from a trusted source is the most reliable way to move forward after dealing with this frustrating virus.