10 Reliable June Hosta Care Tips That Work In New Jersey Gardens
June in New Jersey hits hostas hard. Heat builds fast, slugs move in overnight, and deer treat your garden like a buffet.
This is the month that separates thriving plants from struggling ones. Get the care routine right now, and your hostas will reward you with thick, dramatic foliage deep into fall.
My shaded bed was thriving in May and embarrassing me by July. A few targeted changes later, same plants, completely different story.
Apparently they just needed someone who actually knew what they were doing. New Jersey summers are not forgiving, but hostas are tougher than they look.
They just need the right support at the right time. You might have one container near the porch.
You might have an entire woodland border to manage. Ready to grow hostas that make people stop and stare?
1. Water Deeply 1-2 Times Per Week

Hostas are thirsty plants, but a quick daily sprinkle does them no favors. Deep, infrequent watering trains the roots to grow downward, making the plant tougher and more resilient when the July heat rolls in.
Think of it like this: a shallow drink every day keeps the roots lazy and near the surface. In June across New Jersey, rainfall can be unpredictable, swinging from soggy weeks to dry stretches with no warning.
Aim for about one inch of water per session, soaking the soil six to eight inches deep. Stick your finger two inches into the soil before watering. If it feels dry, it is time to water.
If it still feels moist, give it another day. Early morning is the best time to water hostas because the soil absorbs moisture before afternoon heat can evaporate it.
Avoid watering in the evening, which can encourage fungal issues around the crown. A slow soaker hose laid around the base of your plants does the job beautifully without wasting a drop.
Consistent deep watering in June sets up your hostas for a strong, healthy summer season ahead.
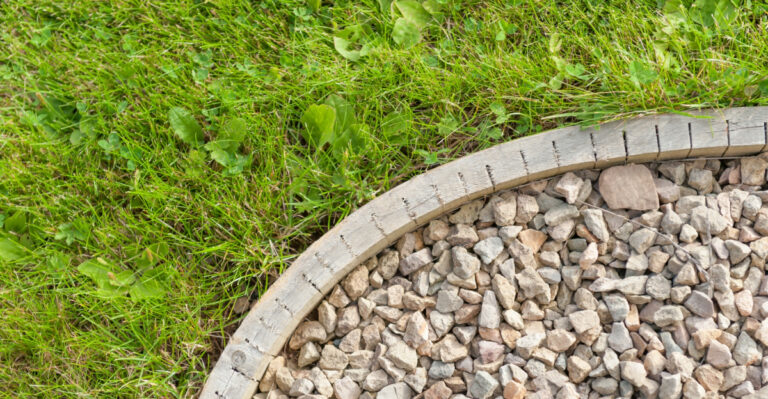
2. Top Up Mulch To 2-3 Inches

Bare soil around your hostas in June is basically an open invitation for trouble. Weeds move in fast, moisture escapes even faster, and soil temperatures spike in ways that stress the roots.
A fresh layer of mulch is one of the simplest and most powerful moves you can make this month. Pull back any old mulch that has compacted or broken down over winter and early spring.
Top it up with shredded hardwood bark, pine fines, or leaf mold until you reach a consistent two to three inch depth.
Keep the mulch a couple of inches away from the crown of the plant, since piling it directly against the stem can cause rot.
Beyond moisture retention, mulch acts as a natural temperature buffer, keeping roots cooler on hot afternoons when the thermometer climbs.
It also suppresses weed seeds before they even get a chance to sprout. Shredded leaves from last fall work surprisingly well if you have them stored in a pile.
Fresh mulch also gives the garden bed a clean, polished look that makes the bold hosta foliage pop even more. This one small step pays dividends all season long.
3. Apply Slow-Release Balanced Fertilizer (10-10-10)
")
June is prime feeding time for hostas. Reach for a balanced granular fertilizer with equal parts nitrogen, phosphorus, and potassium, labeled 10-10-10.
Nitrogen drives that gorgeous green color, while phosphorus and potassium support root strength and overall plant health.
Slow-release formulas are the smarter choice over liquid feeds because they deliver a steady supply over weeks rather than one big rush.
That big rush of nutrients can actually burn the roots or push weak, floppy leaf growth that looks great for a week and then flops over.
Scatter the granules evenly around the drip line of each plant, keeping them off the crown and the leaves.
Water thoroughly after applying so the granules begin breaking down and nutrients start moving into the root zone. One application in early June is usually enough for the whole season with slow-release products.
Avoid fertilizing after mid-July, since late feeding can push tender new growth that may struggle as temperatures drop in fall. Feed them right in June and your hostas will reward you with foliage that looks almost unreal.
4. Water At The Base, Never The Leaves

Watering hosta leaves directly is a fast track to problems. Wet foliage sitting in humid June air creates the perfect environment for fungal diseases like leaf spot and crown rot.
Those brown blotches and mushy patches are not just ugly. They can spread quickly through a whole bed.
Always direct your water to the soil at the base of the plant, not the leaves. A watering wand with a gentle flow makes this easy, letting you reach under the broad canopy without disturbing the foliage above.
Soaker hoses are even better because they sit on the soil and deliver moisture directly to the root zone with minimum splash-back.
This habit becomes especially important during New Jersey summers when high humidity already puts plants under stress. Morning watering allows any accidental leaf contact to dry off quickly before nighttime temperatures drop.
If you use an overhead sprinkler system for your lawn, consider hand-watering your hosta beds separately.
Protecting those leaves from unnecessary moisture keeps the plant looking sharp and healthy all the way through the hottest months. Clean leaves equal a happy, thriving hosta.
5. Set Out Slug Bait At Dusk

Waking up to hole-punched hosta leaves overnight is every gardener’s nightmare. Slugs are the number one pest for hostas, and they do all their damage in the dark, emerging at dusk when conditions are cool and damp.
By morning they are gone, leaving behind nothing but ragged holes and a trail of slime. Setting out slug bait in the evening puts the treatment right in their path at the exact moment they are active.
Iron phosphate-based baits are safe around pets, kids, and wildlife, making them the go-to choice for home gardens.
Scatter the pellets thinly around the base of your hostas, focusing on the areas where damage has already appeared. Reapply after heavy rain since moisture dissolves the pellets faster than usual.
You can also reduce slug habitat by keeping mulch away from the very base of the plant and clearing out any debris piles nearby where slugs hide during daylight hours.
Blue-green hostas with thicker, more textured leaves naturally resist slug feeding better than thin-leaved varieties.
But no matter what variety you grow, consistent evening slug control in June keeps those leaves looking clean and whole all summer.
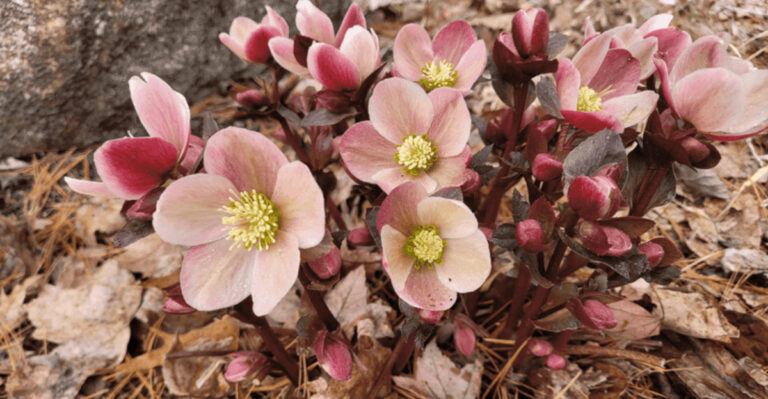
6. Cut Flower Scapes As Blooms Fade

Hosta flowers shoot up above the foliage in delicate lavender and white trumpets. But once those blooms start to fade and the scape turns yellow or brown, leaving it in place actually costs the plant energy it could spend on leaf growth.
Cutting spent scapes is a small task that makes a noticeable difference in how full and vibrant the foliage looks.
Use clean, sharp garden snips and cut the scape as close to the base as possible without nicking the surrounding leaves. Clean cuts heal faster and reduce the chance of disease entering the wound.
If you leave the scapes to form seed pods, the plant redirects significant energy into seed production instead of root and leaf development.
Some gardeners actually cut scapes before the flowers even open, especially on varieties grown purely for their foliage.
This is a personal choice, but if you love those big architectural leaves above all else, early removal is worth considering.
Dropping the spent scapes into your compost bin keeps the garden tidy and recycles nutrients back into the system.
This quick snip takes less than a minute per plant and keeps your June Hosta Tips For New Jersey Gardens routine on point.
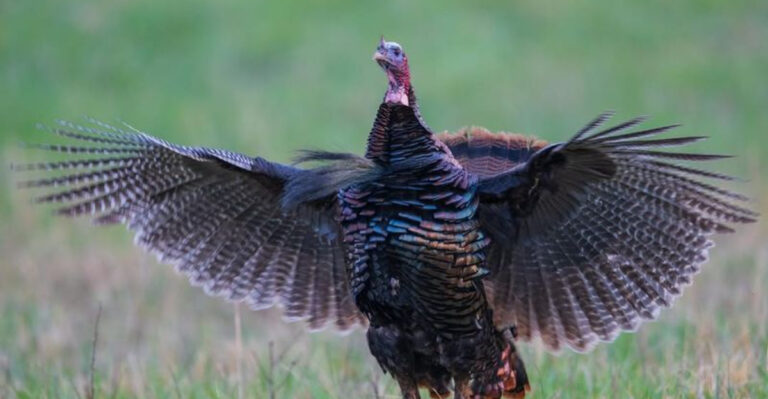
7. Apply Or Refresh Deer Deterrent Spray

Deer regularly target hosta beds, and in suburban and rural parts of New Jersey, they are a constant presence.
One night of browsing can strip a mature plant down to bare stems, undoing weeks of careful care in a single visit.
June is when deer are actively feeding to support fawns, making this one of the highest-risk months of the year.
Spray-based deterrents that use scent or taste to repel deer are the most practical solution for home gardeners. Look for products containing putrescent egg solids or capsaicin, which deer find genuinely offensive.
Apply the spray in the morning so it has time to dry fully before evening, when deer typically move through yards.
Reapplication every seven to ten days is the key to keeping deterrents effective, and always reapply after rain washes the treatment off.
Rotating between two different products can prevent deer from becoming accustomed to one particular scent. Physical barriers like motion-activated sprinklers also work well as a backup layer of protection.
No single method is one hundred percent foolproof. Stay consistent with deterrent spray through the summer months and you significantly reduce the chance of waking up to a devastated hosta bed.
8. Remove Damaged Or Tattered Leaves At The Base

Tattered, brown-edged, or slug-chewed leaves do not recover. They just sit there looking rough and pulling the whole garden down with them.
Removing damaged foliage at the base of the plant is one of those tasks that feels minor but completely transforms the look of a hosta bed.
Clean, healthy-looking plants also have better airflow, which reduces the risk of fungal problems spreading through the crown. Grip the damaged leaf near its base and pull downward with a gentle tug.
Most leaves come away cleanly this way without any tools needed. For tougher or partially damaged leaves, use clean snips and cut as close to the main stem as possible without wounding it.
Do a quick scan of your hosta beds every week or two throughout June and July, since new damage can appear fast after a rainy stretch or a slug-heavy night.
Tossing removed leaves directly into the trash rather than the compost is smarter if they show signs of disease or slug egg masses.
This keeps problems from cycling back into the garden soil. Keeping the base of each plant open and tidy also makes it much easier to spot new pest activity before it gets out of hand. A tidy plant is a resilient plant.
Keep in mind that hostas are toxic to dogs and cats. Removing fallen or damaged leaves promptly helps reduce the chance of pets coming into contact with plant material.
9. Hand-Weed Around The Crown

Weeds growing right up against a hosta crown are not just an eyesore. They compete directly for the water and nutrients your plant needs to thrive.
Some weeds, especially grass and creeping ground covers, can work their way into the crown itself and become genuinely difficult to remove once established.
Catching them early in June, while they are still small and shallow-rooted, saves a lot of frustration later.
Hand-weeding close to the crown is always better than hoeing or using any kind of mechanical tool near the base.
A hoe or cultivator can easily nick the shallow feeder roots that hostas rely on, causing stress that shows up as wilting or slow growth weeks later.
Fingers are the most precise tool you have, and a pair of thin garden gloves makes the job more comfortable.
After weeding, press the disturbed soil back down gently around the crown to avoid leaving air pockets around the roots.
Refreshing your mulch layer right after weeding helps prevent new weed seeds from finding bare soil to germinate in.
A five-minute weeding session every couple of weeks is far easier than an hour-long battle with established weeds in August. Stay ahead of it now and the crown stays clean all season.
10. Divide Overcrowded Clumps In Early June

An overcrowded hosta clump is practically begging to be split. When the center of a clump starts looking thin, the leaves get smaller than usual, or the whole mound seems to be pushing itself out of the ground, pay attention.
Those are clear signals that the plant has outgrown its space. Early June is one of the best windows to divide hostas.
The soil is workable, temperatures are still mild, and the plant has enough season left to recover before fall.
Use a sharp, clean spade to slice straight down through the clump. Each section should have several healthy shoots and a good root mass attached.
Replant the divisions at the same depth they were growing before. Water them in thoroughly and mulch around the base right away to hold moisture during the establishment period.
Dividing hostas also gives you free plants to fill other spots in the garden or share with neighbors.
Shade gardens can be expensive to plant, and propagating from your own established clumps is one of the most satisfying ways to expand without spending money.
With proper June Hosta Tips For New Jersey Gardens care after dividing, most sections settle in quickly and look great by late summer. Splitting them now is a gift to next year’s garden.