The Mistakes California Gardeners Make When Planting Gardenias Near The House
Gardenias can make the area near a house feel polished and fragrant, but they are not plants you can tuck anywhere and forget.
A spot that looks perfect in spring may turn stressful once walls reflect heat, rooflines block rain, or afternoon sun bakes the soil.
That is when glossy leaves start looking dull and flower buds refuse to open. Planting too close to the house can also limit airflow and make watering harder to judge.
The tricky part is that gardenias often fail slowly, so the mistake is easy to miss until the plant already looks unhappy. A little planning before planting can save a lot of frustration later.
Give gardenias the right space, light, and soil conditions near your home, and they can become a beautiful feature instead of a fussy problem.
1. Planting Gardenias In Harsh Afternoon Sun

Full afternoon sun might sound like a good thing for a flowering shrub, but gardenias do not handle it well at all. In our state, afternoon temperatures can easily climb past 95 degrees in summer.
That kind of heat bakes the leaves and causes them to turn yellow and drop off fast.
Gardenias actually prefer bright morning sun with shade in the afternoon. A spot on the east side of your house is often ideal.
The plant gets enough light to bloom but stays protected when the sun is at its strongest and most intense.
Many gardeners plant them on the west or south side of the house without thinking twice. Then they wonder why the leaves look burned and the buds keep falling off before they open.
The answer is almost always too much direct afternoon heat hitting the plant.
Morning sun helps the foliage dry out after cool nights, which reduces the risk of fungal problems. Afternoon shade keeps the soil from drying out too quickly.
That balance is exactly what gardenias need to produce those stunning white blooms everyone loves so much.
Before you choose a planting spot, watch how the sun moves across your yard during the day.
A little planning goes a long way when it comes to keeping these shrubs healthy and blooming beautifully near your home.
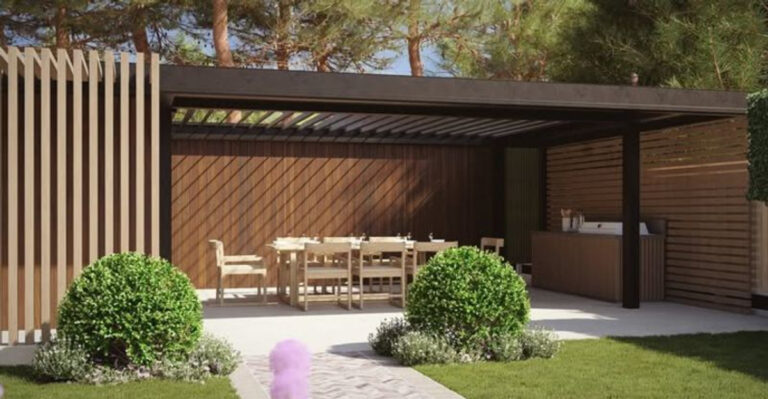
2. Putting Them Too Close To Hot Walls

Walls absorb heat all day long and release it slowly after the sun goes down. Planting gardenias right up against the side of your house might look tidy, but it puts the shrub in a tough spot.
The reflected and radiated heat from walls can stress the plant badly.
Stucco and concrete walls are especially problematic in our state because they hold heat for hours into the evening.
A gardenia planted too close to one of these surfaces can experience soil temperatures much higher than what you see on a regular thermometer.
Roots suffer silently underground before you even notice anything wrong above the surface.
A good rule of thumb is to keep gardenias at least three feet away from any wall or solid fence. That gap gives the plant room to breathe and reduces the heat it absorbs.
Air circulation around the shrub also helps prevent fungal issues that love warm, still air.
Dark-colored walls are even more of a problem because they absorb more heat than lighter surfaces. If your house has a dark exterior, consider planting gardenias even farther away.
You can always use the space between the plant and the wall for a layer of mulch to help keep the soil cool.
Giving your gardenia a little breathing room from the house makes a noticeable difference in how well it grows and blooms each season.
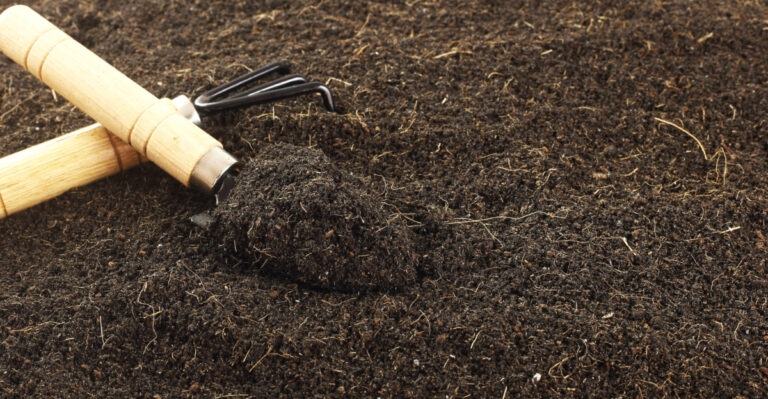
3. Ignoring Soil pH Before Planting

Soil pH is one of those things that gardeners often skip because it feels like extra work. But for gardenias, it is one of the most important factors in whether the plant thrives or struggles.
These shrubs need acidic soil, ideally between 5.0 and 6.0 on the pH scale.
Much of the soil in our state tends to lean neutral to slightly alkaline, especially in drier inland regions. That means the soil near your house might not be naturally suited for gardenias at all.
Planting without testing first is a gamble that rarely pays off.
When the soil pH is too high, gardenias cannot absorb iron and other nutrients properly. The leaves start turning yellow between the veins, which is called chlorosis.
The plant looks sick even when you are watering and fertilizing it regularly, which is frustrating.
A simple soil test kit from a garden center costs only a few dollars and takes just minutes to use. If the pH is too high, you can lower it by mixing sulfur or an acidic amendment into the soil before planting.
Peat moss and pine bark also help create a more acidic environment over time.
Testing the soil first gives you a clear starting point. It takes the guesswork out of caring for gardenias and helps you set them up for success right from the very beginning.
4. Planting In Poorly Drained Soil

Gardenias love moisture, but they absolutely cannot sit in soggy soil for long. Poor drainage is one of the fastest ways to cause serious root problems with these plants.
Roots that stay wet too long begin to rot, and a rotting root system cannot feed the plant properly.
Many homes in our state have heavy clay soil near the foundation. Clay holds water for a long time, which feels like a benefit during dry summers but actually causes more harm than good for gardenias.
The roots need oxygen as much as they need water, and waterlogged soil cuts off that oxygen supply.
Before planting, dig a hole about twelve inches deep and fill it with water. If it drains in less than an hour, you are in good shape.
If the water sits for several hours or more, you need to improve drainage before putting any plants in that spot.
Mixing compost and coarse sand into heavy clay soil helps improve drainage significantly. Raised planting beds are another great option for spots where water tends to pool.
Planting on a slight mound also helps water move away from the root zone more naturally.
Healthy drainage means the roots stay moist but never soaked. That balance keeps the plant energized, helps it absorb nutrients, and gives it the best possible chance to produce those gorgeous, fragrant blooms all season long.
5. Crowding Them Against Other Foundation Plants

Foundation planting beds often end up looking like a puzzle where every piece is forced to fit. Gardenias get squeezed between other shrubs without enough space to spread out naturally.
That crowding causes more problems than most gardeners expect.
When plants grow too close together, air stops moving freely around the foliage. Still, humid air is a perfect environment for powdery mildew, sooty mold, and other fungal issues that love gardenias.
Once fungal problems take hold, they spread quickly and are tough to get under control.
Root competition is another serious issue. Gardenias have relatively shallow root systems that spread out wide.
When neighboring plants crowd into that same soil zone, both plants end up competing for water and nutrients. Neither one grows as well as it should in that situation.
Gardenias need at least four to six feet of space between them and other large shrubs. That might seem like a lot when they are young and small, but they fill in quickly once established.
Giving them room now prevents you from having to dig things up and replant later. Proper spacing also makes pruning and maintenance much easier.
You can get in around the plant to remove old growth, check for pests, and apply fertilizer without fighting through a tangle of other branches.
Good spacing is one of the simplest gifts you can give these beautiful shrubs.
6. Burying The Root Ball Too Deep

Planting depth matters more than most people realize, and gardenias are especially sensitive to being buried too deep.
The top of the root ball should sit at or slightly above the surrounding soil level.
Burying it too far down puts the crown of the plant in a dark, moist environment where problems start quickly.
When the crown stays wet and covered with soil, it creates the perfect conditions for crown rot. The base of the plant softens, the stems weaken, and the whole shrub begins to decline.
By the time you notice something is wrong at the surface, the damage below is often already severe.
A surprising number of gardeners make this mistake simply by following the instinct to tuck the plant in snugly. It feels like the right thing to do.
But gardenias actually do better when they are planted a little high rather than a little low.
When filling in around the root ball, keep the soil gently sloped away from the crown. This helps water drain away from the base of the plant instead of pooling around it.
Mulch should also be kept a few inches away from the stem for the same reason.
Taking an extra minute to check the planting depth before covering the roots can prevent a frustrating problem down the road.
A correctly planted gardenia gets off to a strong start and grows with much more energy and confidence from day one.
7. Letting Roof Runoff Soak The Roots

Rain is a welcome sight in our state, but the way water moves off your roof can cause real problems for plants growing near the house.
Roof runoff flows fast and heavy, and it tends to dump in the same spot every time it rains. Gardenias planted in that path get hit hard.
The force of falling water compacts the soil around the roots. Compacted soil drains poorly and reduces the oxygen available to the root zone.
Over time, the repeated soaking and compaction weakens the plant and makes it more vulnerable to disease. Check where your gutters drain before you choose a planting spot.
If water pours off the edge of the roof or flows out of a downspout right where you want to plant, that area is not a good choice for gardenias.
Even one heavy rainstorm can do noticeable damage to a recently planted shrub.
Installing gutter extensions to move water farther away from the house is a simple fix. Redirecting downspouts toward a drain or a gravel runoff area also helps protect nearby plants.
These small changes make a big difference in how well your gardenias handle rainy weather.
If you have already planted gardenias near a runoff zone, consider adding a small berm or border to redirect water around the plant.
Protecting the root zone from being repeatedly flooded keeps the soil healthy and gives the shrub a much better chance to thrive.
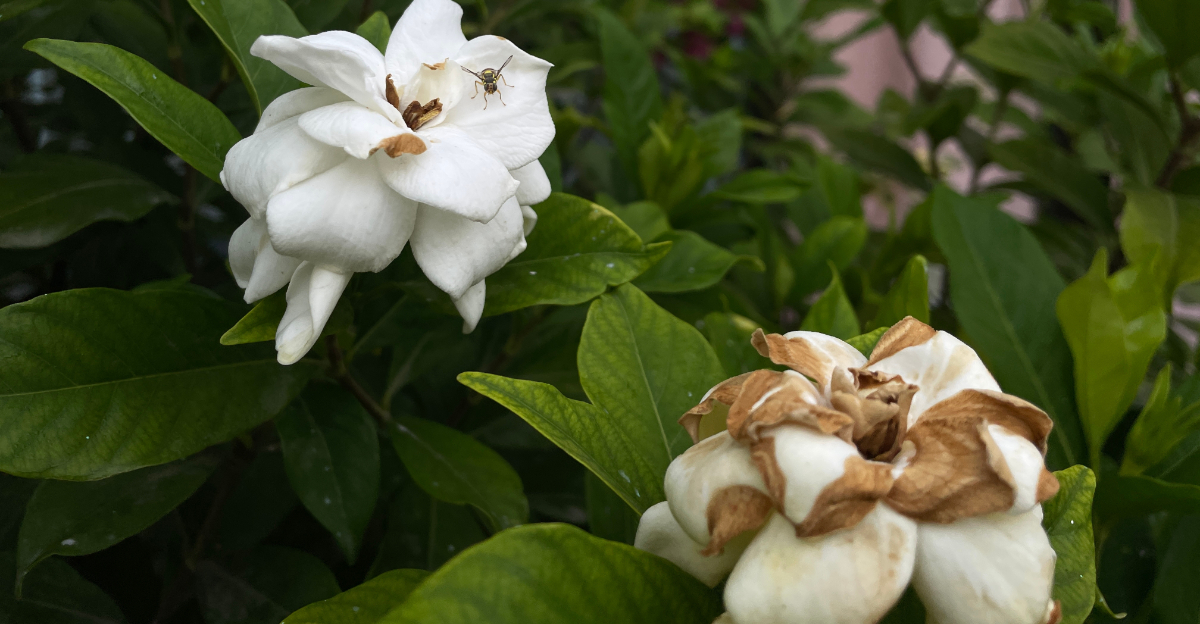
8. Using Hard Water Without Watching For Yellow Leaves

Hard water is common across many parts of our state, especially in inland valleys and southern regions. It contains high levels of calcium and magnesium, which raise the pH of the soil over time.
For gardenias, which need acidic conditions, regular watering with hard water can quietly undo all the work you put into preparing the soil.
The first sign of trouble is usually yellowing between the leaf veins while the veins themselves stay green.
That pattern is called interveinal chlorosis, and it signals that the plant cannot absorb iron properly.
Hard water makes the soil more alkaline, which locks up iron and other trace minerals the plant depends on.
Many gardeners keep adding fertilizer when they see yellow leaves, but the problem is not a lack of nutrients in the soil. The issue is that the nutrients are there but unavailable because the pH is off.
Fixing the water or adjusting the soil chemistry is the real solution.
Using collected rainwater or filtered water for gardenias is one of the best things you can do in areas with hard water.
Acidifying fertilizers and occasional soil amendments with sulfur can also help counteract the buildup from hard water over time.
Checking the leaves regularly is an easy habit that helps you catch pH problems early. Catching it early means a quicker fix and less stress on the plant before the blooming season gets fully underway.
9. Skipping Mulch Around Shallow Roots

Gardenias have shallow roots that spread out close to the surface of the soil. That makes them especially vulnerable to temperature swings, moisture loss, and competition from weeds.
Skipping mulch around these plants is a mistake that costs them a lot of energy over the course of a season.
Without mulch, the soil around gardenias dries out fast in warm weather. Our state summers can be relentlessly hot and dry, and bare soil loses moisture much more quickly than mulched soil.
The roots end up stressed from drought even when you water on a regular schedule.
Mulch acts like a protective blanket over the root zone. It holds moisture in the soil, keeps the roots cooler during hot days, and slowly adds organic matter as it breaks down.
A two to three inch layer of wood chips or shredded bark works really well for gardenias.
Mulch also suppresses weeds that would otherwise compete with the shallow roots for water and nutrients. Fewer weeds mean less work for you and less stress for the plant. That is a win on both sides.
Keep the mulch pulled back a few inches from the base of the stem to prevent moisture from sitting directly against the wood.
A mulch-free ring around the crown keeps the plant healthy while still giving the roots all the benefits of a well-insulated soil surface.
It is a small step that makes a surprisingly large difference in overall plant health.