A 9-Step Tennessee Gardener’s Guide To Non-Stop Salvia Blooms
Salvia earns its reputation one bloom at a time, and in Tennessee, it earns it hard. You shoved that first salvia into the dirt three summers back, half-sure it would fold before September.
August had other plans. So did the salvia. It roared through to October, shameless and loud, and your neighbours stopped walking mid-step like something had grabbed them by the collar.
That experience changed how I approach every salvia bed since. Tennessee summers are brutal, the heat stacks up, the humidity settles in, and plants that can’t adapt simply fade. Salvia, though, is built for a fight.
The secret to keeping it blooming from spring through fall comes down to three things: soil preparation, watering discipline, and smart pruning. Get those right, and your salvia won’t just survive the season.
It will own it, delivering waves of color that make the whole yard look intentional and alive. Want your neighbors slowing down too?
1. Start With Well-Drained, Amended Soil

Soggy roots are the fastest way to end a salvia’s season before it even starts. Salvia craves soil that drains quickly and stays loose.
If your ground holds water after rain, your plant will struggle no matter how well you care for it.
Amending your soil before planting is the single best investment you can make for long-term blooms. Work in two to three inches of compost or aged bark into the top eight to ten inches of your garden bed.
This improves drainage, feeds beneficial microbes, and gives roots room to breathe and spread freely. Raised beds are a smart option in areas with heavy clay, which is common across much of the state.
Building even a simple six-inch raised bed gives you complete control over soil texture and drainage from day one. A mix of topsoil, compost, and coarse sand works beautifully for salvia in almost any backyard setup.
Soil pH matters more than most gardeners realize. Salvia thrives in slightly acidic to neutral soil, ideally between 6.0 and 7.0 on the pH scale.
A basic soil test from your local extension office costs just a few dollars and can save you an entire season of frustration.
Getting the foundation right means every other step you take this season will actually work. Think of amended, well-drained soil not as a chore, but as the secret weapon your salvia has been waiting for.
2. Plant In Full Sun At Least 6 Hours Daily

Salvia is not shy about what it needs, and sunlight is at the top of that list. At least six hours of direct sun daily is the bare minimum for strong stems, rich color, and consistent flowering.
Shade might seem like a kindness on a hot day, but it actually slows bloom production and weakens the plant over time.
Morning sun with some afternoon shade is acceptable in the hottest parts of the state, but full sun from sunrise to mid-afternoon is ideal.
Plants that get enough light develop thicker stems and produce far more flower spikes than those grown in partial shade. You will notice the difference within just a few weeks of the growing season.
Placement in your garden matters enormously. A south-facing or west-facing bed typically gets the most consistent sun exposure throughout the day.
Avoid planting near large trees or structures that cast long shadows, especially during the afternoon hours when sun intensity peaks. Container-grown salvia gives you a flexibility advantage that in-ground plants simply cannot match.
You can move pots throughout the season to chase sunlight as trees leaf out or shade patterns shift. Just make sure your containers have drainage holes, because full sun and wet feet is a recipe for root rot.
Choosing the right spot is a one-time decision that pays dividends every single day of the growing season. Get the sun right, and your salvia will reward you with blooms that just keep on coming.
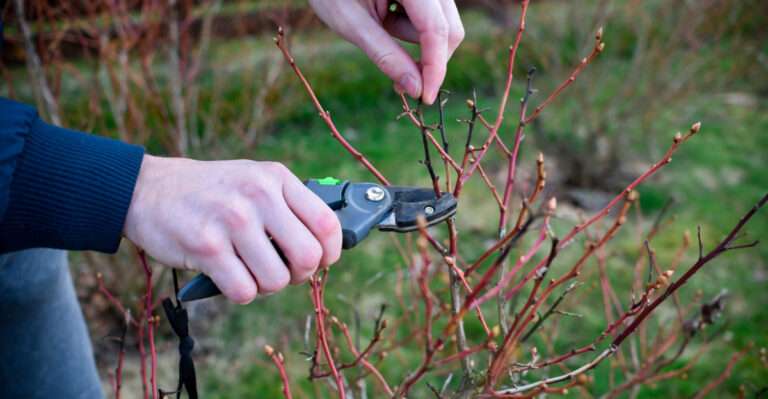
3. Remove Spent Blooms Consistently

Here is a gardening truth that changes everything: plants bloom to reproduce, not to look pretty for you. When a flower fades and sets seed, the plant considers its job done and slows down bloom production.
Removing spent blooms before seeds form tricks the plant into thinking it still has work to do, which means more flowers for you.
Cutting salvia is straightforward but needs to happen consistently, ideally every five to seven days during peak bloom season. Pinch or snip just below the faded flower spike, cutting back to a leaf node or a fresh side shoot.
Clean, sharp scissors or small pruning snips make cleaner cuts and reduce the risk of introducing disease to open stems.
Even a few minutes of removing each week makes a measurable difference in how long your plants stay in flower.
Gardeners who skip this step often find their salvia looking tired and sparse by midsummer, while their neighbors’ plants are still going strong. Consistency here is what separates a good garden from a great one.
One surprisingly effective trick is to remove in the early morning before the heat of the day sets in. Cooler temperatures reduce plant stress, and you will find it easier to spot spent blooms when the light is soft and angled.
Make it part of your morning coffee routine and it stops feeling like a chore. Every bloom you remove today is an investment in the wave of color that is coming next week. Stay consistent, and your salvia will keep delivering all season long.
4. Cut Back By One-Third In Mid-July

Mid-July is a turning point that most casual gardeners completely miss. By that point in the season, salvia has been blooming hard for weeks and often starts to look leggy, floppy, or just plain tired.
A bold cutback at this exact moment resets the plant and sets the stage for a spectacular fall flush of color. Cut the entire plant back by about one-third of its total height using clean, sharp pruning shears.
Do not be timid about it, because hesitant pruning leads to uneven regrowth and a plant that never quite bounces back the way you hoped. A confident, clean cut encourages dense new growth from the base upward.
After cutting, water the plant deeply and add a light layer of compost around the base. This gives the roots a nutrient boost right when the plant needs it most to push out fresh stems and new flower buds.
Within two to three weeks, you should see vigorous new shoots emerging from lower on the plant.
Timing is everything with this technique. Cut too early in the season and you sacrifice weeks of prime blooms.
Wait too long, past early August, and the plant may not have enough growing season left to produce a meaningful fall display before temperatures drop.
Think of the mid-July cutback as hitting a reset button on your garden. It feels counterintuitive to cut a blooming plant, but the reward that follows will make you a believer for every season to come.
5. Water Deeply And Infrequently, Not Daily

Watering salvia every single day is one of the most well-meaning mistakes a gardener can make. Constant shallow watering trains roots to stay near the surface, where they are vulnerable to heat stress and drought.
Deep, infrequent watering pushes roots down into cooler soil layers where moisture lingers longer and the plant becomes far more resilient.
A good rule of thumb is to water thoroughly once or twice per week during dry spells, depending on how hot and dry conditions are. Soak the soil to a depth of at least six inches each time you water.
You can check depth by pushing a finger or a thin stick into the soil a few hours after watering to see how far moisture has penetrated.
Established salvia plants are impressively drought-tolerant once their root systems have had a full season to develop.
During the first year after planting, however, they need more attention and should not go more than a week without water during extended dry stretches.
After that first season, they become much more forgiving and self-sufficient. Drip irrigation or a soaker hose is worth every penny if you want to water efficiently and keep foliage dry.
Wet leaves invite fungal problems, especially during the humid Tennessee summers when air circulation is already limited. Keeping water at soil level is one of the simplest ways to protect plant health all season.
Water smarter, not more often, and your salvia will develop the deep root strength that keeps it thriving through the toughest summer heat.
6. Use A Low-Nitrogen, Phosphorus-Rich Fertilizer Monthly

Fertilizer is not one-size-fits-all, especially when you want blooms over leaves. High-nitrogen formulas push lush foliage but sacrifice flower production.
For salvia, reach for something low in nitrogen and higher in phosphorus. That combination drives strong roots and keeps the blooms coming.
Look for a fertilizer with an NPK ratio where the middle number, representing phosphorus, is the highest of the three. Formulas like 5-10-5 or 4-12-4 are solid choices that promote blooming without pushing excessive leafy growth.
Apply once a month from early spring through early September, then stop so the plant can begin hardening off before cooler weather arrives. Extra phosphorus should follow soil-test or label guidance.
Granular fertilizers are easy to apply and release nutrients slowly, which is ideal for a steady, consistent feeding schedule.
Water-soluble formulas work faster and give a quick boost to stressed or pale plants, but need more frequent reapplication. Either approach works well as long as you stay consistent with the monthly schedule.
Avoid the temptation to overfeed, thinking more is better. Too much fertilizer, even the right kind, can burn roots and actually reduce bloom output by sending the plant into a state of nutrient stress.
Follow package directions carefully and err on the side of slightly less rather than more. Feed your salvia with the right fuel every month and watch it respond with wave after wave of rich, vibrant color.
7. Mulch 2 To 3 Inches To Moderate Soil Temperature

Soil temperature swings are one of the most underestimated threats to salvia during a Southern summer. Once soil temperatures climb into the upper range of summer heat, root activity slows and water uptake drops.
The plant struggles even when the surface looks fine. A two to three inch layer of mulch acts like insulation, keeping soil cooler and stable through the hottest months.
Shredded hardwood bark, pine straw, or wood chip mulch all work well around salvia plants. Pine straw is a Southern favorite because it is lightweight, affordable, and breaks down slowly enough to last the entire growing season.
Whichever material you choose, spread it evenly and keep it pulled back about an inch from the base of the stems to prevent rot.
Mulch does double duty by suppressing weeds that compete for nutrients and moisture. Less weeding means more time enjoying the blooms.
It also slows surface evaporation, so your watering sessions go further and soil stays moist longer.
Refresh your mulch layer mid-season if it has thinned out or compacted from rain and foot traffic. A quick top-up in early July keeps the benefits working right through the heat of late summer.
Think of mulch as a low-effort, high-reward habit that quietly supports everything else you are doing for your plants.
Lay down that mulch layer and let it do the quiet, steady work of keeping your salvia comfortable all season long.
8. Space Plants 18 To 24 Inches Apart For Air Circulation

Crowding salvia might seem like a smart way to pack in more color, but it backfires fast. Tight spacing blocks airflow between stems and leaves, creating the stagnant conditions that powdery mildew and fungal problems love.
Proper spacing is not just an aesthetic choice, it is a plant health decision that affects the entire season. Aim for eighteen to twenty-four inches between each plant at the time of planting.
Salvia fills in quickly, especially in warm weather, so what looks sparse in May will look full and lush by late June.
Giving each plant its own space from the start means you will never have to thin or transplant later, which stresses roots and sets back bloom time.
Good air circulation also helps foliage dry faster after rain or watering, which dramatically reduces the risk of fungal leaf spots and stem rot.
In a state where summer humidity regularly climbs into the uncomfortable range, this kind of built-in protection matters a great deal.
Healthy foliage means the plant can focus its energy on producing flowers rather than fighting off disease. When designing your garden bed, think of spacing as part of the visual plan as well.
Mulched gaps between plants look intentional and clean rather than sparse, especially when paired with a neat edge along the bed border.
A well-spaced planting also makes deadheading and pruning much easier because you can reach every stem without fighting through a tangle of leaves.
Give each salvia plant the room it deserves, and it will reward you with healthier growth and more blooms than a crowded bed ever could.
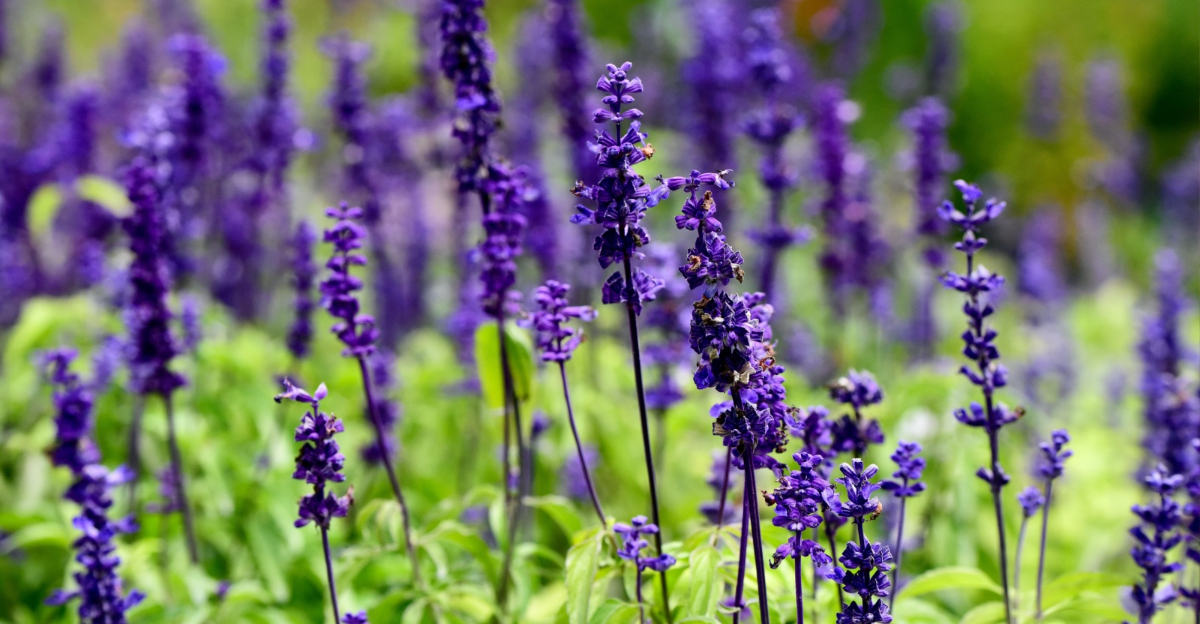
9. Choose Heat-Tolerant Varieties Like Salvia Greggii Or Black And Blue

Not all salvia varieties are built to handle the kind of heat that a Tennessee summer throws at them.
Some varieties look spectacular in a catalog but fade by July, leaving a patchy bed right when the season should peak. Choosing the right variety from the start is the most powerful decision you can make for non-stop blooms.
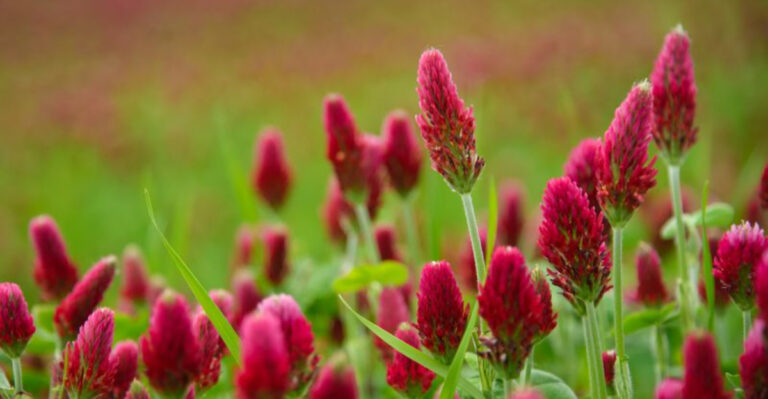
Salvia greggii, also known as autumn sage, is one of the toughest and most reliable options available to Southern gardeners. It blooms from spring through hard frost, handles heat and drought with ease, and comes in red, pink, coral, and white.
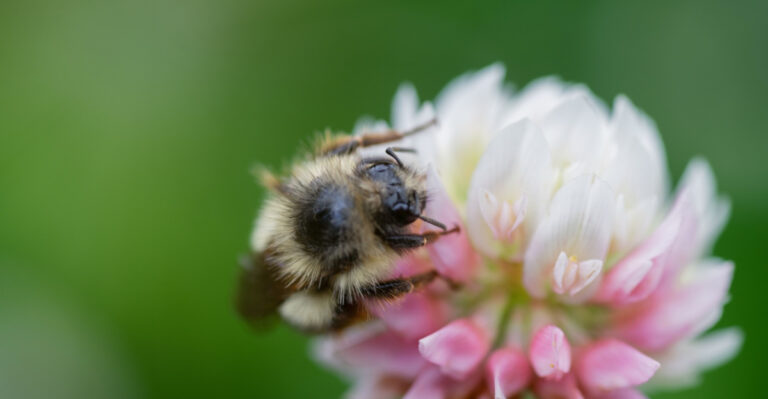
Once established, it practically thrives on neglect. Salvia guaranitica ‘Black and Blue’ delivers deep blue flowers against nearly black calyxes for a bold two-tone effect. Hummingbirds can’t resist it.
It grows four to five feet tall, so plant it toward the back where it can show off without crowding shorter plants. Worth noting for pet owners, ingesting the leaves can cause mild stomach upset in dogs and cats.
Mixing both varieties in a single bed creates a layered display of color and texture that blooms from late spring all the way through the first fall frost.
With the right salvia varieties carrying your garden through the heat, you will have something worth stepping outside to admire every single day of the season.