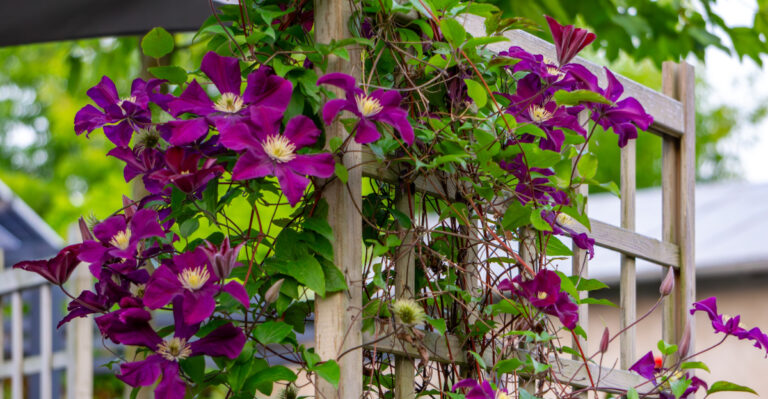
These Hydrangea Mistakes Show Up Fast In Oregon Summer Gardens
Hydrangeas can look calm and leafy one day, then suddenly act dramatic the next. Oregon summer weather can bring that out fast, especially when plants move from mild spring growth into warmer, drier days.
A small care mistake may show up as drooping leaves before you expect it. The plant might also bloom less than you hoped.
Hydrangeas are not hard to love, but they do have strong opinions about water, shade, and pruning. That is what makes summer care so tricky.
One wrong move can make a healthy shrub look stressed in a hurry. The good news is that these clues are often easy to read once you know what they mean.
Catch the problem early, and your hydrangeas have a much better chance to stay lush through the season.
1. Afternoon Sun Scorches Leaves Fast

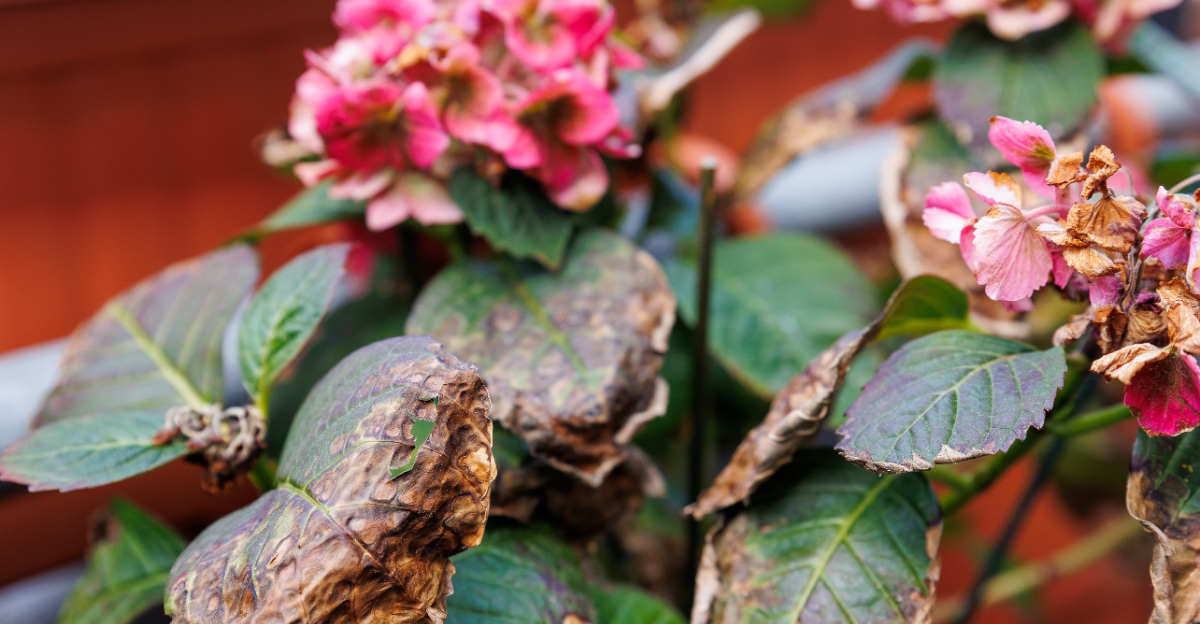
Scorched hydrangea leaves are one of the most common sights in local gardens by mid-July. Many gardeners plant hydrangeas in spots that get full afternoon sun without realizing how intense that light becomes in summer.
The leaves start showing brown, crispy edges within just a few days of exposure.
Our state’s summer sun can be surprisingly harsh, especially between noon and 4 p.m. Hydrangeas prefer morning light and dappled shade in the afternoon.
A spot under a tall deciduous tree or on the east side of a fence works much better than an open south-facing bed.
If your plant is already in a sunny spot and showing leaf scorch, don’t panic. You can add a shade cloth rated at 30 to 40 percent during peak heat hours.
This simple fix reduces stress significantly and helps the plant recover faster.
Relocating an established hydrangea is possible in early fall when temperatures cool down. Choose a new spot that gets four to six hours of morning sun and is sheltered from the hottest afternoon rays.
Proper placement from the start saves so much trouble later in the season and keeps blooms looking vibrant through August.
2. Shallow Watering Leads To Daily Wilting

Watching a hydrangea wilt every afternoon is frustrating, especially when you feel like you’ve been watering it regularly. The problem is often not how often you water, but how deeply the water actually reaches.
Shallow watering encourages roots to stay near the surface where soil dries out fast. Surface-level roots can’t access the moisture stored deeper in the ground.
When the top inch of soil dries out on a warm afternoon, those shallow roots have nothing to pull from. The plant responds by wilting, even if you watered it that same morning.
A better approach is to water slowly and deeply two to three times per week rather than giving quick sprinkles every day.
Use a soaker hose or let a regular hose run at low pressure near the base for 20 to 30 minutes. This pushes moisture down 6 to 8 inches where deeper roots can reach it.
Over time, deep watering trains roots to grow downward, making the plant far more drought-tolerant. You can check soil depth by pushing a wooden dowel or screwdriver into the ground after watering.
If it goes in easily 6 inches down, your watering session was long enough. Consistent deep watering makes a huge difference in how your hydrangea handles summer heat.
3. Soggy Soil Turns Stress Into Root Trouble

Too much water is just as harmful as too little, and heavy clay soils common in many parts of this state make drainage a real challenge.
When roots sit in waterlogged soil for too long, they can’t breathe properly. Stress builds quickly, and leaves start yellowing from the bottom up.
Poor drainage is often a bigger issue than overwatering itself. A gardener might water at a perfectly normal rate, but if the soil holds water like a sponge, the roots never get a chance to dry out between sessions.
This creates conditions where root function breaks down over time.
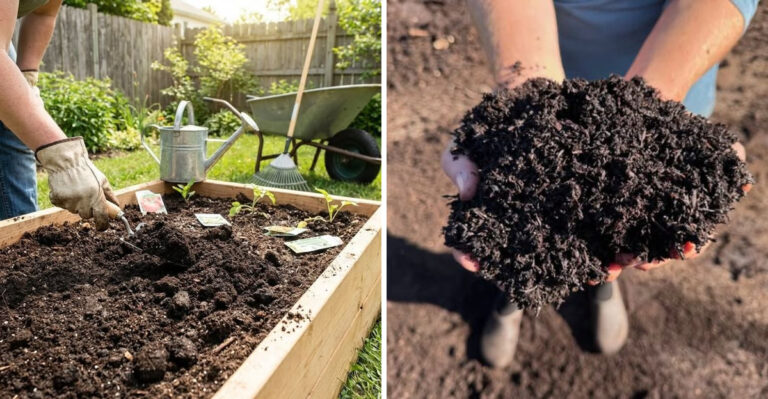
Raised beds and amended soil can solve most drainage problems. Mix compost and coarse perlite into heavy clay before planting to improve structure and airflow.
A ratio of one part perlite to three parts native soil works well for most garden beds in our region.
If an existing plant is struggling in poorly drained ground, pull back on watering and let the soil partially dry before adding more moisture.
Adding a layer of coarse bark mulch around the base also helps regulate soil moisture without trapping excess water.
Checking drainage by digging a small hole and watching how fast water drains after rain gives you a clear picture of what your hydrangea is dealing with underground.
4. Thick Mulch Against Stems Traps Moisture

Mulch is one of the best tools a gardener has, but applying it wrong causes more harm than good. Piling thick mulch directly against the base of a hydrangea stem traps moisture and cuts off airflow.
That warm, damp environment encourages fungal growth and can weaken the stem over time.
Many gardeners think more mulch means more protection, but the stem needs to breathe. When mulch is packed 4 to 6 inches deep right against the wood, the bark stays wet even when the rest of the garden dries out.
Over several weeks, this can lead to soft, discolored bark and poor plant performance.
The right way to mulch is to keep a 2 to 3 inch gap between the mulch layer and the main stem.
Spread 2 to 3 inches of organic mulch like shredded bark or wood chips in a wide ring around the plant instead.
This keeps moisture in the soil while allowing the stem to stay dry and healthy.
Pull back existing mulch if it’s already piled against the stem and let the area air out for a few days before reapplying correctly. Doing this simple adjustment in early summer prevents a lot of unnecessary stress.
Your plant will show the difference with stronger stems, cleaner foliage, and better blooms through the rest of the growing season.
5. Summer Fertilizer Pushes Weak New Growth

Fertilizing in midsummer feels like a helpful thing to do, but for hydrangeas, it often backfires. Applying a high-nitrogen fertilizer in July or August pushes out a flush of soft, fast-growing new shoots.
Those tender stems can’t harden off before fall and are much more vulnerable to stress.
New growth produced late in the season also pulls energy away from flower development and root strengthening.
Instead of putting nutrients toward healthy blooms, the plant keeps producing leafy stems that won’t contribute much to next year’s display.
It’s a cycle that leaves the plant weaker heading into the cooler months.
The best time to fertilize hydrangeas in this region is early spring, right when new buds are beginning to swell.
A slow-release balanced fertilizer applied once in spring gives the plant steady nutrition without triggering late-season growth spurts.
Some gardeners add a second light feeding in early June, but that should be the last application of the year.
If you’ve already fertilized late and see a lot of soft new growth, hold off on any additional feeding and focus on keeping the plant well-watered.
Avoid pruning that new growth off right away since removing stems in summer can cause additional stress.
Let the plant slow down naturally as days get shorter and temperatures drop. Patience here pays off with a stronger plant the following spring.
6. Hard Pruning Removes Next Year’s Blooms

Few hydrangea mistakes sting quite like pruning enthusiastically in summer and then waiting through an entire season with zero blooms.
It happens to gardeners every year, and the reason is simple: most hydrangeas set their flower buds for next year on old wood during the summer and fall.
Cut those stems off, and next year’s flowers go with them. Bigleaf and oakleaf hydrangeas are the most common types to lose blooms this way.
Their buds form on the previous season’s growth, so pruning after midsummer removes exactly what the plant has been working to build.
Even trimming back just a few inches can eliminate dozens of potential blooms.
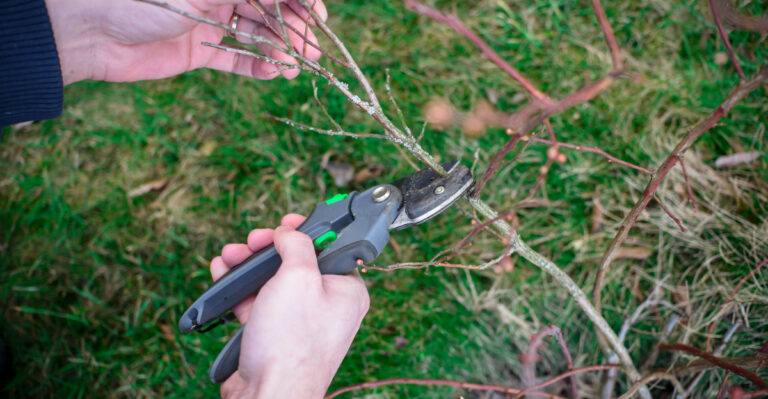
The right time to prune these types is right after they finish flowering, usually in late summer or very early fall.
Keep cuts light and only remove dead or damaged stems unless you’re trying to reshape the plant significantly.
For panicle and smooth hydrangeas, late winter or early spring pruning is fine since they bloom on new wood.
Before grabbing the pruners, take a moment to identify what type of hydrangea you have. Look at the flower shape and leaf structure, or check the tag if you saved it.
Knowing your variety before you prune is the single most important step to protecting next year’s blooms. A few minutes of research saves a full season of waiting.
7. Heat-Damaged Leaves Get Cut Too Soon

When hydrangea leaves turn brown and crispy from summer heat, the instinct is to grab the pruners and clean things up right away. That instinct, while understandable, can actually set the plant back.
Damaged leaves, even ugly ones, are still doing a job for the plant while they’re attached.
Brown leaves continue to provide some protection from further sun exposure for the stems and buds underneath them. Removing them too early exposes tender tissue to even more heat and light.
The plant also doesn’t have to spend energy sealing off fresh cuts during the hottest part of the year when it’s already under stress.
A smarter approach is to wait until temperatures consistently drop in late August or early September before cleaning up heat-damaged foliage.
By then, the plant has shifted into a slower phase and can handle light pruning without additional stress.
Remove only the most severely damaged leaves and leave healthy or partially healthy growth in place.
While waiting, focus on deep watering and making sure the plant has proper shade during peak afternoon hours.
Sometimes what looks like permanent damage in July starts to look much better by late summer once heat stress is reduced.
Not every brown leaf signals a dying plant. Many hydrangeas bounce back beautifully once cooler weather returns and conditions improve.
Give your plant the chance to recover before cutting anything away.
8. Crowded Plants Stay Damp And Spotty

Hydrangeas planted too close together create a microclimate that stays damp long after rain or watering stops. Poor airflow between plants means moisture sits on leaves for hours.
That wet, still environment is exactly what fungal diseases like powdery mildew and leaf spot need to take hold.
Spotty, gray-dusted foliage is a telltale sign that your plants are too crowded. Once fungal spores get established, they spread quickly from one plant to the next, especially when leaves are touching.
Treating the disease is possible, but preventing it through proper spacing is far more effective and less work overall.
Most hydrangea varieties need at least 4 to 6 feet between plants to allow good airflow. Panicle types can grow quite large and may need even more room depending on the variety.
Check the mature size listed on your plant tag and use that as your minimum spacing guide, not the size the plant is when you buy it.
If your plants are already crowded, selectively thinning out stems in early spring can open up the canopy and improve air circulation without removing entire plants. Avoid overhead watering since it wets the foliage directly.
Use drip irrigation or a soaker hose at ground level to keep leaves dry. Keeping the area under the plants clear of fallen leaves and debris also reduces the chance of disease spreading from the soil upward.
9. Bigleaf Types Need More Shade Than Panicles

Not all hydrangeas have the same sun tolerance, and mixing them up in the garden leads to real problems. Bigleaf hydrangeas, the classic mophead and lacecap types, are built for shadier conditions.
Panicle hydrangeas, on the other hand, can handle much more direct sun and even thrive with six or more hours of it daily.
Planting a bigleaf in the same sunny spot as a panicle almost always ends with the bigleaf looking rough by August.
Its large, flat leaves lose moisture quickly in bright sun, and its flower heads droop by afternoon even after a thorough morning watering.
The plant isn’t failing because of poor care; it’s just in the wrong spot for its needs.
In our state’s summer climate, bigleaf types do best with morning sun and afternoon shade. An east-facing bed or a spot beneath a high tree canopy suits them well.
Panicle types like Limelight or Quick Fire are much better choices for full-sun borders or exposed garden spots where the afternoon sun is unavoidable.
Before buying any new hydrangea, check the sun requirements on the label carefully. Many garden centers group all hydrangeas together, which can make it easy to assume they all need the same conditions.
Matching the right variety to the right spot in your yard is the foundation of success. Getting this one detail right prevents most of the other problems on this list from ever showing up in the first place.