Stop Making These 8 Clematis Mistakes If You Want More Blooms
Clematis holds its secrets close. Weeks of waiting, and the vine just stares back at you. Why does something so stunning stay so completely silent? Other climbers lash out without a second thought.
This one demands something more from you. Most gardeners never figure out what that something truly is.
They pull it out, replant it, and start over completely. Season after season, the mystery stays wrapped in quiet shadows.
Something is happening beneath the surface that you cannot see or predict. Roots are making quiet decisions long before the first leaf unfurls in spring.
Timing is slipping away before you even realize the clock has started. Your neighbors already know something you do not.
Their vines are climbing, blooming, stealing every glance from the street. Yours carries that same hidden power locked deep inside it. That lock has a key, and you are far closer to it than you think.
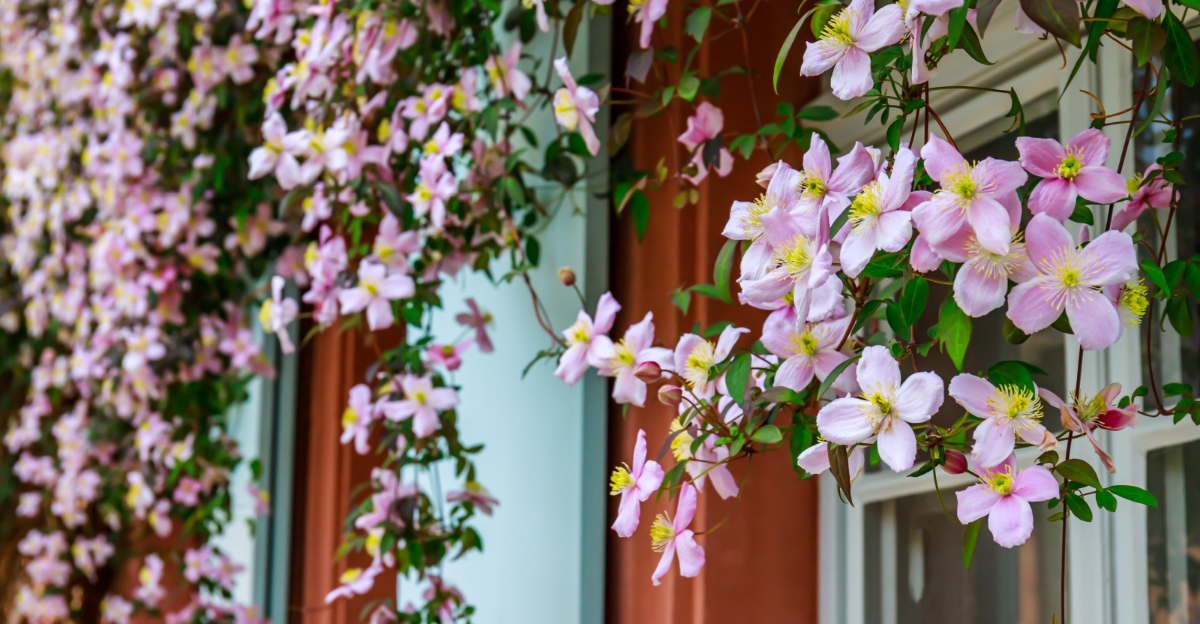
1. Planting Your Clematis In Too Much Shade

Sunlight is everything to a clematis that wants to bloom. Most varieties need at least six hours of direct sun each day to flower well.
When you tuck a clematis into a shady corner, the plant puts all its energy into chasing light. Blooms become an afterthought, and stems grow weak and leggy.
The sweet spot for clematis is a location with full morning sun and some afternoon shade. That combination protects the flowers from scorching while still fueling strong growth.
South-facing and east-facing walls tend to work beautifully for most popular varieties. Take a walk around your yard and observe where sunlight lands for the longest stretch of the day.
One trick gardeners swear by is planting a low shrub nearby to shade the root zone. The roots stay cool while the top of the vine basks in sunshine.
If your current spot gets fewer than four hours of sun, it is time to move the plant. Transplanting a clematis is not ideal, but a sunnier home will transform its performance.
Check your planting area across different seasons too. A spot that gets good light in spring may become heavily shaded once nearby trees leaf out in summer.
Your clematis deserves a front-row seat to the sun, not a shadowy corner where it struggles. Give it that light, and the blooms will follow fast.
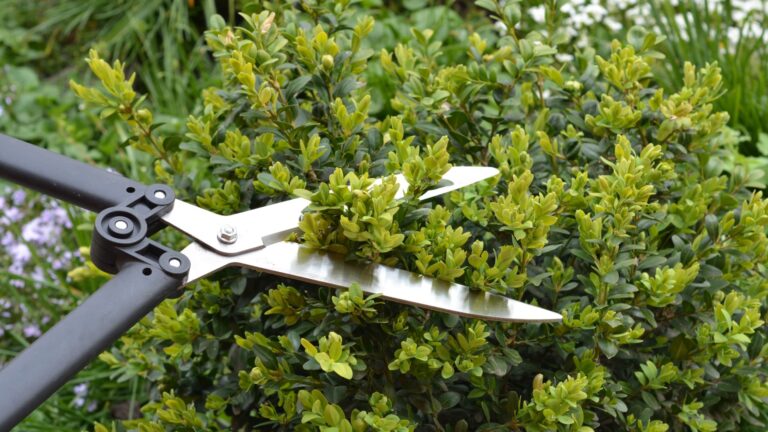
2. Pruning At Completely The Wrong Time Of Year

Grab the pruning shears at the wrong moment and you can remove a full season of buds in one cut. Clematis pruning is one area where timing is absolutely everything.
There are three pruning groups, and each one follows a different schedule. Cutting a Group 1 clematis in early spring removes the buds that were set the previous fall.
Group 1 varieties bloom on old wood, so they should only be trimmed right after flowering ends. That window is usually late spring or very early summer.
Group 2 types bloom on both old and new wood. They need a light prune in late winter or early spring (February to March), cutting back to strong buds and removing dead or weak growth, and a more thorough cut after the first flush of flowers fades.
Group 3 clematis bloom on new growth, so they actually welcome a hard cut back in late winter or early spring. Cutting them down to about twelve inches encourages fresh, vigorous stems.
The first step is figuring out which group your plant belongs to. Check the label from when you bought it, or look up the variety name online.
If you have lost the label and cannot identify the group, watch the plant for one full season before cutting. Observing when and where buds appear tells you everything you need to know.
Pruning errors are common but entirely avoidable once you know the rules. Learn your group, mark your calendar, and your clematis will thank you with a spectacular show.
3. Shallow Planting That Exposes The Crown

Planting depth is a detail that many gardeners overlook, and it leads to poor results. A clematis crown planted at or above the soil surface is vulnerable in ways that go beyond just cold weather.
Experts recommend burying the crown at least three to four inches below the soil surface, particularly for large-flowered hybrids. That extra depth protects the plant from a damaging fungal condition called clematis wilt.
Wilt can progress quickly in susceptible varieties, turning stems brown within days. Smaller-flowered species tend to show much stronger resistance. Large-flowered hybrids remain the most susceptible.
When the crown sits deep underground, the plant has backup buds that can push through and recover even after a wilt attack.
Shallow planting also leaves the crown exposed to temperature swings. Roots that are not insulated by soil can freeze in winter or overheat in summer.
When you are putting a new clematis in the ground, dig a hole that is deeper than the pot it came in. Tip the plant at a slight angle if needed to get the crown below the surface.
Backfill with a mix of compost and native soil to give the roots a nutrient-rich start. Firm the soil gently to remove air pockets without compacting it too tightly.
If your existing plant is sitting too high, you can carefully mound enriched soil around the base. Building up the soil level is not as ideal as replanting, but it offers meaningful protection.
Getting the depth right from day one sets your clematis up for a long, resilient life full of blooms.
4. Overfeeding With High-Nitrogen Fertilizer

More fertilizer does not always mean more flowers. With clematis, pouring on a high-nitrogen feed is one of the fastest ways to end up with a beautiful green plant that refuses to bloom.
Nitrogen is the nutrient that pushes leafy, vegetative growth. When a clematis gets too much of it, the plant channels all its energy into making stems and leaves instead of flowers.
The sweet spot for clematis feeding is a fertilizer with a balanced or high-potassium formula. Potassium, listed as the third number on the fertilizer label, encourages strong root systems and generous flowering.
A good approach is to feed lightly in early spring with a balanced fertilizer to kickstart growth. Then switch to a high-potassium feed like a tomato fertilizer once the growing season is underway.
Avoid the temptation to fertilize every week. Clematis is not a heavy feeder, and monthly applications during the growing season are usually plenty.
Over-fertilized plants may be more vulnerable to pests like aphids, as lush soft growth is generally easier for insects to target. Keeping feeding measured reduces that risk noticeably.
If your clematis has been getting lawn fertilizer or general-purpose plant food, scale back immediately. Let the plant settle, and switch to a bloom-boosting formula at the next feeding cycle.
Feeding your clematis smarter rather than harder is the shift that changes everything. The right nutrients at the right time unlock the blooming potential already waiting inside the plant.
5. Inconsistent Watering That Stresses The Plant

Clematis has a reputation for being fussy, and an irregular watering pattern that puts the plant under stress is a big reason why. The plant craves steady moisture, not a cycle that leaves it struggling to cope.
During dry spells, clematis roots can dry out quickly because they sit relatively close to the surface. A plant under drought stress redirects energy away from flowering and toward basic survival.
On the flip side, waterlogged soil creates a different problem. Roots sitting in soggy ground become vulnerable to rot, and a rotting root system cannot support healthy blooms.
The goal is consistently moist soil that drains well. Stick your finger two inches into the ground near the base of the plant to check moisture before reaching for the hose.
Deep, infrequent watering encourages roots to grow downward in search of moisture. That makes the plant more resilient during dry stretches between rain events.
Shallow daily watering, on the other hand, keeps roots near the surface where they are most exposed. Training roots to go deep is one of the best things you can do for long-term plant health.
A drip irrigation system or a soaker hose placed at the base of the plant makes consistency much easier to manage. Set it on a timer and let the schedule do the work for you.
Steady water equals steady blooms. Once you dial in a reliable routine, the difference in your clematis performance will be genuinely hard to ignore.
6. Ignoring Soil pH Levels Entirely

Soil pH is one of those behind-the-scenes factors that significantly influences nutrient uptake. When the pH is off, your clematis cannot absorb the nutrients it needs, no matter how much you feed it.
Clematis prefers a neutral to slightly alkaline soil, ideally in the pH range of 6.5 to 7.5. Soil that is too acidic inhibits the uptake of key minerals and reduces flowering.
A simple pH test kit from any garden center costs just a few dollars. Testing your soil takes about ten minutes and gives you information that can meaningfully improve your results.
If your soil tests too acidic, adding garden lime raises the pH gradually over time. Work it into the top few inches of soil and retest after a few weeks.
If your soil tests too alkaline, elemental sulfur or acidic compost can help bring it down toward neutral over time.
Many gardeners fertilize regularly but never check pH, then wonder why the plant still looks hungry. Nutrients sitting in the wrong pH environment simply cannot be taken up by the roots.
Compost is a helpful ally because it naturally buffers soil toward a neutral range. Working a generous layer of finished compost into your planting bed improves both pH and soil structure.
Think of pH testing as the diagnostic step that makes every other effort actually count. Once your soil chemistry is right, your clematis can finally use all the good things you give it.
7. Skipping Mulch And Leaving Roots Exposed

Bare soil around a clematis base is an open invitation for trouble. Without mulch, roots are at the mercy of temperature swings, moisture loss, and weed competition all at once.
Clematis roots prefer to stay cool even when the top of the plant basks in full sun. Mulch is the simplest, most affordable way to create that cool root environment without any complicated setup.
A layer of mulch two to three inches deep does several jobs at once. It holds soil moisture, regulates temperature, suppresses weeds, and adds organic matter as it breaks down.
The best mulching materials for clematis include shredded bark, wood chips, or well-rotted compost. Avoid piling mulch directly against the stem, which can trap moisture and invite rot.
Pull the mulch back a few inches from the base of the plant to create a small gap. That air circulation at the crown level makes a real difference in plant health.
Weeds competing near the base of a clematis steal water and nutrients the vine desperately needs. A good mulch layer reduces that competition without requiring constant hand-weeding.
Reapply mulch each spring as the old layer breaks down into the soil. Fresh mulch at the start of the growing season sets your clematis up for a strong, well-supported year ahead.
Skipping this one simple step is one of the more overlooked reasons clematis underperforms. Lay down that mulch, and the improvement in your clematis will be hard to miss.
8. Choosing The Wrong Variety For Your Climate

Not every clematis is built for every climate, and buying the wrong variety is a mistake that care alone may not be enough to overcome. The plant may survive, but it will rarely thrive or bloom the way it should.
Some clematis varieties are bred for cold hardiness and can handle temperatures well below freezing. Others are more tender and struggle the moment winter turns brutal.
Before buying any clematis, check the hardiness zone rating on the plant tag. Cross-reference it with your local USDA zone.
Note that zone boundaries were updated in 2023, so check the most current map if your area is borderline.
Heat tolerance matters just as much in warm regions. Gardeners in the South often do better with heat-tolerant species like Clematis texensis or Clematis viticella types.
In colder northern areas, varieties like Clematis alpina and many of the Jackmanii and viticella types are reliable performers. They are tough, forgiving, and put on a generous show each season.
Buying a plant because it looks gorgeous at the nursery without checking its climate needs is a common and costly error. A beautiful flower on a label means nothing if the plant cannot handle your local conditions.
Local nurseries are a fantastic resource because they typically stock varieties suited to regional climates. The staff can point you toward proven performers for your specific area.
Choosing the right clematis from the start is the foundation of everything. Match the plant to your place, and the blooms you are hoping for become well within reach