8 Homemade Fertilizers Oregon Gardeners Swear By For Happier Plants
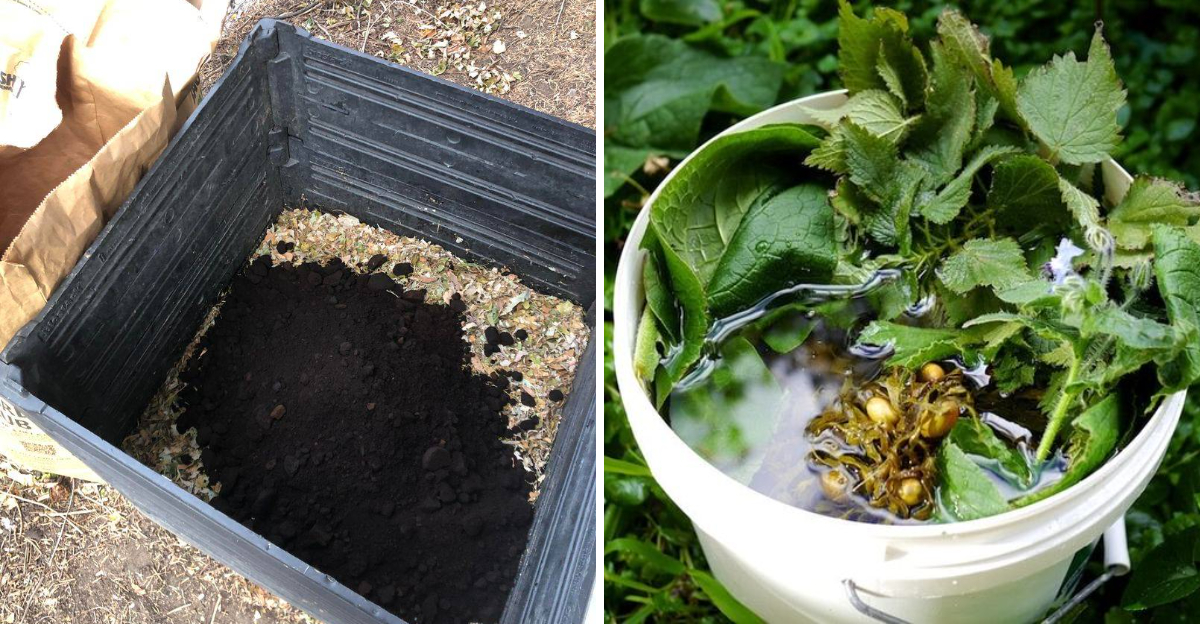
Oregon soil likes to keep gardeners humble.
One month the raised bed is soaked from winter rain. The next, spring seedlings sit in chilly clay acting like they never agreed to this arrangement.
That is when the kitchen starts looking suspiciously useful.
Banana peels, coffee grounds, eggshells, compost, fish tank water, and other everyday scraps all promise a second life in the garden. Some actually help. Some need patience. A few are mostly folklore wearing muddy boots.
The trick is knowing what belongs in the soil, what belongs in the compost pile, and what should never be poured around your favorite herbs just because someone online sounded confident.
So which homemade fertilizers truly give Oregon plants a gentle boost without turning the garden into a science experiment gone sideways?
Start with the ones that feed slowly, match real soil needs, and work with the wet winters, clay pockets, coastal moisture, and cool spring starts that make Oregon gardening such a fascinating little challenge.
1. Finished Compost Feeds Gently
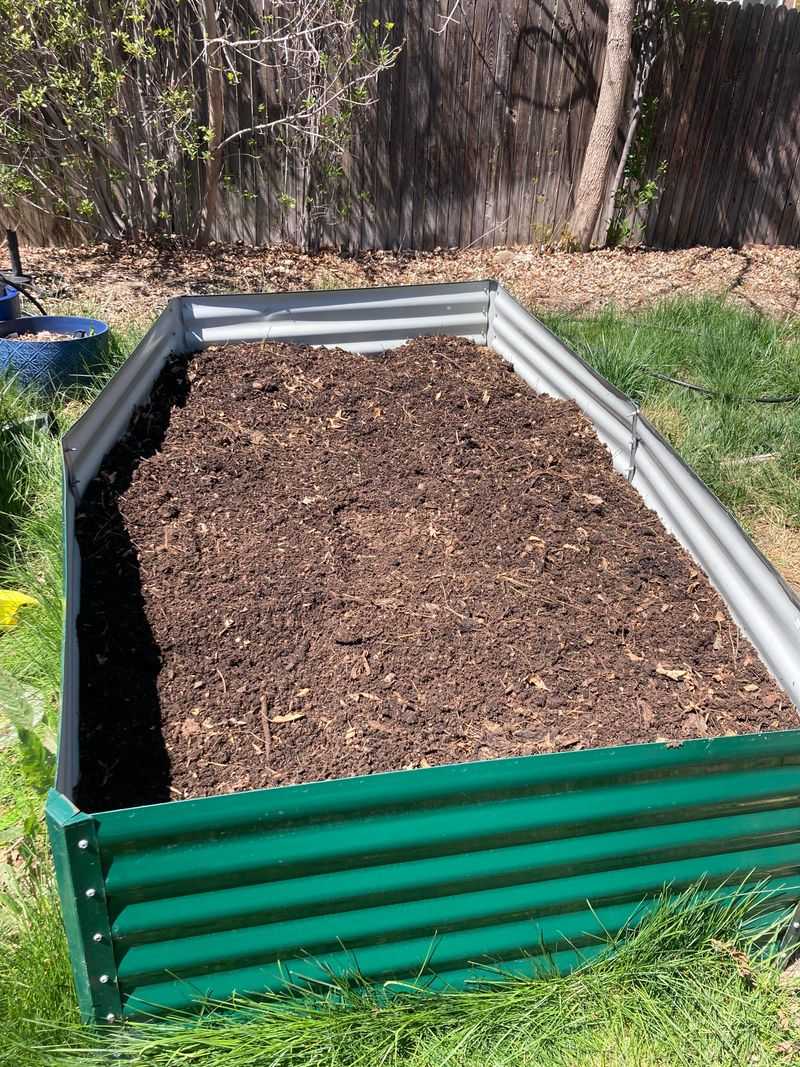
After a rainy Oregon winter, a well-tended compost bin can look like pure garden magic.
That dark, crumbly, earthy-smelling material at the bottom is finished compost, and it is one of the safest and most reliable soil builders a home gardener can make.
Oregon State University Extension calls compost the foundation of healthy soil, and for good reason.
Finished compost does not work like a fast-acting fertilizer.
It releases nutrients slowly as soil microbes break it down further, which means plants get a steady, gentle supply rather than a sudden rush that can cause more harm than good.
It also improves soil structure, helping Oregon clay soils drain better and sandy soils hold moisture longer.
To use it well, work two to four inches of finished compost into your garden beds each spring.
You can also use it as a top dressing around existing plants, letting rain and worms carry it down into the root zone over time.
For potted herbs on a Portland porch or container tomatoes in a Eugene backyard, mix compost into your potting blend rather than relying on it alone.
One important note: half-finished compost can actually tie up nitrogen in the soil temporarily.
Make sure your pile has fully broken down before you apply it. If it still smells like food scraps or has recognizable chunks, give it a few more weeks. Patience pays off here.
2. Worm Castings Add Slow Power
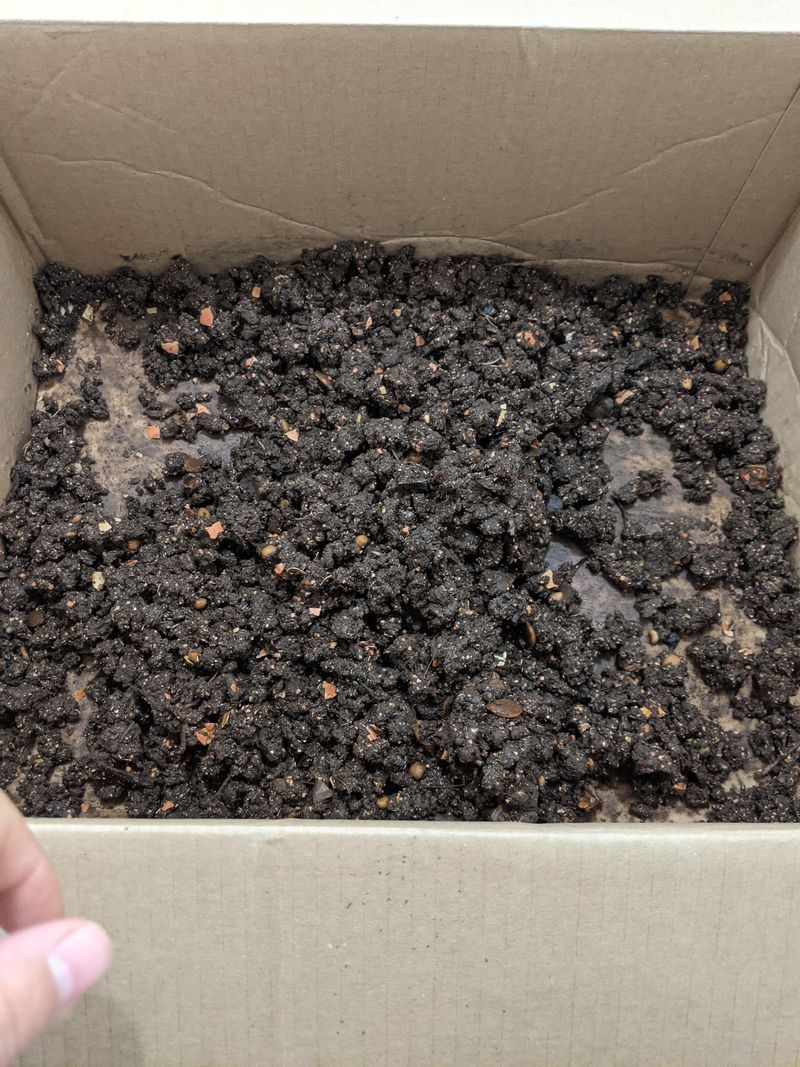
Check a worm bin after a few weeks and you will find something that looks unremarkable but performs remarkably well.
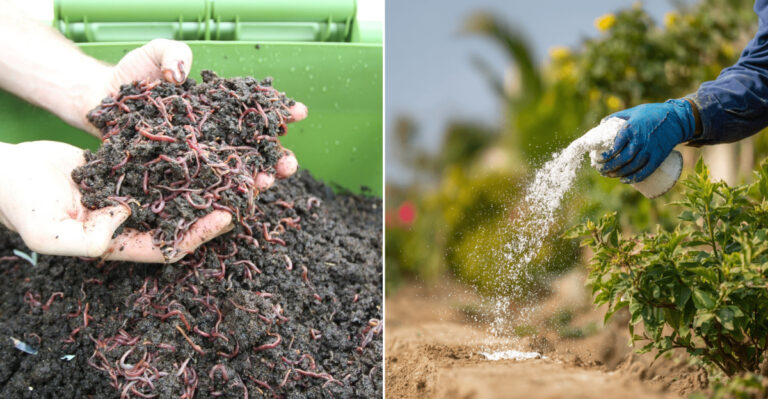
Worm castings, the material that passes through a red wiggler worm during composting, are mild, nutrient-rich, and packed with beneficial microbes that help soil biology thrive. They are sometimes called black gold, and that nickname is not far off.
Unlike many fertilizers, worm castings are nearly impossible to over-apply.
Their nutrient levels are relatively low, which makes them safe around seedlings and sensitive plants that might react badly to stronger amendments.
Research shows that castings contain helpful bacteria, enzymes, and plant growth compounds that support root development and overall plant health.
Your Oregon Garden Changes Every Week. Your Plan Should Too.
Gardening in Oregon changes quickly throughout the season. Every Friday you’ll receive a simple weekly plan showing exactly what to plant, prune, fertilize, harvest, and protect so you never miss the right timing.
Oregon gardeners who keep worm bins indoors during the rainy season end up with a steady supply of castings by spring.
A basic worm bin can live under a kitchen sink or in a garage and requires very little attention beyond regular feeding with vegetable scraps and damp newspaper.
To use castings, mix a small amount into potting soil, sprinkle them around the base of plants as a top dressing, or brew them into a simple liquid by soaking a cup of castings in a gallon of water for 24 hours.
That liquid can be applied directly to the root zone. Start with small amounts and watch how your plants respond before adding more.
3. Compost Tea Gives A Mild Boost
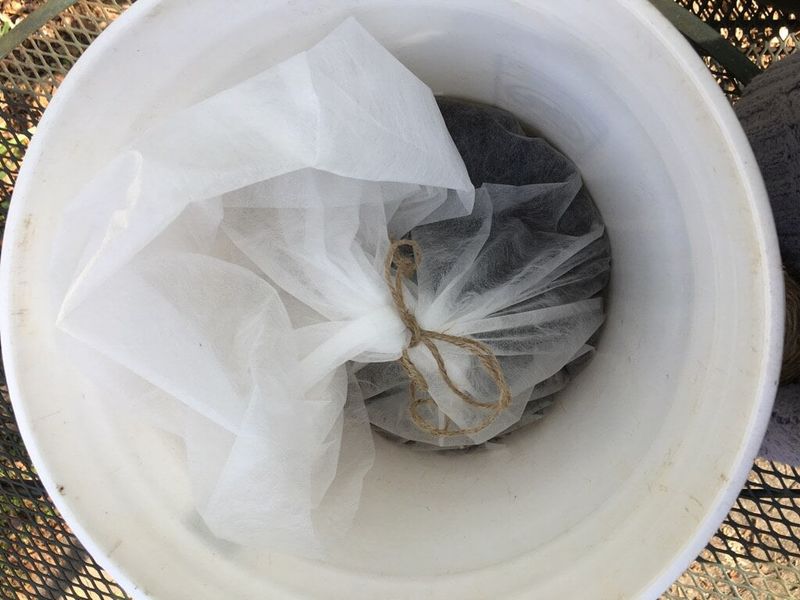
A bucket of compost tea bubbling away in a backyard has a certain satisfying quality to it, like you are doing something clever and resourceful at the same time.
The idea is simple: steep finished compost in water, sometimes with an air pump to oxygenate it, and then apply the resulting liquid to plants as a soil drench. Gardeners have been doing this for decades, and the appeal is easy to understand.
The honest truth is that the science on compost tea is more complicated than the enthusiasm around it.
Oregon State University Extension notes that while aerated compost tea may support soil biology, its benefits are inconsistent and depend heavily on the quality of the compost used and how the tea is brewed. It is not a substitute for solid compost applications or soil testing.
That said, many Oregon gardeners find it useful as a gentle mid-season boost, especially for container plants that have exhausted the nutrients in their potting mix.
Apply it as a soil drench rather than a foliar spray to reduce any risk of pathogen issues, and always use fully finished, high-quality compost as your base material.
Brew time matters. Most recommendations suggest 24 to 36 hours with aeration.
Do not let it sit longer than 48 hours, as the microbial balance can shift in ways that are not beneficial. Use it the same day you finish brewing for the best results.
4. Coffee Grounds Belong In Compost
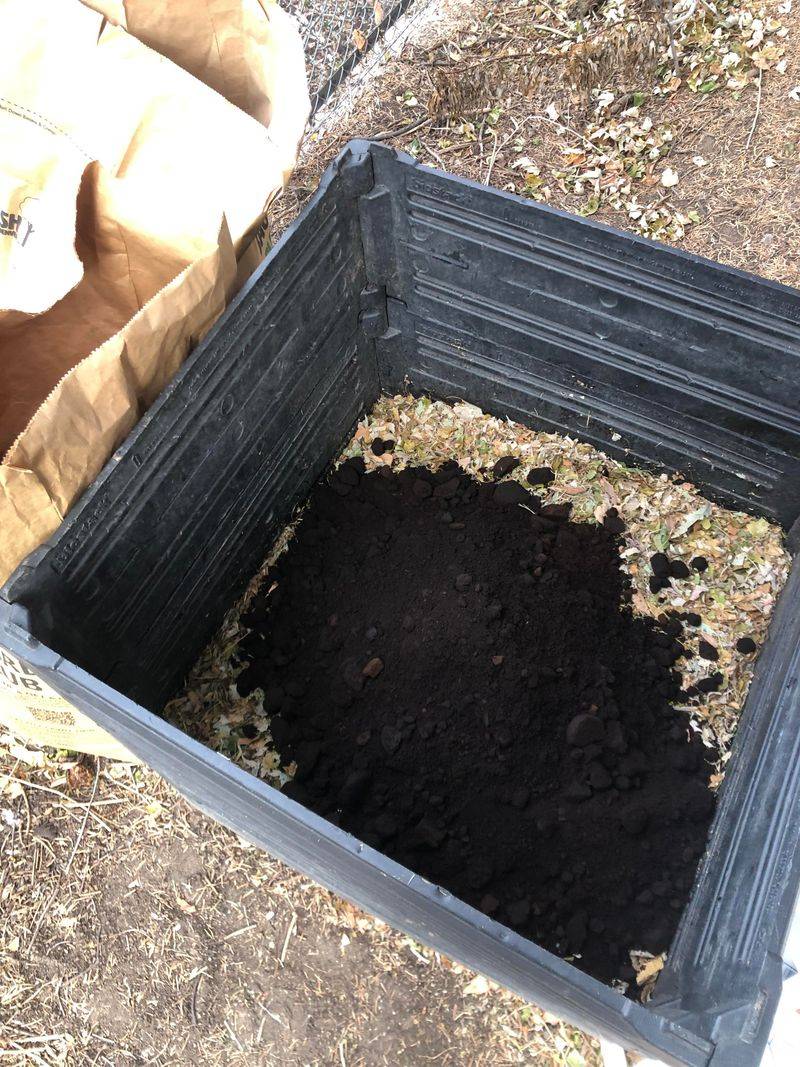
That spent coffee filter sitting next to the French press every morning is not trash. It is a composting opportunity.
Coffee grounds are one of the most talked-about homemade garden amendments, and also one of the most misunderstood.
Many gardeners assume they should be scattered directly around acid-loving plants like blueberries or rhododendrons, but OSU Extension and other research sources suggest that approach can cause more problems than it solves.
Fresh coffee grounds applied directly to soil in large amounts can create a crust that repels water, and their effect on soil pH is much smaller than most gardeners expect.
Used grounds are actually closer to neutral on the pH scale, not strongly acidic. Piling them around plants without mixing them in can also introduce mold and interfere with water absorption.
The better approach is composting.
Add coffee grounds to your compost pile or bin in moderate amounts, mixing them with brown materials like dried leaves or cardboard.
They add nitrogen to the compost pile, which helps speed up decomposition, and they get broken down into a more balanced form before reaching your plants.
If you want to add grounds directly to the garden, keep the layer thin, no more than half an inch, and work them into the top inch of soil rather than leaving them on the surface.
Most Oregon coffee shops will also give away used grounds for free, which is a practical way to add nitrogen to your compost pile without spending a cent.
5. Eggshell Powder Adds Slow Calcium
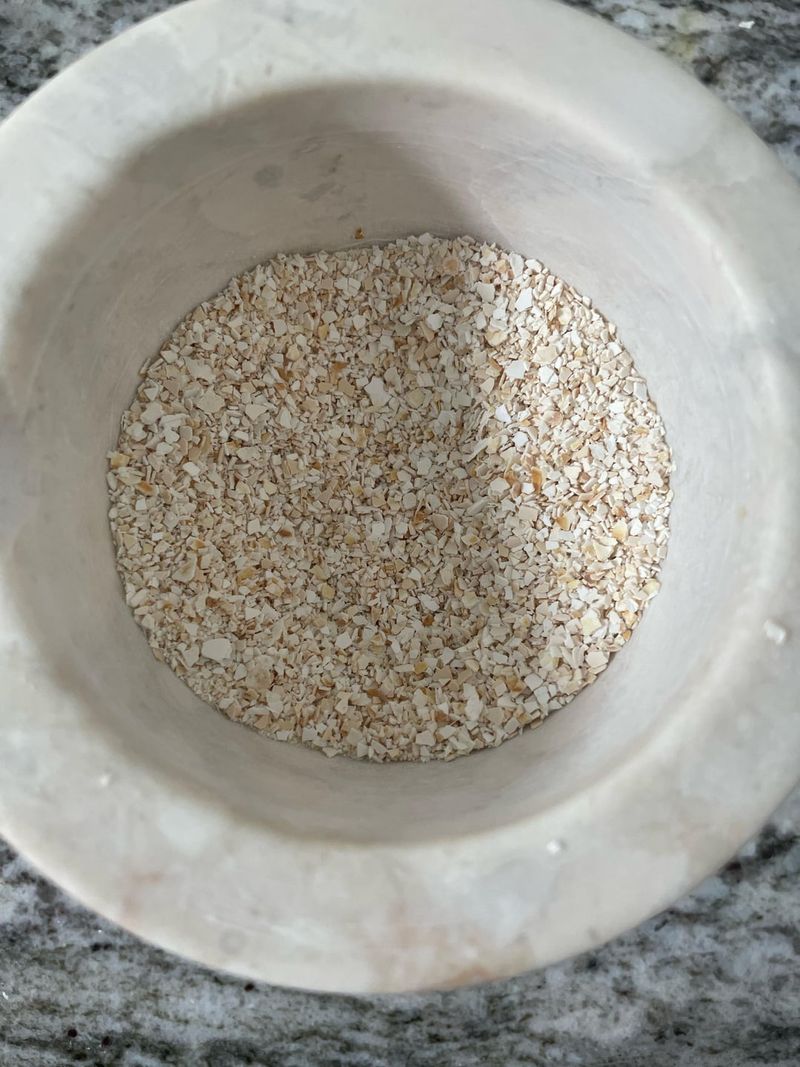
Saving eggshells feels virtuous, and gardeners have been doing it for generations.
The idea is that calcium from eggshells will strengthen plant cell walls, prevent problems like blossom end rot in tomatoes, and improve overall soil health. There is truth in that idea, but the timeline involved is longer than most people realize.
Eggshells are made mostly of calcium carbonate, which is the same material found in garden lime.
The catch is that whole or coarsely crushed shells break down very slowly in soil, sometimes taking years to release meaningful amounts of calcium.
If your soil is genuinely low in calcium, a bag of agricultural lime from your local garden center will work much faster and more reliably.
Ground into a fine powder using a mortar and pestle or a blender, eggshells break down significantly faster.
Drying shells thoroughly in a low oven before grinding makes the process easier and reduces any odor. Sprinkle the powder into planting holes when transplanting tomatoes or peppers, or mix it into potting soil for container plants.
Before adding calcium in any form, a soil test is worth doing.
OSU Extension offers soil testing services through county offices, and results will tell you exactly what your soil lacks. Oregon soils vary widely, and some areas naturally have adequate calcium. Test first, then amend with confidence.
6. Fish Tank Water Helps Ornamentals
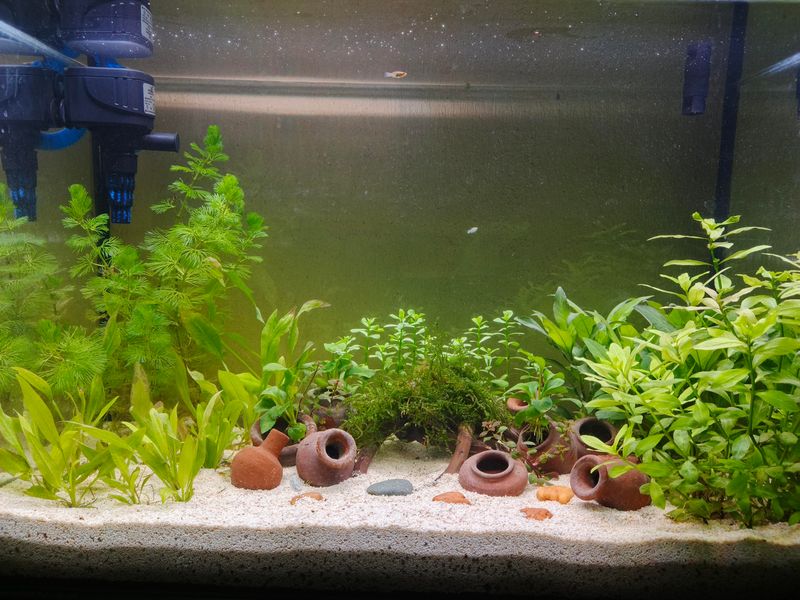
Aquarium owners often overlook one of the most convenient plant nutrients in their home.
When you change the water in a freshwater fish tank, that cloudy, slightly green water is not just waste. It contains fish waste, uneaten food particles, and beneficial microbes that function as a mild, natural fertilizer.
Houseplants and outdoor ornamentals tend to respond well to it.
The key word here is freshwater. Saltwater aquarium water should never be used on plants.
The salt content is far too high and will damage roots and soil structure over time. Stick to untreated freshwater tanks, meaning tanks that have not had chemical treatments like algaecides, medications, or water conditioners added recently.
Those chemicals can harm plants and soil biology.
Fish tank water works best for ornamental plants, container flowers, and established houseplants.
It is not a complete fertilizer, so do not expect it to replace a regular feeding schedule for heavy feeders like tomatoes or corn. Think of it as a gentle supplement rather than a primary nutrient source.
Apply it as you would regular water, pouring it directly onto the soil around your plants rather than on leaves.
Most gardeners use it every time they do a tank water change, which might happen every one to two weeks. It is one of those tidy solutions that turns a routine chore into something your garden quietly appreciates.
7. Seaweed Tea Adds Trace Nutrients
Oregon has one significant advantage that gardeners in landlocked states simply do not have: the Pacific coastline.
Seaweed has been used as a garden amendment for centuries in coastal communities, and it brings a broad spectrum of trace minerals, natural growth hormones, and organic matter that most synthetic fertilizers do not include.
For Oregon gardeners within driving distance of the coast, it is a genuinely useful and locally available resource.
The biggest concern with using raw seaweed is salt.
Seaweed collected from the ocean carries significant salt that can damage soil and plant roots if applied directly in large amounts.
Rinsing collected seaweed thoroughly with fresh water before use is essential.
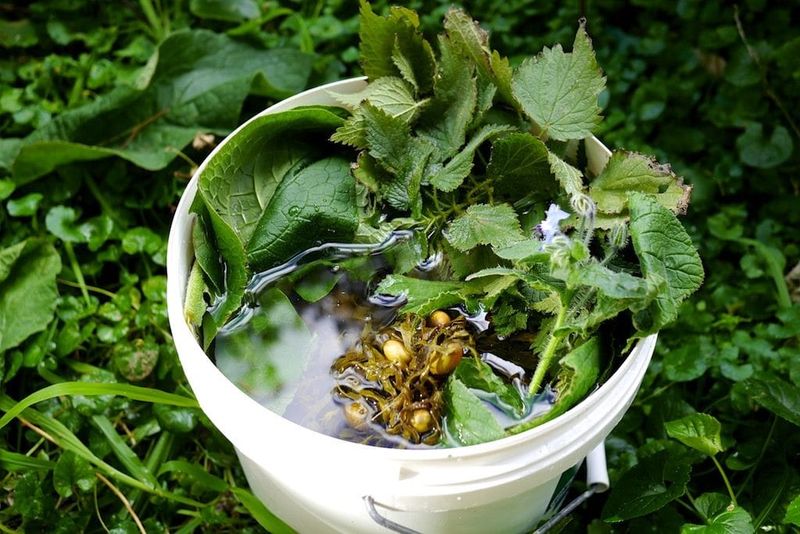
Alternatively, making a seaweed tea by soaking rinsed seaweed in a bucket of water for several days dilutes the salt further and creates a mild liquid fertilizer that can be applied to the root zone.
Commercial liquid seaweed products are also available at most Oregon garden centers and are processed to remove excess salt.
These are a reliable option for gardeners who want the benefits without the beach trip. Look for products without added synthetic nutrients if you want to keep your garden practice fully organic.
Seaweed is not a primary nitrogen or phosphorus source.
Its real value lies in trace minerals like zinc, manganese, and iron, along with natural compounds called cytokinins that may support plant root development.
Use it as a supplement to your main fertility program, not as a replacement. A monthly application during the growing season is plenty for most ornamentals and vegetables.
8. Leaf Mold Builds Better Soil
Every fall, Oregon’s maple, oak, and big-leaf maple trees drop an enormous amount of material that many gardeners rake up and haul away without a second thought.
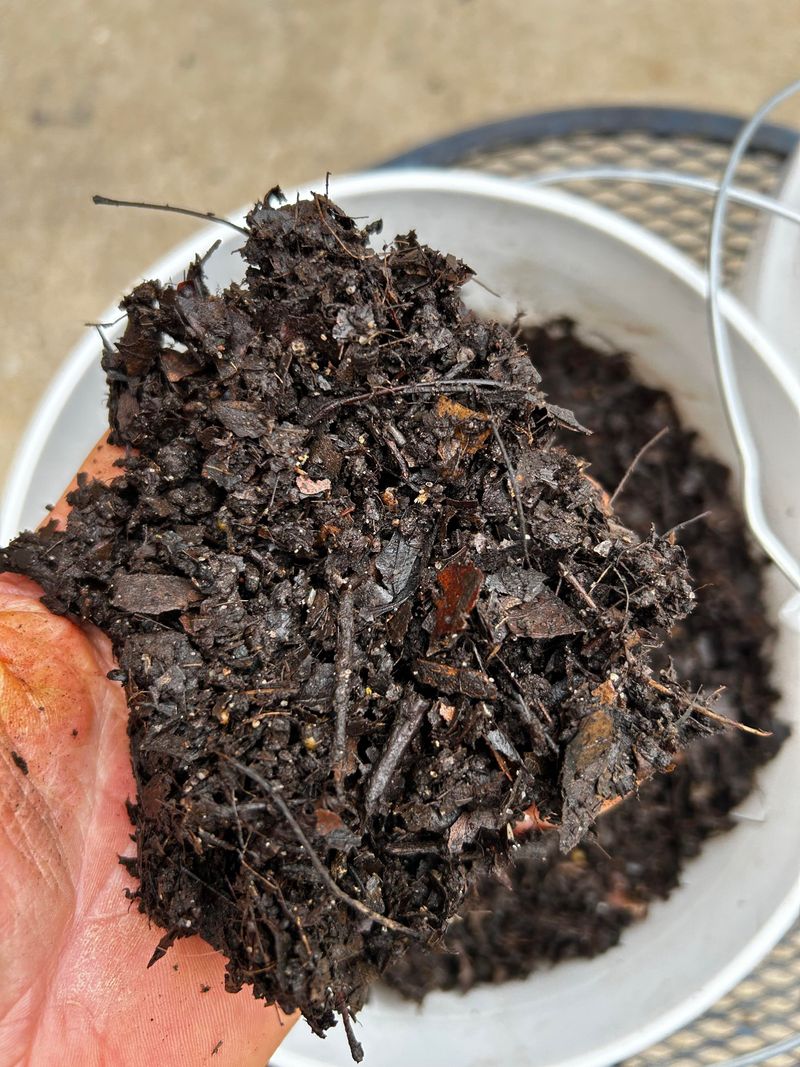
That is a missed opportunity. Those fallen leaves, left in a simple wire bin or pile for one to two years, slowly transform into leaf mold, a dark, crumbly, moisture-retaining material that does remarkable things for soil structure.
Leaf mold is not a high-nutrient fertilizer.
Compared to finished compost, its nitrogen, phosphorus, and potassium levels are modest. What it excels at is improving the physical qualities of soil.
Mixed into clay-heavy Oregon soil, it opens up compaction and improves drainage. Added to sandy or fast-draining soil, it helps retain moisture during dry summer months.
Making leaf mold requires almost no effort.
Pile up autumn leaves, keep them slightly moist, and wait. Shredding leaves first with a lawn mower speeds up the process considerably.
A simple circular bin made from wire fencing keeps the pile contained without costing much. By the second spring, the bottom of the pile will have transformed into usable leaf mold.
Apply it as a two to three inch mulch layer around perennials and shrubs, or mix it into planting beds before sowing seeds.
It is particularly helpful in raised beds that tend to dry out quickly. Leaf mold improves soil biology over time by feeding earthworms and beneficial microbes, which makes every other amendment you add work a little better in return.