8 Ways To Hide An Old Tree Stump Instead Of Paying To Remove It In Virginia
That stump has been sitting there for weeks. Removal crews demand serious cash before touching it.
Virginia homeowners keep paying for something oddly simple. Nobody talks about what actually works instead. Money isn’t the answer here, patience is.
Secrets exist that most people never discover. Every stubborn root eventually gives up its grip.
Time works against that stump, not you. Virginia’s soil hides advantages most homeowners ignore completely. Curiosity alone won’t remove it, but knowledge will.
Something shifts once you understand what’s really happening underground. Your neighbors will ask how you pulled this off. Skeptics assume removal requires spending real money.
Reality says otherwise, and it’s about to surprise you. Patience turns into strategy once you know the trick. Expect surprises that most homeowners overlook entirely.
Understanding beats any store-bought solution you could buy. Nothing about this stump’s sudden disappearance will make any sense until you watch it happen.
1. Top It With A Large Decorative Planter
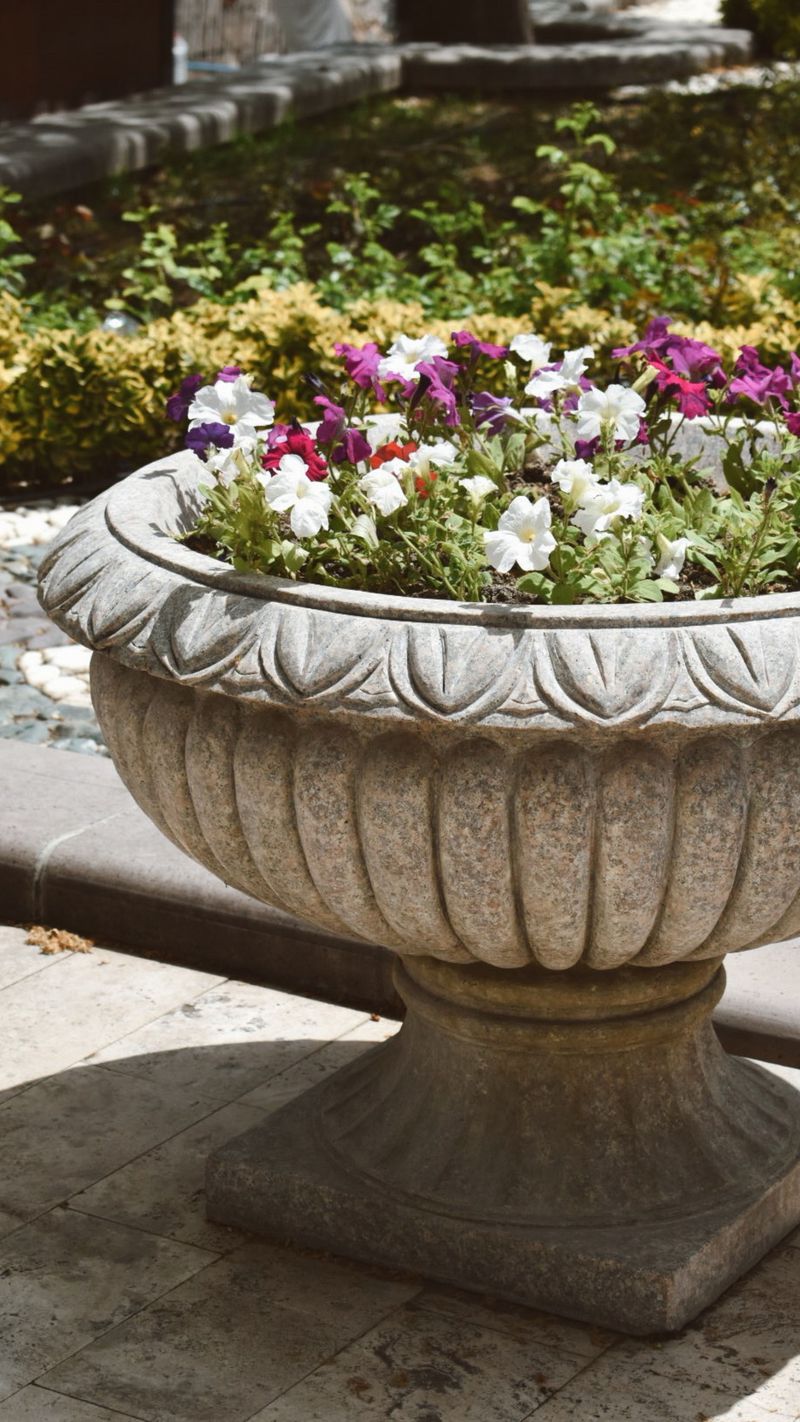
Picture this: a massive, colorful planter sitting right on top of that ugly stump, drawing most of the attention. Nobody looks at the stump when there are bright blooms spilling over the edges.
This trick is one of the easiest ways to hide an old tree stump without touching a shovel. You simply set a large pot directly on the flat surface and fill it with your favorite flowers or trailing vines.
Choose a planter that is wider than the stump for full coverage. Terra cotta, wooden barrels, and resin pots all work great and hold up well in Virginia summers.
Go for trailing plants like sweet potato vine or creeping Jenny to drape over the sides. They grow fast and help soften the whole look even more.
Annuals like petunias, impatiens, and zinnias give you bold color all season long. Swap them out each spring for a fresh new display without any extra digging.
You can also layer the pot with a mix of thrillers, fillers, and spillers for a professional look. That means one tall plant in the center, bushy plants around it, and trailing ones at the edges.
Weight the planter down slightly with gravel at the bottom so it stays stable in windy weather. Virginia storms can get gusty, so a little extra ballast goes a long way.
This approach can cost as little as roughly $20 and typically takes about an hour to set up. Your old stump becomes a stunning focal point instead of a yard embarrassment.
2. Frame It With A Small Raised Flower Bed
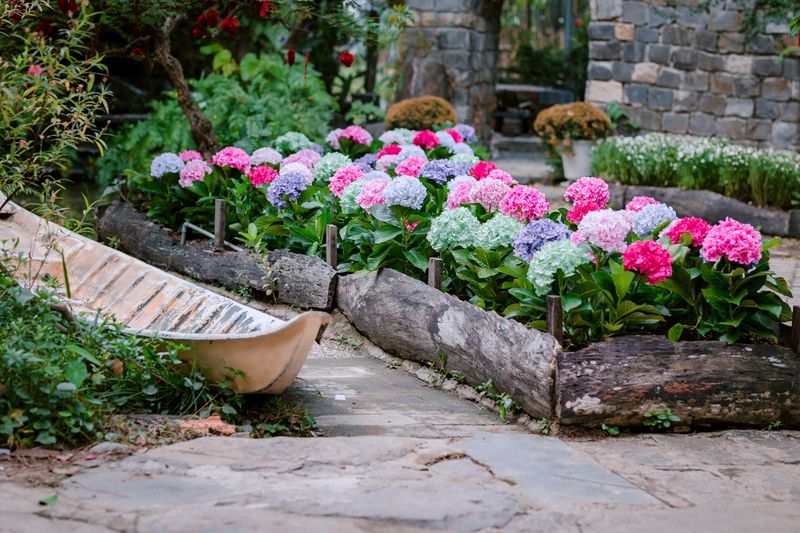
Building a raised flower bed around your stump is like giving it a fancy collar, suddenly it looks intentional and stylish. The stump becomes the centerpiece instead of the problem.
You do not need carpentry skills or expensive tools to pull this off. Simple wooden boards, stacked stones, or even landscape timbers work perfectly as borders.
Start by measuring about two feet out from the stump on all sides. That gives you enough planting space to make the bed look full and lush.
Your Virginia Garden Changes Every Week. Your Plan Should Too.
Gardening in Virginia changes quickly throughout the season. Every Friday you’ll receive a simple weekly plan showing exactly what to plant, prune, fertilize, harvest, and protect so you never miss the right timing.
Fill the inside with a good mix of topsoil and compost before adding your plants. Virginia soil can be clay-heavy, so mixing in amendments helps roots take hold faster.
Choose perennials like black-eyed Susans, coneflowers, or daylilies for low-maintenance color year after year. These native-friendly plants thrive in Virginia’s climate and come back stronger each season.
The stump itself will slowly decompose inside the bed over several years, gradually acting as a natural nutrient source for your plants. Over time, fungi and beetles break it down quietly underground.
You can paint or stain the wooden border to match your home’s exterior for a polished finish. A pop of color on the edging makes the whole setup look planned and purposeful.
This project can typically range from around $30 to $80, depending on materials and local prices. Hiding an old tree stump has never looked this good or felt this satisfying to build yourself.
3. Ring It With Mulch And Shade-Loving Ferns
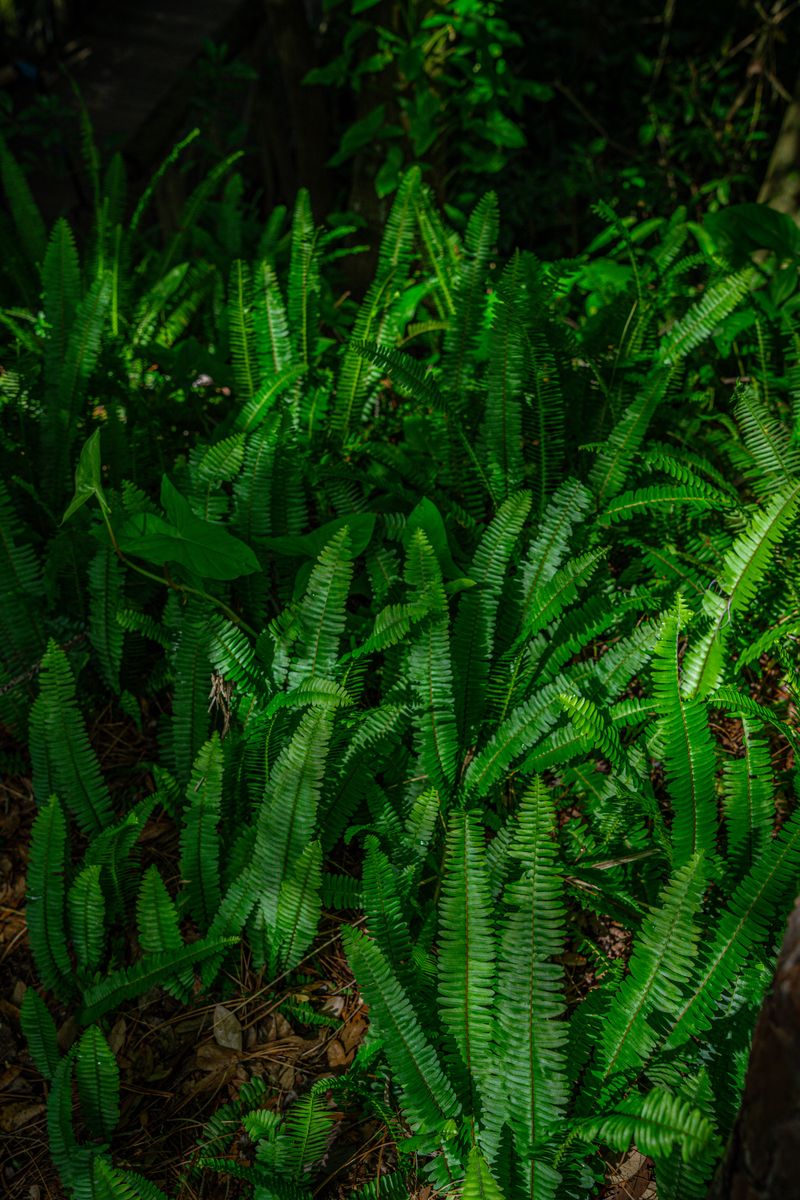
Ferns are basically nature’s curtains, and they are spectacular at hiding things you would rather not see. Pair them with a thick ring of mulch and your old stump practically disappears from view.
This method works especially well in shaded Virginia yards where grass refuses to grow anyway. Ferns love low light and moist soil, making them perfect under old tree canopies.
Start by spreading a four-inch layer of wood chip mulch in a wide circle around the stump. The mulch suppresses weeds, holds moisture, and gives the whole area a tidy, finished look.
Next, plant ferns in a dense cluster right up against the stump’s base. Ostrich ferns, Christmas ferns, and cinnamon ferns all grow beautifully in Virginia’s climate.
As the ferns fill in over one or two seasons, they form a lush green mound that swallows the stump completely. Neighbors will assume the stump is just a natural part of your woodland garden design.
Add a few hostas or astilbes between the ferns for texture variety. Mixing foliage shapes keeps the planting looking dynamic rather than flat and repetitive.
Refresh the mulch layer each spring to keep things looking crisp and fresh. Aged mulch also feeds the soil as it breaks down, which your ferns will absolutely love.
The total cost for this setup is often around or under $50, depending on materials. Hiding an old tree stump this way feels less like a cover-up and more like a genuine garden upgrade.
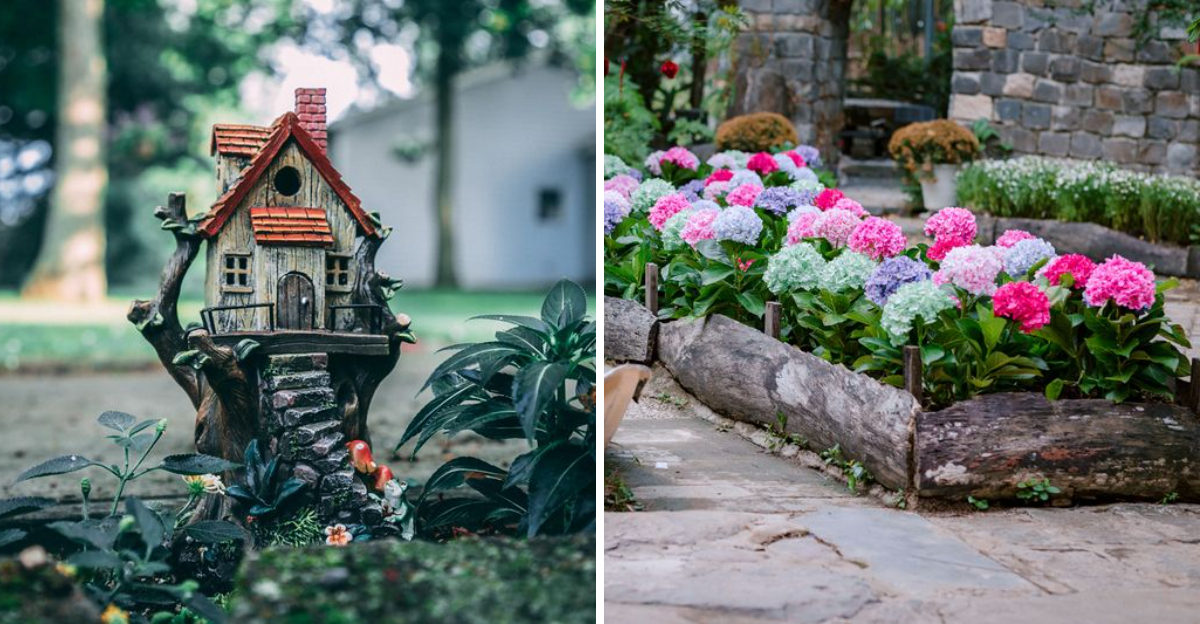
4. Transform It Into A Mini Fairy Garden
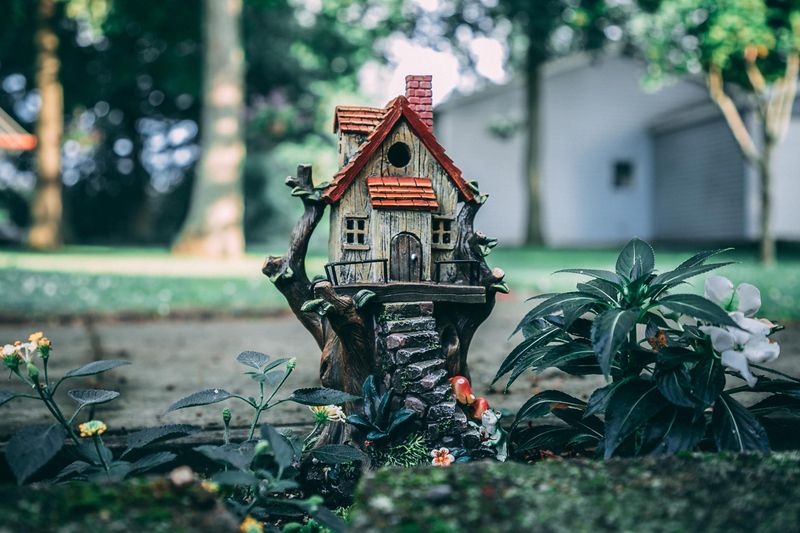
Kids get excited about fairy gardens, and honestly, adults do too. That flat stump top is basically a ready-made stage for a tiny magical world.
Carve out a shallow depression in the center of the stump if it is soft enough, then fill it with potting mix. This creates a planting zone right on the surface for miniature plants.
Tiny succulents, moss, and creeping thyme are perfect for fairy garden plantings. They stay small, need little water, and look like a lush miniature landscape from above.
Add miniature accessories like a tiny wooden door nailed to the stump’s side, a small fairy figurine, or a pebble pathway leading up to the base. These details make the whole thing feel alive and enchanting.
Mushroom figurines and tiny lanterns add charm without costing much. You can find all of these at craft stores or dollar shops for just a few dollars each.
This is one of the most popular ways to hide an old tree stump because it turns something unwanted into a conversation starter. Guests often stop to look and ask questions about it.
Repaint or rearrange the accessories each season to keep it fresh and fun. A winter fairy garden with tiny evergreen sprigs and fake snow is surprisingly magical.
Kids can help build and design their own fairy world, making this a genuine family project. That stump stops being a problem and starts being a beloved backyard feature.
5. Wrap Climbing Vines Around The Surface
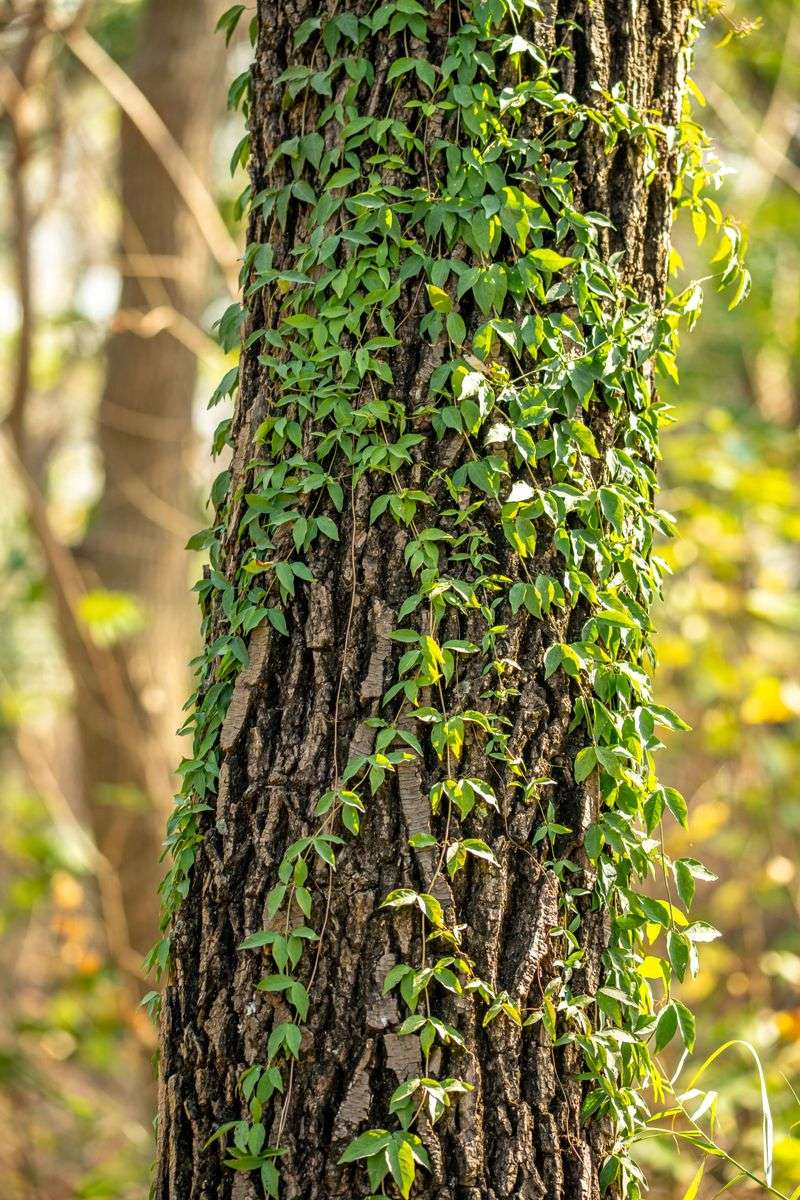
Vines are patient and persistent growers, exactly what you need when covering something stubborn. Give them a stump and they will do the rest of the work for you.
Climbing vines like Virginia creeper, clematis, or trumpet vine attach naturally to rough bark surfaces. They grip and spread without needing much encouragement once established.
Plant two or three vine starts at the base of the stump in early spring. Water them consistently through the first summer and they will begin climbing on their own within weeks.
By the second season, most fast-growing vines will cover the entire stump from base to top. The result looks like a lush green sculpture rather than a bare tree remnant.
Clematis is especially rewarding because it produces stunning purple or white blooms on top of the green foliage. The combination of flower and vine creates a dramatic visual effect in any yard.
Avoid invasive species like English ivy or kudzu, which can spread aggressively in Virginia’s warm climate. Stick with native or well-behaved cultivars to keep your garden manageable and healthy.
Add a simple wire cage or trellis piece around the stump to give the vines something to grip as they climb. This speeds up coverage and keeps growth looking tidy and directed.
Vines cost very little at local nurseries and require very little maintenance once established. Hiding an old tree stump with living greenery is one of the most natural-looking solutions available.
6. Set A Birdbath Or Statue Beside It
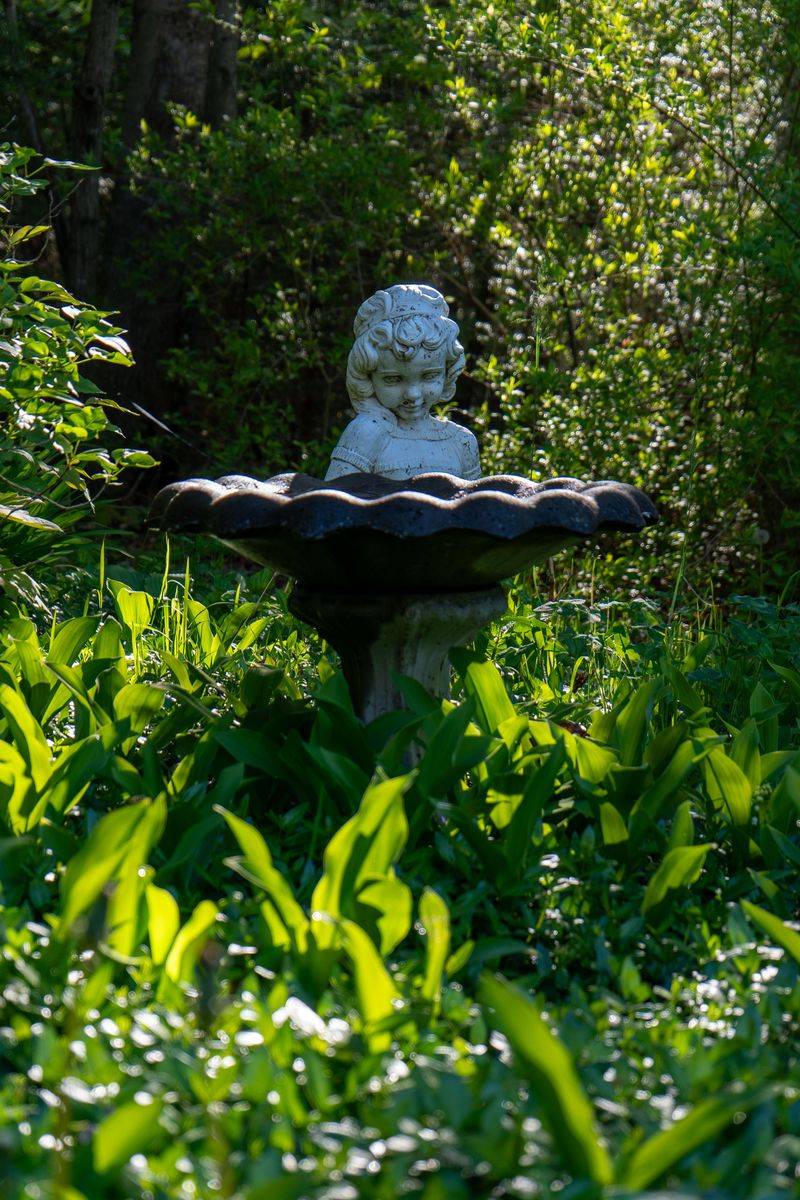
Sometimes the best way to hide something is to give people something better to look at. A beautiful birdbath or garden statue beside the stump pulls all the attention away instantly.
The stump becomes part of the backdrop rather than the main event. Paired with a striking garden ornament, it actually adds to the visual layering of your outdoor space.
Choose a birdbath with a pedestal base and set it just inches from the stump’s edge. The two elements together look like a planned garden vignette, not an accident.
Stone statues of animals, angels, or abstract shapes work equally well. Place one on top of the stump if it is flat and sturdy enough to support the weight.
Surround the base of both the stump and the statue with low-growing ground cover like creeping phlox or ajuga. This ties everything together and makes the whole area look deliberately designed.
Birdbaths also attract cardinals, robins, and wrens, which are common in Virginia yards. Watching birds splash around transforms a yard problem into a genuine wildlife moment.
Keep the birdbath water fresh and clean to encourage regular bird visits. A little algae scrub every week or two keeps it looking great all season long.
Solar-powered fountain inserts are affordable and keep the water moving, which birds prefer. Your old stump becomes the anchor of a lively, charming backyard scene that costs very little to create.
7. Pile Rocks Around It For A Natural Look

Rocks need no watering and require very little upkeep. Stacked around a stump, they create something that looks ancient and intentional.
Gather fieldstones, river rocks, or flagstone pieces from a local landscape supply store. You can also find free rocks at construction sites or by asking neighbors who are clearing land.
Start by placing the largest, flattest stones at the base of the stump to anchor the arrangement. Build up and inward, layering smaller stones as you go higher around the sides.
Leave small gaps between the rocks for planting pockets. Tuck in drought-tolerant sedums, creeping thyme, or hen-and-chicks for pops of color and texture between the stones.
Virginia’s natural landscape is full of rocky outcroppings, so a rock garden fits right into the regional aesthetic. It looks like something that has always been there rather than a DIY project from last weekend.
Add a few larger statement boulders around the outer edge for a more dramatic, sculptural feel. Mixing sizes keeps the eye moving and makes the arrangement look organic rather than forced.
Once set, this type of feature needs very little upkeep beyond occasional weeding. Hiding an old tree stump this way means less yard work, not more.
The rocks also create habitat for beneficial insects and small lizards, which help control garden pests. Your stump problem quietly becomes a functioning piece of the local ecosystem.
8. Shape It Into A Rustic Garden Seat
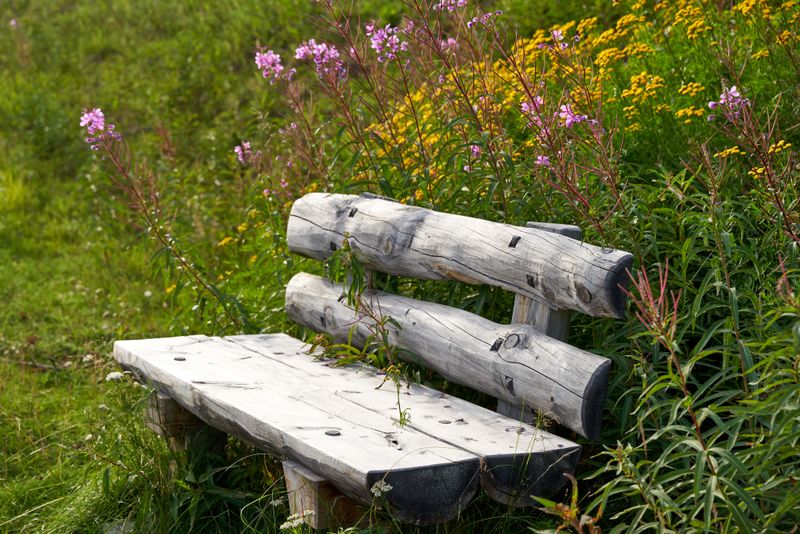
A stump that was once a problem can become your favorite spot to sit with morning coffee. With a little sanding and sealing, it transforms into a charming rustic seat.
Start by using a chainsaw or hand saw to level the top surface as flat as possible. Then sand it smooth with coarse sandpaper, working down to a finer grit for a splinter-free finish.
Apply an outdoor wood sealant or deck stain to protect the surface from moisture and insects. This step is crucial in Virginia’s humid summers, where untreated wood breaks down fast.
You can also add a round cushion on top for extra comfort and color. Outdoor cushions in weather-resistant fabric come in dozens of patterns and hold up beautifully through the seasons.
Place the stump seat at the edge of a flower bed or beside a garden path for a purposeful look. It becomes a natural resting spot rather than an awkward obstacle in the middle of the yard.
Carve a small notch or groove on the side of the stump and tuck in a potted plant or lantern for added charm. These small details make the seat feel curated and intentional.
Guests often comment on handmade garden features like this one. There is something warm and grounding about sitting on a piece of a tree that once shaded your whole yard.
Hiding an old tree stump by turning it into seating is one of the more rewarding solutions on this list. You end up with something functional, beautiful, and uniquely yours.