Stop Pruning Your Ohio Boxwoods Like This If You Want Them To Survive August
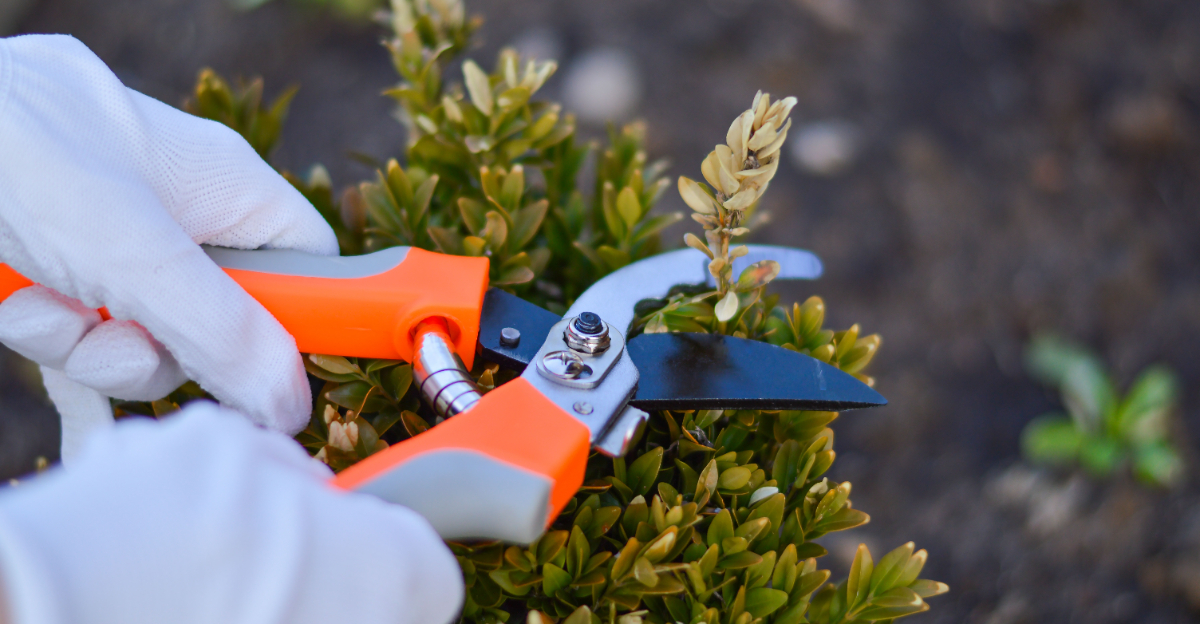
Ohio boxwoods in August are already under pressure. Heat, drought stress, spider mite activity, and the general demand of holding dense green growth through the hardest stretch of summer.
Adding the wrong pruning approach on top of all of that is one of the more reliable ways to push a stressed shrub past the point it can recover from before fall.
One specific pruning mistake shows up in Ohio yards every August with consequences that do not announce themselves immediately.
The boxwood looks fine after the cut. Two weeks later it does not, and by the time the damage is visible the window for preventing it has already closed.
Boxwoods in August have opinions about being pruned. The timing, the depth, and the technique all matter in ways that spring pruning never demands.
Getting it wrong this month is a different category of mistake than getting it wrong in April.
1. Put The Hedge Shears Down During Peak Heat
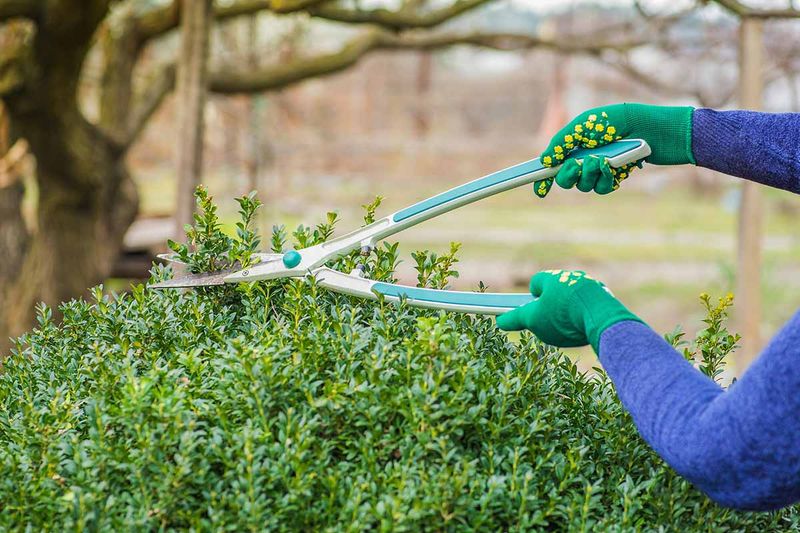
Electric shears hovering an inch above warm boxwood foliage on a dry August afternoon can feel routine, but the timing deserves a second thought. Shearing cuts a broad layer of outer shoots to produce a uniform shape.
Selective pruning, by contrast, removes individual branches at chosen points inside the canopy.
Removing a wide band of outer foliage from a shrub already coping with dry soil or high temperatures adds another demand to a plant under pressure. A dense outer shell created by repeated shearing can also reduce light and airflow inside the canopy.
That does not mean shearing is always the cause of interior decline, but it can be a contributing factor on a stressed plant.
A light cosmetic trim on a healthy, well-watered shrub in mild August weather carries far less risk than a deep shear on a plant showing drought symptoms or pest damage. Severity, aftercare, sun exposure, and cultivar all shape the outcome.
Uneven growth in August is frustrating, but reshaping a stressed hedge is not the most pressing task. A few noticeably long shoots may be shortened selectively when the plant appears healthy and soil moisture is adequate.
Set the shears aside first, check the foliage closely, feel the soil a few inches down, and then decide whether shape correction is truly needed right now.
2. Save Hard Renovation For The Dormant Season
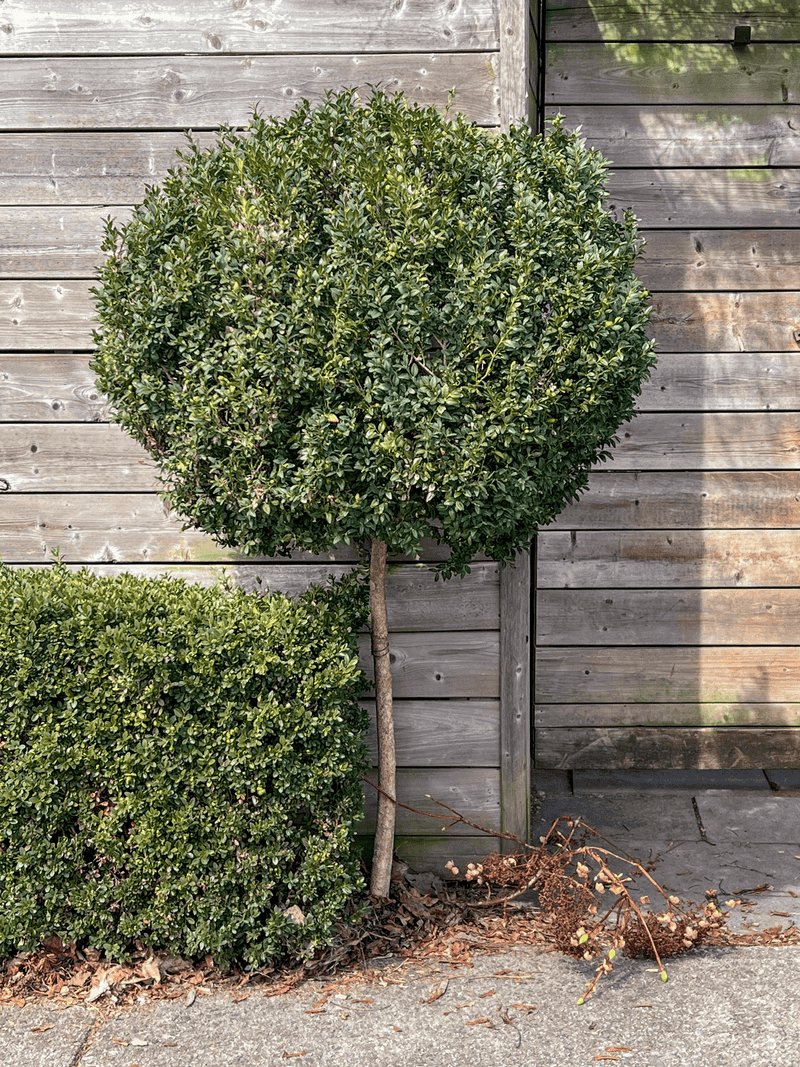
One deep cut into an overgrown boxwood often reveals a shadowy interior of bare stems and sparse leaves that have never seen direct sun. That moment makes renovation pruning feel urgent, but August is rarely the right time to act on that impulse.
Renovation pruning removes a large portion of growth to reduce size, reshape structure, or open up a dense plant. Ohio State University Extension guidance points to late winter or early spring as the preferred window for major boxwood work.
That’s when plants are still dormant or just beginning to push new growth.
A hard cut in August exposes shaded interior stems and foliage to stronger sunlight than they have experienced. Sun injury is not guaranteed, but the risk rises when tender tissue suddenly loses its protective outer canopy.
Your Ohio Garden Changes Every Week. Your Plan Should Too.
Gardening in Ohio changes quickly throughout the season. Every Friday you’ll receive a simple weekly plan showing exactly what to plant, prune, fertilize, harvest, and protect so you never miss the right timing.
Any new growth that responds to a late-season cut may not have enough time to mature and harden before cold weather arrives.
An overgrown hedge is worth photographing now. Measure the current size, note the desired outcome, and plan the larger work for the recommended season.
Do not leave a broken or hazardous branch unaddressed until winter. Necessary corrective cuts can be made when safety or confirmed disease requires immediate action.
Understand that full renovation may require more than one growing season to complete without putting the plant at risk.
3. Thin The Interior Instead Of Shaving The Surface
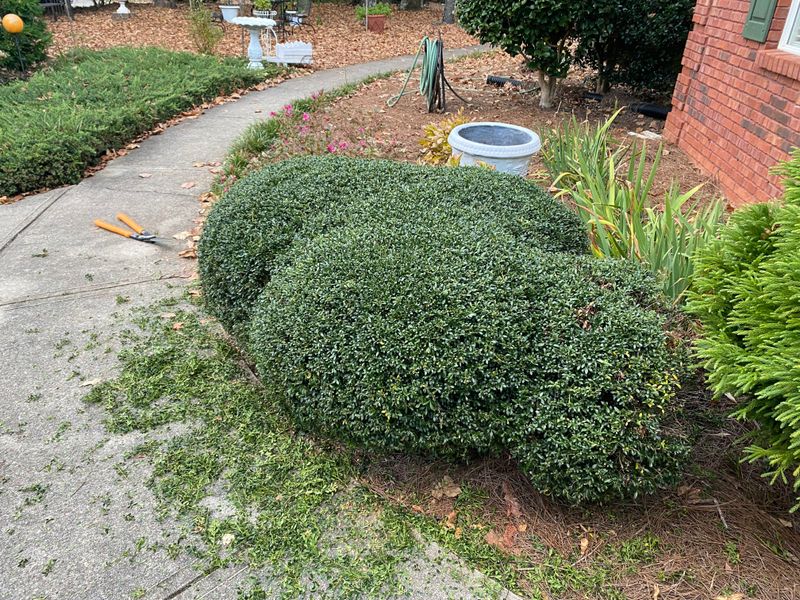
A hand pruner reaching past the outer leaf layer toward a single crowded branch accomplishes something a hedge trimmer never can.
Thinning cuts remove a branch or shoot at its point of origin or at a suitable side branch, rather than clipping every tip along the outer surface.
Selective thinning can improve light penetration into the canopy and reduce congested growth without stripping the protective outer layer. That is a different outcome from shearing, which creates a thicker outer shell over time.
Before reaching inside, inspect the shrub carefully for crossed shoots, tightly crowded stems, broken branches, and any growth that noticeably distorts the outline.
Random holes cut into a hedge without a clear target create an uneven, patchy result. Take a small number of well-placed branches, pause often, and view the shrub from several angles before cutting again.
Check for insects, nests, and hidden damage before reaching into dense foliage.
Hand pruners suit small branches well. Loppers handle larger stems more cleanly.
Hedge shears are the wrong tool for thinning work because they cut indiscriminately across the surface. August is not the season for an ambitious thinning project on a plant showing stress symptoms.
Limit action to necessary correction or very light structural work, and schedule broader interior thinning for a cooler, more favorable time of year.
4. Keep The Base Wider Than The Top
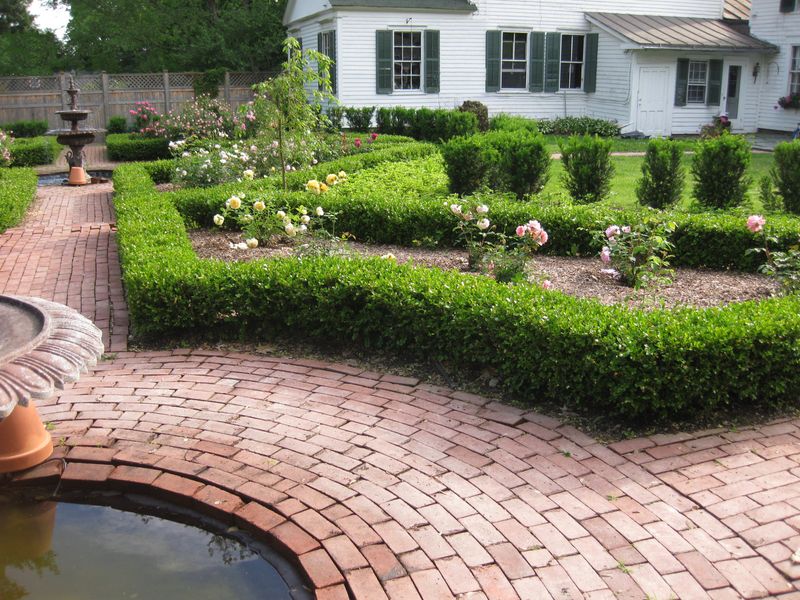
A hedge whose upper edge fans out wider than its lower half casts its own shadow across the base, and lower branches gradually thin out as a result. That is a common outcome of years of surface shearing without attention to the overall silhouette.
A slightly wider base allows more direct light to reach the lower foliage, which supports denser growth from the ground up. This recommendation applies primarily to formal hedges maintained for a geometric appearance.
Rounded specimens, informal foundation shrubs, and low borders may need different pruning approaches altogether.
Repeated shearing sessions can gradually push the hedge toward a top-heavy shape without the gardener noticing until the lower branches are already sparse. Shade is not the only cause of thin lower growth.
Disease, pest pressure, root stress, winter injury, and age can all contribute, so examine the base closely before assuming the shape is the sole problem.
View the hedge from the side and compare the width at the top to the width at the base. A string line or visual reference helps when maintaining a formal design.
Do not attempt a deep corrective cut during August. If the shape is already top-heavy, plan gradual correction during the appropriate pruning season.
Cultivar, age, and available light all affect how well thin lower branches recover, so set realistic expectations before starting any reshaping work.
5. Cut Suspect Branches Only When Foliage Is Dry
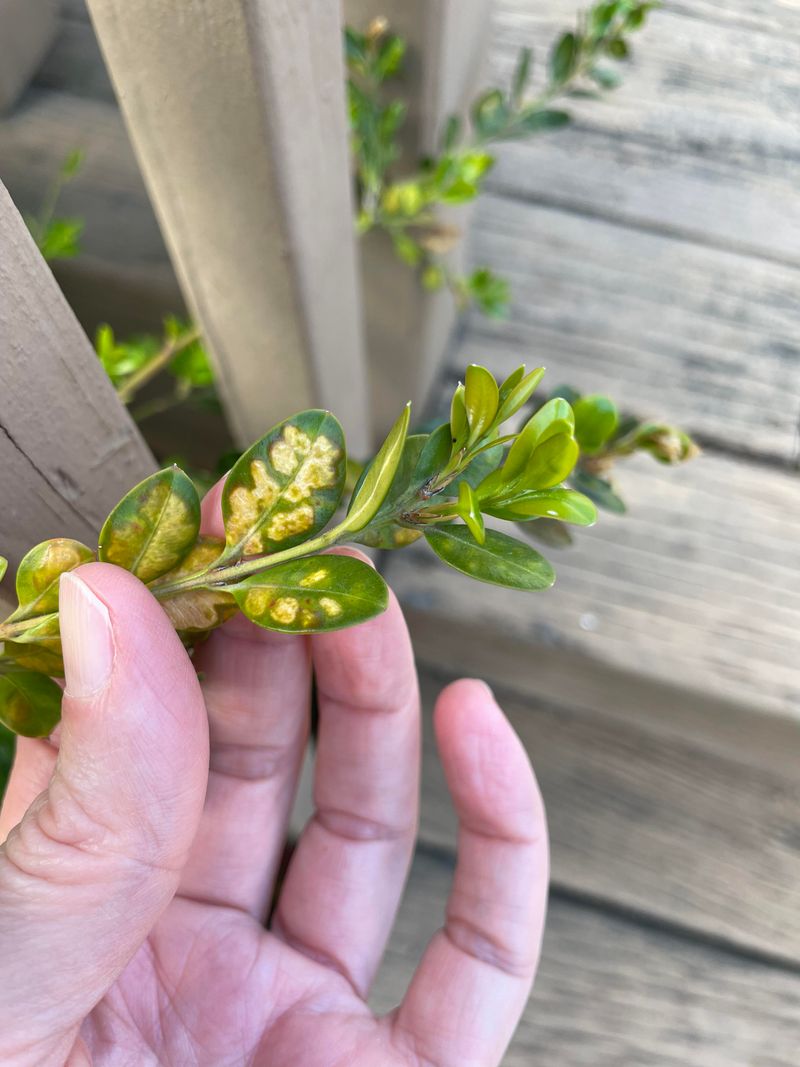
Spotted leaves and dark marks on stems discovered after a humid night or a recent rain are worth pausing over before picking up any cutting tool. Several conditions can create similar browning on boxwood foliage, including drought stress, winter injury, and deicing salts.
Root damage, insect feeding, Volutella blight, and boxwood blight can too.
Boxwood blight can produce leaf spots, dark stem lesions, rapid leaf drop, and whitish fruiting structures on stems in humid conditions. Volutella blight may cause tan foliage and salmon-colored spore masses on stems.
These signs overlap with other problems, so a single symptom is not enough to confirm a diagnosis. Photograph the affected areas clearly and contact your local extension office or a plant diagnostic service when the pattern is unclear.
Pruning wet or suspect foliage can move plant pathogens from one branch to another or from one shrub to the next. Working on dry foliage may reduce that movement for some pathogens, though it does not eliminate the risk entirely.
If confirmed diseased tissue must be removed, collect the clippings carefully and do not shake debris through nearby healthy plants.
Do not compost material suspected of carrying boxwood blight. Verify current disposal guidance for the specific disease before deciding how to handle the clippings.
Reach out to Ohio State Extension or a state plant diagnostic lab if the pattern of browning is spreading or unusual. Identify the problem first, wait for dry conditions, and remove only the tissue that verified guidance covers.
6. Sanitize Blades Before Touching The Next Shrub
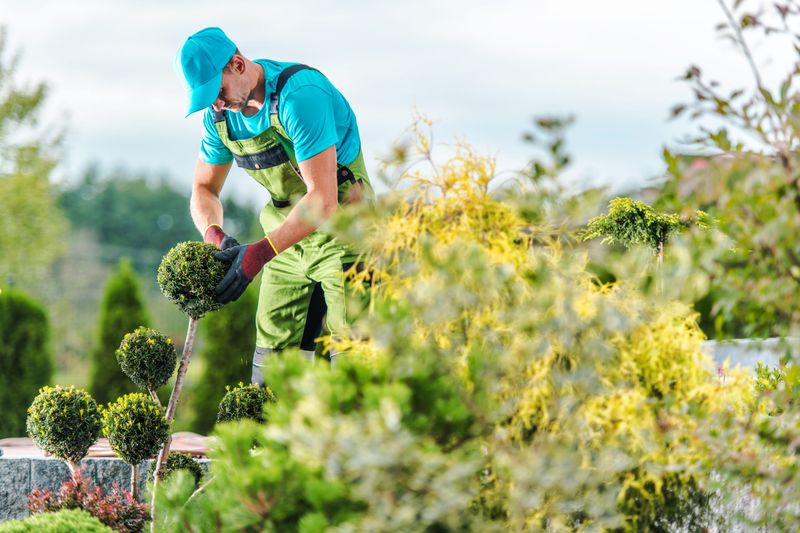
Pruners that just finished on a shrub showing leaf spots and stem discoloration carry sap, debris, and plant material on every blade surface. Moving directly to a healthy plant a few feet away transfers that material without any barrier.
Pruning tools can carry contaminated plant debris between shrubs. Not every disease spreads primarily on tools, but for pathogens where tool transmission is a documented concern, sanitation is a reasonable precaution.
University and government extension sources recommend cleaning tools when working among separate boxwood groups or moving from a suspect plant to a healthy one.
Remove visible soil and plant debris from the blades before applying any disinfectant. A disinfectant applied over heavy debris has less contact with the metal surface and may be less effective.
Some disinfectant solutions can corrode metal over time, so rinsing and drying tools after use is worth the effort. Check the product label for the correct concentration, required contact time, tool compatibility, and any safety precautions.
Do not mix disinfectants. Combining bleach, alcohol, ammonia, hydrogen peroxide, or other products can create hazardous reactions and is not recommended by any reliable source.
Wear gloves and eye protection when the product label calls for them. The practical sequence is straightforward: remove debris first, then apply one verified disinfectant at the correct concentration.
Allow the full contact time the label requires, then dry the tool before moving on to the next plant.
7. Check For Box Tree Moth Before Cutting Again
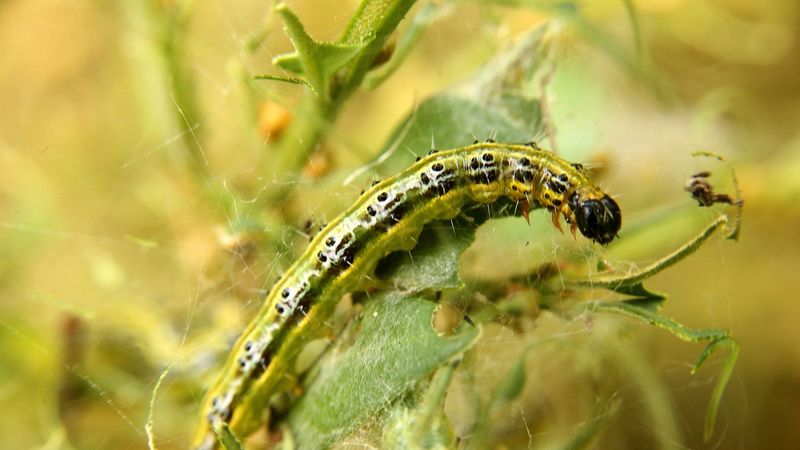
Webbing stretched between inner branches and small green pellets scattered on leaves below are signs worth stopping for. So is ragged chewed foliage visible inside the canopy, before any pruning begins.
Box tree moth (Cydalima perspectalis) caterpillars feed on boxwood foliage and can strip branches from the inside outward.
The caterpillars create window-like feeding patches where only the transparent leaf surface remains. This comes along with visible webbing, frass, and in heavier infestations, entirely bare stems.
That pattern differs from boxwood blight, which produces leaf spots and stem lesions, and from leafminer injury, which creates blistered or discolored leaf surfaces. Brown leaves alone are not enough to confirm box tree moth.
Inspect the interior of the shrub, not just the outer surface. Caterpillars often feed deep inside the canopy where they are sheltered from view.
Do not begin cutting away damaged growth before confirming the pest and understanding the current management options. These depend on pest stage, damage level, and shrub size.
Box tree moth is a regulated pest in Ohio, and movement of potentially infested plant material may be restricted. The Ohio quarantine area has expanded since the pest was first detected.
Check the current Ohio Department of Agriculture page before moving, pruning debris, or transporting any boxwood material. Do not rely on older county lists.
Confirm the pest identity and review current rules before pruning, transporting, or disposing of any suspect boxwood clippings or plants.
8. Water Heat-Stressed Roots And Let Them Recover
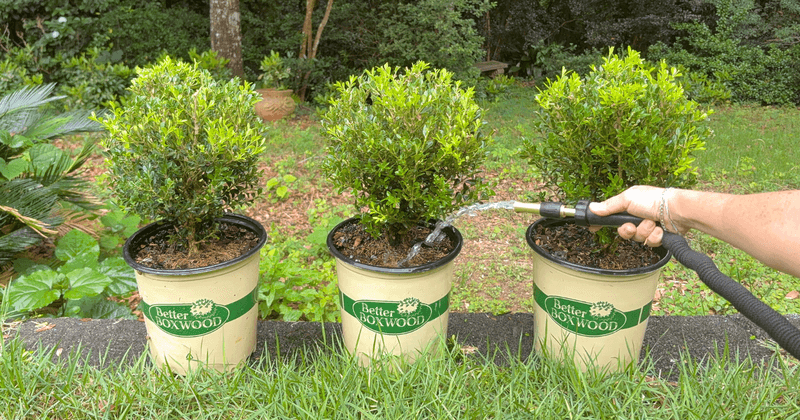
Dry soil beneath the mulch layer around a boxwood whose leaves have lost their normal sheen is a signal. It means the root zone needs attention before any pruning decision is made.
Surface soil can look deceptively dry while deeper layers still hold moisture, and the reverse is also true.
Push a finger or a soil probe several inches into the root zone to check actual moisture rather than judging from the surface. Boxwoods need well-drained soil and do not tolerate saturated conditions, so the goal is adequate moisture, not constant wetness.
Water needs vary based on soil type, drainage, shrub size, root competition, and sun exposure. Wind, rainfall, mulch depth, and plant age matter too, so no single watering schedule fits every situation.
A slow, targeted watering method that delivers moisture directly to the root zone is more useful than brief surface sprinkling, which may not reach the full root area.
Watering supports a moisture-stressed plant, but it does not repair pest feeding, disease injury, or physical root damage.
Mulch helps conserve soil moisture and moderate temperature, but keep it away from direct contact with the stems at the base of the plant.
Do not add fertilizer to encourage new growth during high summer heat. New shoots produced late in the season may not harden fully before Ohio winters arrive.
Correct the moisture problem, pause cosmetic pruning, and allow the shrub time to show which growth remains viable as temperatures begin to ease into fall.