8 Ways To Propagate Rosemary For An Endless Supply Of Fresh Herbs In Nevada
Nevada gardeners face a real tradeoff between water use and plant choice. Water costs you money, but rosemary refuses to demand much. Struggling soil won’t faze you or this Mediterranean specimen.
Heat that weakens tender plants won’t touch your rosemary cuttings. Thriving Nevada’s hottest summers is exactly what your rosemary does best. Cuttings root faster than you might ever expect.
Snipping stems correctly can quickly multiply your whole collection. Freebies rarely feel this satisfying to you or this fragrant. Nursery bills become completely pointless once you master simple propagation.
Skeptics doubt cuttings actually work until you see roots appear. Confidence grows steadily with every new sprig you successfully root. Intense desert conditions actually favor your rosemary over fussier herbs.
Setback feels rare once you truly understand what this resilient plant wants. Momentum builds with each cutting you carefully nurture forward. You won’t stop once you see how easily this multiplies.
1. Cut Healthy Stems About Four Inches Long
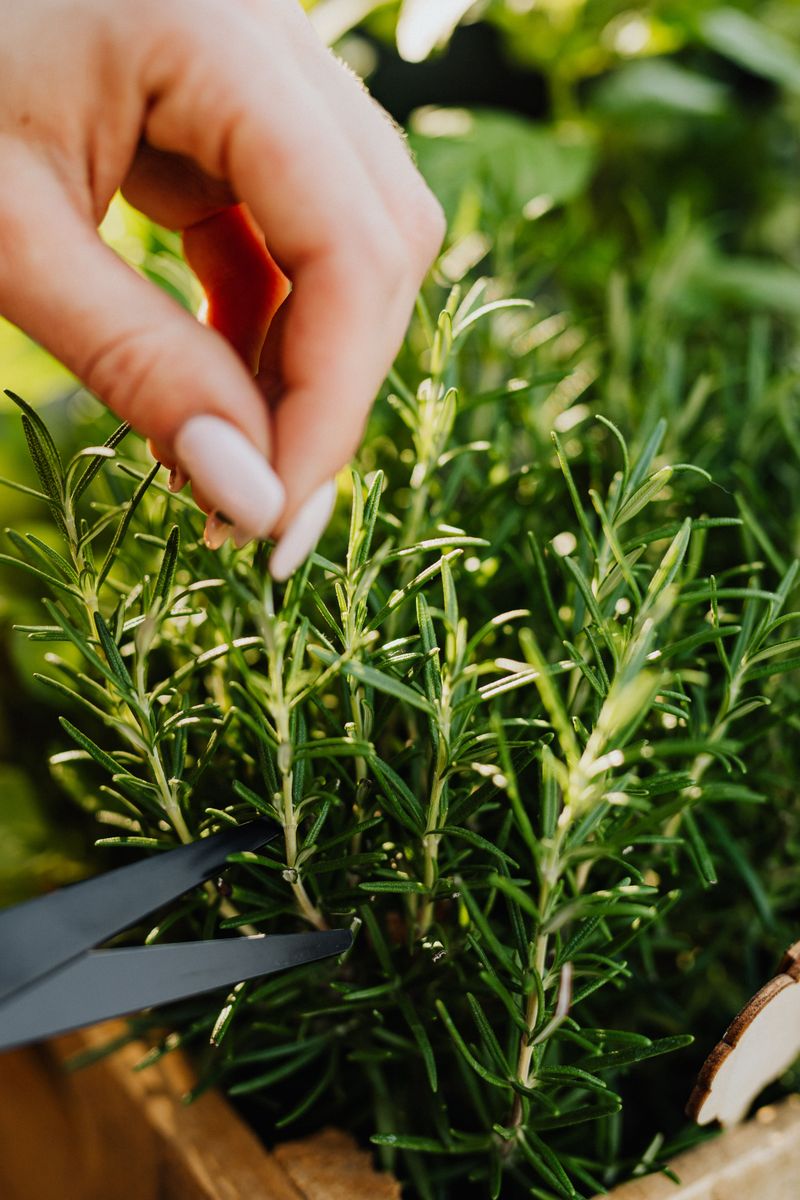
Sharp scissors and the right stem can change everything. When you propagate rosemary, the quality of your cutting matters more than almost anything else. A healthy stem gives your new plant the best possible start in life.
Look for stems that are new growth but not too young. Soft, bright green tips root faster than old woody branches. Avoid stems with flowers, since the plant puts energy into blooming instead of rooting.
Aim for stems that are about four inches long. That length gives you enough stem to anchor in soil while leaving plenty of leaves to support growth. Too short and the cutting struggles; too long and it flops over before roots form.
Morning is the best time to take cuttings. The plant is hydrated and full of energy after a cool desert night.
Afternoon heat can stress a freshly cut stem before it even gets a chance to root. Always use clean, sharp tools. Dull blades crush the stem instead of cutting it cleanly. A crushed stem is slower to root and more likely to rot in the soil before anything useful happens.
Take several cuttings at once. Having backups improves your odds, since not every cutting will root successfully.
Experienced gardeners often take several cuttings at once, since not every one will successfully root.
2. Strip Leaves From The Bottom Two Inches
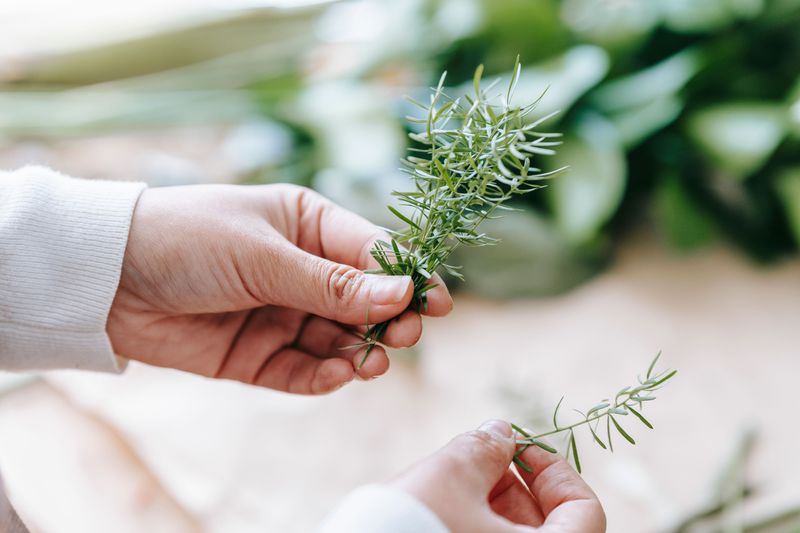
Bare stems root better than leafy ones. Stripping the lower two inches of your cutting is a small step that makes a meaningful difference in your propagation results.
Leaves left below the soil line rot quickly and can spread disease to the whole cutting. Use your fingers to pinch off the lower needles. Work gently so you do not damage the stem itself.
The goal is a clean, smooth section of stem that will make direct contact with the rooting medium. Leave the top leaves fully intact.
Those upper needles are doing important work by absorbing light and producing energy for the developing roots. Removing too many leaves weakens the cutting before it can support itself.
Your Nevada Garden Changes Every Week. Your Plan Should Too.
Gardening in Nevada changes quickly throughout the season. Every Friday you’ll receive a simple weekly plan showing exactly what to plant, prune, fertilize, harvest, and protect so you never miss the right timing.
After stripping, look at the exposed stem. You should see small bumps called nodes along the bare section. Roots will emerge from those nodes once the cutting is placed in soil or water.
Some gardeners lightly scrape the bottom inch of the stripped stem with a knife. That light scraping exposes more inner tissue, which can speed up root development. It is an optional step but worth trying if your cuttings have been slow to root in the past.
Keep your stripped cuttings out of direct sun while you prepare your rooting setup. A shaded spot indoors works perfectly.
Rushing this prep stage is one of the most common mistakes beginners make when trying to propagate rosemary successfully in a dry Nevada climate.
3. Dip Cut Ends In Rooting Hormone
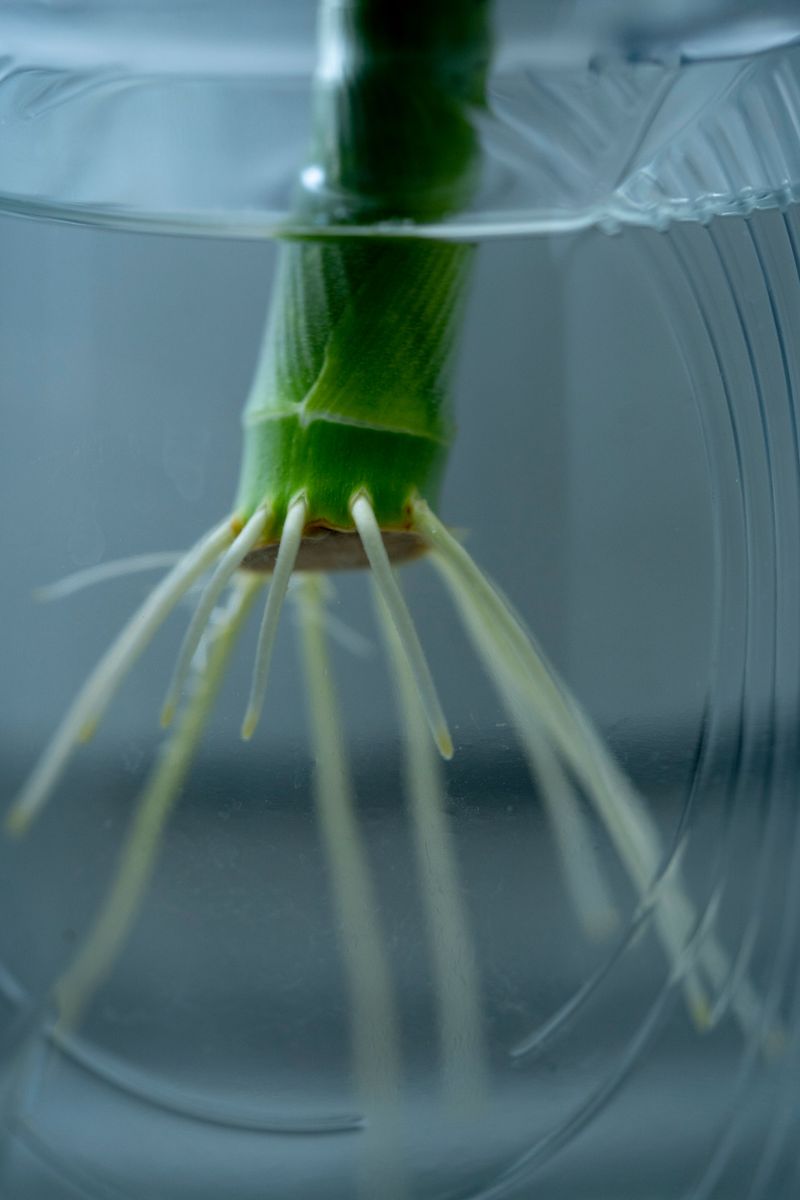
Rooting hormone sounds fancy, but it is just a simple powder or gel that speeds things up. Dipping your rosemary cutting into rooting hormone gives it a biological boost that encourages faster root development.
Many gardeners skip this step, but those who use it see noticeably better results. You can find rooting hormone at any garden center or hardware store. It usually comes in a small container of white powder.
The active ingredient, indole-3-butyric acid, mimics a natural plant hormone that triggers root growth.
Dip only the bottom half inch of the stripped stem. Tap off any excess powder gently against the container rim.
Too much hormone can actually slow root growth instead of helping it, so a light coat is all you need.
Gel rooting hormone is another great option. It clings to the stem more reliably than powder, especially in dry Nevada air where powder can fall off before the cutting reaches the soil. Either form works well when applied correctly.
Make a small hole in your rooting medium before inserting the cutting. Pushing the cutting directly into the soil can wipe off the hormone before it does its job. That tiny extra step protects the coating and keeps the hormone where it belongs.
Store your rooting hormone in a cool, dry place away from sunlight. Heat and moisture break down the active ingredients over time.
A fresh container gives your rosemary cuttings the strongest possible boost toward becoming thriving new plants.
4. Place Cuttings In Moist, Well-Draining Soil
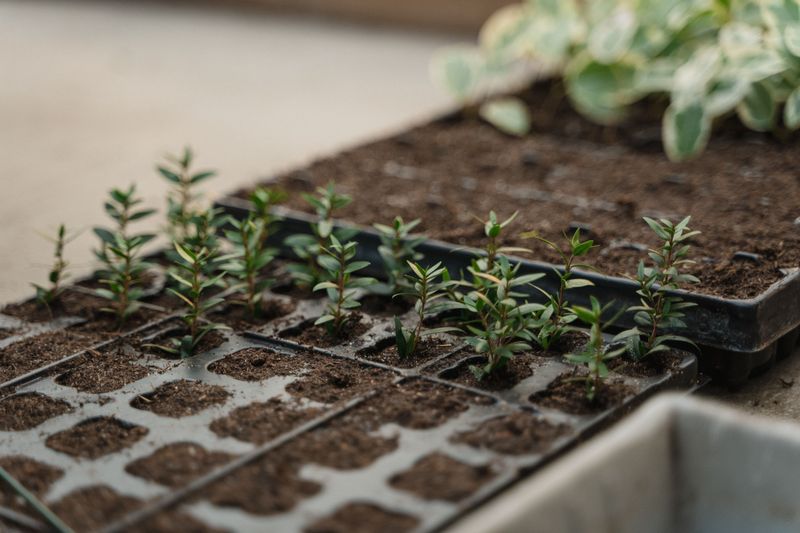
Soil choice is where many beginners go wrong. Rosemary struggles with wet feet, and planting cuttings in dense, soggy soil is a fast track to failure. The right mix keeps moisture available without letting roots sit in standing water.
A blend of perlite and potting mix works beautifully. Aim for roughly half perlite and half potting soil for excellent drainage.
That combination holds just enough moisture to support root development while preventing the rot that ruins so many cuttings.
Avoid garden soil from your yard. Nevada desert soil is often heavy in minerals and can compact around delicate new roots.
Starting with a fresh, sterile commercial mix reduces disease risks and gives cuttings a clean environment to establish themselves.
Fill small pots or seed trays with your prepared mix. Water it thoroughly before inserting the cuttings so the medium is evenly moist from the start.
Dry pockets in the soil can leave parts of the stem without moisture, slowing root formation.
Insert each cutting about an inch deep into the prepared mix. Firm the soil gently around the base so the cutting stands upright.
A wobbly cutting loses contact with the soil and roots much more slowly than one that is well anchored.
Place multiple cuttings in the same pot to save space. Keep them at least two inches apart so their leaves do not overlap.
Crowded cuttings trap humidity in ways that encourage mold, which is the last thing you want when propagating rosemary.
5. Root Stems In Water As An Alternative
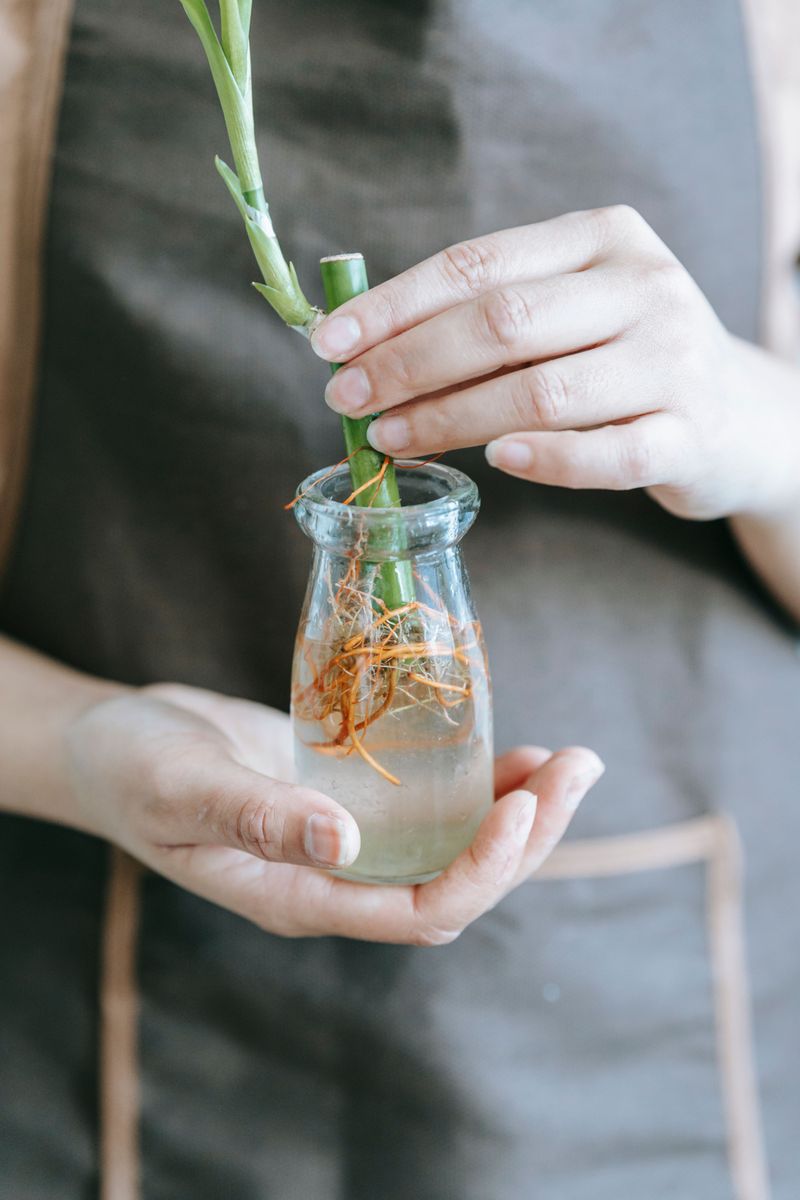
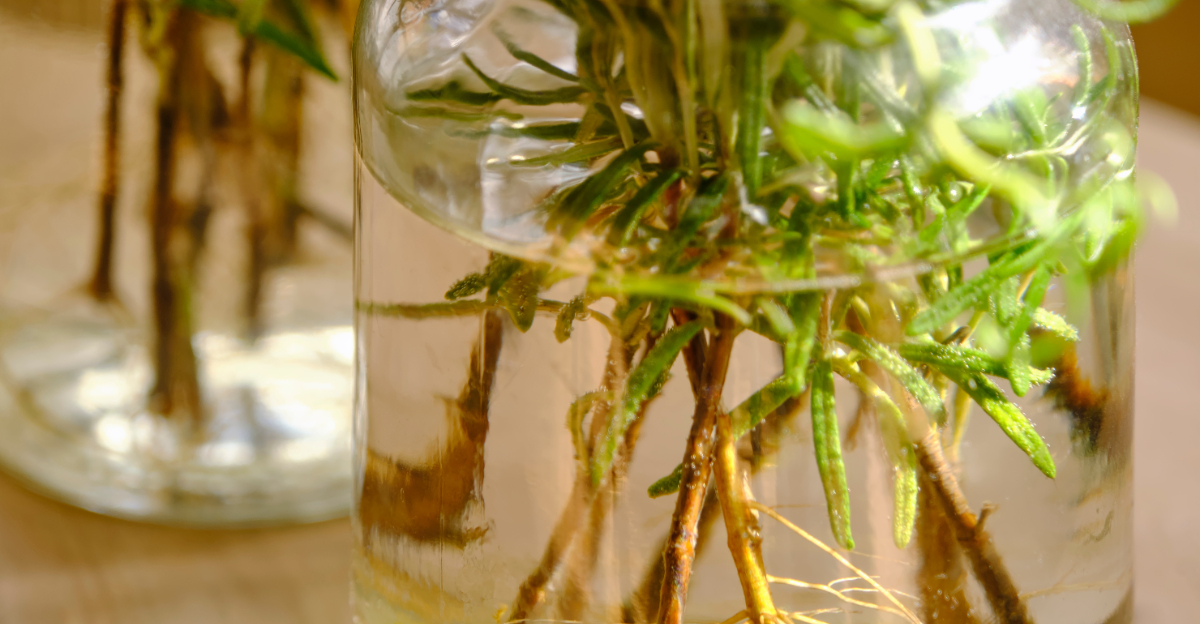
Water propagation is the low-effort gardener’s best trick. Skipping the soil setup entirely and dropping your rosemary cuttings into a glass of water is surprisingly effective. Watching tiny white roots emerge from the stem over a few weeks is genuinely satisfying.
Use a clear glass or jar so you can monitor root progress without disturbing the cuttings. Fill it with room-temperature water that has been left to sit for an hour. Chlorine in tap water can slow rooting, so giving it time to off-gas is a smart habit.
Make sure only the stripped stem section is submerged. Leaves touching the water will rot and cloud the jar quickly. Rotting plant matter introduces bacteria that can harm the developing roots before they get a chance to grow.
Change the water every two to three days. Fresh water keeps oxygen levels high and prevents bacterial buildup around the stem. Stale water turns murky and creates an environment where rot thrives faster than roots do.
Place your jar near a bright window but out of harsh direct sun. Nevada windows in summer can let in intense afternoon sun, and prolonged direct light can heat the water enough to stress tender new roots.
Bright, filtered light is the sweet spot for water propagation success. Once roots reach about an inch long, the cuttings are ready for soil.
Transition them gradually by mixing a little potting mix into the water over several days. That gentle shift helps roots adjust to their new environment without going into shock.
6. Keep Cuttings Warm In Indirect Light
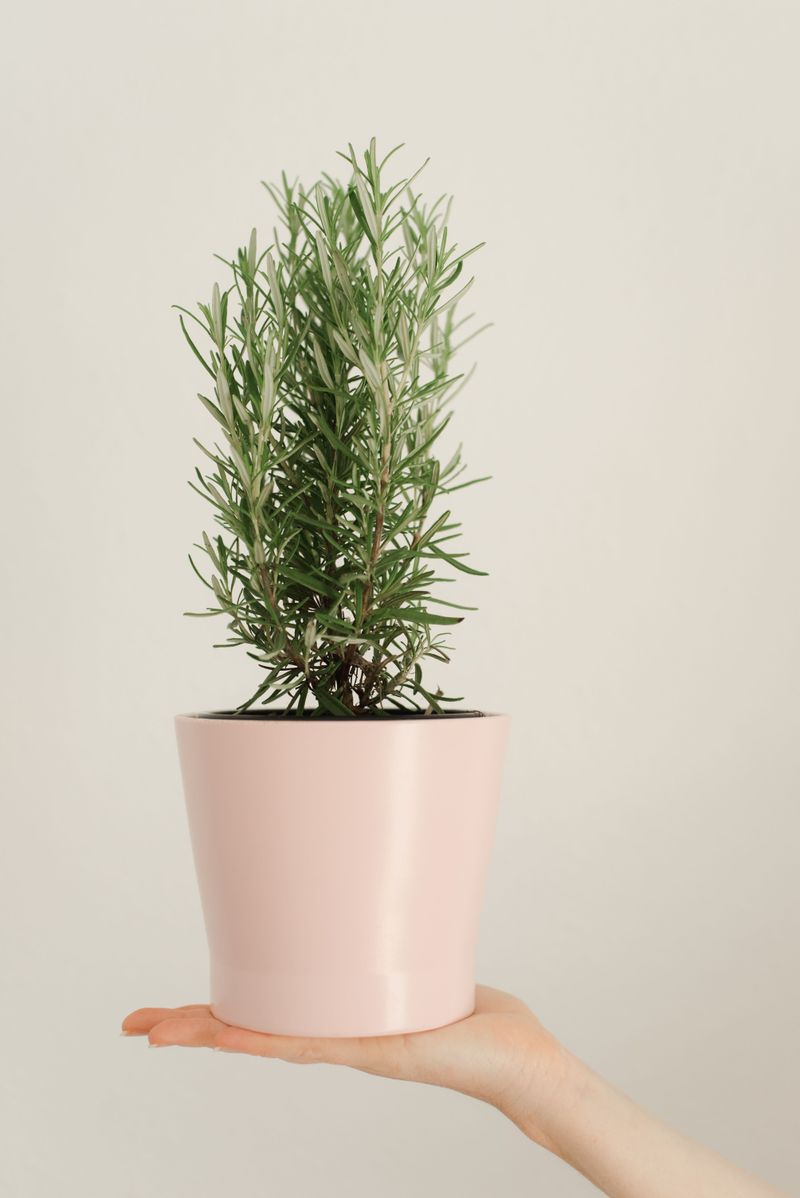
Temperature plays a key role in successful propagation. Rosemary cuttings root best when they are kept consistently warm, ideally between 65 and 75 degrees Fahrenheit. Cold windowsills or air-conditioned rooms can dramatically slow the rooting process.
Indirect light is the key phrase here. Bright but filtered sun gives cuttings the energy they need without stressing their limited root systems.
A south-facing window with a sheer curtain is practically perfect for rosemary starts in any Nevada home.
Avoid placing cuttings directly under grow lights for extended periods at first. Intense artificial light can dry out small cuttings faster than their limited roots can absorb moisture.
Start with a few hours of light daily and increase gradually as roots develop. A heat mat designed for seed starting can be a game-changer. Placing your pots on a low-setting heat mat keeps the root zone warm even when indoor temperatures fluctuate.
Bottom heat consistently speeds up rooting by encouraging cell activity in the stem. Check your cuttings daily for signs of stress. Drooping leaves usually mean too much heat or too little moisture, not a lack of light.
Adjusting placement by just a foot or two can make a noticeable difference in how quickly your cuttings recover and resume growing.
Patience is genuinely part of the process. Rosemary cuttings can take three to six weeks to show strong root development.
Staying consistent with warmth and light throughout that period is what separates gardeners who succeed from those who give up too soon.
7. Mist Regularly To Maintain Humidity Levels
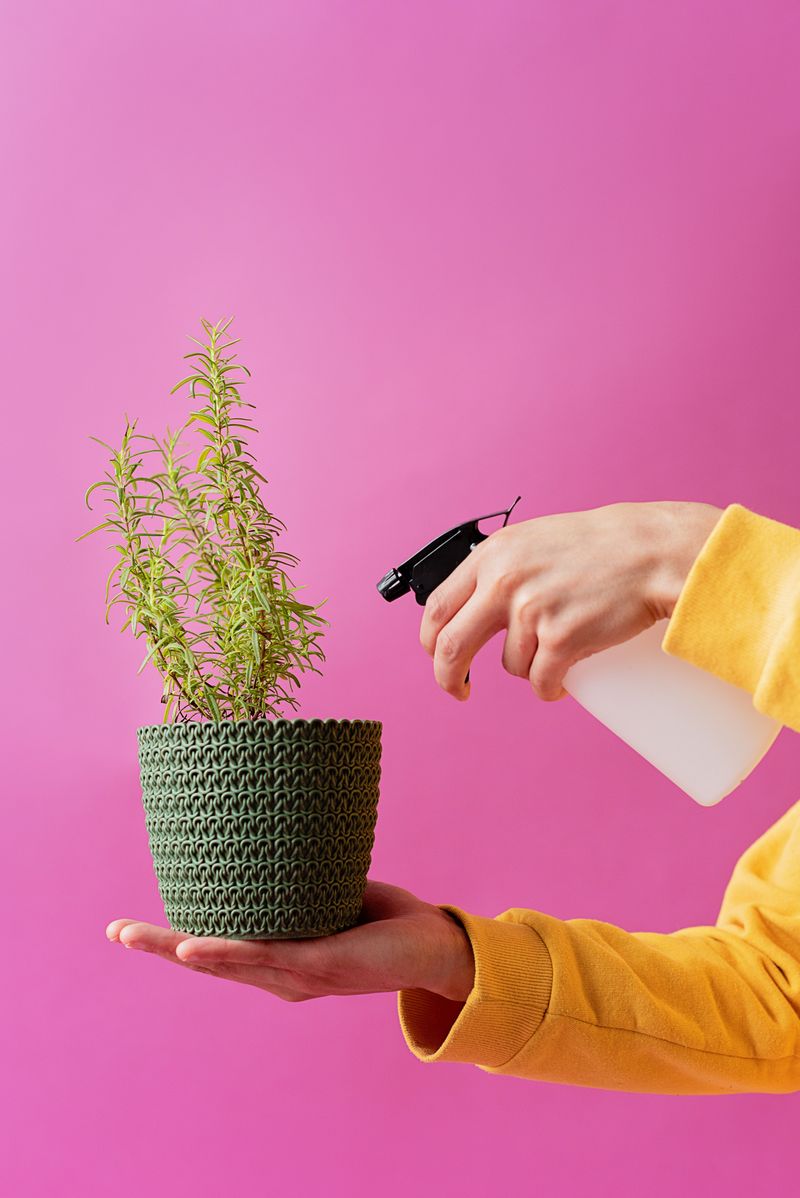
Nevada air is famously dry, and that dryness is the enemy of freshly cut rosemary stems. Without roots to pull moisture from soil, cuttings rely partly on absorbing humidity through their leaves.
Regular misting keeps them alive long enough for roots to form. Use a small spray bottle filled with clean water. Mist the leaves lightly once or twice a day, focusing on the upper portions of the cutting.
You want a fine, even coating of moisture, not heavy drops that pool and encourage mold on the foliage.
A humidity dome placed over your cuttings is even more effective than misting alone. Clear plastic domes trap moisture around the cuttings and reduce how often you need to spray. Many seed-starting kits include domes specifically for this purpose.
Lift the dome once a day to allow fresh air circulation. Stale, humid air without movement creates the perfect environment for fungal problems.
A quick thirty-second airing out each day keeps conditions balanced and cuttings healthy during the rooting period.
Watch for condensation buildup inside the dome. A light mist on the interior walls is normal and healthy.
Heavy dripping water pooling at the base of the dome signals too much moisture, which needs to be addressed before rot sets in.
As roots develop and cuttings become more established, gradually reduce misting frequency. Stronger plants with growing root systems can access soil moisture more efficiently.
Weaning them off high humidity prepares them for life in the drier conditions of a Nevada garden or outdoor pot.
8. Transplant Once Roots Grow An Inch Long
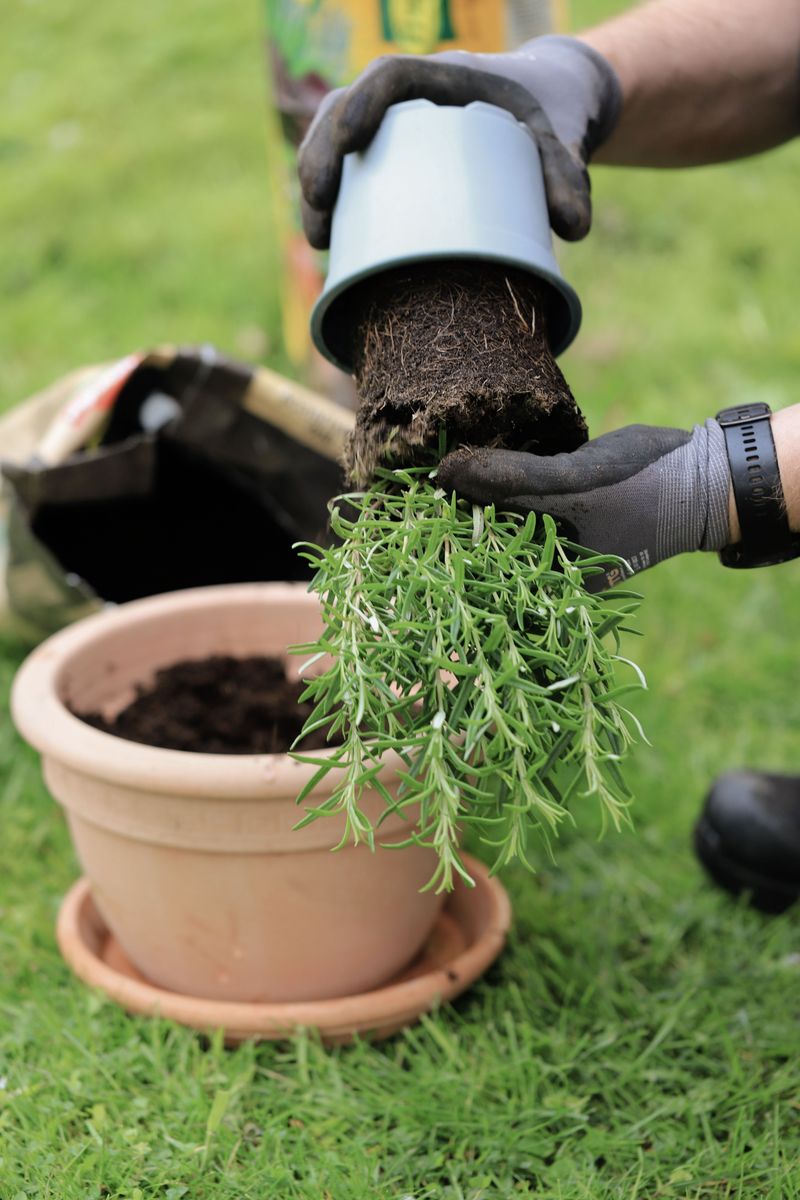
An inch of root length signals it’s time to transplant. When you propagate rosemary and finally see those small white roots reaching an inch or longer, the most delicate stage is behind you.
That milestone means your cutting has enough root mass to support independent growth in a larger home.
Gently remove the cutting from its starter pot or water container. Handle the roots carefully since they are still fragile at this stage.
Tearing or bending roots during transplanting sets the plant back significantly and can undo weeks of patient work.
Choose a pot at least six inches wide for a single transplant. Rosemary grows into a substantial shrub over time and appreciates room to spread its roots.
A pot that is too small will limit growth and require another repotting sooner than necessary.
Fill the new container with a well-draining mix similar to what you used for rooting. Consistency in soil type reduces transplant shock and helps roots transition smoothly.
Switching to a dramatically different soil texture can confuse the plant’s developing root system.
Water the transplant thoroughly right after moving it. Then hold off on watering again until the top inch of soil feels dry to the touch.
Overwatering a newly transplanted rosemary is one of the quickest ways to set back your progress.
Outdoor transplanting in Nevada works best in spring or early fall. Avoiding the peak summer heat gives your new plant time to establish before facing extreme temperatures.
A well-rooted, properly transplanted rosemary can thrive for years, giving you a truly endless supply of fresh herbs.