9 Ways To Propagate Rosemary For A Steady Supply Of Fresh Herbs In New Mexico
Rosemary rewards you the moment you plant it in New Mexico. Arid air quickly helps you avoid problems gardeners face elsewhere. Your soil matters less once the atmosphere starts doing most of the work for you.
Cuttings root faster for you than for gardeners managing humidity. Water stays limited, yet you watch rosemary thrive anyway. Heat troubles basil, but it barely touches your rosemary.
New Mexico offers you conditions most gardeners only imagine. Nothing about propagation here relies on luck from you. Timing shapes your ultimate success more than any single technique.
Every cutting you take pulls your garden nearer to abundance. Momentum builds quickly once your roots settle into dry soil. Confidence grows in you with every sprig you coax to life.
Patience rewards you faster in this dry climate than anywhere else you’ve gardened. You will not want to stop once you see how fast your rosemary multiplies.
1. Select Healthy Stems From New Growth
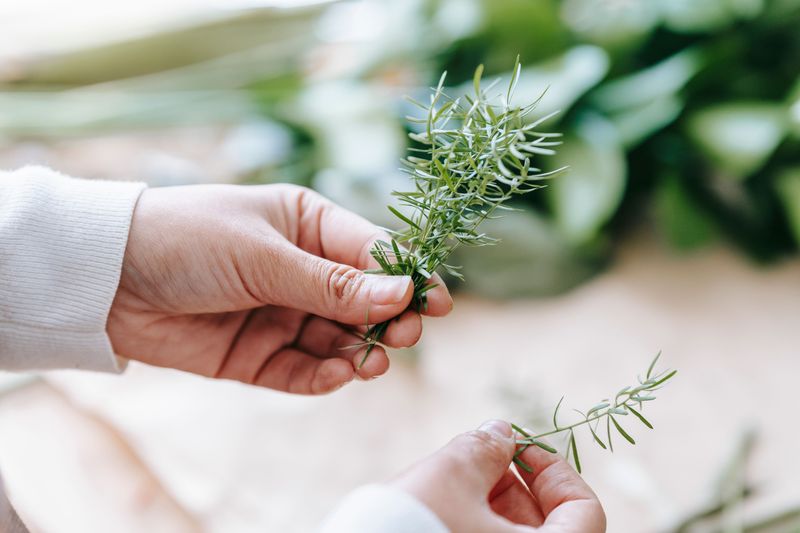
Not every stem on your rosemary plant is cut out for the job. The best candidates come from new, flexible growth near the tips of healthy branches.
Fresh growth snaps back when you bend it slightly. Older, woody stems at the base of the plant are too stiff and rarely root well.
Look for stems that are bright green, not grayish or brown. Those colors signal maturity, and mature stems are far less likely to root successfully.
Give your parent plant a good look before grabbing your scissors. Pick stems that show no signs of pest damage, yellowing, or disease.
Healthy parent plants produce the strongest cuttings. If your rosemary looks stressed or dry, water it a day before you harvest to perk it up.
New Mexico gardeners have an advantage here. The intense sunlight pushes strong, vigorous new growth on rosemary plants almost year-round.
Spring and early summer are the sweet spots for selecting stems. Growth is fast, tender, and full of the energy needed to develop roots quickly.
Choose three or four stems at once to increase your odds. Not every cutting will root, so starting with extras is always a smart play.
2. Cut A Length Of About Four Inches
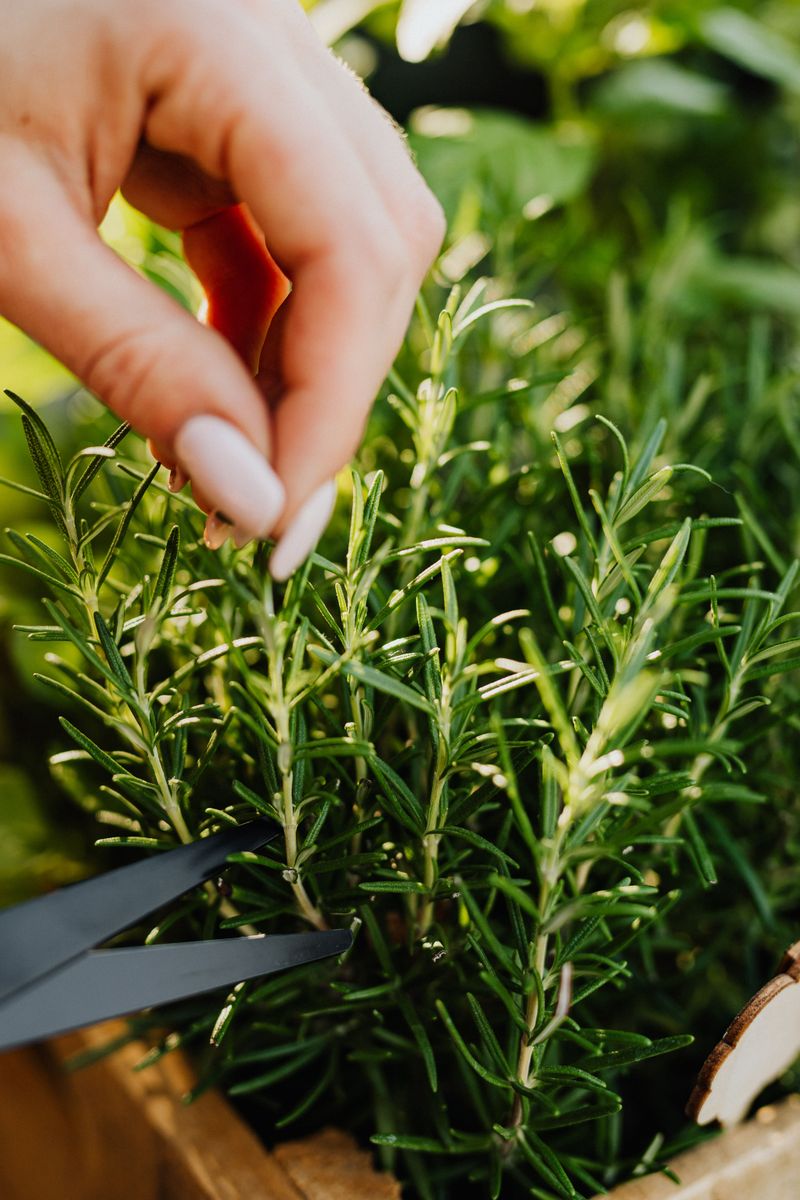
Four inches is the magic number when it comes to rosemary cuttings. That length gives the stem enough energy reserves to push out roots without exhausting itself.
Use clean, sharp scissors or pruning shears for every cut. Dull blades crush the stem tissue, making it harder for roots to form later.
Wipe your cutting tool with rubbing alcohol before you start. One swipe prevents bacteria or fungal spores from hitchhiking onto your fresh cutting.
Cut just below a leaf node, which is the small bump where leaves attach to the stem. Roots tend to sprout from these nodes faster than anywhere else.
Make the cut at a slight angle rather than straight across. An angled cut exposes more surface area, giving roots more room to emerge.
Avoid cutting during the hottest part of a New Mexico afternoon. Morning cuts keep the stem hydrated and reduce the shock of being separated from the plant.
Your New Mexico Garden Changes Every Week. Your Plan Should Too.
Gardening in New Mexico changes quickly throughout the season. Every Friday you’ll receive a simple weekly plan showing exactly what to plant, prune, fertilize, harvest, and protect so you never miss the right timing.
Once you make the cut, move quickly. Rosemary stems can dry out fast in the arid desert air if left sitting too long.
Drop your cutting into a small cup of water right away. Keeping it moist for even a few minutes before the next step can make a real difference in success rates.
3. Remove Leaves From The Bottom Half
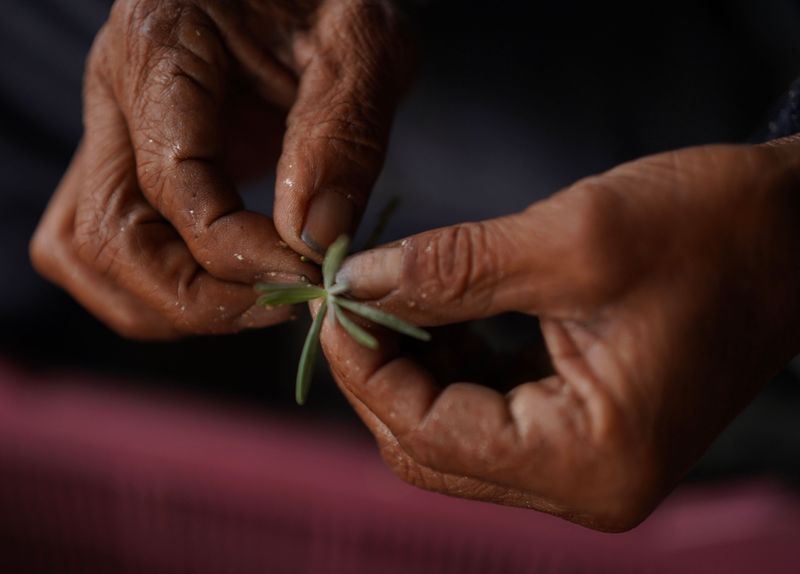
Stripping leaves from the bottom half of your cutting is a step that beginners often skip, but it matters a lot. Leaves left on the buried portion will rot in the soil and increase the risk of mold.
Pinch or slide the lower needles off gently with your fingers. You want to expose at least two inches of bare stem for the soil to grip.
Keep the top half of the cutting leafy and green. Those upper leaves continue photosynthesizing, feeding the cutting while it works on growing roots below.
Do not rush this step or tear the stem. A clean removal protects the node tissue where roots will eventually emerge.
Some gardeners use a sharp blade to slice leaves off smoothly. Either method works as long as you avoid gouging the stem underneath.
After stripping, run your fingers along the bare section to check for any remaining leaf stubs. Tiny leftover bits can still rot and cause problems.
A clean, bare stem also absorbs rooting hormone more effectively in the next step. Think of it as prepping a surface before painting.
This simple preparation step dramatically improves your rooting success rate. A little extra care now saves a lot of frustration later in the process.
4. Dip The Cut End In Rooting Hormone
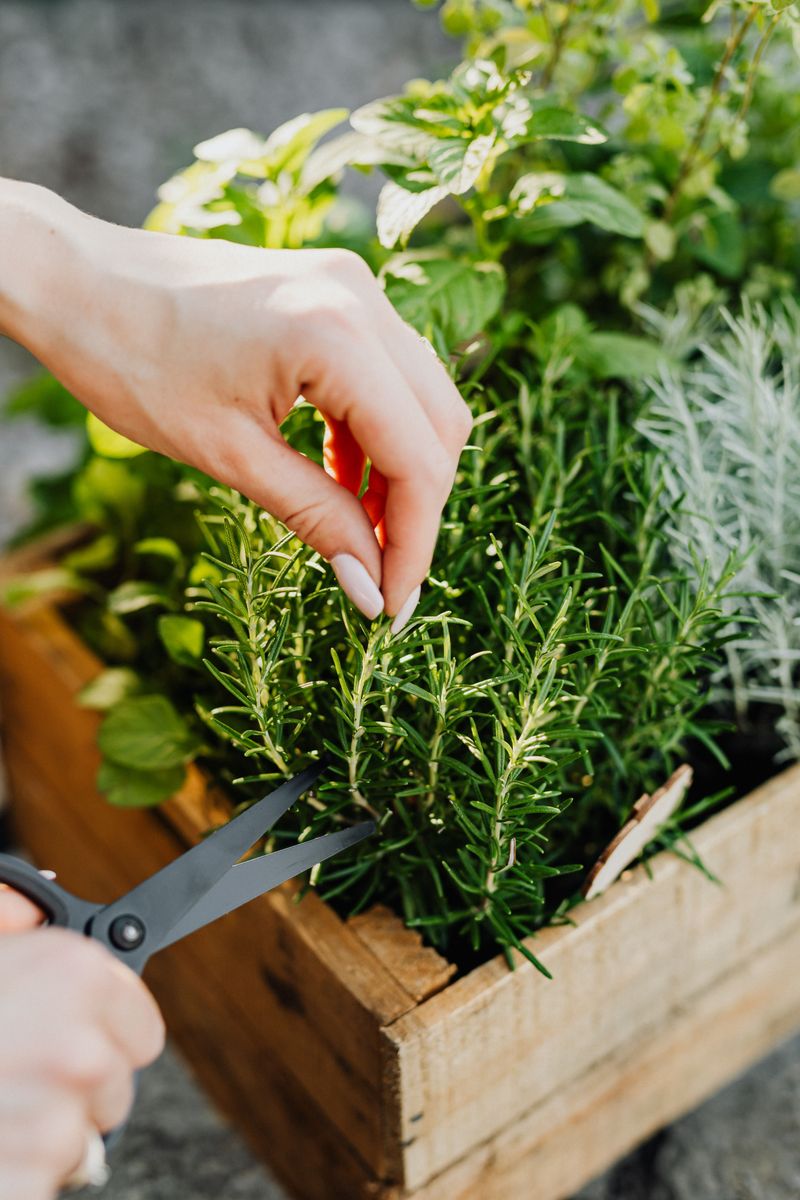
Rooting hormone is one of those small investments that pays off big. It signals the cutting to shift its energy toward producing roots instead of just surviving.
You can find rooting hormone at any garden center or hardware store in powder, gel, or liquid form. Powder is the most beginner-friendly option and easy to control.
Pour a small amount of powder into a separate dish before dipping. Never dip directly into the original container, since moisture from the stem can contaminate the whole supply.
Tap the stem lightly on the dish after dipping to knock off excess powder. A thin, even coat works better than a thick clump caked on the end.
Gel hormone clings more naturally to the stem surface. Some propagators swear by gel for desert climates because it stays moist slightly longer in dry air.
Liquid hormone requires a quick soak, usually for a few seconds. Follow the label instructions carefully since concentration levels vary by brand.
Propagate rosemary with hormone and without it side by side sometime. The difference in rooting speed and success rate is genuinely eye-opening.
Once dipped, move the cutting straight into the prepared soil. Letting it sit too long after applying hormone reduces the product’s effectiveness significantly.
5. Place Cuttings In Moist Potting Mix
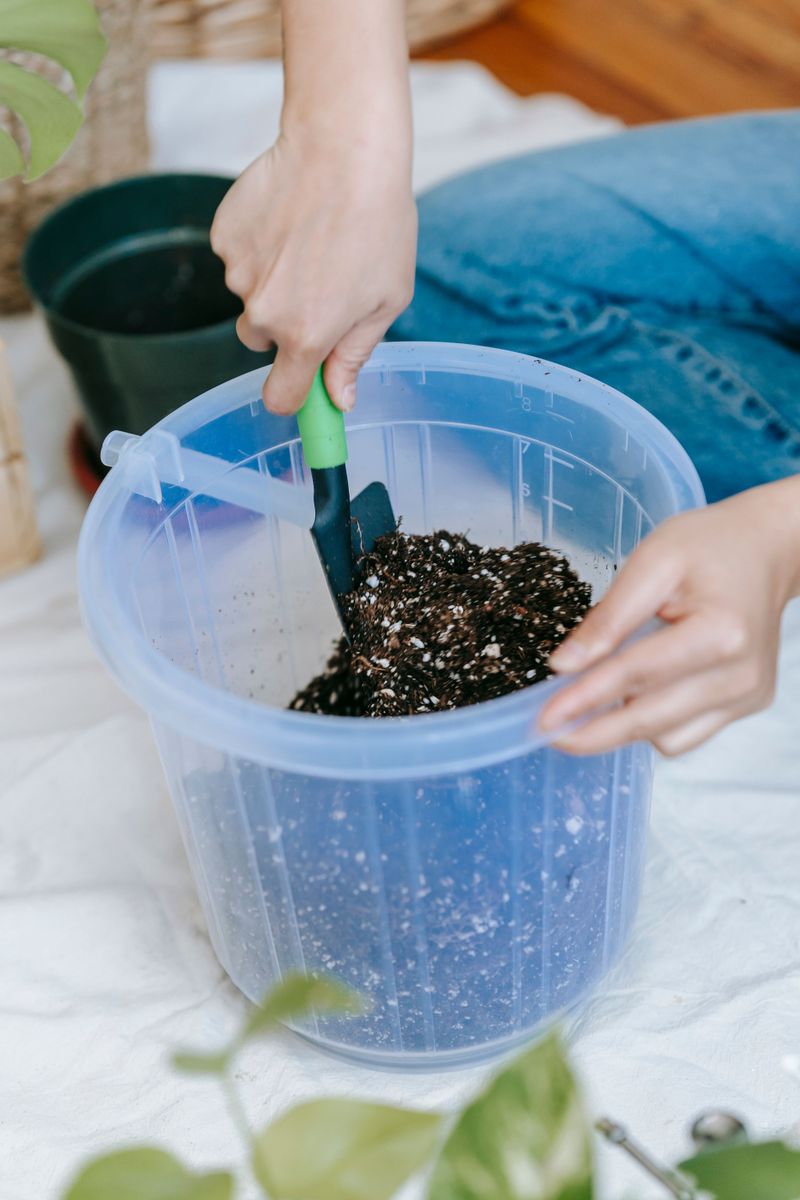
Choosing the right potting mix is just as important as selecting the right stem. Rosemary roots struggle when sitting in dense, heavy soil that traps too much moisture.
A mix of perlite and standard potting soil works beautifully. Aim for roughly half and half, which keeps things loose, airy, and well-draining.
Some growers in dry climates add coarse sand to the blend. Sand improves drainage even further, mimicking the rocky, mineral-rich soil rosemary loves in its native habitat.
Moisten the mix before you insert the cutting, not after. Pushing a cutting into dry mix can scrape off your carefully applied rooting hormone.
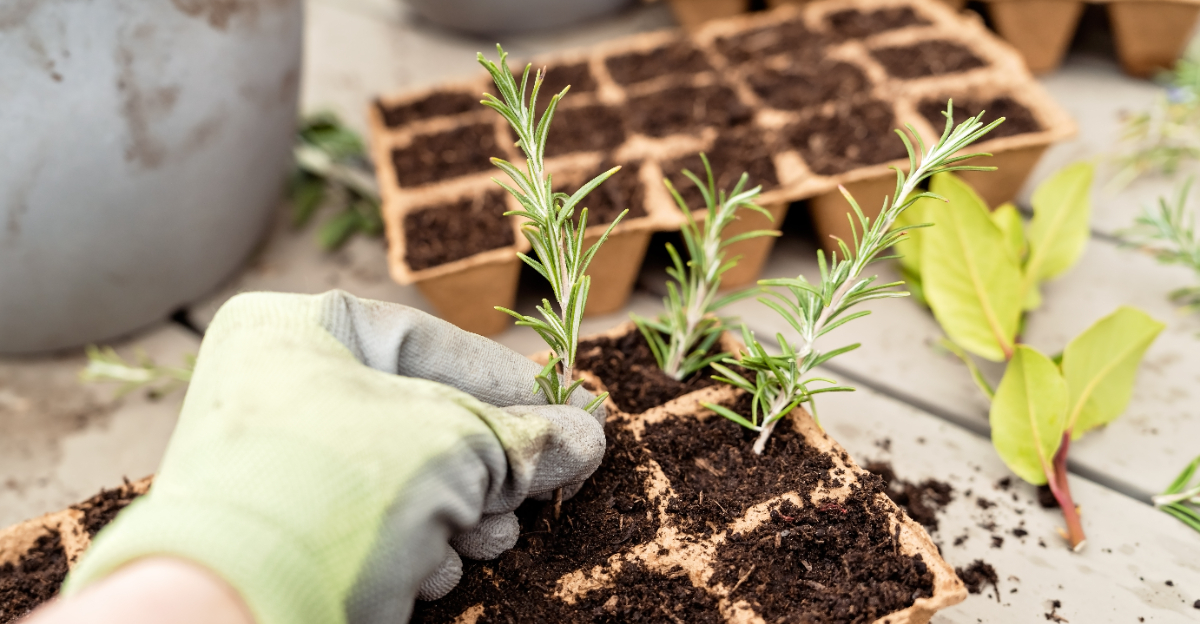
Use a pencil or chopstick to poke a small hole in the soil first. Inserting the cutting into a pre-made hole protects the hormone coating on the stem.
Push the bare stem in about one to two inches deep. Deeper than that can stress the cutting, while shallower may not provide enough support.
Gently firm the soil around the base of the cutting with your fingers. Good contact between stem and soil encourages root development from the start.
One cutting per small pot keeps things manageable and prevents competition. Give each little stem its own space to thrive and stretch out below the surface.
6. Keep Soil Consistently Damp But Not Soggy
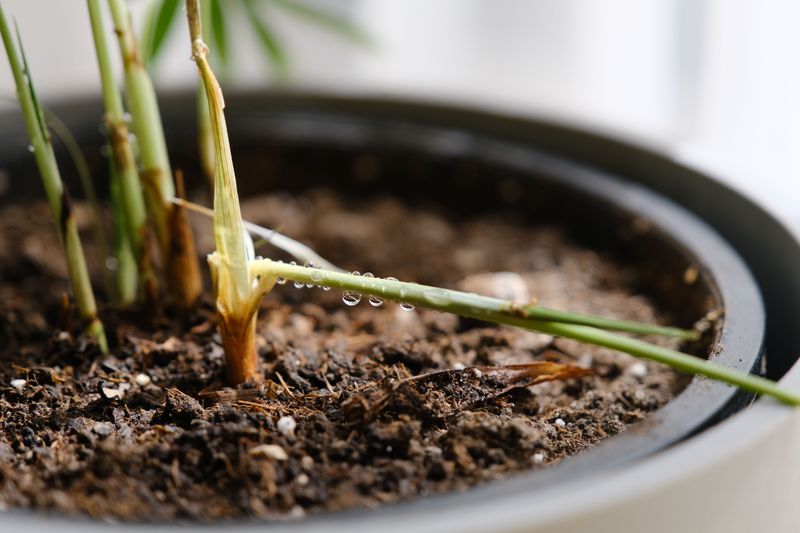
Watering rosemary cuttings is a balancing act that trips up a lot of new propagators. Too dry and the cutting shrivels up before roots can form.
Too wet and the stem rots at the base, ending the whole experiment before it even gets started. The goal is soil that feels like a wrung-out sponge.
Press your finger about half an inch into the soil to check moisture levels. If it feels dry at that depth, add a small amount of water right away.
A spray bottle is your best friend during this stage. Gentle misting delivers moisture evenly without flooding the pot or disturbing the cutting.
In New Mexico, the dry air pulls moisture from soil faster than in humid states. Check your cuttings at least once a day, especially during windy or hot stretches.
Terracotta pots are charming but dry out very quickly in arid conditions. Plastic or glazed ceramic containers hold moisture longer and require less frequent monitoring.
Avoid letting water pool on the surface or sit in a saucer underneath. Standing water is an open invitation for root rot and fungal problems.
Consistent moisture, not constant wetness, is what separates a thriving cutting from a failed one. Master this balance and your success rate will climb fast.
7. Provide Bright Indirect Light Daily
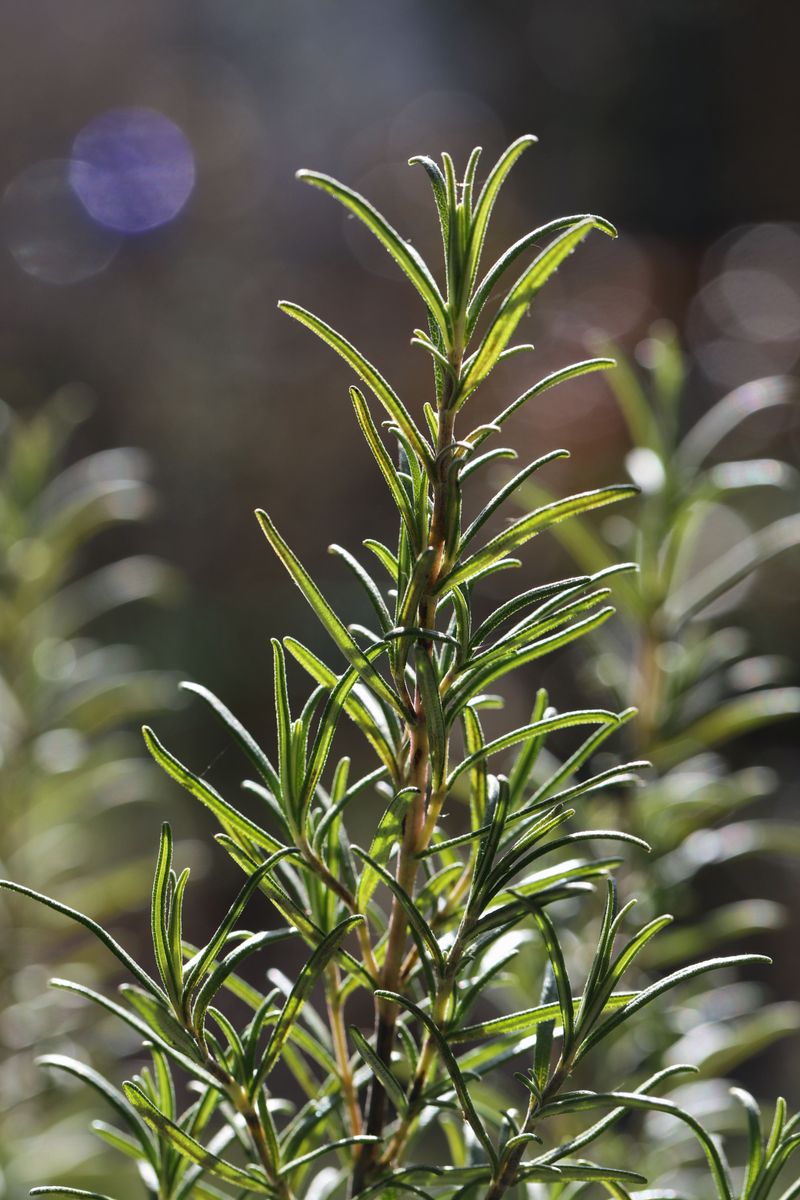
New Mexico gardeners benefit from an unusually high number of sunny days each year, and rosemary thrives in that kind of light.
During propagation, though, direct blazing sun can actually stress a cutting before it has roots to absorb enough water. Bright but filtered light is the sweet spot.
A south-facing window with a sheer curtain works wonderfully indoors. The cutting gets strong light without the scorching intensity of midday rays hitting it full force.
Outdoors, a spot with morning sun and afternoon shade is ideal. Morning light is gentler and helps the cutting photosynthesize without overheating.
Rotate your pots a quarter turn every couple of days. Even light exposure keeps the cutting growing straight and prevents it from leaning awkwardly toward the window.
Fluorescent or LED grow lights work great if natural light is limited. Keep the light source about six inches above the cuttings for the best results.
Avoid placing cuttings in dark corners or low-light rooms. Without enough light, the cutting cannot produce the energy needed to push out new roots.
Once you spot tiny new leaves forming at the top, that is a sign roots are developing below. Light is the quiet engine powering that whole process forward.
8. Cover Cuttings To Maintain Humidity
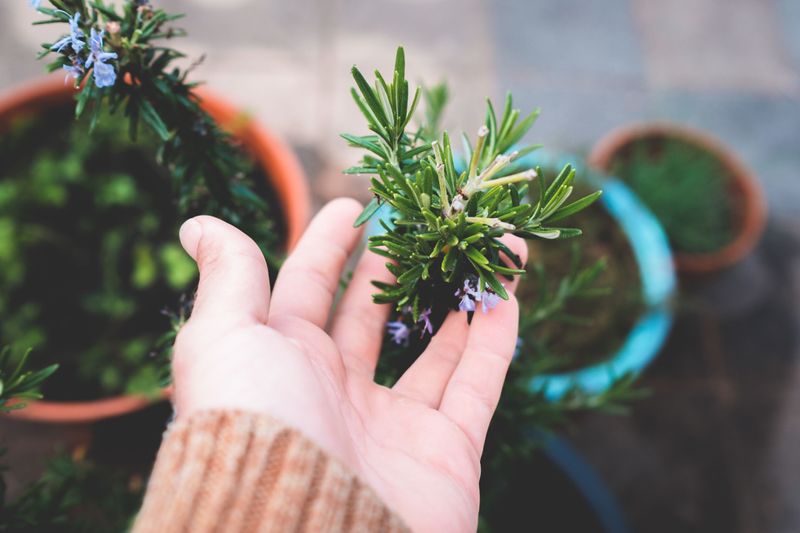
Humidity is not something that comes naturally in the high desert. Creating a mini greenhouse around your cuttings can make up for what the dry air takes away.
A simple clear plastic bag slipped over the pot does the trick beautifully. The bag traps moisture and warm air, creating a warm, humid environment for the cutting.
You can also use a clear plastic dome or even a cut-off plastic bottle as a cover. The key word is clear, since the cutting still needs light to reach it.
Prop the bag slightly open at the bottom to allow a small amount of airflow. No ventilation can lead to mold growth on the soil surface.
Check under the cover daily for signs of condensation. A light mist on the inside of the bag means humidity levels are right where you want them.
If you see heavy water dripping down the sides, open the bag for an hour to let things breathe. Too much trapped moisture can be just as harmful as too little.
Remove the cover completely once a day for about fifteen minutes. Fresh air circulation strengthens the cutting and helps prevent fungal issues common in humid conditions.
After two to three weeks, you can start leaving the cover off for longer stretches. Weaning the cutting off humidity prepares it for life in the open air ahead.
9. Transplant Once Roots Are Established
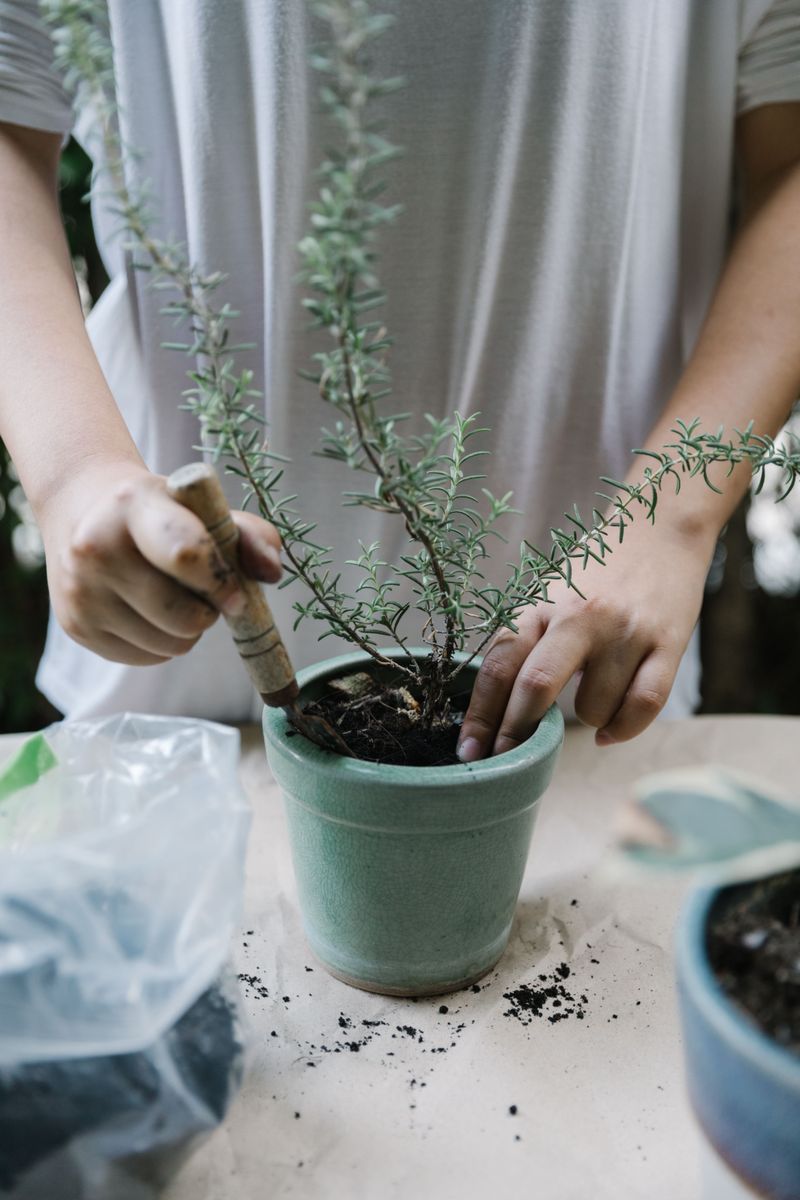
Roots are ready when they appear at the drainage holes or resist a gentle tug on the stem. That resistance is a good sign roots have taken hold, though pulling too hard can damage delicate new roots.
Wait until roots are at least an inch long before moving the cutting to a bigger home. Transplanting too early stresses the fragile root system and can set progress back weeks.
Choose a pot only one or two sizes larger than the current one. Jumping to a huge container too fast can cause the soil to stay too wet around the roots.
For outdoor planting in New Mexico, pick a spot with full sun and excellent drainage. Rocky, slightly sandy soil suits rosemary perfectly and mimics the conditions it evolved in.
Loosen the cutting from its small pot by squeezing the sides gently. Tip it out carefully rather than yanking the stem to avoid snapping tender new roots.
Set the root ball into the new hole at the same depth it was growing before. Planting too deep buries the stem and invites rot at the crown.
Water the transplant thoroughly right after settling it in place. Then step back and let the plant adjust for a few days before resuming your regular care routine.
Propagate rosemary once and you will have enough plants to fill your garden, share with neighbors, and enjoy fresh herbs all year long.