Orchid Care After Flowering In August For Even Better Blooms Next Year In New Mexico
Your orchid just delivered its final bow, and now it sits there looking exhausted, maybe even a little embarrassed. New Mexico’s August heat and paper-dry air do not make recovery any easier for a plant that just poured everything into its show.
Here is the twist most growers miss: these quiet weeks after flowering matter more than the bloom season itself.
A tired root system, a pot full of old bark, and a watering habit built for summer blooms rather than summer recovery: these are the small details that make or break next year’s flower spike.
Eight adjustments, each one small enough to squeeze into a weekend, are about to turn your worn-out orchid into next spring’s best surprise.
1. Trim Faded Flower Spikes Carefully
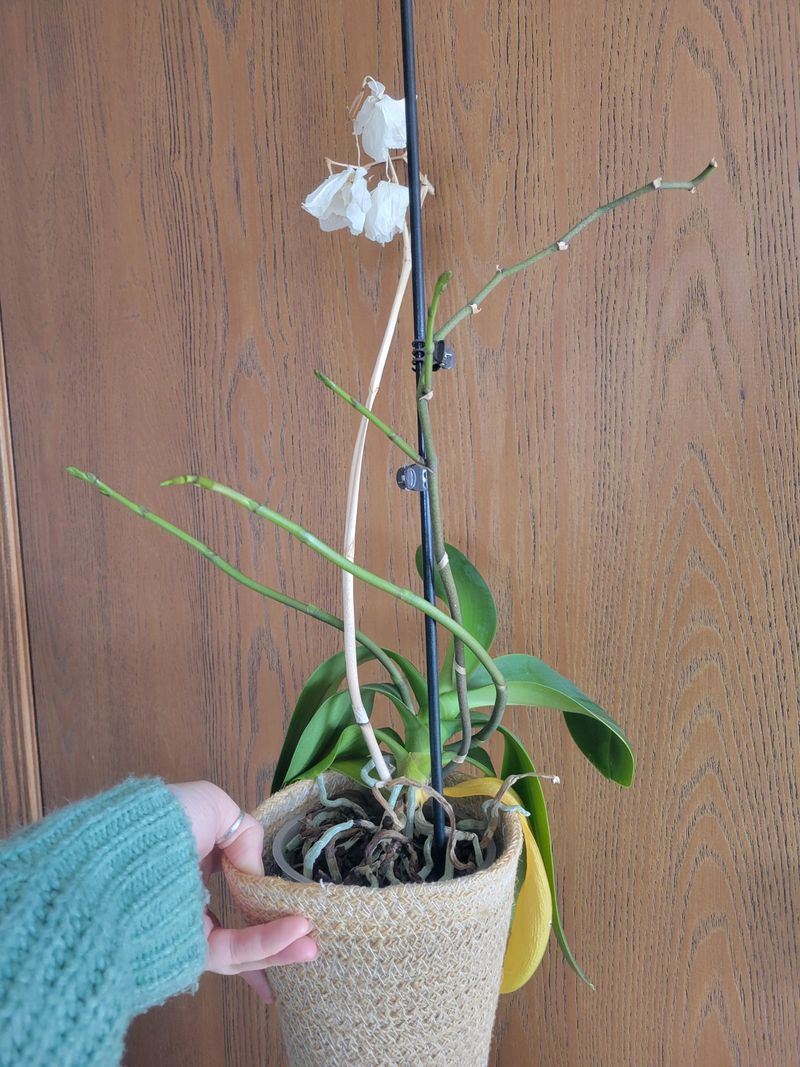
That drooping, brown flower spike is not doing your orchid any favors anymore. Knowing exactly where to cut makes a real difference in how your plant recovers.
For phalaenopsis orchids, you have two solid choices. You can cut the spike all the way down to the base, which pushes the plant to store energy for a bigger bloom later.
Or, you can cut just above a visible node, which is a small bump on the green spike. Cutting above a node sometimes triggers a secondary spike with fresh blooms in just a few months.
In New Mexico’s August heat, most experienced growers recommend cutting all the way to the base. The plant needs that saved energy to survive the dry, hot conditions outside.
Use clean, sharp scissors or pruning shears for every cut. Dirty blades spread bacteria and fungal problems faster than almost anything else in orchid care.
Sanitize your cutting tool before and after each cut using a household disinfectant. A quick swipe takes five seconds and protects weeks of careful growing.
After trimming, let the cut end dry out naturally in the open air. Do not apply anything to the cut unless you see signs of rot or infection starting.
Removing spent spikes also improves airflow around the plant. Better airflow means fewer fungal problems during humid monsoon afternoons that sneak into the Southwest each August.
2. Slow Down Watering As Growth Rests
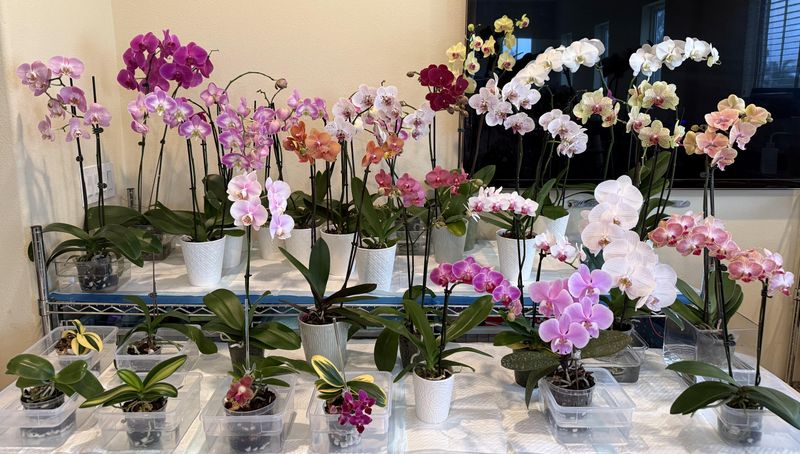
After flowering ends, your orchid shifts into a quieter phase. Roots slow down, leaves stop pushing out new growth, and the whole plant just breathes for a while.
Overwatering during this rest period is one of the quickest ways to rot roots and weaken your chances of a strong rebloom. Soggy roots in a hot August pot spell serious trouble.
Pull back watering to once every ten to fourteen days, depending on how quickly your potting medium dries out. Bark-based mixes dry faster than moss-based ones, so check the medium by feel.
Stick your finger about an inch into the potting mix. If it still feels damp, wait two or three more days before adding any water.
When you do water, do it thoroughly. Run water through the pot until it drains freely from the bottom holes, flushing out any salt buildup from fertilizers.
Your New Mexico Garden Changes Every Week. Your Plan Should Too.
Gardening in New Mexico changes quickly throughout the season. Every Friday you’ll receive a simple weekly plan showing exactly what to plant, prune, fertilize, harvest, and protect so you never miss the right timing.
New Mexico tap water often carries high mineral content. Those minerals accumulate in the mix over time and can burn delicate orchid roots if left unchecked.
Using filtered or rainwater is a smart habit to build during this rest phase. Collected monsoon rainwater is practically free and your orchid will respond with noticeably greener, perkier roots.
Cutting back on water does not mean ignoring your plant. Check it weekly, look at the roots through a clear pot, and adjust your schedule as the season shifts toward fall.
3. Repot Only If Roots Outgrow Pot
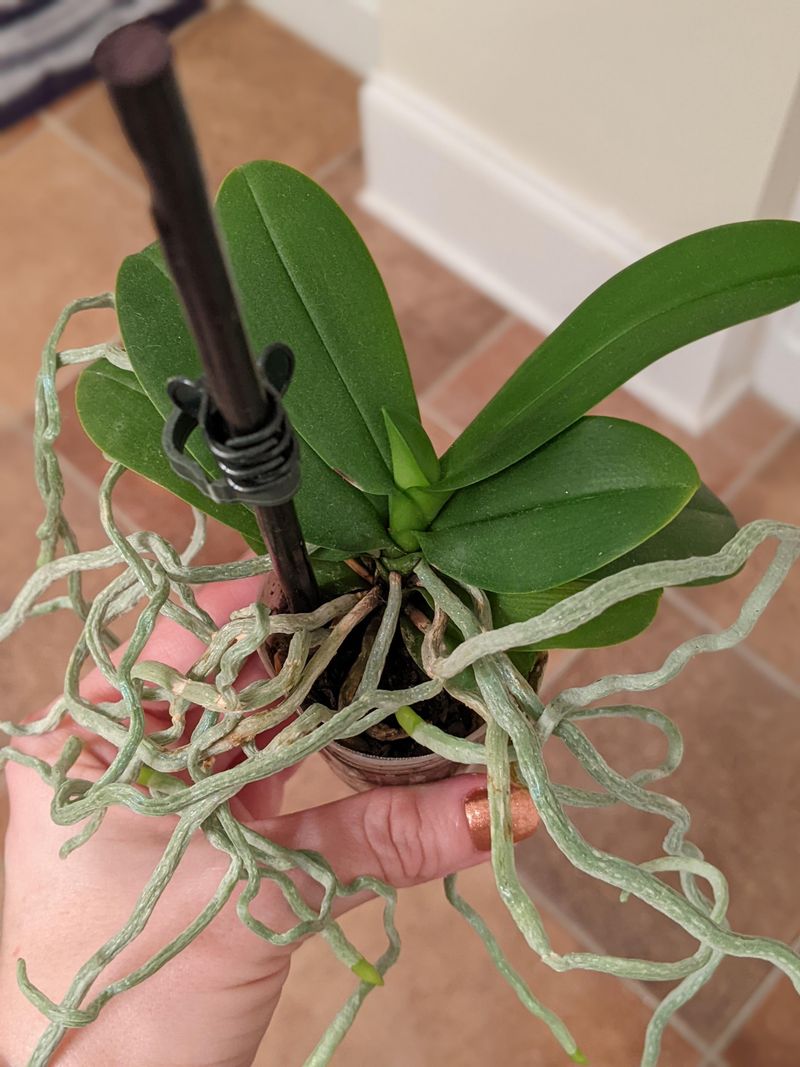
Roots escaping dramatically over the pot rim are your clearest signal that repotting is overdue. August is not the ideal month for this task, but sometimes the plant simply forces your hand.
If roots are tightly packed, circling the bottom, or turning mushy and gray, act now. Waiting until fall is fine for a healthy plant, but a cramped or rotting root system cannot wait.
Choose a pot only one size larger than the current one. Going too big too fast causes the extra potting mix to hold moisture your orchid cannot use, leading to root rot.
Fresh orchid bark mix is the best medium for most phalaenopsis varieties grown indoors in the Southwest. Avoid regular potting soil completely, as it suffocates the air-loving roots orchids depend on.
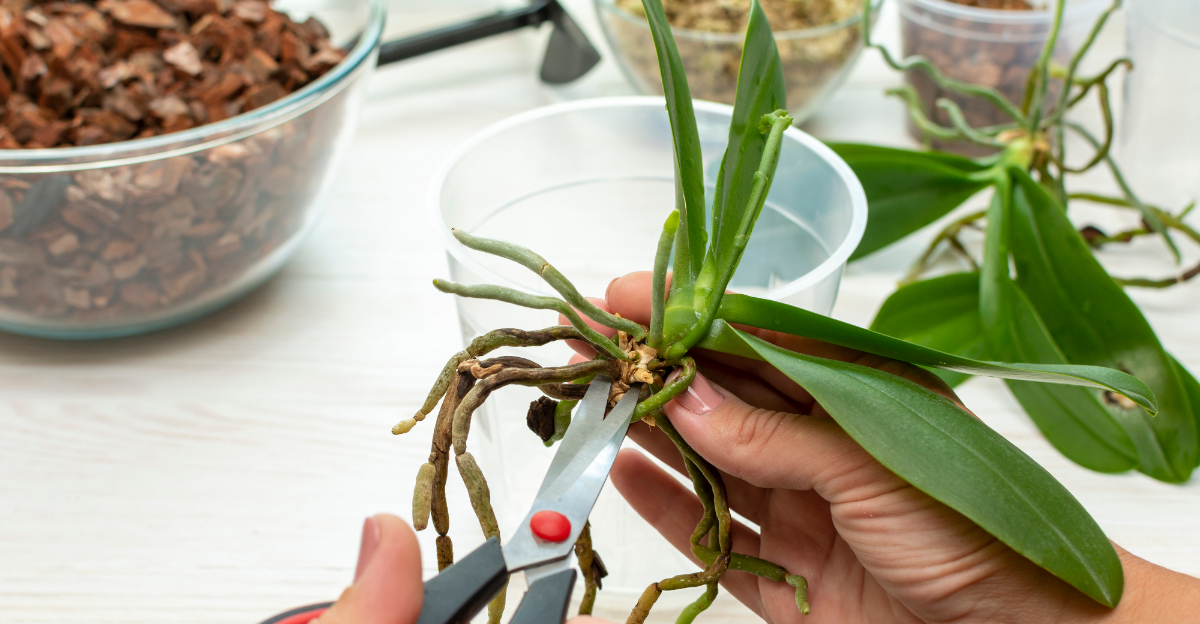
Gently remove the old mix from around the roots. Trim any black, mushy, or hollow roots with clean scissors, cutting back to firm, healthy tissue.
Let the trimmed roots air out for about thirty minutes before placing the plant in its new home. This brief drying period helps prevent infection at fresh cut sites.
Center the plant in the new pot and pack fresh bark loosely around the roots. You want the mix snug enough to support the plant but loose enough to let air circulate freely.
After repotting, skip watering for three to four days. That short dry spell encourages new roots to stretch outward searching for moisture, building a stronger root system overall.
4. Find A Bright Spot Away From Direct Sun
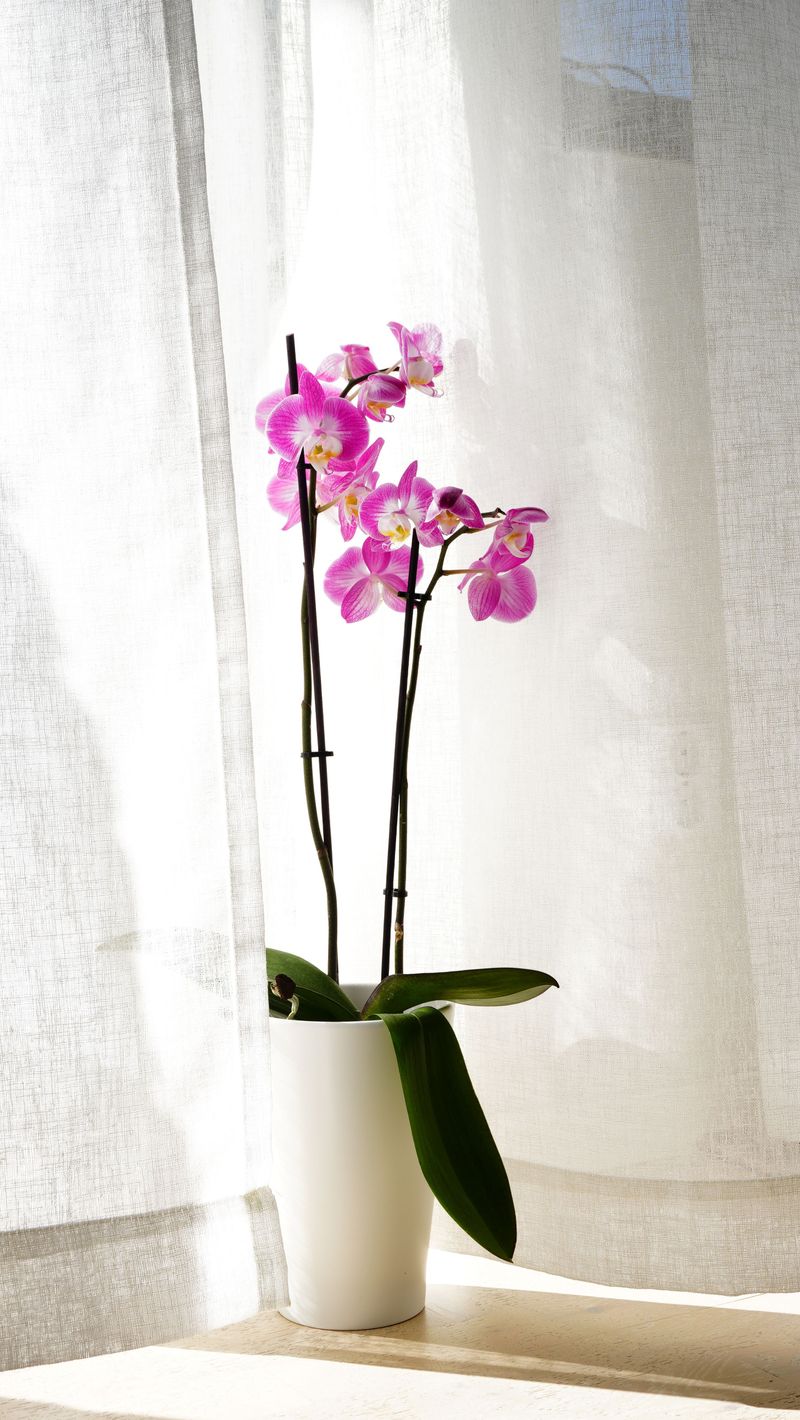
August sun in New Mexico is not gentle, and your orchid knows it. Direct afternoon rays through a south or west window can scorch leaves within an hour on a clear desert day.
Bright, indirect light is exactly what a post-bloom orchid craves during recovery. Think of the light under a tree canopy, bright but filtered, warm but not burning.
East-facing windows are often the sweet spot for orchid care after flowering in this region. Morning sun is softer, cooler, and less likely to cause the yellow bleaching that destroys leaf tissue.
Sheer curtains work beautifully on south and west windows if east-facing spots are not available in your home. A single layer of thin fabric diffuses intense light without blocking the brightness the plant needs.
Watch your orchid’s leaves for color clues. Deep green leaves signal the plant is not getting quite enough light, while a yellowish green means conditions are just about right.
Red or brown patches on leaves mean too much direct exposure. Move the plant back a foot or two from the glass and monitor for improvement over the next week.
Avoid placing orchids near heating vents or air conditioning units during this post-bloom phase. Those forced air streams dry out leaves and stress root systems that are already in recovery mode.
A stable, bright spot builds the leaf strength and root energy your orchid needs to push out a strong new spike when cooler temperatures arrive in the fall.
5. Start Feeding Again Once Growth Resumes
Patience is everything when it comes to feeding after the bloom cycle ends. Rushing fertilizer on a resting orchid is like serving a big meal to someone who just wants to sleep.
Wait for clear signs that growth has resumed before adding any nutrients. A new leaf pushing from the center, or fresh green root tips appearing at the pot edge, are your green lights.
Once growth kicks back in, start with a balanced fertilizer at half the recommended strength. A formula labeled 20-20-20 works well for the vegetative growth phase your orchid enters after rest.
Feed every two weeks during active growth, not every single watering. Orchids fed too frequently accumulate salt deposits that damage roots and slow the very growth you are trying to encourage.
Flush the pot with plain water once a month to clear out any fertilizer buildup. Run water through the pot for a full minute, then let it drain completely before setting it back in place.
As fall approaches and you want to encourage blooming, switch to a fertilizer higher in phosphorus. A formula like 10-30-20 signals the plant to shift energy toward flower production instead of leaf growth.
Orchid care after flowering really pays off at this feeding stage. The nutrients you build up in the leaves and roots now become the fuel that powers next year’s spectacular flower spike.
Keep feeding consistent right through early winter, then taper off again as the plant approaches its next natural rest before a new bloom cycle begins.
6. Let Temperatures Dip Slightly At Night
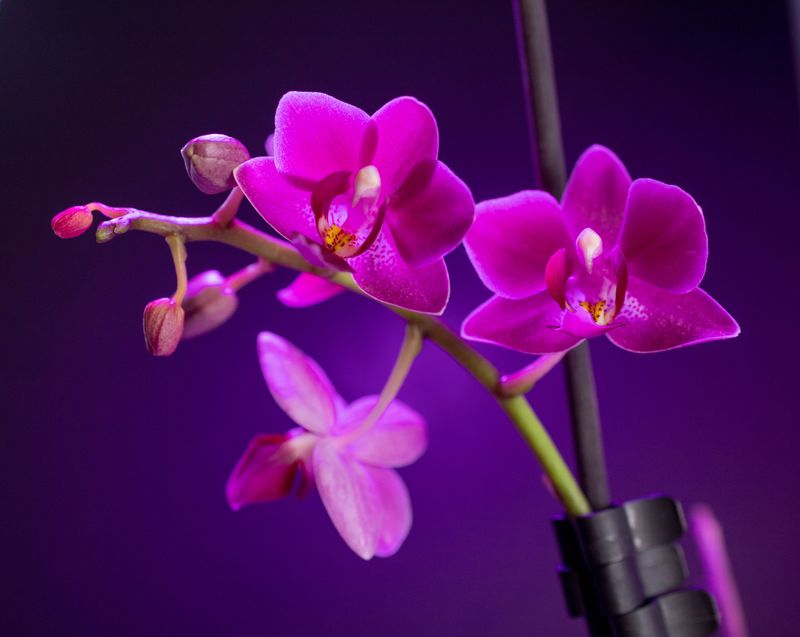
Here is one of the most underrated tricks in the orchid world: cool nights trigger blooming. A temperature drop of ten to fifteen degrees at night tells the plant it is time to build a flower spike.
New Mexico evenings in late August and September naturally cool down after the brutal daytime heat. That shift is a gift your orchid has been waiting for all summer long.
Crack a window slightly on cooler nights to let that fresh, chilled air drift into the room. Even a few degrees of difference between day and night makes a measurable impact on blooming.
Aim for nighttime temperatures between fifty-five and sixty-five degrees Fahrenheit for the best results. Most phalaenopsis orchids respond to this range by beginning to develop a new spike within six to eight weeks.
Do not let temperatures drop below fifty degrees, though. Cold drafts from an open window during a sudden cold snap can shock the root system and set back recovery significantly.
A simple indoor thermometer near your orchid helps you track the temperature swing each night. Knowing your actual numbers takes the guesswork out of one of the most effective blooming triggers available.
If your home stays consistently warm at night due to heating systems, try moving the plant to a cooler room for just a few weeks. A guest room, sunroom, or enclosed porch often works perfectly for this purpose.
That nighttime chill, combined with consistent feeding and good light, is the combination that turns a quiet post-bloom plant into a flower-producing machine.
7. Watch Humidity Since New Mexico Air Runs Dry
New Mexico’s desert air is famously thirsty, and it pulls moisture from everything around it, including your orchid’s leaves and roots. Monsoon season helps a little, but August indoors can still feel bone-dry.
Orchids thrive best between fifty and seventy percent relative humidity. Most homes in the Southwest hover around twenty to thirty percent, which is far too dry for comfortable orchid living.
A small humidifier placed near your plants is one of the most effective solutions available. Running it for a few hours each morning raises ambient moisture without soaking the potting mix or encouraging fungal growth.
Humidity trays offer a simpler, cheaper option for smaller collections. Fill a shallow tray with pebbles and water, then set your pot on top so the bottom sits above the waterline, not in it.
As water in the tray evaporates throughout the day, it creates a gentle micro-climate of moisture around the plant. Refill the tray every two to three days to keep the effect consistent.
Grouping several plants together also raises local humidity naturally. Plants release moisture through their leaves, and a cluster of pots creates a small humid zone that benefits every plant in the group.
Misting leaves directly is a common practice, but it can invite fungal problems in tight spaces with poor airflow. If you mist, do it early in the morning so leaves dry completely before evening temperatures drop.
Steady, comfortable humidity keeps roots active and leaves firm, building exactly the kind of plant strength that produces spectacular blooms when the right season arrives.
8. Inspect Foliage For Early Pest Signs
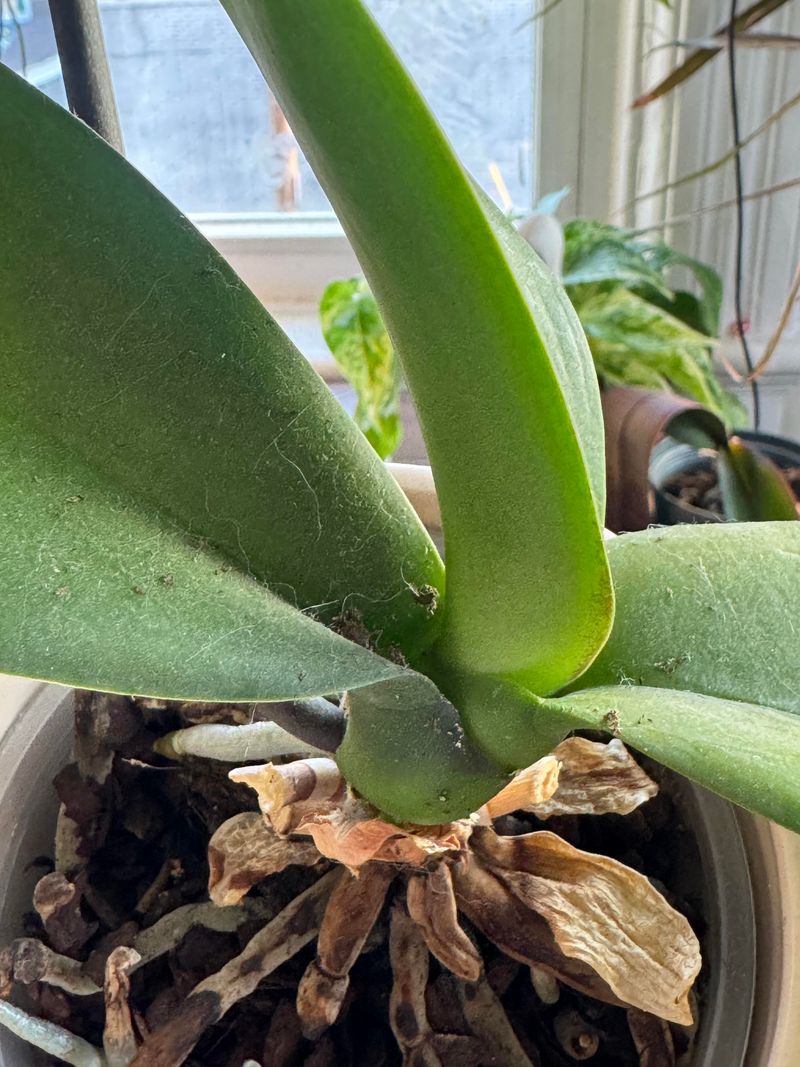
Pests are sneaky, and a stressed, post-bloom orchid is one of their favorite targets in your home. August heat and dry air create perfect conditions for spider mites, scale, and mealybugs to move in fast.
Flip a few leaves over and look closely at the undersides. Spider mites leave a fine webbing and tiny yellow speckles that are easy to miss until the population explodes.
Mealybugs look like tiny white cotton tufts tucked into leaf joints and around root bases. Spot them early and you can wipe them away with a cotton swab dipped in a mild soapy solution before they spread.
Scale insects appear as small brown bumps stuck firmly to stems and leaf surfaces. They are harder to remove than mealybugs, but a soft toothbrush dipped in soapy water handles early-stage infestations effectively.
Inspect your orchid weekly during this post-bloom recovery period. Consistent checking catches problems at stage one, when a simple wipe-down solves everything without chemical intervention.
If you bring any new plants into your home, quarantine them away from your orchid collection for at least two weeks. New plants are the most common way pests enter a previously clean growing space.
Neem oil diluted in water makes an excellent preventive spray for orchid foliage. Apply it lightly every three to four weeks as a shield against the most common pests that thrive in dry Southwest conditions.
Orchid care after flowering is your best window for catching and correcting pest problems before they sabotage next year’s bloom cycle.