Thin Crowded Oregon Raspberry Canes Now Before Fall Moisture Traps Between Them
Raspberry patches have a way of looking wonderfully productive right up until the canes become too packed for their own good. Late summer is when that crowding starts to matter more.
As Oregon moves toward cooler, wetter weather, dense growth can hold moisture around leaves and stems for longer than is healthy.
Air movement drops, drying slows, and problems that were barely noticeable in August can gain ground once fall rains return.
That makes this a useful moment to look beyond the remaining fruit and pay attention to how tightly the patch has filled in.
A little breathing room now can make the planting easier to manage later, but removing the wrong canes or cutting too aggressively can also reduce next season’s crop.
The goal is not to strip the patch down. It is to head into fall with healthier spacing and fewer places for moisture to linger.
1. Cutting Out Canes That Already Finished Fruiting
Old fruiting canes do not come back. Once a raspberry cane has produced fruit, it is done for good, and leaving it in the row only takes up space that younger canes need.
Floricanes, which are the canes that fruited this past season, turn woody and brownish as summer winds down. They are easy to spot once you know what to look for.
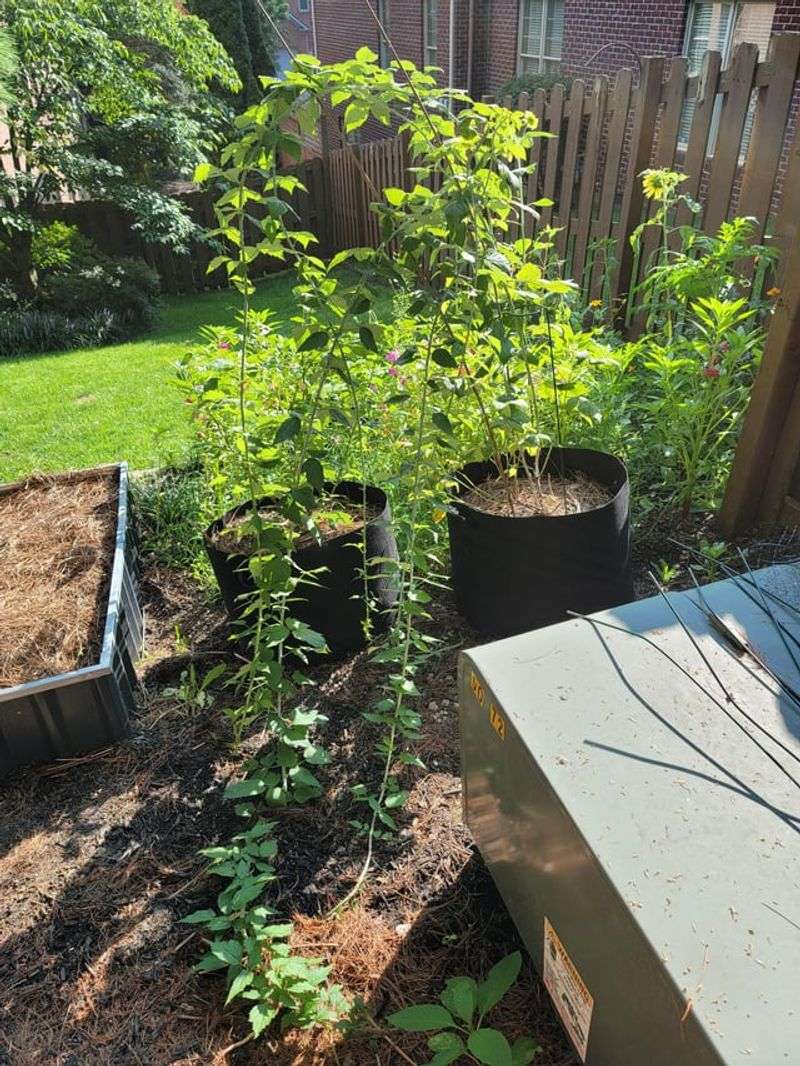
Grab your pruning shears and trace each cane from the base. If it flowered and fruited this year, cut it down to the ground.
Do not leave stubs behind. Stubs can harbor moisture and create spots where fungal issues start.
A clean cut right at the soil line is the right move.
Removing spent canes opens up the row right away. You will notice the difference almost immediately.
More light reaches the younger green canes, and air starts to move through more freely. Both of those things matter a lot heading into fall.
Younger primocanes that are still green and flexible are your future fruiting canes, so protecting them now is key. Pull out the old cut canes and toss them away from the garden bed.
Do not leave them lying on the ground nearby. Decaying cane material can spread fungal spores back onto healthy plants.
A clean row now sets the stage for a much more productive season next year.
2. Opening The Row Before Fall Dampness Settles In
Fall in the Pacific Northwest brings long stretches of gray, wet days. When canes are packed tightly together, that moisture has nowhere to go.
It just sits between the canes, on the leaves, and along the stems. That kind of constant dampness is exactly what fungal diseases love most.
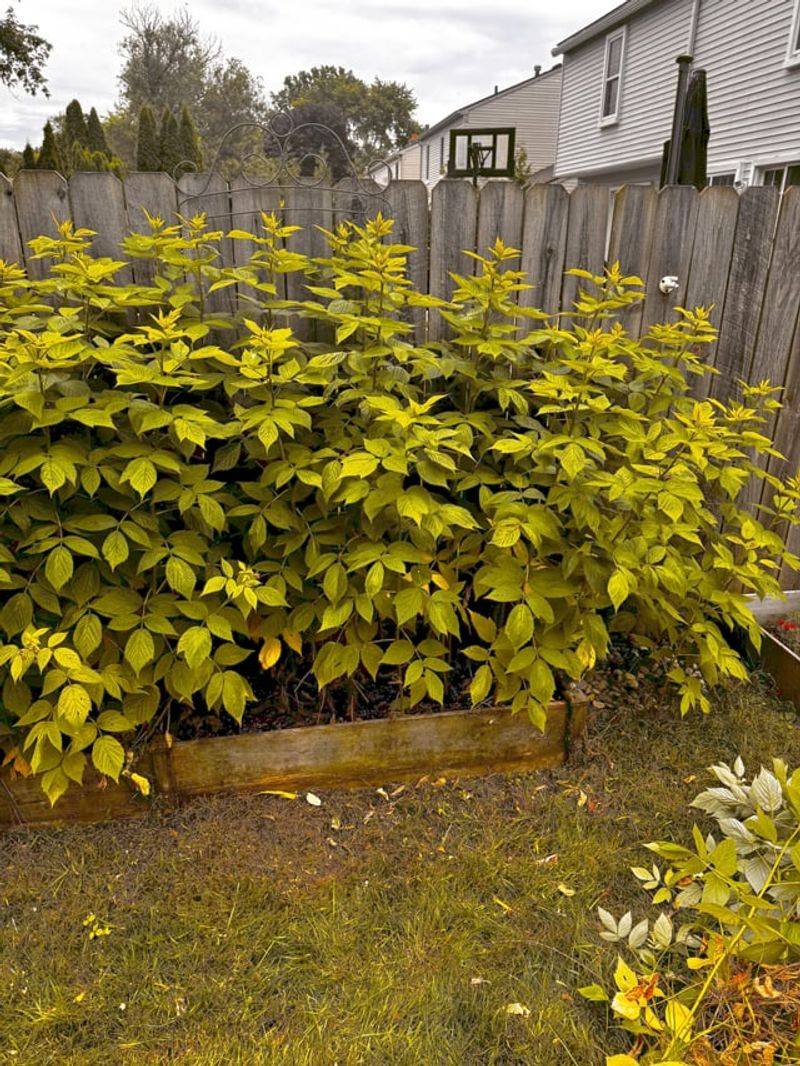
Opening the row before the rains arrive is about giving your plants a fighting chance. You want to aim for about six inches of space between canes after thinning.
Some growers go a little wider, which is perfectly fine. The goal is to let air and light move through without the canes leaning into each other and holding moisture against their stems.
Your Oregon Garden Changes Every Week. Your Plan Should Too.
Gardening in Oregon changes quickly throughout the season. Every Friday you’ll receive a simple weekly plan showing exactly what to plant, prune, fertilize, harvest, and protect so you never miss the right timing.
A good trick is to stand at the end of your row and look down the line after thinning. If you can see clearly from one end to the other without canes blocking your view, you are in good shape.
If it still looks like a wall of green, keep thinning. Work slowly and step back often to check your progress.
The row does not need to look sparse. It just needs enough room so that after a rainy night, the canes can dry out within a few hours once the sun or wind returns.
That drying window makes a real difference in keeping the plants healthy through the wet months ahead in growing regions across Oregon.
3. Crowded Canes Trapping Moisture Way Too Easily
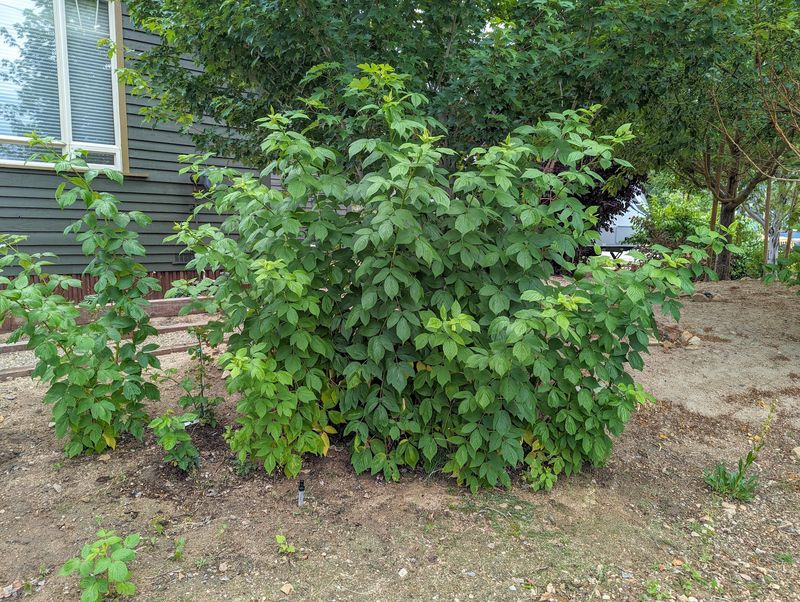
Here is something worth understanding about crowded canes. When canes press against each other, they create tiny pockets of still air that never dry out.
Leaves overlap, stems touch, and water sits in those contact points for hours after rain or even after a heavy dew. That is a perfect setup for botrytis, cane blight, and other fungal issues that can spread fast.
Crowded conditions also make it harder to see what is happening inside the row. Problems can start deep in the tangle and go unnoticed until they have already spread to several canes.
Thinning fixes both problems at once. You remove the crowding and you get a clear view of what is left.
Think of it like this. A row of raspberry canes is like a group of people standing in a tight circle on a foggy morning.
Nobody dries off quickly because the air cannot move through. Space them out and the breeze does its job.
The same principle applies to your plants. When you thin the row properly, natural airflow becomes your best tool against moisture-related disease.
You do not need sprays or treatments if you give the plants enough room to breathe. Prevention through good spacing is far more effective than trying to treat problems after they have already taken hold in a crowded, damp row.
4. Removing Weak Shoots Before They Steal Space
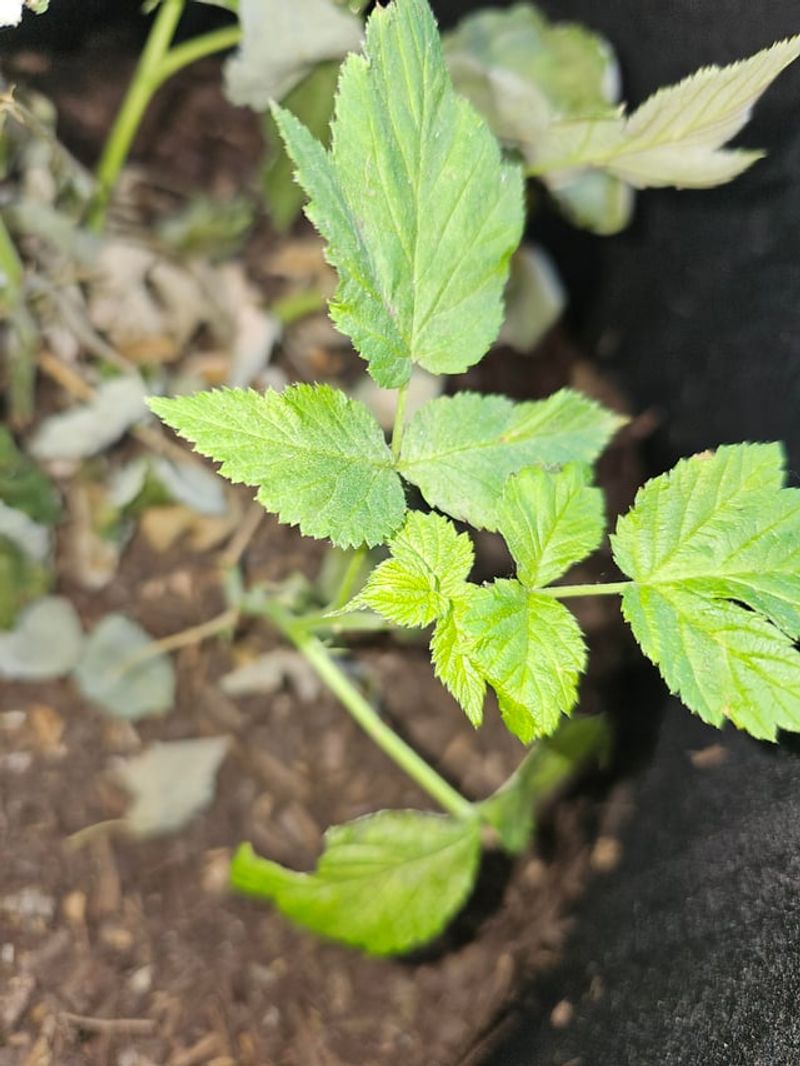
Not every new shoot that comes up from the base is worth keeping. Weak shoots are thin, pale, and often spindly.
They lean instead of standing upright, and they rarely produce strong fruit even if they make it to next summer. More importantly, they compete with the stronger canes for water, nutrients, and light.
Pulling out weak shoots now is one of the most useful things you can do for your row. Focus on keeping canes that are pencil-thick or thicker.
Anything thinner than a pencil is usually not worth the space it takes up. Pale yellow-green canes are another sign of weakness.
Healthy canes should be a solid medium green with good flexibility.
Some gardeners hesitate to remove shoots because it feels like they are losing future production. But keeping too many weak shoots actually reduces your overall yield.
The strong canes do not get the resources they need because weaker ones are pulling from the same pool. Think of it as editing.
A good editor cuts what does not add value so the best parts can shine. Your raspberry row works the same way.
Keep the best, remove the rest, and the canes that remain will reward you with stronger growth and better fruit next season. Aim to keep about four to six canes per linear foot of row for a well-balanced, productive planting.
5. Giving Airflow A Chance To Move Through
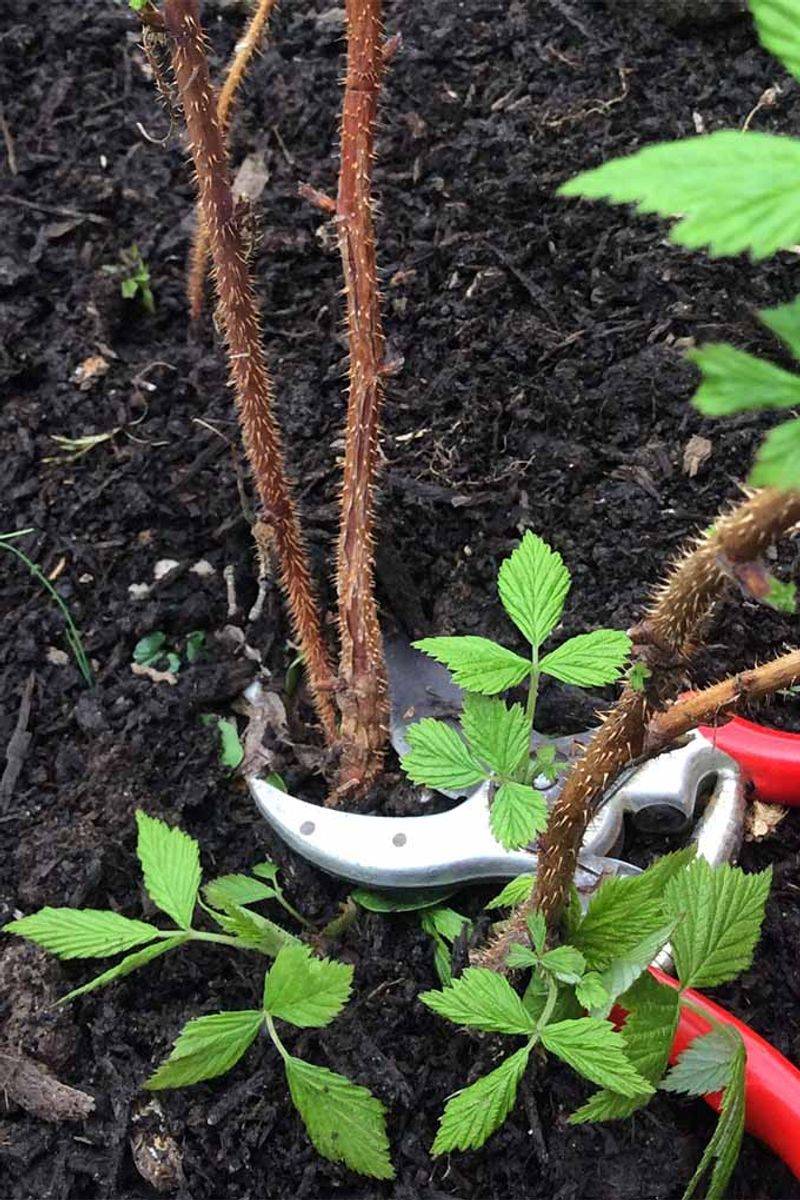
Airflow is one of the most underrated tools in any Oregon garden. When air can move freely through a row of raspberry canes, leaves dry faster, fungal spores have a harder time landing and sticking, and the whole plant stays healthier with less effort on your part.
Thinning is the main way to make that happen.
After you remove spent canes and weak shoots, take a look at how the remaining canes are positioned. If several are crossing over each other or leaning together, try to gently separate them.
You can use soft garden ties attached to a trellis wire to guide canes into a more upright position. This helps even more with airflow because upright canes shed water faster than ones that angle sideways.
Good airflow also helps on warm days by reducing heat buildup inside the row. When canes are too close together, heat gets trapped along with moisture.
That stressed environment makes plants more vulnerable. A well-thinned row stays cooler, drier, and more resilient through both summer heat and fall rains.
You do not have to do anything fancy to improve airflow. Just remove what does not need to be there and let the space do the work for you.
It sounds simple because it really is. The plants do the rest when you give them the conditions they need to stay strong and productive through the season.
6. Keeping The Strongest Canes And Losing The Rest
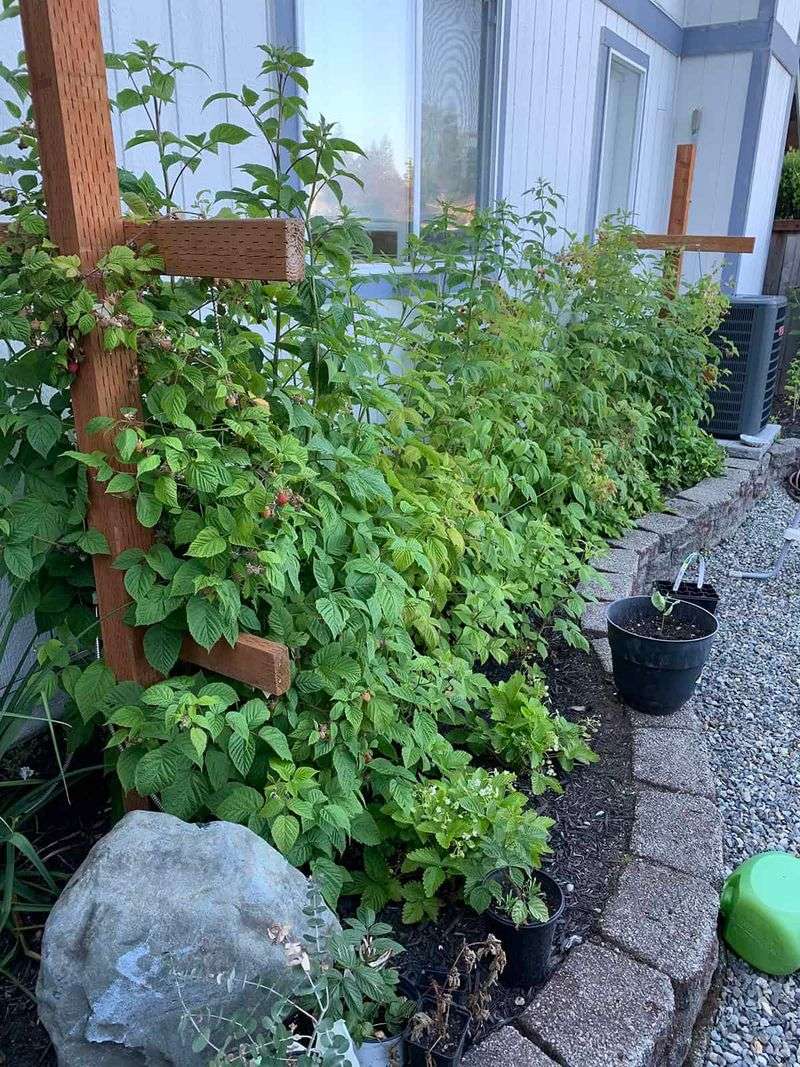
Choosing which canes to keep is the heart of the whole thinning process. You want the canes that are the most upright, the thickest, and the healthiest looking.
Those are the ones that will carry next year’s fruit. Every other cane is a candidate for removal, even if it looks okay at first glance.
A useful approach is to walk the row and mark your keepers before you start cutting. You can use small pieces of colored tape or just a mental note of which canes stand out as the strongest.
Once you know what you are keeping, everything else comes out. This method prevents second-guessing and makes the process go faster.
Many experienced growers in berry-producing regions of the Pacific Northwest follow a simple rule. They keep the best canes and remove everything else without overthinking it.
Overthinking leads to keeping too many canes, which puts you right back where you started with a crowded row. Trust your eye.
A strong cane is obvious when you compare it side by side with a weaker one. The stronger cane stands taller, feels firmer, and has a richer green color.
Once you train your eye to see the difference, thinning becomes much faster and more satisfying. You will end the session with a clean, organized row that looks ready to take on whatever fall brings its way.
7. Untangling Canes Before They Turn Into A Thicket
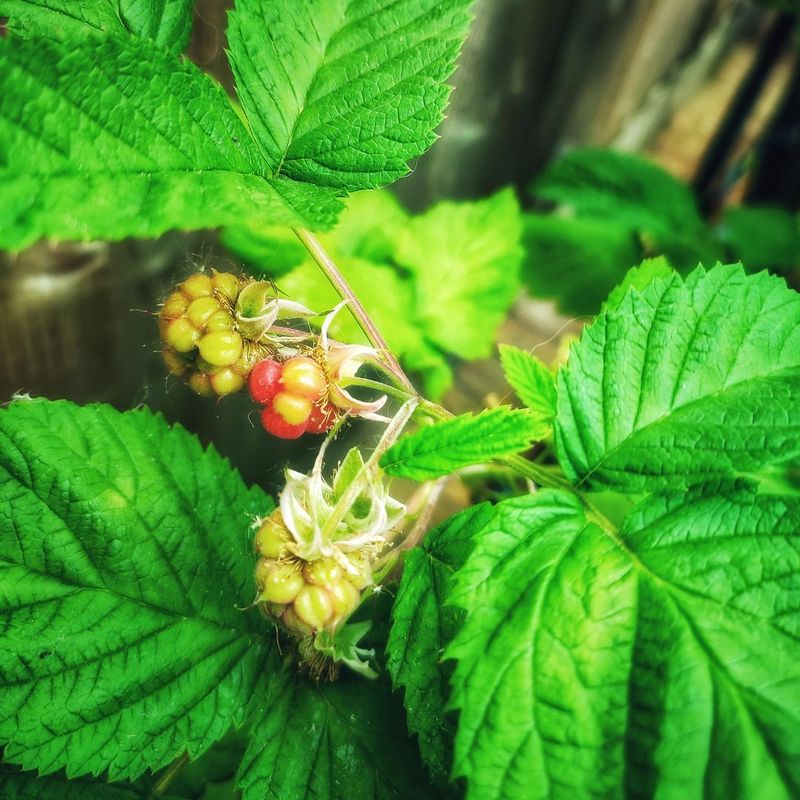
Left alone for even one season, raspberry plants can turn a tidy row into a thorny tangle that is hard to work through. Canes twist around each other, new suckers pop up between old ones, and the whole row starts to look more like a thicket than a productive garden plant.
Getting in there before it reaches that point is much easier than trying to sort it out later.
Start from one end of the row and work your way through slowly. Wear thick gloves because raspberry thorns are no joke.
Pull each cane gently away from the others and assess it before deciding whether it stays or goes. Sometimes untangling reveals canes that were hidden and are actually quite strong.
Other times it exposes weak ones that were leaning on stronger neighbors for support.
Working through a tangled row takes patience, but the payoff is worth it. Once you can see and access every individual cane, managing the row becomes so much easier going forward.
You can check for problems, tie canes to the trellis, and harvest fruit without fighting through a wall of stems every time. Staying on top of thinning each year prevents the thicket problem from coming back.
A little attention now creates a habit that keeps your planting manageable, productive, and much more enjoyable to work with through every season of the growing year.
8. Clearing Damaged Growth Before Disease Moves In
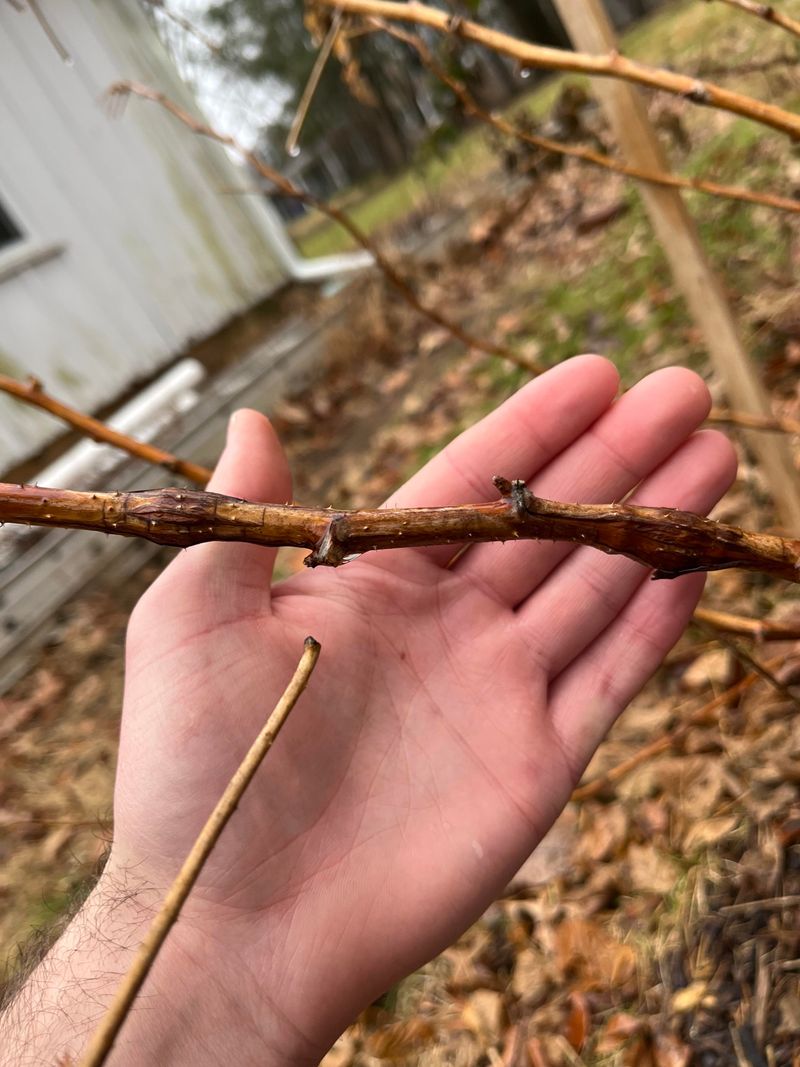
Damaged canes are more than just an eyesore. They are entry points for disease.
Canes with splits, dark lesions, or soft spots are already compromised, and leaving them in the row gives fungal and bacterial problems a place to grow and spread. Fall is the season when those issues tend to accelerate because cool, wet conditions favor disease development.
Go through your row and look closely at each cane you plan to keep. Check for any discoloration, soft areas, or unusual spots on the bark.
Even canes that seem strong overall can have small sections of damage that need attention. If the damage is minor and near the tip, you can sometimes just trim back to healthy tissue.
If the damage runs down a large portion of the cane, remove it entirely.
Always clean your pruning shears between cuts when you are removing diseased material. A quick wipe with rubbing alcohol or a diluted bleach solution prevents spreading the problem from one cane to the next.
Toss diseased canes into the trash rather than the compost pile. Composting diseased material can spread pathogens back into your garden later.
Clearing damaged growth before the wet season is one of the best protective steps you can take. Healthy canes going into fall are far more likely to come through winter in strong condition and deliver a productive harvest the following summer across your planting area.